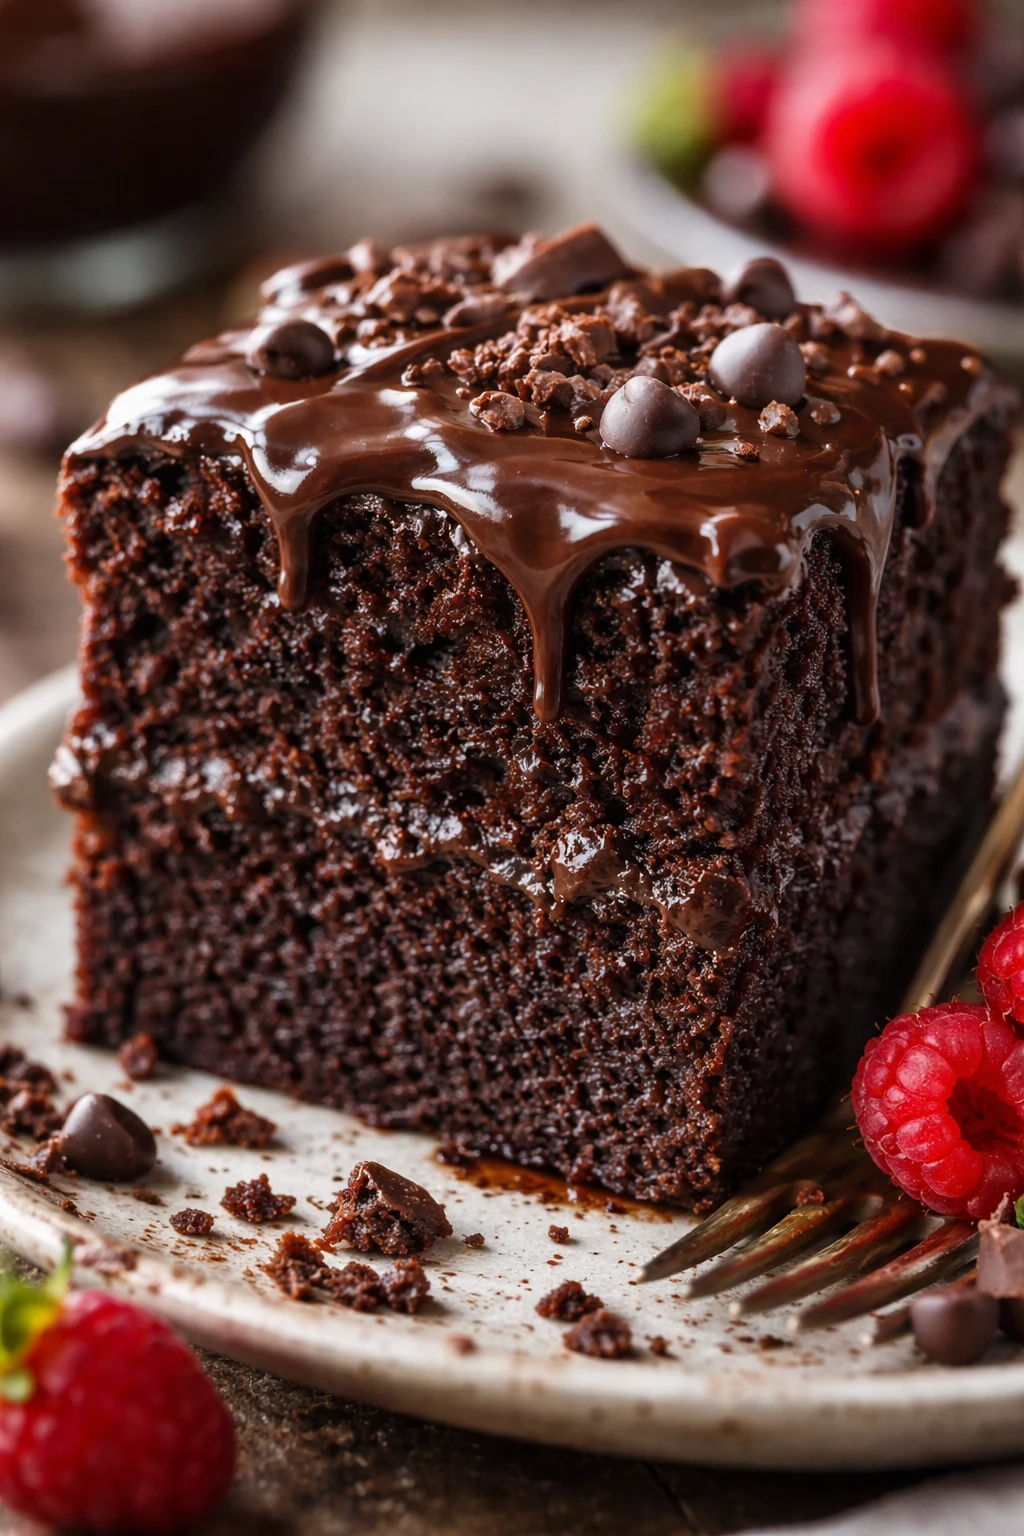
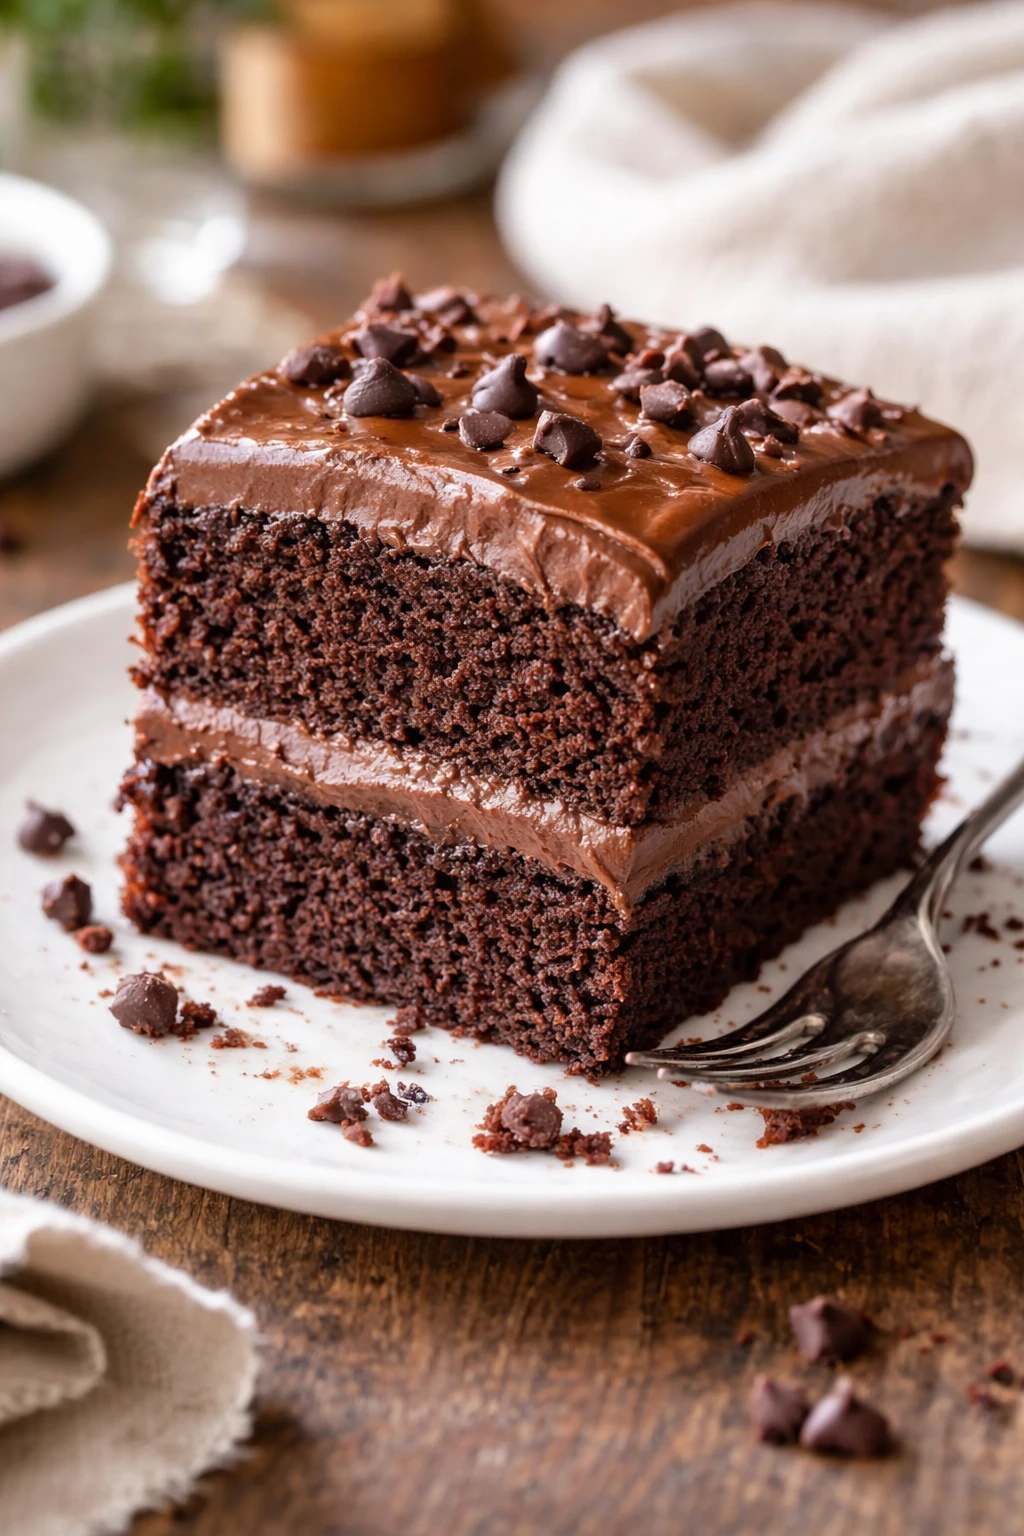
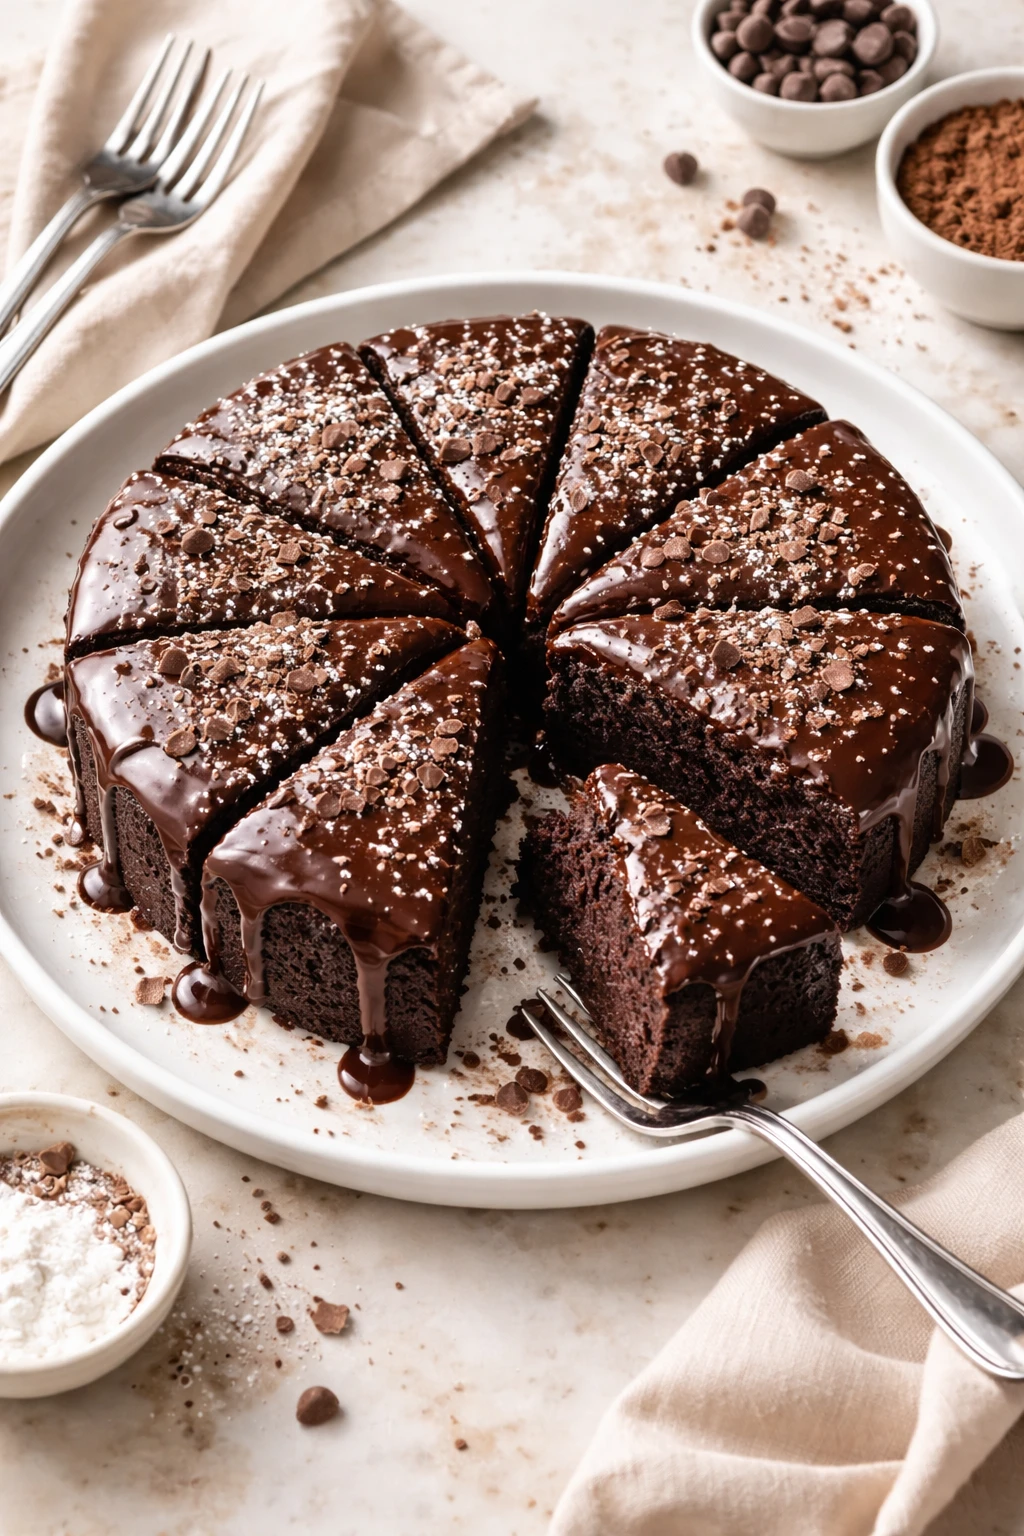
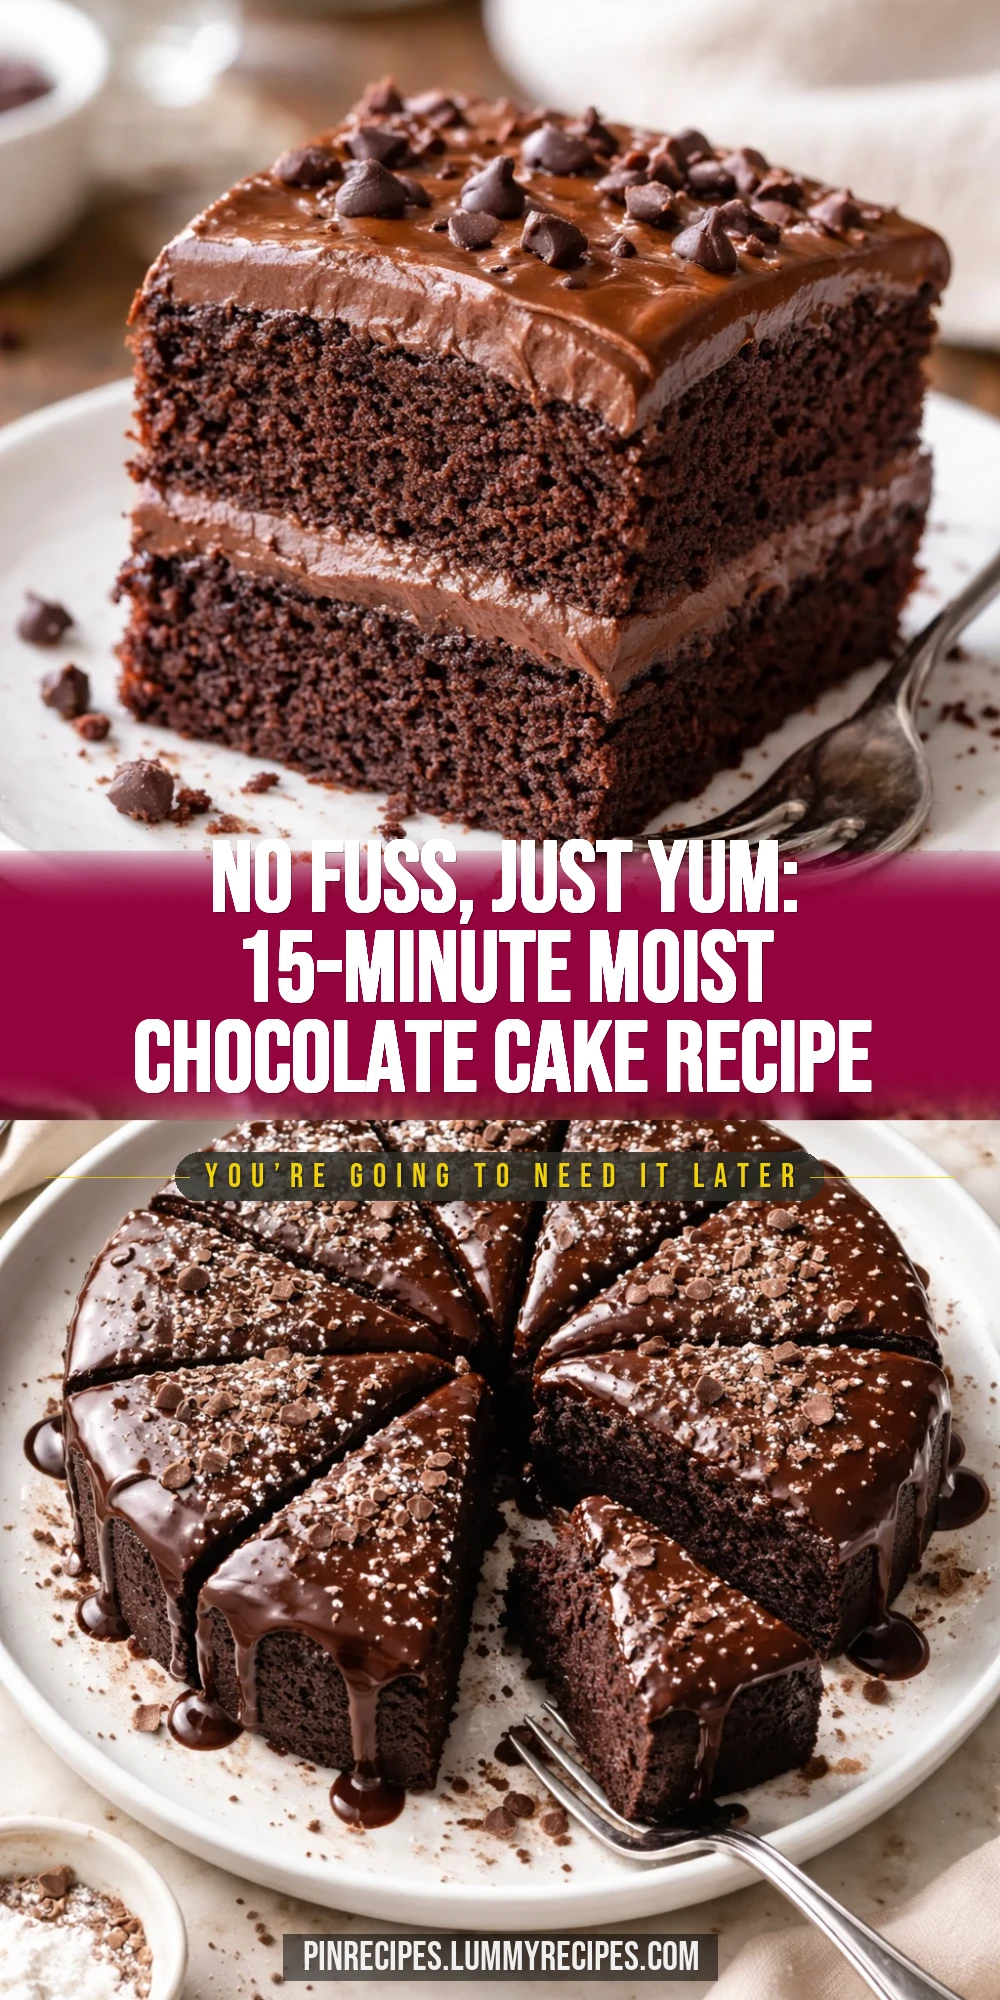
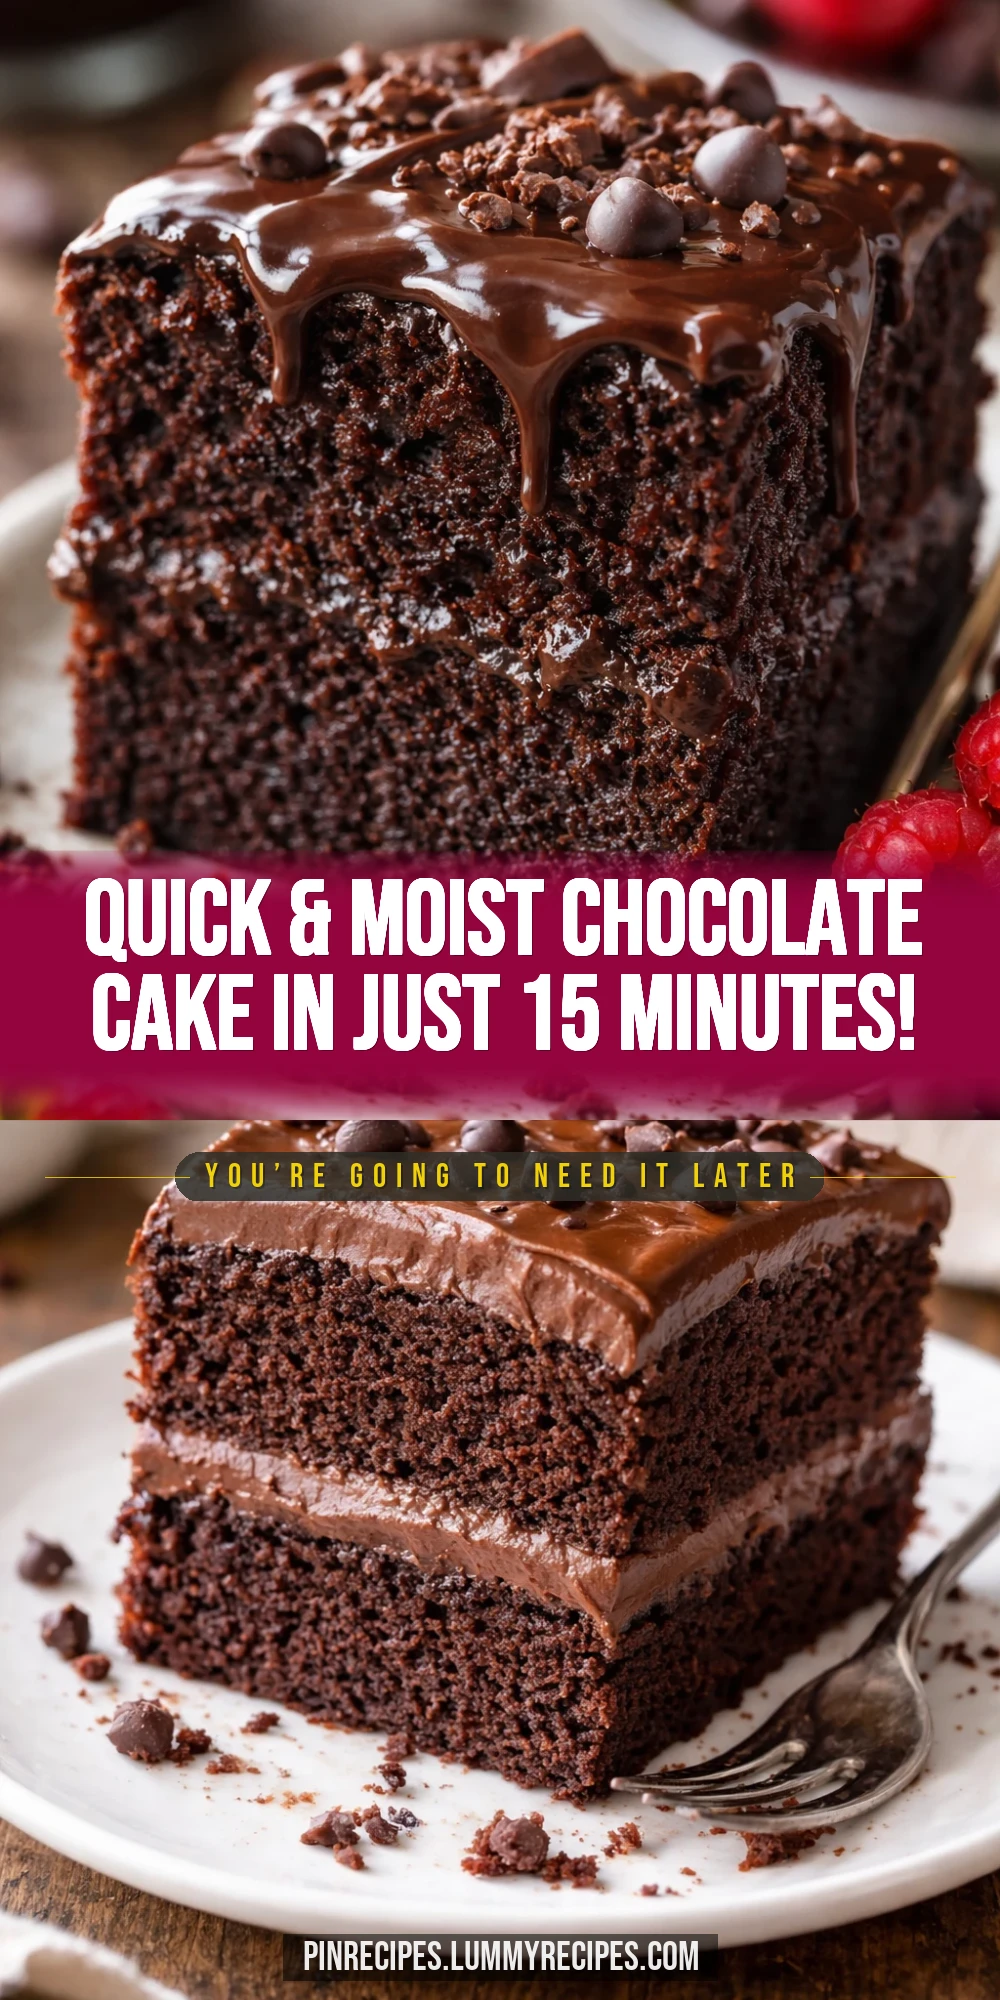
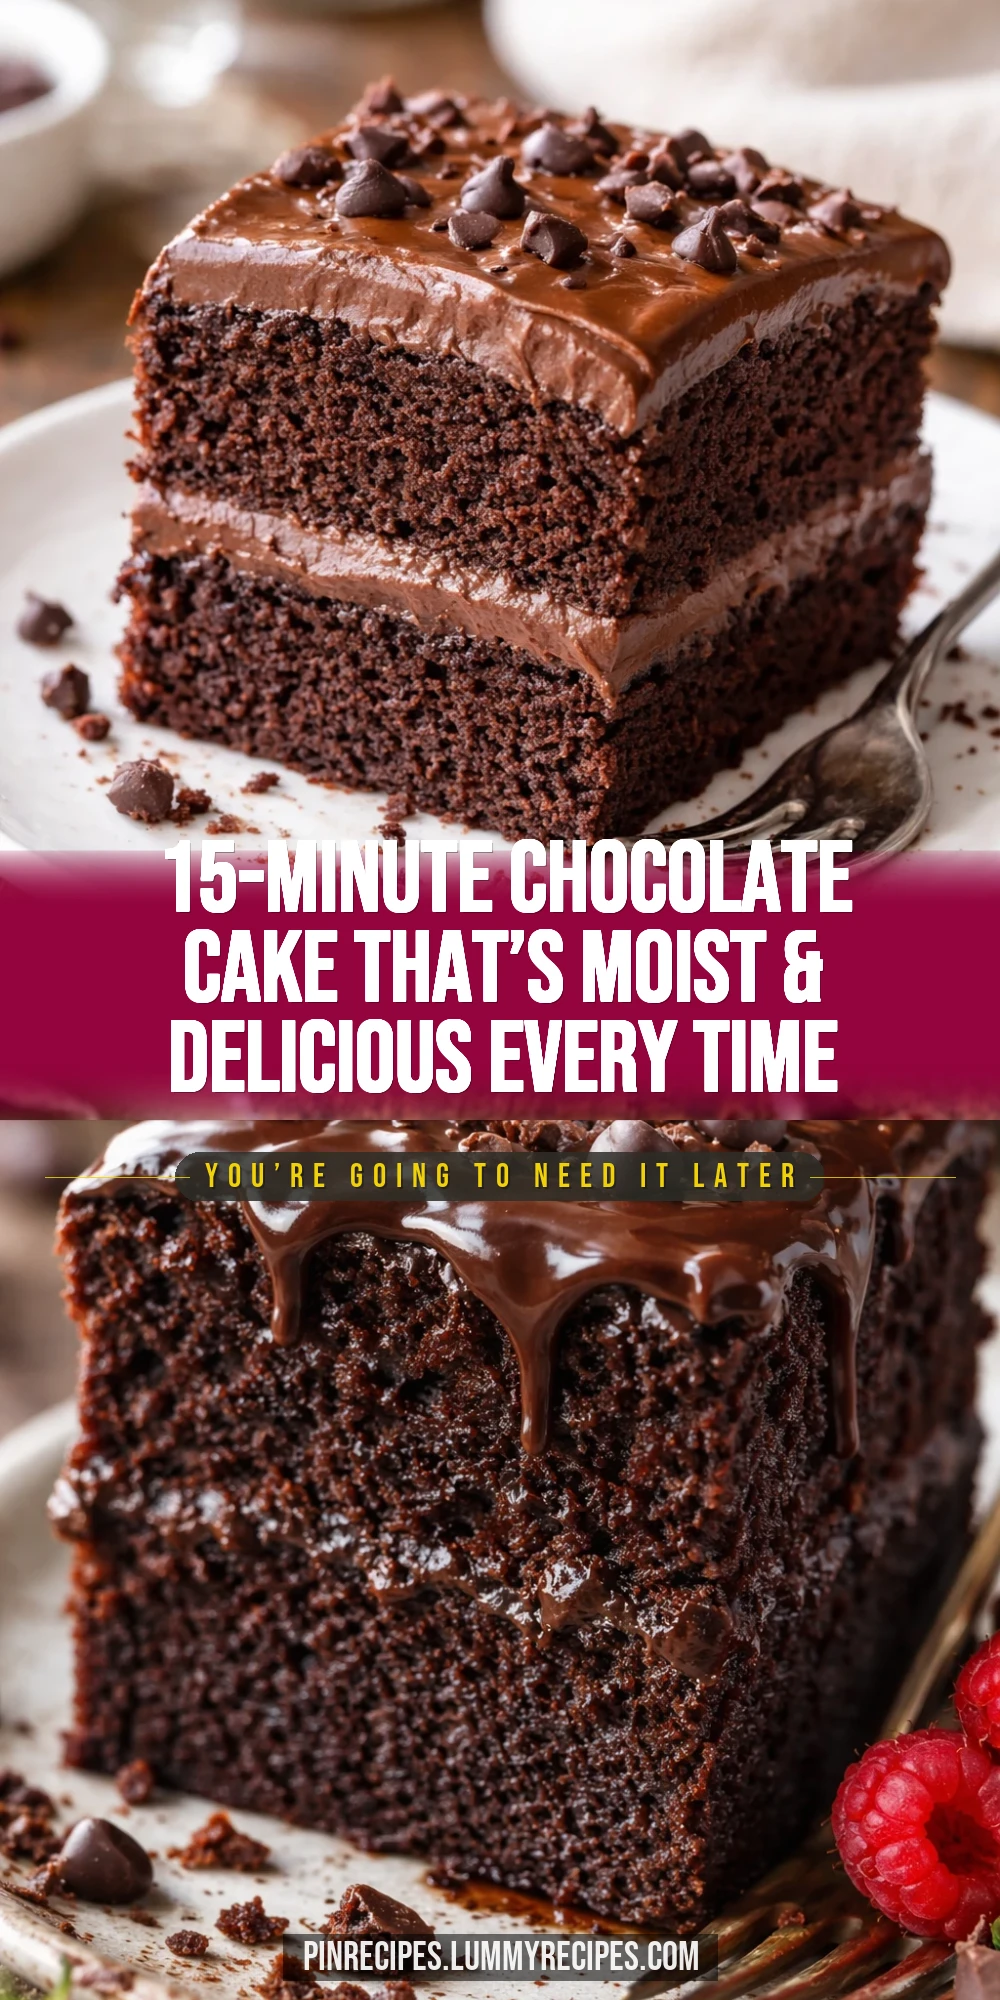
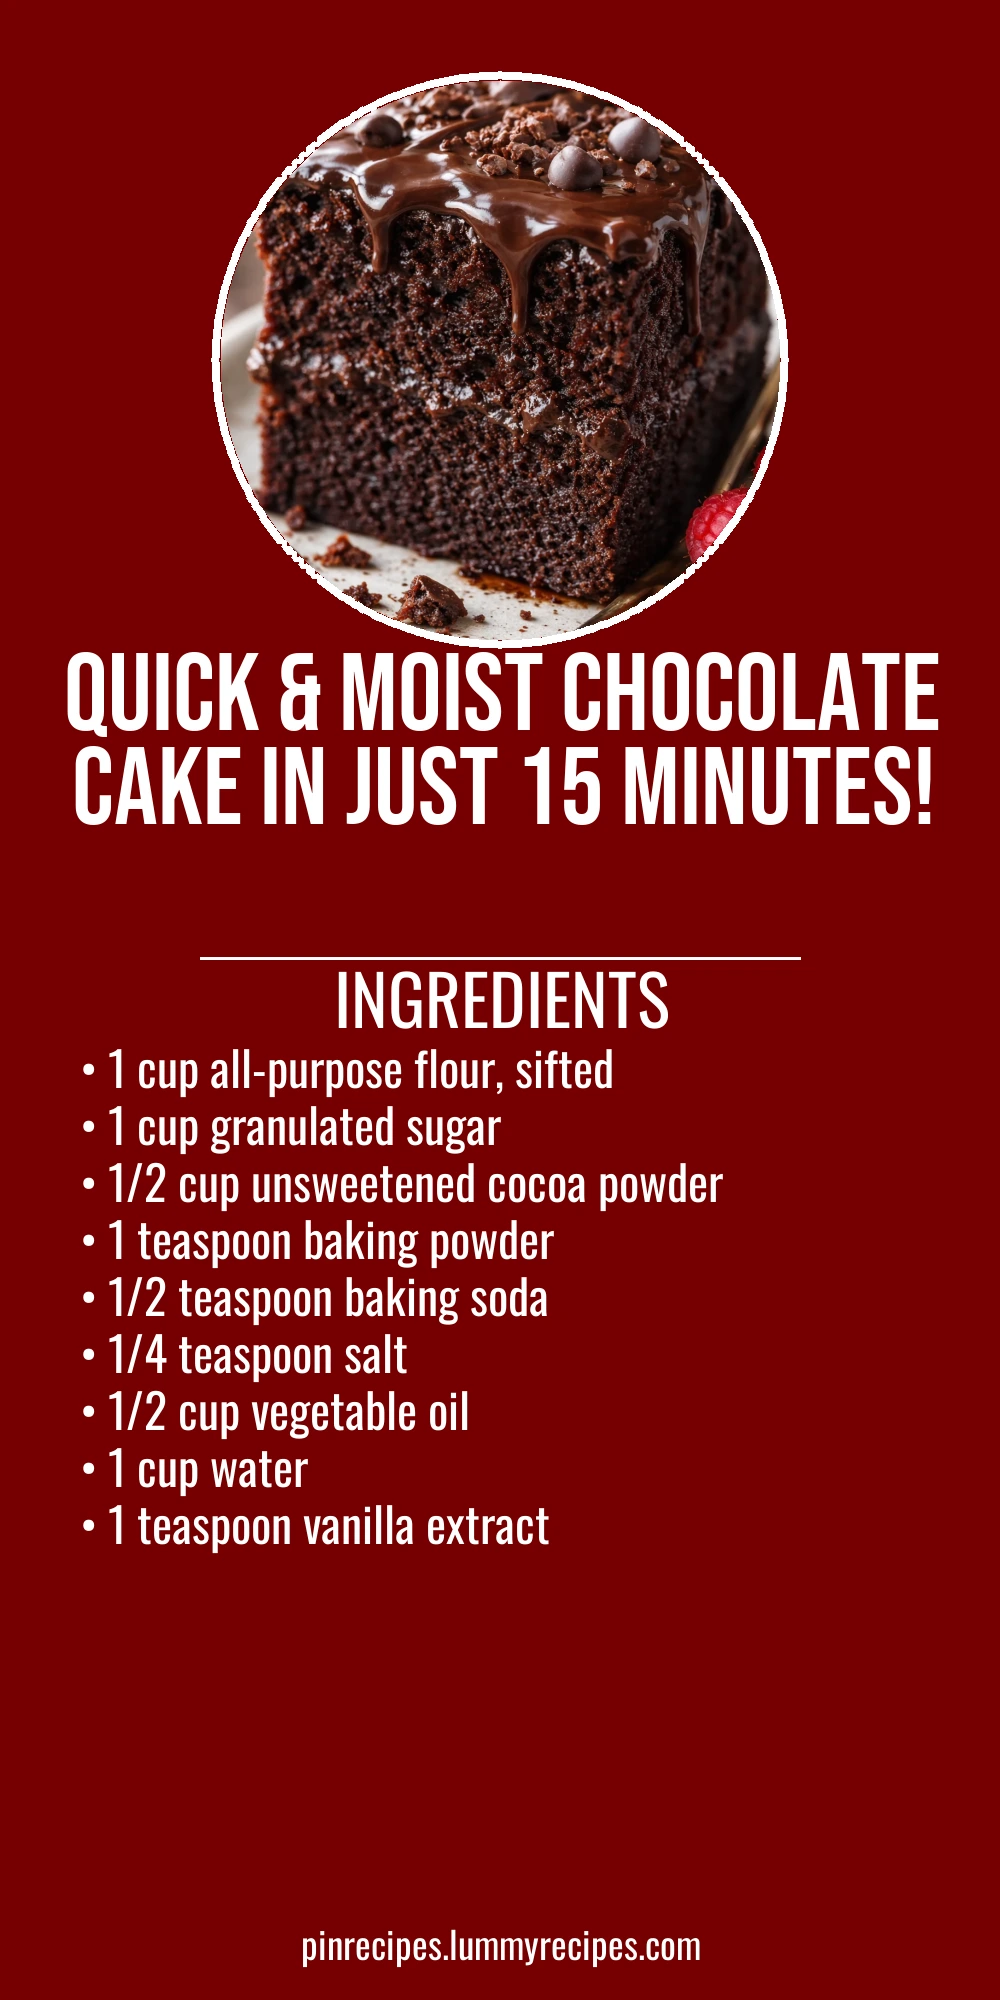
This chocolate cake is a total lifesaver when you want something rich and moist but don’t have a ton of ingredients or time. It’s super simple, with just a few pantry staples, and it comes together in a flash. Perfect for last-minute cravings or casual get-togethers!
Introduction
I first made this chocolate cake on a hectic weeknight when I had almost no ingredients on hand and zero time to bake. I was craving something rich and chocolatey but didn’t want to fuss over complicated steps or a long ingredient list. This recipe came to the rescue! What makes it stand out is the simplicity—just pantry basics like flour, sugar, cocoa, and oil—yet it yields a moist, tender cake that tastes like a treat you’d expect from a fancy bakery. The trick I learned early on is to mix the dry ingredients well before adding the wet, which helps the cake rise evenly and stay super fluffy. Also, using oil instead of butter keeps it moist longer. When it’s done, the cake has a tender crumb and a deep chocolate flavor that’s not too sweet, making it perfect for pairing with ice cream or fresh berries. Honestly, it’s become my go-to when I need a quick dessert fix or want to impress friends without breaking a sweat. I think you’ll love how easy and reliable this cake is!
What You'll Need
One 8-inch round cake, 6 servings
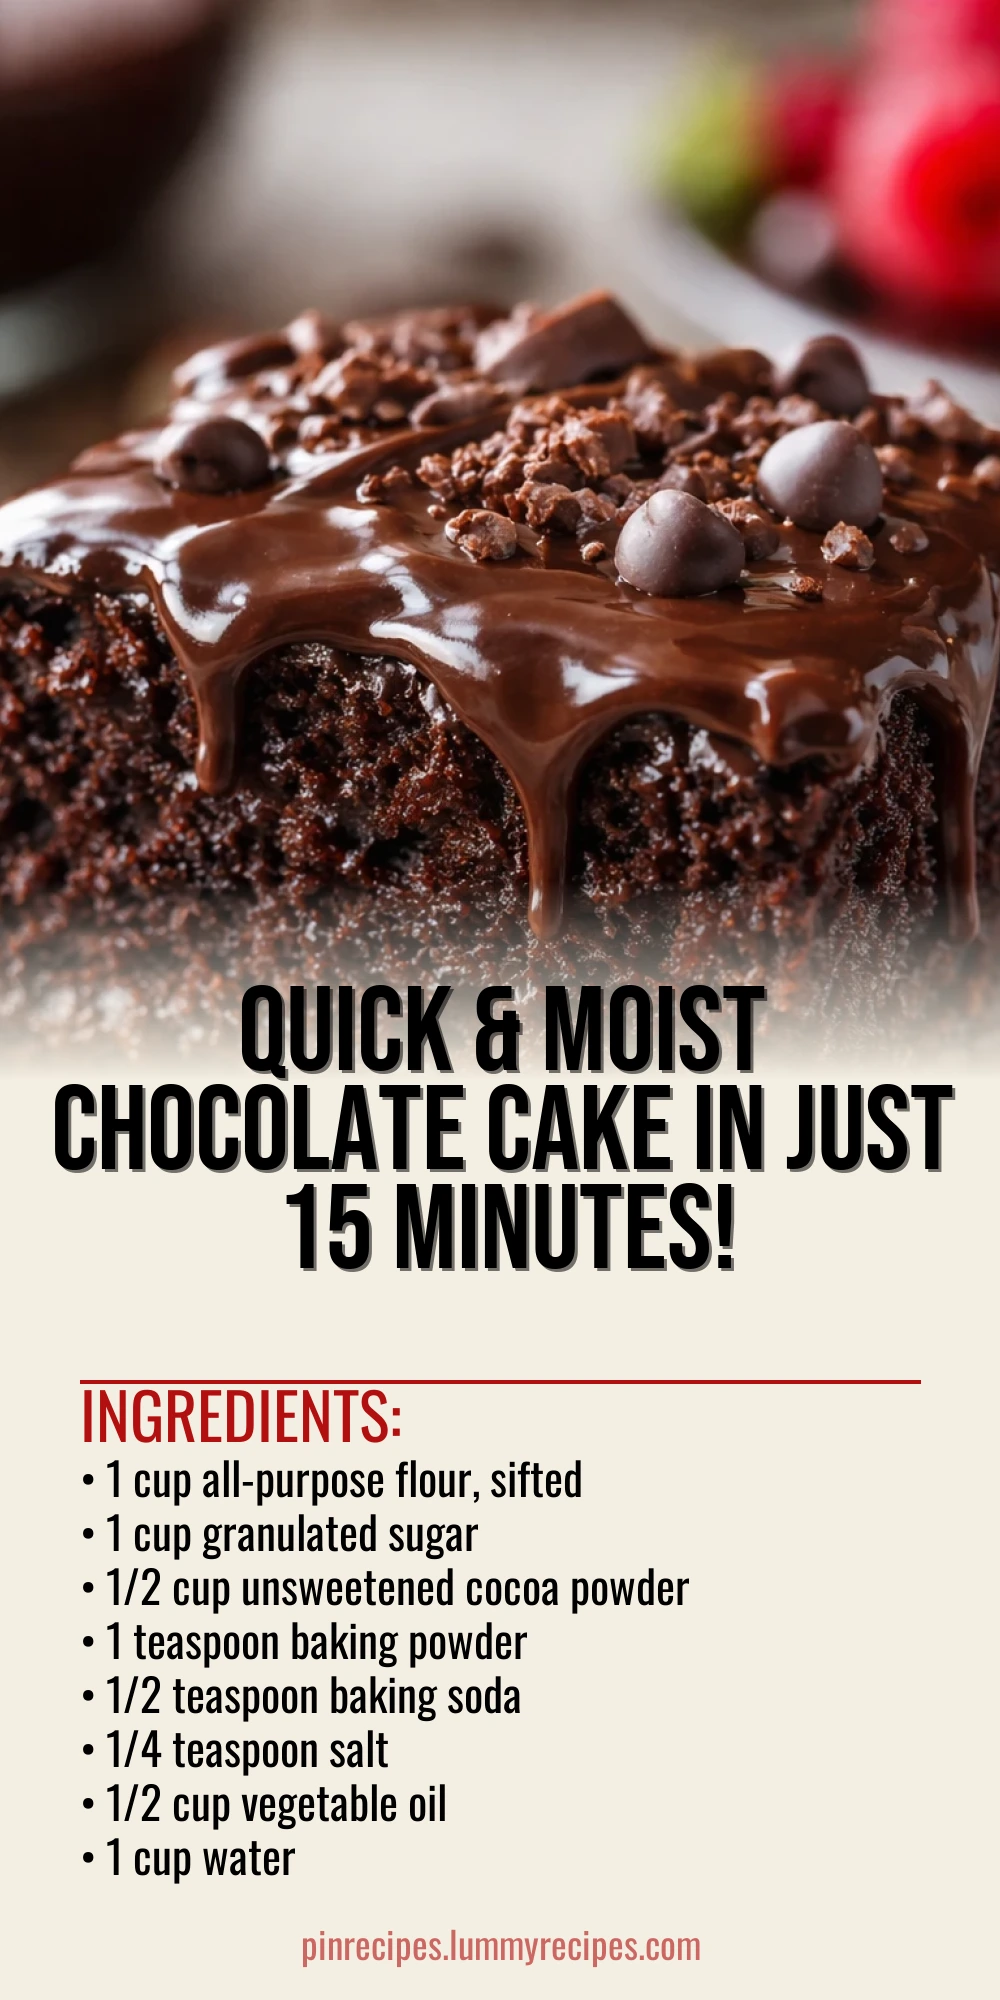
- 1 cup all-purpose flour, sifted
- 1 cup granulated sugar
- 1/2 cup unsweetened cocoa powder
- 1 teaspoon baking powder
- 1/2 teaspoon baking soda
- 1/4 teaspoon salt
- 1/2 cup vegetable oil
- 1 cup water
- 1 teaspoon vanilla extract
How To Do It
Step 1
Start by preheating your oven to 350°F (175°C). Grease an 8-inch round cake pan with a little oil or butter and lightly dust it with cocoa powder to prevent sticking. This step is crucial because it ensures your cake releases easily and keeps its shape. If you skip greasing, you risk the cake sticking to the pan and breaking apart when you try to remove it.
⏱ Time: 5
✓ Doneness: Pan feels evenly coated with no dry spots, and cocoa dusting is visible
Step 2
In a large mixing bowl, sift together the flour, sugar, cocoa powder, baking powder, baking soda, and salt. Sifting helps to aerate the dry ingredients, breaking up any lumps and ensuring an even distribution of leavening agents. This is key to a light, fluffy cake texture. Skipping this can lead to dense spots or uneven rising.
⏱ Time: 5
✓ Doneness: Dry ingredients are well combined with no visible clumps
Step 3
Make a well in the center of the dry ingredients and pour in the vegetable oil, water, and vanilla extract. Stir gently with a spatula or wooden spoon until just combined. Overmixing can develop gluten in the flour, resulting in a tougher cake, so mix only until you no longer see dry flour patches.
⏱ Time: 3
✓ Doneness: Batter is smooth with no dry streaks but not overly glossy
Step 4
Pour the batter into your prepared cake pan and smooth the surface with the back of a spoon or spatula. This helps the cake bake evenly and rise uniformly. If the batter is uneven, some parts might cook faster and dry out.
⏱ Time: 2
✓ Doneness: Batter surface is level and smooth
Step 5
Place the pan in the preheated oven and bake for about 25-30 minutes. Check doneness by inserting a toothpick in the center; it should come out with a few moist crumbs but no wet batter. Baking too long will dry out the cake, while underbaking leaves it gooey inside.
⏱ Time: 25
✓ Doneness: Toothpick test passes with moist crumbs, cake springs back when lightly pressed
Step 6
Once baked, remove the cake from the oven and let it cool in the pan for 10 minutes. Cooling in the pan allows the cake to set and makes it easier to remove without breaking. If you try to unmold it while hot, it might crumble.
⏱ Time: 10
✓ Doneness: Edges start to pull slightly away from the pan
Step 7
Run a knife around the edges to loosen the cake, then invert it onto a wire rack to cool completely. Cooling on a rack prevents condensation that could make the bottom soggy. If left in the pan too long, steam can soften the crust.
⏱ Time: 15
✓ Doneness: Cake is fully cooled to room temperature
Step 8
Optional: Dust the cooled cake lightly with powdered sugar or cocoa powder for a simple finish, or top with whipped cream or fresh berries for extra flair. These touches add a nice contrast to the rich chocolate flavor.
⏱ Time: 5
✓ Doneness: Even, light dusting or toppings applied
Step 9
Slice and serve! This cake is wonderful on its own or paired with a scoop of vanilla ice cream. It’s best enjoyed within a day or two for maximum moistness, but it can be stored well if needed.
⏱ Time: 0
✓ Doneness: Slices hold shape cleanly and look moist
Pro Tips
Sift your dry ingredients for a lighter cake.
Sifting aerates the flour and cocoa powder, breaking up clumps and ensuring even mixing. This leads to a fluffier texture and prevents dense spots that can happen if lumps remain.
Don’t overmix the batter once wet ingredients are added.
Overmixing develops gluten in the flour, which makes the cake tough and chewy rather than tender. Mix just until the ingredients come together for the best crumb.
Use room temperature water for mixing.
Room temp water helps dissolve sugar and cocoa evenly and prevents shocking the leavening agents, allowing them to react properly during baking for a good rise.
Grease and dust your pan with cocoa powder instead of flour.
Dusting with cocoa powder prevents a white flour residue on the cake’s surface and enhances the chocolate flavor right at the edges where the cake touches the pan.
Check the cake with a toothpick starting at 25 minutes.
Ovens vary, so testing early prevents overbaking, which dries out the cake. The toothpick should come out with moist crumbs, not wet batter.
Cool cake in the pan before removing.
Cooling allows the cake to set and reduces the risk of it breaking apart when unmolding. It also helps preserve moisture inside.
Add vanilla extract last and mix gently.
Vanilla is volatile and can lose aroma if overmixed or heated too much. Adding it last preserves its fragrant flavor.
Common Mistakes to Avoid
Overmixing the batter
Why it happens Many assume more mixing means better blending, but this develops gluten, making the cake dense and rubbery.
Fix Mix just until dry ingredients are moistened. Use a gentle folding motion and stop as soon as the batter looks uniform.
Skipping the pan greasing and dusting step
Why it happens People often underestimate how sticky moist chocolate cake can be, leading to frustration when it sticks.
Fix Always grease the pan well and dust with cocoa powder to ensure easy release and a clean edge.
Using Dutch-processed cocoa instead of natural cocoa
Why it happens Dutch-processed cocoa is less acidic and won’t react properly with baking soda, causing poor rise.
Fix Stick to natural unsweetened cocoa powder for the right chemical reaction and flavor.
Overbaking the cake
Why it happens Leaving the cake in the oven too long dries it out because moisture evaporates.
Fix Start checking with a toothpick at 25 minutes and remove as soon as it comes out with moist crumbs.
Using cold water
Why it happens Cold water can shock the batter, slowing down the leavening reaction and causing uneven texture.
Fix Use room temperature water to ensure smooth mixing and proper rise.
Variations
Chocolate Orange Cake
Add 1 tablespoon of orange zest to the dry ingredients and a splash of orange juice instead of water for a bright citrus twist. The orange flavor complements the chocolate beautifully and adds a fresh note to the cake.
Note: Because orange juice is acidic, reduce baking powder to 3/4 teaspoon to balance leavening.
Mocha Chocolate Cake
Dissolve 1 tablespoon of instant coffee granules in the water before mixing. This enhances the chocolate flavor with a subtle coffee depth, making it richer and more complex without tasting like coffee.
Note: Make sure coffee granules are fully dissolved to avoid grainy texture.
Gluten-Free Version
Swap all-purpose flour for a 1:1 gluten-free baking blend that contains xanthan gum. This keeps the cake tender and moist while making it safe for gluten-sensitive eaters.
Note: Gluten-free flours absorb liquids differently; you may need to add 1-2 tablespoons more water for the right batter consistency.
Vegan Adaptation
Replace vegetable oil with coconut oil and use almond milk or another plant-based milk instead of water. This keeps the cake moist and adds a subtle coconut aroma that pairs well with chocolate.
Note: Ensure the plant milk is unsweetened and at room temperature for best results.
Frosted Chocolate Cake
Top the cooled cake with a simple chocolate ganache made from melted chocolate and cream or coconut cream for a decadent finish. This turns the quick cake into a showstopper for celebrations.
Note: Allow ganache to cool slightly before pouring to avoid melting the cake surface.
Nutrition
Per Serving:
Nutritional values are estimates and can vary based on specific ingredients used.
Storage & Tips
Room Temperature
The cake can safely sit at room temperature for up to 2 days if covered tightly with plastic wrap or stored in an airtight container. This helps maintain moisture and prevents it from drying out.
Refrigerator
Store the cake in an airtight container for up to 5 days. The cake may firm up and lose some moisture when refrigerated, so it’s best to bring it to room temperature before serving or warm briefly in the microwave.
Freezer
Wrap the cake tightly in plastic wrap and then foil to prevent freezer burn. Freeze for up to 2 months. Thaw overnight in the refrigerator or at room temperature. Reheat briefly to restore softness if desired.
Reheating
Warm slices in the microwave for 15-20 seconds or in a low oven (300°F) for 5-7 minutes. Adding a small splash of water or covering loosely with foil helps retain moisture during reheating. Avoid overheating to prevent drying.
Make Ahead
You can prepare the batter 1 day ahead and keep it refrigerated in a sealed bowl. Stir gently before baking. Alternatively, bake the cake and freeze it, then thaw and frost or serve as needed.
FAQ
Can I use butter instead of vegetable oil?
You can substitute melted butter for the oil, but the cake may be less moist and have a firmer crumb. Oil stays liquid at room temperature, keeping the cake tender longer, while butter solidifies and can dry the cake faster.
What if I don’t have baking soda?
Baking soda is important here because it reacts with the acidic cocoa powder to help the cake rise. Without it, the cake will be denser. You can try using 1 1/4 teaspoons of baking powder instead, but the texture will be slightly different.
Why is my cake dry after baking?
Dry cake usually means it was overbaked or overmixed. Check the cake early with a toothpick and remove as soon as it has moist crumbs. Also, mix the batter just until combined to avoid toughening the crumb.
Can I make this cake gluten-free?
Yes! Use a 1:1 gluten-free baking flour blend that contains xanthan gum. You might need to add a little extra liquid to get the right batter consistency since gluten-free flours absorb differently.
How do I store leftovers?
Store leftover cake in an airtight container at room temperature for up to 2 days or in the fridge for up to 5 days. For longer storage, freeze tightly wrapped for up to 2 months.
Can I add frosting or toppings?
Absolutely! This cake pairs beautifully with whipped cream, ganache, or fresh fruit. Just make sure the cake is fully cooled before adding any frosting to prevent melting.
Is it possible to make this cake in a microwave?
While this recipe is designed for the oven, you can try a microwave version in a mug, but baking time and texture will differ. For best results, stick to the oven method.
Why does the cake sometimes crack on top?
Cracking usually happens if the oven is too hot or the batter is overmixed. Make sure your oven is properly calibrated and mix gently just until combined.
Final Thoughts
Give this 15-minute chocolate cake a try—you’ll be amazed how simple ingredients and a little care make a moist, delicious treat. I can’t wait to hear how yours turns out!