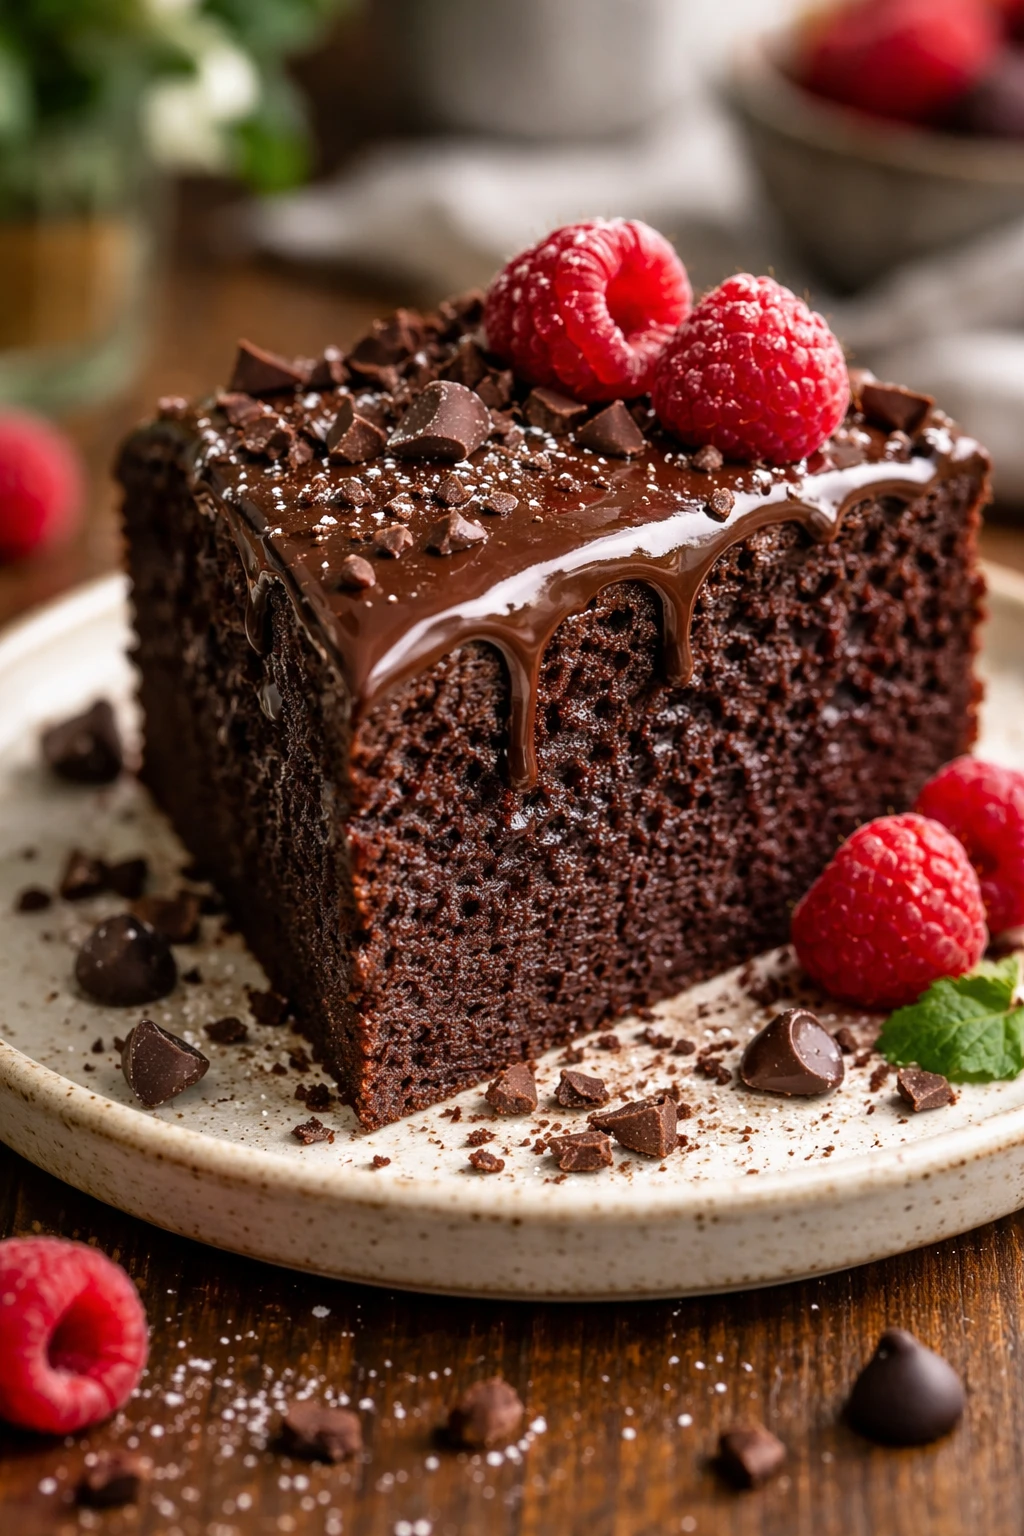
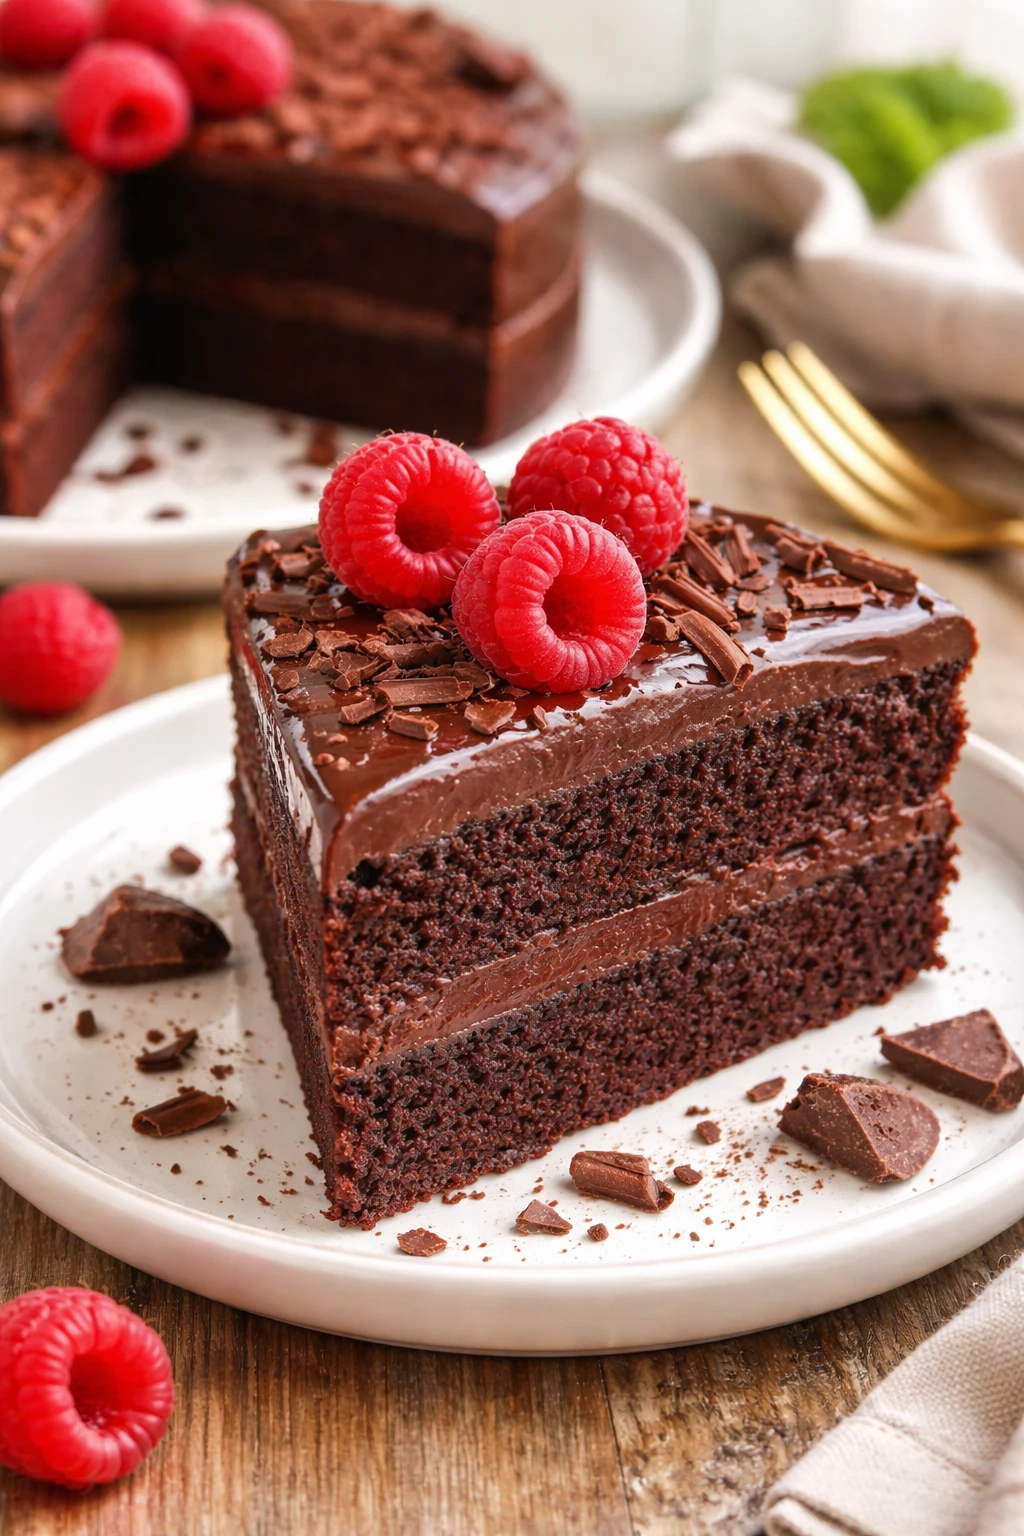
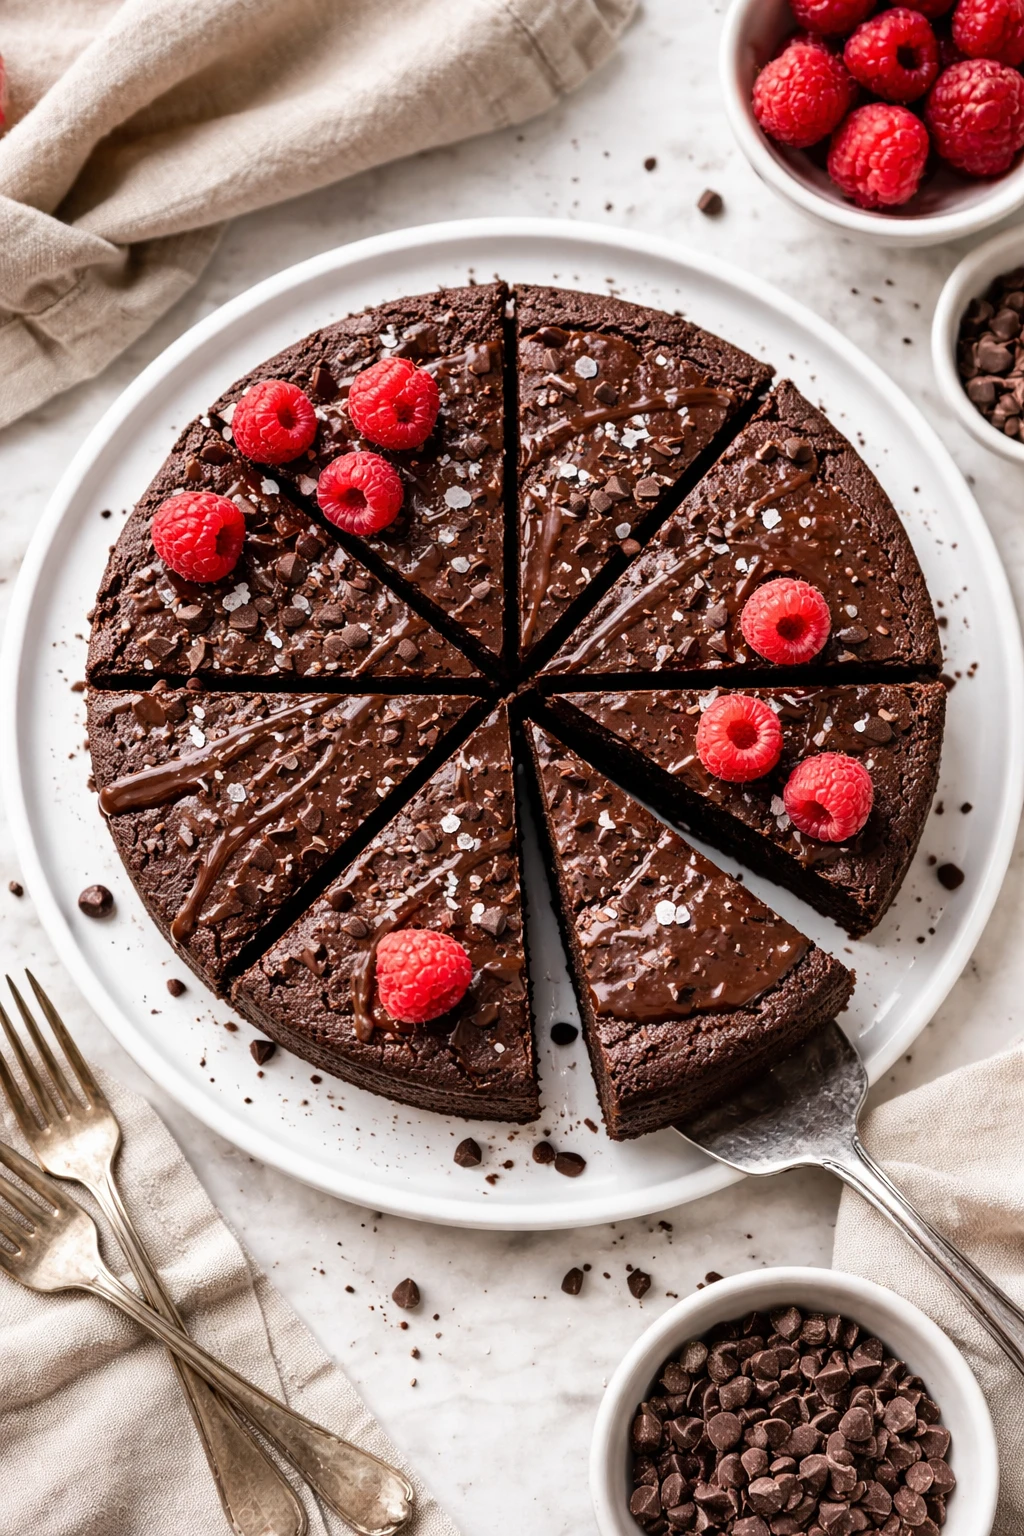
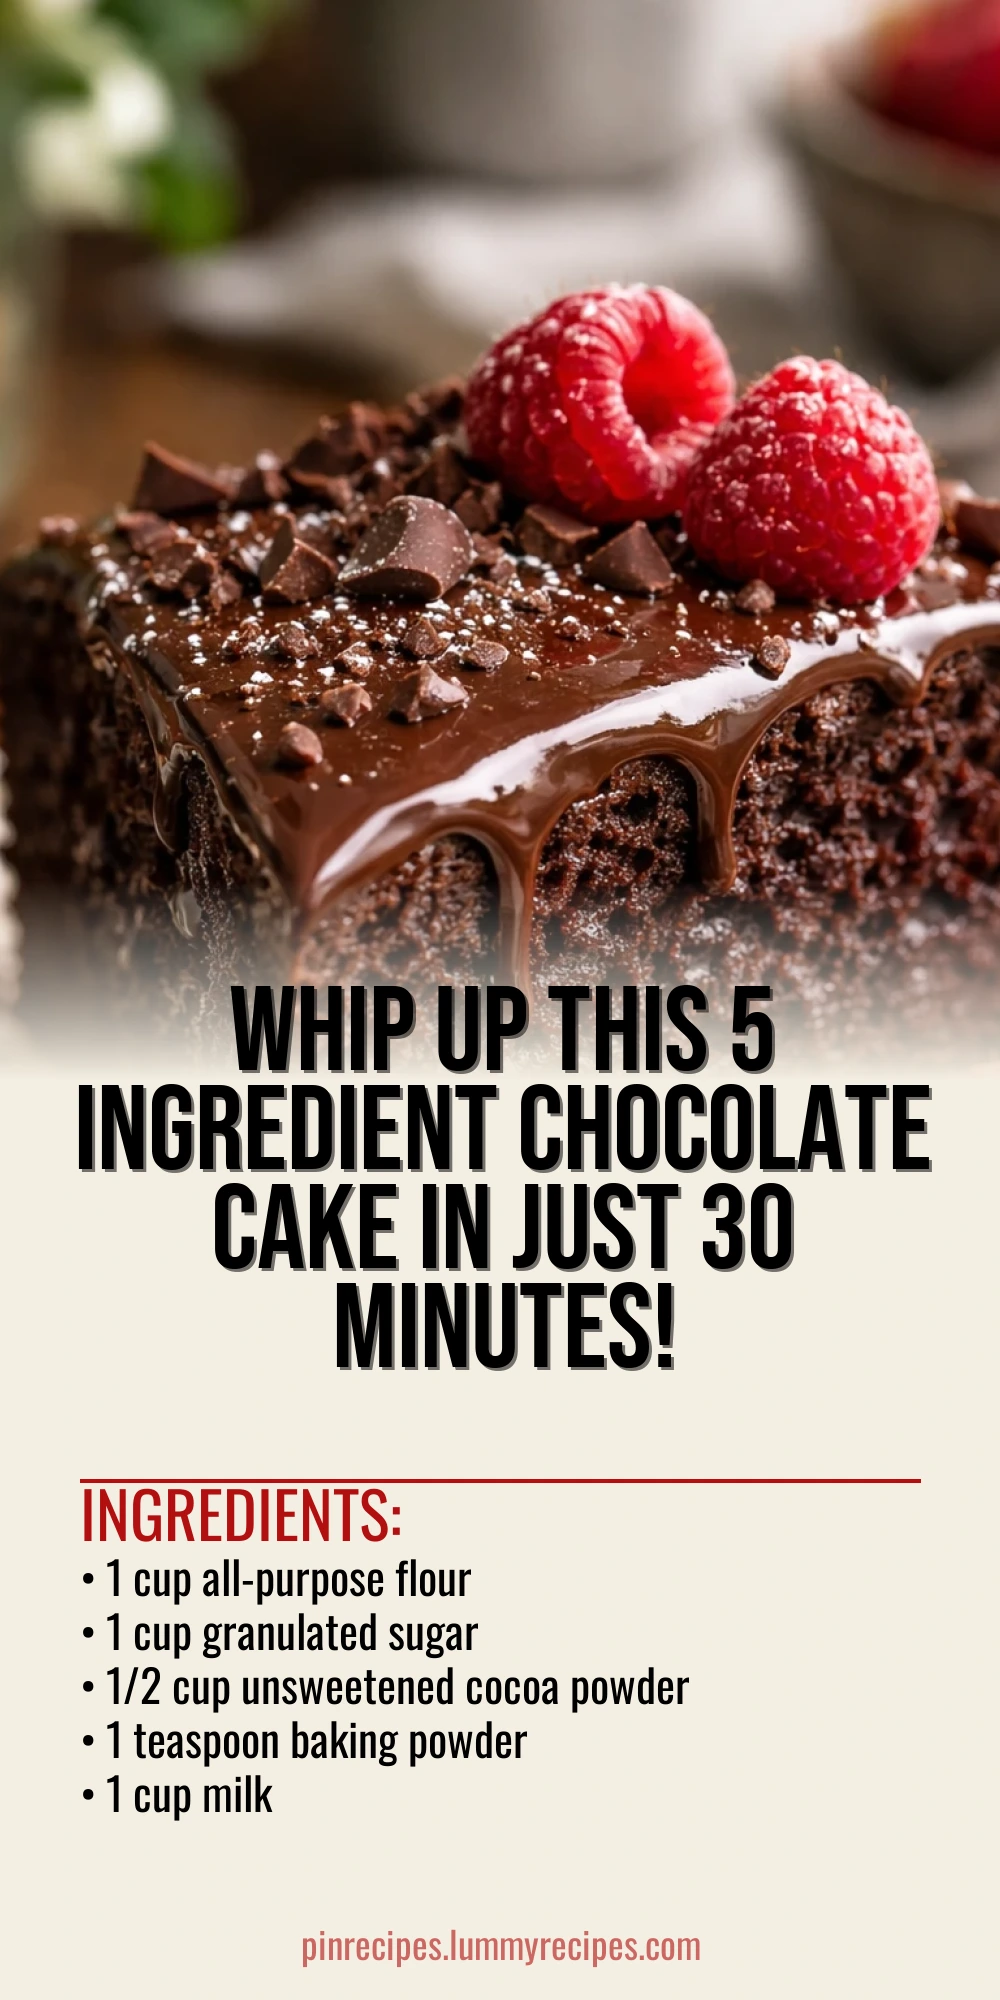
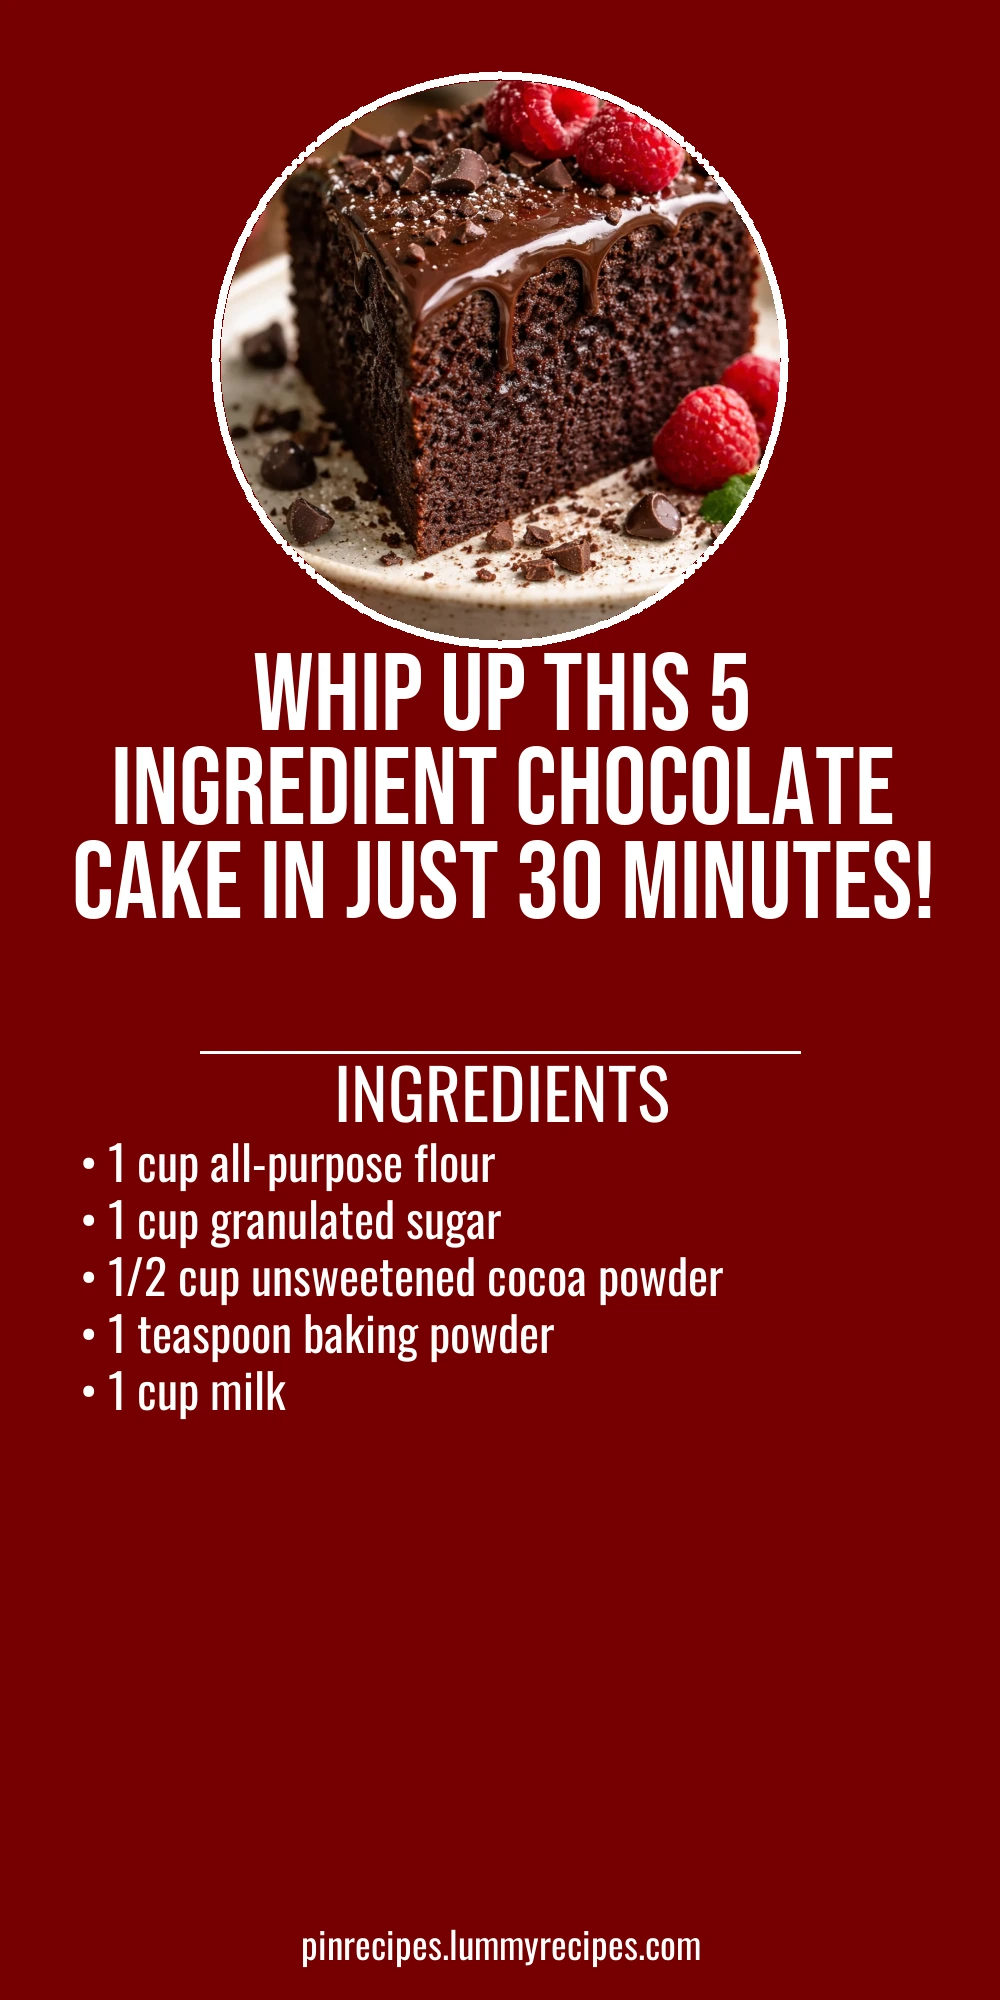
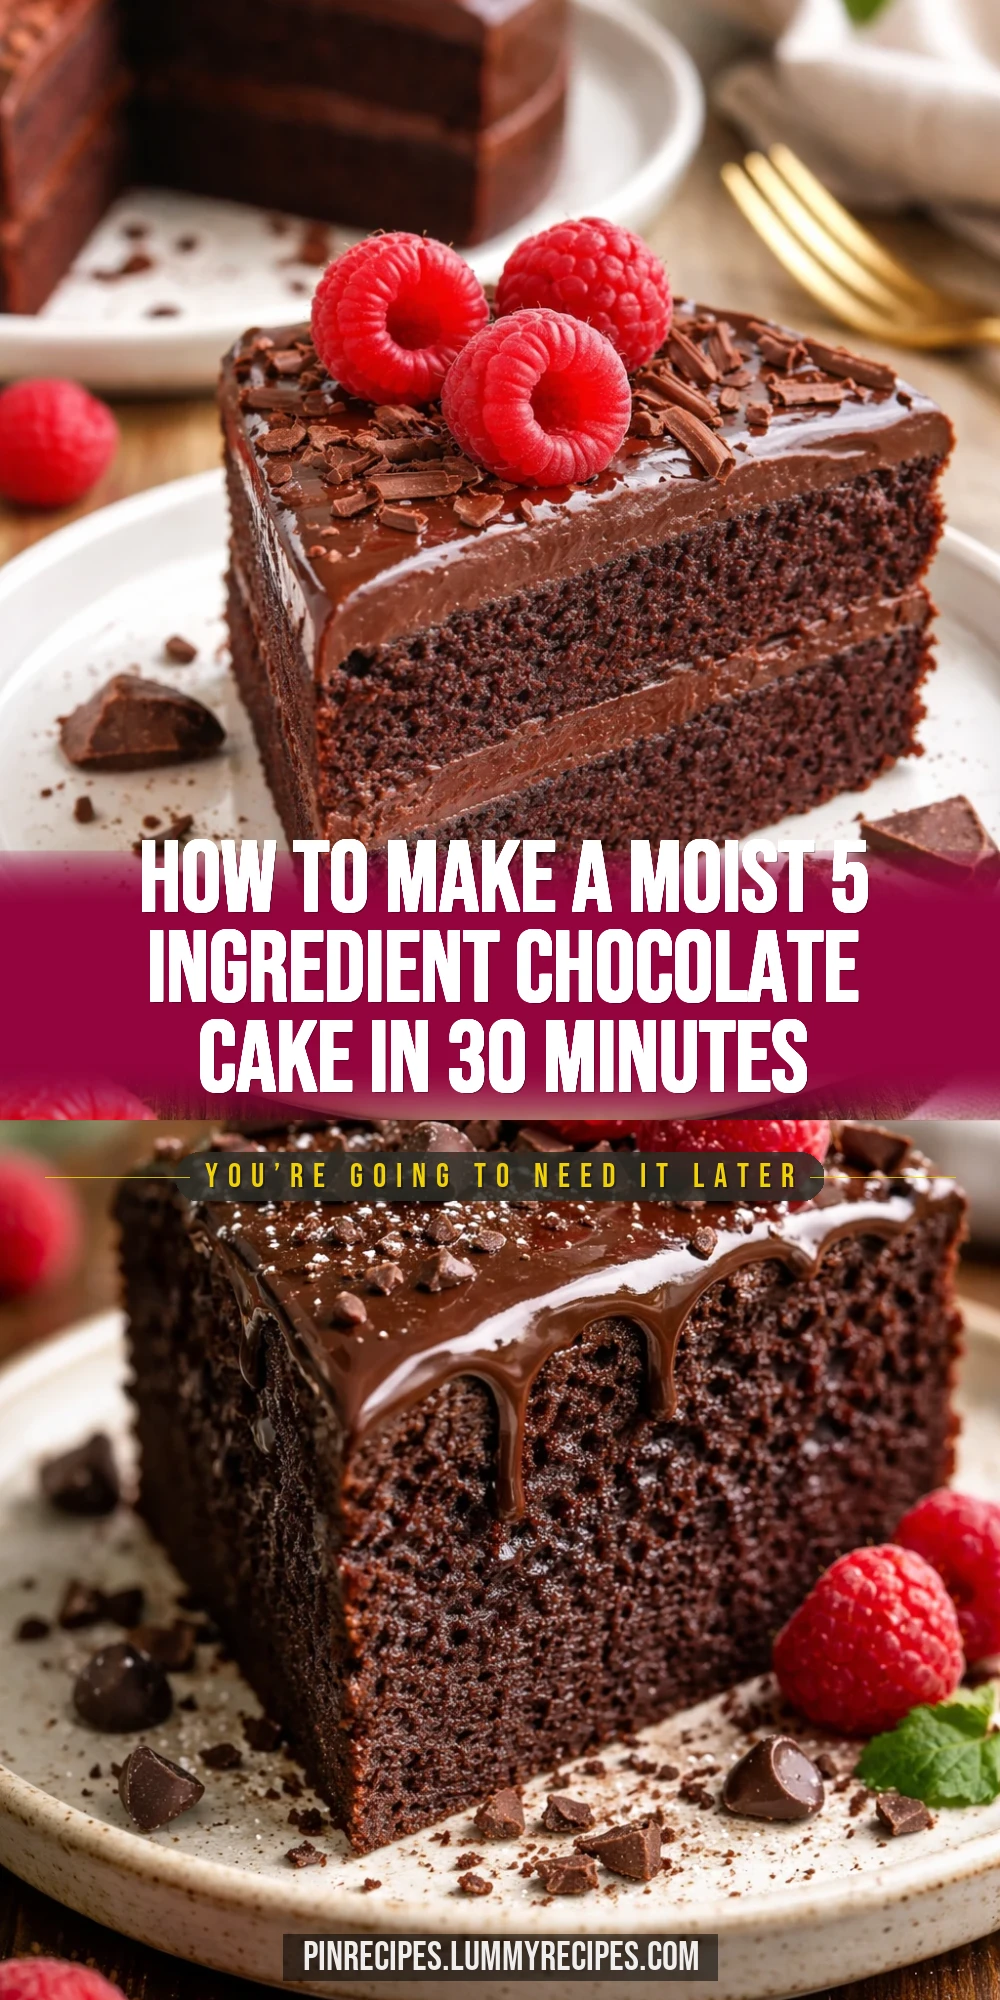
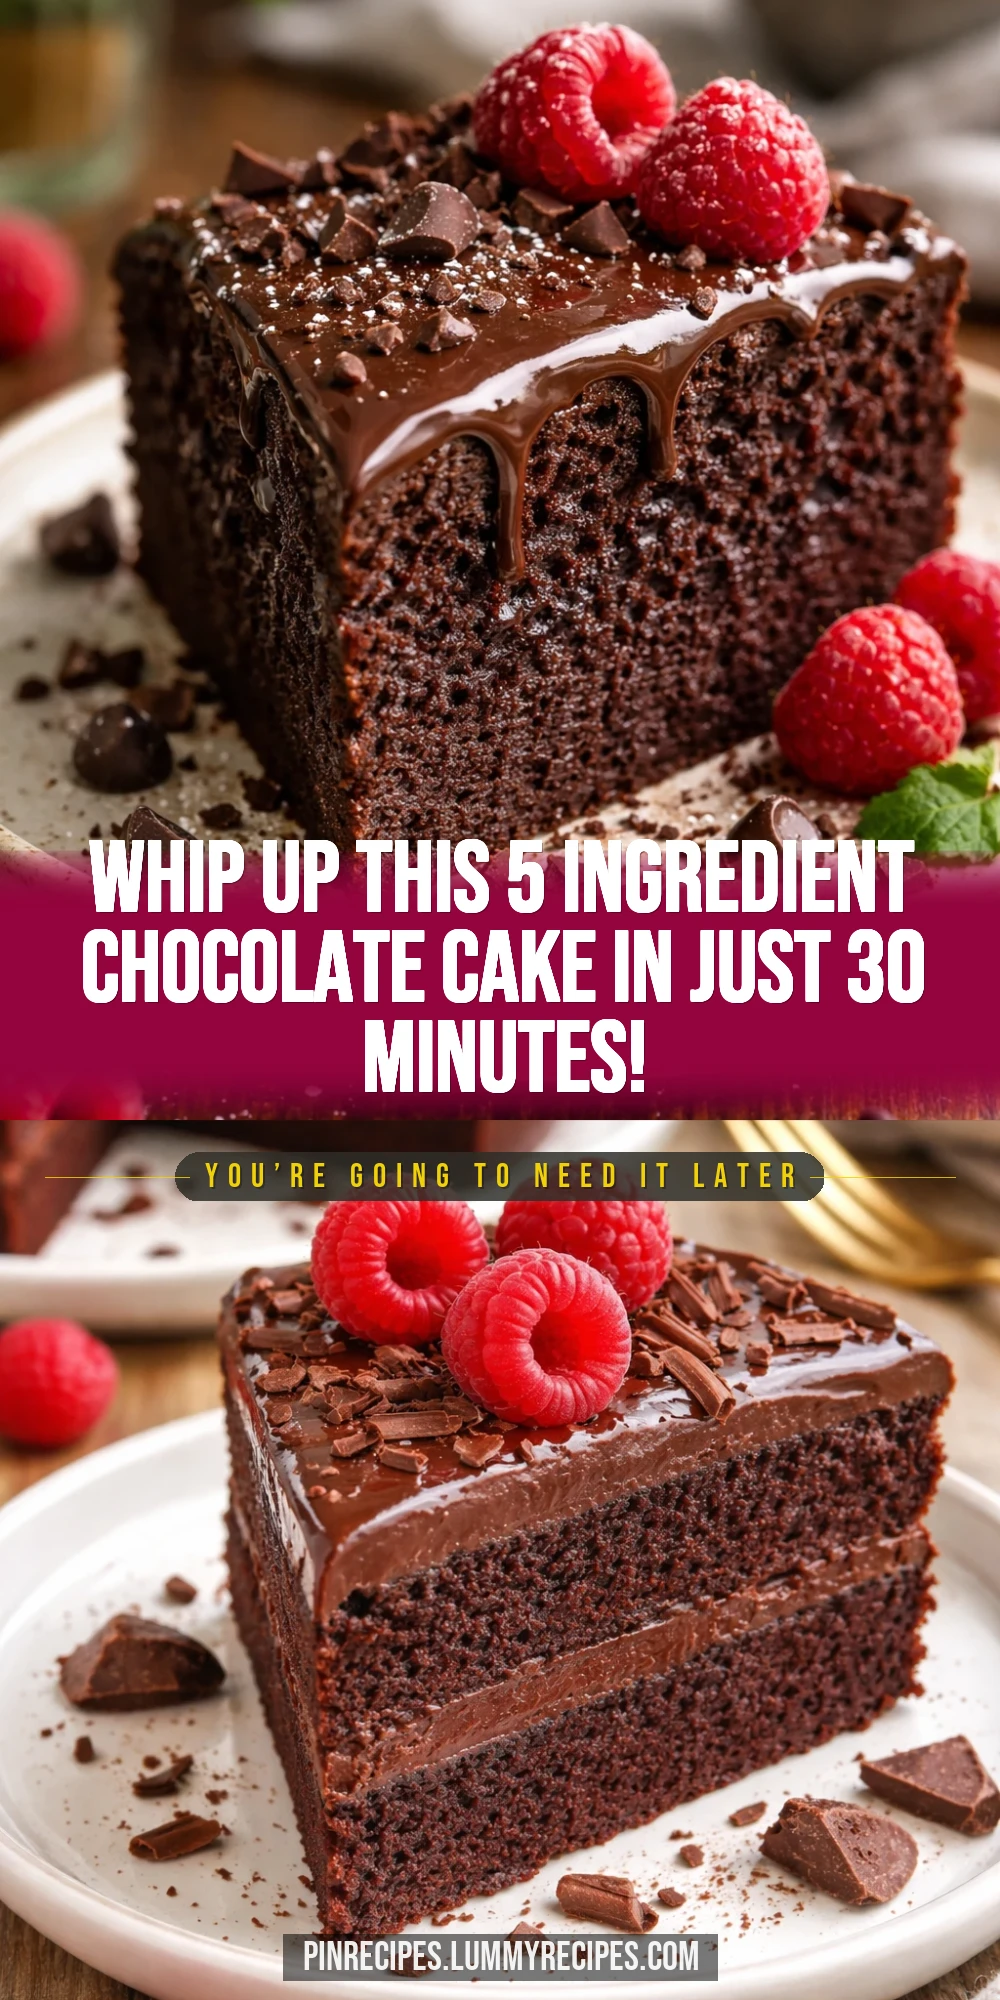
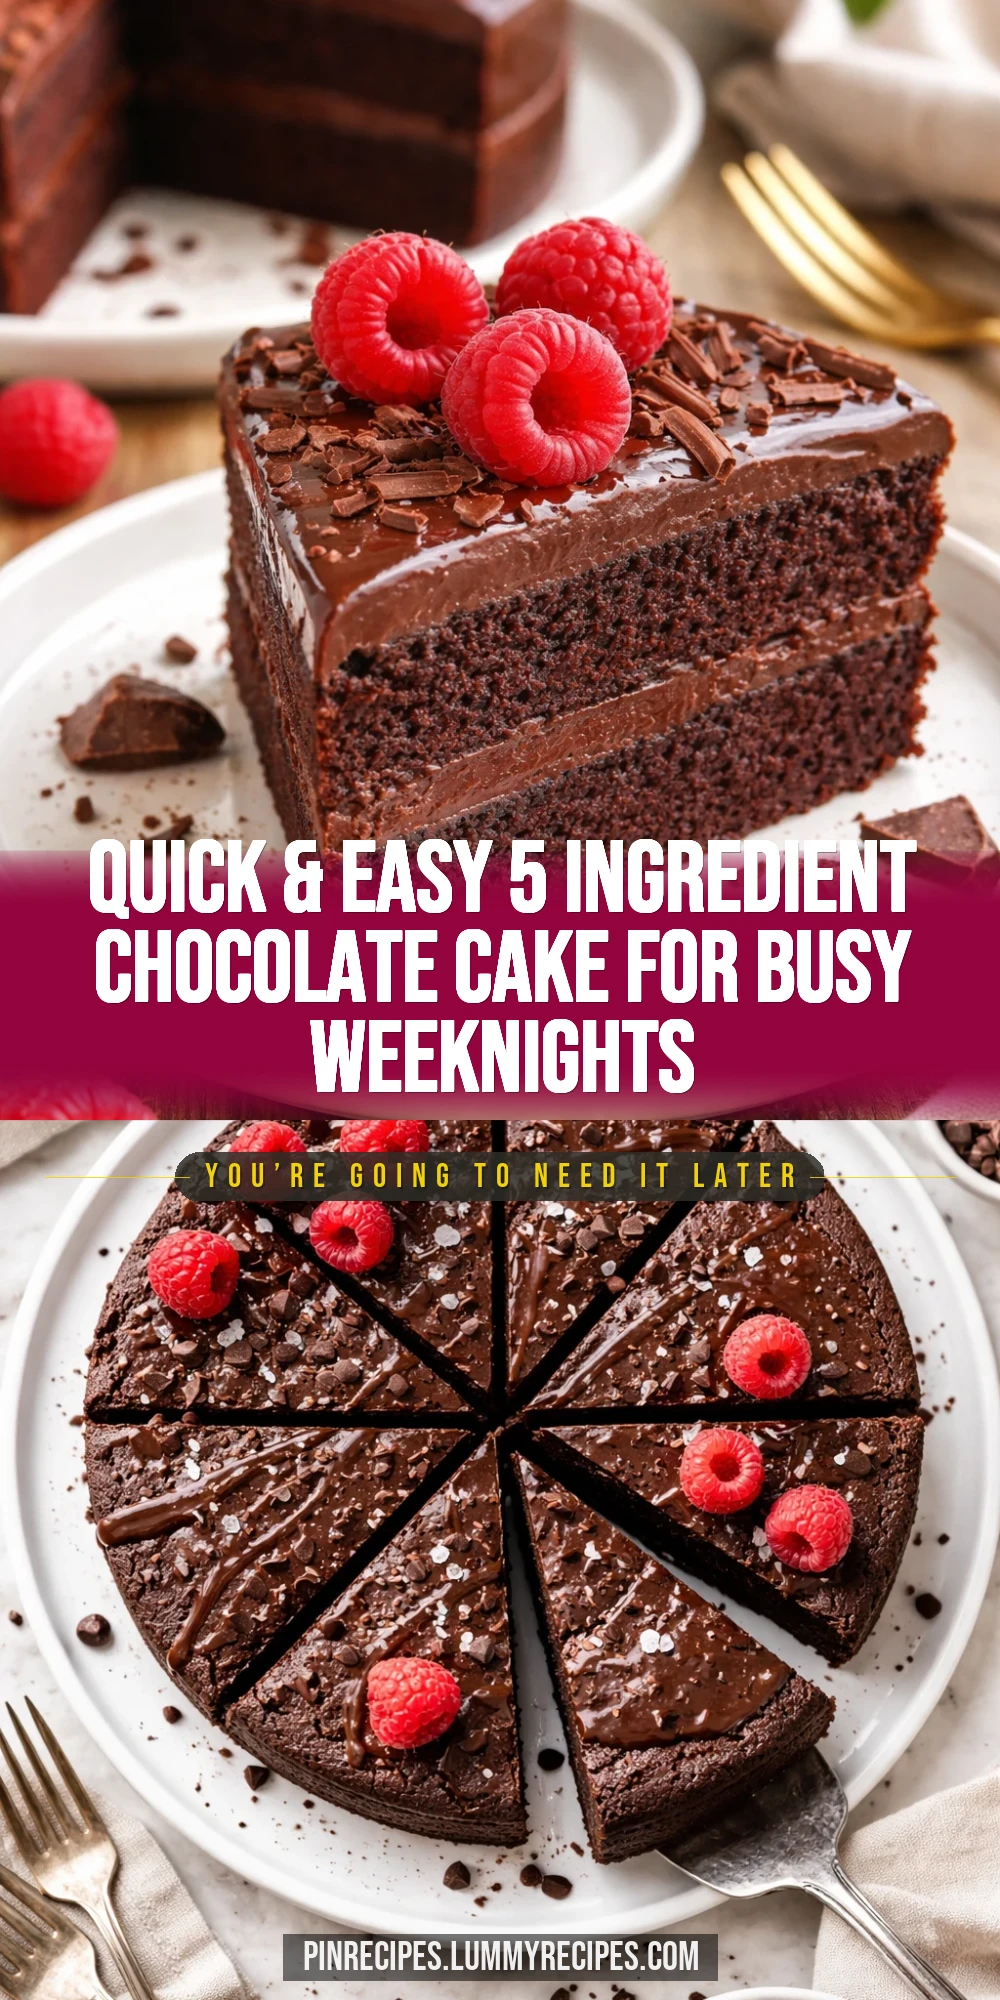
This chocolate cake is incredibly simple yet rich and moist. Made with just five ingredients and ready in half an hour, it’s perfect for last-minute celebrations or a sweet weekday treat.
Introduction
I first stumbled on this 5 ingredient chocolate cake recipe when I needed a quick dessert for an unexpected dinner guest. Honestly, I was skeptical that so few ingredients could yield a cake that tasted rich and moist, but it totally surprised me. What makes this cake stand out is its simplicity—no fancy techniques or hard-to-find ingredients. I love that you can throw everything in a bowl, mix it up, and have a delicious chocolate cake ready in just 30 minutes. The trick I learned is not to overmix the batter; it keeps the cake tender and fluffy. Plus, baking it in a single pan means less cleanup, which is always a win in my book. When it comes out of the oven, the cake has this wonderful deep chocolate flavor and a soft crumb that’s perfect on its own or with a scoop of vanilla ice cream. It’s become my go-to quick dessert for busy weeknights or last-minute celebrations. I think you’ll love how effortless and satisfying it is to make!
What You'll Need
One 8-inch round cake, 8 servings
- 1 cup all-purpose flour
- 1 cup granulated sugar
- 1/2 cup unsweetened cocoa powder
- 1 teaspoon baking powder
- 1 cup milk
How To Do It
Step 1
Preheat your oven to 350°F (175°C) and grease an 8-inch round cake pan with butter or non-stick spray. This step is crucial because a properly greased pan ensures your cake releases easily after baking without sticking. If you skip this, you might end up with a crumbly mess when trying to serve. Also, preheating the oven gives you the right baking environment so the cake rises evenly from the start.
⏱ Time: 10 minutes
✓ Doneness: Oven is fully preheated and pan is evenly greased
Step 2
In a large mixing bowl, sift together 1 cup flour, 1 cup sugar, 1/2 cup cocoa powder, and 1 teaspoon baking powder. Sifting helps to remove lumps and aerate the dry ingredients, which contributes to a lighter cake texture. Mixing these dry ingredients well ensures even distribution of the cocoa and baking powder, so your cake rises uniformly and has a consistent chocolate flavor.
⏱ Time: 5 minutes
✓ Doneness: Dry ingredients are well combined and lump-free
Step 3
Add 1 cup of milk to the dry ingredients and gently stir with a whisk or spatula until just combined. Avoid overmixing here; you want to stop as soon as the flour disappears. Overmixing develops gluten which can make the cake tough instead of tender. The batter should be smooth but still a bit thick.
⏱ Time: 3 minutes
✓ Doneness: Batter is smooth with no visible flour streaks but not overly runny
Step 4
Pour the batter into the prepared cake pan and smooth the top with a spatula. This helps the cake bake evenly and prevents uneven rising. If the batter is uneven, you might get a lopsided cake or uneven texture. Take a moment to tap the pan gently on the counter to release any air bubbles trapped in the batter.
⏱ Time: 2 minutes
✓ Doneness: Batter is evenly spread and surface is smooth
Step 5
Bake in the preheated oven for 18-20 minutes. Keep an eye on the cake starting at 18 minutes; insert a toothpick into the center. When it comes out clean or with a few moist crumbs, the cake is done. Baking too long dries the cake out, too short means it’s undercooked and gummy inside.
⏱ Time: 18-20 minutes
✓ Doneness: Toothpick inserted in center comes out clean or with moist crumbs
Step 6
Remove the cake from the oven and let it cool in the pan for 10 minutes. Cooling slightly helps the cake firm up and makes it easier to remove from the pan. If you try to unmold it too soon, it might break apart. After 10 minutes, run a knife around the edges and invert onto a cooling rack.
⏱ Time: 10 minutes
✓ Doneness: Cake edges pull slightly away from pan and cake releases easily
Step 7
Once completely cool, dust the top with powdered sugar or frost as desired. Cooling fully prevents your frosting from melting and sliding off. If you prefer a simple finish, powdered sugar adds a lovely touch without extra effort.
⏱ Time: 15-20 minutes
✓ Doneness: Cake surface is cool to touch and ready for decoration
Step 8
Slice and serve! This cake pairs beautifully with vanilla ice cream or fresh berries for a simple but elegant dessert. Enjoy immediately or store leftovers properly to keep it moist.
⏱ Time: Immediate
✓ Doneness: Cake slices cleanly and holds shape
Step 9
Clean up your workspace while the cake cools to save time later. Since this recipe uses just one bowl and pan, cleanup is a breeze. This step helps keep your kitchen tidy and ready for your next baking adventure.
⏱ Time: 5 minutes
✓ Doneness: Counter cleared and utensils washed
Pro Tips
Don’t overmix the batter once you add the milk.
Overmixing develops gluten in the flour, which can make the cake tough and dense rather than soft and tender. Mixing just until combined keeps the crumb light and moist.
Sift your dry ingredients before mixing.
Sifting removes lumps and aerates the flour and cocoa powder, which helps the cake rise evenly and results in a smoother batter and finer crumb.
Use room temperature milk for best mixing.
Cold milk can cause the batter to seize or mix unevenly, leading to a less uniform texture. Room temperature milk blends smoothly and activates the baking powder effectively.
Grease your pan thoroughly and consider using parchment paper.
Proper greasing prevents sticking and tearing when removing the cake. Parchment paper adds an extra layer of protection and makes cleanup easier.
Check the cake starting at 18 minutes to avoid overbaking.
Oven temperatures vary, and overbaking dries out the cake. Testing early ensures you catch the cake at its moistest and most tender.
Let the cake cool in the pan for 10 minutes before removing.
This resting time allows the cake to firm up slightly, reducing the chance it breaks apart when unmolding.
Add a teaspoon of vanilla extract for extra flavor (optional).
Vanilla enhances the chocolate flavor without overpowering it and adds depth to the cake’s aroma.
Common Mistakes to Avoid
Overmixing the batter
Why it happens Many cooks think mixing longer makes batter smoother, but it actually develops gluten, causing a tough cake.
Fix Mix just until the dry ingredients disappear into the milk. Stop as soon as the batter is uniform to keep the texture tender.
Using expired baking powder
Why it happens Baking powder loses potency over time, and many forget to check the expiration date.
Fix Test baking powder by mixing a teaspoon in hot water; it should fizz vigorously. Replace if it doesn’t to ensure proper rise.
Skipping pan greasing
Why it happens Sometimes out of haste, greasing is overlooked, causing sticking.
Fix Always grease pans well or line with parchment. This ensures the cake releases cleanly and keeps its shape.
Baking at the wrong temperature
Why it happens Oven thermostats can be inaccurate, leading to under or overbaking.
Fix Use an oven thermometer to check your oven’s true temperature and adjust accordingly for consistent results.
Cutting the cake too soon
Why it happens Impatience to taste the cake leads to slicing before it’s cooled.
Fix Allow the cake to cool completely or at least 30 minutes so it sets and slices cleanly without crumbling.
Variations
Chocolate Coffee Cake
Add 1 tablespoon of instant coffee granules to the dry ingredients to deepen the chocolate flavor with a subtle coffee kick. This variation is perfect for coffee lovers who want a richer taste without overpowering the cake.
Note: Make sure to dissolve the coffee granules evenly to avoid gritty spots in the batter.
Gluten-Free Chocolate Cake
Swap the all-purpose flour for a gluten-free flour blend that measures cup-for-cup. This keeps the cake moist and tender while making it suitable for gluten-sensitive eaters.
Note: Some gluten-free flours absorb more liquid, so you may need to add a tablespoon more milk if the batter is too thick.
Vegan Chocolate Cake
Replace milk with almond or oat milk and use a flax egg (1 tablespoon flaxseed meal + 3 tablespoons water) instead of regular eggs if you want a vegan-friendly version. The cake remains moist and flavorful.
Note: Flax eggs may slightly change the texture, making it a bit denser but still delicious.
Chocolate Orange Cake
Add 1 teaspoon of orange zest to the batter for a fresh citrus twist that brightens the chocolate flavor. This is a lovely option for a spring or holiday dessert.
Note: Be careful not to add too much zest to avoid bitterness.
Nutty Chocolate Cake
Fold in 1/2 cup chopped walnuts or pecans into the batter before baking for added crunch and flavor contrast. Nuts add texture and a toasty note that pairs well with chocolate.
Note: Chop nuts evenly and fold gently to avoid deflating the batter.
Nutrition
Per Serving:
Nutritional values are estimates and may vary depending on specific brands and measurements.
Storage & Tips
Room Temperature
This cake keeps well at room temperature for up to 2 days if covered tightly with plastic wrap or stored in an airtight container to prevent drying out.
Refrigerator
Store leftovers in an airtight container in the fridge for up to 5 days. The cake may become a bit firmer when cold but tastes great warmed slightly before serving.
Freezer
Freeze the cooled cake wrapped tightly in plastic wrap and aluminum foil for up to 2 months. Thaw overnight in the fridge and warm gently before serving to restore texture.
Reheating
Warm slices in the microwave for 15-20 seconds or in a 300°F oven for 5-7 minutes. Adding a small splash of milk or covering loosely with foil helps keep it moist.
Make Ahead
You can mix the dry ingredients a day ahead and store in an airtight container. Add milk and bake fresh when ready. This saves prep time and still yields a fresh cake.
FAQ
Can I substitute the milk with a non-dairy alternative?
Absolutely! You can use almond, oat, soy, or any plant-based milk in equal amounts. Just keep in mind that whole milk adds richness, so the texture might be slightly lighter with alternatives, but the cake will still be delicious.
What if I don’t have baking powder?
Baking powder is essential here because it leavens the cake. If you only have baking soda, you’d need to add an acid like vinegar or lemon juice, but since this recipe is simple, it’s best to use baking powder for reliable rise and texture.
Can I make this cake in a different pan shape or size?
Yes, but adjust baking time accordingly. A smaller or deeper pan may need more time, while a larger, shallow pan will bake faster. Start checking for doneness 5 minutes earlier or later depending on the pan size.
How do I know when the cake is fully baked?
Insert a toothpick or skewer into the center of the cake. If it comes out clean or with a few moist crumbs, it’s done. If batter sticks, bake a few minutes longer and test again.
Can I add frosting or glaze to this cake?
Definitely! This cake pairs well with chocolate ganache, cream cheese frosting, or a simple dusting of powdered sugar. Just make sure the cake is completely cool before frosting to avoid melting.
What causes the cake to be dense or dry?
Overmixing the batter or baking too long are the usual culprits. Mix gently and watch the baking time closely to keep the cake moist and tender.
Is it okay to use Dutch-processed cocoa powder?
You can, but Dutch-processed cocoa is less acidic and may affect the rise slightly. If using it, consider adding a small amount of baking soda to balance the leavening, but for simplicity, natural cocoa powder works best here.
Can I add chocolate chips or nuts to the batter?
Yes! Fold in about 1/2 cup of chocolate chips or chopped nuts after mixing the batter for extra texture and flavor. Just fold gently to keep the batter light.
Final Thoughts
Give this 5 ingredient chocolate cake a try — it’s quick, easy, and always a hit. I’d love to hear how yours turns out, so don’t forget to share your baking stories!