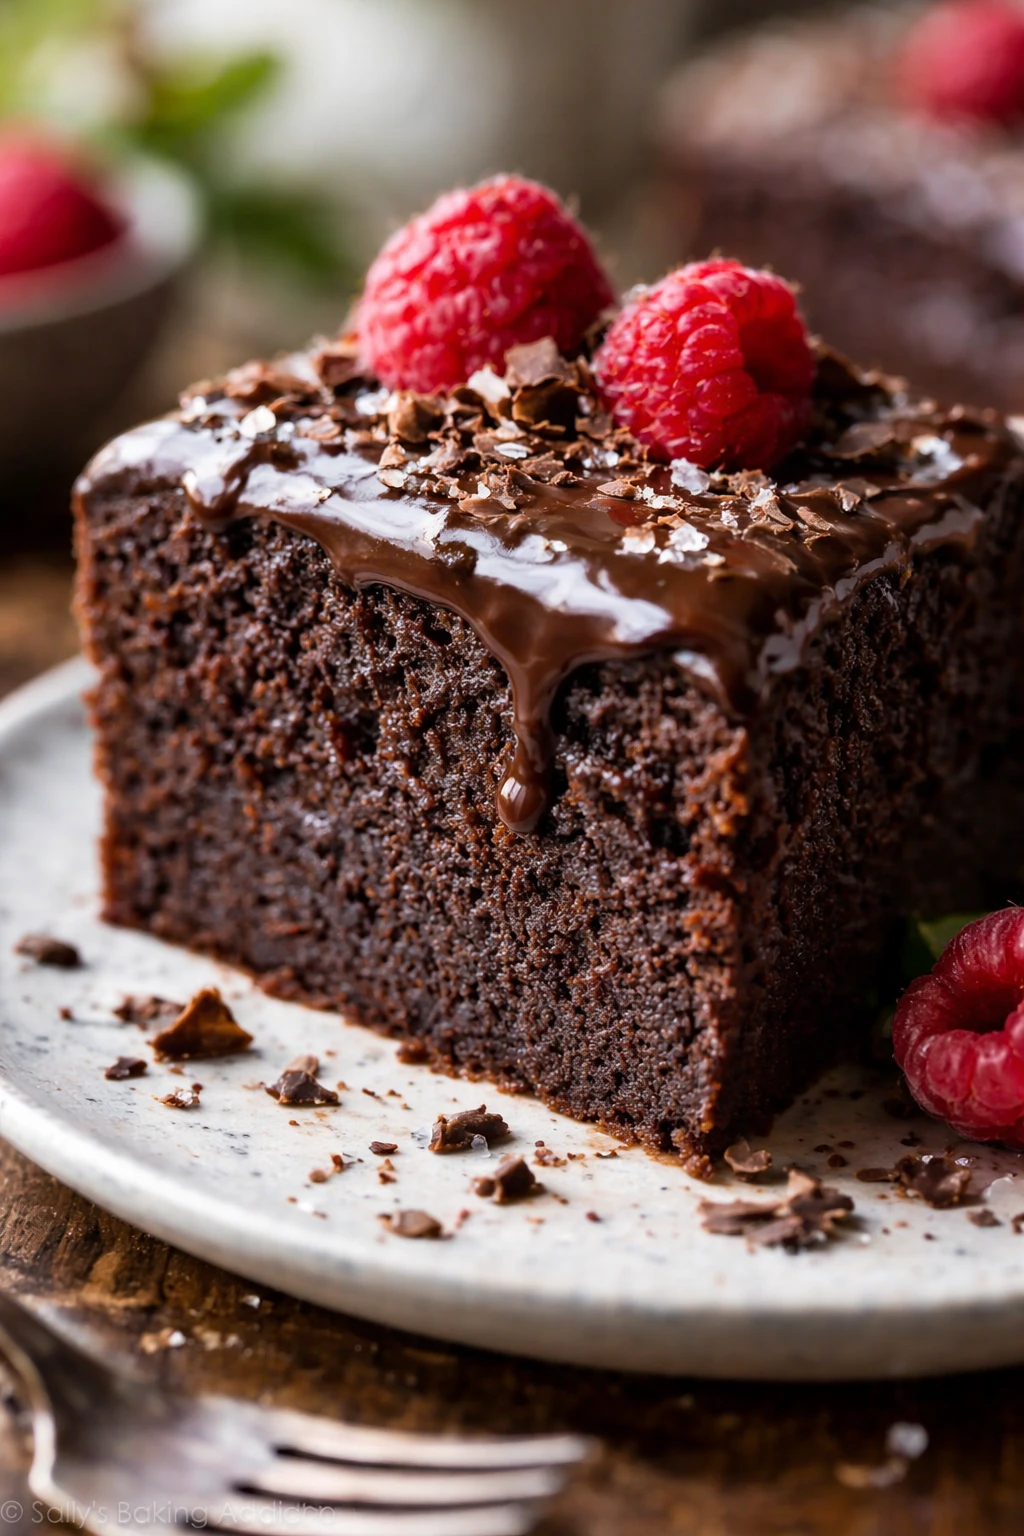
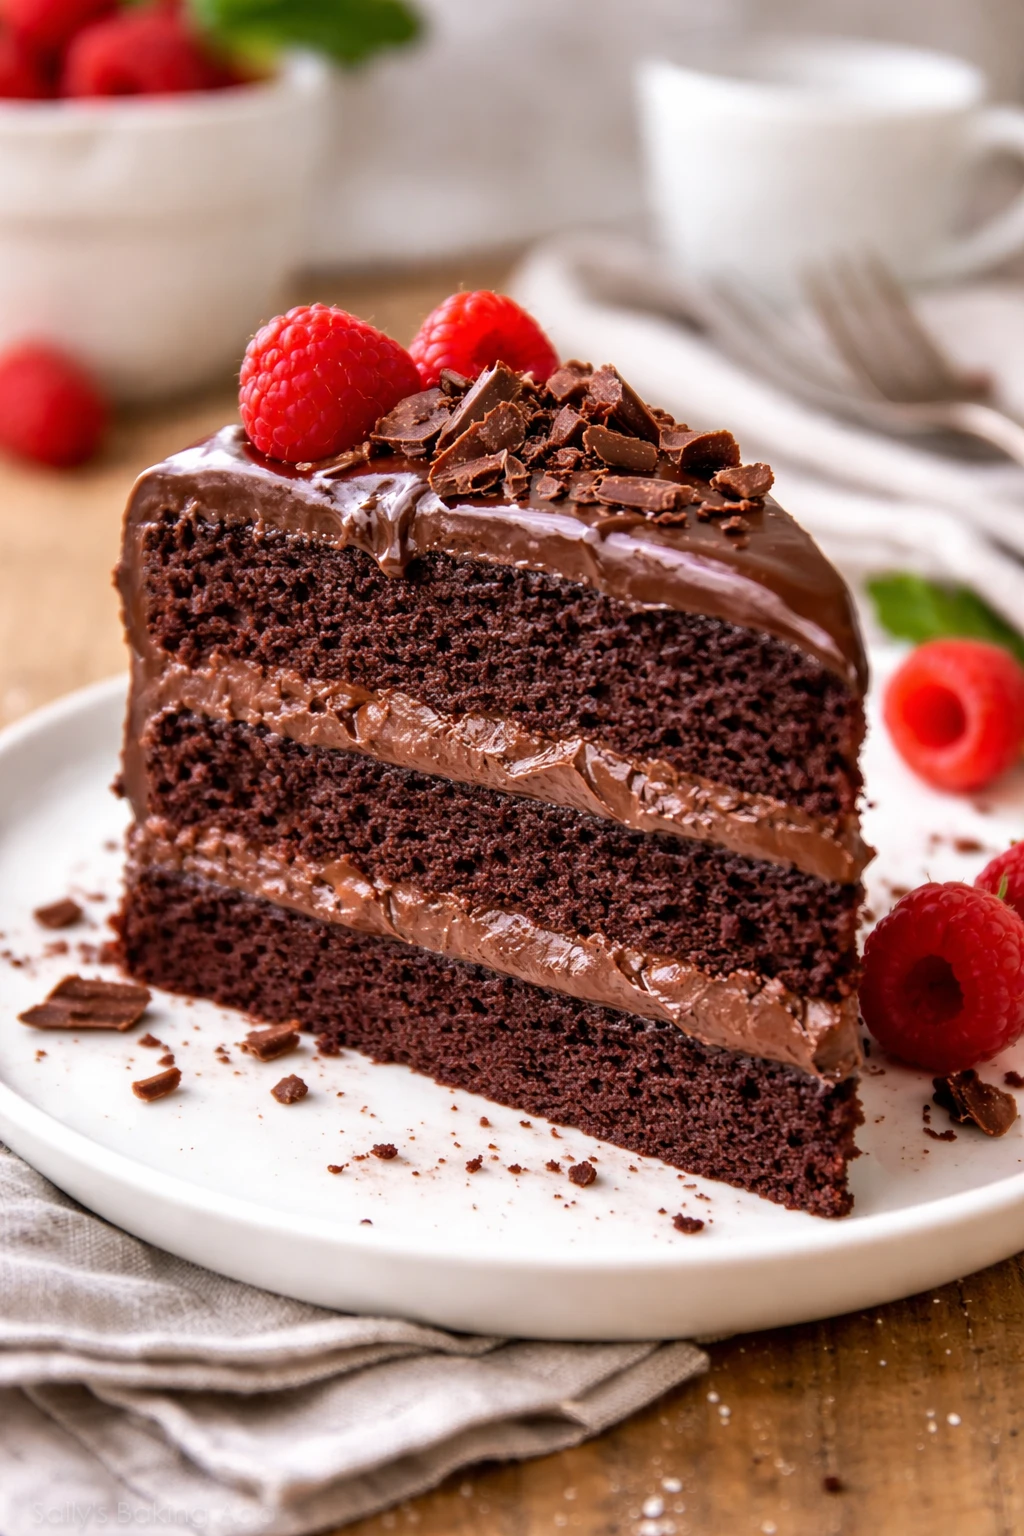
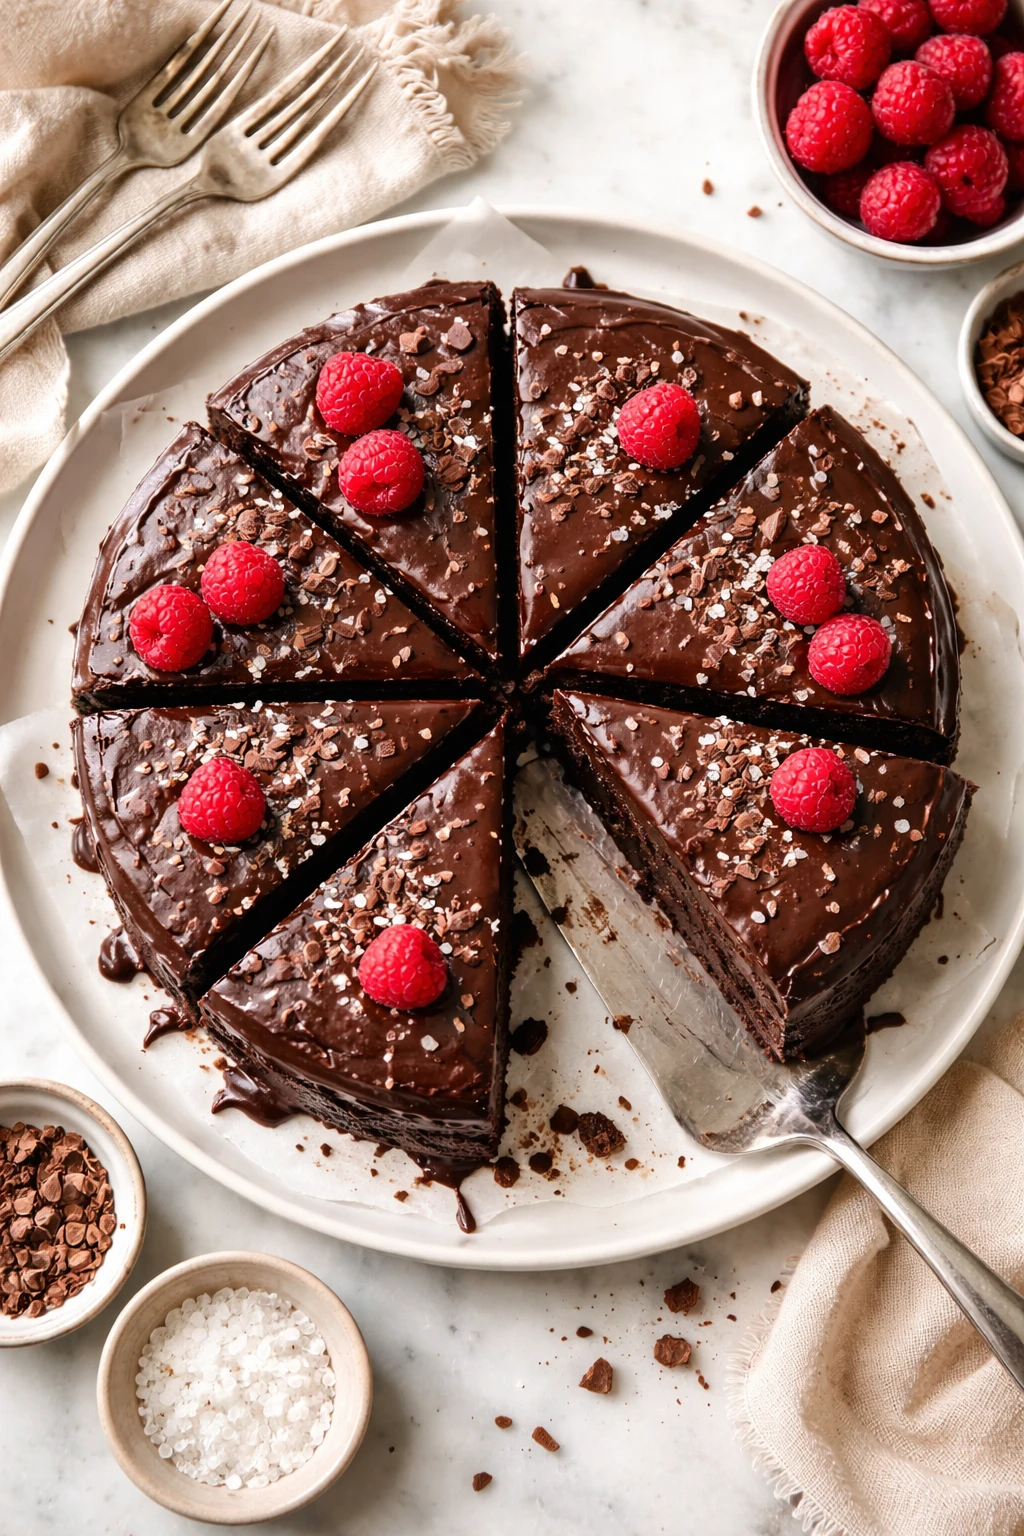
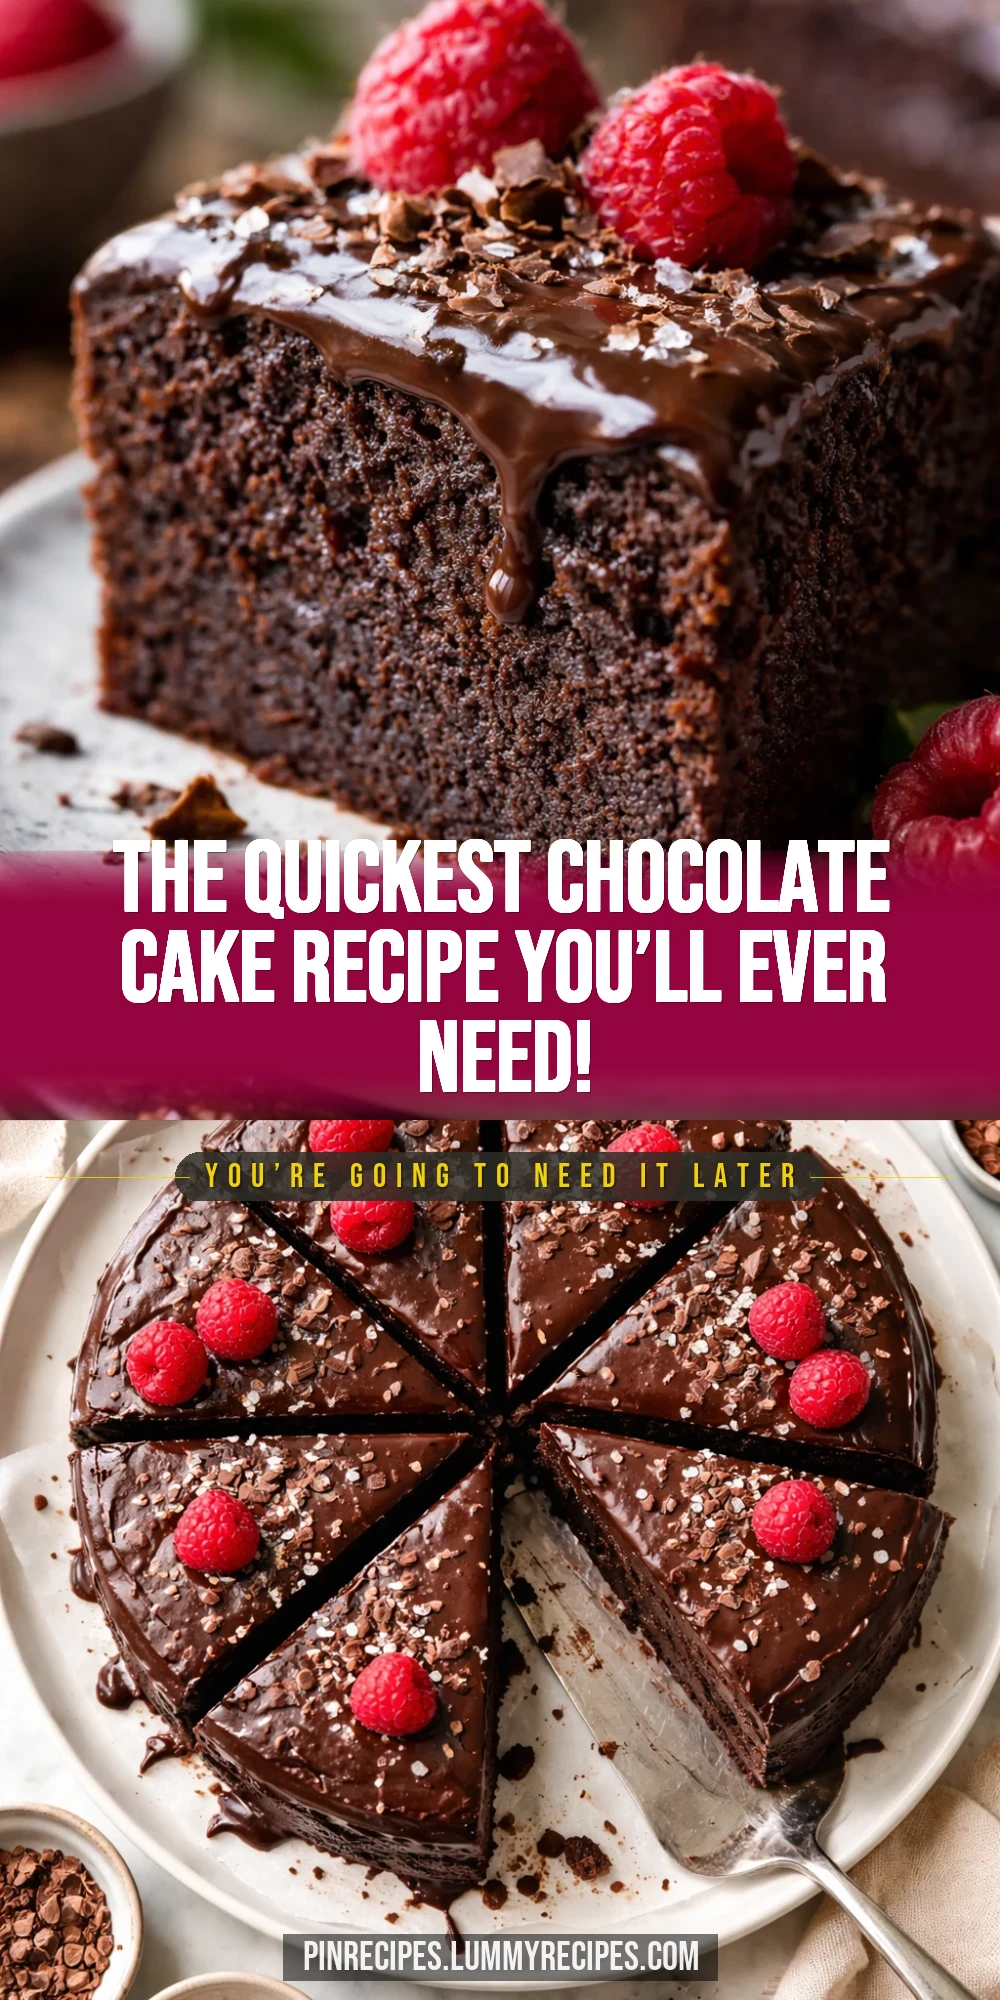
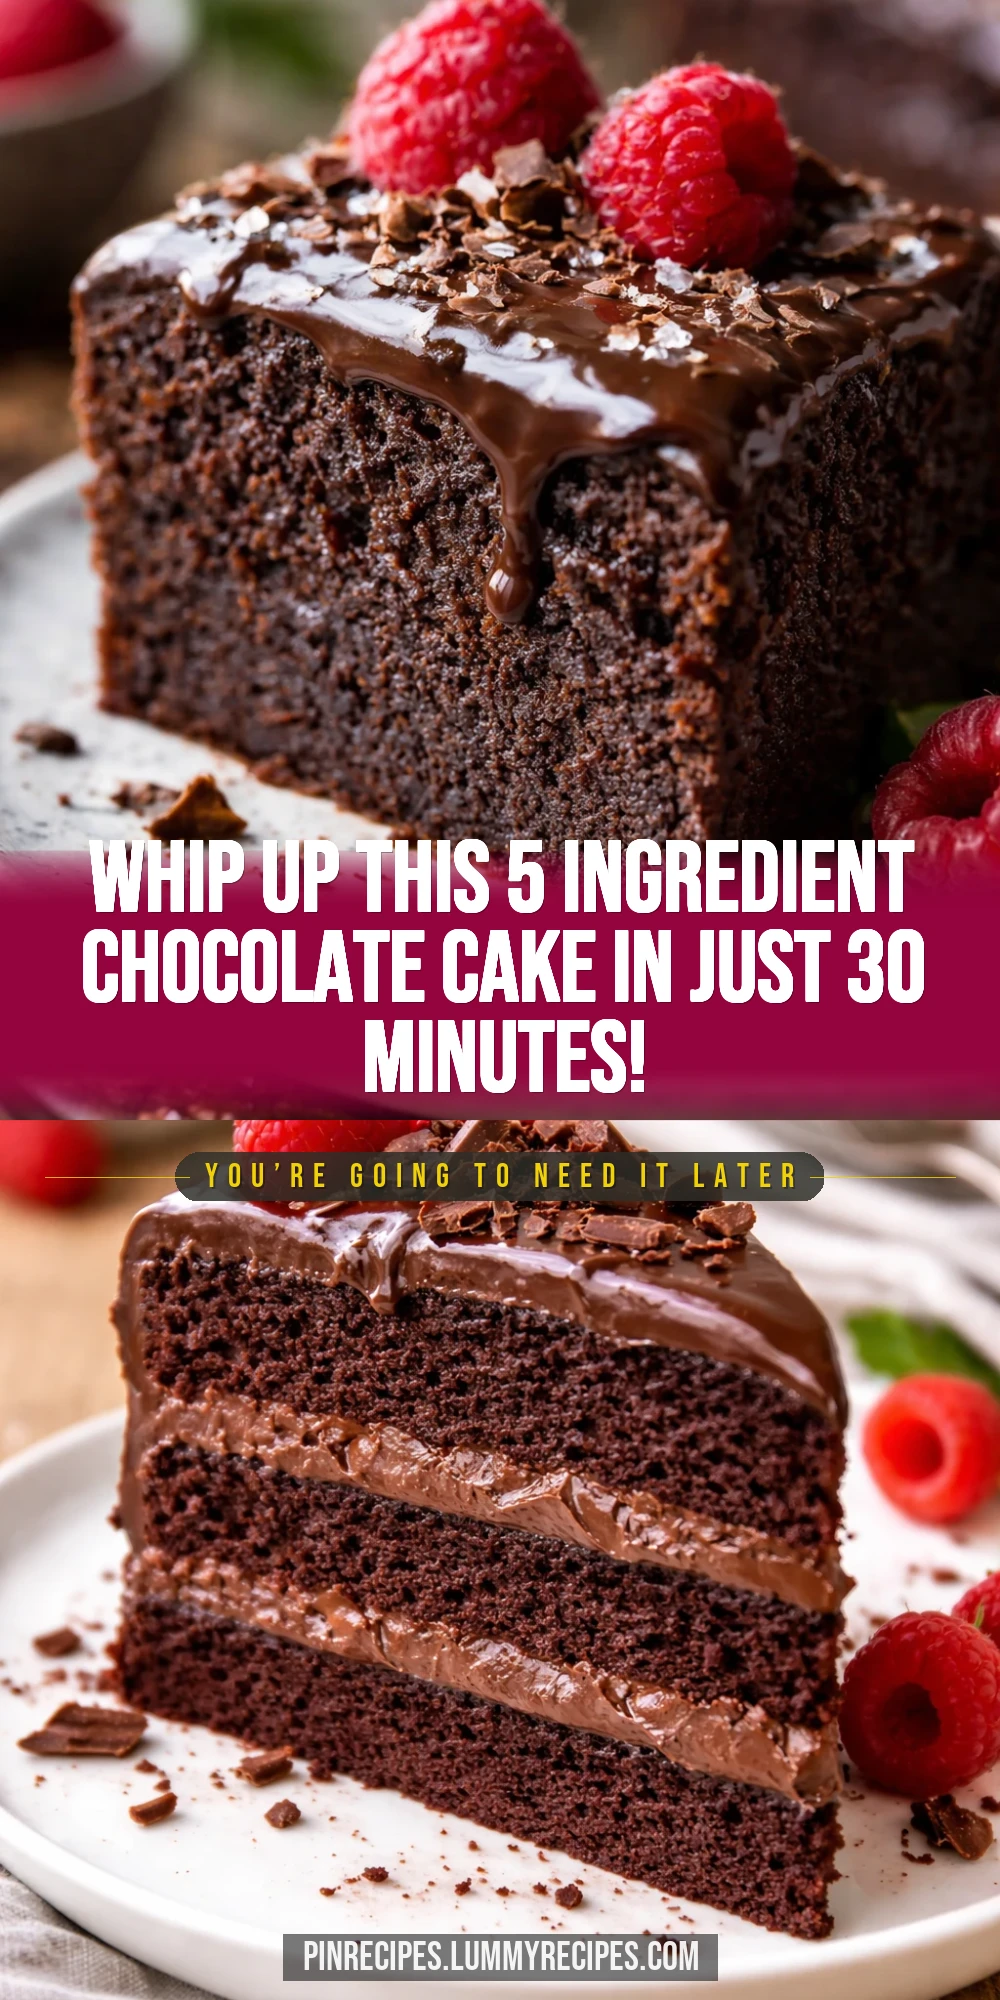
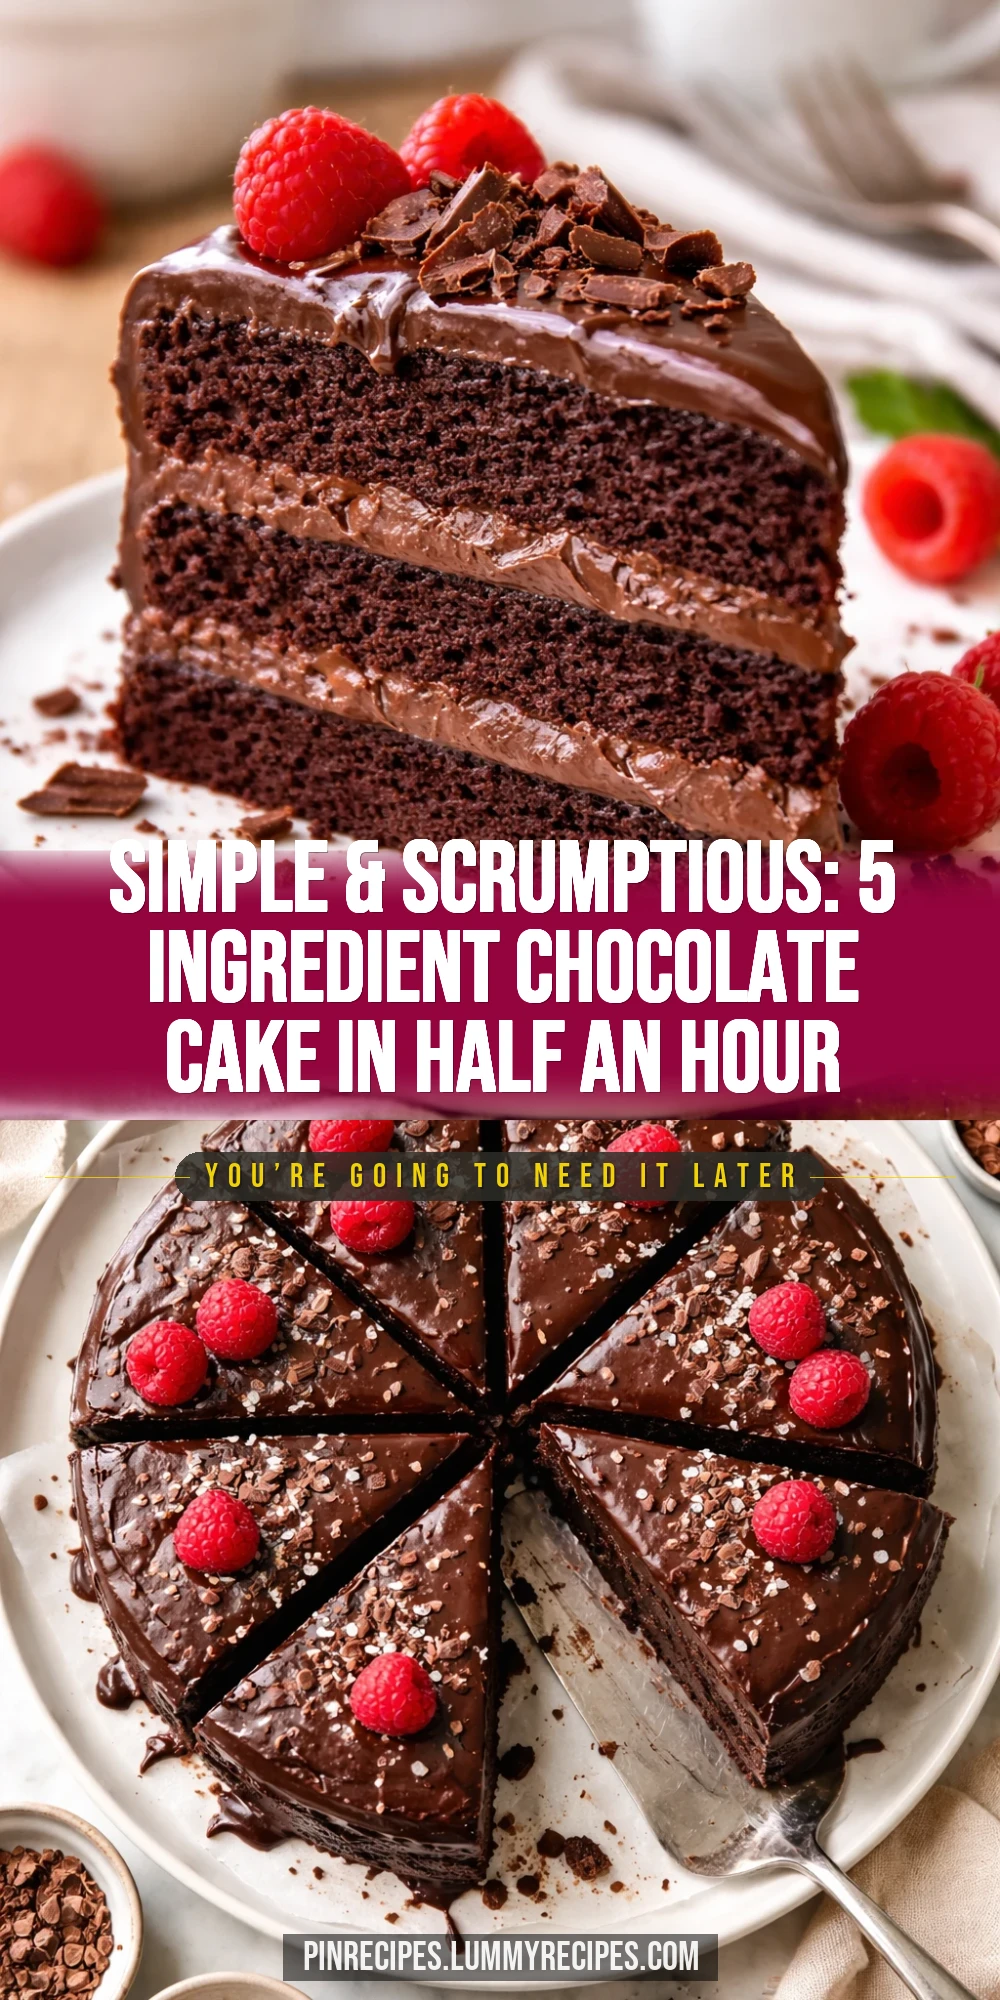
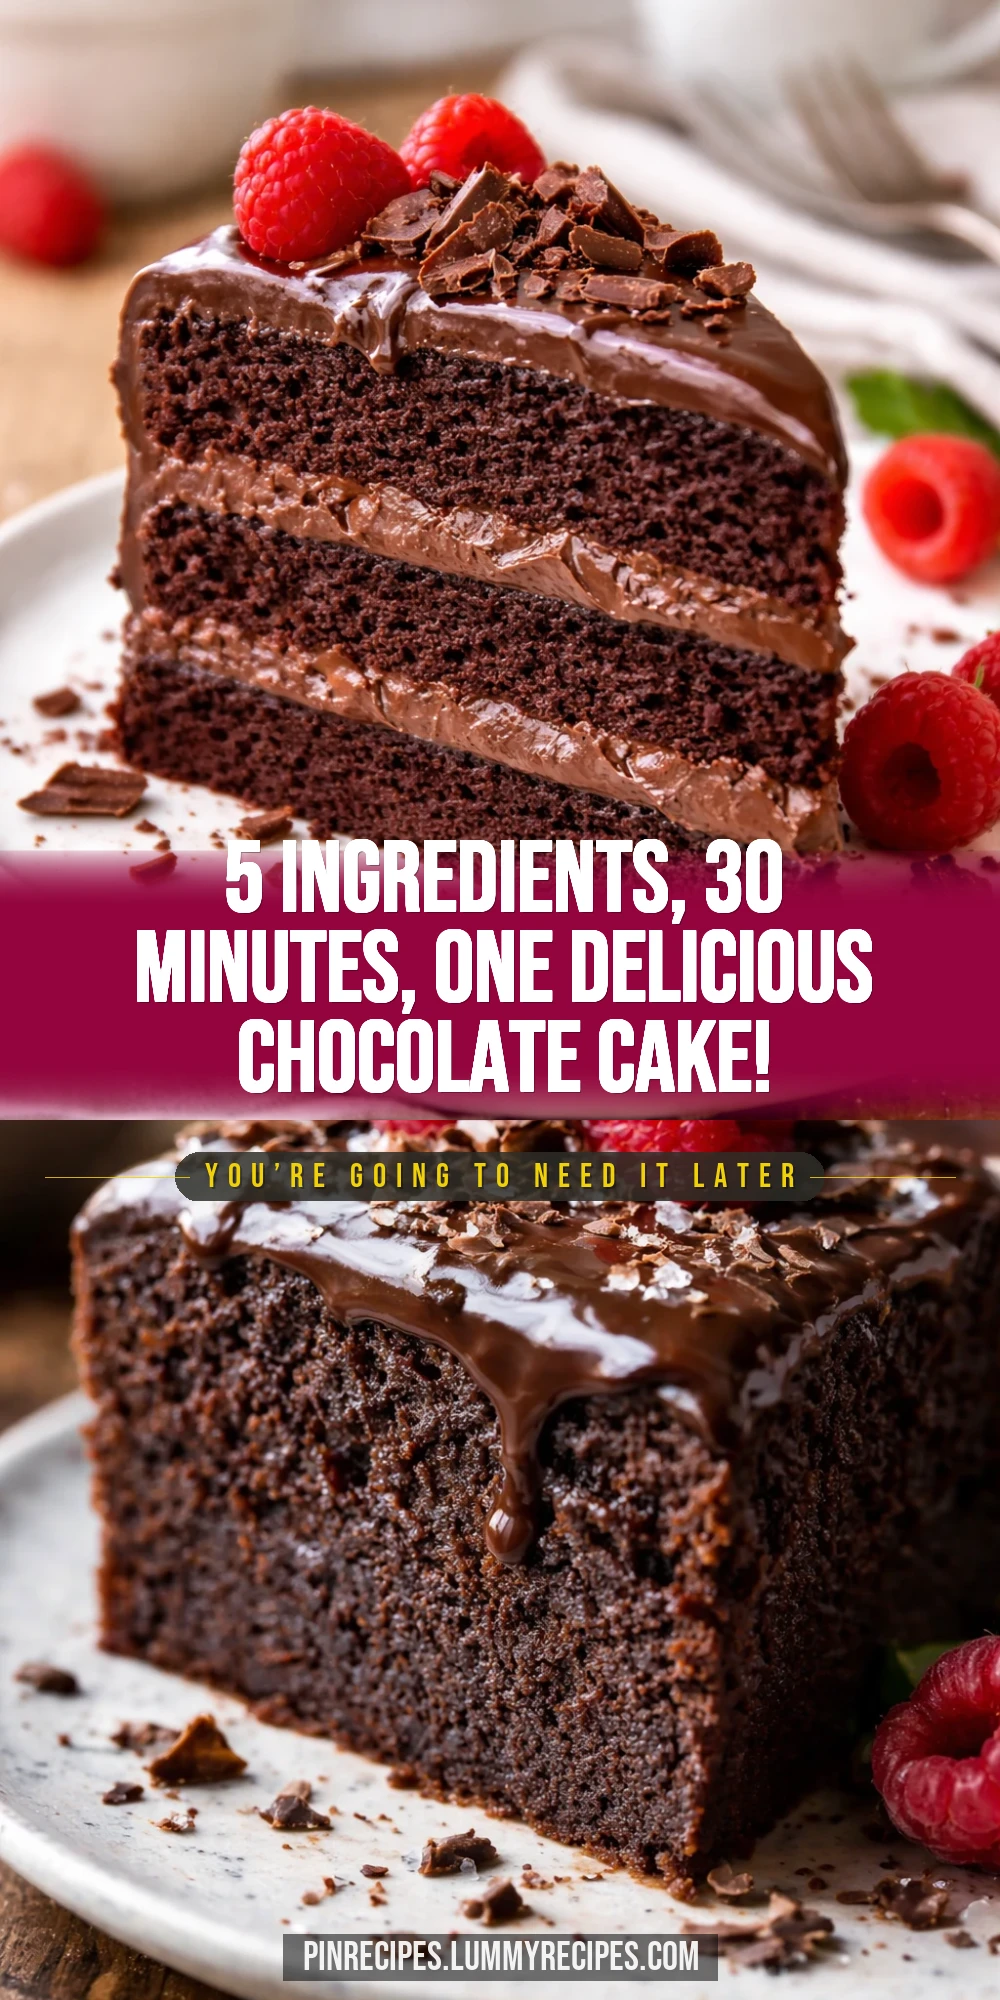
This chocolate cake is a total lifesaver when you want something sweet but don’t want to fuss. Just five simple ingredients, a quick mix, and it’s ready in half an hour. Great for last-minute celebrations or a cozy treat!
Introduction
I stumbled upon this 5 ingredient chocolate cake recipe on a hectic weeknight when I really wanted something sweet but didn’t want to spend hours baking. Honestly, it felt like magic how just a handful of pantry staples turned into a moist, rich cake in under 30 minutes. I’ve tried more complicated chocolate cakes before, but this one wins for simplicity and flavor every time. The trick I learned is to sift the dry ingredients well and use room temperature milk to get a smooth batter that bakes evenly. Also, I usually keep a close eye on the baking time because overbaking can dry it out, but if you get it just right, the crumb is tender and the cocoa flavor really shines. This cake is perfect for those spontaneous dessert cravings or when friends drop by unexpectedly. It’s like having a chocolate fix ready in no time, with zero stress. Plus, it’s so easy that even beginner bakers can nail it on the first try. I love how it feels homemade but without the fuss, and my family always asks for seconds!
What You'll Need
One 8-inch round cake, 8 servings
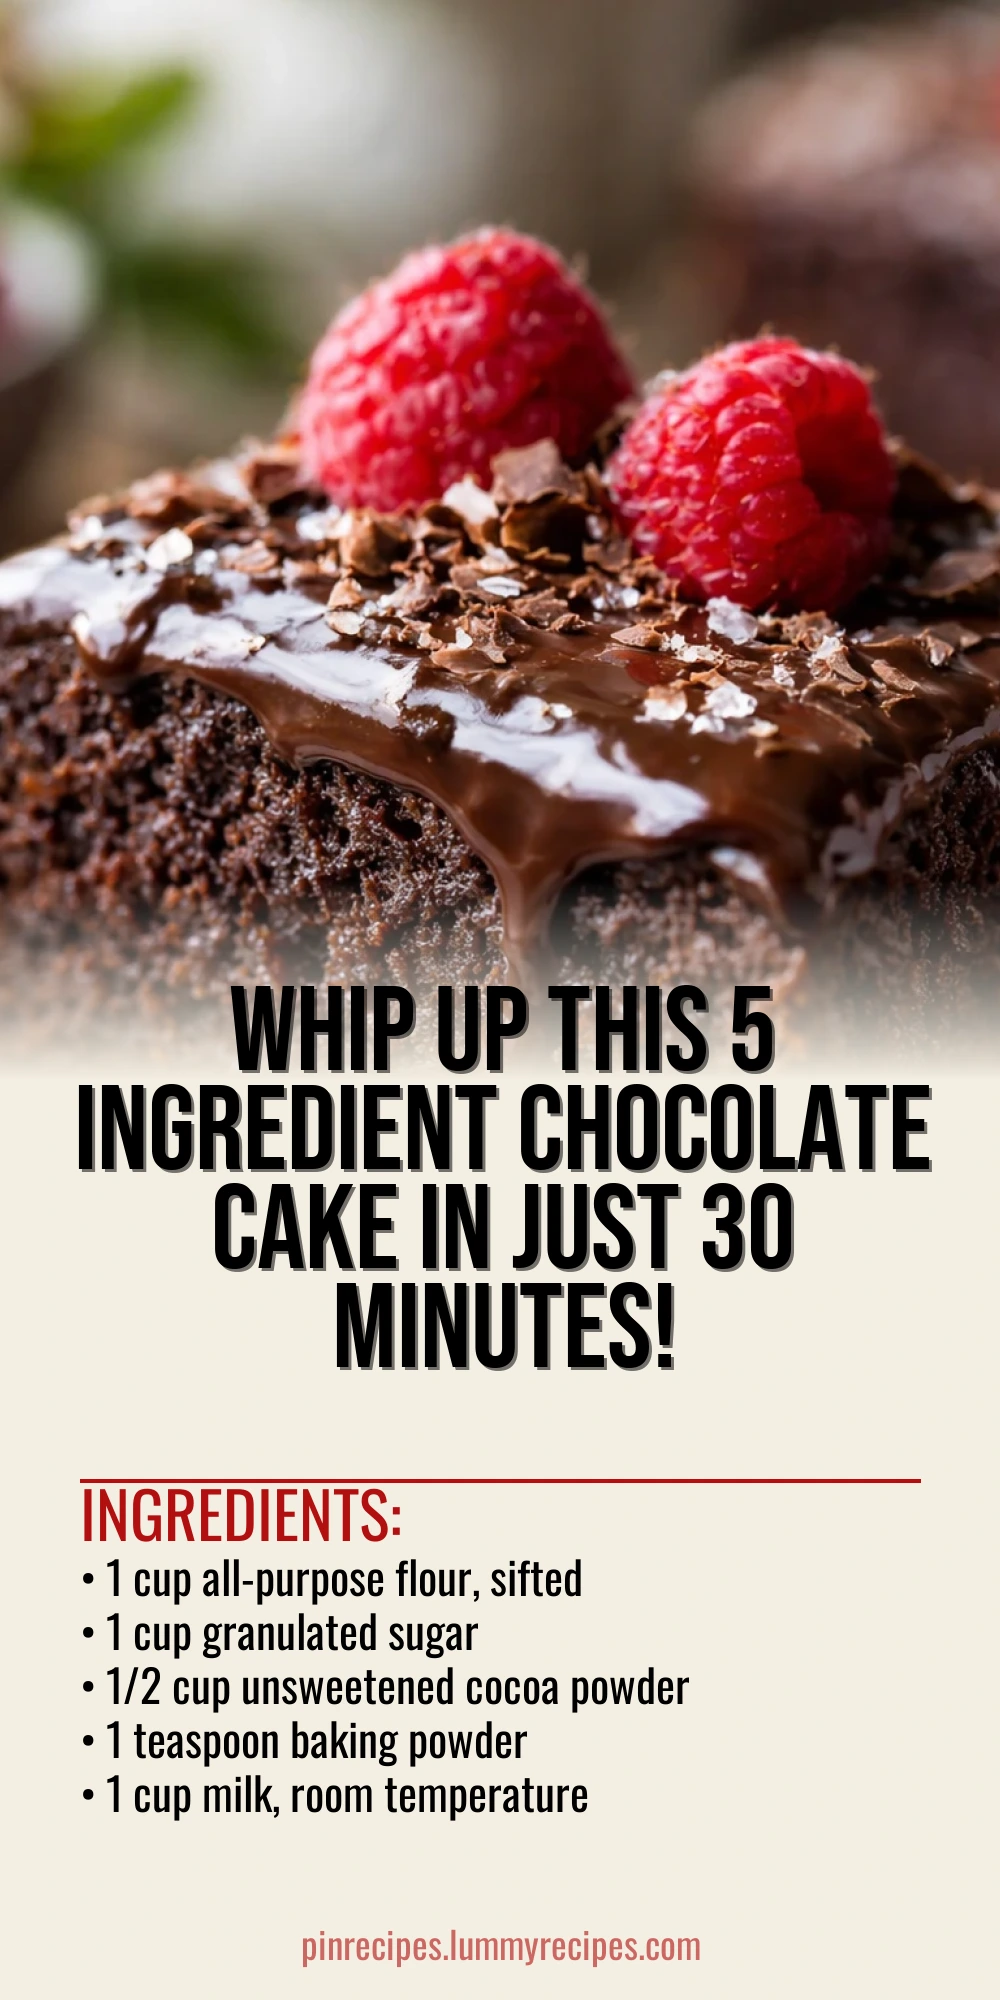
- 1 cup all-purpose flour, sifted
- 1 cup granulated sugar
- 1/2 cup unsweetened cocoa powder
- 1 teaspoon baking powder
- 1 cup milk, room temperature
How To Do It
Step 1
Start by preheating your oven to 350°F (175°C) and greasing an 8-inch round cake pan with butter or non-stick spray. This step ensures your cake won’t stick and comes out cleanly. Greasing also helps the edges brown nicely without drying out. If you skip this, you risk the cake sticking and breaking apart when you try to remove it, so don’t rush it!
⏱ Time: 5 minutes
✓ Doneness: Pan is evenly coated with no dry spots or excess grease pooling
Step 2
In a large mixing bowl, sift together the flour, sugar, cocoa powder, and baking powder. Sifting breaks up any lumps and aerates the mixture, which is key for a light, even crumb. If you skip sifting, your cake might have uneven texture or clumps of dry ingredients. Take your time here for the best result.
⏱ Time: 5 minutes
✓ Doneness: Mixture looks smooth, uniform, and lump-free
Step 3
Make a well in the center of the dry ingredients and pour in the milk. Using a spatula or wooden spoon, gently fold the milk into the dry mix until just combined. Overmixing will develop gluten and make the cake tough, so stop stirring as soon as the batter is smooth with no streaks of flour.
⏱ Time: 3 minutes
✓ Doneness: Batter is smooth, thick but pourable, no visible dry flour
Step 4
Pour the batter into your prepared cake pan, smoothing the top with a spatula to ensure even baking. This helps the cake rise uniformly and prevents lopsided edges. If the batter is uneven, your cake might bake unevenly or dome too much on one side.
⏱ Time: 2 minutes
✓ Doneness: Batter surface is level and smooth
Step 5
Place the cake pan in the center of the preheated oven and bake for 18-20 minutes. Avoid opening the oven door during the first 15 minutes to prevent the cake from collapsing. The right baking time is crucial; too short and it will be gooey inside, too long and it will dry out.
⏱ Time: 18-20 minutes
✓ Doneness: Cake springs back lightly when touched and a toothpick inserted in the center comes out with a few moist crumbs
Step 6
Once baked, remove the cake from the oven and let it cool in the pan for 10 minutes. This resting time allows the cake to firm up, making it easier to remove from the pan without breaking. Don’t try to unmold it while it’s hot or it might crumble.
⏱ Time: 10 minutes
✓ Doneness: Cake edges pull slightly away from the pan and surface feels set
Step 7
Run a knife around the edges to loosen the cake and invert it onto a wire rack to cool completely. Cooling on a rack prevents the bottom from becoming soggy from trapped steam. This step also helps the texture set perfectly before slicing.
⏱ Time: 15-20 minutes
✓ Doneness: Cake is fully cooled and firm to the touch
Step 8
Once cooled, slice the cake with a sharp knife. For clean cuts, wipe the knife between slices. This cake has a tender crumb, so gentle slicing keeps pieces neat and presentable.
⏱ Time: 5 minutes
✓ Doneness: Slices hold shape without crumbling
Step 9
Serve as is or dust with powdered sugar or a scoop of vanilla ice cream for an extra special touch. Enjoy immediately or store leftovers covered at room temperature for up to two days.
⏱ Time: Immediate
✓ Doneness: Cake is moist, tender, and rich with chocolate flavor
Pro Tips
Always sift your dry ingredients together before mixing.
Sifting breaks up lumps and aerates the flour and cocoa powder, which helps the baking powder distribute evenly. This leads to a lighter, more uniform crumb. Skipping this can cause dense spots or uneven rising.
Use room temperature milk for the batter.
Cold milk can cause the batter to seize or mix unevenly, resulting in a lumpy texture. Room temperature milk blends smoothly with dry ingredients and helps the cake bake evenly and rise properly.
Don’t overmix the batter once you add the milk.
Overmixing develops gluten in the flour, which makes the cake tough and chewy instead of tender. Mix just until no dry flour streaks remain to keep the crumb soft.
Grease the pan thoroughly before pouring in the batter.
This prevents sticking and helps the cake release cleanly. It also promotes even browning on the edges. Using parchment paper on the bottom can be an extra safeguard.
Check the cake with a toothpick starting at 18 minutes.
Ovens vary, so checking early prevents overbaking. The toothpick should come out with a few moist crumbs but no wet batter. Overbaking dries out the cake, so watch closely.
Cool the cake in the pan before removing.
This resting period lets the cake firm up and reduces the chance of it breaking apart when inverted. Removing it too hot can cause crumbling.
Use a sharp knife and wipe it clean between slices.
Because this cake is tender, a clean cut helps maintain neat slices and prevents crumbs from sticking to the knife, giving you prettier servings.
Common Mistakes to Avoid
Overmixing the batter
Why it happens Many cooks think thorough mixing is better, but overmixing develops gluten and makes the cake dense and tough.
Fix Mix the batter just until the dry ingredients disappear. Stop as soon as you see a smooth, thick batter. Use gentle folding motions instead of vigorous stirring.
Using cold milk
Why it happens Sometimes milk is taken straight from the fridge, which can shock the batter and cause uneven mixing.
Fix Let milk sit out for 20-30 minutes before using, or warm it slightly (not hot) to room temperature to ensure smooth incorporation.
Not greasing the pan well
Why it happens Rushing or skipping this step leads to sticking and broken cake when removing from the pan.
Fix Use butter or non-stick spray liberally on the pan sides and bottom. For extra insurance, line the pan bottom with parchment paper.
Opening the oven door too early
Why it happens Curiosity can cause people to peek too soon, which lets heat escape and causes the cake to collapse.
Fix Trust the baking time and wait at least 15 minutes before checking. If you must look, do it quickly and gently.
Using expired baking powder
Why it happens Old baking powder loses potency, so the cake won’t rise properly.
Fix Test baking powder by mixing a teaspoon in hot water; it should bubble vigorously. Replace if no reaction occurs.
Variations
Add a Coffee Boost
Mix 1/4 cup brewed strong coffee into the milk to enhance the chocolate flavor and add a subtle mocha note. The coffee intensifies the cocoa without overpowering the cake, making it richer and more complex.
Note: Use room temperature coffee to keep batter consistency. Reduce milk by the same amount to maintain the right moisture balance.
Chocolate Chip Surprise
Fold in 1/2 cup semi-sweet chocolate chips into the batter before baking for melty pockets of chocolate throughout. This adds texture and a fun surprise in every bite.
Note: Coat chips lightly in flour before folding to prevent sinking to the bottom during baking.
Gluten-Free Version
Substitute all-purpose flour with a 1:1 gluten-free baking blend. This keeps the cake tender and moist without gluten, perfect for those with sensitivities.
Note: Check that your baking blend contains xanthan gum or add 1/4 teaspoon to mimic gluten’s structure.
Vegan Swap
Replace milk with almond or oat milk and use a flax egg (1 tablespoon flaxseed meal + 3 tablespoons water) instead of regular eggs to make this cake vegan-friendly without sacrificing texture.
Note: Flax eggs thicken the batter slightly, so mix gently and expect a slightly denser crumb.
Peanut Butter Swirl
Drop spoonfuls of peanut butter on top of the batter and swirl gently with a knife before baking. This adds a rich, nutty flavor that pairs beautifully with chocolate.
Note: Use smooth peanut butter for easy swirling and even distribution.
Nutrition
Per Serving:
Nutritional values are estimates and may vary based on specific ingredients used.
Storage & Tips
Room Temperature
This cake keeps well at room temperature for up to two days when covered tightly with plastic wrap or stored in an airtight container. Leaving it uncovered will dry it out quickly.
Refrigerator
Store leftovers in an airtight container in the fridge for up to 5 days. The cake may firm up and lose some moistness, so bring it to room temperature or warm slightly before serving for best texture.
Freezer
Wrap the cooled cake tightly in plastic wrap and then in foil to prevent freezer burn. Freeze for up to 2 months. Thaw overnight in the fridge and bring to room temperature before eating.
Reheating
Warm slices gently in the microwave for 10-15 seconds or in a 300°F oven for 5-7 minutes. Adding a small dab of butter or a splash of milk helps restore moisture. Avoid overheating, which can dry it out.
Make Ahead
You can prepare the batter a few hours ahead and keep it refrigerated in the mixing bowl, covered tightly. Bring it back to room temperature and give a gentle stir before baking. This makes last-minute baking even easier.
FAQ
Can I use a different type of flour for this cake?
Yes, you can substitute all-purpose flour with a gluten-free blend if you need to avoid gluten. Just make sure the blend contains xanthan gum or add a small amount to mimic the structure gluten provides. Using whole wheat flour will make the cake denser and slightly less tender.
What can I do if my cake turns out dry?
Dry cake usually means it was overbaked or the batter was overmixed. Try reducing bake time by a couple of minutes and mix gently next time. Also, make sure to measure flour properly—too much flour can dry out the cake. Adding a simple syrup drizzle after baking can help moisten slices.
Can I add eggs to this recipe?
This recipe is designed to work without eggs, but if you want a richer texture, you can add one egg. Reduce milk slightly to keep the batter consistency right. Keep in mind that adding eggs changes the texture and bake time slightly.
Is it okay to use Dutch-processed cocoa powder?
Dutch-processed cocoa has less acidity and won’t react the same way with baking powder, which could affect rise and texture. If you use Dutch-processed cocoa, consider swapping baking powder for baking soda and adding an acidic ingredient like buttermilk.
How do I know when the cake is done without a toothpick?
Look for the cake to pull slightly away from the pan edges and for the top to spring back when gently pressed. It should have a set surface and not jiggle. These visual cues help when you don’t have a toothpick handy.
Can I double this recipe for a larger cake?
Absolutely! Just double all ingredients and use a larger pan or two pans. Keep an eye on baking time, which may increase by 5-10 minutes depending on pan size and depth. Check doneness regularly.
What’s the best way to store leftover cake?
Store leftovers in an airtight container at room temperature for up to two days. For longer storage, refrigerate or freeze as described. Always cover well to prevent drying out and flavor loss.
Can I add frosting or glaze to this cake?
Yes! This cake pairs beautifully with simple frostings like chocolate ganache, cream cheese frosting, or even a dusting of powdered sugar. Because it’s moist and tender, a light glaze works best to avoid overwhelming the texture.
Final Thoughts
I hope you give this quick and easy 5 ingredient chocolate cake a try—it’s one of those recipes that feels like a little homemade hug. Don’t forget to share how it turns out!