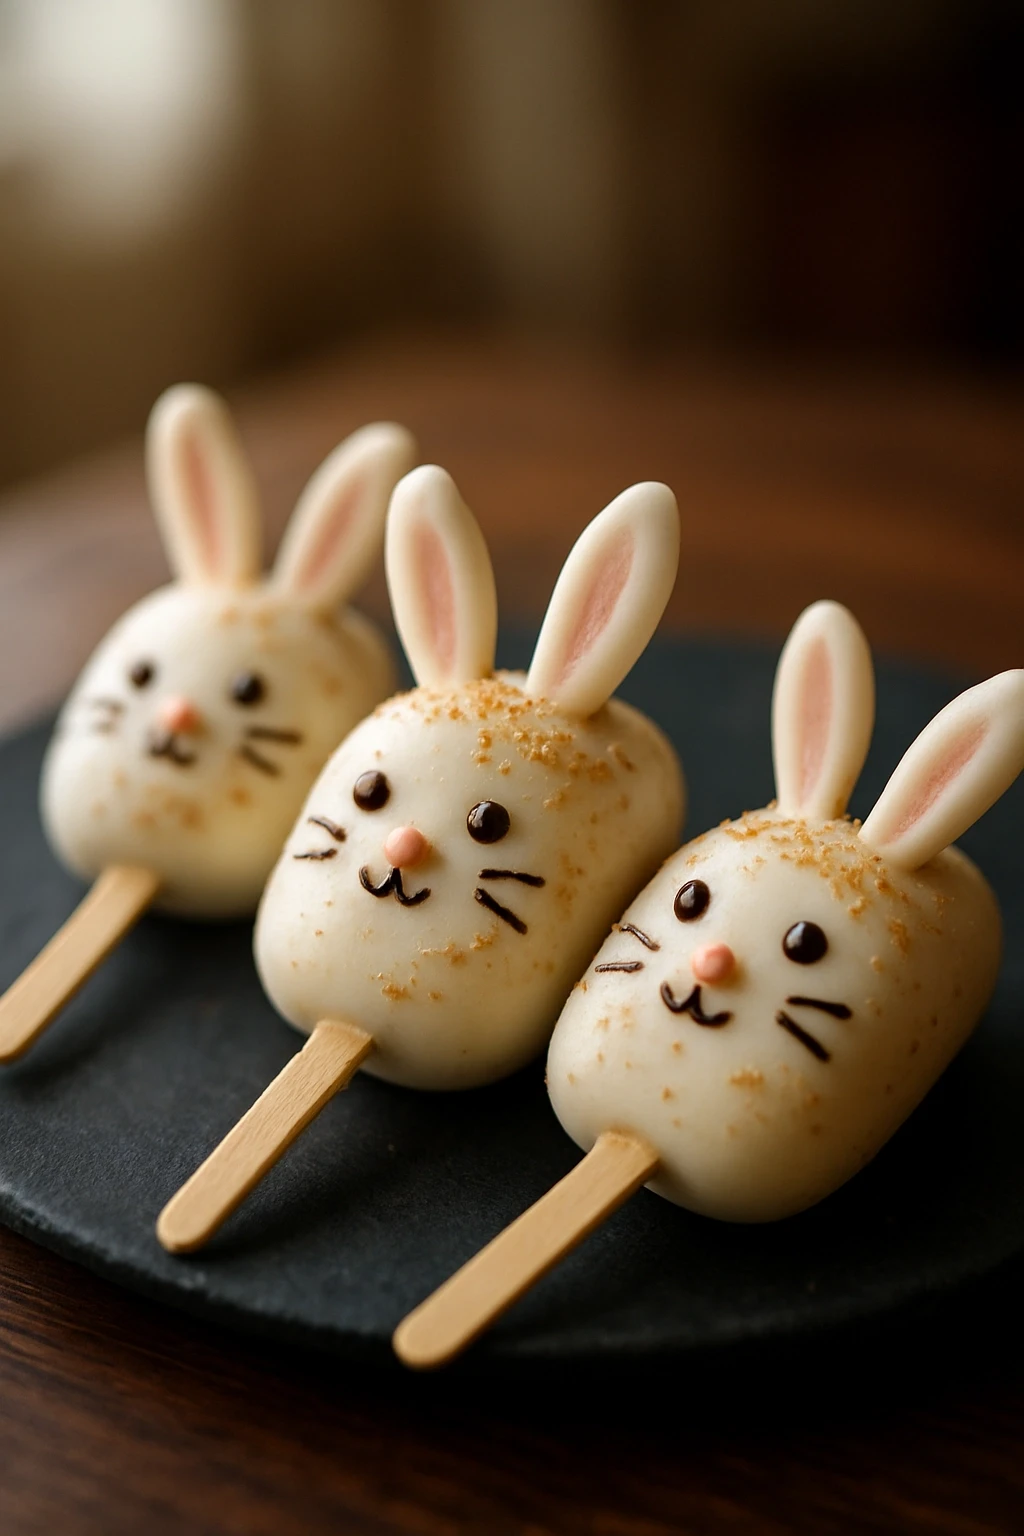
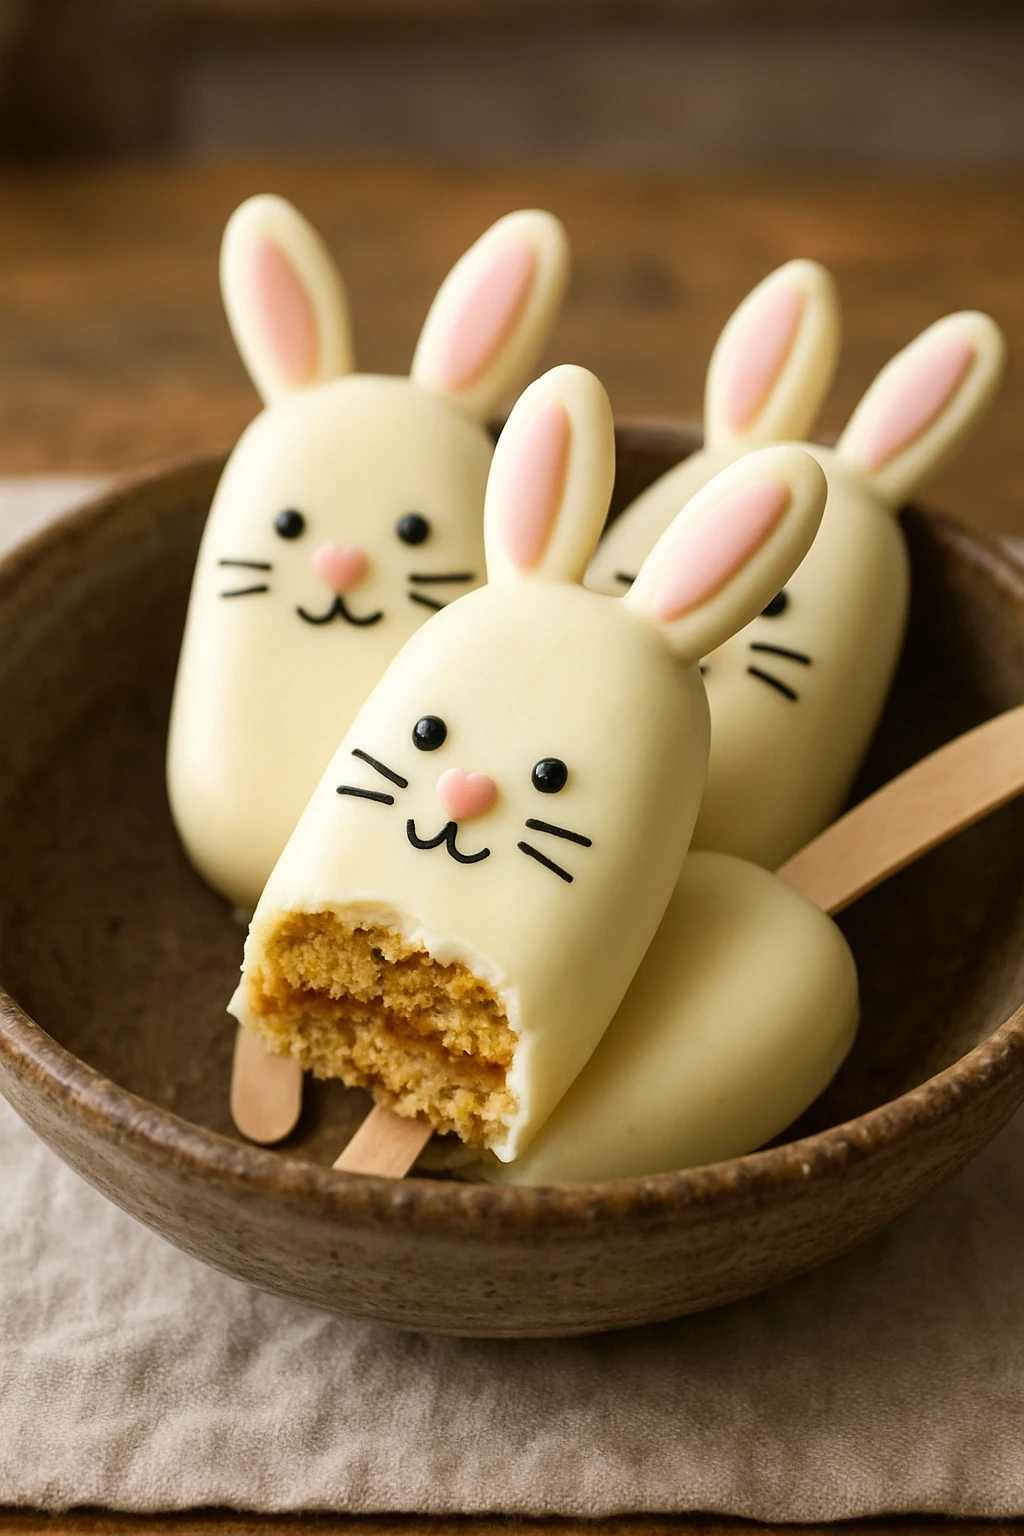
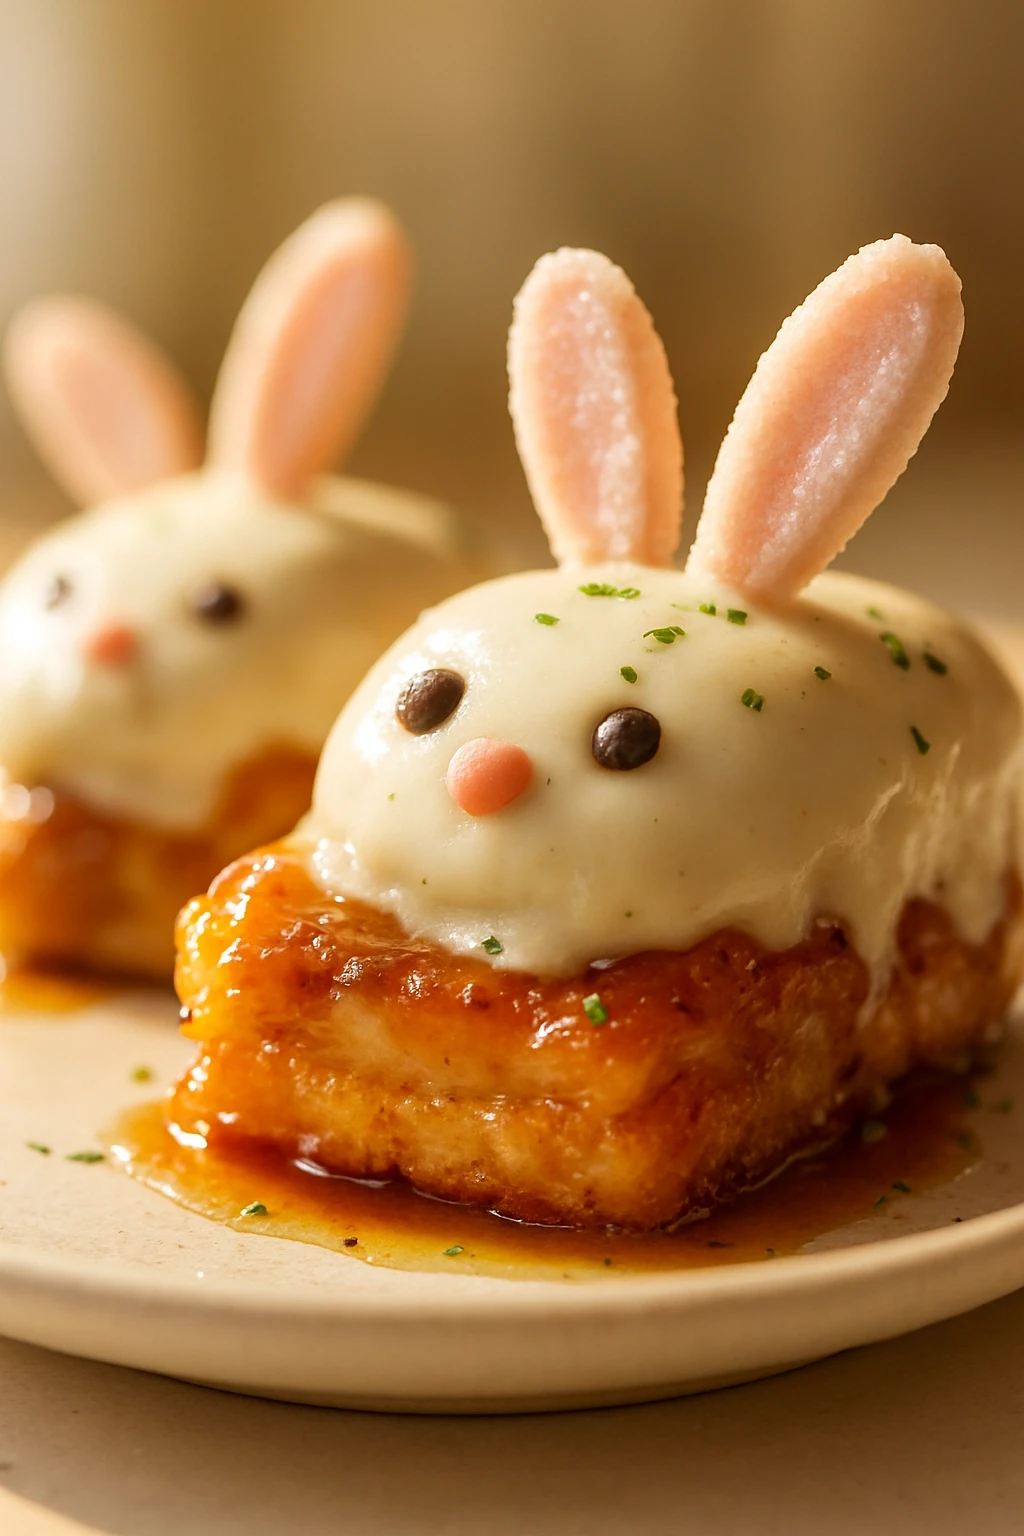
These cute Easter Bunny cakesicles are a delightful treat for spring gatherings! With a sweet vanilla cake filling and a chocolate coating, they’re perfect for kids and adults alike.
Introduction
I first made these adorable Easter Bunny cakesicles for a spring party, and they were an instant hit! The combination of soft vanilla cake with a creamy frosting center, all dipped in white chocolate, is simply irresistible. What makes my version stand out is the playful bunny decoration – they’re not just tasty; they’re also a joy to look at! The trick is to ensure your cake is completely cooled before mixing in the frosting, which keeps the cakesicles from being too mushy. You'll love how they look and taste, and they’re perfect for any spring celebration, especially Easter gatherings with family and friends.
What You'll Need
Approximately 12 cakesicles
- 1 box vanilla cake mix
- 3 eggs
- 1 cup water
- 1/2 cup vegetable oil
- 1 cup vanilla frosting
- 12 oz white chocolate chips
- Pink candy melts for decoration
- Mini chocolate chips for eyes
- Lollipop sticks
How To Do It
Step 1
Preheat your oven to 350°F (175°C) and grease a baking pan. Prepare the vanilla cake mix according to the package instructions, mixing the eggs, water, and oil until smooth. This step is crucial because it sets the foundation for your cakesicles. Make sure to mix thoroughly to avoid lumps, which can lead to uneven texture. A common mistake here is under-mixing, so keep an eye on that batter!
⏱ Time: 10 minutes
✓ Doneness: The batter should be smooth and well-combined with no dry pockets.
Step 2
Pour the cake batter into the greased pan and bake for 20-25 minutes, or until a toothpick inserted in the center comes out clean. Baking time is key; if you overbake, the cake will be dry. Keep an eye on it and start checking around the 20-minute mark. Once done, let it cool in the pan for 10 minutes before transferring it to a wire rack.
⏱ Time: 25 minutes
✓ Doneness: The cake should spring back when lightly pressed, and a toothpick should come out clean.
Step 3
Once the cake has cooled completely, crumble it into a large bowl. Add the vanilla frosting, starting with half a cup, and mix until it holds together but isn’t overly sticky. This is where the magic happens! The frosting adds moisture and sweetness, making the cake easy to mold into shapes. Be careful not to add too much frosting; otherwise, it may become too gooey to form into cakesicles.
⏱ Time: 5 minutes
✓ Doneness: The mixture should hold together when pressed into your hands without crumbling.
Step 4
Scoop out portions of the cake mixture and mold them into an oval shape on a lollipop stick. Place them on a parchment-lined baking sheet. This step is fun and allows you to shape the cakesicles as you like! Make sure they’re compact so they hold their shape when dipped in chocolate. If they’re too loose, they may fall apart during coating.
⏱ Time: 10 minutes
✓ Doneness: Each cakesicle should be firm enough to stand on its own without wobbling.
Step 5
Chill the cakesicles in the freezer for about 30 minutes. This helps them firm up, making it easier to dip them in chocolate. If you skip this step, they might fall apart when you try to coat them. Plus, a chilled cakesicle will give you a nice, smooth coating when dipped.
⏱ Time: 30 minutes
✓ Doneness: They should feel firm to the touch and hold their shape well.
Step 6
Melt the white chocolate chips in a microwave-safe bowl in 30-second intervals, stirring until smooth. Dip each chilled cakesicle into the melted chocolate, ensuring it’s fully coated. Allow any excess chocolate to drip off before placing it back on the parchment paper. This is crucial for achieving a beautiful finish. If the chocolate is too thick, you might end up with a clumpy coating, so make sure it’s nice and smooth!
⏱ Time: 10 minutes
✓ Doneness: The cakesicle should be completely covered in a smooth layer of white chocolate.
Step 7
While the chocolate is still wet, decorate the cakesicles with pink candy melts for ears and mini chocolate chips for eyes. This is where you can get creative! Let them sit at room temperature until the chocolate hardens completely. If you’re in a hurry, you can pop them in the fridge for a few minutes. Just make sure they’re not too warm when you decorate; otherwise, the candy melts might melt into the chocolate.
⏱ Time: 10 minutes
✓ Doneness: The decorations should adhere well and the chocolate should be set.
Pro Tips
Use a scale to measure your cake mix.
Accurate measurements ensure consistent results. If the mix is too dry or wet, it can affect the texture of your cakesicles. A scale helps you achieve the perfect balance.
Let the cakes cool completely before crumbling.
Crumbling warm cake can result in a mushy mixture that’s hard to mold. Cooling allows the cake to firm up, making it easier to handle and shape.
Chill your cakesicles for at least 30 minutes.
This step is crucial for maintaining their shape during dipping. If they’re too soft, they’ll collapse, leading to messy results. A firm cakesicle will hold its shape beautifully.
Melt chocolate in short intervals.
This prevents overheating, which can cause the chocolate to seize. Stirring frequently ensures a smooth, creamy consistency for dipping.
Use a fork for dipping.
A fork allows you to dip without getting your hands messy and helps shake off excess chocolate. This results in a cleaner finish and less waste.
Experiment with different decorations.
Adding various toppings can create unique designs and flavors. Plus, it’s a fun way to personalize your cakesicles for different occasions!
Common Mistakes to Avoid
Not letting the cake cool completely.
Why it happens Many cooks rush this step, thinking it will save time, but warm cake crumbles too easily and can lead to a mushy mixture.
Fix Be patient! Allow the cake to cool for at least 30 minutes before crumbling. This will ensure a firmer texture for shaping.
Overmixing the cake batter.
Why it happens It’s easy to get carried away while mixing, but overmixing activates gluten, resulting in a dense cake.
Fix Mix just until the ingredients are combined. A few lumps are okay; they’ll bake out and keep your cake light and fluffy.
Skipping the chilling step.
Why it happens In a hurry, some might think they can skip chilling, but this is crucial for keeping the cakesicle shape.
Fix Always chill the molded cakesicles for at least 30 minutes before dipping. This will help them maintain their form.
Using low-quality chocolate for dipping.
Why it happens Some may opt for cheaper chocolate, thinking it won’t matter, but it can affect flavor and texture.
Fix Invest in good quality chocolate or candy melts for dipping. The taste and smoothness will make a significant difference.
Variations
Chocolate Bunny Cakesicles
Swap the vanilla cake for chocolate cake mix for a rich twist! The chocolate flavor pairs beautifully with the white chocolate coating.
Note: Adjust the baking time slightly, as chocolate cake may bake faster than vanilla.
Carrot Cake Cakesicles
For a seasonal touch, use carrot cake mix and cream cheese frosting. It adds a delightful flavor profile perfect for Easter.
Note: Ensure the carrot cake is well-spiced to enhance the overall taste of the cakesicles.
Fruit-Flavored Cakesicles
Incorporate fruit puree into the cake batter for a fresh twist. Raspberry or lemon would add a lovely zing!
Note: Reduce the amount of liquid in the cake mix to balance the added moisture from the fruit puree.
Nutty Bunny Cakesicles
Add chopped nuts to the cake mixture for added texture and flavor. Walnuts or pecans work wonderfully.
Note: Chop the nuts finely to ensure they mix well and don’t disrupt the shaping process.
Nutrition
Per Serving:
Nutritional values are estimates and may vary based on specific ingredients used.
Storage & Tips
Room Temperature
Cakesicles can be kept at room temperature for about 2 hours. Store them in a cool, dry place to prevent melting.
Refrigerator
Store in an airtight container for up to 5 days. The flavor may become more pronounced when chilled, but they’re still delicious cold.
Freezer
Freeze for up to 2 months. Wrap each cakesicle in plastic wrap and then in aluminum foil to prevent freezer burn.
Reheating
These treats are best enjoyed cold or at room temperature, so no reheating is needed. If they’ve been frozen, let them thaw in the fridge for a few hours before serving.
Make Ahead
You can prepare the cakesicles a day in advance. Shape them and chill, then dip in chocolate the day of serving for a fresh finish.
FAQ
Can I use a different flavor of cake mix?
Absolutely! Feel free to experiment with different flavors like chocolate or lemon. Just keep in mind that the frosting should complement the cake flavor for the best results.
How can I make these gluten-free?
You can substitute the vanilla cake mix with a gluten-free blend. Just ensure your frosting is also gluten-free to keep the entire treat safe for those with gluten sensitivities.
What if my chocolate coating is too thick?
If your chocolate is too thick, add a small amount of coconut oil or shortening to thin it out. This will help achieve a smoother coating and make dipping easier.
How do I store leftover cakesicles?
Store any leftover cakesicles in an airtight container in the fridge for up to 5 days. If they’re frozen, wrap them well to maintain their texture and flavor.
Can I decorate cakesicles in advance?
Yes, you can decorate them a day ahead. Just make sure they are stored in a cool place to prevent the chocolate from melting or smudging.
Final Thoughts
I hope you give these adorable Easter Bunny cakesicles a try! They’re so much fun to make and even more fun to eat. Share your creations with me!