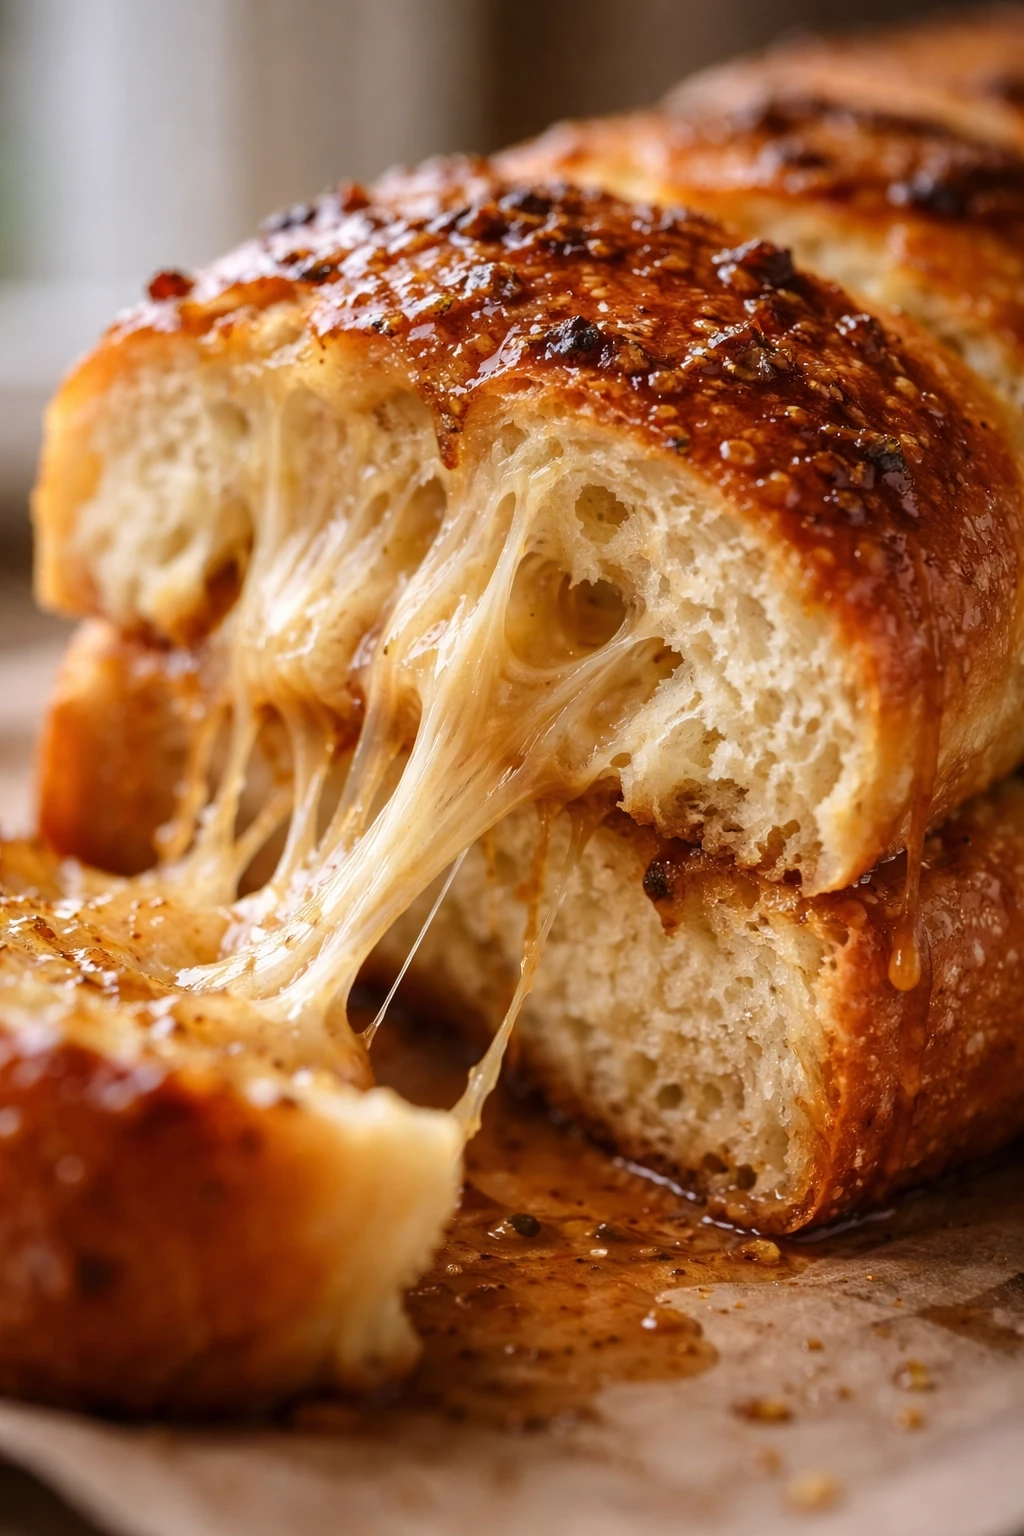
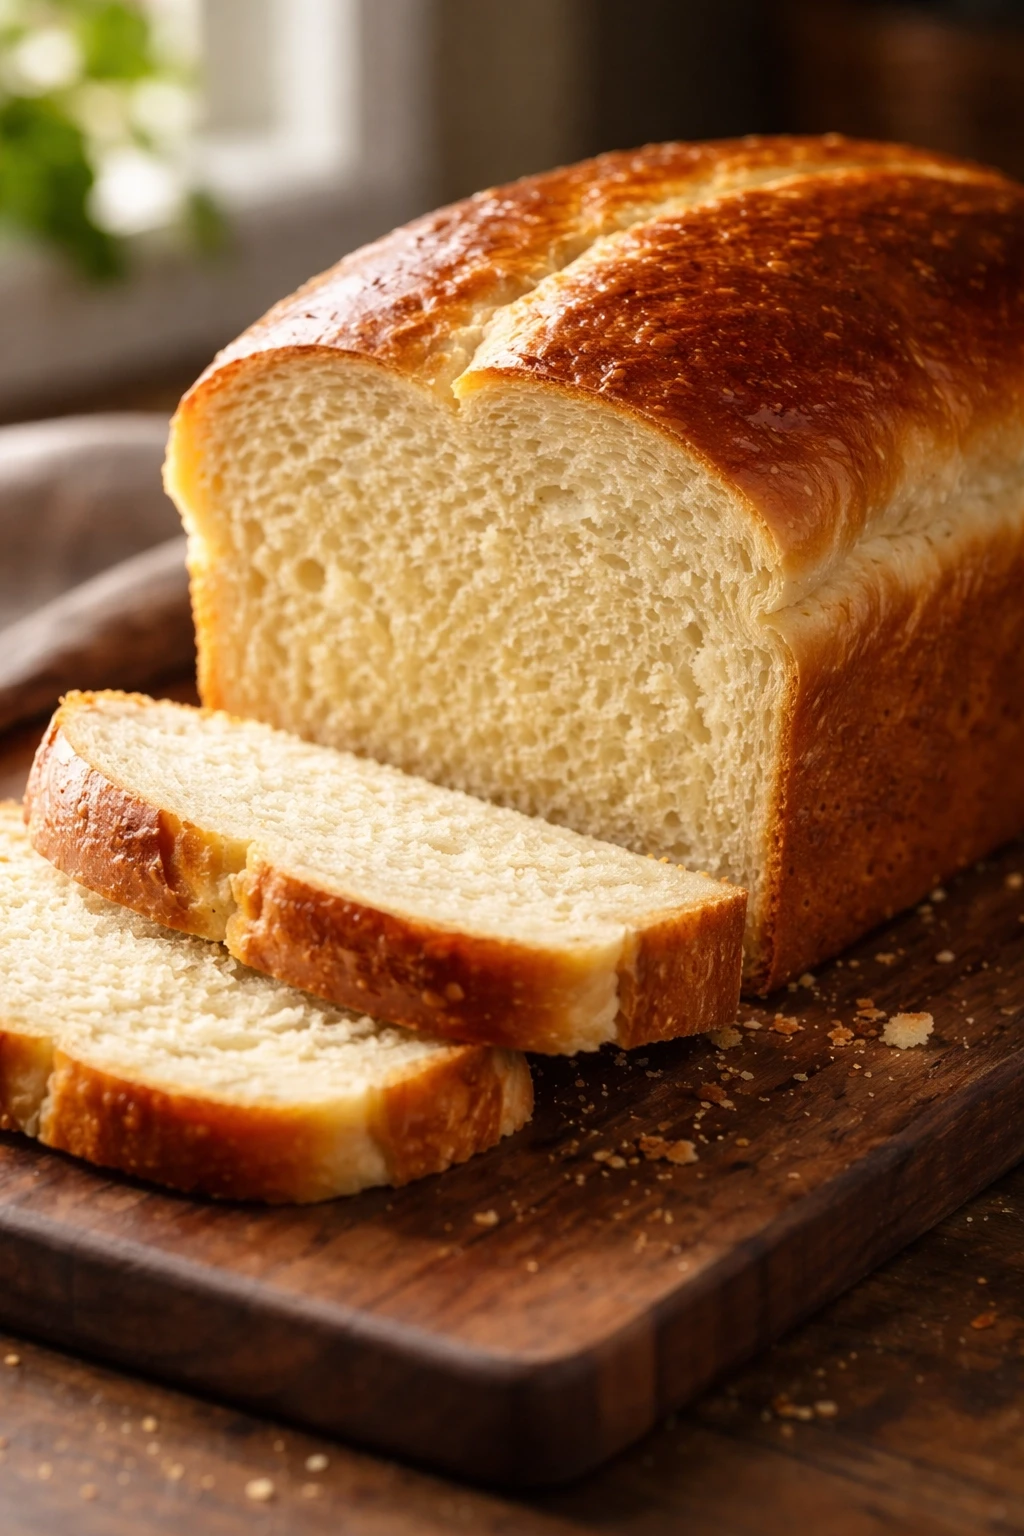
This Amish White Bread is a soft, fluffy loaf with a perfectly golden crust. The secret? A slow rise and a touch of sugar for just the right sweetness. Great for sandwiches or toast any time!
Introduction
I first tried making Amish White Bread years ago after tasting it at a friend’s house. It was unlike any bread I'd had—soft, slightly sweet, and with a golden crust that just begged to be buttered. Since then, it became a weekend staple in my kitchen. What I love about this recipe is how approachable it is. Unlike some fancy breads that require special flours or complicated techniques, this one uses simple ingredients you probably already have. The trick I learned is letting the dough rise slowly, which brings out the flavor and gives the bread its tender crumb. I also add a little sugar to balance the yeast’s natural tang and help with browning. When it comes out of the oven, the smell fills the whole house, and slicing into that warm loaf is pure comfort. Whether you want a reliable sandwich bread or just crave fresh homemade bread with butter and jam, this recipe won’t disappoint. Just be patient with the rising times and don’t rush the kneading—it really makes all the difference.
What You'll Need
One 9x5 inch loaf, 4 servings
- 1 cup warm water (110°F/43°C)
- 2 tablespoons granulated sugar
- 2 1/4 teaspoons active dry yeast (1 packet)
- 3 cups all-purpose flour, plus extra for kneading
- 1 teaspoon salt
- 2 tablespoons unsalted butter, melted and cooled
- 1/2 cup milk, warmed
How To Do It
Step 1
Start by activating the yeast. In a small bowl, combine the warm water and sugar, stirring until the sugar dissolves. Sprinkle the yeast on top and let it sit for about 5-10 minutes until it becomes foamy. This shows the yeast is alive and ready to work, which is crucial for a good rise. If the mixture doesn’t foam, your yeast might be old or the water too hot or cold, so it’s best to start over.
⏱ Time: 10 minutes
✓ Doneness: Foamy, bubbly surface on yeast mixture
Step 2
In a large mixing bowl, combine the flour and salt. Make a well in the center and pour in the melted butter, warm milk, and the activated yeast mixture. Stir with a wooden spoon or dough hook until the dough starts to come together. The butter adds richness and softness, while the milk tenderizes the crumb. Mixing thoroughly ensures even hydration and distribution of ingredients.
⏱ Time: 5 minutes
✓ Doneness: Dough begins to clump and pull away from the sides
Step 3
Turn the dough onto a lightly floured surface and knead it for about 8-10 minutes. Use the heel of your hand to push the dough away, then fold it back over and repeat. Kneading develops gluten, which gives the bread structure and chew. If the dough feels sticky, sprinkle a little more flour, but be careful not to add too much or the bread will be dense.
⏱ Time: 10 minutes
✓ Doneness: Smooth, elastic dough that springs back when pressed
Step 4
Place the kneaded dough in a lightly greased bowl, turning once to coat the surface. Cover with a clean kitchen towel or plastic wrap and let it rise in a warm, draft-free spot until doubled in size, about 1 to 1.5 hours. This first rise allows the yeast to ferment, producing gas that makes the dough airy and light.
⏱ Time: 1 to 1.5 hours
✓ Doneness: Dough doubled in size and soft to the touch
Step 5
After the dough has risen, gently punch it down to release excess gas. Turn it out onto a floured surface and shape it into a loaf by folding the edges under and rolling it tightly. Proper shaping ensures an even crumb and a nice loaf shape that fits your pan well.
⏱ Time: 5 minutes
✓ Doneness: Smooth, tight loaf shape with no tears
Step 6
Grease a 9x5 inch loaf pan and place the shaped dough inside. Cover again and let it rise for a second time until it’s about 1 inch above the rim of the pan, roughly 45 minutes. This second rise, or proof, helps develop a lighter texture and better volume.
⏱ Time: 45 minutes
✓ Doneness: Dough puffy and risen above the pan edges
Step 7
Preheat your oven to 350°F (175°C) while the dough finishes rising. Just before baking, brush the top of the loaf with a little milk or melted butter to encourage a golden, shiny crust. This step adds a subtle sweetness and helps the crust brown evenly.
⏱ Time: 5 minutes
✓ Doneness: Loaf surface is glossy, ready for baking
Step 8
Bake the bread in the preheated oven for 30-35 minutes. The internal temperature should reach about 190°F (88°C) to ensure it’s fully baked. The crust should be golden brown and firm to the touch. If the crust browns too quickly, loosely tent the loaf with foil to prevent burning.
⏱ Time: 30-35 minutes
✓ Doneness: Golden crust and hollow sound when tapped
Step 9
Remove the bread from the oven and let it cool in the pan for 10 minutes before transferring it to a wire rack. Cooling prevents the crust from becoming soggy and allows the crumb to set properly. Wait at least an hour before slicing to get clean, even slices.
⏱ Time: 10 minutes plus cooling
✓ Doneness: Loaf cool enough to handle, crumb set and not gummy
Pro Tips
Always proof your yeast to ensure it’s active before mixing the dough.
Proofing yeast confirms it’s alive and ready to ferment. If you skip this, you might end up with dough that doesn’t rise, wasting time and ingredients. The foamy surface signals healthy yeast, which is crucial for a fluffy loaf.
Use a kitchen scale for measuring flour for best consistency.
Flour can settle or be packed differently in measuring cups, leading to inconsistent dough texture. Weighing flour ensures you use the exact amount needed, which affects gluten development and the bread’s final texture.
Knead the dough until it’s smooth and elastic, but don’t overdo it.
Proper kneading builds gluten, giving structure and chew. Under-kneaded dough won’t rise well; over-kneaded dough can become tough. Feel for a dough that springs back when pressed, indicating good gluten formation.
Let the dough rise in a warm, draft-free spot for consistent fermentation.
Yeast activity depends on temperature. Too cold and rising slows; too hot and yeast can die. A stable, warm environment ensures predictable rising times and better flavor development.
Brush the loaf with milk or butter before baking for a beautiful crust.
This step encourages browning through the Maillard reaction and adds subtle sweetness and softness to the crust. Skipping it can result in a paler, less appealing crust.
Use a thermometer to check the bread’s internal temperature for doneness.
Visual cues can be misleading; a thermometer ensures the crumb is fully baked without drying out. 190°F is ideal for a moist but cooked-through loaf.
Cool the bread completely before slicing to avoid a gummy texture.
Cooling lets steam escape and the crumb set properly. Cutting too soon causes the bread to compress and become gummy, ruining the texture.
Common Mistakes to Avoid
Using water that’s too hot for activating yeast
Why it happens Many assume hotter water speeds things up, but yeast is a living organism sensitive to temperature. Too hot water kills it instantly.
Fix Always use water around 110°F (43°C). Use a thermometer if you’re unsure. If yeast doesn’t foam after 10 minutes, start over with fresh yeast and proper temperature.
Adding too much flour during kneading
Why it happens Sticky dough can be intimidating, so cooks often add flour excessively to make it manageable.
Fix Add flour sparingly and knead longer instead. The dough should be slightly tacky but not sticky. Over-flouring leads to dense, dry bread.
Skipping the second rise after shaping
Why it happens Eager to bake, some skip the proofing step to save time.
Fix Allow the dough to rise again in the pan until it’s puffy. This ensures a light texture and good loaf volume.
Baking at too high temperature causing burnt crust
Why it happens Some think hotter ovens bake faster, but this can burn the crust while leaving the inside undercooked.
Fix Bake at 350°F as directed. If crust browns too fast, cover with foil halfway through baking.
Slicing bread before it cools
Why it happens It’s tempting to cut into warm bread, but this ruins texture.
Fix Wait at least an hour for the bread to cool completely on a rack before slicing.
Variations
Honey Amish White Bread
Swap the sugar for honey to add a natural sweetness and a moist crumb. Honey also helps the crust brown nicely and adds a subtle floral flavor to the bread.
Note: Reduce liquid slightly to compensate for honey’s moisture. Expect a slightly softer crust and a sweeter aroma.
Whole Wheat Amish White Bread
Replace half the all-purpose flour with whole wheat flour for a nuttier flavor and more fiber. The bread will be denser but still soft and delicious.
Note: Whole wheat absorbs more liquid, so add an extra tablespoon of milk if dough feels dry. Knead a bit longer for gluten development.
Herbed Amish White Bread
Add 1-2 teaspoons of dried herbs like rosemary or thyme to the dough for an aromatic twist. Perfect for serving alongside soups or stews.
Note: Mix herbs into the flour before adding liquids to distribute evenly. Herbs can slightly affect rising time but not significantly.
Garlic Butter Amish White Bread
Incorporate roasted garlic into the melted butter before adding it to the dough for a savory flavor boost. This bread is great for sandwiches or as a side.
Note: Roast garlic until soft and mash well. Use about 1-2 cloves. The dough texture remains the same but flavor deepens.
Gluten-Free Amish White Bread
Use a gluten-free flour blend designed for bread and add xanthan gum to mimic gluten’s structure. The bread will be denser but still tasty and soft.
Note: Gluten-free dough won’t be elastic; handle gently. Baking time may be slightly longer; check doneness with a toothpick or thermometer.
Nutrition
Per Serving:
Nutritional values are estimates and may vary based on specific ingredients used.
Storage & Tips
Room Temperature
Store the bread in a paper bag or loosely wrapped in a kitchen towel at room temperature for up to 2 days to keep the crust crisp. Avoid plastic bags at room temp, as they trap moisture and soften the crust.
Refrigerator
Keep the bread in an airtight container or plastic bag in the fridge for up to 5 days. The crust will soften in the fridge, but slices toast up nicely. Best to reheat before serving.
Freezer
Wrap the loaf tightly in plastic wrap and then aluminum foil to prevent freezer burn. Freeze for up to 3 months. Thaw at room temperature wrapped to retain moisture, then refresh in the oven.
Reheating
Reheat slices in a toaster or oven at 350°F for 5-7 minutes. For whole loaf, warm in the oven wrapped in foil at 300°F for 15-20 minutes. Add a splash of water before reheating if bread feels dry.
Make Ahead
You can prepare the dough up to the first rise stage 1 day ahead. Refrigerate the covered dough overnight, then shape, proof, and bake the next day for fresh bread with less active prep time.
FAQ
Can I use instant yeast instead of active dry yeast?
Yes, you can substitute instant yeast, but reduce the amount slightly (use about 1 3/4 teaspoons). Instant yeast can be mixed directly into the flour without proofing, which saves time. However, proofing active dry yeast gives you a better sense of its activity.
What if my dough doesn’t rise the first time?
If your dough isn’t rising, it’s usually due to inactive yeast, cold temperature, or too much salt. Make sure the water is warm (not hot), yeast is fresh, and the rising spot is warm and draft-free. You can try proofing the yeast again or starting over with fresh yeast.
Can I make this bread without a loaf pan?
Absolutely! You can shape the dough into a round or oval and bake it on a parchment-lined baking sheet. The crust will be a bit crustier and the shape rustic, but the flavor and texture remain delicious.
How do I know when the bread is fully baked?
The best way is to use a thermometer; the internal temperature should be about 190°F. You can also tap the bottom of the loaf—it should sound hollow. The crust should be golden and firm, not soft or doughy.
Can I add seeds or nuts to this bread?
Yes, you can fold in up to 1/2 cup of seeds or nuts during the last few minutes of kneading. This adds texture and flavor but may slightly affect rising time and crumb softness.
What’s the best way to store leftover bread?
Store leftover bread in an airtight container or plastic bag at room temperature for up to 2 days. For longer storage, freeze it wrapped tightly. Avoid refrigerating unless you plan to toast it, as refrigeration can dry out bread.
Can I make this bread in a bread machine?
Yes, this recipe adapts well to bread machines. Add ingredients in the order recommended by your machine, usually liquids first, then dry ingredients, and yeast last. Use the basic white bread setting.
How do I get a softer crust if I don’t like a crusty loaf?
Brush the loaf with melted butter right after baking and while still warm. Alternatively, store the bread in a plastic bag once cooled to soften the crust, though this will reduce crispness.
Final Thoughts
I hope you enjoy baking and sharing this classic Amish White Bread as much as I do. It’s simple, comforting, and always a crowd-pleaser—let me know how your loaf turns out!