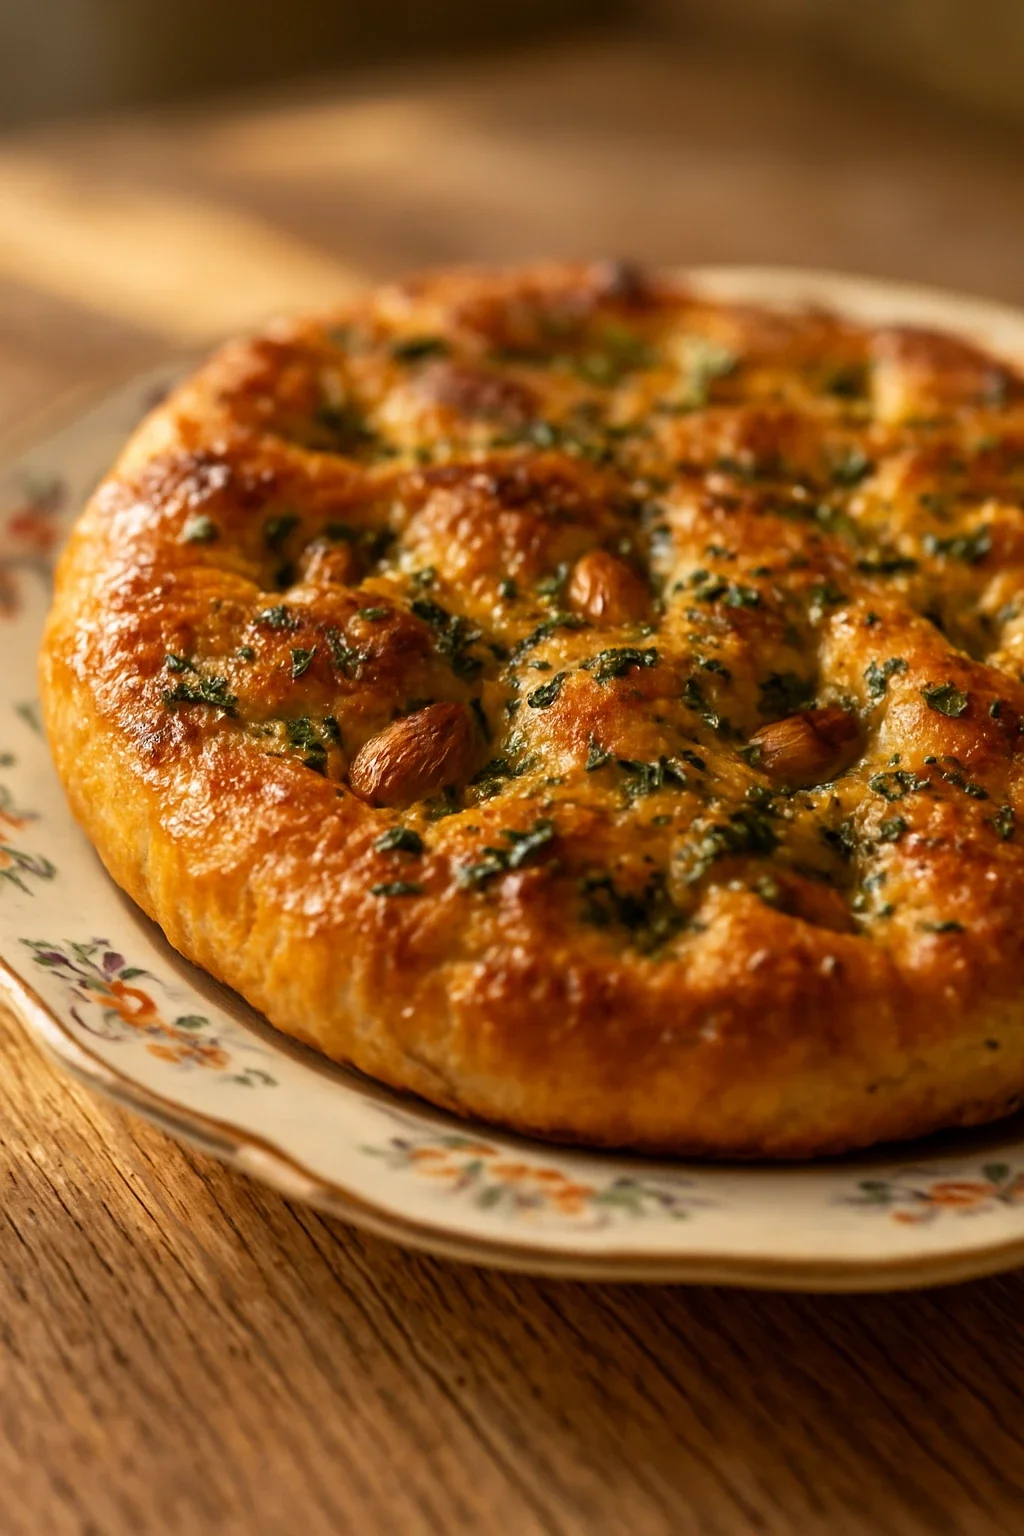
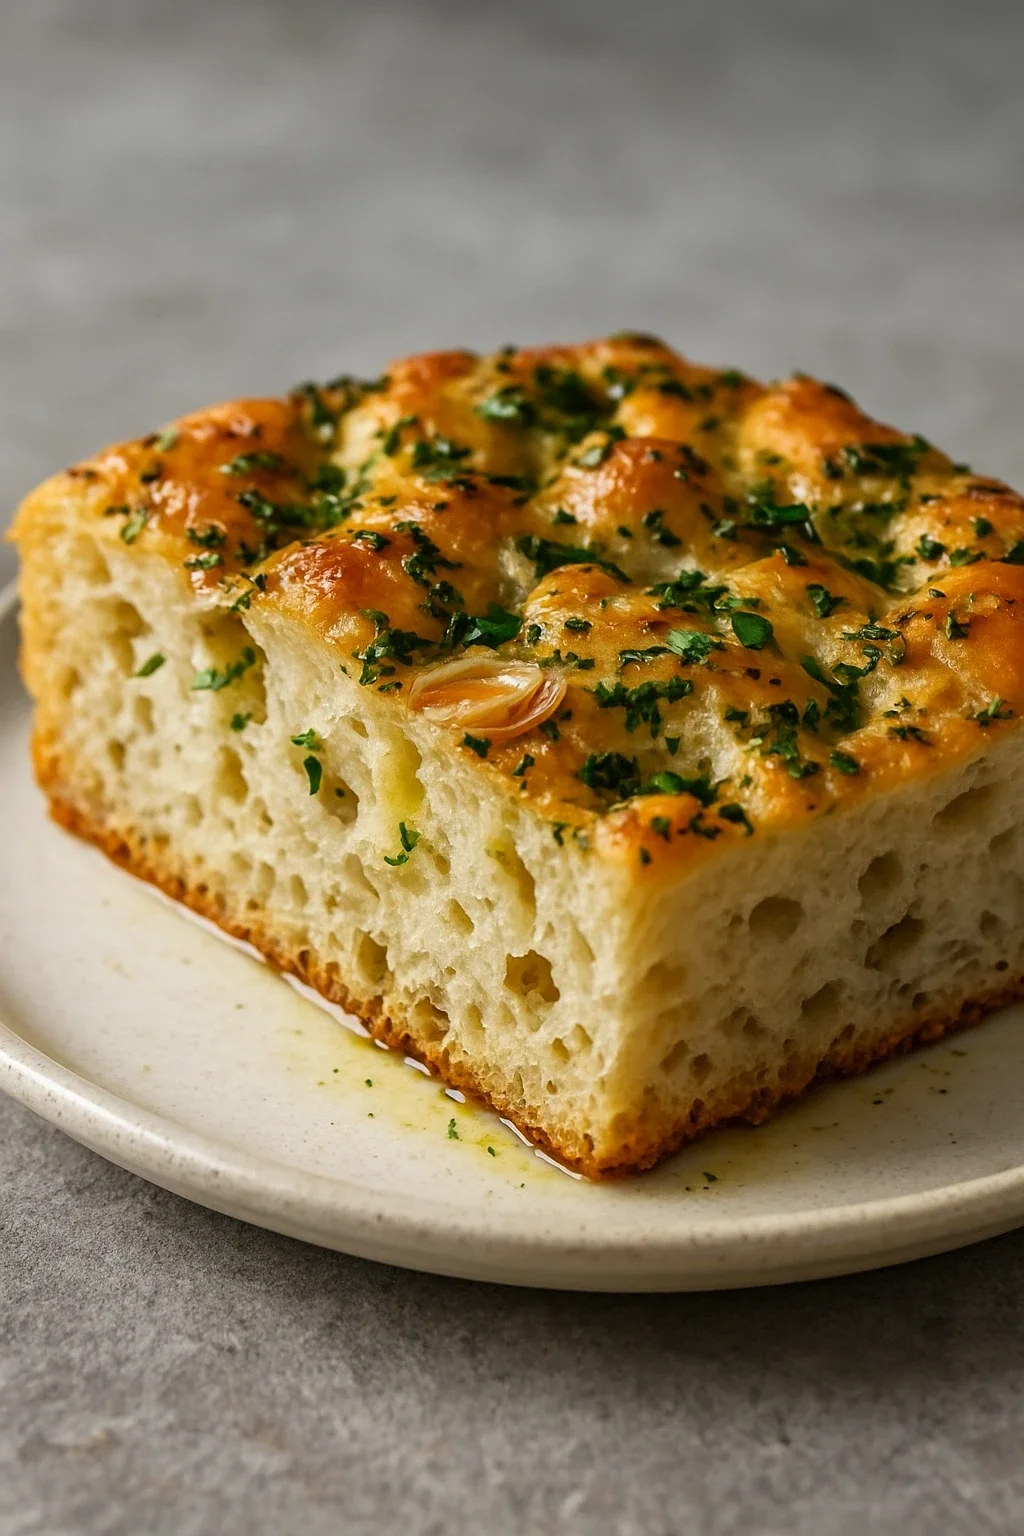
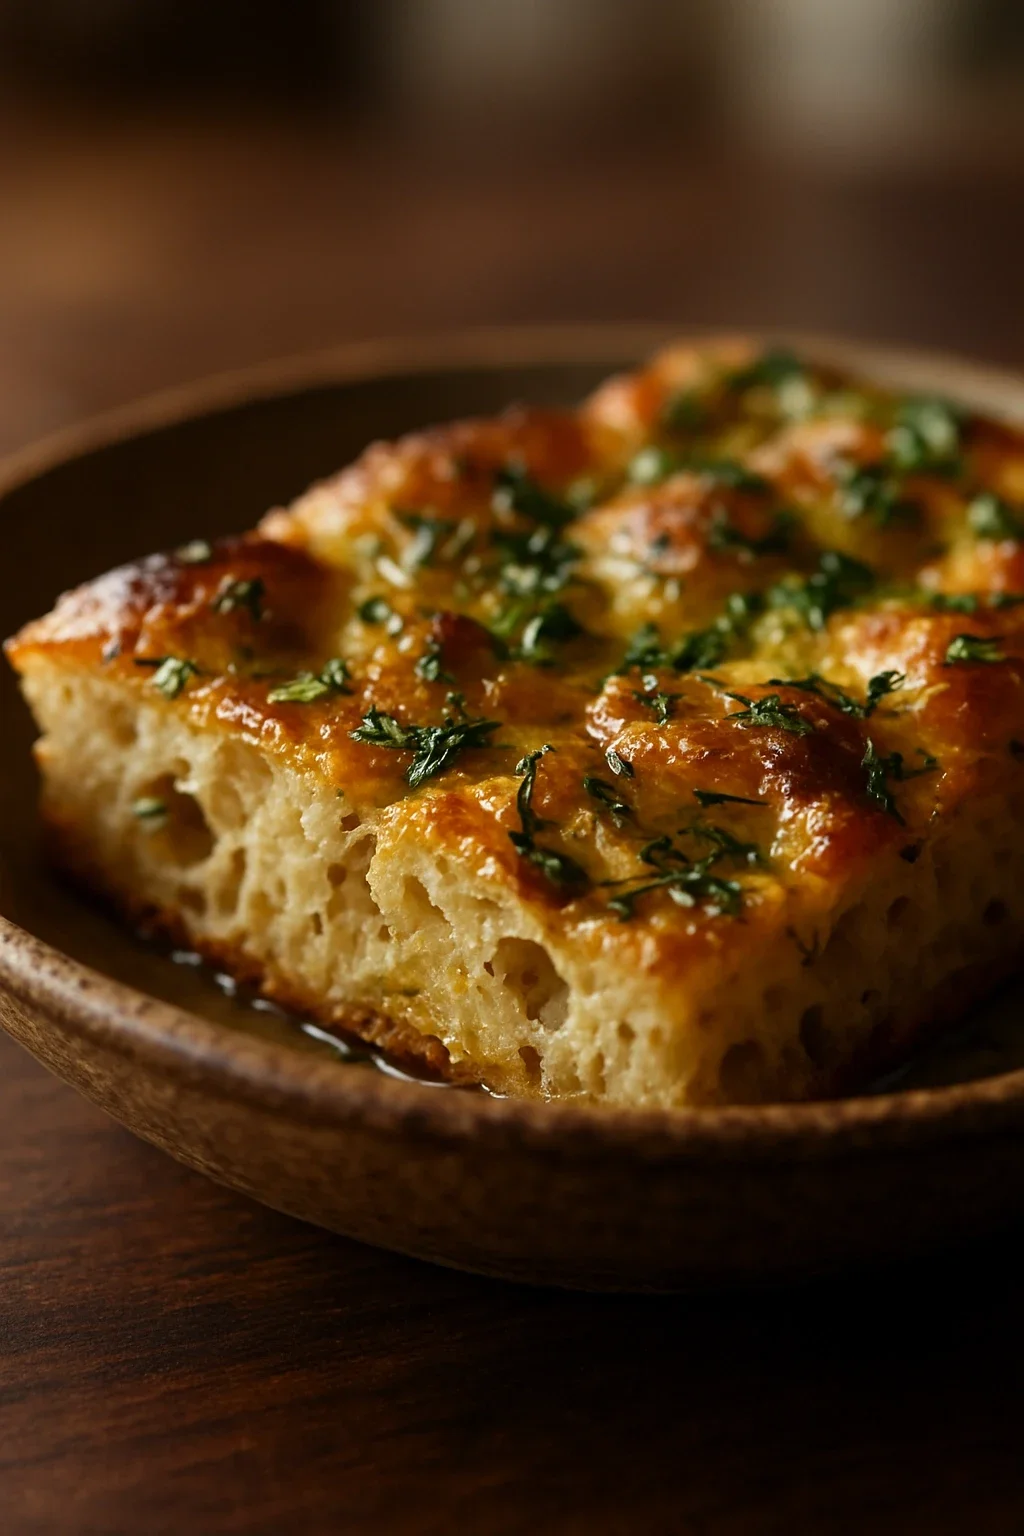
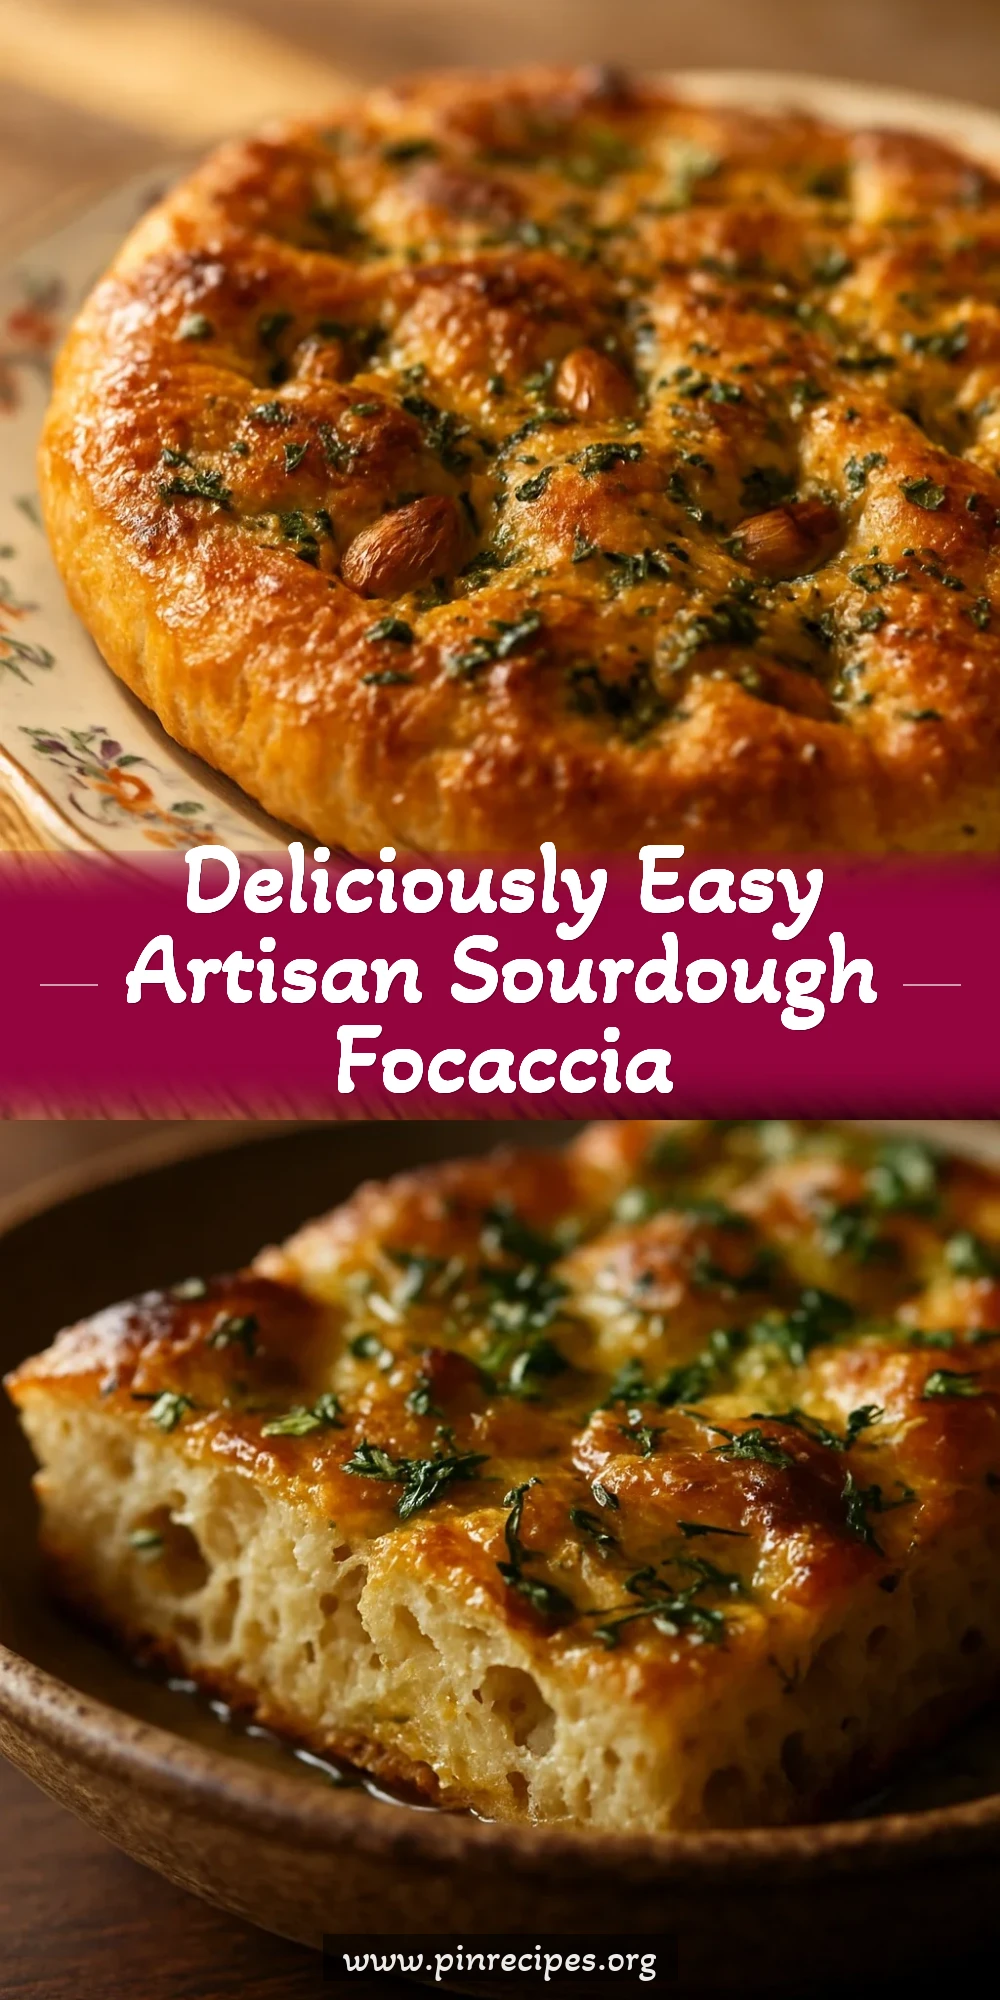
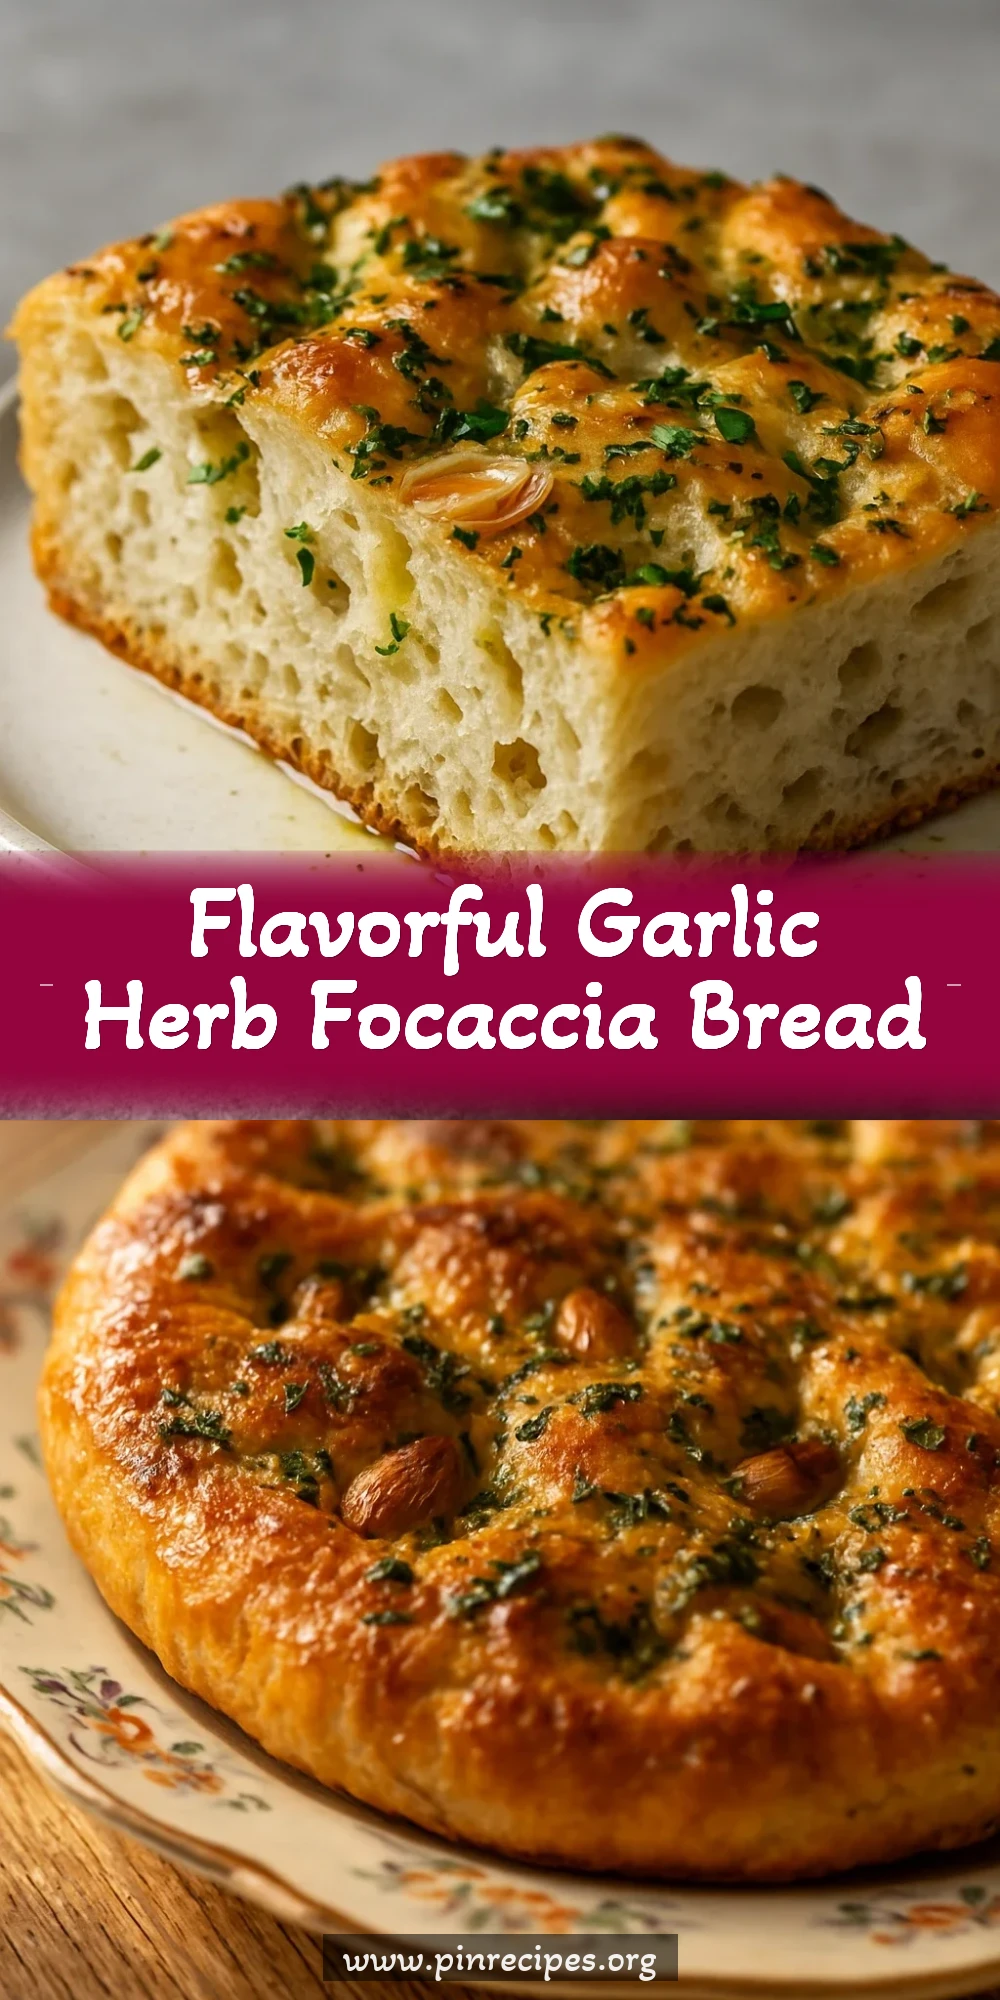
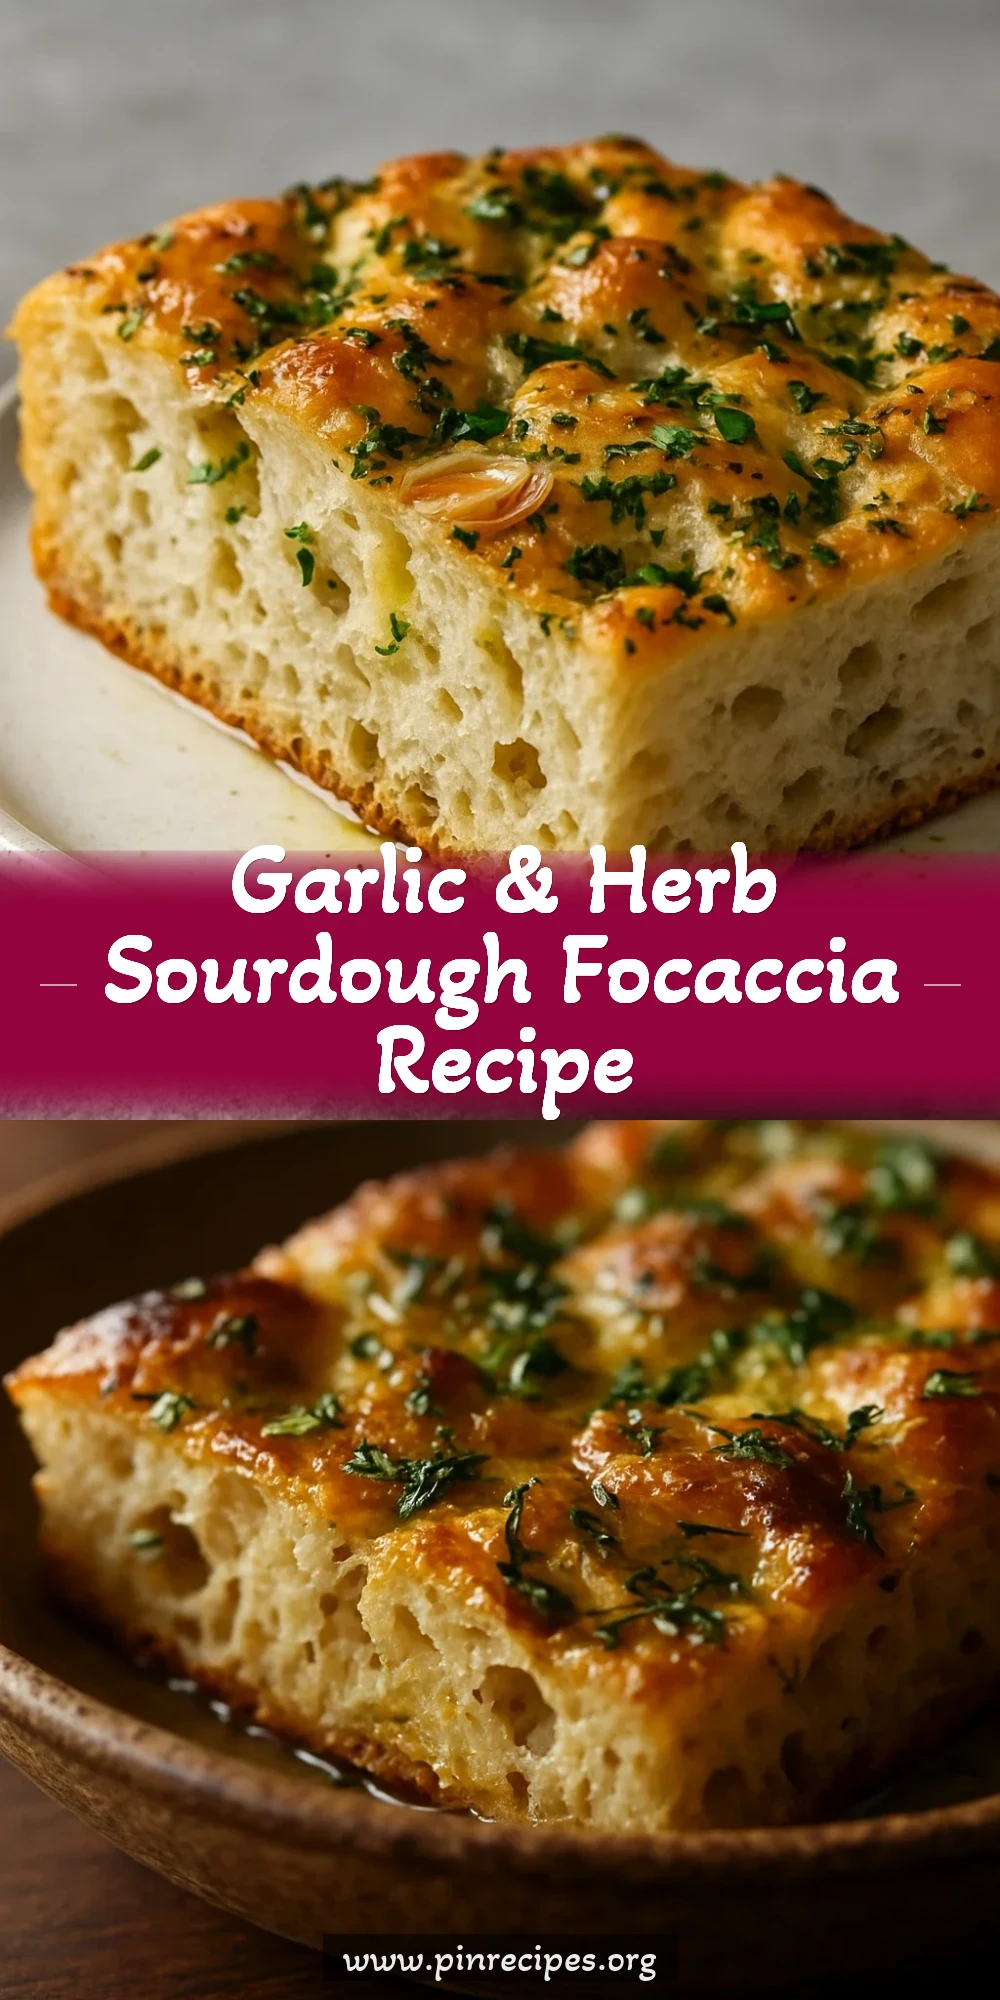
This artisan sourdough focaccia is infused with garlic and fresh herbs, creating a delicious bread that’s perfect for gatherings or a quiet evening at home. Learn the techniques that enhance its texture and flavor.
Introduction
One of my favorite ways to enjoy sourdough is through this focaccia recipe. I remember the first time I made it; the aroma of garlic and herbs filled my kitchen, and I couldn't wait to tear into it. What makes this focaccia special is the long fermentation process that develops the flavor, along with the dimpled surface that holds olive oil and toppings beautifully. Whether it's for a family dinner or a casual gathering with friends, this focaccia always impresses. Let’s dive into the recipe so you can experience the joy of baking your own bread at home.
What You'll Need
One large focaccia, approximately 8 servings
- 500g (4 cups) all-purpose flour
- 350ml (1.5 cups) warm water
- 100g (1/2 cup) active sourdough starter
- 10g (2 tsp) fine sea salt
- 60ml (1/4 cup) olive oil, plus extra for drizzling
- 3-4 cloves garlic, thinly sliced
- Fresh herbs (rosemary, thyme, or oregano), chopped
- Coarse sea salt for topping
How To Do It
Step 1
In a large mixing bowl, combine the flour and salt. Mix them well to ensure even distribution. This helps to avoid any clumps of salt in the dough, which can affect rising.
⏱ Time: 5 minutes
✓ Doneness: Flour and salt should be evenly mixed, with no visible salt clumps.
Step 2
In a separate bowl, mix the warm water with the active sourdough starter until fully dissolved. The water should feel warm to the touch but not hot, as excessive heat can kill the yeast.
⏱ Time: 2 minutes
✓ Doneness: Starter should be fully dissolved, and the mixture should be slightly frothy.
Step 3
Pour the wet mixture into the dry ingredients and use a spatula or your hands to combine until a shaggy dough forms. Avoid over-mixing; just ensure no dry flour remains.
⏱ Time: 3 minutes
✓ Doneness: Dough should be wet and shaggy, with no dry flour visible.
Step 4
Cover the bowl with a damp cloth and let it rest for 30 minutes. This autolyse phase allows the flour to hydrate and gluten to begin developing.
⏱ Time: 30 minutes
✓ Doneness: Dough will appear slightly smoother and stickier after resting.
Step 5
After resting, add the olive oil and mix until fully incorporated. The dough will be sticky but should start to come together.
⏱ Time: 2 minutes
✓ Doneness: Dough should feel a bit more cohesive but still sticky.
Step 6
Transfer the dough to a lightly greased bowl. Cover with plastic wrap and let it rise at room temperature for 4-6 hours, or until doubled in size. The timing can vary based on the temperature of your kitchen.
⏱ Time: 4-6 hours
✓ Doneness: Dough should have doubled in size and appear puffy with bubbles forming on the surface.
Step 7
Preheat your oven to 220°C (425°F). While the oven heats, gently deflate the dough by folding it over itself in the bowl a few times. This strengthens the gluten structure.
⏱ Time: 5 minutes
✓ Doneness: Dough should feel elastic and slightly less sticky after folding.
Step 8
Grease a baking sheet or a large cast-iron skillet with olive oil. Transfer the dough onto the prepared sheet and stretch it gently to fill the pan. Dimpling the surface with your fingers will create pockets for toppings.
⏱ Time: 5 minutes
✓ Doneness: Dough should fill the pan and have visible dimples on the surface.
Step 9
Drizzle additional olive oil over the surface and sprinkle with sliced garlic and chopped herbs. Finish with a sprinkle of coarse sea salt. Let the dough rest for another 30 minutes to rise slightly before baking.
⏱ Time: 30 minutes
✓ Doneness: Dough will puff up slightly, and the toppings will adhere.
Step 10
Bake in the preheated oven for 20-25 minutes, or until golden brown. The aroma will fill your kitchen, which is a good sign!
⏱ Time: 20-25 minutes
✓ Doneness: Focaccia should be golden brown, and the edges will be crispy.
Step 11
Remove from the oven and let it cool for a few minutes. Slice and serve warm, or let it cool completely on a wire rack.
⏱ Time: 5 minutes
✓ Doneness: Focaccia should feel light and airy, with a crispy crust.
Pro Tips
Use a kitchen scale for accurate measurements.
Baking is a science, and precise measurements ensure consistent results. Using weight rather than volume reduces the risk of errors.
Allow the dough to ferment longer in cooler environments.
If your kitchen is warm, the dough will rise faster. If it's too hot, the yeast may exhaust itself. Adjust the fermentation time according to your environment.
Experiment with toppings to personalize your focaccia.
Adding toppings like olives, sun-dried tomatoes, or cheese can enhance the flavor and make your focaccia unique.
Let the focaccia cool before slicing.
Cooling allows the crumb structure to set, ensuring a better texture when sliced. It also prevents the bread from becoming gummy.
Store focaccia in a paper bag to keep it crusty.
Plastic can make the crust soft. A paper bag allows the bread to breathe while keeping the crust crispy.
Common Mistakes to Avoid
Not allowing enough time for fermentation.
Why it happens Home bakers often rush the process, thinking they can speed up baking. Sourdough needs time to develop flavor.
Fix Be patient; allow the dough to rise until it has doubled in size, which enhances flavor and texture.
Using too much flour when shaping the dough.
Why it happens It can feel sticky and unmanageable, leading to excessive flour being added.
Fix Wet your hands with water or oil to handle the dough without adding too much flour.
Not dimpling the dough before baking.
Why it happens Some bakers skip this step, thinking it’s unnecessary.
Fix Dimpling creates pockets for olive oil and toppings, enhancing the texture and flavor.
Variations
Herb and Cheese Focaccia
Add shredded cheese like mozzarella or feta along with fresh herbs for a cheesy twist.
Note: Cheese will melt and create pockets of flavor throughout the focaccia, adding richness.
Tomato and Basil Focaccia
Top with sliced tomatoes and fresh basil leaves before baking. Drizzle with balsamic glaze after baking for added flavor.
Note: Tomatoes add moisture and flavor, while basil enhances the aroma.
Olive and Rosemary Focaccia
Incorporate pitted olives and fresh rosemary into the dough for a Mediterranean flavor.
Note: Olives provide a salty kick that complements the bread perfectly.
Nutrition
Per Serving:
approximately 200
Calories
These values are estimates and may vary based on specific ingredients used.
Storage & Tips
Room Temperature
Focaccia can be left at room temperature for up to 2 days, but it’s best to store it properly for longer freshness.
Refrigerator
Store focaccia in an airtight container or paper bag for up to 4 days. Reheating in the oven is recommended to restore crispness.
Freezer
Freeze focaccia wrapped tightly in plastic wrap and aluminum foil for up to 3 months. Thaw at room temperature before reheating.
Reheating
Reheat focaccia in a preheated oven at 180°C (350°F) for about 10 minutes to restore its texture.
Make Ahead
Prepare the dough up to the first rise, then refrigerate it overnight. The next day, bring it to room temperature, shape, and bake as directed.
FAQ
Can I use all-purpose flour instead of bread flour?
Yes, all-purpose flour works well in this recipe, but bread flour will yield a chewier texture due to its higher protein content.
How do I know if my sourdough starter is active?
Your starter should be bubbly and have doubled in size within 4-6 hours after feeding. It should have a pleasant, slightly tangy smell.
Can I make focaccia without a sourdough starter?
Yes, you can use instant yeast instead. Substitute with about 7g (2 teaspoons) of instant yeast in place of the sourdough starter.
Why is my focaccia dense?
A dense focaccia could be due to under-kneading the dough or not allowing enough time for fermentation. Make sure to allow the dough to rise until it's doubled in size.
How long does focaccia last?
Focaccia is best enjoyed fresh but can last for up to 2 days at room temperature or 4 days in the refrigerator.
Final Thoughts
Baking artisan sourdough focaccia is not only rewarding but also a great way to impress friends and family. Remember, the key lies in allowing time for fermentation and using quality ingredients. I’d love to hear how your focaccia turns out, so feel free to share your experiences or ask questions in the comments!