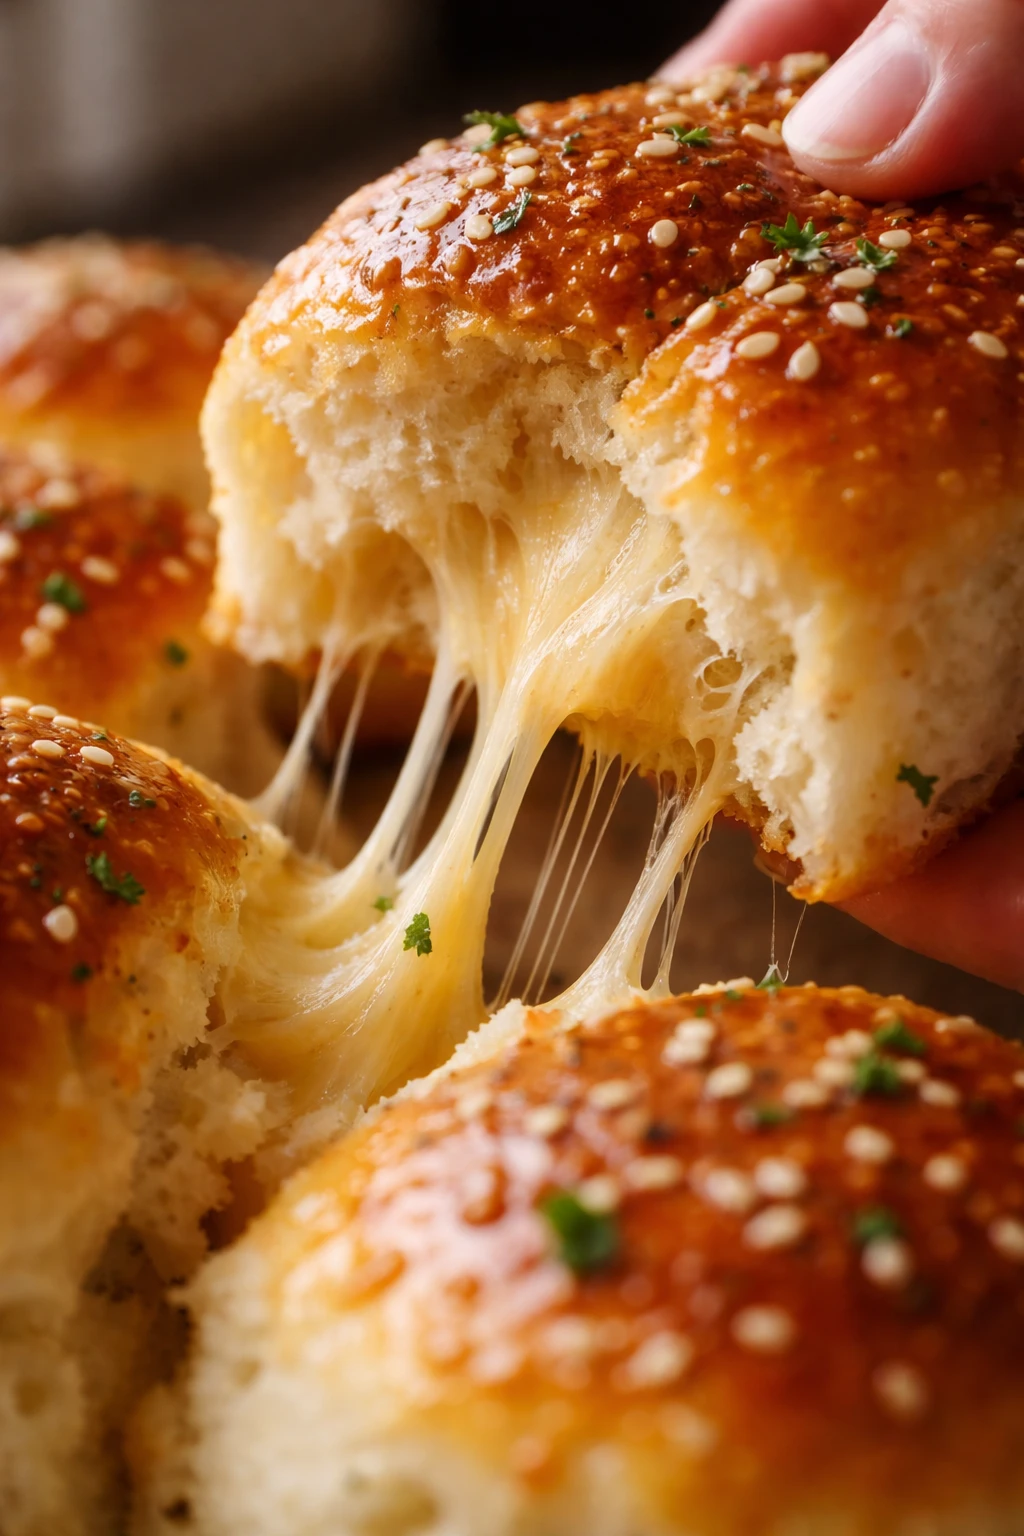
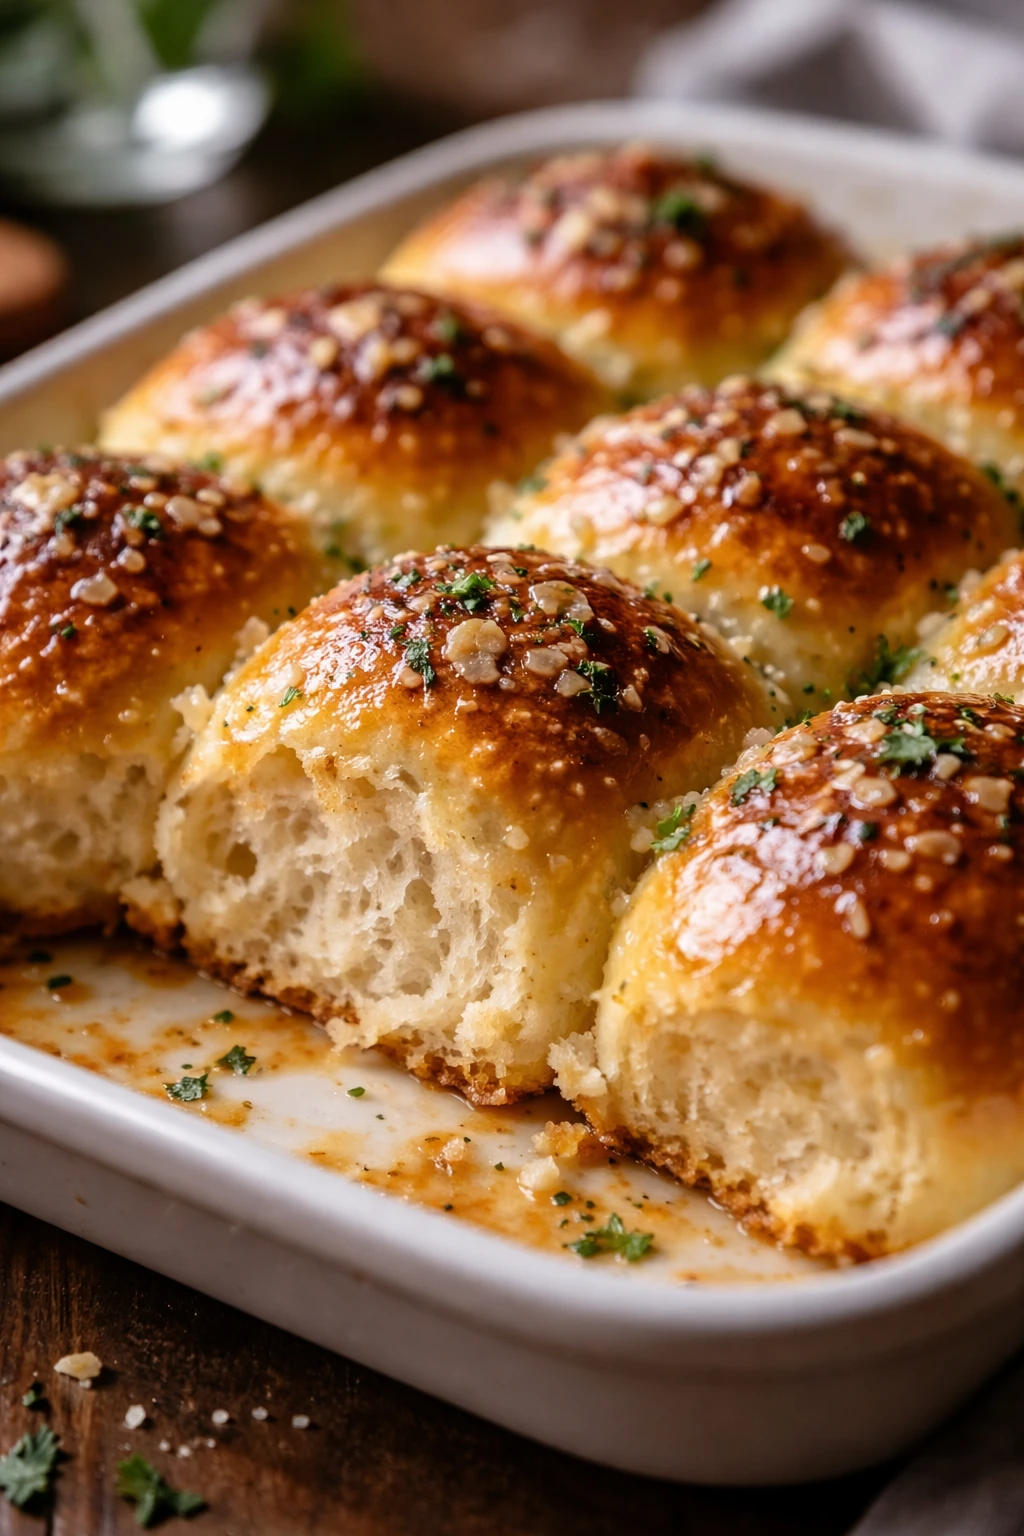
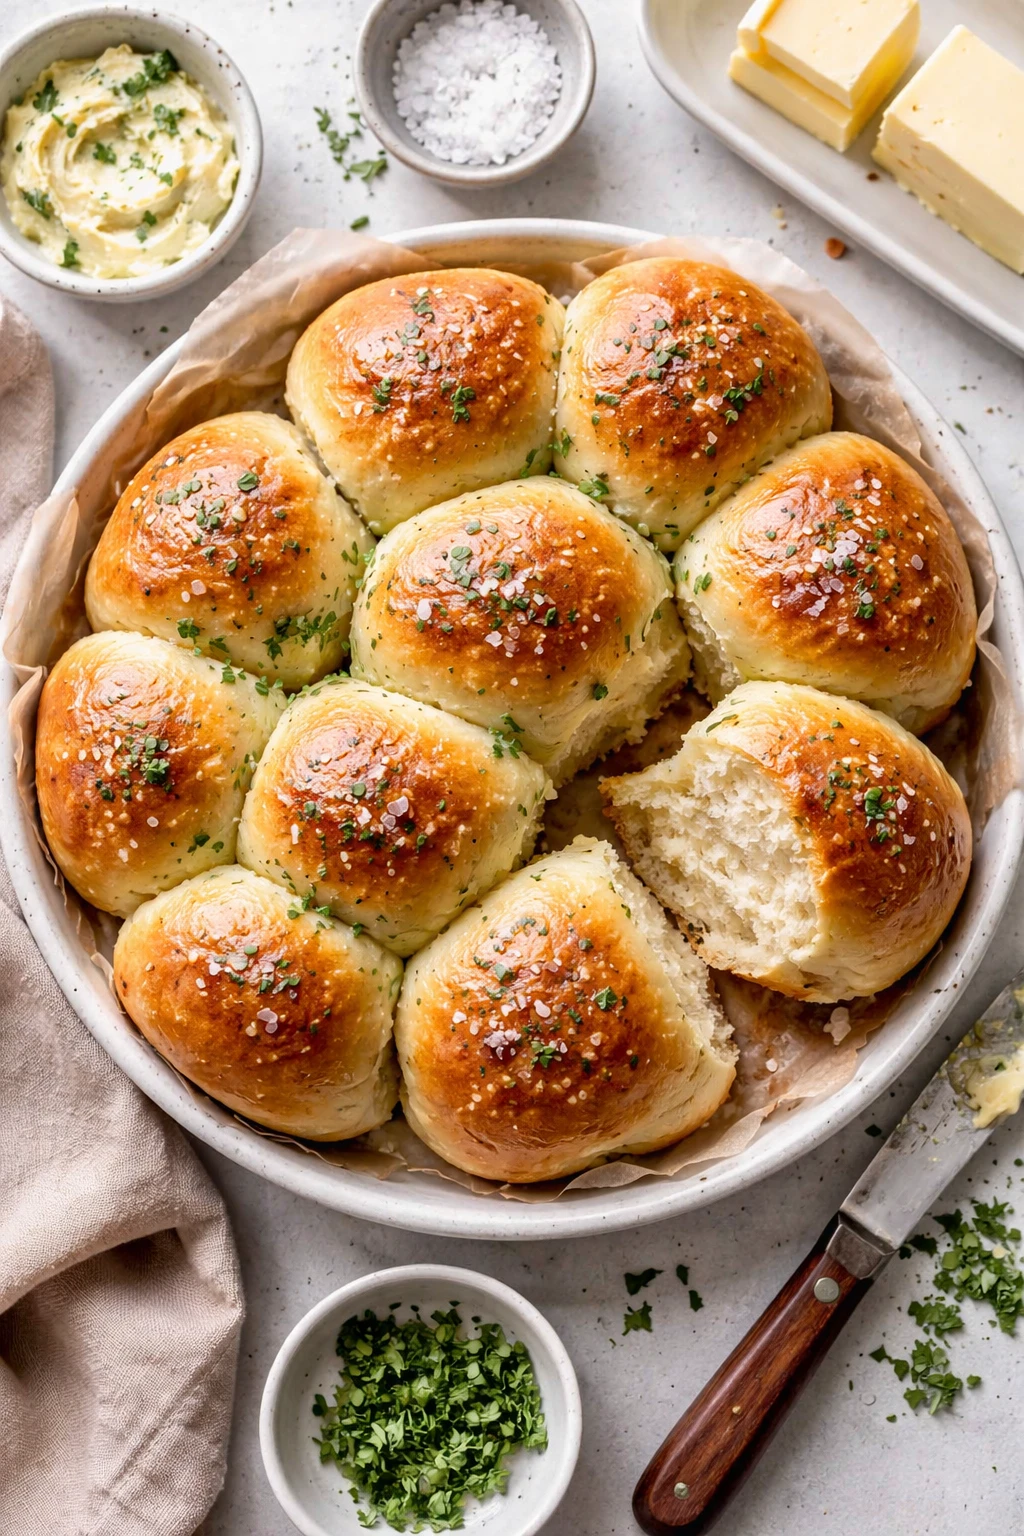
These soft dinner rolls are my go-to for family dinners. They’re fluffy, buttery, and just the right amount of sweet. The secret? A little extra milk and a touch of honey. Perfect fresh from the oven or warmed up!
Introduction
I remember the first time I tried making dinner rolls from scratch—it was a total flop. The rolls were dense and tough, nothing like the fluffy ones I loved from my grandma’s kitchen. After a few tries, I finally nailed the perfect soft dinner roll recipe that’s become a family favorite. What makes these rolls special is the combination of warm milk and a bit of honey sweetness that keeps them tender and moist. Plus, brushing them with melted butter right after baking gives them that irresistible golden crust and rich flavor. I love how these rolls come out soft yet sturdy enough to hold up to butter, jam, or even a hearty stew. They’re perfect for weekend dinners or holiday feasts, and honestly, they’re easier to make than you might think. The trick I learned is not to rush the rising process—letting the dough rest properly really pays off in texture. Once you try these, you might never go back to store-bought rolls!
What You'll Need
Approximately 12 soft dinner rolls
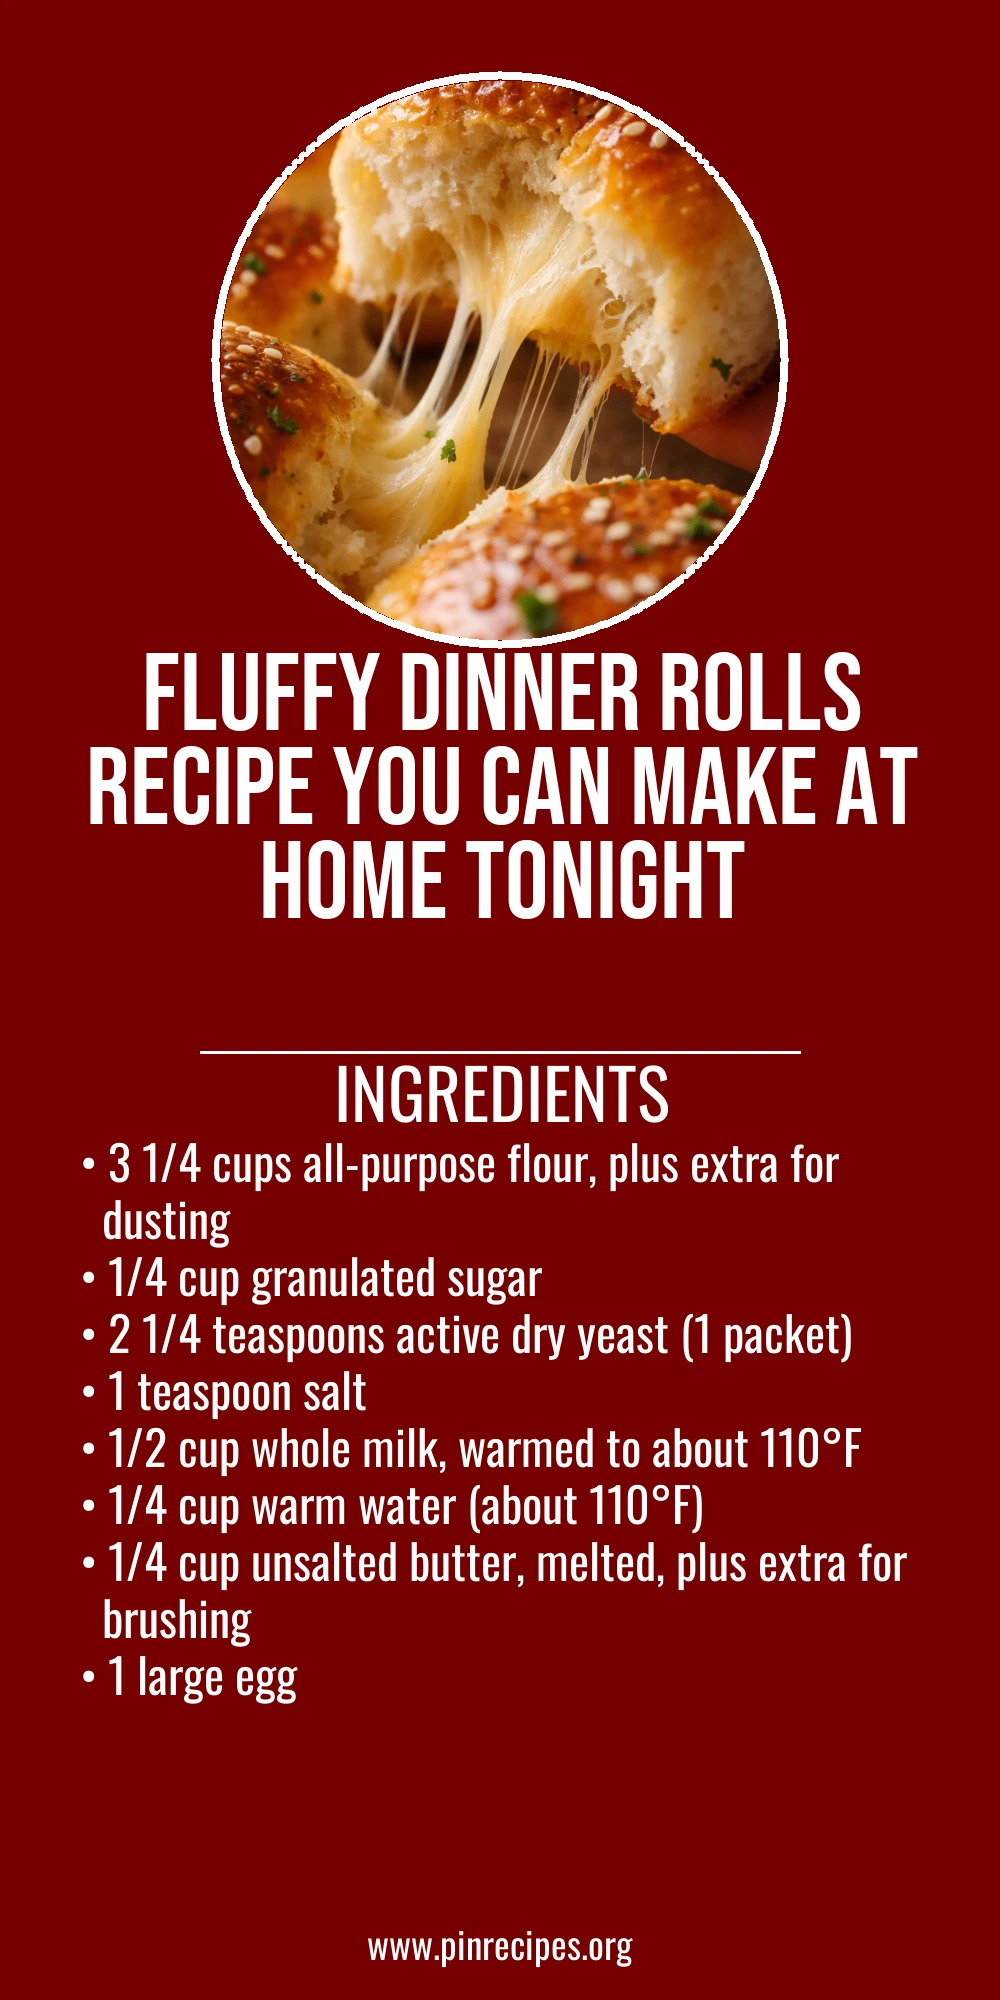
- 3 1/4 cups all-purpose flour, plus extra for dusting
- 1/4 cup granulated sugar
- 2 1/4 teaspoons active dry yeast (1 packet)
- 1 teaspoon salt
- 1/2 cup whole milk, warmed to about 110°F
- 1/4 cup warm water (about 110°F)
- 1/4 cup unsalted butter, melted, plus extra for brushing
- 1 large egg
How To Do It
Step 1
Start by activating the yeast. In a small bowl, combine the warm water and a teaspoon of sugar, then sprinkle the yeast on top. Let it sit for 5-10 minutes until it’s foamy and bubbly. This step is crucial because it tells you the yeast is alive and ready to help your dough rise. If it doesn’t foam, your yeast might be old or the water too hot or cold, which means your rolls won’t rise properly.
⏱ Time: 10
✓ Doneness: Foamy, bubbly surface indicating active yeast
Step 2
In a large mixing bowl, whisk together the flour, remaining sugar, and salt. Make a well in the center and add the warm milk, melted butter, egg, and the activated yeast mixture. Stir everything together until a rough dough forms. This combination of ingredients creates a tender crumb and rich flavor. Mixing wet and dry ingredients carefully ensures even hydration, which affects the dough’s elasticity.
⏱ Time: 5
✓ Doneness: Dough beginning to come together without dry flour patches
Step 3
Turn the dough onto a lightly floured surface and knead it for about 8-10 minutes. Kneading develops the gluten network, which gives the rolls their structure and chewiness. You want the dough to be smooth, elastic, and slightly tacky but not sticky. Avoid adding too much flour as it can make the rolls dense.
⏱ Time: 10
✓ Doneness: Smooth, elastic dough that springs back when poked
Step 4
Place the dough in a lightly oiled bowl and cover it with a clean kitchen towel or plastic wrap. Let it rise in a warm spot for 1 to 1 1/2 hours, or until doubled in size. This rising time allows the yeast to produce gas bubbles, making the dough airy and light. Don’t rush this step; if your kitchen is cool, it might take a bit longer.
⏱ Time: 90
✓ Doneness: Dough doubled in size and soft to the touch
Step 5
Punch down the risen dough gently to release excess air, then divide it into 12 equal pieces. Shape each piece into a smooth ball by pulling the edges underneath and pinching the seam. This shaping technique creates a tight surface that helps the rolls rise evenly and look uniform.
⏱ Time: 10
✓ Doneness: Smooth, round dough balls with taut surface
Step 6
Arrange the dough balls on a greased or parchment-lined baking sheet, leaving a little space between them for expansion. Cover loosely with a towel and let them rise again for 30-45 minutes until puffy. This second rise is key for soft, fluffy rolls because it lets the dough relax and expand further.
⏱ Time: 45
✓ Doneness: Puffy dough balls that have noticeably expanded
Step 7
Preheat your oven to 375°F (190°C). Just before baking, brush the rolls gently with melted butter for a golden crust. Bake for 18-20 minutes until the tops are golden brown and the rolls sound hollow when tapped. The butter also adds flavor and keeps the crust soft.
⏱ Time: 20
✓ Doneness: Golden brown tops and hollow sound when tapped
Step 8
Remove the rolls from the oven and immediately brush with more melted butter. This final step locks in moisture and gives the rolls a beautiful sheen. Let them cool slightly before serving to avoid losing softness.
⏱ Time: 5
✓ Doneness: Shiny, buttery surface and warm rolls ready to enjoy
Step 9
Serve warm with butter, honey, or your favorite spread. These rolls also freeze well; just thaw and warm them before serving. Enjoy the soft, fluffy texture and rich, buttery flavor that makes every meal feel special.
⏱ Time: 0
✓ Doneness: Soft, fluffy texture and warm aroma
Pro Tips
Always proof your yeast before mixing it into the dough.
Proofing yeast ensures it’s active and alive. Using inactive yeast leads to dense, flat rolls because the dough won’t rise. This simple step saves you from wasting ingredients and time.
Don’t add too much flour when kneading; the dough should be slightly tacky.
Adding excess flour makes the rolls dense and dry. Slightly tacky dough means enough moisture for a tender crumb and good gluten development, resulting in soft, fluffy rolls.
Let the dough rise in a warm, draft-free spot.
Yeast activity depends on temperature. A warm environment speeds fermentation and helps the dough double in size. Cold or drafty spots slow rising and affect texture.
Use melted butter to brush the rolls right after baking.
Brushing with butter seals in moisture and gives the rolls a beautiful sheen. It also softens the crust, making the rolls tender rather than crusty.
Shape rolls tightly with the seam underneath.
Tight shaping creates surface tension, which helps the rolls rise evenly and form a smooth, round shape without cracking.
Don’t rush the second rise after shaping the rolls.
The second proof allows the dough to relax and expand, creating a lighter texture. Skipping or shortening this step leads to dense rolls.
Use an instant-read thermometer to check milk temperature.
Yeast is sensitive to temperature. Milk that’s too hot kills yeast; too cold slows fermentation. Accurate temperature helps consistent results.
Common Mistakes to Avoid
Using water that’s too hot or too cold for yeast activation.
Why it happens People often guess the water temperature or don’t measure it, causing yeast to die or activate poorly.
Fix Use a kitchen thermometer to ensure water is around 110°F. If it’s hotter, cool it down; if colder, warm it slightly. This guarantees yeast activates properly.
Adding too much flour during kneading.
Why it happens Dough can feel sticky and intimidating, so people add extra flour to make it manageable.
Fix Trust the recipe and knead with slightly sticky dough. Use just a dusting of flour on your hands and surface to prevent sticking without drying out the dough.
Skipping the second rise after shaping rolls.
Why it happens Impatience or misunderstanding of proofing stages leads to skipping this step.
Fix Allow rolls to rise again until puffy before baking. This step is essential for soft, airy texture.
Not brushing rolls with butter after baking.
Why it happens Forgetting or thinking it’s unnecessary.
Fix Brush warm rolls immediately after baking to lock in moisture and add flavor. It also keeps the crust soft.
Overbaking rolls until dark brown.
Why it happens Trying to ensure they’re cooked through or misjudging oven temperature.
Fix Bake until golden brown and the rolls sound hollow when tapped. Overbaking dries them out.
Variations
Garlic Herb Dinner Rolls
Add 1 teaspoon garlic powder and 1 tablespoon chopped fresh herbs like rosemary or thyme to the dough for a savory twist. Brush with garlic butter after baking for extra flavor. These rolls pair wonderfully with soups or roasted meats.
Note: Herbs can affect dough moisture slightly; knead herbs evenly to avoid clumps. Garlic butter should be brushed warm for best absorption.
Whole Wheat Soft Dinner Rolls
Replace half the all-purpose flour with whole wheat flour for a nuttier flavor and more fiber. The texture will be slightly denser but still soft and delicious. Add a bit more milk if the dough feels dry.
Note: Whole wheat flour absorbs more liquid; adjust hydration carefully to maintain softness.
Sweet Honey Butter Rolls
Increase the sugar to 1/3 cup and add 2 tablespoons honey to the dough for a sweeter roll. Serve with honey butter for breakfast or brunch. These are perfect alongside spicy dishes to balance flavors.
Note: Higher sugar content can speed yeast activity; monitor rising times to avoid overproofing.
Cheesy Dinner Rolls
Fold 1 cup shredded cheddar or mozzarella into the dough during kneading. The cheese melts inside the rolls, creating gooey pockets of flavor. Great for game day or casual dinners.
Note: Cheese adds fat and moisture; knead gently to avoid overworking the dough.
Vegan Soft Dinner Rolls
Replace butter with coconut oil or vegan margarine and use a flax egg (1 tablespoon ground flaxseed + 3 tablespoons water) instead of the egg. Use plant-based milk like almond or oat milk. These rolls stay soft and flavorful without animal products.
Note: Flax egg may slightly change texture; allow dough to rise a bit longer for best results.
Nutrition
Per Serving:
Nutritional values are estimates and may vary based on specific ingredients used.
Storage & Tips
Room Temperature
Store the rolls in an airtight container or wrapped in foil at room temperature for up to 2 days. Keep them away from direct sunlight or heat to prevent drying out. They’re best enjoyed warm or at room temp.
Refrigerator
You can refrigerate the rolls in an airtight container for up to 4 days. Note that refrigeration can dry them out slightly, so reheat gently with a splash of water or melted butter to restore softness.
Freezer
Freeze rolls in a sealed freezer bag or wrapped tightly in foil for up to 3 months. To prevent freezer burn, remove as much air as possible. Thaw overnight in the fridge or at room temperature, then warm before serving.
Reheating
Reheat rolls in a 350°F oven for 5-7 minutes, wrapped in foil to keep them moist. Alternatively, microwave wrapped in a damp paper towel for 20-30 seconds. Avoid overheating, which makes them tough.
Make Ahead
You can prepare the dough and complete the first rise 1 day ahead, then shape the rolls and refrigerate them overnight. The next day, let them come to room temperature and rise again before baking for fresh rolls with less day-of effort.
FAQ
Can I use instant yeast instead of active dry yeast?
Yes! Instant yeast can be used in the same amount, but it doesn’t need to be proofed in water first. You can mix it directly with the dry ingredients. This can speed up the process slightly, but the texture and flavor will be just as good.
Why are my rolls dense instead of fluffy?
Dense rolls usually mean the dough didn’t rise enough or the yeast was inactive. Make sure your yeast is fresh and proofed properly. Also, avoid adding too much flour during kneading, and allow the dough to rise fully during both rises.
Can I make the dough in a stand mixer?
Absolutely! Use the dough hook attachment and mix/knead on medium speed for about 6-8 minutes until smooth. This saves effort and ensures good gluten development. Just be careful not to over-knead, which can make the dough tough.
How do I store leftover rolls to keep them soft?
Store rolls in an airtight container or resealable bag at room temperature. Adding a slice of bread inside the container can help maintain moisture. For longer storage, freeze them and reheat gently before serving.
Can I add herbs or cheese to the dough?
Yes! Adding fresh herbs or shredded cheese is a great way to customize the rolls. Fold them into the dough during kneading. Just keep in mind that cheese adds moisture and fat, so you might need to adjust rising times slightly.
What’s the best way to shape the rolls?
To shape rolls, pinch the edges underneath and roll the dough ball on the counter to create surface tension. This helps them rise evenly and look smooth. Avoid over-handling to keep the dough soft.
Can I make these rolls gluten-free?
Gluten-free baking requires special flour blends and often additional binders like xanthan gum. This recipe isn’t designed for gluten-free flours, but you can experiment with gluten-free bread mixes. Expect different texture and rising behavior.
Is it okay to skip the egg in this recipe?
You can omit the egg for a lighter roll, but it will slightly affect texture and color. The rolls may be less rich and a bit less tender. You might want to add a tablespoon of extra butter or milk to compensate.
Final Thoughts
I hope you give these soft dinner rolls a try—they’re truly a family favorite here. Let me know how yours turn out and what your favorite way to enjoy them is!