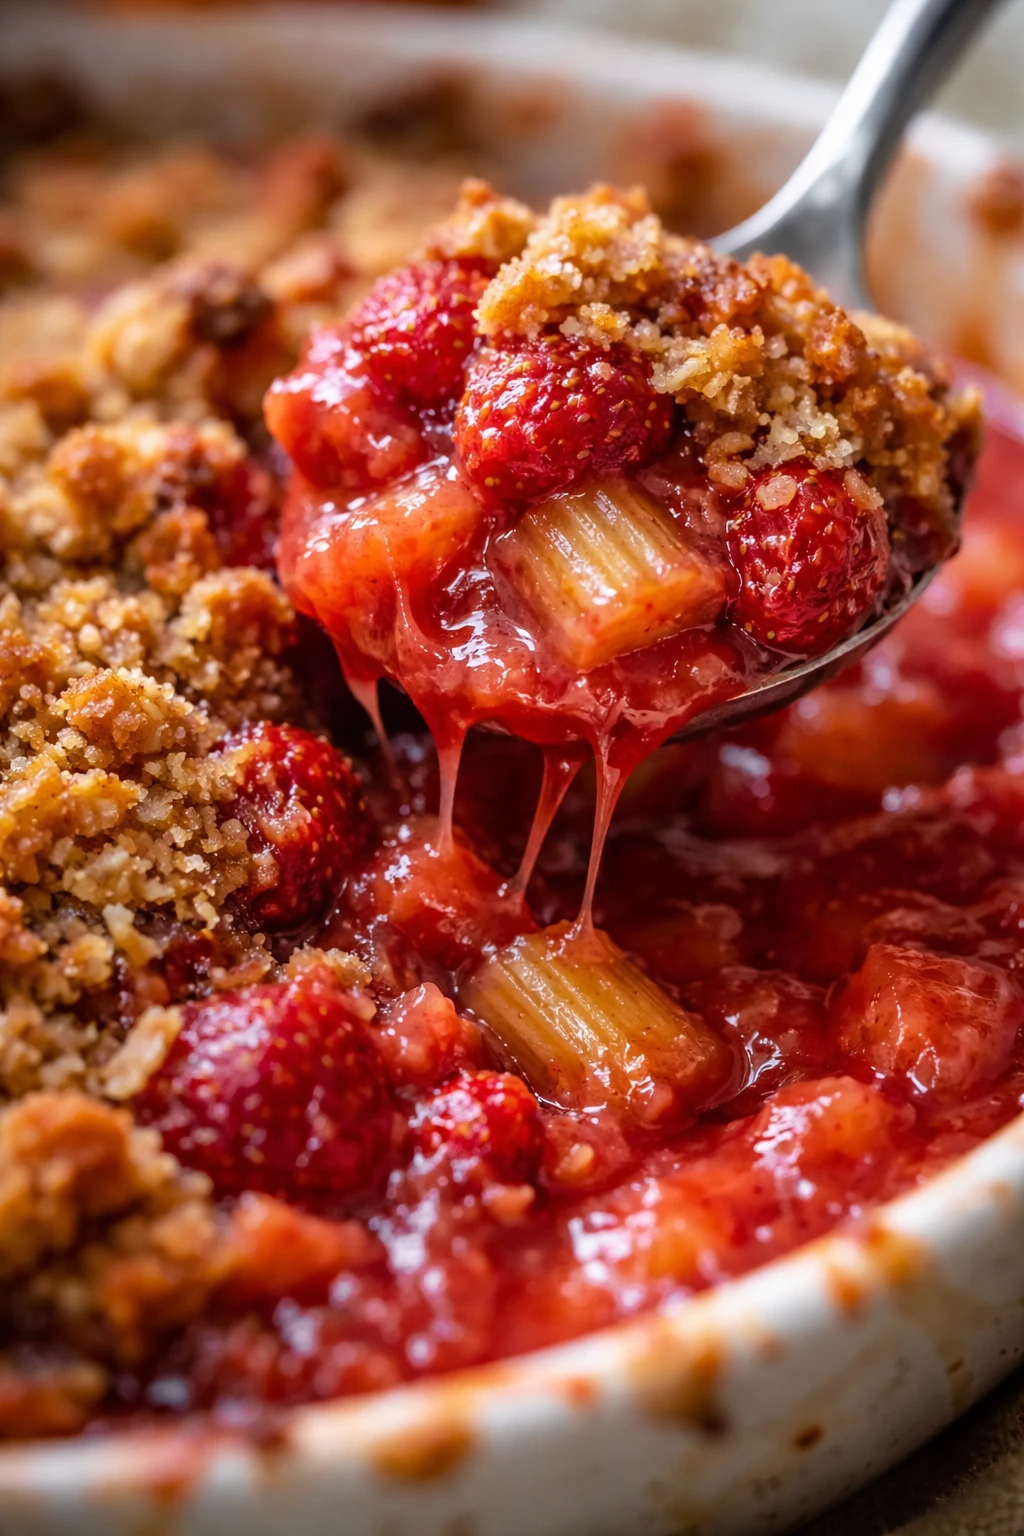
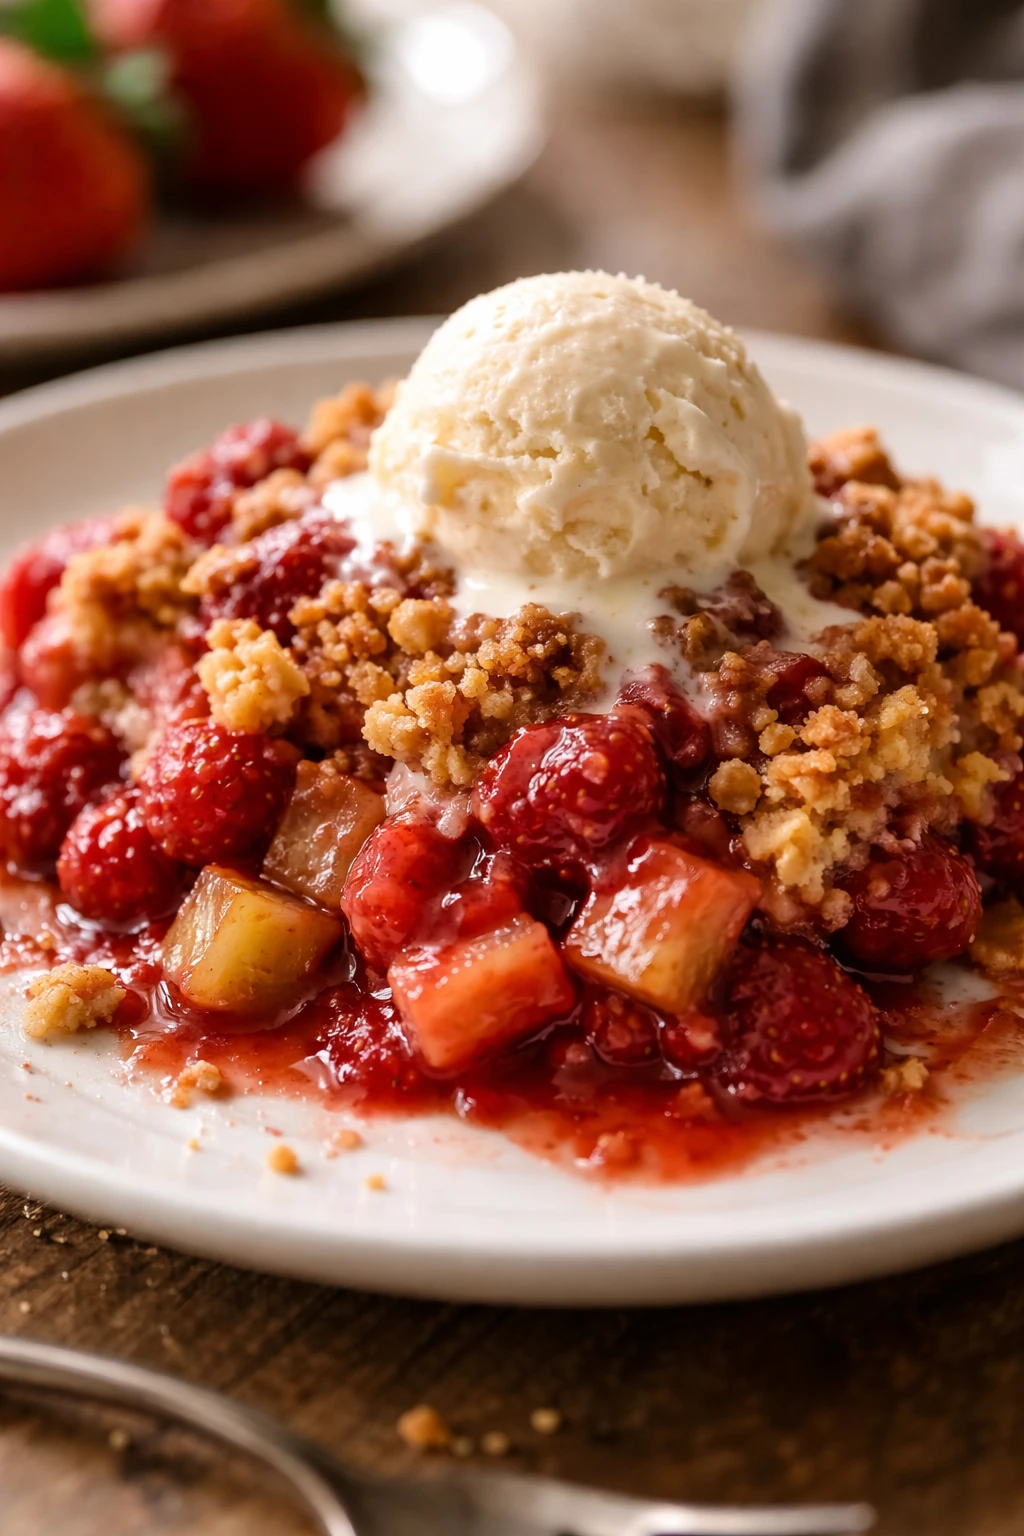
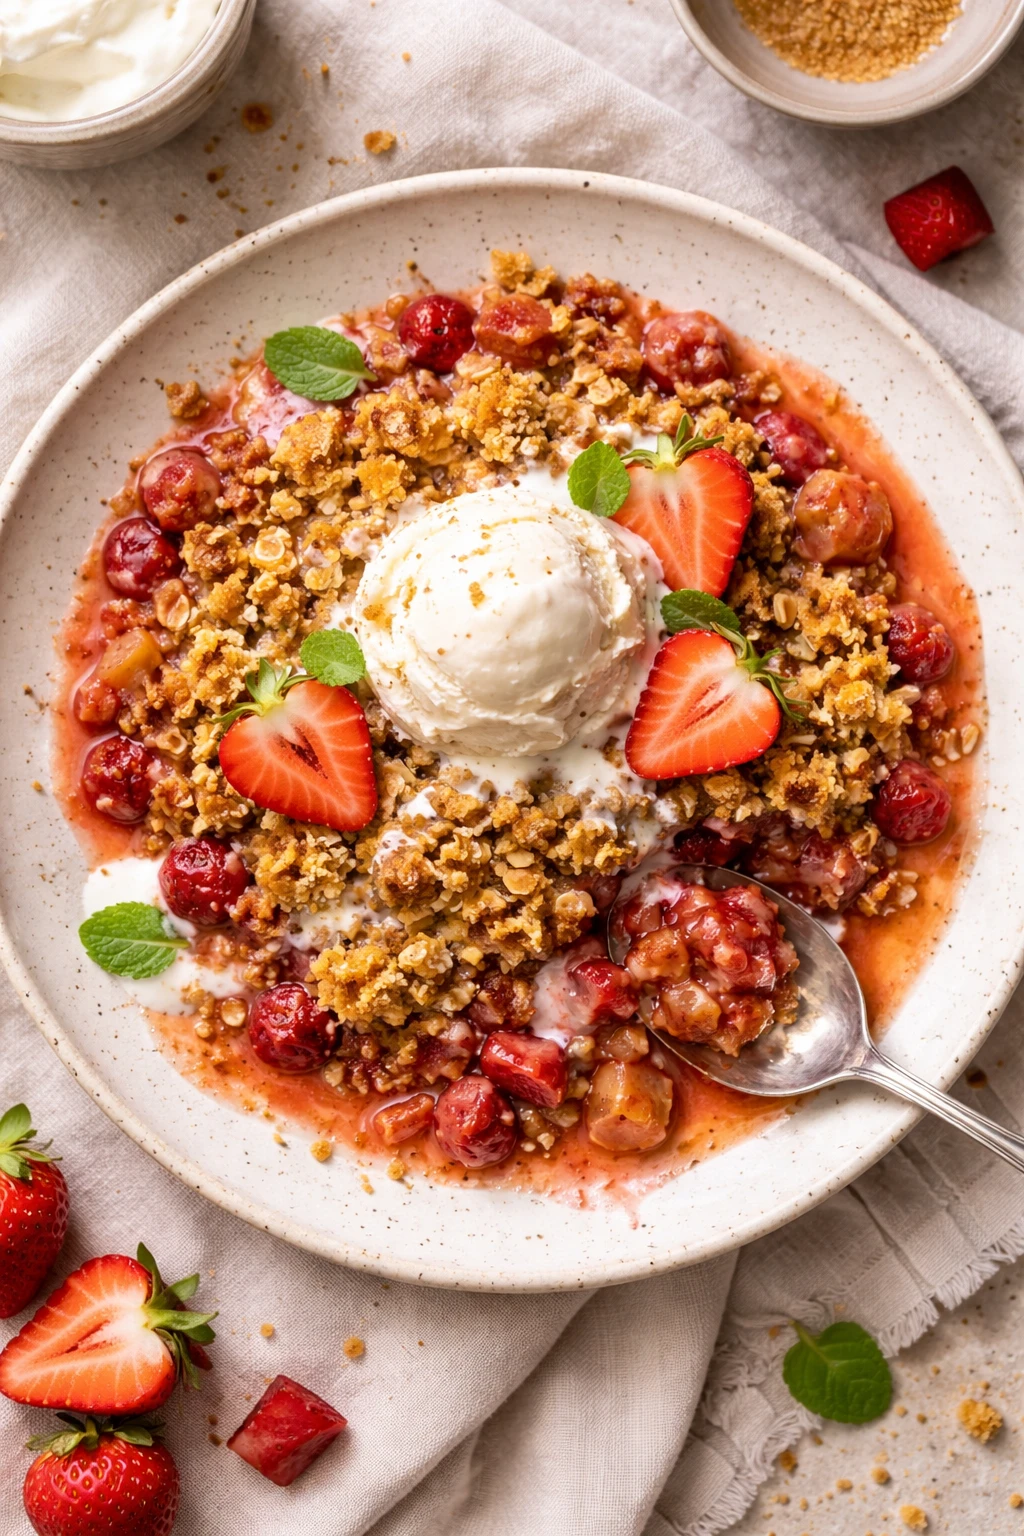
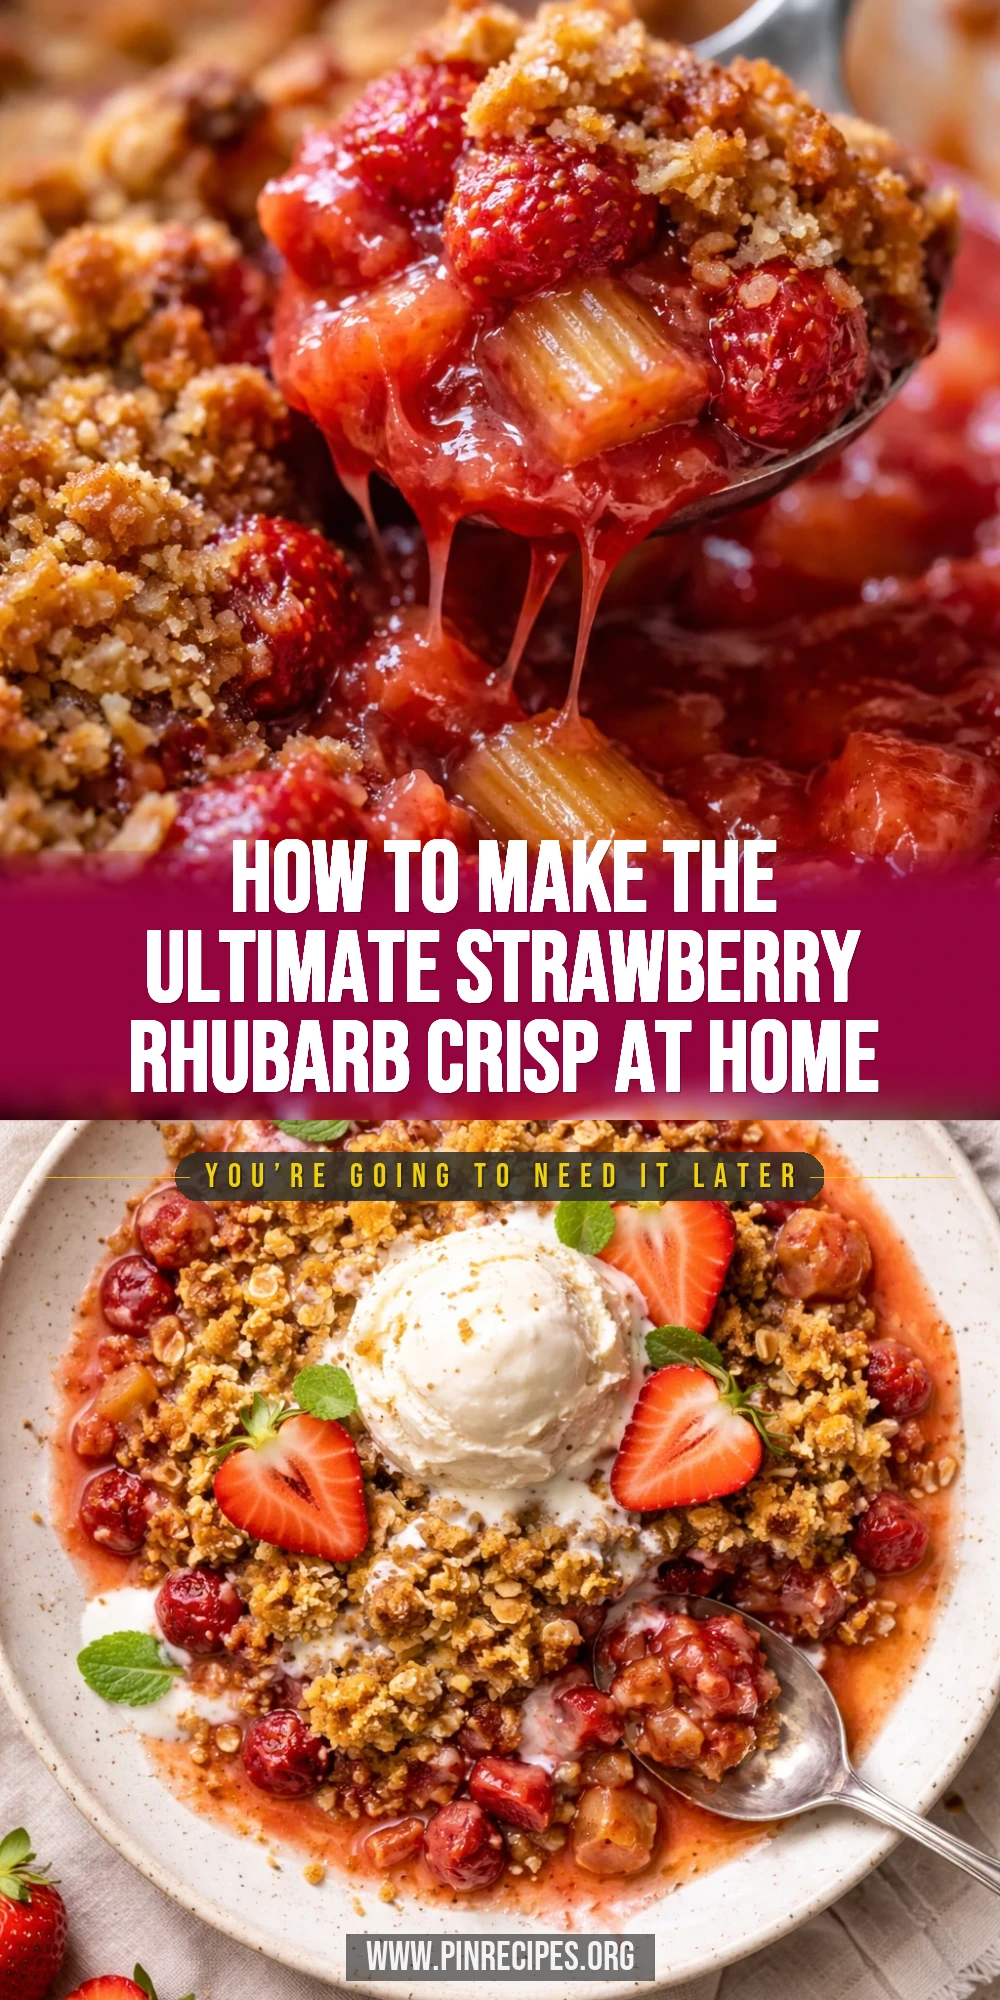
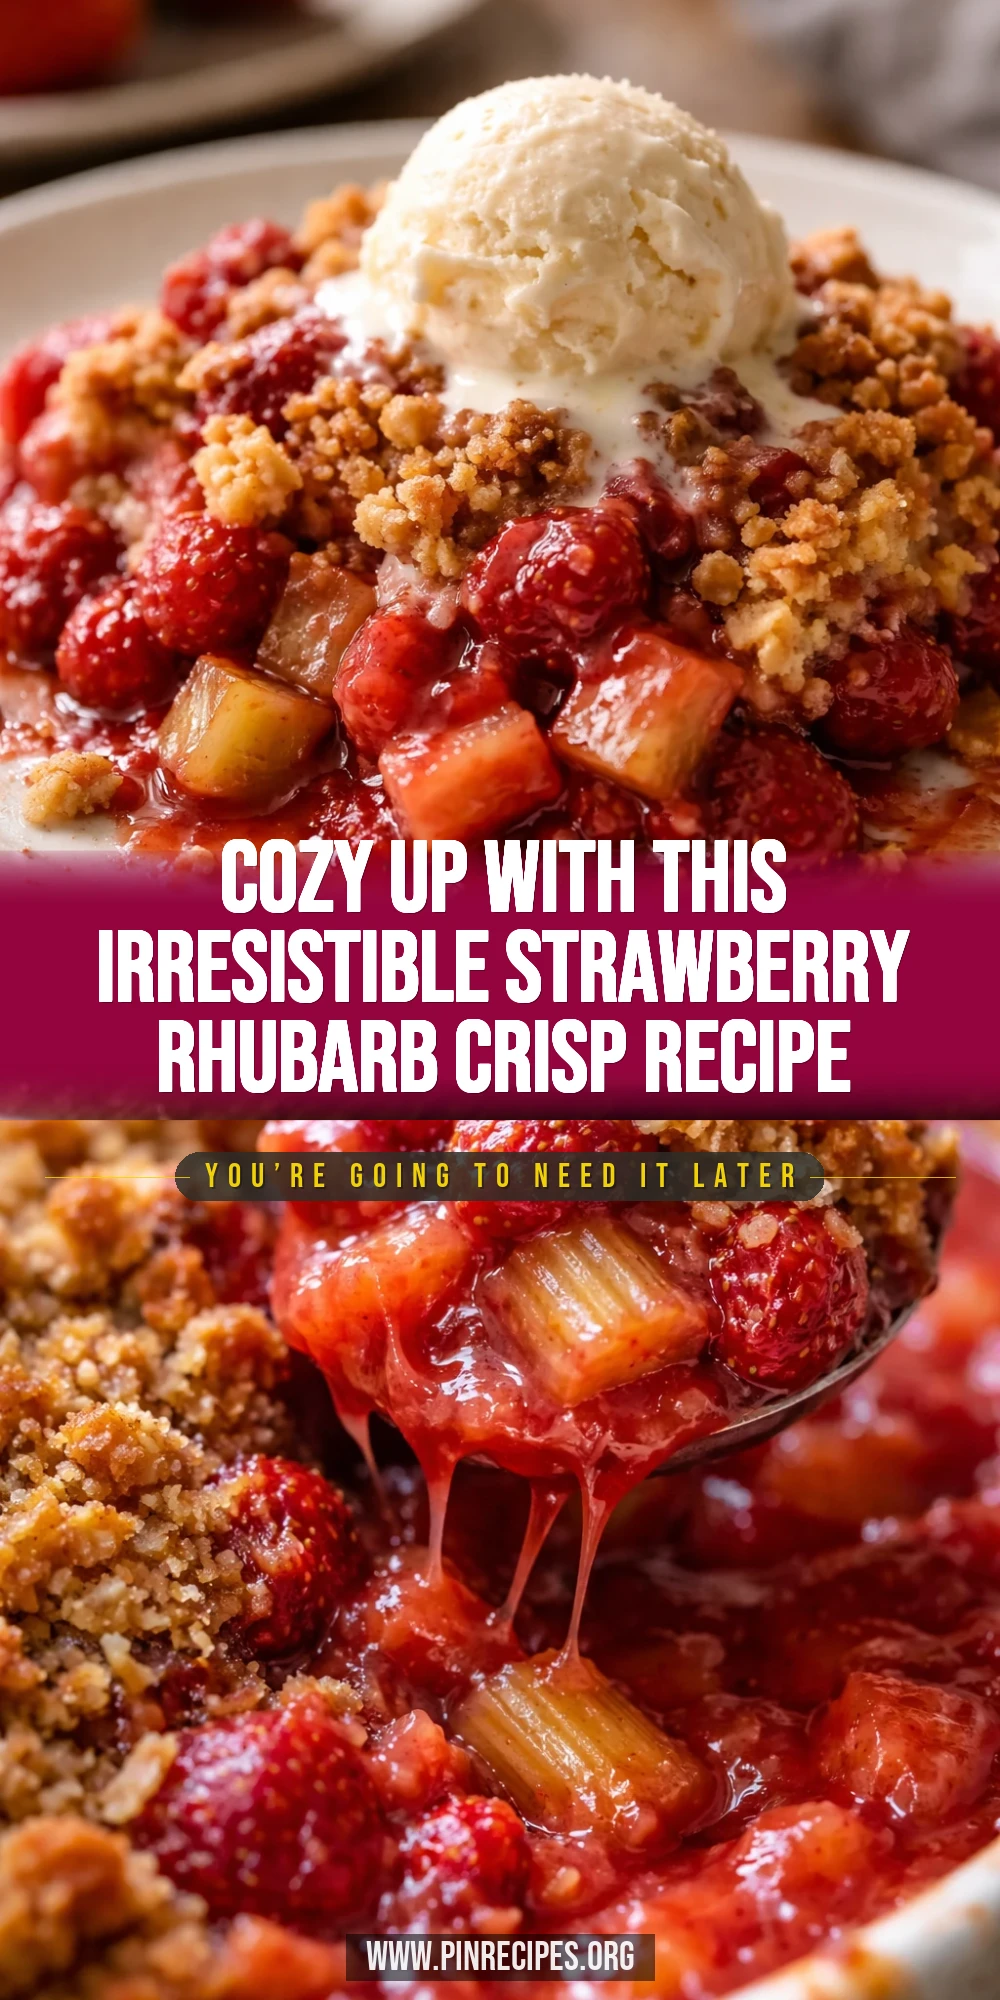
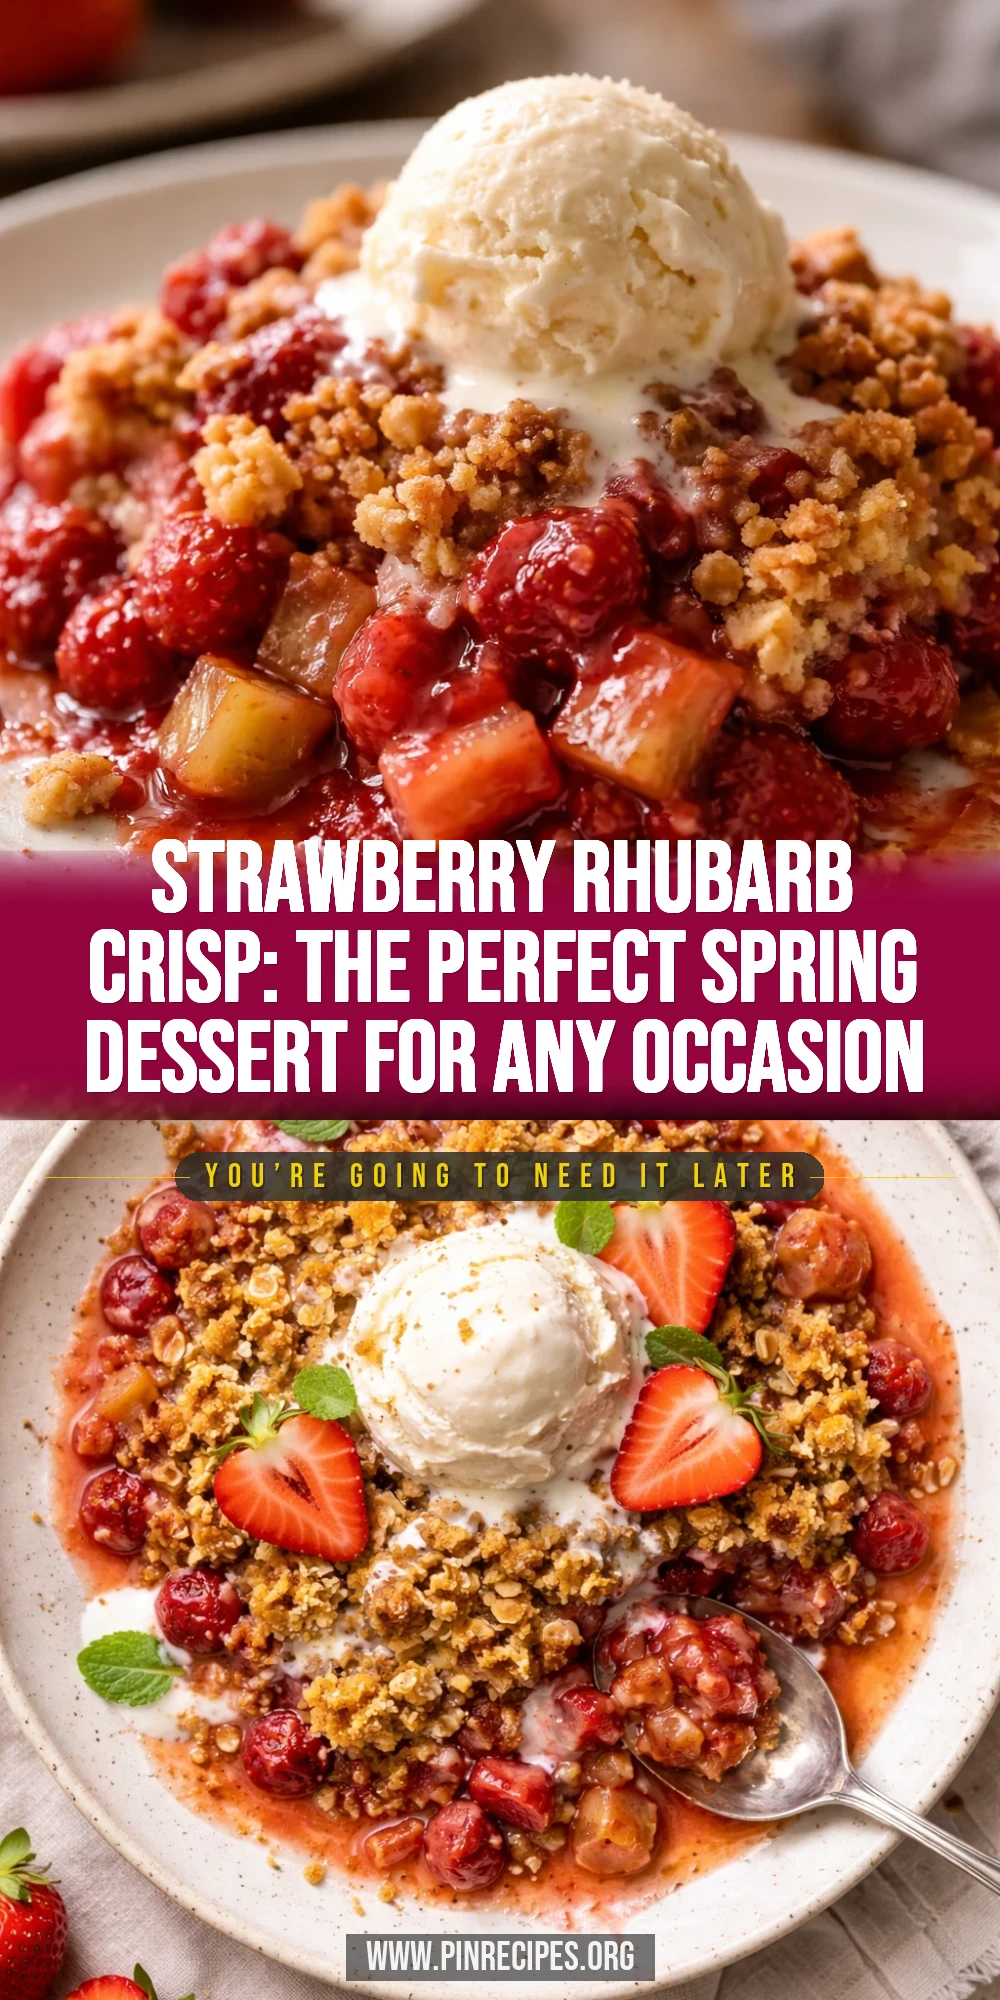
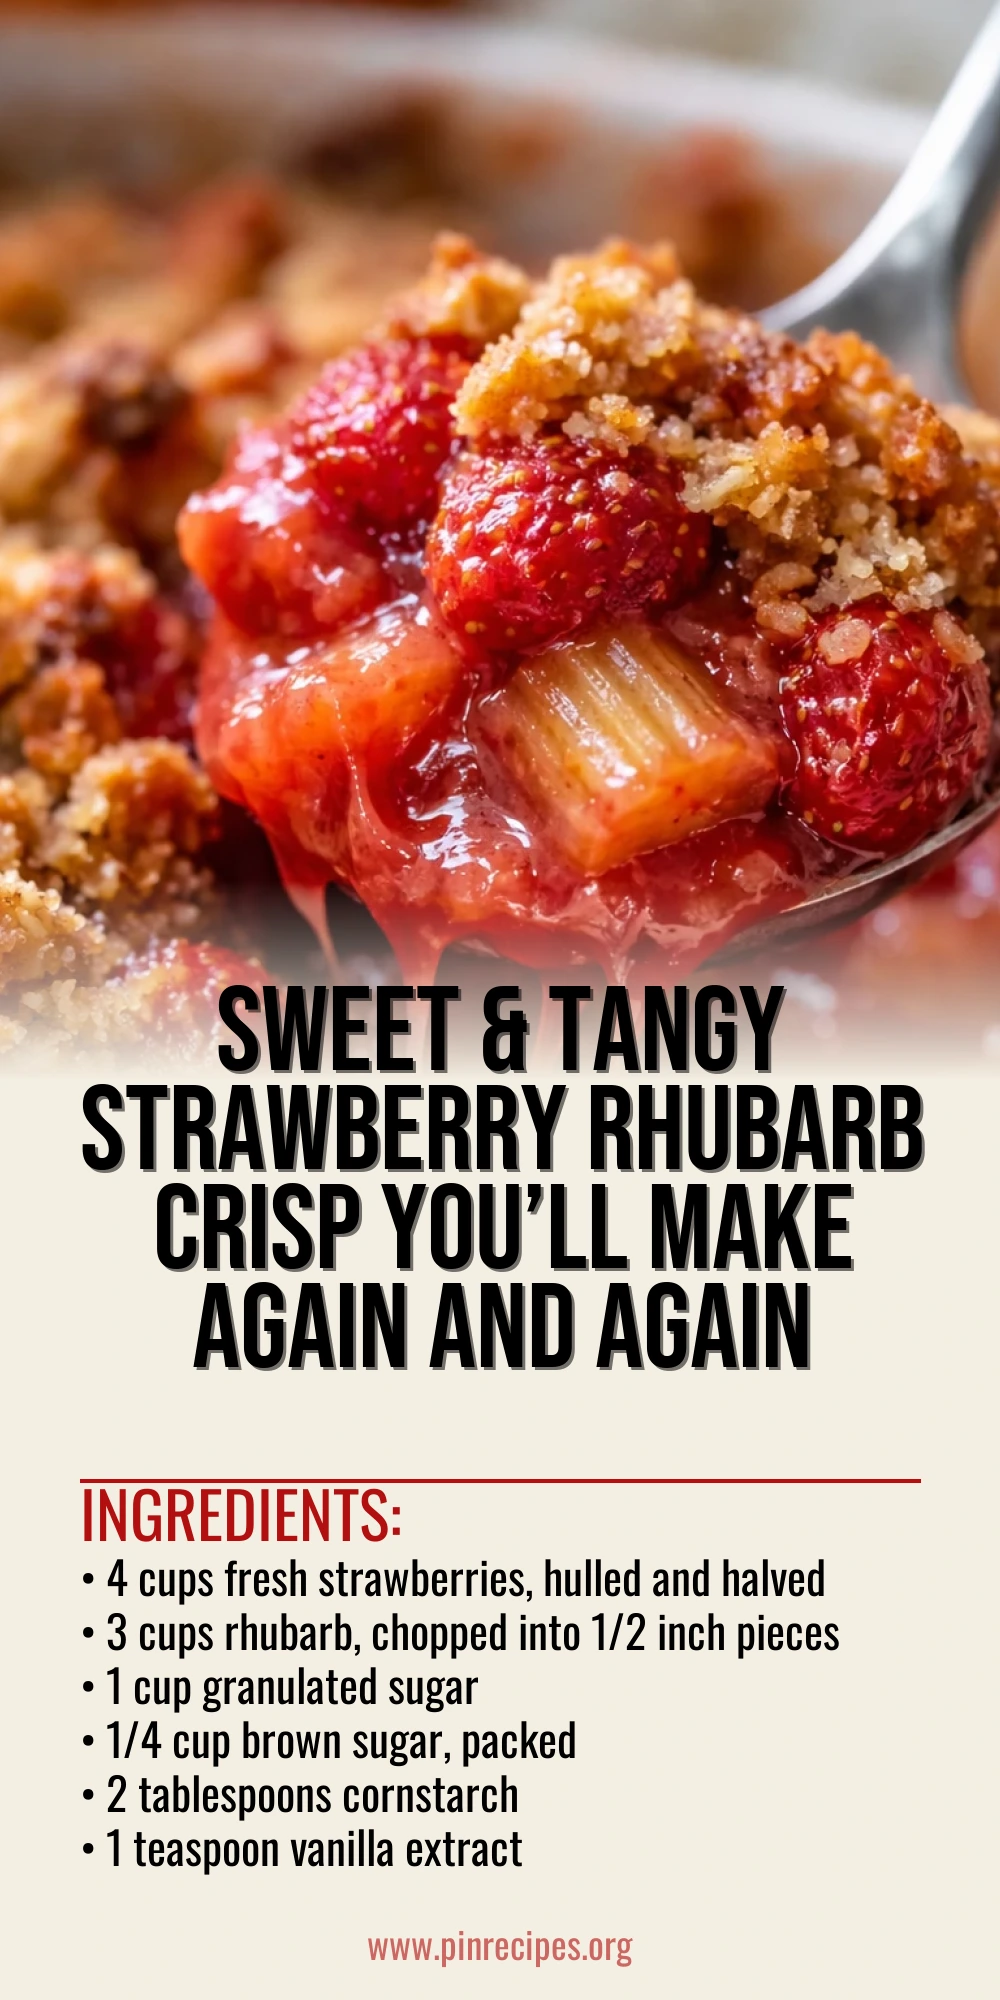
This strawberry rhubarb crisp is the perfect spring treat—tart rhubarb and sweet strawberries baked under a crunchy oat topping. I love how the brown sugar caramelizes for a warm finish. Great for weekend gatherings or cozy nights in!
Introduction
I first made this strawberry rhubarb crisp a few springs ago when rhubarb was in season and I wanted something fresh but comforting. My family loved how the tart rhubarb balanced the sweetness of the strawberries, and the crunchy oat topping was just the right texture contrast. Over time, I tweaked the topping to include nutmeg and a bit more brown sugar, which caramelizes beautifully while baking. One trick I learned is to toss the fruit with cornstarch and sugar to help thicken the juices and keep the crisp from getting soggy. This recipe is a little different from the usual because I use a mix of spices and fresh vanilla extract to deepen the flavor. The final result is a warm, bubbling dessert with a golden crust that’s perfect with a scoop of vanilla ice cream or just on its own. It’s the kind of dessert that feels like a hug on a plate, perfect for spring gatherings or a cozy night in. I’ve had a few failed attempts where the topping wasn’t crunchy enough, but now I always chill the butter beforehand and cut it in just right to get that perfect crumbly texture. If you love fresh fruit desserts with a bit of a tangy kick, you’ll really enjoy this one!
How To Do It
Step 1
Preheat your oven to 375°F (190°C) and grease a 9x13 inch baking dish with butter or non-stick spray. This step ensures your crisp won’t stick and the heat will be even for perfect baking. Preheating is crucial because it helps the fruit juices thicken quickly and the topping to crisp up nicely. If you skip this, you risk a soggy bottom or uneven cooking.
⏱ Time: 10 minutes
✓ Doneness: Oven is fully preheated and baking dish is lightly greased
Step 2
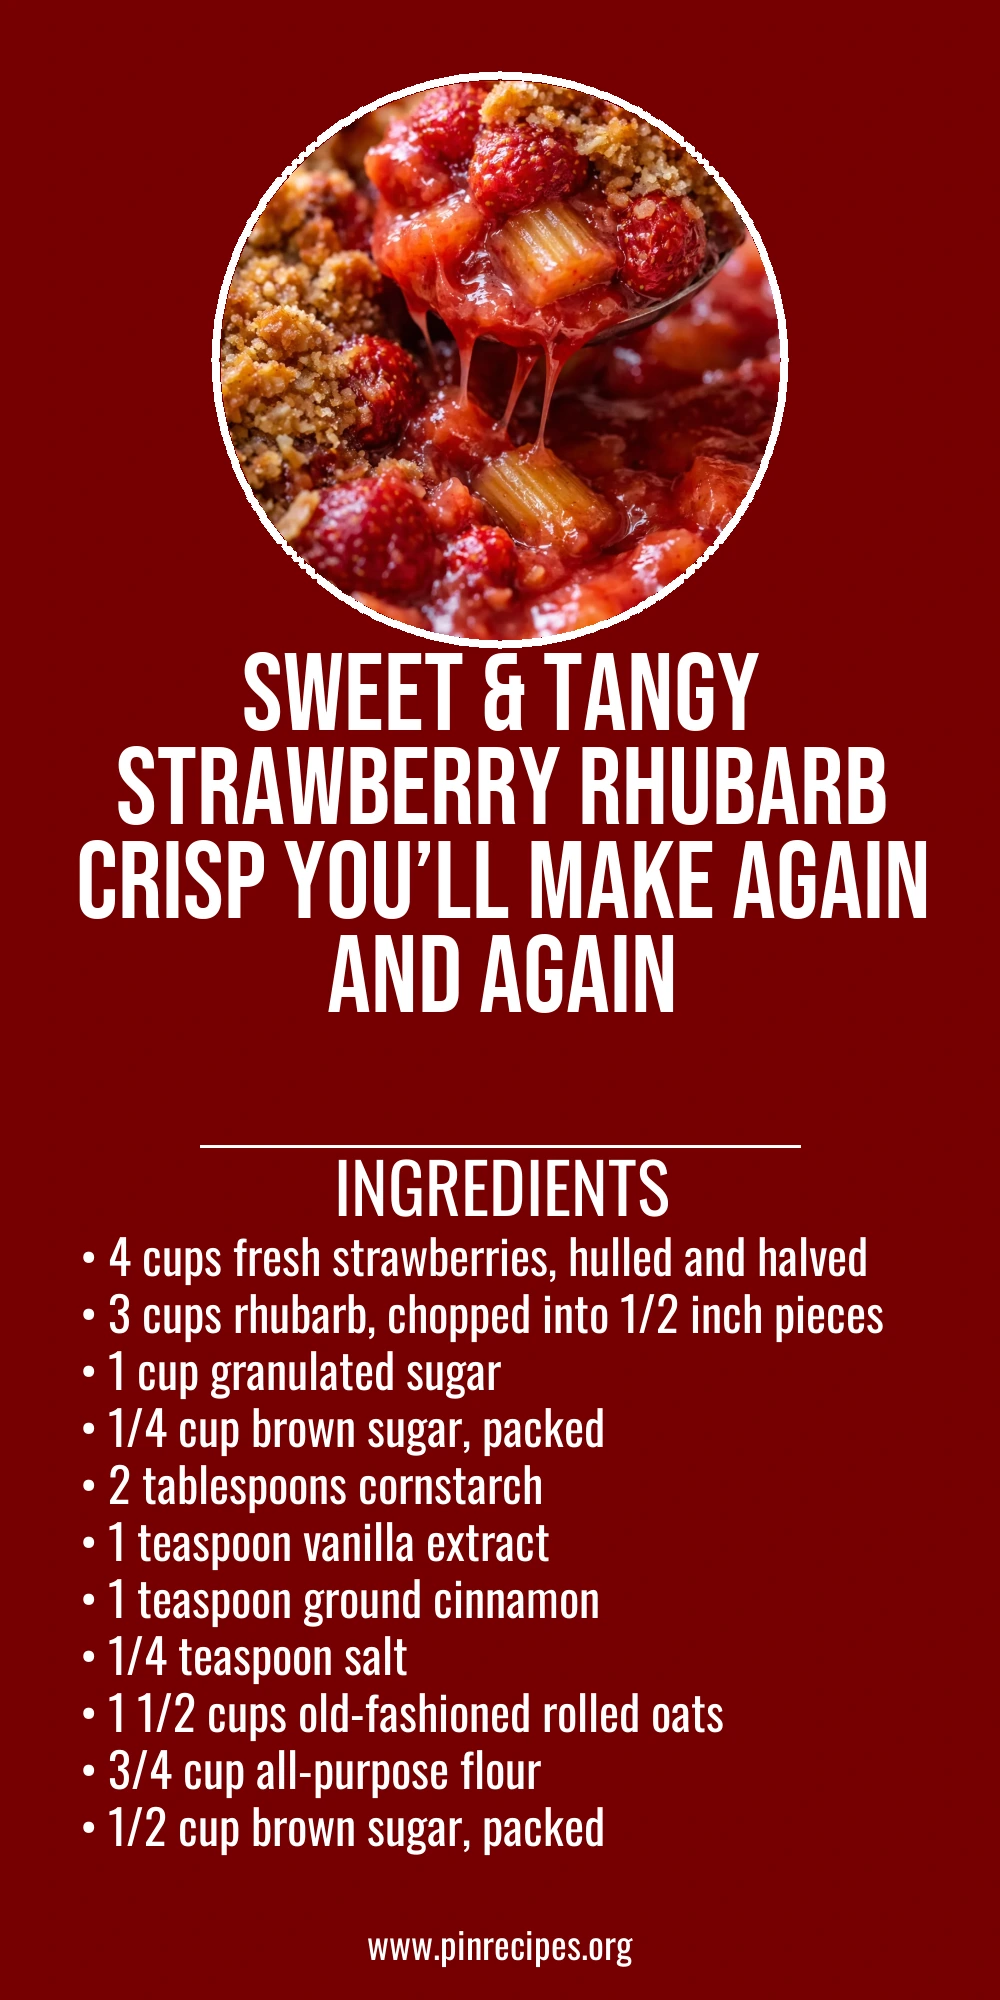
In a large bowl, combine the strawberries and chopped rhubarb with granulated sugar, brown sugar, cornstarch, vanilla extract, cinnamon, and salt. Toss gently but thoroughly so each piece is coated. The cornstarch is key here—it thickens the fruit juices as they bake to prevent a watery crisp. Make sure to coat evenly to get balanced sweetness and flavor throughout.
⏱ Time: 10 minutes
✓ Doneness: Fruit mixture looks evenly coated and slightly glossy
Step 3
Transfer the fruit mixture to your prepared baking dish, spreading it out evenly. This even layer helps the fruit cook uniformly and the juices bubble up properly. Avoid overpacking the fruit, or it might steam instead of bake, making the topping soggy.
⏱ Time: 5 minutes
✓ Doneness: Fruit layer is level and fills the dish without overflowing
Step 4
In a separate bowl, whisk together the rolled oats, flour, brown sugar, nutmeg, and a pinch of salt for the topping. Mixing dry ingredients first ensures even distribution of spices and sugar, which creates a balanced flavor and texture. Don’t skip this step or your topping may bake unevenly.
⏱ Time: 5 minutes
✓ Doneness: Dry ingredients are well combined with no clumps
Step 5
Add the cold, cubed butter to the oat mixture. Using a pastry cutter or your fingertips, quickly cut the butter into the dry ingredients until it resembles coarse crumbs. The cold butter creates pockets of fat that melt during baking, giving the topping a flaky, crisp texture. If the butter melts too much, the topping will be greasy and dense.
⏱ Time: 7 minutes
✓ Doneness: Mixture looks crumbly with pea-sized butter pieces
Step 6
Sprinkle the oat topping evenly over the fruit layer. Try to cover all the fruit so the juices bubble up under the crisp topping, creating a delicious contrast of textures. Uneven topping can cause some parts to burn or others to stay soggy.
⏱ Time: 5 minutes
✓ Doneness: Topping fully covers fruit with no gaps
Step 7
Place the baking dish in the oven and bake for about 40 minutes. The fruit should bubble around the edges and the topping should turn golden brown. Keep an eye on it after 35 minutes to prevent burning. If the topping browns too fast, tent loosely with foil.
⏱ Time: 40 minutes
✓ Doneness: Bubbling fruit and golden brown, crispy topping
Step 8
Once baked, remove the crisp from the oven and let it cool for at least 15 minutes. This resting time allows the fruit juices to thicken further and the topping to set, making it easier to serve and enhancing flavors.
⏱ Time: 15 minutes
✓ Doneness: Fruit juices have thickened and topping feels crisp but not hard
Step 9
Serve warm, ideally with vanilla ice cream or whipped cream. The cold cream contrasts beautifully with the warm, tangy fruit and crunchy topping. Enjoy immediately for best texture, but leftovers reheat well.
⏱ Time: 5 minutes
✓ Doneness: Dessert is warm and topping is crisp when served
Pro Tips
Always use cold butter when making the topping.
Cold butter creates small pockets of fat that melt during baking, resulting in a flaky, crumbly topping. If the butter is too warm, it blends too much with the dry ingredients, making the topping dense and greasy instead of crisp.
Toss the fruit with cornstarch and sugar before baking.
This step thickens the fruit juices released during baking, preventing a watery filling. Cornstarch absorbs excess moisture and helps the juices set as the crisp cools, ensuring a perfect balance between juicy and firm.
Don’t overmix the topping once you add butter.
Overworking the mixture can cause the butter to warm and blend too much, losing the crumbly texture. Use quick, gentle motions to keep the butter in pea-sized pieces for a light, crisp topping.
Let the crisp cool for at least 15 minutes before serving.
Resting allows the fruit juices to thicken and the topping to set, making it easier to slice and serve. Serving immediately can result in a runny filling and topping that falls apart.
Use fresh, firm strawberries and rhubarb for best texture.
Fresh fruit holds its shape and releases just the right amount of juice. Overripe or mushy fruit can make the crisp soggy and affect the overall flavor.
Add a pinch of nutmeg to the topping for extra warmth.
Nutmeg complements the cinnamon and enhances the flavor complexity, giving the crisp a cozy, inviting aroma without overpowering the fruit.
Cover the edges with foil if the topping browns too quickly.
This prevents burning while allowing the fruit to continue cooking and bubbling underneath. It helps achieve a golden, perfectly baked topping without bitterness.
Common Mistakes to Avoid
Skipping the cornstarch in the fruit filling
Why it happens Many assume the fruit will thicken naturally, but the juices released during baking are often too watery.
Fix Always toss the fruit with cornstarch and sugar before baking to absorb excess moisture and thicken the filling. This prevents a soggy bottom and keeps the topping crisp.
Using softened or melted butter for the topping
Why it happens Some think softened butter is easier to mix, but it changes the texture.
Fix Use cold, cubed butter and cut it into the dry ingredients quickly to create a crumbly texture. Warm butter leads to greasy, dense topping.
Overpacking the fruit in the baking dish
Why it happens Trying to fit all fruit in one layer can cause uneven cooking.
Fix Spread the fruit evenly without overcrowding. This ensures even baking and proper juice bubbling, which keeps the crisp from being soggy.
Not preheating the oven properly
Why it happens Rushing can lead to uneven baking and soggy topping.
Fix Always preheat the oven fully before baking. This helps the topping brown evenly and the fruit cook through at the right pace.
Serving the crisp immediately after baking
Why it happens Impatience to eat can lead to runny filling and falling topping.
Fix Let the crisp rest for at least 15 minutes to allow the juices to thicken and the topping to set, improving texture and flavor.
Variations
Add Almonds for Crunch
Mix sliced almonds into the oat topping for an extra nutty crunch and flavor. Almonds toast beautifully in the oven, adding a lovely texture contrast to the soft fruit. This variation pairs well with a sprinkle of almond extract in the filling.
Note: Add about 1/3 cup sliced almonds to the topping before cutting in the butter. Watch baking time as nuts can brown faster.
Gluten-Free Version
Use gluten-free rolled oats and substitute all-purpose flour with almond flour or a gluten-free baking blend. This keeps the crisp accessible for gluten-sensitive eaters without sacrificing texture or flavor.
Note: Almond flour can make the topping more crumbly; chill the topping mixture before baking to help it hold together.
Add Fresh Ginger for a Spicy Kick
Stir in 1 teaspoon of freshly grated ginger into the fruit mixture for a bright, spicy note that complements the tart rhubarb beautifully. This adds complexity and warmth to the dessert.
Note: Fresh ginger adds moisture, so slightly reduce the sugar to balance the flavor.
Use Frozen Fruit When Out of Season
Substitute fresh strawberries and rhubarb with frozen, thawed and drained well. This makes the recipe doable year-round but expect a bit more liquid, so increase cornstarch slightly.
Note: Pat the thawed fruit dry with paper towels to reduce excess moisture before mixing.
Omit Nutmeg for a Simpler Flavor
If you prefer a more straightforward crisp, skip the nutmeg and just use cinnamon. The flavor will be classic and crowd-pleasing, especially for kids or those sensitive to spice.
Note: No timing changes needed; just omit nutmeg from the topping mix.
Nutrition
Per Serving:
Nutritional values are estimates and may vary based on specific ingredients used.
Storage & Tips
Room Temperature
You can keep the crisp covered at room temperature for up to 2 hours. Beyond that, it’s best to refrigerate to prevent spoilage. Cover loosely with foil or a clean kitchen towel.
Refrigerator
Store leftovers in an airtight container in the fridge for up to 4 days. The topping may soften but reheating in the oven restores some crunch. Serve warm or cold depending on preference.
Freezer
Freeze the crisp in a freezer-safe container for up to 3 months. Wrap tightly with plastic wrap and foil to prevent freezer burn. Thaw overnight in the fridge before reheating.
Reheating
Reheat in a 350°F oven for 15-20 minutes until warmed through and topping is crisp again. Avoid microwaving as it can make the topping soggy. Add a splash of cream or milk if the filling seems dry.
Make Ahead
Prepare the fruit filling and topping separately up to 2 days ahead. Store the fruit mixture in the fridge and keep the topping chilled. Assemble and bake just before serving for the freshest results.
FAQ
Can I use frozen strawberries and rhubarb for this recipe?
Yes, you can use frozen fruit but make sure to thaw and drain it well to reduce excess moisture. You might want to increase the cornstarch slightly to help thicken the juices, or pat the fruit dry with paper towels before mixing.
What can I substitute for cornstarch in the filling?
You can use tapioca starch or arrowroot powder as a thickener instead of cornstarch. These alternatives work similarly by absorbing moisture and thickening the fruit juices during baking.
How do I keep the topping crunchy after baking?
Use cold butter and cut it into the dry ingredients quickly to create a crumbly texture. Also, let the crisp cool for at least 15 minutes before serving, and reheat in the oven rather than microwave to maintain crunch.
Can I make this crisp vegan?
Absolutely! Substitute the butter with a vegan butter or coconut oil. Coconut oil will add a slight coconut flavor but still create a crisp topping. Ensure your sugars are vegan-friendly as well.
Why is my crisp soggy on the bottom?
This usually happens if the fruit releases too much juice or if the topping is too thin. Make sure to toss the fruit with enough cornstarch and sugar, and avoid overpacking the fruit in the dish for even cooking.
Can I prepare this dessert ahead of time?
Yes, you can prepare the fruit mixture and topping separately up to two days ahead. Keep them refrigerated and assemble just before baking to keep the topping crisp and fresh.
What’s the best way to serve this crisp?
Serve warm with a scoop of vanilla ice cream or a dollop of whipped cream. The contrast between the warm fruit and cold cream is delicious and classic.
How long does this dessert keep after baking?
Stored in the refrigerator in an airtight container, it keeps well for up to 4 days. The topping may soften but reheating in the oven helps restore some crispness.
Final Thoughts
I hope you love making and sharing this strawberry rhubarb crisp as much as I do! Don’t forget to tell me how it turns out or any twists you try!