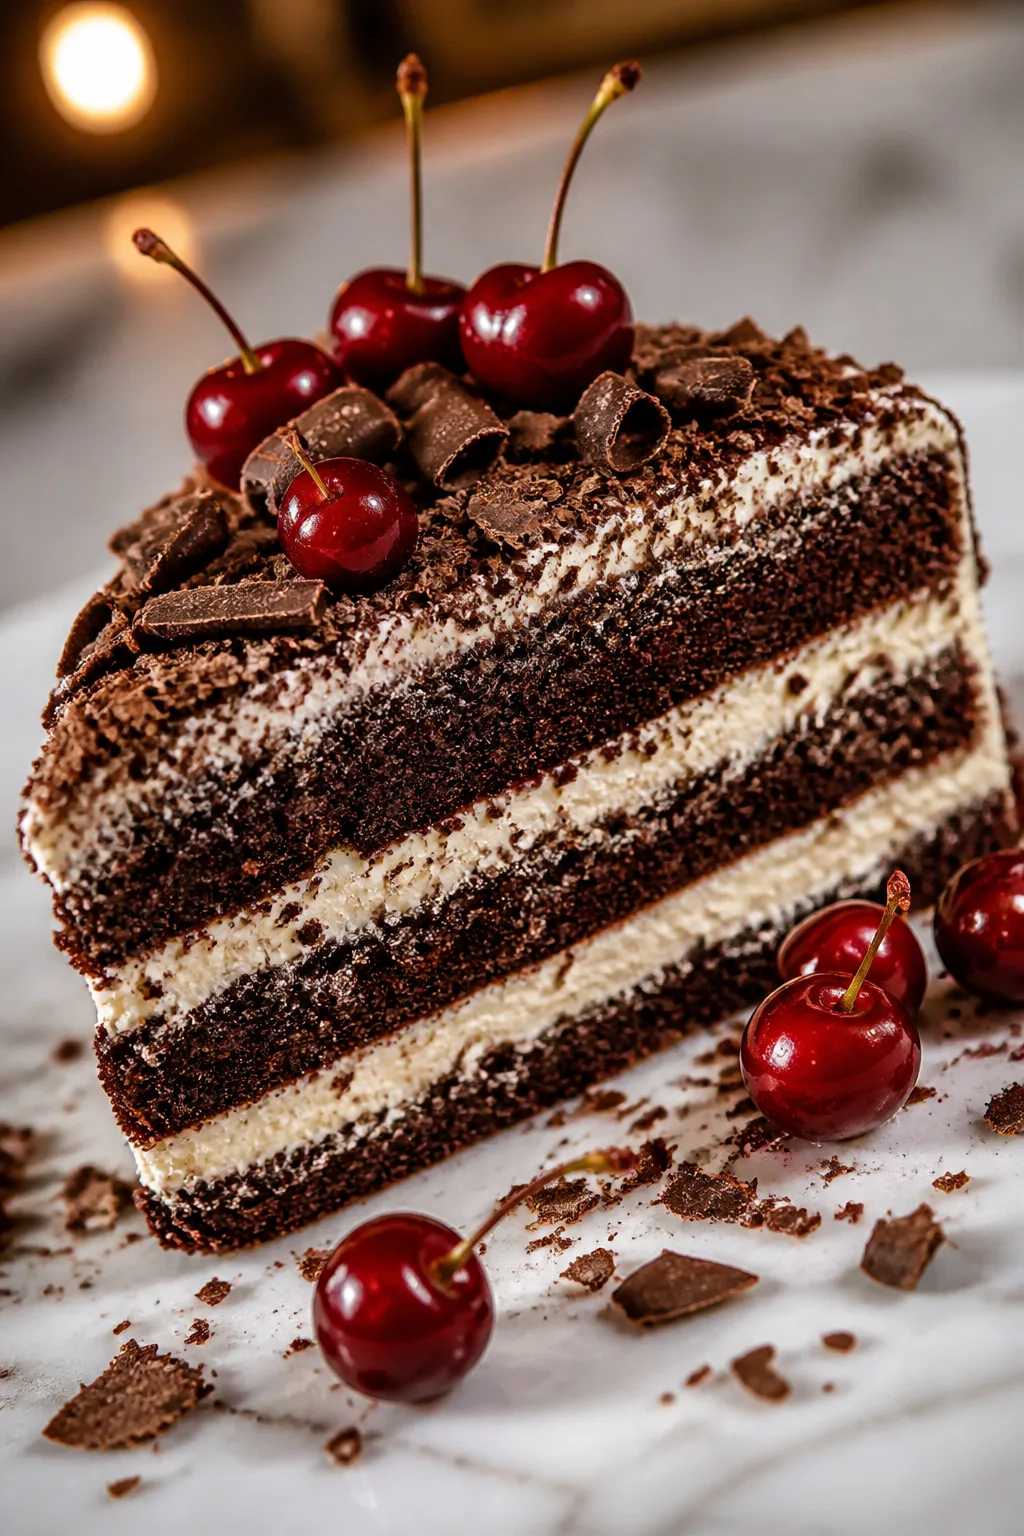
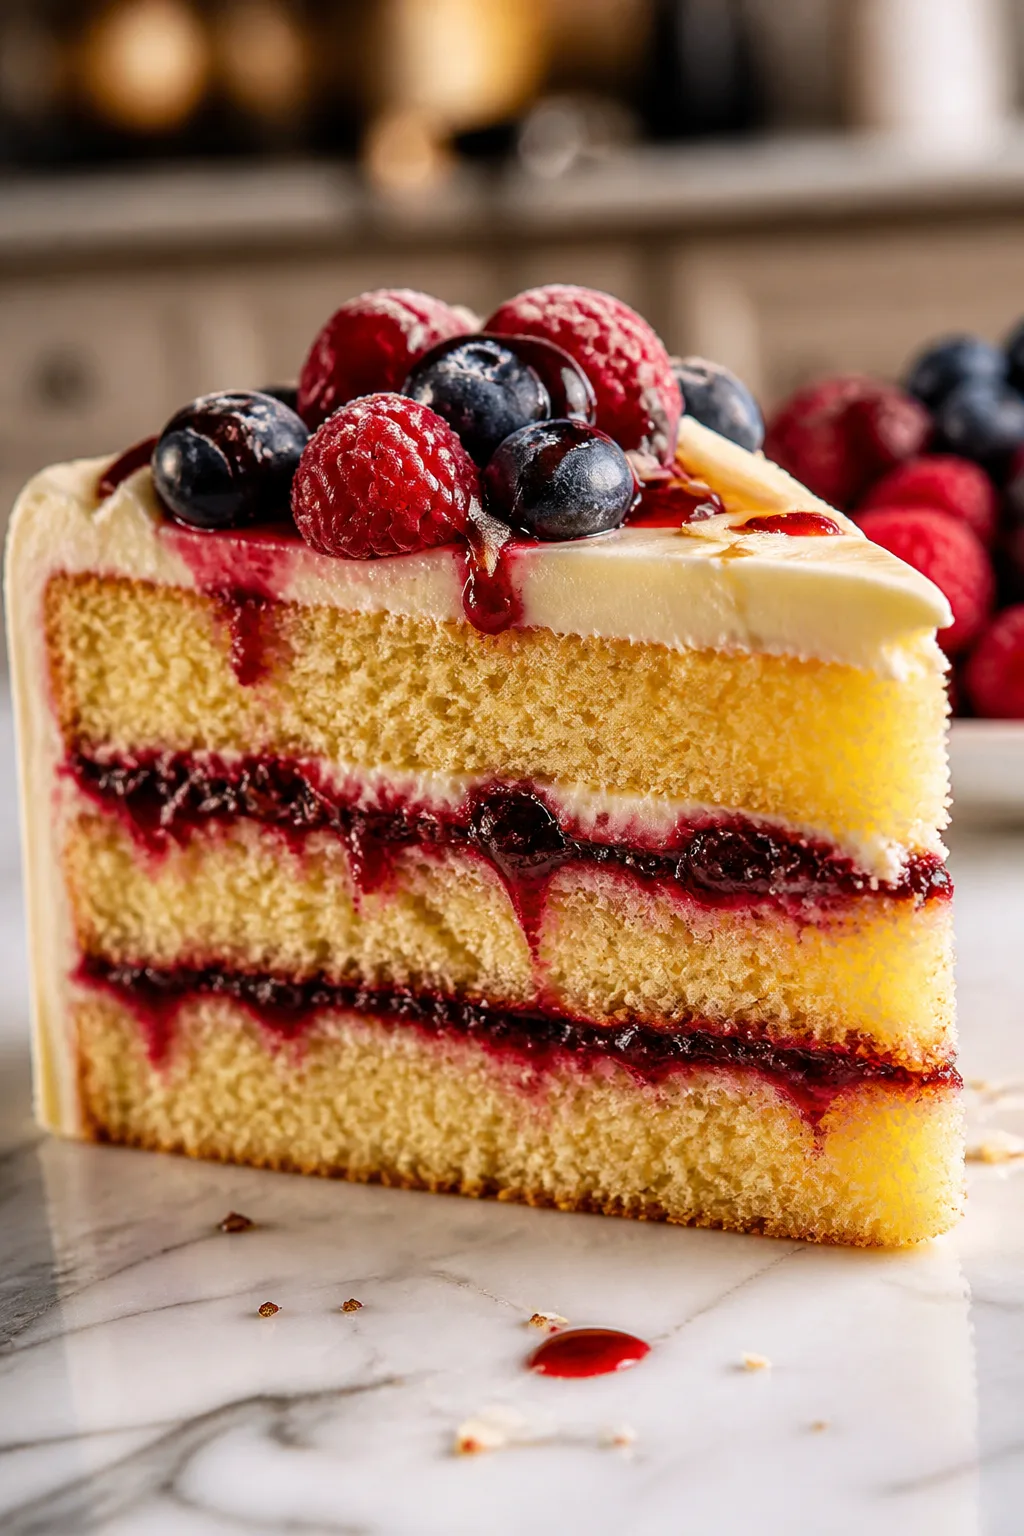
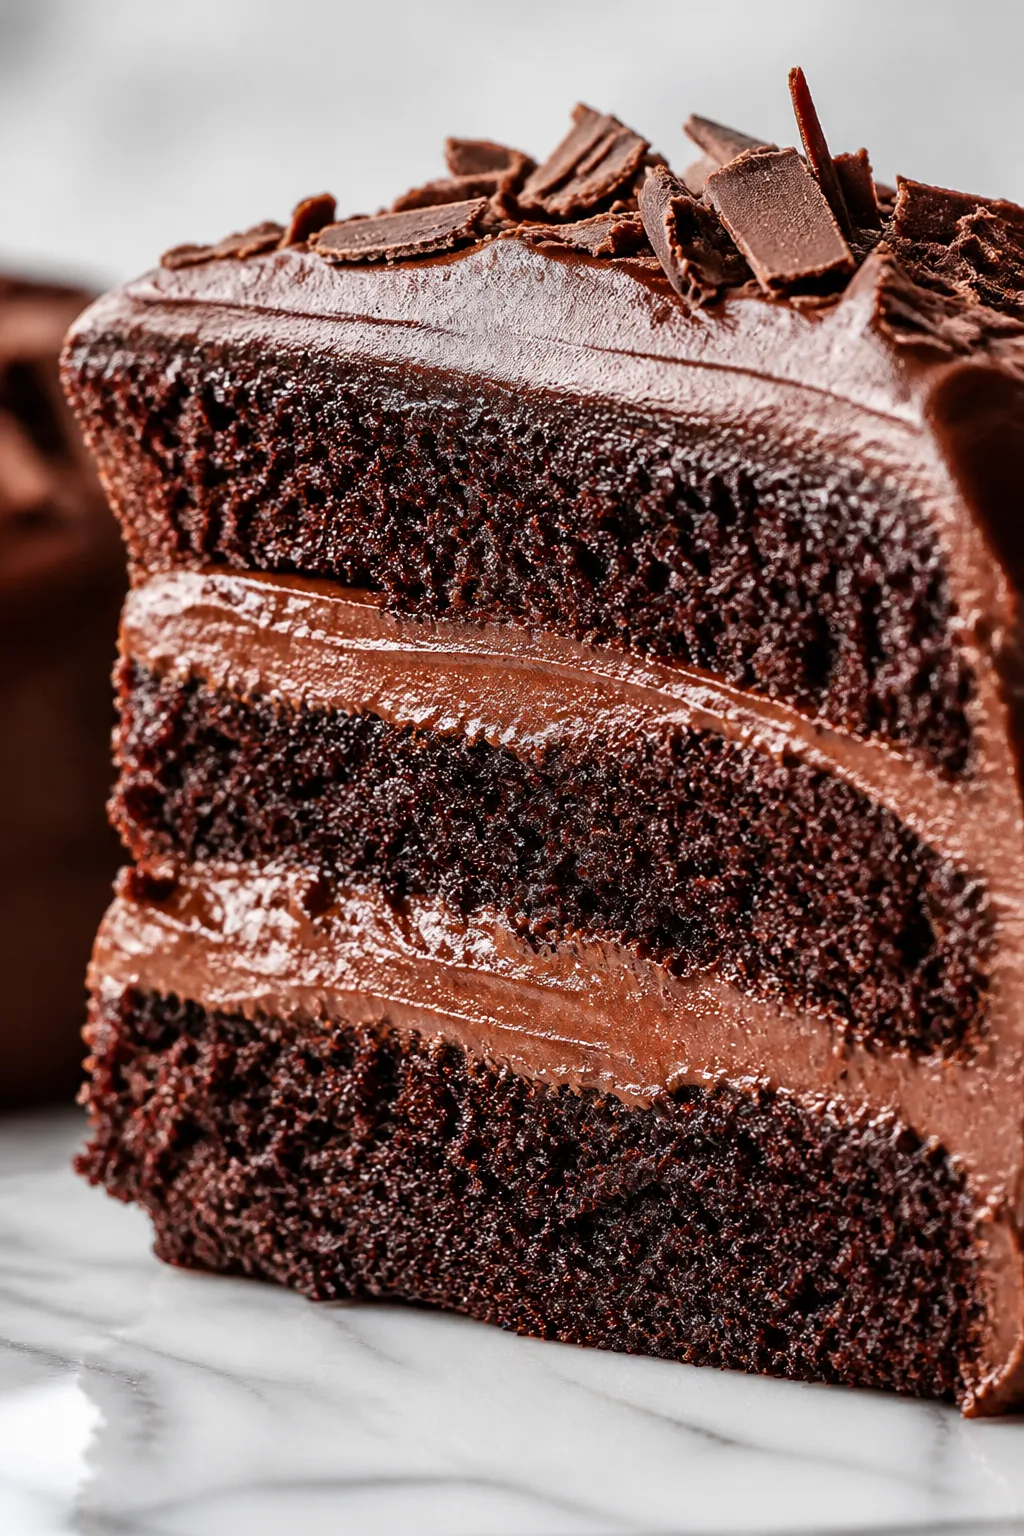
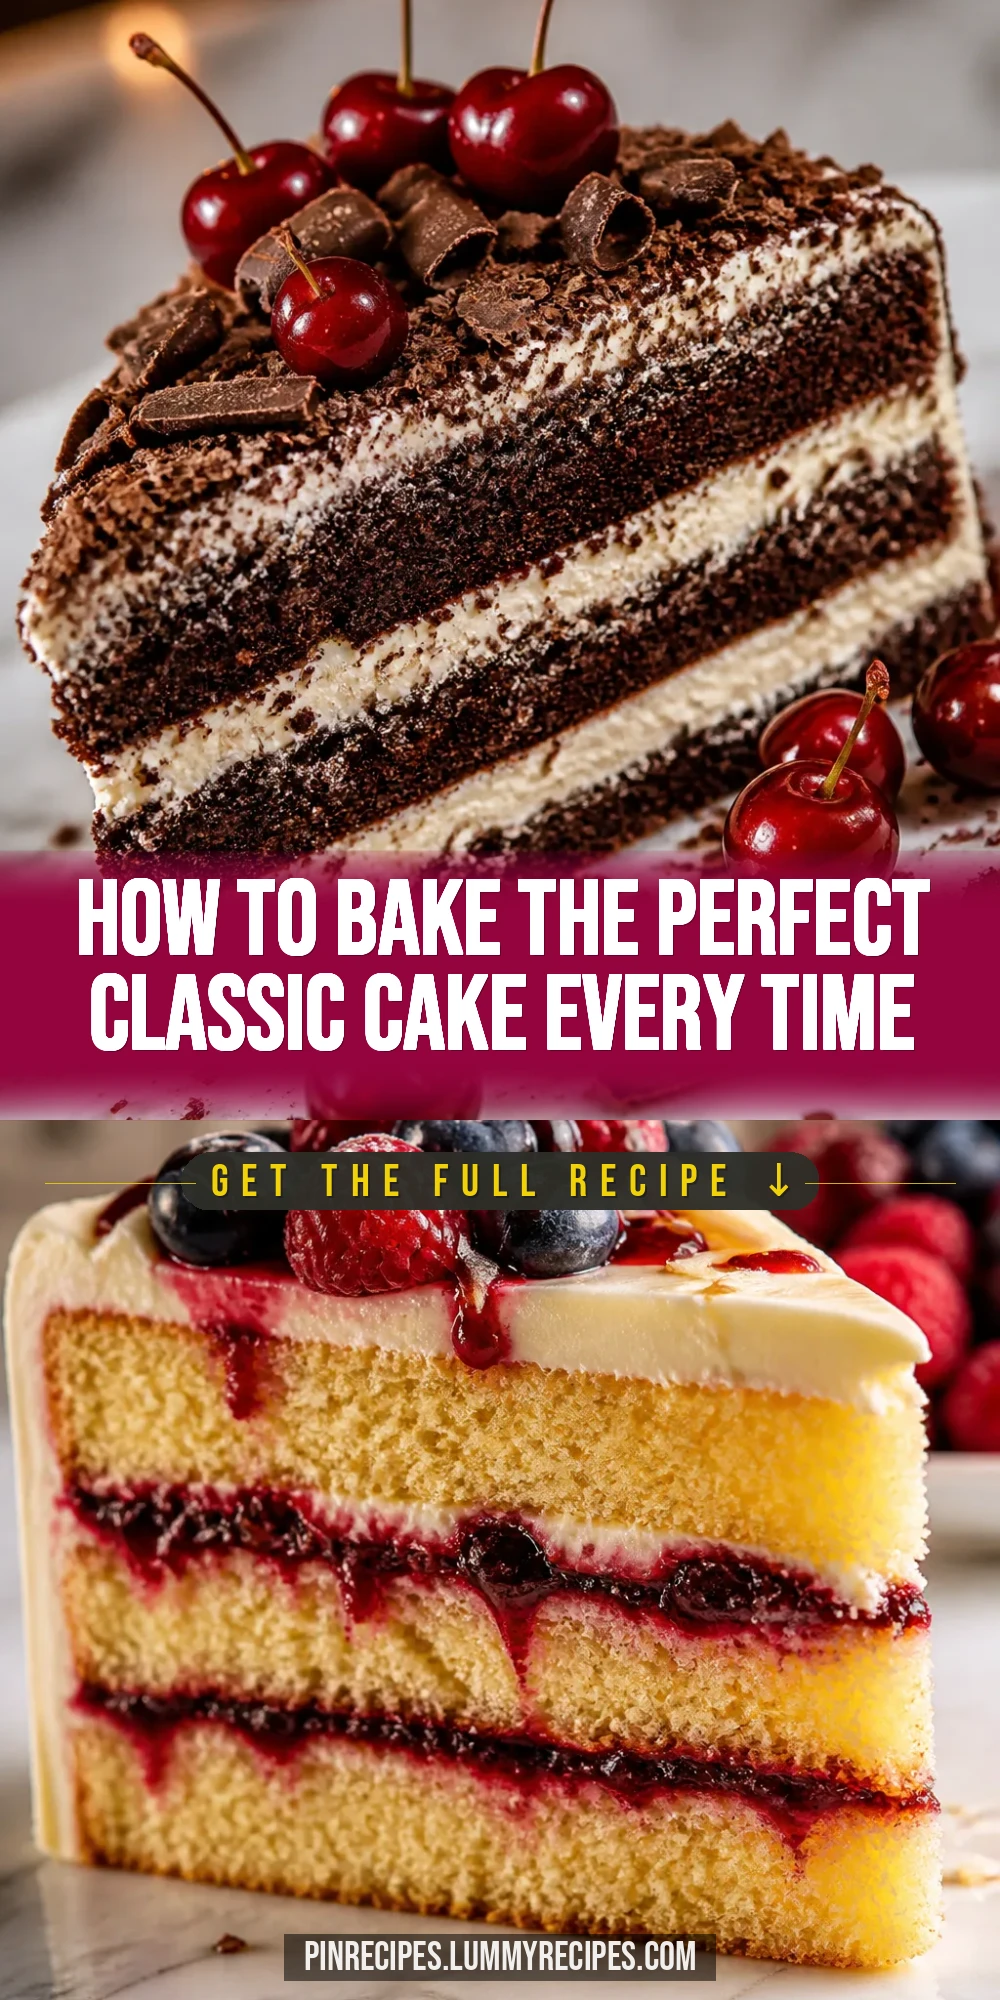
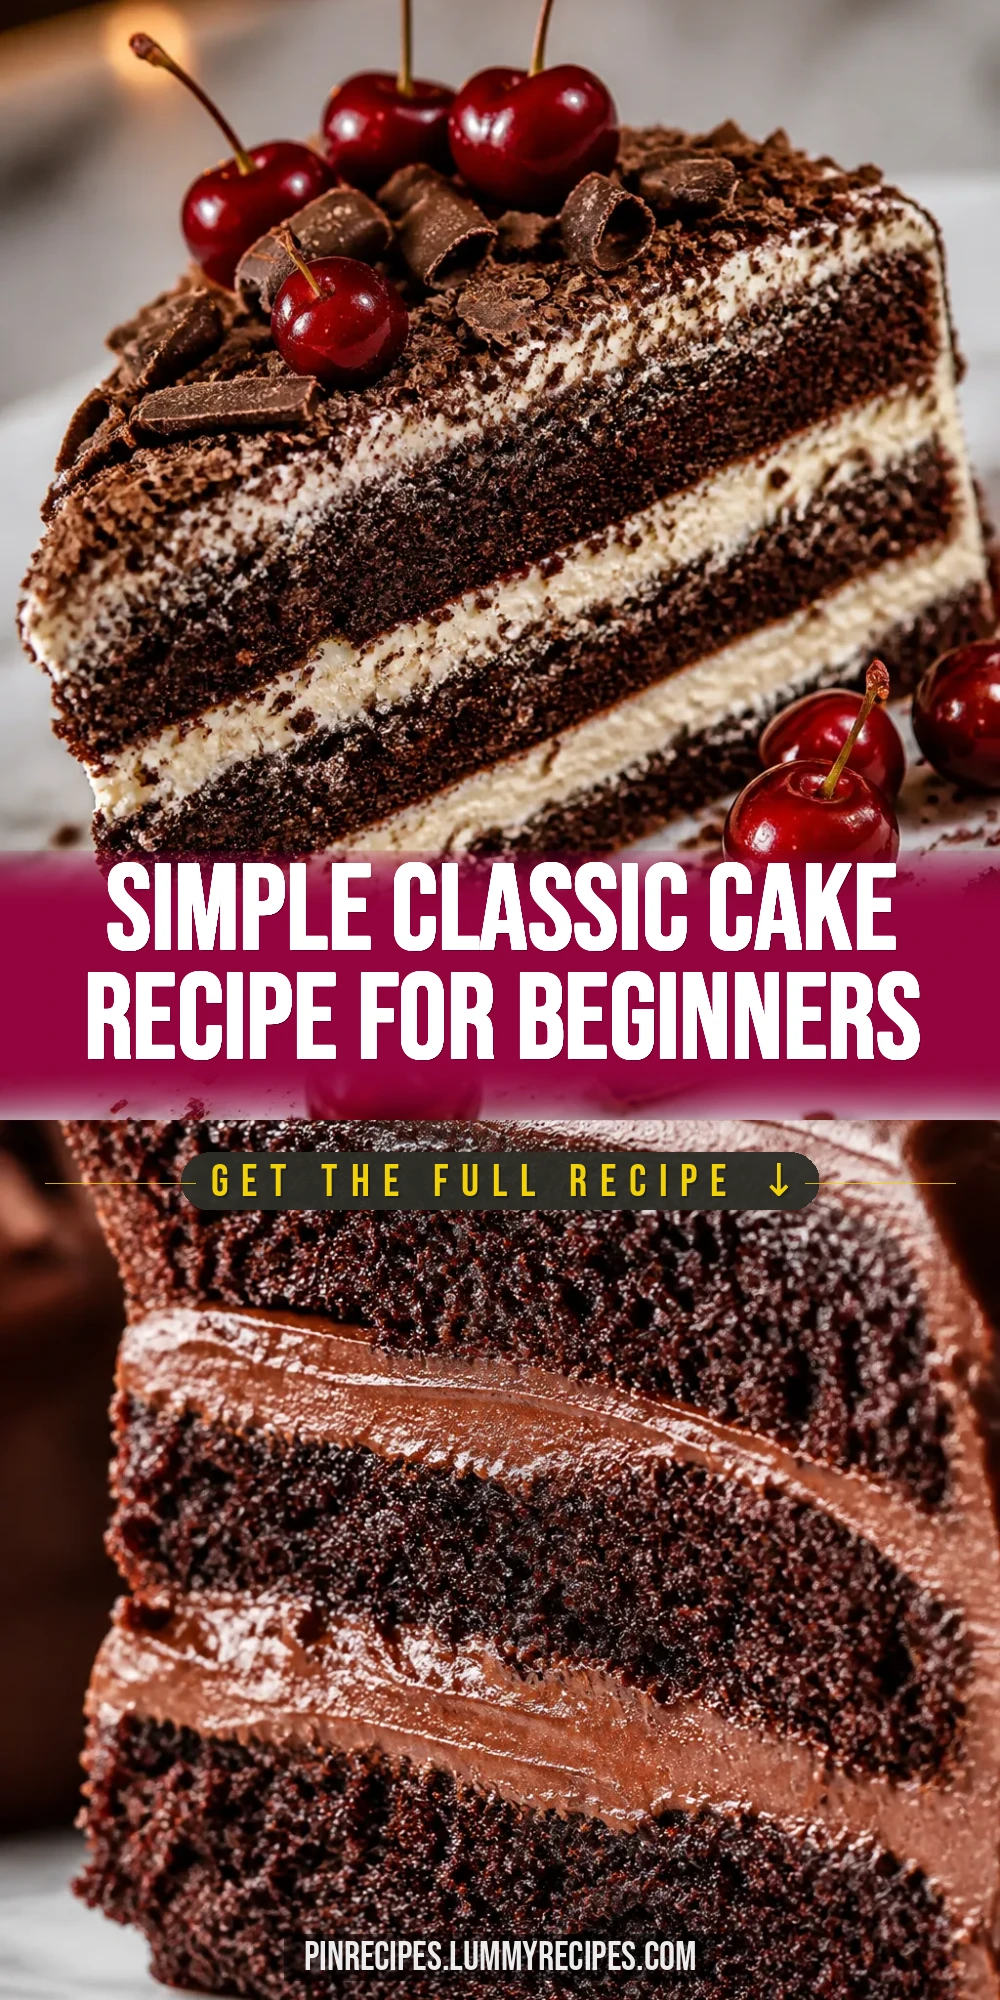
These classic cake recipes are the heart of every celebration. Using simple ingredients and a secret step for extra fluffiness, they’re perfect for birthdays or cozy afternoons with family.
Introduction
I've been baking classic cakes since I was a kid, watching my grandmother carefully measure and mix with so much love. This recipe is close to my heart because it reminds me of family celebrations filled with laughter and sweet treats. Over the years, I’ve tweaked it just a bit to make the texture lighter and the crumb softer without losing that nostalgic flavor. One trick I swear by is sifting the flour and carefully folding the batter to keep it airy. Another secret is using room temperature ingredients, which really helps everything blend smoothly and bake evenly. When you slice into this cake, you’ll notice it’s tender and moist, with a golden crust that’s just right. It’s simple, comforting, and perfect for birthdays, holidays, or whenever you need a little homemade happiness.
What You'll Need
One 9-inch round cake, 8 servings
- 2 1/2 cups all-purpose flour, sifted
- 2 1/2 tsp baking powder
- 1/2 tsp salt
- 1 cup unsalted butter, softened
- 1 3/4 cups granulated sugar
- 4 large eggs, room temperature
- 1 cup whole milk, room temperature
- 2 tsp pure vanilla extract
How To Do It
Step 1
Preheat your oven to 350°F (175°C). Grease and flour a 9-inch round cake pan to prevent sticking. This step is important because a properly prepared pan ensures your cake releases easily after baking. Avoid using too much flour, which can create a dry crust. Instead, tap out excess flour evenly for a smooth surface.
⏱ Time: 10 minutes
✓ Doneness: Pan is evenly greased and floured with no clumps or bare spots
Step 2
In a medium bowl, sift together the flour, baking powder, and salt. Sifting aerates the flour and removes lumps, which helps the cake rise evenly and gives it a tender crumb. Mixing these dry ingredients thoroughly also ensures the leavening is distributed uniformly. Don’t skip this step, especially if your flour has been sitting for a while.
⏱ Time: 5 minutes
✓ Doneness: Dry ingredients are well combined and light in texture
Step 3
In a large bowl, beat the softened butter with an electric mixer on medium speed until creamy and smooth, about 2 minutes. Then gradually add the sugar, continuing to beat until the mixture is light and fluffy. This creaming process incorporates air into the batter, which is key for a soft, tender cake. If you rush this, the cake might turn out dense.
⏱ Time: 5-7 minutes
✓ Doneness: Butter and sugar mixture is pale, fluffy, and has increased in volume
Step 4
Add the eggs one at a time, beating well after each addition. This slow incorporation helps the eggs emulsify with the butter and sugar, creating a stable batter that traps air. If you add eggs too quickly, the batter can curdle, leading to a coarse texture.
⏱ Time: 3-5 minutes
✓ Doneness: Batter is smooth, glossy, and well combined without streaks
Step 5
Mix in the vanilla extract to add a warm, sweet aroma that complements the cake’s flavor beautifully. Use pure vanilla extract for the best taste; imitation vanilla won’t give the same depth. Stir gently to combine without overmixing.
⏱ Time: 1 minute
✓ Doneness: Vanilla is evenly distributed, batter smells fragrant
Step 6
Add the dry ingredients in three parts alternately with the milk, beginning and ending with the dry ingredients. Mix gently after each addition just until combined. This alternating method helps maintain the batter’s airiness and prevents overdeveloping gluten, which can make the cake tough.
⏱ Time: 5 minutes
✓ Doneness: Batter is smooth, slightly thick, and free of flour pockets
Step 7
Pour the batter into the prepared pan and smooth the top with a spatula. Tap the pan lightly on the counter to release any large air bubbles. This helps the cake bake evenly and prevents holes or tunnels inside the crumb.
⏱ Time: 3 minutes
✓ Doneness: Batter is evenly spread and surface is smooth
Step 8
Bake in the preheated oven for 28-32 minutes. Check doneness by inserting a toothpick in the center; it should come out clean or with a few moist crumbs. Avoid opening the oven door too early, as sudden temperature changes can cause the cake to sink.
⏱ Time: 28-32 minutes
✓ Doneness: Cake is golden brown and toothpick comes out clean
Step 9
Let the cake cool in the pan for 10 minutes before turning it out onto a wire rack to cool completely. Cooling in the pan lets the cake set and prevents it from breaking apart. Removing it too soon can cause it to crumble; too late, and it might stick.
⏱ Time: 15-20 minutes
✓ Doneness: Cake comes out cleanly and is cool to the touch
Pro Tips
Always use room temperature ingredients for best mixing.
When ingredients like butter, eggs, and milk are at room temperature, they combine more easily and evenly. This creates a smoother batter that traps air better, resulting in a lighter, fluffier cake. Using cold ingredients can cause the batter to curdle or mix unevenly, leading to dense or uneven texture.
Don’t overmix the batter once you add the flour.
Overmixing after adding flour develops gluten strands, which makes the cake tough instead of tender. Mixing just until the flour disappears keeps the crumb soft and delicate. It’s tempting to mix longer to get a smooth batter, but a few small lumps are okay and better than overworked dough.
Use an oven thermometer to ensure accurate baking temperature.
Many ovens run hotter or colder than the dial indicates. Baking at the wrong temperature can cause the cake to rise too quickly and then collapse, or bake unevenly. An oven thermometer helps you maintain a steady 350°F, which is ideal for this cake’s balance of rise and moistness.
Sift the dry ingredients together before mixing.
Sifting aerates the flour and evenly distributes baking powder and salt. This prevents clumps and uneven rising spots in the cake. It also makes folding the dry ingredients into the wet batter gentler, preserving air bubbles that keep the cake light.
Tap the cake pan gently before baking to release air bubbles.
Tapping the pan helps large air pockets rise to the surface and pop, preventing holes or tunnels inside the cake. This simple step ensures a uniform crumb and prevents uneven baking spots that can cause texture problems.
Let the cake cool in the pan for 10 minutes before removing.
Cooling slightly in the pan lets the cake firm up and reduces the risk of breaking apart when you turn it out. If you try to remove it too soon, it may crumble or stick. Waiting also helps the cake finish baking from residual heat for a perfect texture.
Use pure vanilla extract for the best flavor.
Pure vanilla extract has a richer, more complex flavor than imitation vanilla. It enhances the cake’s taste without overpowering it. Using imitation vanilla can result in a flat or artificial flavor, which is especially noticeable in simple cakes like this.
Common Mistakes to Avoid
Using cold ingredients straight from the fridge
Why it happens Many home cooks forget to take eggs and butter out ahead of time or underestimate how long it takes to reach room temperature.
Fix Plan ahead and remove eggs and butter from the fridge at least 30 minutes before baking. If you’re short on time, place eggs in a bowl of warm water for 10 minutes and soften butter gently in the microwave in short bursts, watching carefully to avoid melting.
Overmixing batter after adding flour
Why it happens It’s natural to want a perfectly smooth batter, but mixing too long develops gluten, making the cake tough.
Fix Mix just until the dry ingredients are incorporated. A few small lumps are okay. Use a gentle folding motion with a spatula instead of vigorous stirring.
Not measuring flour correctly
Why it happens Scooping flour directly with a measuring cup can pack it tightly, adding too much flour.
Fix Use the spoon-and-level method: spoon flour into the measuring cup, then level off with a knife. This ensures the right amount and avoids dry, dense cakes.
Opening the oven door too often during baking
Why it happens Impatience or checking too early can cause temperature drops that make the cake sink.
Fix Resist opening the oven until the last 5 minutes of baking. Use the oven light to check progress instead.
Skipping the sifting of dry ingredients
Why it happens Some cooks see sifting as unnecessary or time-consuming.
Fix Take the extra minute to sift. It aerates flour and prevents lumps, improving texture and rise.
Variations
Lemon Classic Cake
Add 2 tablespoons of fresh lemon juice and 1 tablespoon of lemon zest to the batter for a bright, citrusy twist. This adds a refreshing note without changing the cake’s tender texture.
Note: Reduce vanilla extract to 1 teaspoon to balance flavors; bake as usual.
Chocolate Swirl Classic Cake
Fold in 1/2 cup of melted dark chocolate into half the batter, then swirl both batters together in the pan. This creates a marbled effect with rich chocolate flavor in every bite.
Note: Cool melted chocolate slightly before folding to avoid cooking eggs in the batter.
Buttermilk Classic Cake
Substitute whole milk with buttermilk for a tangier flavor and more tender crumb. Buttermilk’s acidity reacts with baking powder to create extra rise and softness.
Note: Reduce baking powder to 2 tsp to prevent over-leavening.
Spiced Classic Cake
Add 1 teaspoon cinnamon and 1/4 teaspoon nutmeg to the dry ingredients for a warm, cozy flavor perfect for fall or winter occasions.
Note: Sift spices with flour to distribute evenly; bake as usual.
Gluten-Free Classic Cake
Replace all-purpose flour with a gluten-free blend that includes xanthan gum. This version maintains softness and rise but may have a slightly different crumb texture.
Note: Ensure gluten-free flour blend is suitable for baking; avoid overmixing.
Nutrition
Per Serving:
Nutritional values are estimates and may vary based on specific ingredients used.
Storage & Tips
Room Temperature
Store the cake covered loosely with a cake dome or plastic wrap at room temperature for up to 2 days. This keeps the cake moist but avoid direct sunlight or heat which can dry it out.
Refrigerator
Keep the cake in an airtight container in the fridge for up to 5 days. The texture may firm up and become less tender when cold, so bring to room temperature before serving or warm slightly in the microwave.
Freezer
Wrap the cake tightly in plastic wrap and foil, then freeze for up to 3 months. To thaw, place in the fridge overnight or at room temperature for a few hours. Avoid thawing in the microwave to prevent sogginess.
Reheating
Warm slices gently in a microwave for 15-20 seconds or in a low oven (300°F) for 5-7 minutes to restore softness. Adding a small pat of butter or a splash of milk before warming helps keep it moist.
Make Ahead
You can bake the cake layers 1-2 days ahead and store wrapped well in the fridge. Assemble and frost on the day you plan to serve for the best texture and freshness.
FAQ
Can I substitute oil for butter in this cake?
You can substitute oil for butter, but the texture and flavor will change. Butter adds richness and helps with the structure due to its solid fat content, while oil makes cakes moister but denser. Use 3/4 cup oil for 1 cup butter and add a bit more vanilla to compensate for flavor loss.
Why did my cake turn out dense and heavy?
Dense cake often results from overmixing the batter after adding flour, using expired baking powder, or not creaming butter and sugar enough. Make sure to mix gently after dry ingredients and check your leavening agent’s freshness to get a light crumb.
How do I know when the cake is done baking?
Insert a toothpick or cake tester into the center of the cake. If it comes out clean or with a few moist crumbs, the cake is done. If batter sticks, it needs more time. Also, the cake should spring back lightly when pressed.
Can I double this recipe?
Yes, doubling the recipe works well if you have larger pans or multiple pans. Just be sure not to overfill pans; fill them no more than two-thirds full to allow room for rising. Baking time may increase slightly, so check doneness carefully.
Is it better to use cake flour instead of all-purpose flour?
Cake flour has less protein, which makes cakes softer and finer textured. You can substitute cake flour for all-purpose flour by using 1 cup plus 2 tablespoons cake flour for every cup of all-purpose flour. This can make your cake even more tender.
How do I prevent my cake from sticking to the pan?
Grease the pan thoroughly with butter or shortening, then dust with flour, tapping out excess. Alternatively, use parchment paper on the bottom. Avoid using too much flour, which can dry the edges, and make sure the cake is cooled slightly before removing from the pan.
Can I freeze this cake after it’s baked?
Absolutely! Wrap the cooled cake tightly in plastic wrap and then foil to prevent freezer burn. Freeze for up to three months. Thaw in the fridge overnight or at room temperature a few hours before serving. This works great for making cakes ahead.
What frosting pairs best with this classic cake?
Buttercream frosting is a classic choice that complements the cake’s flavor beautifully. Cream cheese frosting also works well for a tangy contrast. For a lighter option, whipped cream with fresh berries is lovely. Choose based on your taste and occasion.
Final Thoughts
I hope you enjoy baking and sharing this classic cake as much as my family and I do. Give it a try and let me know how it turns out—there’s nothing like homemade cake to bring everyone together!