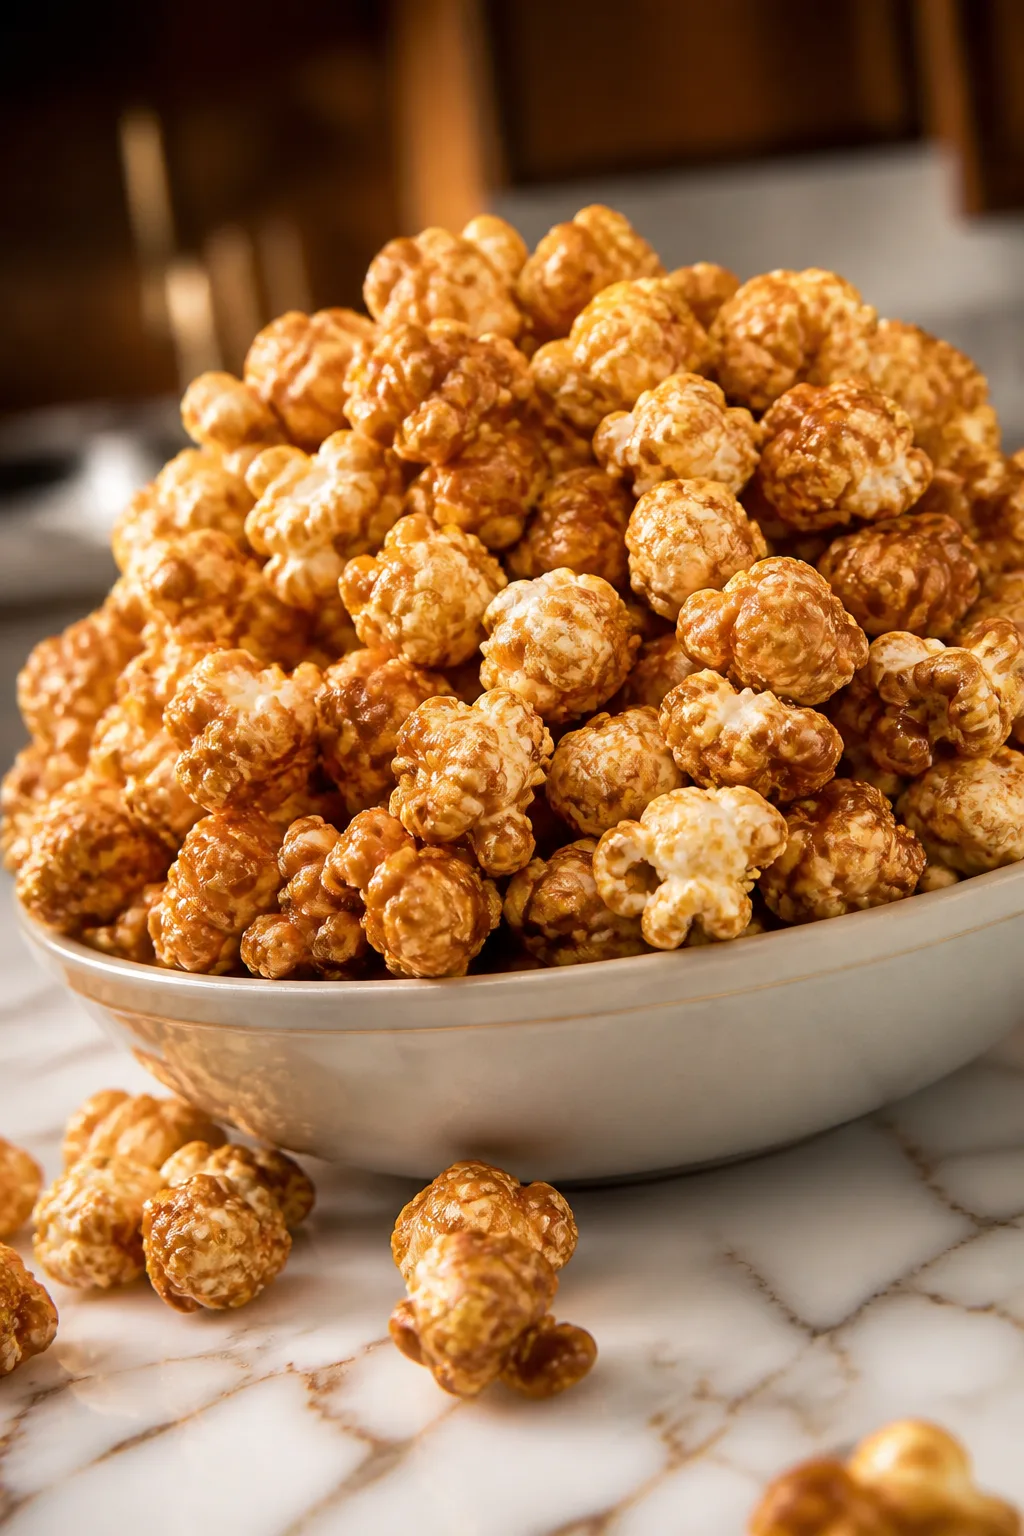
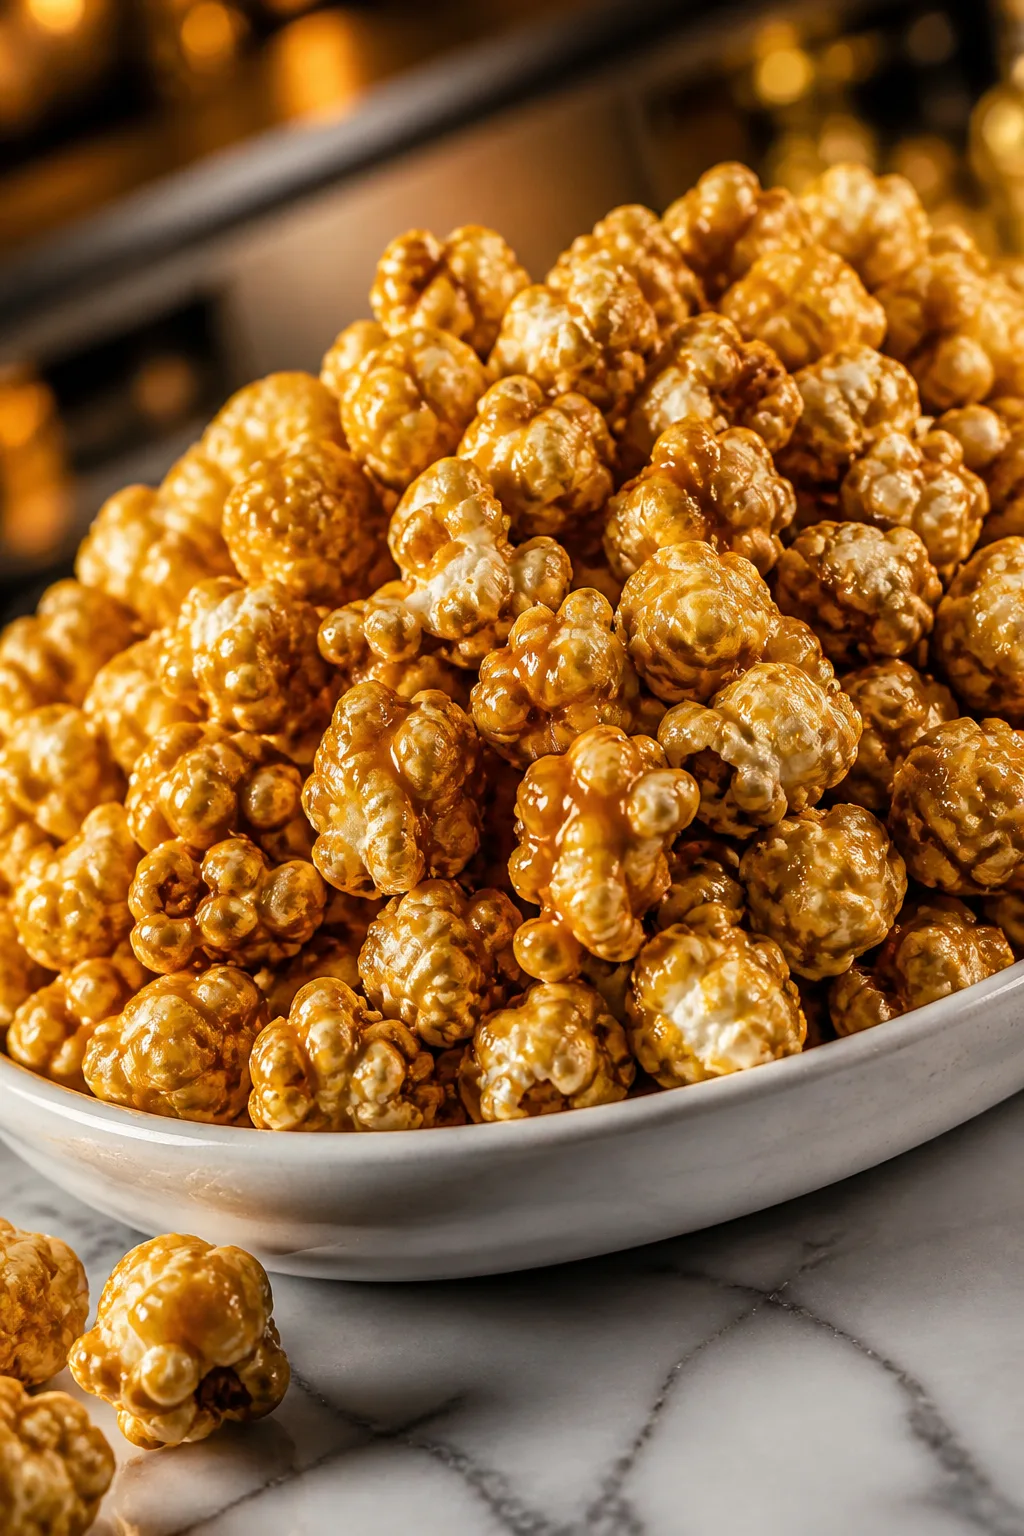
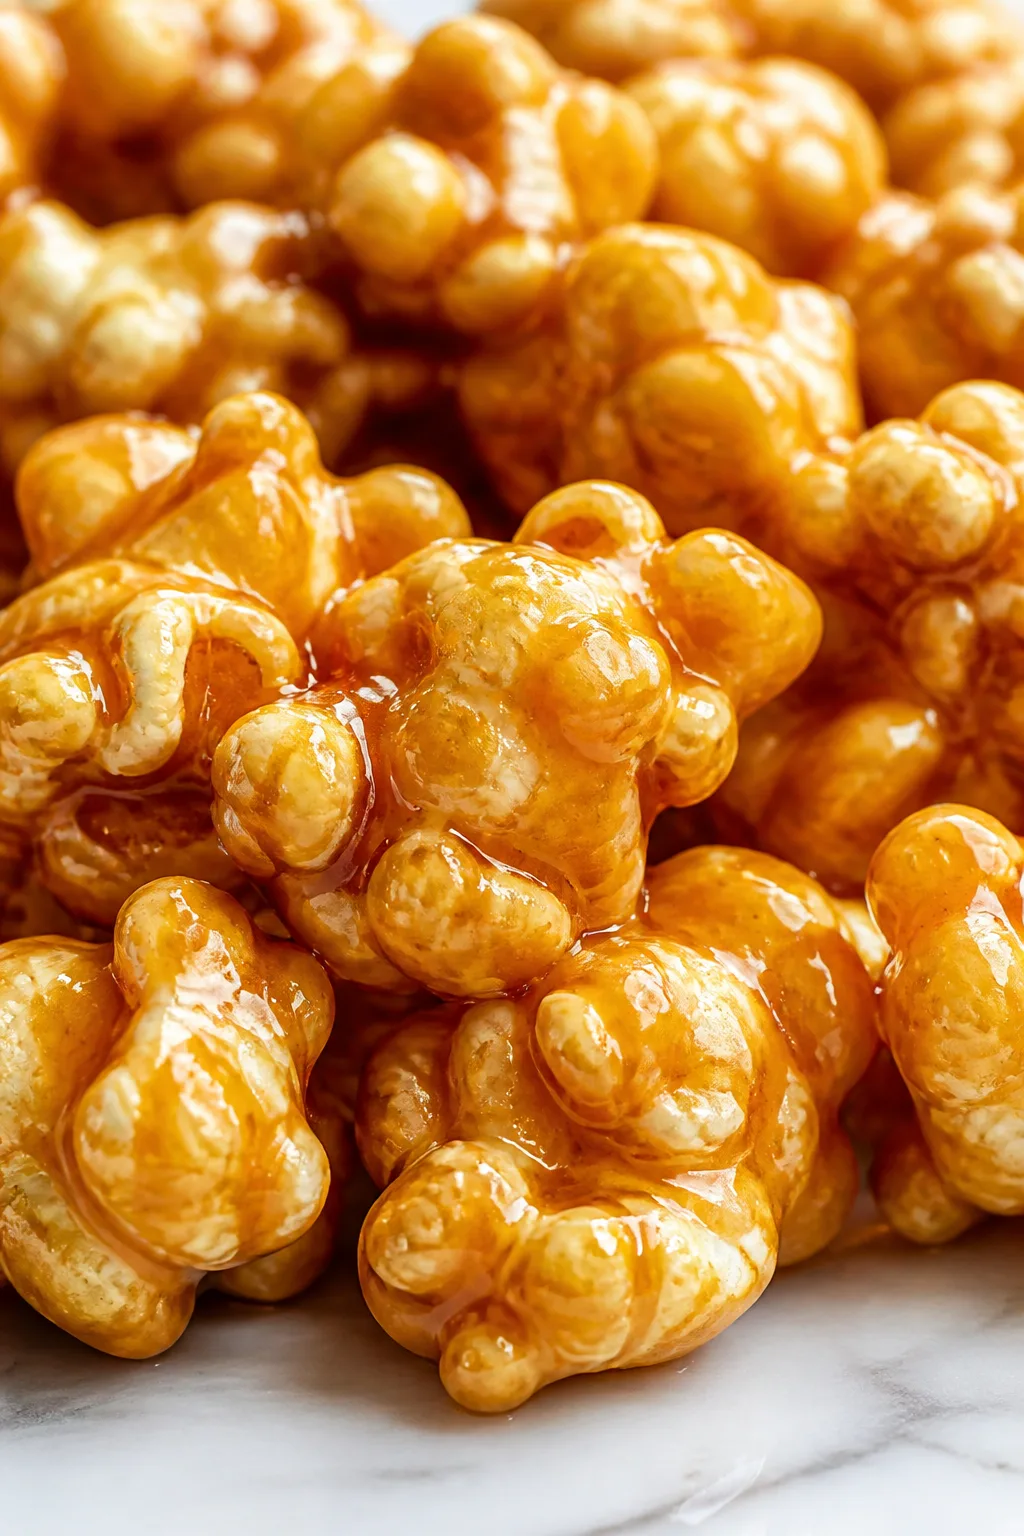
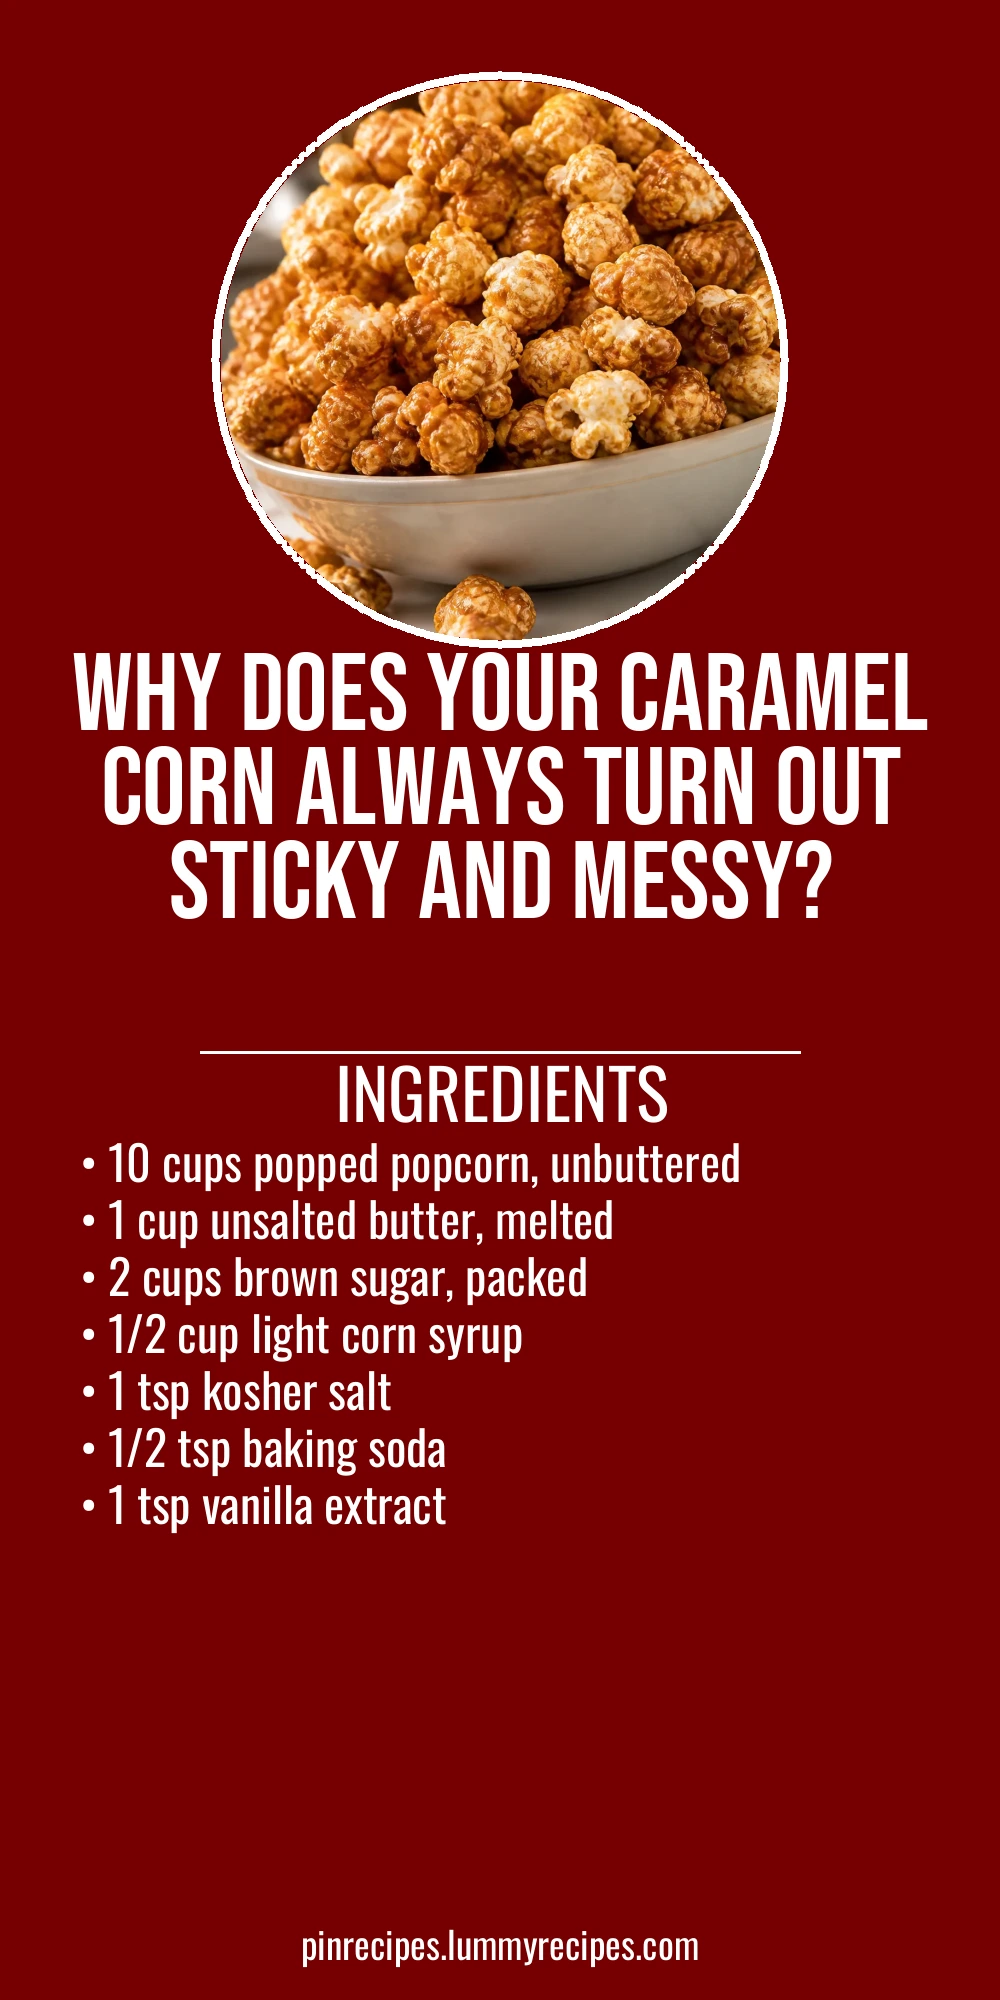
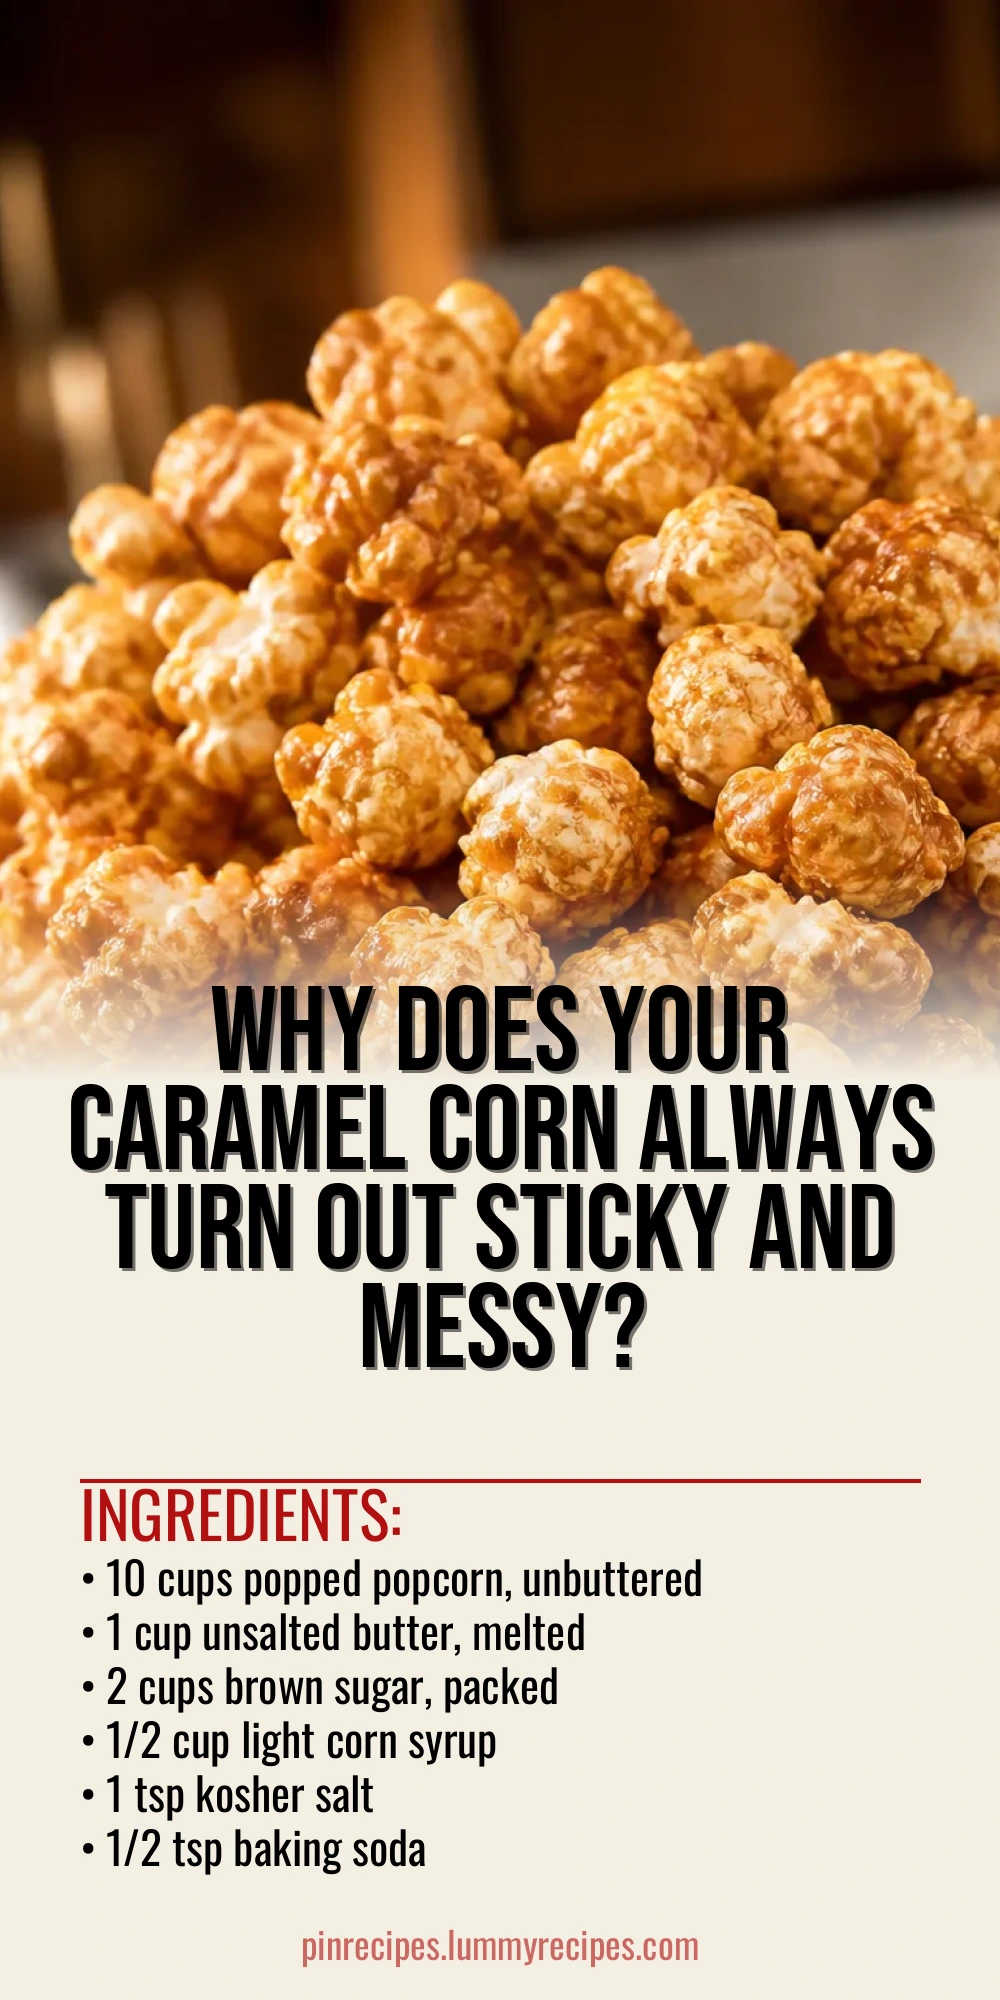
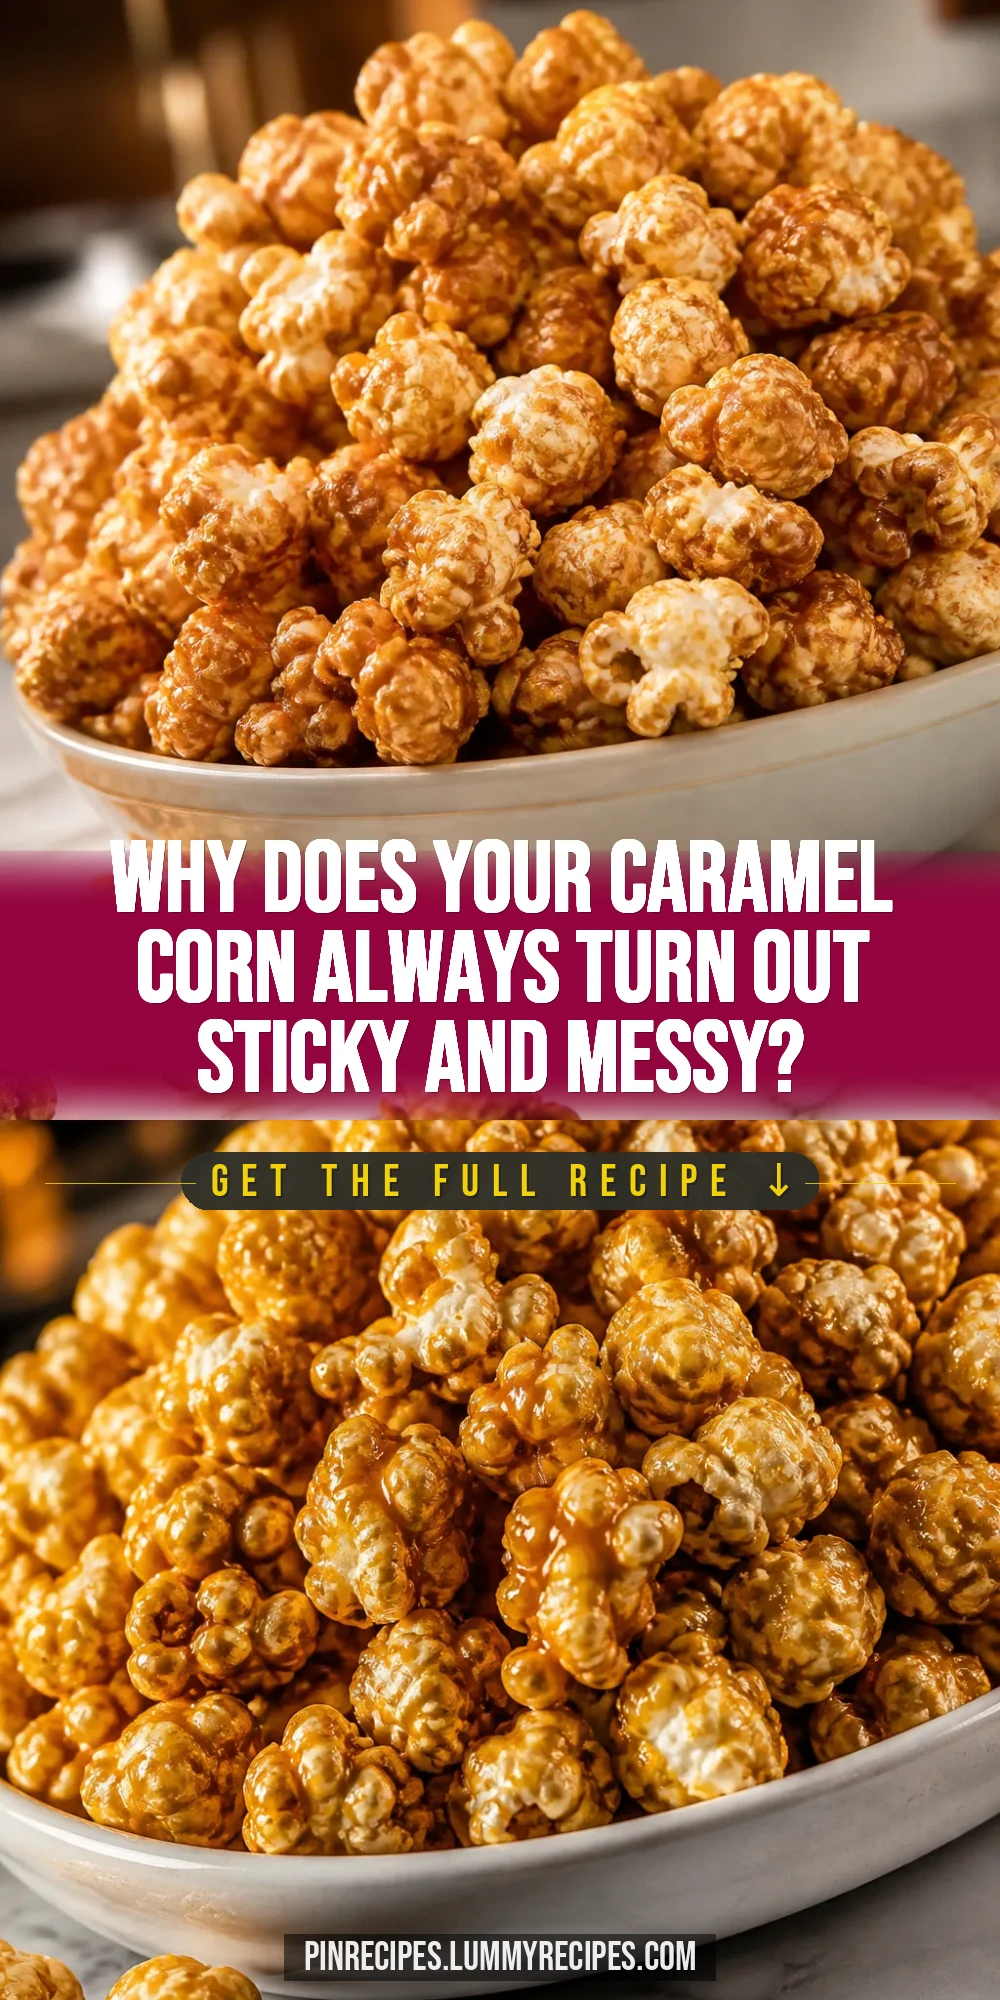
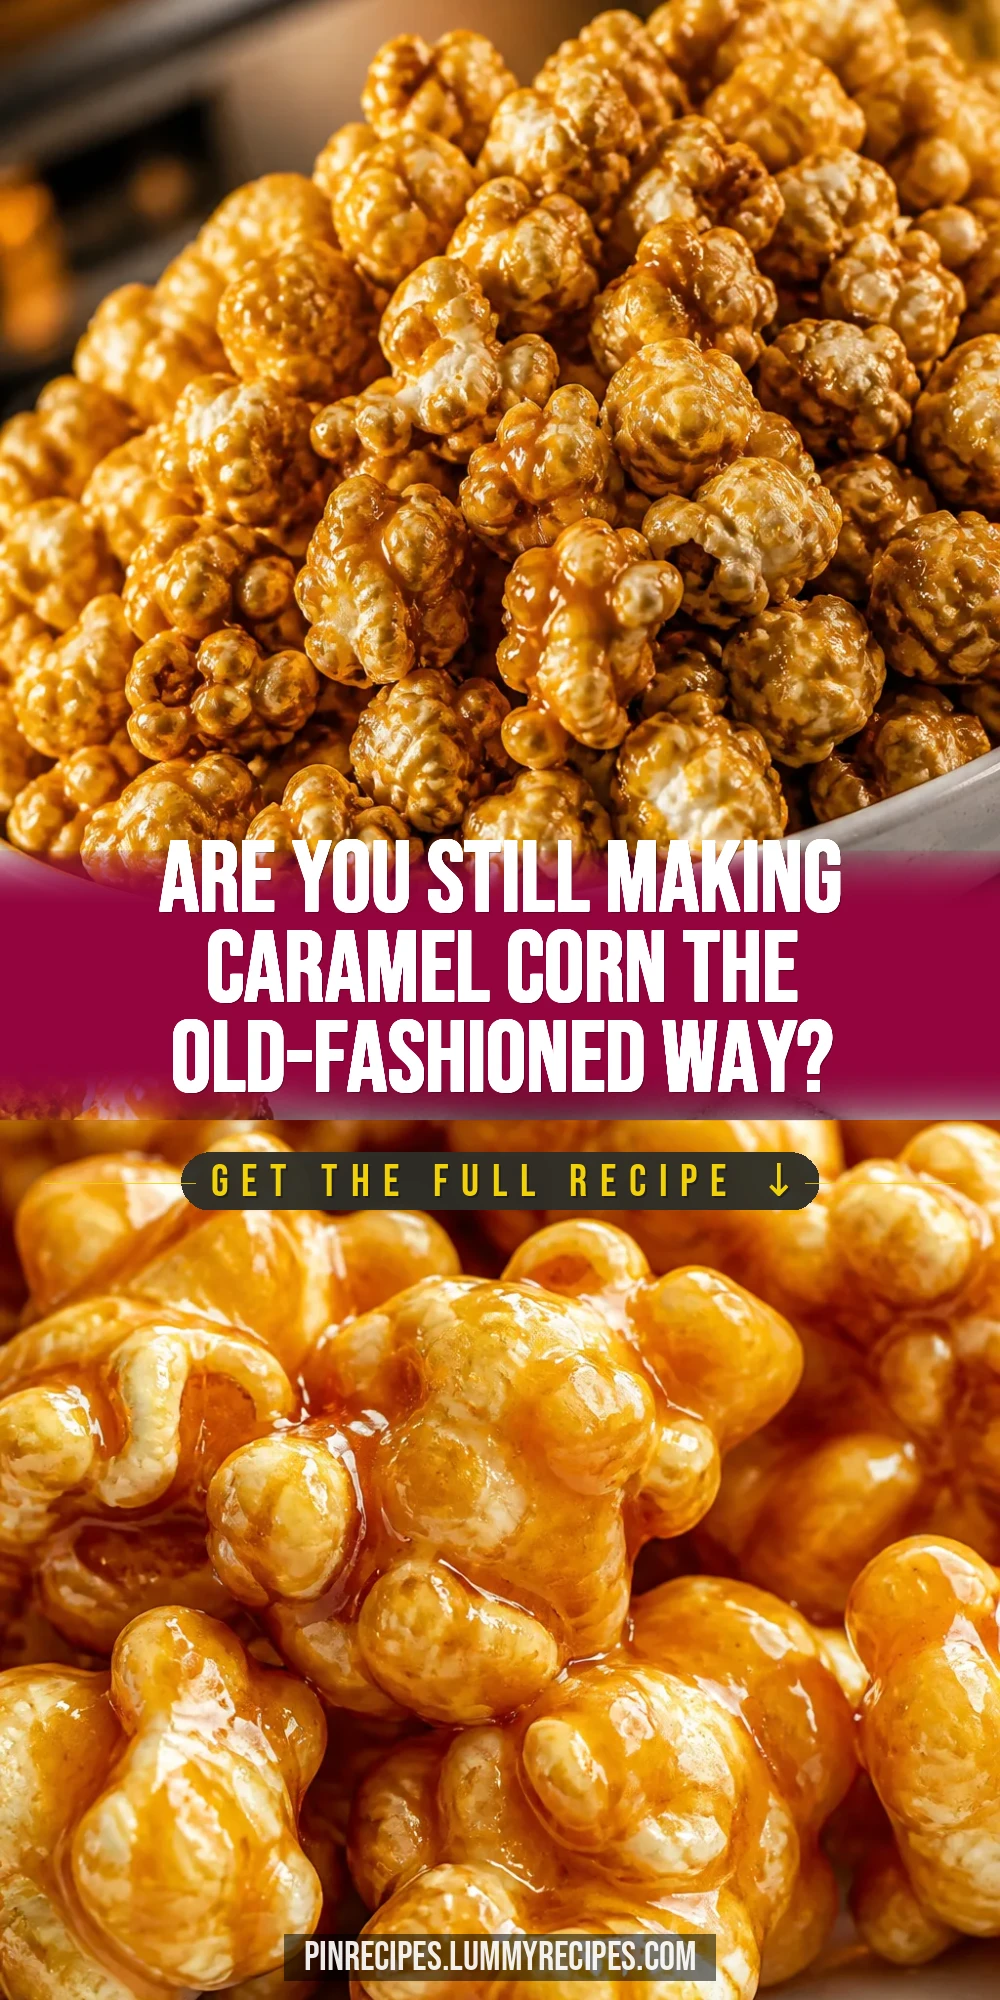
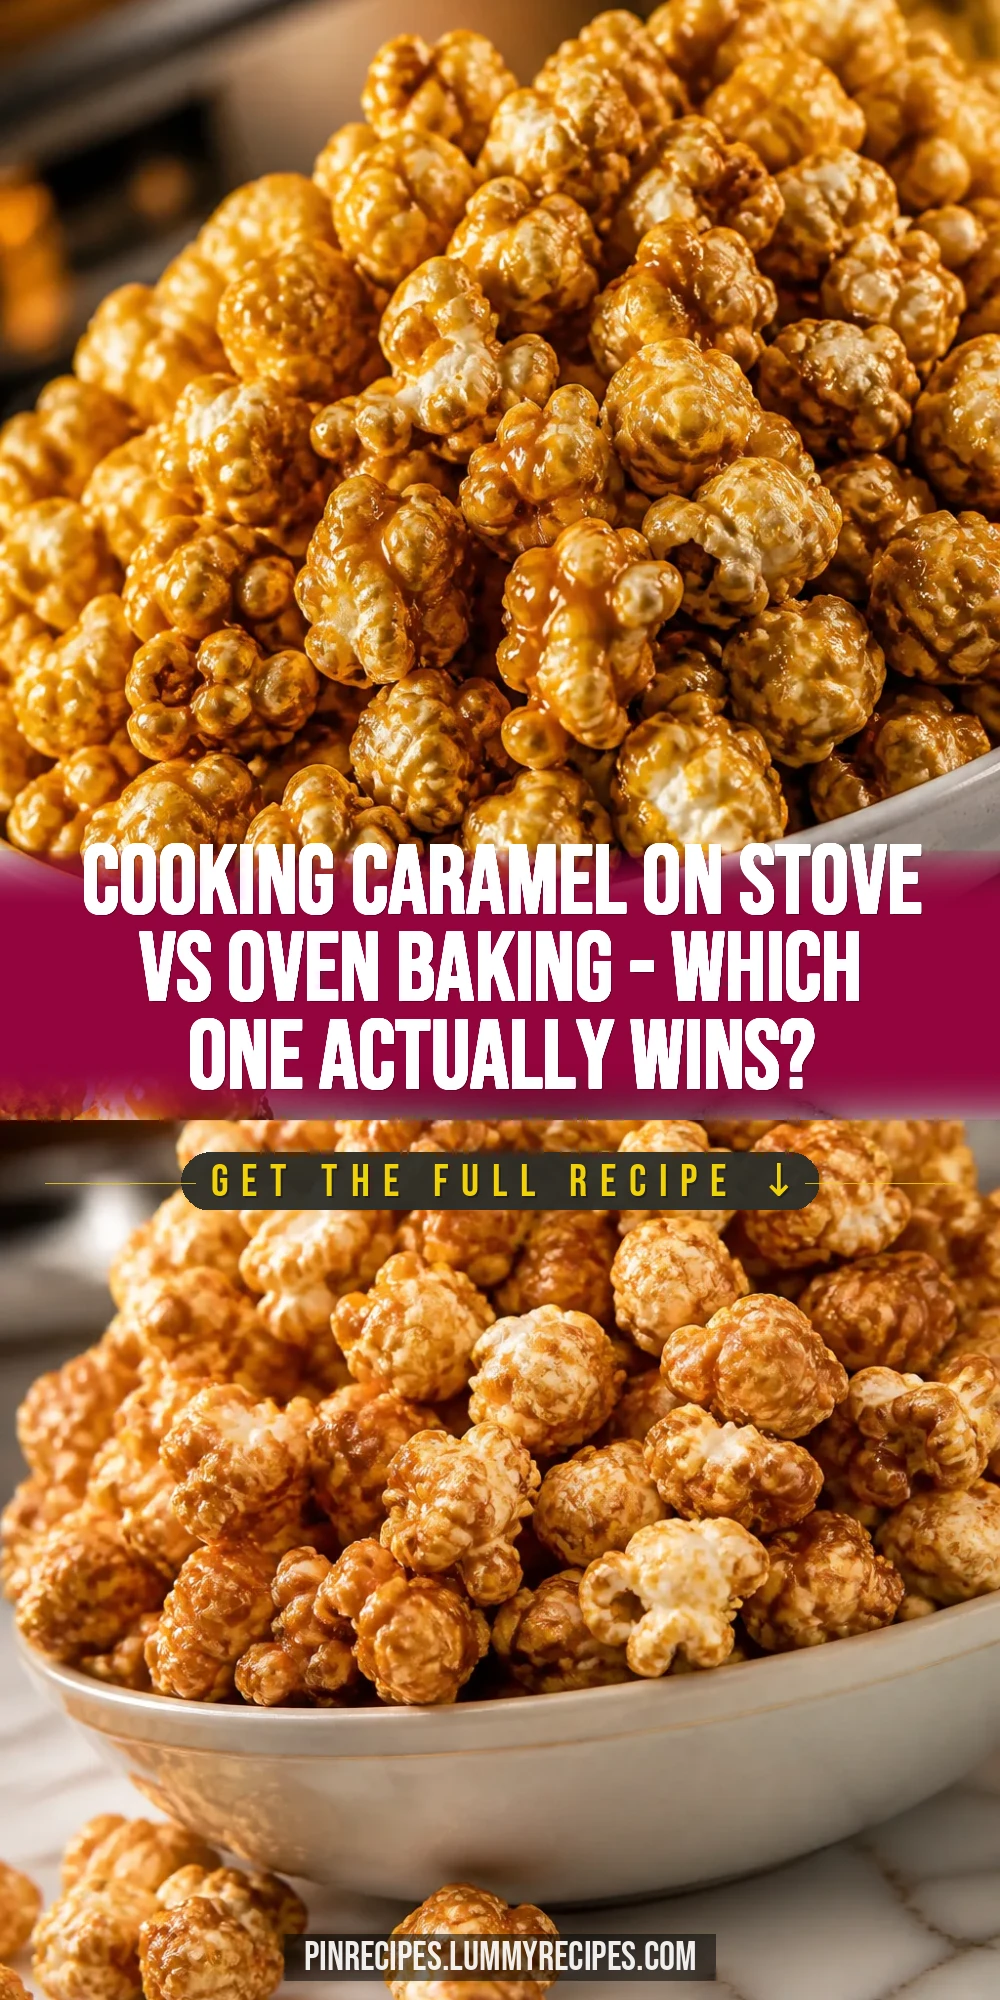
This caramel corn is everything you want in a nostalgic snack—sweet, crunchy, and buttery. The secret? A slow-cooked caramel glaze that coats every kernel perfectly. Great for movie nights or holiday treats!
Introduction
I’ve been making this classic caramel corn recipe for years—ever since my grandma handed down her old recipe card. It’s one of those treats that instantly takes me back to cozy family movie nights and holiday gatherings. What makes this version special is the slow simmering of the caramel sauce, which really lets the flavors deepen without burning. Plus, the addition of baking soda at the end creates those tiny bubbles that give the caramel a light, crisp texture rather than a heavy, sticky coating. I remember my first batch was a bit too sticky and clumpy, but after a few tries, I nailed the timing and temperature. The result is a shiny, crunchy caramel corn that’s perfectly balanced between sweet and buttery. It’s a little bit of magic in every bite and always a crowd-pleaser. Whether you’re making it for a party or just a cozy night in, this caramel corn feels like a warm hug in snack form.
What You'll Need
Approximately 12 cups, serves 6
- 10 cups popped popcorn, unbuttered
- 1 cup unsalted butter, melted
- 2 cups brown sugar, packed
- 1/2 cup light corn syrup
- 1 tsp kosher salt
- 1/2 tsp baking soda
- 1 tsp vanilla extract
How To Do It
Step 1
Preheat your oven to 250°F (120°C). Spread the popped popcorn in a large roasting pan or rimmed baking sheet. Make sure to remove any unpopped kernels to avoid bitterness. This low oven temperature will allow the caramel to bake slowly onto the popcorn, giving it that perfect crunch without burning.
⏱ Time: 10 minutes
✓ Doneness: Popcorn is evenly spread and oven is preheated to 250°F
Step 2
In a medium saucepan over medium heat, melt the butter. Stir in brown sugar, corn syrup, and salt. Bring the mixture to a boil while stirring constantly. Once boiling, stop stirring and let it boil for 4-5 minutes without stirring to reach the right caramel consistency. This step is crucial; boiling without stirring prevents crystallization and ensures a smooth caramel.
⏱ Time: 8 minutes
✓ Doneness: Caramel is bubbling steadily and has thickened slightly
Step 3
Remove the caramel from heat and immediately stir in baking soda and vanilla extract. The mixture will bubble up—this reaction aerates the caramel, making it lighter and less sticky. Stir quickly but gently to combine everything evenly.
⏱ Time: 2 minutes
✓ Doneness: Caramel is foamy and lighter in color
Step 4
Pour the hot caramel sauce over the popcorn in the baking pan. Use a spatula to gently toss and coat the popcorn evenly. Work quickly as the caramel starts to set fast. Be careful not to press down too hard or the popcorn will clump together.
⏱ Time: 3 minutes
✓ Doneness: Popcorn is evenly coated with a glossy caramel layer
Step 5
Place the baking pan in the preheated oven and bake for 45 minutes, stirring every 15 minutes. This slow baking dries out the caramel and helps it harden into a crisp shell around each kernel. Skipping this step can result in sticky, soggy caramel corn.
⏱ Time: 45 minutes
✓ Doneness: Popcorn is dry to the touch and caramel is hardened
Step 6
Remove the pan from the oven and let the caramel corn cool completely in the pan. Cooling is important because the caramel will continue to harden as it cools, giving you that perfect crunch.
⏱ Time: 30 minutes
✓ Doneness: Caramel corn is cool and crisp
Step 7
Once cooled, break the caramel corn into bite-sized clusters. Store in an airtight container to keep it fresh and crunchy. If you leave it uncovered, the caramel will absorb moisture and become sticky again.
⏱ Time: 5 minutes
✓ Doneness: Popcorn is broken into clusters and stored properly
Step 8
For best flavor, enjoy within a week. If you want to refresh the crunch, pop the caramel corn in a 250°F oven for 5-10 minutes before serving. This will crisp it right back up without melting the caramel.
⏱ Time: 5-10 minutes (optional reheating)
✓ Doneness: Caramel corn is warm and crisp
Step 9
Serve your caramel corn in a big bowl for sharing. It’s perfect for movie nights, holiday parties, or just a sweet snack anytime. Trust me, once you try this recipe, it’ll become a favorite in your household too!
⏱ Time: 0 minutes
✓ Doneness: Popcorn is ready to enjoy and share
Pro Tips
Use a candy thermometer to monitor sugar temperature precisely.
Sugar caramelizes within a narrow temperature window. Too low, and the caramel will be too soft; too high, and it burns, tasting bitter. A candy thermometer helps you hit the perfect stage for a smooth, flavorful caramel.
Stir the caramel mixture only until it reaches a boil, then let it cook undisturbed.
Stirring during the boil can cause sugar crystals to form, leading to grainy caramel. Letting it boil without stirring allows the sugar to melt evenly and prevents crystallization.
Remove unpopped kernels before coating the popcorn.
Unpopped kernels are hard and can be unpleasant to bite. Removing them ensures every bite is light, crunchy, and coated with caramel.
Stir the popcorn every 15 minutes during baking.
This prevents clumping and ensures even caramel distribution. It also helps the popcorn dry out evenly, resulting in a consistent crunch.
Cool the caramel corn completely before breaking into pieces.
Cooling allows the caramel to harden fully. Breaking it too soon will cause sticky clusters and messy hands.
Use a large roasting pan or rimmed baking sheet to spread popcorn thinly.
A thin layer lets the caramel coat evenly and bake properly. Crowding the pan leads to uneven cooking and clumps.
Store caramel corn in an airtight container at room temperature.
Exposure to air causes moisture absorption, making the caramel sticky. Airtight storage preserves crispness and flavor.
Common Mistakes to Avoid
Skipping the baking step after coating popcorn.
Why it happens Many think coating with caramel is enough and skip baking, but this leaves the caramel soft and sticky.
Fix Bake the coated popcorn at a low temperature, stirring every 15 minutes. This slowly dries out the caramel, creating a crisp texture and preventing clumps.
Stirring the caramel sugar mixture too much during boiling.
Why it happens People often stir to prevent burning, but stirring can cause sugar crystals to form.
Fix Stir only until the mixture boils, then let it cook undisturbed to avoid crystallization and grainy caramel.
Adding baking soda directly into hot caramel while still on heat.
Why it happens Some add it too early, which can neutralize the reaction and prevent aeration.
Fix Remove from heat before adding baking soda to allow proper bubbling and lightening of the caramel.
Using salted butter instead of unsalted.
Why it happens Sometimes cooks use what’s on hand without considering salt content.
Fix Always use unsalted butter to control salt balance and avoid an overly salty caramel flavor.
Not removing unpopped kernels before coating.
Why it happens It’s easy to forget or overlook them during popping.
Fix Carefully sift through popcorn and discard unpopped kernels before adding caramel to avoid hard bits.
Variations
Spicy Cinnamon Caramel Corn
Add 1 tsp ground cinnamon and a pinch of cayenne pepper to the caramel sauce before pouring over popcorn. This gives a warm, spicy kick that pairs beautifully with the sweet caramel. Expect a subtle heat balanced by cinnamon’s warmth.
Note: Make sure to whisk spices into the hot caramel quickly and evenly to avoid clumps and ensure consistent flavor.
Chocolate Drizzled Caramel Corn
Once the caramel corn has cooled, drizzle melted dark chocolate over the top and let it set. This adds a rich, bittersweet contrast to the sweet caramel and adds a decadent layer of flavor and texture.
Note: Use tempered chocolate or add a little coconut oil to melted chocolate for a smooth drizzle that sets nicely.
Nutty Caramel Corn
Mix 1 cup of toasted pecans or almonds into the popcorn before adding caramel. The nuts add crunch and a toasty flavor that complements the caramel beautifully. Great for a more filling snack.
Note: Toast nuts lightly beforehand to enhance their flavor without burning during caramel baking.
Salted Caramel Corn
Sprinkle flaky sea salt over the caramel-coated popcorn right after baking. The salt cuts through the sweetness and adds a sophisticated flavor contrast that’s addictive.
Note: Add salt while the caramel is still warm so it sticks well but doesn’t dissolve completely.
Maple Caramel Corn
Replace corn syrup with pure maple syrup for a deeper, woodsy sweetness. This variation offers a unique twist on the classic that’s perfect for fall or winter snacking.
Note: Maple syrup has more water content, so reduce the butter slightly and bake a bit longer to achieve the right texture.
Nutrition
Per Serving:
Nutritional values are estimates and may vary based on specific ingredients used.
Storage & Tips
Room Temperature
Caramel corn can be kept at room temperature for up to 3 days if stored in an airtight container. Keep it away from humidity and direct sunlight to avoid sticky texture.
Refrigerator
You can refrigerate caramel corn for up to a week in an airtight container, but it may lose some crispness. Bring to room temperature before serving or re-crisp in the oven.
Freezer
Freeze caramel corn in a sealed freezer bag for up to 2 months. Thaw at room temperature and refresh crispness by baking at 250°F for 5-7 minutes.
Reheating
Reheat caramel corn in a preheated oven at 250°F for 5-10 minutes to restore crunch. Avoid microwaving as it can make the caramel soggy.
Make Ahead
You can prepare the caramel sauce a day ahead and store it in the fridge. Warm gently before coating popcorn. Popcorn can be popped in advance but coat and bake the same day for best texture.
FAQ
Can I use regular sugar instead of brown sugar?
You can, but brown sugar adds moisture and a richer flavor due to its molasses content. Using only granulated sugar can result in a less flavorful, drier caramel coating. If you must substitute, consider adding a tablespoon of molasses to mimic brown sugar.
Why is my caramel corn sticky and clumpy?
Sticky caramel corn usually means the caramel didn’t bake long enough to dry out or the sugar wasn’t cooked to the right temperature. Make sure to bake the coated popcorn at 250°F, stirring every 15 minutes, and use a candy thermometer to hit the correct caramel stage.
Can I make this recipe gluten-free?
Yes! Popcorn is naturally gluten-free, and the ingredients in the caramel sauce—brown sugar, corn syrup, butter—are gluten-free as well. Just double-check your corn syrup brand to ensure no gluten contamination.
How do I store caramel corn to keep it fresh?
Store caramel corn in an airtight container at room temperature. Exposure to air causes moisture absorption, making it sticky. Avoid refrigeration unless necessary, as it can make the caramel less crisp.
Can I use microwave popcorn for this recipe?
It’s best to use freshly popped popcorn without added butter or flavoring. Microwave popcorn often has oils and flavors that can interfere with the caramel coating and texture.
What if I don’t have corn syrup, can I substitute it?
Corn syrup prevents crystallization and keeps caramel smooth. You can substitute with light honey or maple syrup, but the texture and flavor will change slightly. Bake a bit longer to compensate for added moisture.
Why do I add baking soda to the caramel?
Baking soda reacts with acidic ingredients in the caramel, creating bubbles that aerate the sauce. This reaction lightens the caramel, making the coating crisp and less sticky.
Can I add nuts or other mix-ins?
Absolutely! Toasted nuts like pecans or almonds add great texture and flavor. Add them to the popcorn before coating with caramel for best results.
Final Thoughts
I hope you give this classic caramel corn recipe a try—it’s a sweet, crunchy treat that never goes out of style. Let me know how your batch turns out and if you add any fun twists!