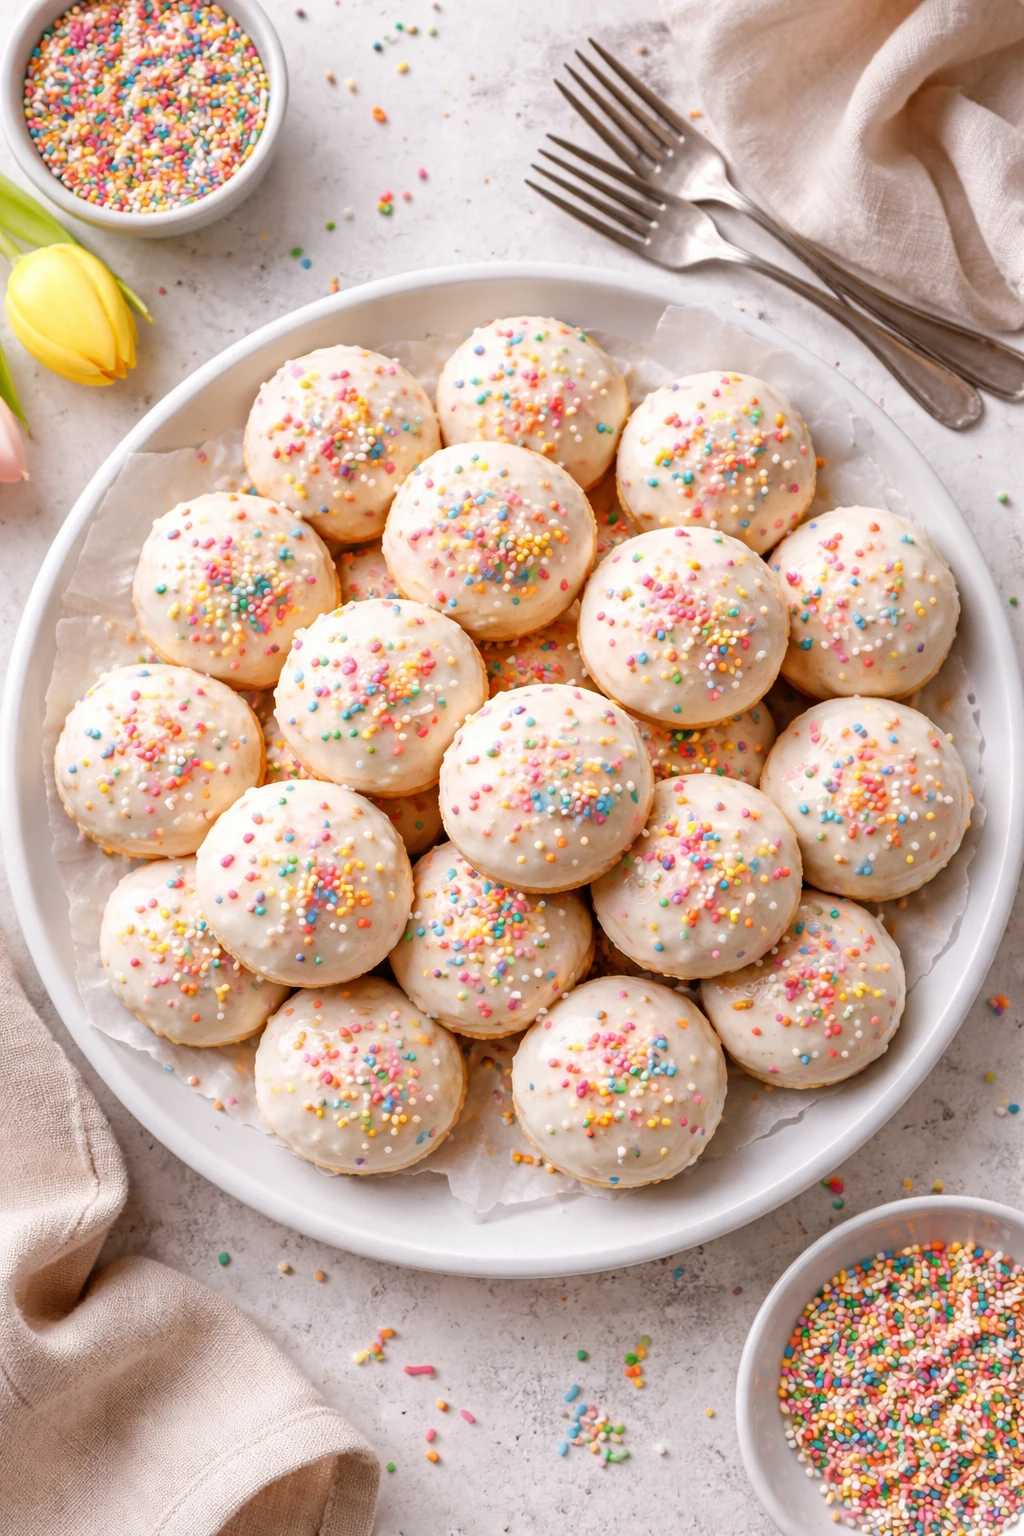
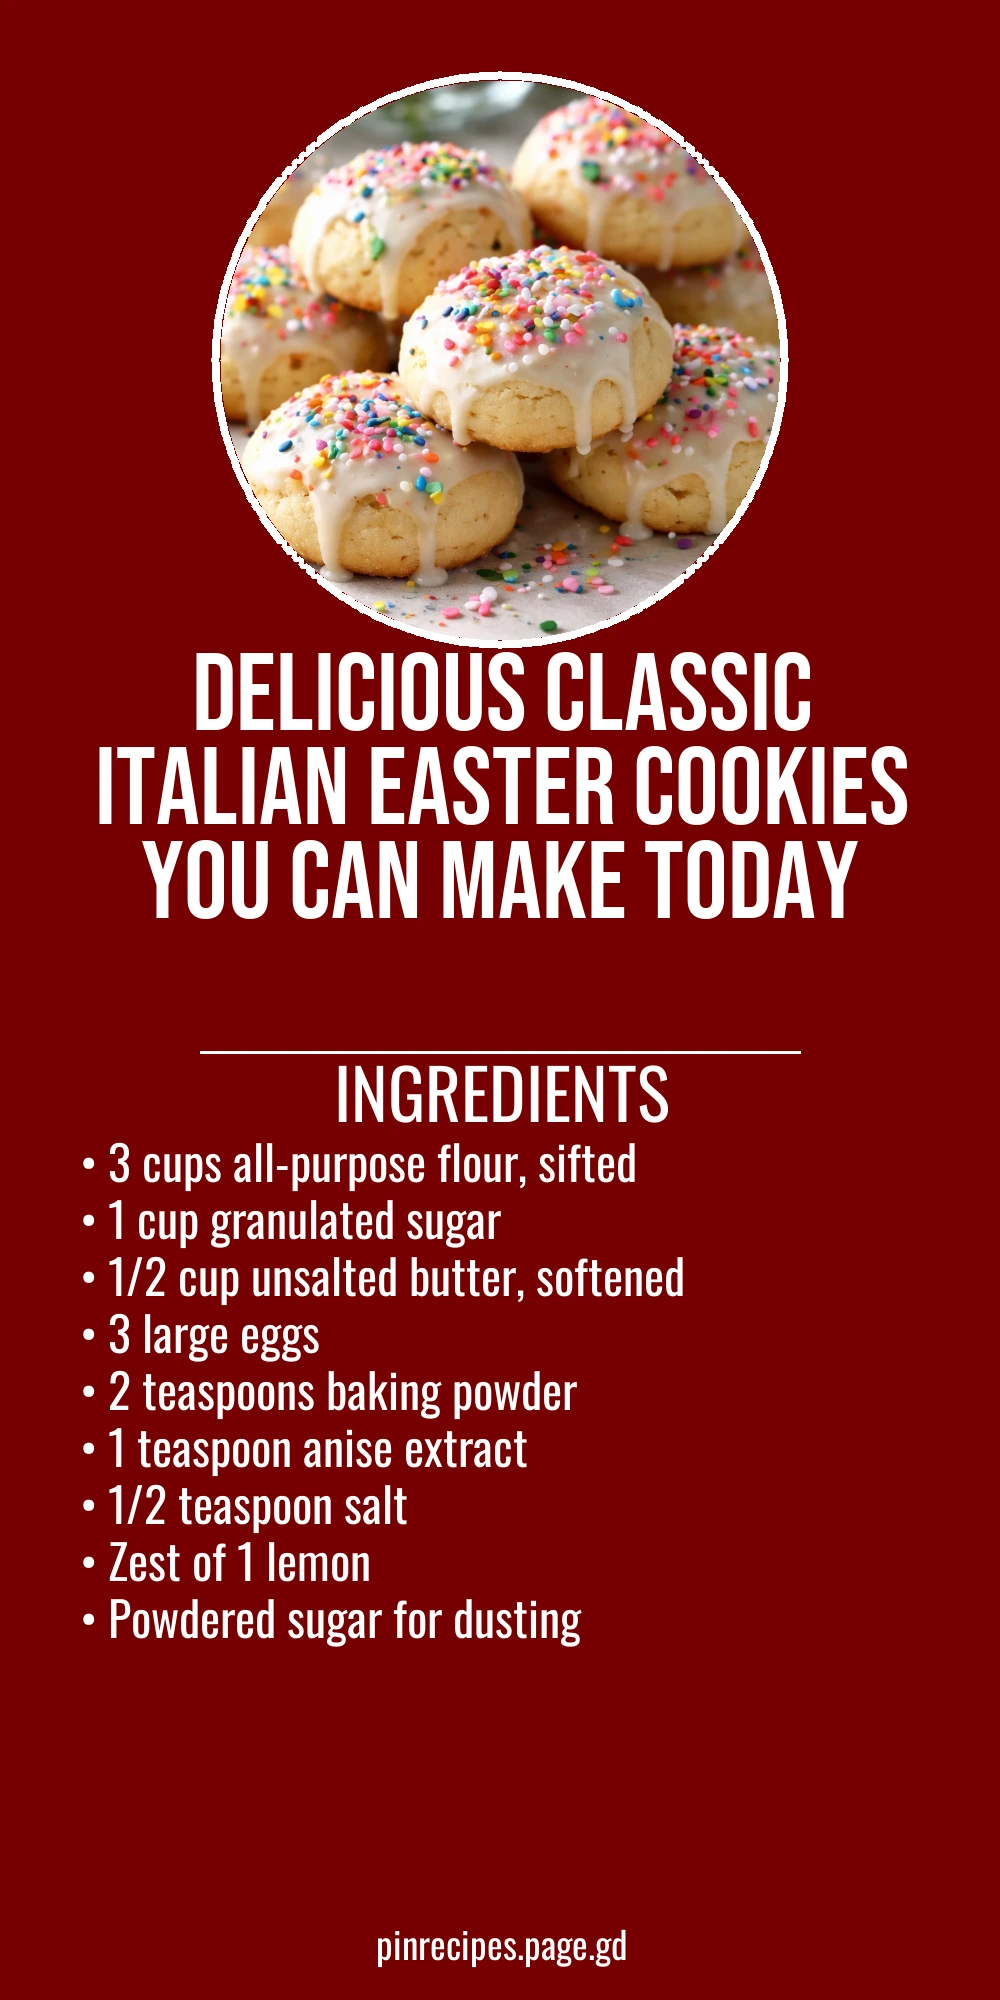
These traditional Italian Easter cookies are delightfully simple but packed with flavor. Made with just a handful of ingredients and a hint of anise, they’re perfect for celebrating springtime with family and friends.
Introduction
I first made these classic Italian Easter cookies years ago when a dear Italian friend shared her family recipe with me. What struck me right away was how simple the ingredients were—nothing fancy, just pantry staples—but the flavor was unmistakably special. The subtle anise extract paired with fresh lemon zest gives these cookies their signature springtime freshness. Over the years, I’ve tweaked the technique a bit, like sifting the flour twice for a lighter texture and making sure the butter is just soft enough to cream perfectly with sugar. The result is a batch of soft, tender cookies that aren’t too sweet but have just enough flavor to make you want another. They’re perfect for Easter celebrations, but honestly, I find myself baking them year-round. The texture is delicate, almost melt-in-your-mouth, with a lovely aroma that fills the kitchen. I love how easy they come together, too—no complicated steps, just a bit of patience to let the dough chill before shaping. If you’ve ever been intimidated by traditional Italian baking, this recipe is a great place to start. It’s comforting, nostalgic, and always a crowd-pleaser.
How To Do It
Step 1
Begin by creaming the softened butter and granulated sugar together in a large bowl. Use a hand mixer or stand mixer on medium speed until the mixture is light and fluffy, about 3-4 minutes. This step is crucial because it incorporates air into the batter, which helps the cookies rise and gives them a tender crumb. Make sure the butter is at room temperature; if it’s too cold, it won’t mix well and your cookies could turn out dense. Avoid overmixing here, as that can cause the dough to become tough.
⏱ Time: 5
✓ Doneness: Butter and sugar mixture should be pale and fluffy, with no visible sugar granules.
Step 2
Add the eggs one at a time, beating well after each addition. Then stir in the anise extract and lemon zest. Incorporating the eggs slowly helps maintain the emulsion and ensures the dough binds properly. The anise and lemon zest are what give these cookies their distinctive flavor, so don’t skip them! If you want a stronger anise flavor, you can add a little extra, but be cautious as it can overpower the other flavors.
⏱ Time: 3
✓ Doneness: Mixture should be smooth and glossy, with a fragrant lemon-anise aroma.
Step 3
In a separate bowl, whisk together the sifted flour, baking powder, and salt. This ensures the leavening agent is evenly distributed, which is key for consistent rising. Sifting also helps remove any lumps and aerates the flour, which contributes to a lighter cookie texture. Don’t skip sifting; it really makes a difference in the final crumb.
⏱ Time: 5
✓ Doneness: Dry ingredients should be well combined and light in texture.
Step 4
Gradually add the dry ingredients to the wet mixture, mixing on low speed or folding by hand. Be careful not to overmix at this stage because overworking the dough develops gluten, which can make the cookies tough. Mix just until the flour disappears and you have a soft, slightly sticky dough. If the dough feels too sticky to handle, chill it for 15 minutes before shaping.
⏱ Time: 5
✓ Doneness: Dough should be cohesive but soft, not crumbly or overly sticky.
Step 5
Cover the dough with plastic wrap and refrigerate for at least 30 minutes. Chilling firms the dough, making it easier to handle and shape. It also helps the flavors meld and prevents the cookies from spreading too much during baking. Don’t rush this step; the texture and shape of your cookies depend on it.
⏱ Time: 30
✓ Doneness: Dough is firm and cool to the touch.
Step 6
Preheat your oven to 350°F (175°C) and line baking sheets with parchment paper. Using your hands, roll the dough into small balls about 1 inch in diameter. Place them on the baking sheets spaced about 2 inches apart to allow for slight spreading. This size ensures a tender center with a delicate exterior after baking.
⏱ Time: 10
✓ Doneness: Cookies are evenly sized and spaced for uniform baking.
Step 7
Bake the cookies for 12-15 minutes, or until the edges are just beginning to turn a light golden color. Watch them closely starting at 12 minutes to avoid overbaking. These cookies should remain soft and slightly pale; overbaking will dry them out and make them crumbly rather than tender.
⏱ Time: 15
✓ Doneness: Edges are lightly golden but centers remain soft and pale.
Step 8
Remove the cookies from the oven and let them cool on the baking sheet for 5 minutes before transferring to a wire rack. This resting time lets them set and finish cooking gently, preventing breakage. Handling them too soon can cause them to fall apart since they’re still soft.
⏱ Time: 5
✓ Doneness: Cookies hold their shape when gently lifted and feel firm but tender.
Step 9
Once completely cooled, dust the cookies generously with powdered sugar. This adds a lovely sweetness and a festive look. You can also drizzle a simple glaze or dip half the cookies in melted chocolate for a special touch. Serve them with coffee or tea for a perfect afternoon treat or as part of your Easter dessert spread.
⏱ Time: 5
✓ Doneness: Cookies have a light, snowy coating of powdered sugar and look inviting.
Pro Tips
Make sure your butter is properly softened but not melted before creaming.
Butter that’s too cold won’t cream properly with sugar, resulting in a dense dough. Conversely, melted butter will cause the dough to be greasy and spread too much during baking. Softened butter traps air when beaten, creating a tender, fluffy texture in the cookies.
Chill the dough for at least 30 minutes before shaping and baking.
Chilling firms up the dough, making it easier to handle and preventing excessive spreading in the oven. It also allows the flour to hydrate and the flavors to meld, which improves both texture and taste.
Use fresh lemon zest and anise extract for the best flavor impact.
Fresh zest contains essential oils that provide brightness and complexity, while pure anise extract offers a clean, aromatic licorice note. Using old or artificial flavorings can result in a flat or artificial taste.
Don’t overmix once you add the flour to avoid tough cookies.
Overmixing develops gluten strands in the flour, which makes cookies chewy and dense instead of soft and tender. Mix just until the flour disappears to maintain a delicate crumb.
Watch the baking time carefully and remove cookies as soon as edges turn light golden.
Overbaking dries out the cookies and ruins their soft texture. These cookies should be slightly pale and soft in the center when taken out, finishing cooking as they cool.
Line your baking sheets with parchment paper for even baking and easy cleanup.
Parchment paper prevents sticking and promotes even heat distribution, which helps the cookies bake uniformly and retain their shape.
Dust cookies with powdered sugar only after they have completely cooled.
If you dust too early, the sugar will melt and disappear into the warm cookies, losing the pretty snowy effect and sweetness on top.
Common Mistakes to Avoid
Using melted or too cold butter
Why it happens People often rush the softening process or forget to take butter out ahead of time, leading to improper texture in the dough.
Fix Plan ahead and let butter sit at room temperature until soft but still cool to the touch. This ensures it creams well with sugar, trapping air for a tender cookie.
Overmixing the dough after adding flour
Why it happens It’s easy to want to mix thoroughly to avoid lumps, but this develops gluten, making cookies tough.
Fix Mix slowly and only until the flour is incorporated. Stop as soon as you no longer see dry spots.
Skipping the chilling step
Why it happens Impatience or lack of planning can lead to baking dough immediately, causing spreading and flat cookies.
Fix Always chill dough for at least 30 minutes. If short on time, freeze for 10-15 minutes to firm it up quickly.
Overbaking the cookies
Why it happens Assuming cookies should be golden brown can lead to baking too long, drying them out.
Fix Remove cookies when edges just start to color lightly and centers look set but soft. They firm up as they cool.
Not sifting flour and baking powder
Why it happens Skipping sifting can cause uneven distribution of leavening and lumps in dough.
Fix Always sift dry ingredients together to aerate and ensure even leavening for consistent texture.
Variations
Almond Italian Easter Cookies
Swap half the flour for finely ground almond flour and add a teaspoon of almond extract. This adds a nutty richness and slightly denser texture, perfect if you love almond flavors. The cookies remain soft but with a lovely moist crumb.
Note: Almond flour absorbs moisture differently, so you may need to reduce butter slightly or chill dough longer to maintain shape.
Gluten-Free Italian Easter Cookies
Use a gluten-free all-purpose flour blend in place of regular flour. Add a teaspoon of xanthan gum if your blend doesn’t contain it to help with structure. These cookies keep their tender texture and classic flavor without gluten.
Note: Gluten-free dough may be more fragile; chill well and handle gently when shaping.
Orange Zest Italian Easter Cookies
Replace lemon zest with fresh orange zest for a sweeter, fruitier aroma. This variation brightens the flavor and pairs wonderfully with anise. Great for those who prefer a milder citrus note.
Note: Orange zest oils are slightly less intense, so you might want to add a touch more zest.
Chocolate-Dipped Italian Easter Cookies
After baking and cooling, dip half of each cookie into melted dark or white chocolate. Let them set on parchment paper. This adds a rich, decadent layer that contrasts beautifully with the soft cookie base.
Note: Make sure cookies are completely cool before dipping to prevent melting or cracking.
Honey-Sweetened Italian Easter Cookies
Replace half the sugar with honey for a natural sweetness and subtle floral note. This variation creates a slightly chewier cookie with a deeper flavor. Use mild-flavored honey to avoid overpowering the anise.
Note: Honey adds moisture, so reduce any added liquid slightly and chill dough well before baking.
Nutrition
Per Serving:
Nutritional values are estimates and may vary based on specific ingredients used.
Storage & Tips
Room Temperature
Store the cookies in an airtight container at room temperature for up to 3 days. Keep them away from direct sunlight and moisture to prevent softening or spoilage. They’re best enjoyed fresh but remain tasty for a few days.
Refrigerator
Cookies can be stored in an airtight container in the refrigerator for up to 1 week. Chilling may firm them up, so let them come to room temperature before serving for the best texture and flavor.
Freezer
Freeze cookies in a single layer on a baking sheet until solid, then transfer to a freezer-safe container or bag for up to 3 months. Wrap tightly to avoid freezer burn. Thaw at room temperature before serving to restore softness.
Reheating
Warm cookies gently in a low oven (300°F) for 5-7 minutes or microwave for 10-15 seconds with a damp paper towel to soften. Avoid overheating which can dry them out.
Make Ahead
Prepare the dough 1-2 days ahead and keep refrigerated tightly wrapped. Shape and bake the day you plan to serve for freshest texture. Alternatively, bake in advance and freeze baked cookies for later enjoyment.
FAQ
Can I substitute anise extract with something else?
Yes, if you don’t have anise extract, you can use a small amount of fennel seed or star anise powder, but use sparingly as they are stronger. Alternatively, omit it for a milder cookie, but the traditional flavor will be less pronounced.
Why are my cookies turning out hard instead of soft?
Hard cookies usually result from overbaking or overmixing the dough, which develops gluten. Make sure to bake just until edges are lightly golden and mix the dough gently. Also, check that your butter is properly softened, not melted.
Can I make these cookies vegan?
You can try replacing eggs with flax eggs (1 tablespoon ground flaxseed + 3 tablespoons water per egg) and use vegan butter. The texture may be slightly different—less tender—but still delicious.
What’s the best way to store these cookies to keep them fresh?
Store in an airtight container at room temperature for up to 3 days or refrigerate for up to a week. For longer storage, freeze them well wrapped. Let frozen cookies thaw fully before eating for best texture.
Can I add other flavors like vanilla or almond?
Absolutely! Vanilla extract works well alongside or instead of anise, and almond extract adds a lovely nutty note. Just adjust quantities to avoid overpowering the delicate balance.
Why do my cookies spread too much during baking?
This usually happens if the dough is too warm or the butter too soft/melted. Chill the dough thoroughly before baking and avoid using melted butter to control spreading.
Can I make the dough ahead and freeze it?
Yes, you can freeze the shaped dough balls on a baking sheet, then transfer to a bag. Bake from frozen, adding a couple of extra minutes to the baking time.
How can I make the cookies more decorative for Easter?
Try dipping them halfway in melted chocolate, sprinkling colored sugar before baking, or dusting with powdered sugar for a festive look. You can also pipe simple icing designs once cooled.
Final Thoughts
I hope you enjoy making these classic Italian Easter cookies as much as I do! Don’t forget to share your baking stories and photos — I’d love to see how they turn out for you.