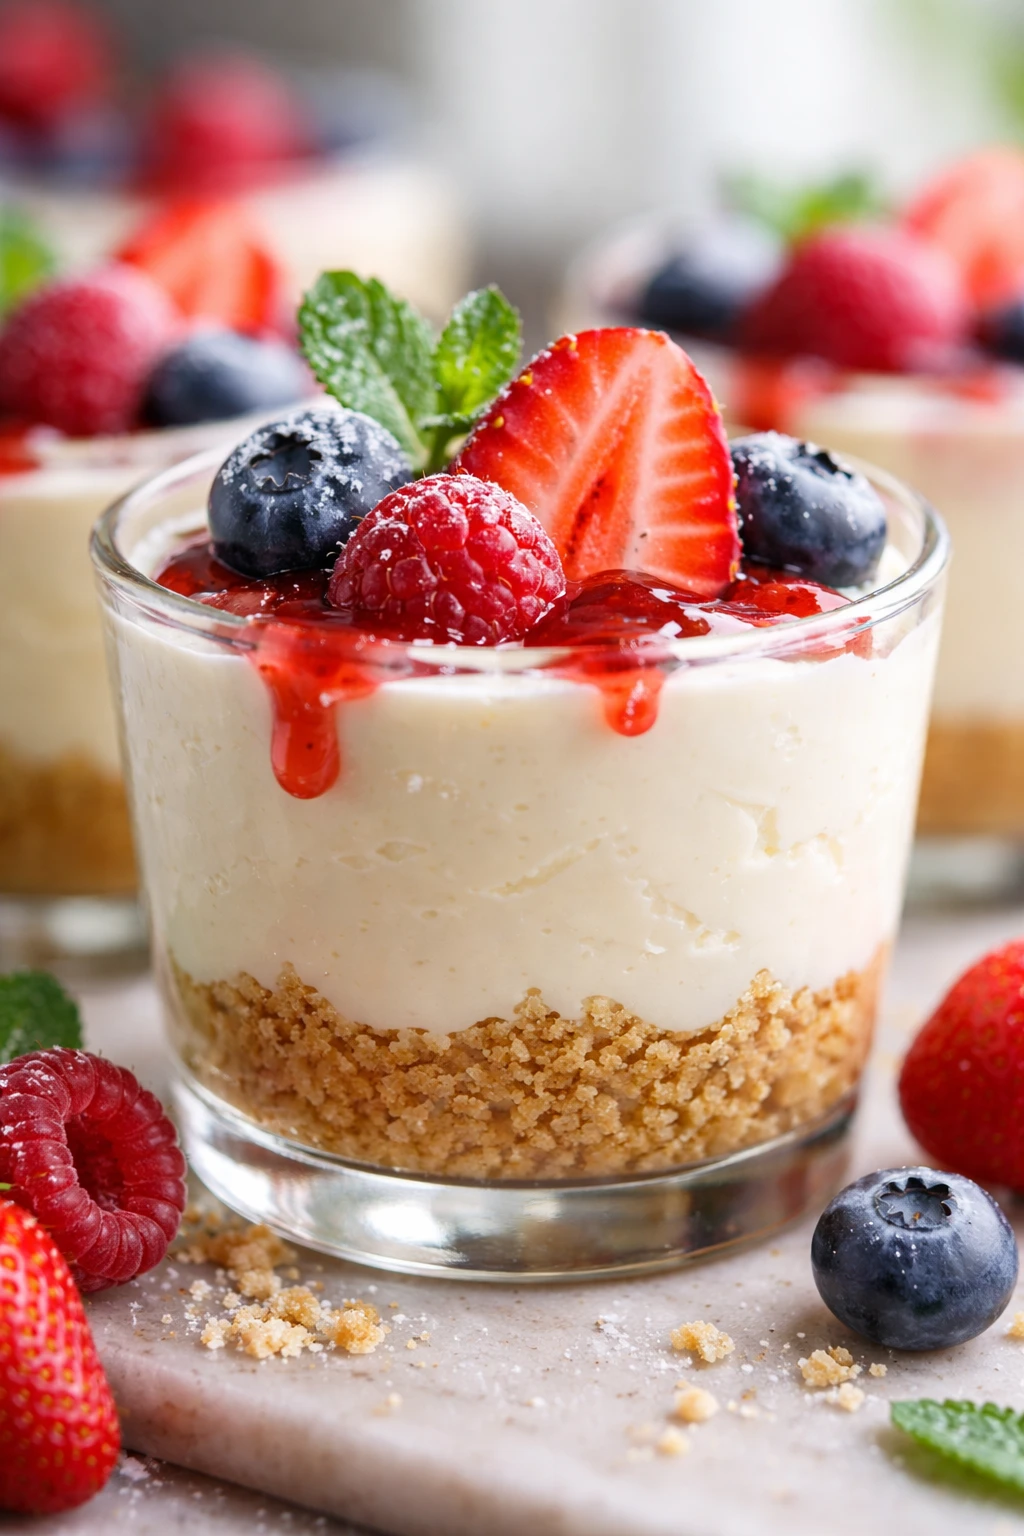
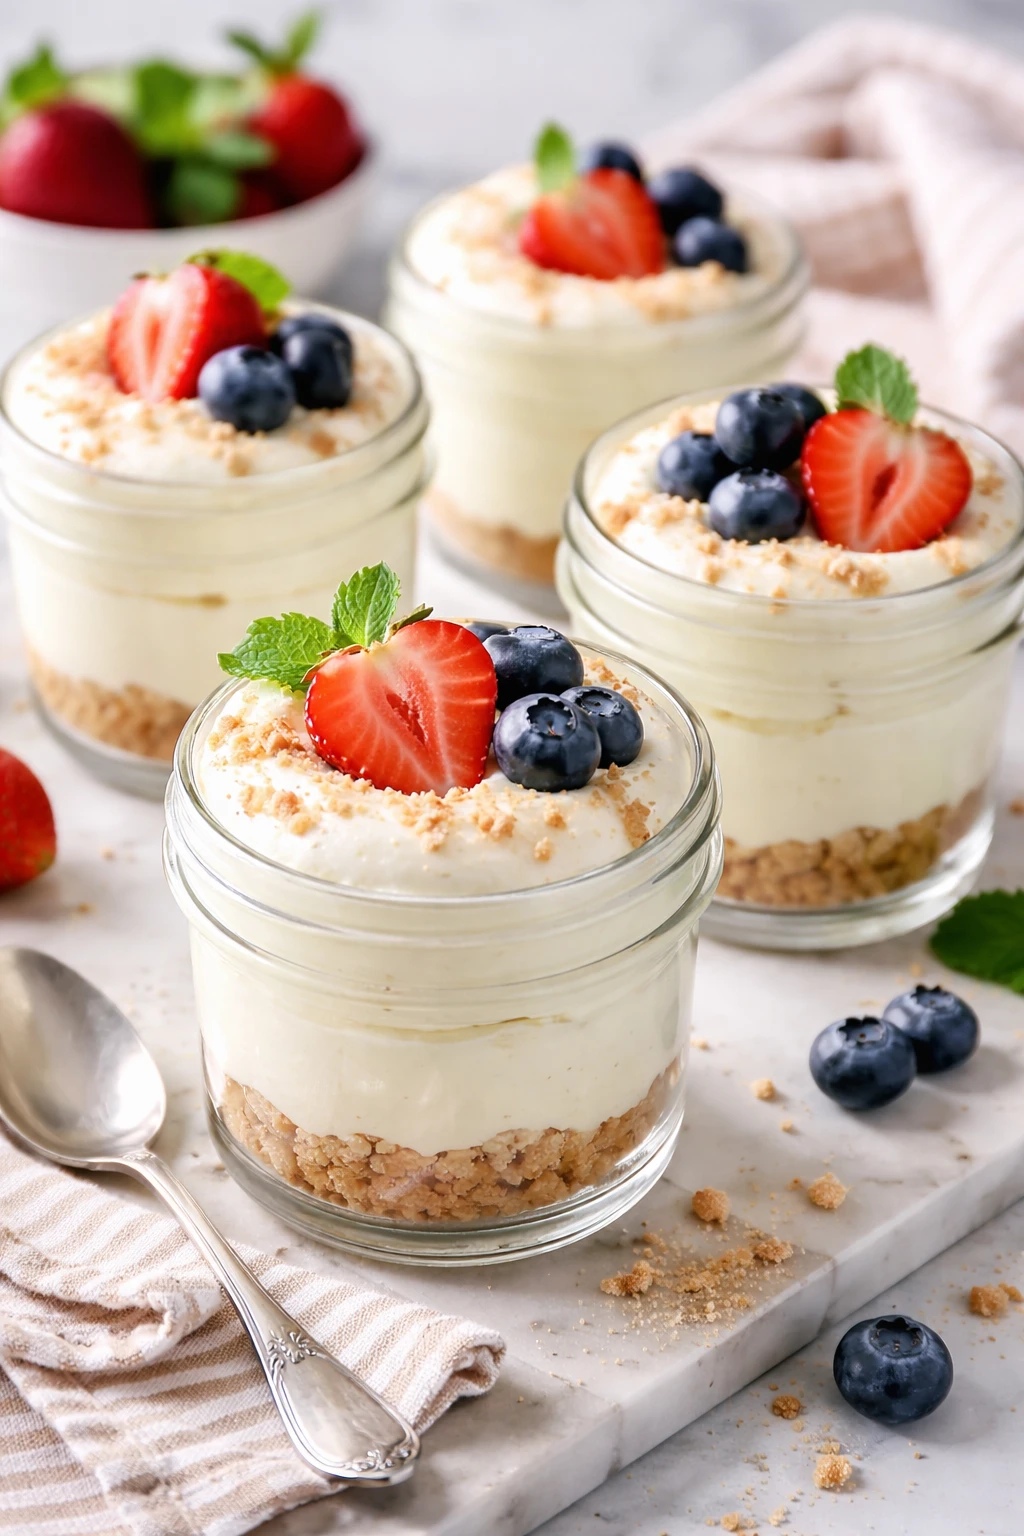
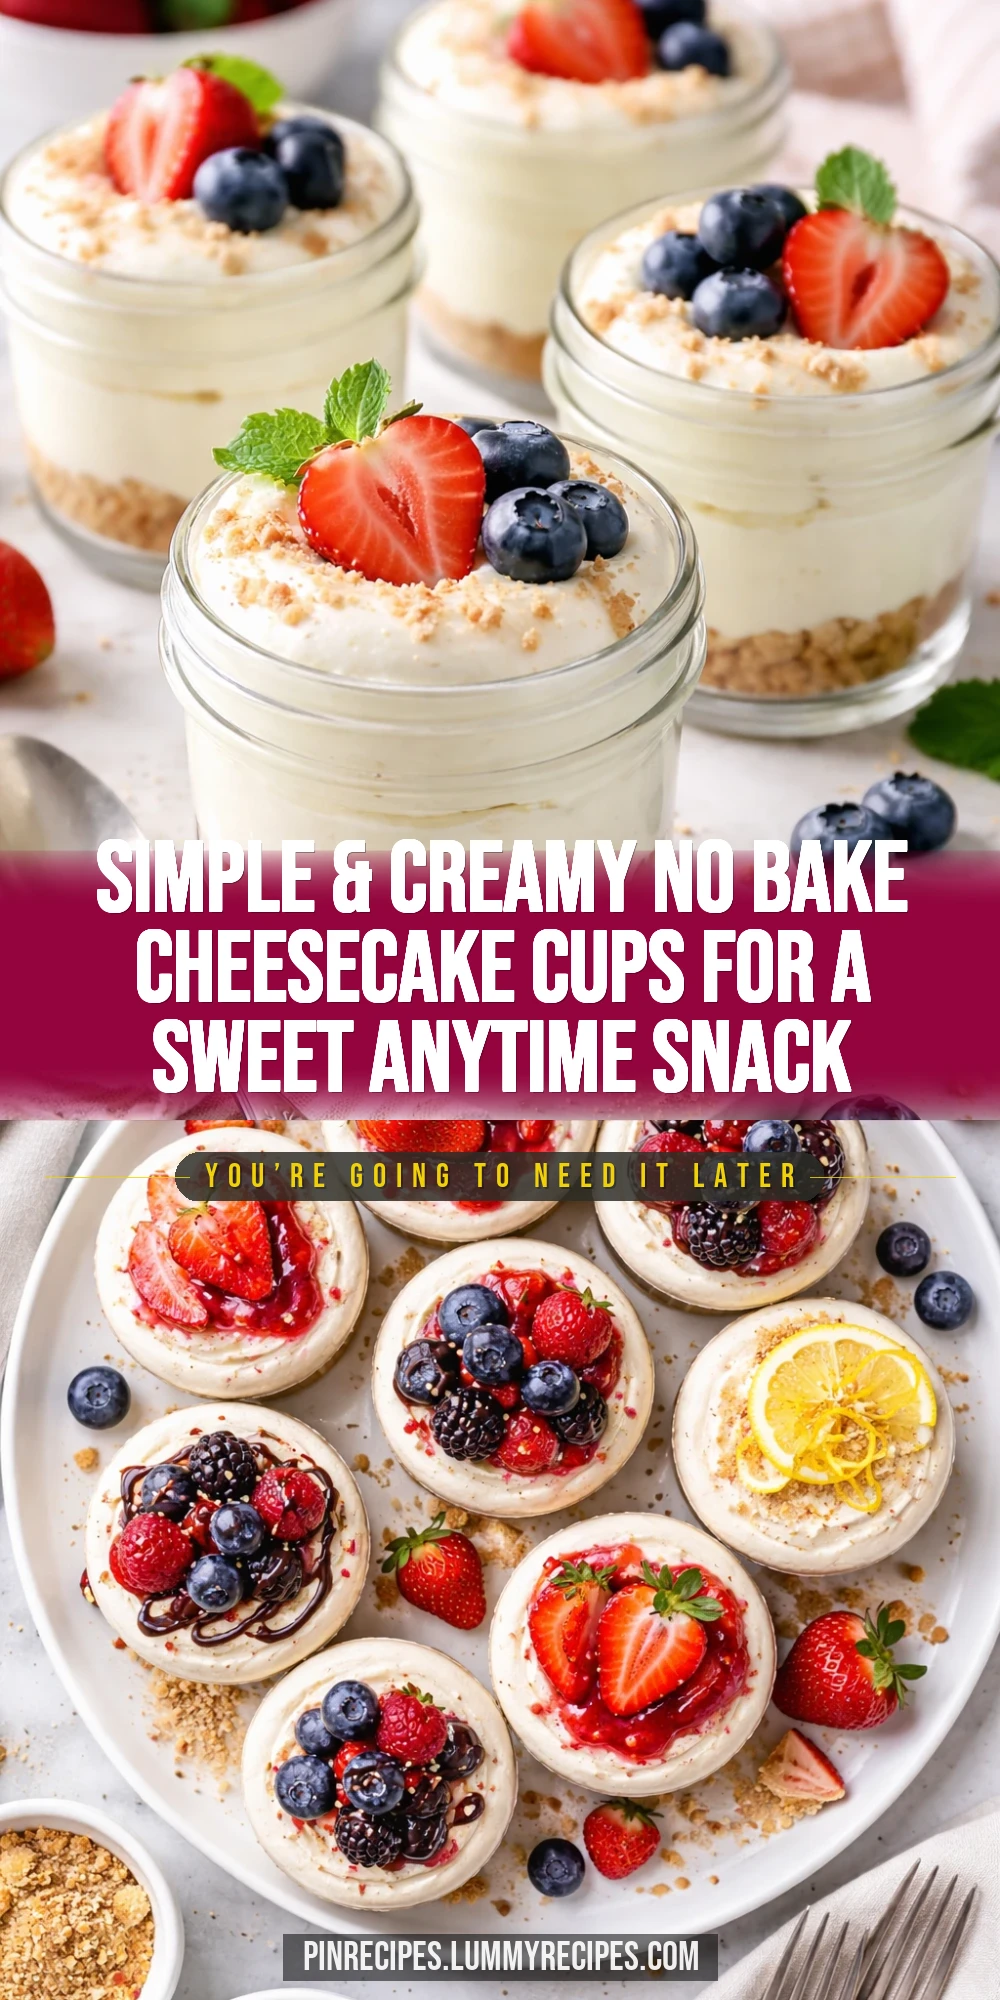
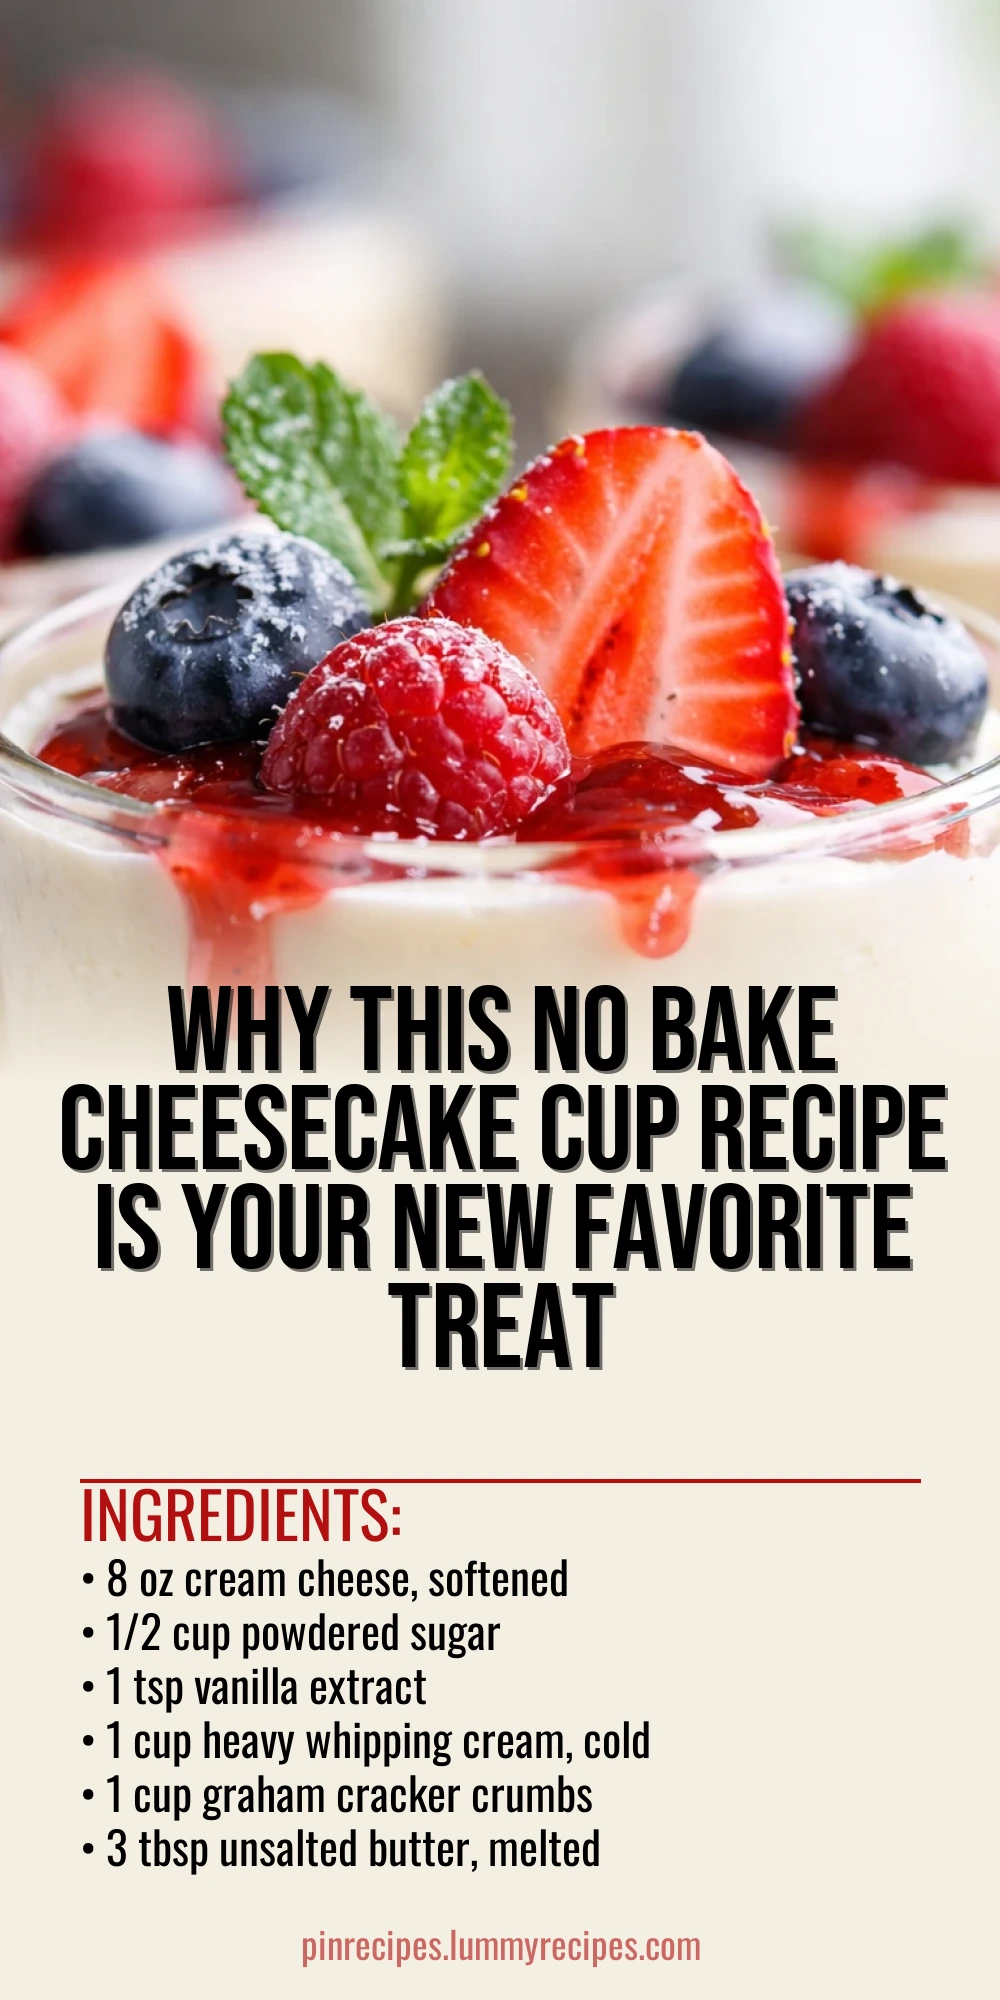
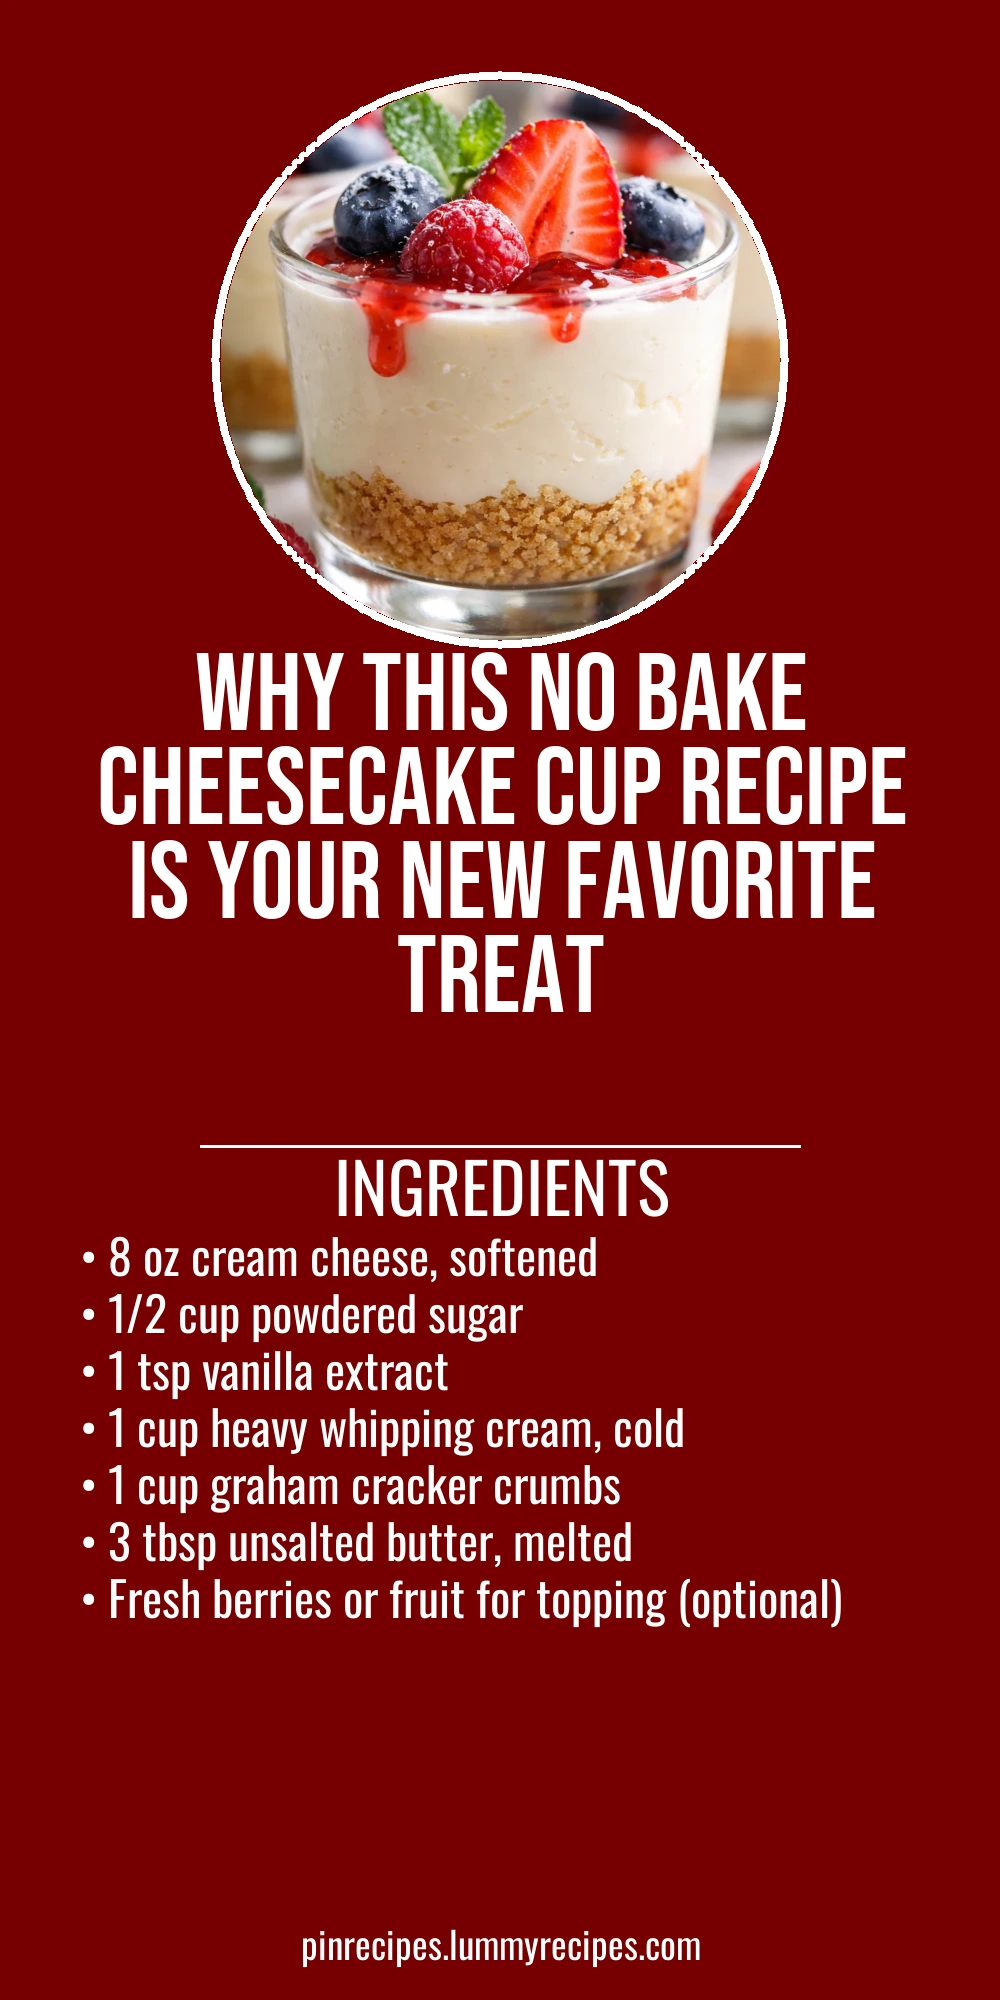
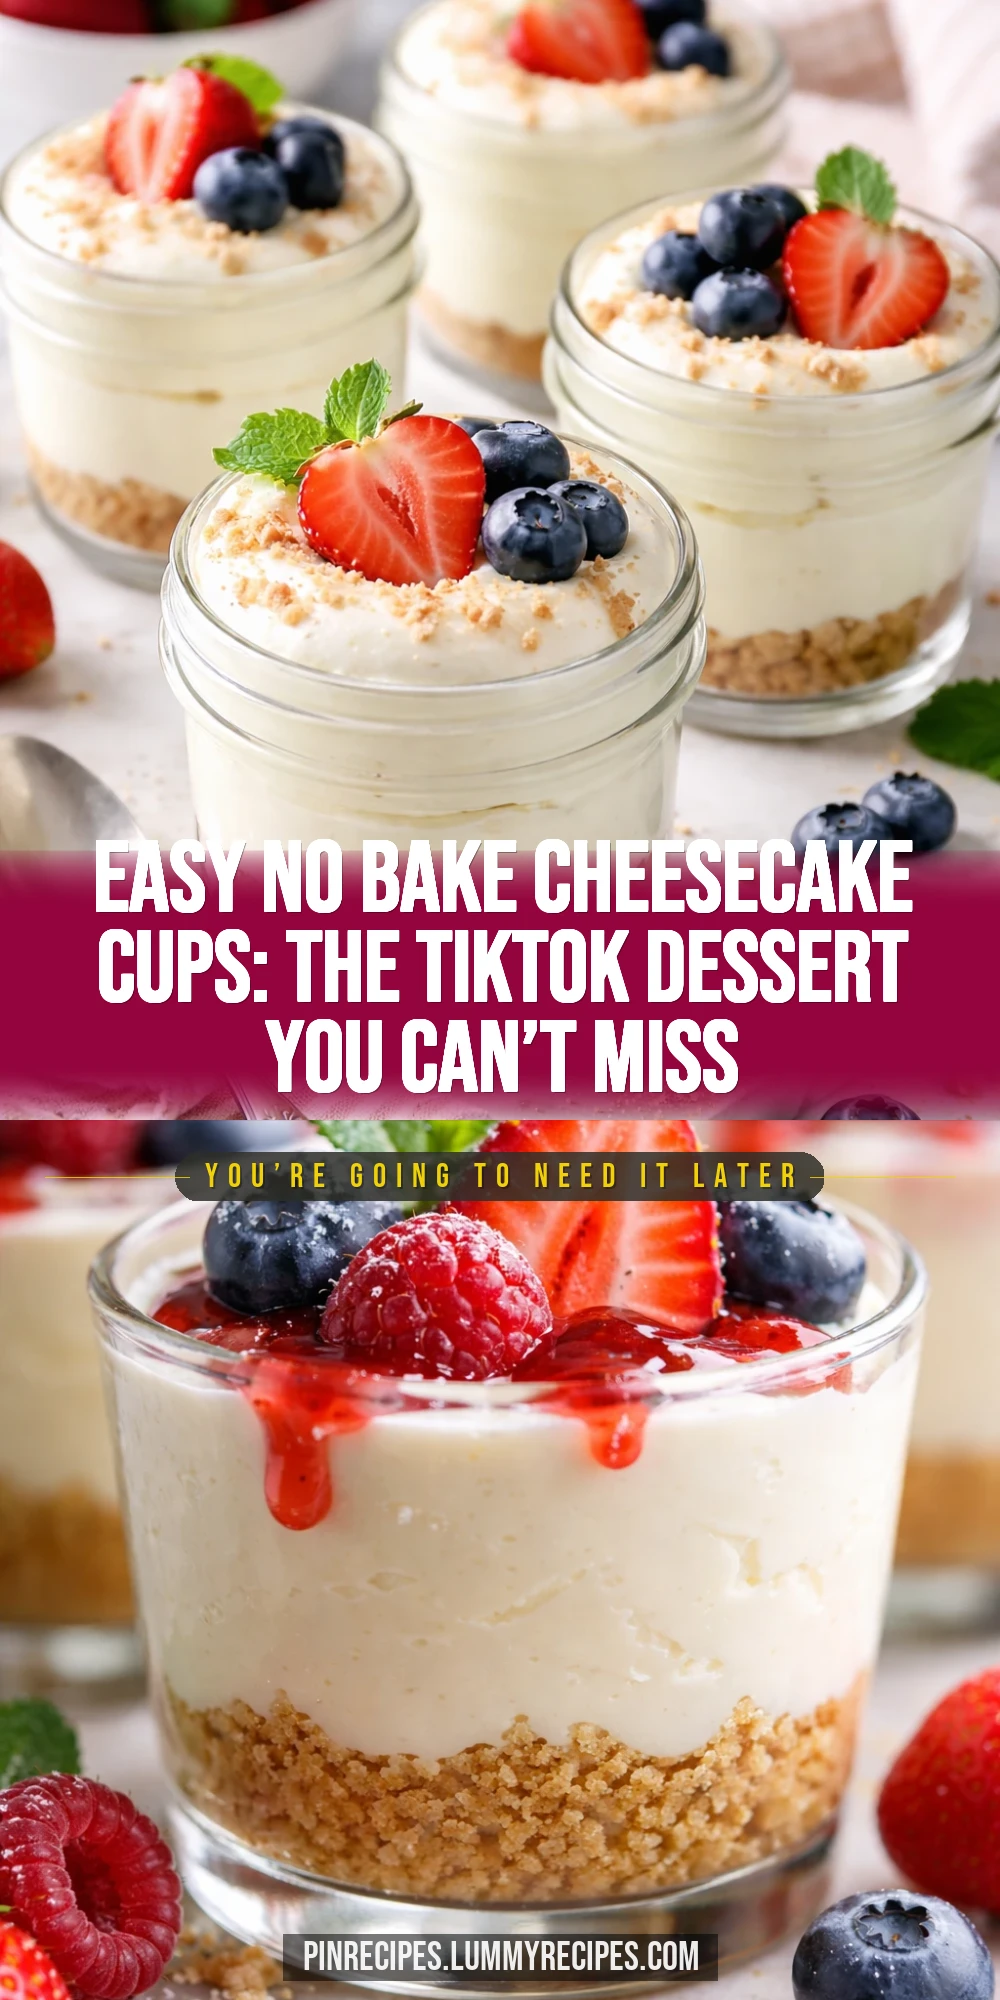
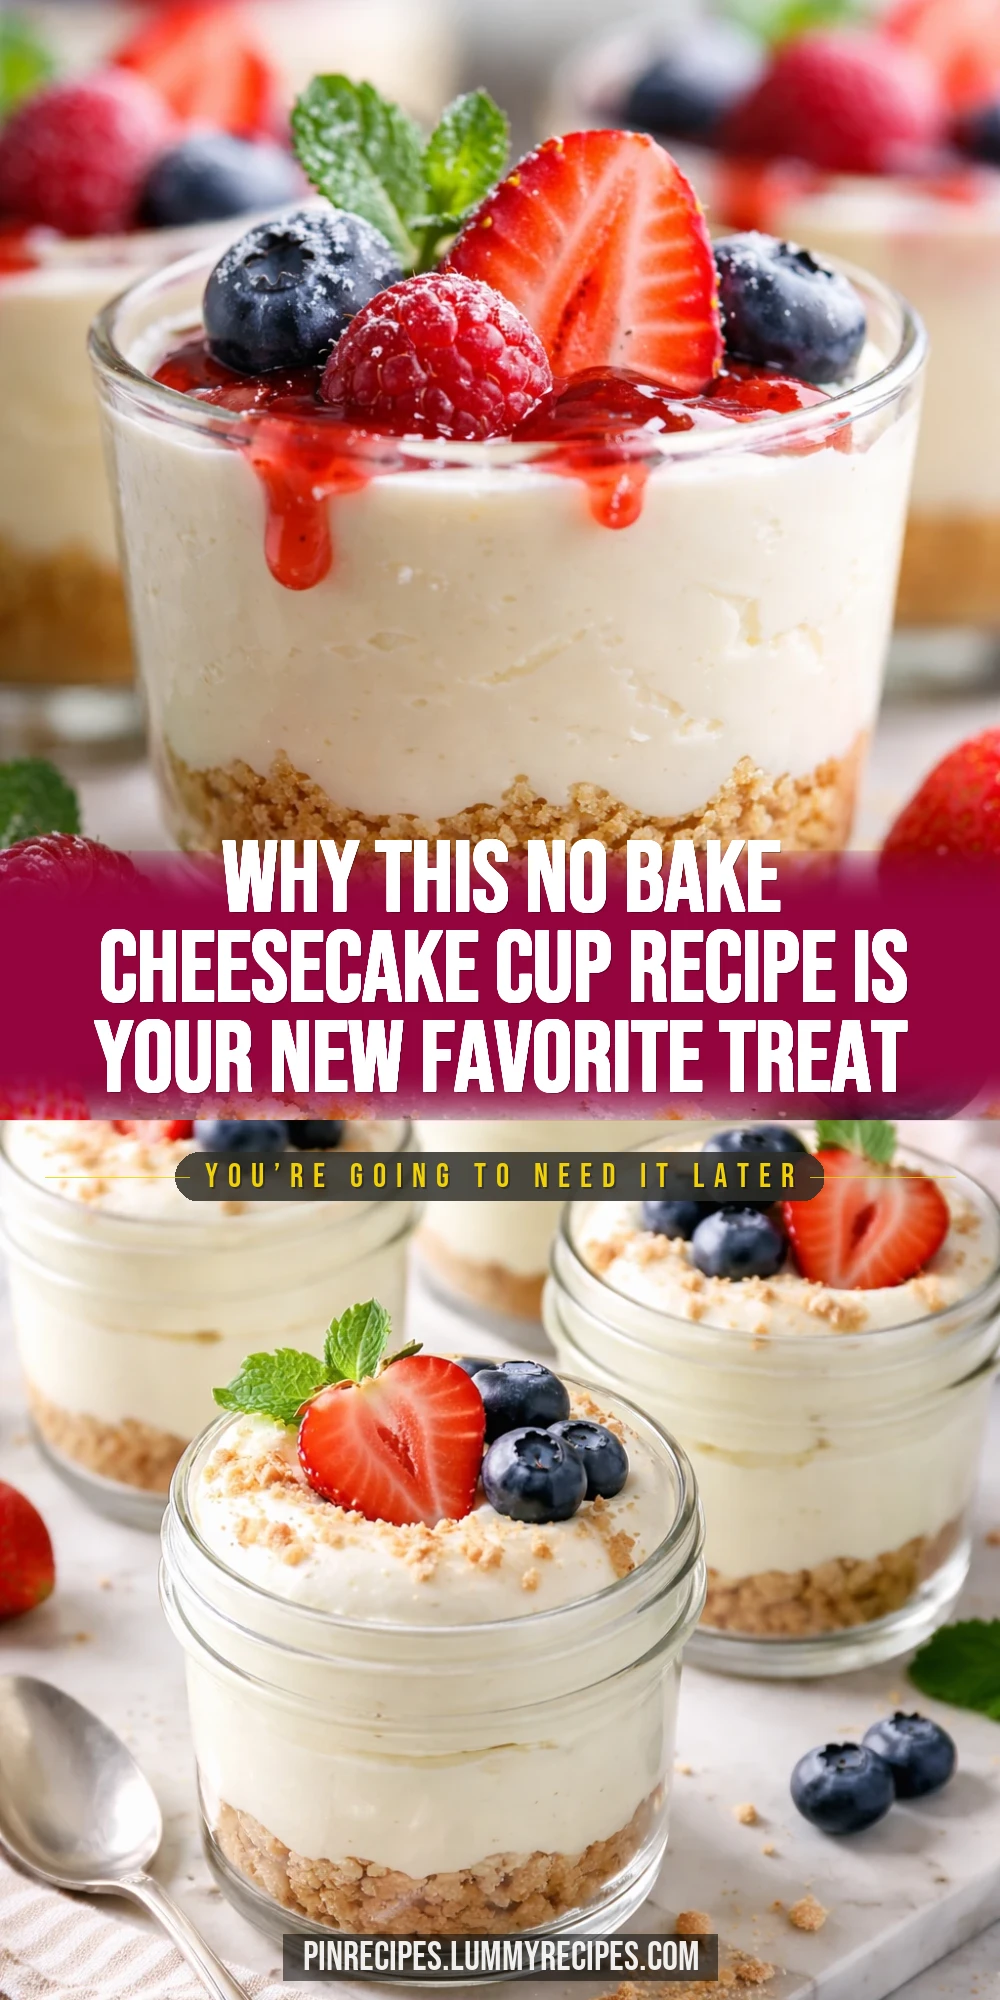
These no bake cheesecake cups are insanely creamy and super easy to whip up. The secret? Using whipped cream folded into cream cheese for that perfect light texture. Great for last-minute desserts or sweet cravings anytime!
Introduction
I first stumbled upon these creamy no bake cheesecake cups while scrolling through TikTok one lazy afternoon. At first, I was skeptical—no bake desserts can sometimes be too dense or overly sweet. But this version caught my eye because it promised a light, fluffy texture thanks to folding whipped cream into cream cheese. I gave it a shot, and honestly, it’s become my go-to quick dessert. What makes this recipe stand out is how simple it is: no oven, no complicated steps, just mixing and chilling. The graham cracker crust is buttery and crumbly, perfectly balancing the rich, velvety filling. Also, the vanilla adds a subtle warmth that makes every bite feel cozy. I’ve made this a few times now, and the texture always turns out silky smooth—no graininess or heaviness. It’s perfect for when I want something sweet but not too fussy, and my family loves it too. Plus, you can easily dress it up with fresh berries or chocolate drizzle depending on your mood. This recipe is all about ease and indulgence without the stress, and I think you’ll love it as much as I do!
What You'll Need
4 individual cheesecake cups
- 8 oz cream cheese, softened
- 1/2 cup powdered sugar
- 1 tsp vanilla extract
- 1 cup heavy whipping cream, cold
- 1 cup graham cracker crumbs
- 3 tbsp unsalted butter, melted
- Fresh berries or fruit for topping (optional)
How To Do It
Step 1
Start by making the crust. In a bowl, combine the graham cracker crumbs with the melted butter until the mixture looks like wet sand. This step is crucial because the butter acts as the glue, helping the crumbs stick together and form a solid base. If you skip this or don’t mix well, the crust can fall apart when you try to eat it. Press the mixture firmly into the bottom of your serving cups or ramekins to create an even layer. Use the back of a spoon or your fingers to compact it tightly, which will help it hold its shape once chilled.
⏱ Time: 10 minutes
✓ Doneness: Crust feels firm and compact when pressed, no loose crumbs falling apart
Step 2
Next, whip the heavy cream in a chilled bowl until soft peaks form. This means when you lift the whisk, the cream holds its shape but the tip folds over slightly. Whipping the cream properly is key because it adds airiness to the filling, making it light instead of dense. Be careful not to overwhip or you’ll end up with butter! Set the whipped cream aside for now.
⏱ Time: 5 minutes
✓ Doneness: Cream holds soft peaks, smooth and fluffy texture without graininess
Step 3
In a separate bowl, beat the softened cream cheese with powdered sugar and vanilla extract until smooth and creamy. This step ensures your filling is silky without lumps. Using softened cream cheese helps it blend easily, so if it’s cold, give it a quick zap in the microwave for 10 seconds but don’t melt it. Mix until the sugar is fully dissolved for a balanced sweetness.
⏱ Time: 5 minutes
✓ Doneness: Filling is smooth, creamy, and free of lumps
Step 4
Gently fold the whipped cream into the cream cheese mixture using a spatula. Folding means carefully combining the two without deflating the whipped cream. This technique traps air inside, giving the filling that signature fluffy texture. If you stir too vigorously, the filling will become dense and lose its lightness. Fold just until no streaks remain.
⏱ Time: 3 minutes
✓ Doneness: Filling is evenly combined, light, and airy without streaks
Step 5
Spoon the cheesecake filling over the prepared crust in your cups, dividing it evenly. Smooth the tops with the back of a spoon or an offset spatula for a clean look. This step sets up the dessert for chilling and serving. If you want, add a layer of fruit or chocolate chips before the filling for a surprise bite.
⏱ Time: 5 minutes
✓ Doneness: Filling is evenly distributed and smooth on top
Step 6
Cover the cups tightly with plastic wrap and refrigerate for at least 2 hours, or overnight if possible. Chilling allows the filling to firm up and flavors to meld, giving you that perfect creamy but set texture. Don’t rush this step—serving too soon means the filling will be too soft and may not hold its shape.
⏱ Time: 120 minutes
✓ Doneness: Filling is set but still creamy, holds shape when touched
Step 7
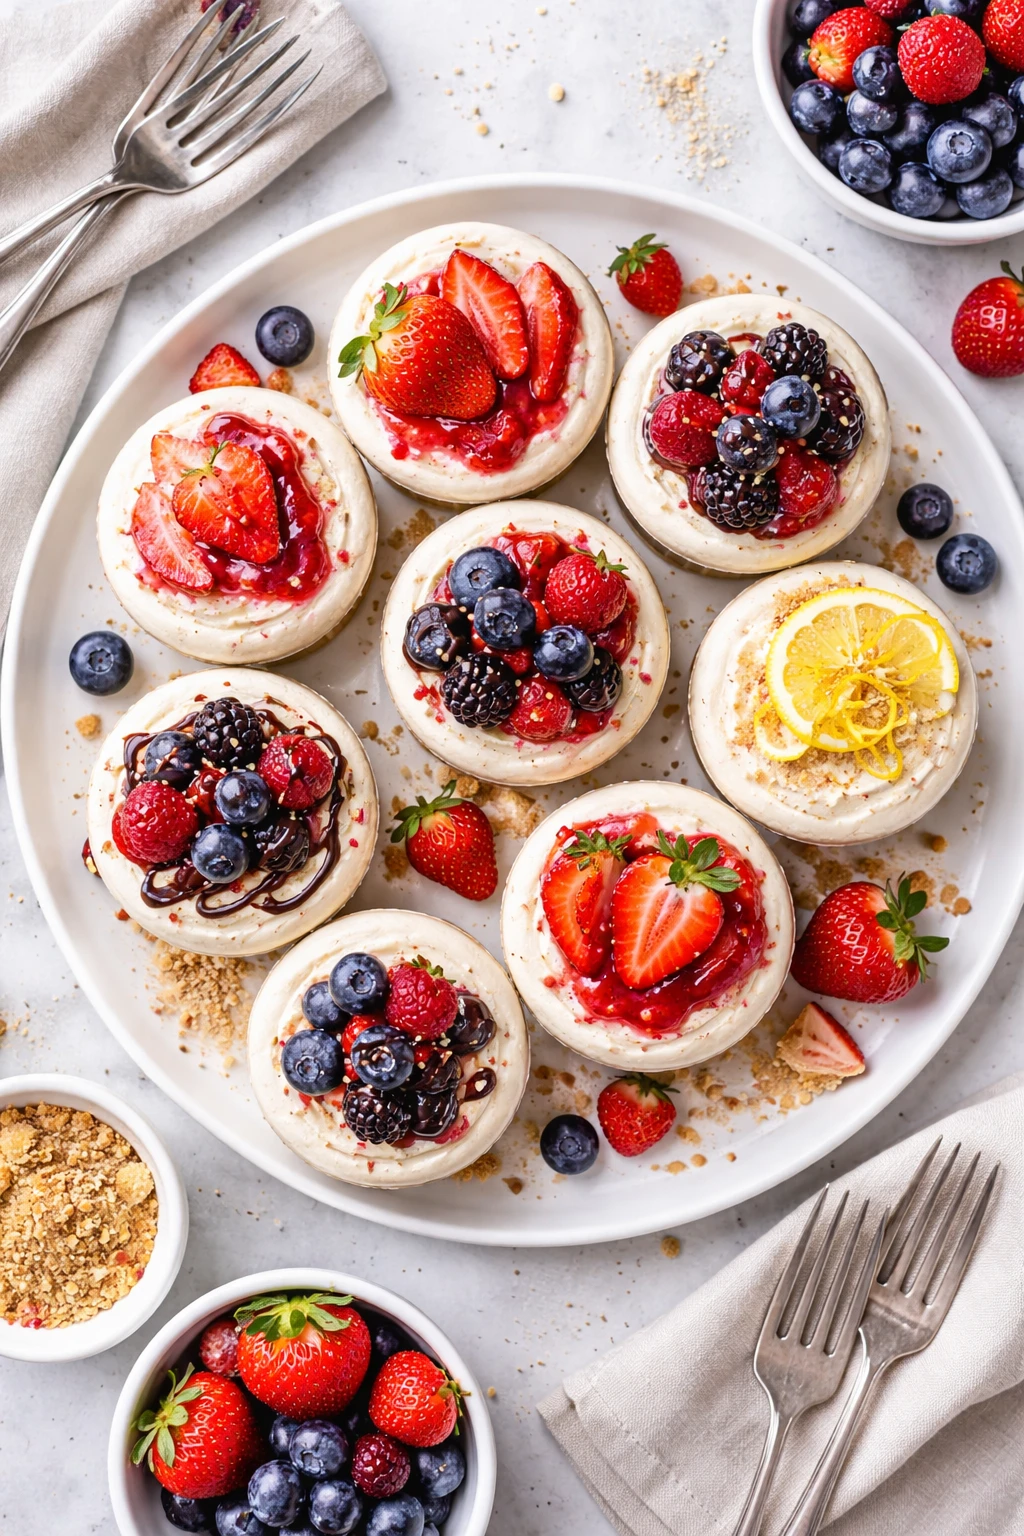
Before serving, add your favorite toppings like fresh berries, a drizzle of honey, or crushed nuts. This adds texture and a pop of flavor that complements the rich cheesecake. I love how the tartness of berries balances the sweetness perfectly.
⏱ Time: 5 minutes
✓ Doneness: Toppings look fresh and vibrant, enhancing overall presentation
Step 8
Serve chilled straight from the fridge. If the cheesecake cups have been refrigerated longer than a day, let them sit at room temperature for 10 minutes to soften slightly for the best mouthfeel. This little rest helps the flavors open up and the texture become luscious again.
⏱ Time: 10 minutes
✓ Doneness: Cheesecake is creamy and smooth, not icy or too firm
Step 9
Enjoy your creamy no bake cheesecake cups with a spoon and savor the light, fluffy texture combined with the buttery crust. These cups are perfect for a quick dessert fix or to impress guests without any oven time. Store leftovers covered in the fridge.
⏱ Time: 0 minutes
✓ Doneness: Dessert is fully set, creamy, and delicious
Pro Tips
Always soften cream cheese to room temperature before mixing.
Softened cream cheese blends smoothly with powdered sugar and vanilla, preventing lumps and graininess. If it’s too cold, you’ll struggle to get a creamy filling, and the texture will be uneven.
Chill your mixing bowl and beaters before whipping cream.
Cold equipment helps the cream whip faster and hold stable peaks. Warm tools can cause the cream to stay runny, making it impossible to achieve the right fluffy texture.
Fold whipped cream gently into the cream cheese mixture.
Folding preserves the air whipped into the cream, keeping the filling light and airy. Stirring or beating aggressively will deflate the mixture, resulting in a dense, heavy cheesecake.
Press the crust firmly into the cups or pan.
Firmly pressing the crust helps it hold together and prevents it from crumbling when you eat. A loosely packed crust will fall apart and make a mess.
Don’t skip the chilling time.
Chilling sets the filling and allows flavors to meld. Serving too soon means a runny filling that won’t hold its shape or texture.
Use powdered sugar instead of granulated sugar.
Powdered sugar dissolves completely and keeps the filling smooth. Granulated sugar can leave a grainy texture, which is unpleasant in a creamy dessert.
Add fresh fruit or toppings just before serving.
Adding toppings too early can cause them to release moisture and make the crust soggy or the filling watery. Fresh toppings keep the dessert visually appealing and texturally balanced.
Common Mistakes to Avoid
Using cold cream cheese without softening
Why it happens Many assume they can mix cream cheese straight from the fridge, but it’s too firm and won’t blend smoothly.
Fix Let cream cheese sit at room temperature for 30 minutes or microwave in short bursts (10 seconds) until soft but not melted. This ensures a creamy, lump-free filling.
Overwhipping the heavy cream
Why it happens It’s easy to get distracted and whip cream past soft peaks into butter.
Fix Watch closely and stop whipping as soon as soft peaks form—when the cream holds shape but folds over slightly. This keeps the filling light and fluffy.
Stirring instead of folding whipped cream into cream cheese
Why it happens Some cooks mistakenly mix aggressively, losing the air whipped into the cream.
Fix Use a spatula to gently fold the mixtures together, preserving volume and lightness.
Not pressing the crust firmly
Why it happens Rushing this step or being too gentle results in a crumbly base.
Fix Press crumbs tightly with the back of a spoon or fingers to create a solid, cohesive crust.
Serving cheesecake cups without chilling
Why it happens Impatience leads to serving immediately, causing a runny filling.
Fix Refrigerate at least 2 hours to let the filling set and flavors develop.
Variations
Strawberry Swirl No Bake Cheesecake Cups
Add a swirl of strawberry puree or jam into the filling before folding in the whipped cream. This adds a fruity brightness and pretty pink marbling. Expect a slightly softer texture due to the added moisture from the puree.
Note: Gently fold in the puree to maintain airiness; chill longer if needed for firmer set.
Chocolate No Bake Cheesecake Cups
Mix in 2-3 tablespoons of melted dark chocolate into the cream cheese before folding in whipped cream. This turns the filling into a rich, chocolatey treat that pairs perfectly with a chocolate cookie crust.
Note: Allow melted chocolate to cool slightly before mixing to avoid deflating the whipped cream.
Lemon Zest and Juice Cheesecake Cups
Add fresh lemon zest and a tablespoon of lemon juice to the cream cheese mixture for a tangy twist. This brightens the flavor and adds a refreshing zing to the creamy cups.
Note: Use fresh lemon juice, but don’t add too much or the filling may become too loose.
Peanut Butter No Bake Cheesecake Cups
Fold in 1/4 cup creamy peanut butter with the cream cheese for a nutty, decadent flavor. Top with chopped peanuts or a drizzle of chocolate for extra texture.
Note: Ensure peanut butter is smooth and room temperature to blend well without lumps.
Vegan No Bake Cheesecake Cups
Substitute cream cheese with vegan cashew cream and use coconut cream instead of heavy cream. Sweeten with maple syrup. This version is dairy-free and still creamy, perfect for vegan friends.
Note: Blend soaked cashews until ultra smooth to mimic cream cheese texture.
Nutrition
Per Serving:
Nutritional values are estimates and may vary based on specific ingredients used.
Storage & Tips
Room Temperature
These cheesecake cups should not be left out at room temperature for more than 2 hours as the dairy can spoil. Keep covered with plastic wrap to prevent drying out if left briefly.
Refrigerator
Store in an airtight container in the fridge for up to 3 days. The texture may firm up more when cold; let sit 10 minutes at room temperature before serving for best creaminess.
Freezer
You can freeze cheesecake cups for up to 1 month. Wrap tightly with plastic wrap and place in a freezer-safe container. Thaw overnight in the fridge and stir gently before serving to restore texture.
Reheating
No reheating needed; serve chilled. If too firm from refrigeration, let sit at room temperature for 10 minutes to soften. Avoid microwaving as it will melt the filling.
Make Ahead
Prepare crust and filling up to 2 days ahead. Assemble cups and cover tightly in the fridge. Add fresh toppings just before serving to keep them vibrant and fresh.
FAQ
Can I use low-fat cream cheese for this recipe?
Low-fat cream cheese tends to have more water content and less fat, which can make the filling watery and less creamy. For best results, use full-fat cream cheese to achieve that rich, smooth texture.
What can I substitute for heavy whipping cream?
If you don’t have heavy cream, you can try whipping coconut cream for a dairy-free alternative or use chilled evaporated milk, but the texture won’t be as light and fluffy. Heavy cream is best for stable peaks and creaminess.
How long can I store these cheesecake cups in the fridge?
They keep well for up to 3 days in an airtight container. Beyond that, the texture may change and the crust can become soggy. For best taste, enjoy within this timeframe.
Can I make these cheesecake cups gluten-free?
Yes! Simply swap the graham cracker crumbs for gluten-free cookie crumbs or crushed nuts. Just ensure your substitutions hold together well with the butter for a sturdy crust.
Why is my filling grainy or lumpy?
This usually happens if the cream cheese wasn’t softened enough or if the powdered sugar didn’t dissolve fully. Make sure to soften cream cheese well and beat it thoroughly with the sugar until smooth before folding in whipped cream.
Can I prepare the crust and filling separately and assemble later?
Absolutely! You can prepare both parts ahead and keep them refrigerated separately. Assemble just before chilling to keep the crust crisp and the filling fresh.
What if my whipped cream deflates when folding?
This means you probably stirred too vigorously. Use a gentle folding motion with a spatula, turning the bowl and lifting the mixture rather than stirring. This keeps the air bubbles intact for a fluffy texture.
Can I use granulated sugar instead of powdered sugar?
Powdered sugar dissolves better and prevents graininess in the filling. Granulated sugar might leave a gritty texture, so it’s best to stick with powdered sugar for smoothness.
Final Thoughts
I hope you give these creamy no bake cheesecake cups a try—they’re such a delightful and easy treat. Don’t forget to share how yours turn out, I’d love to hear your thoughts!