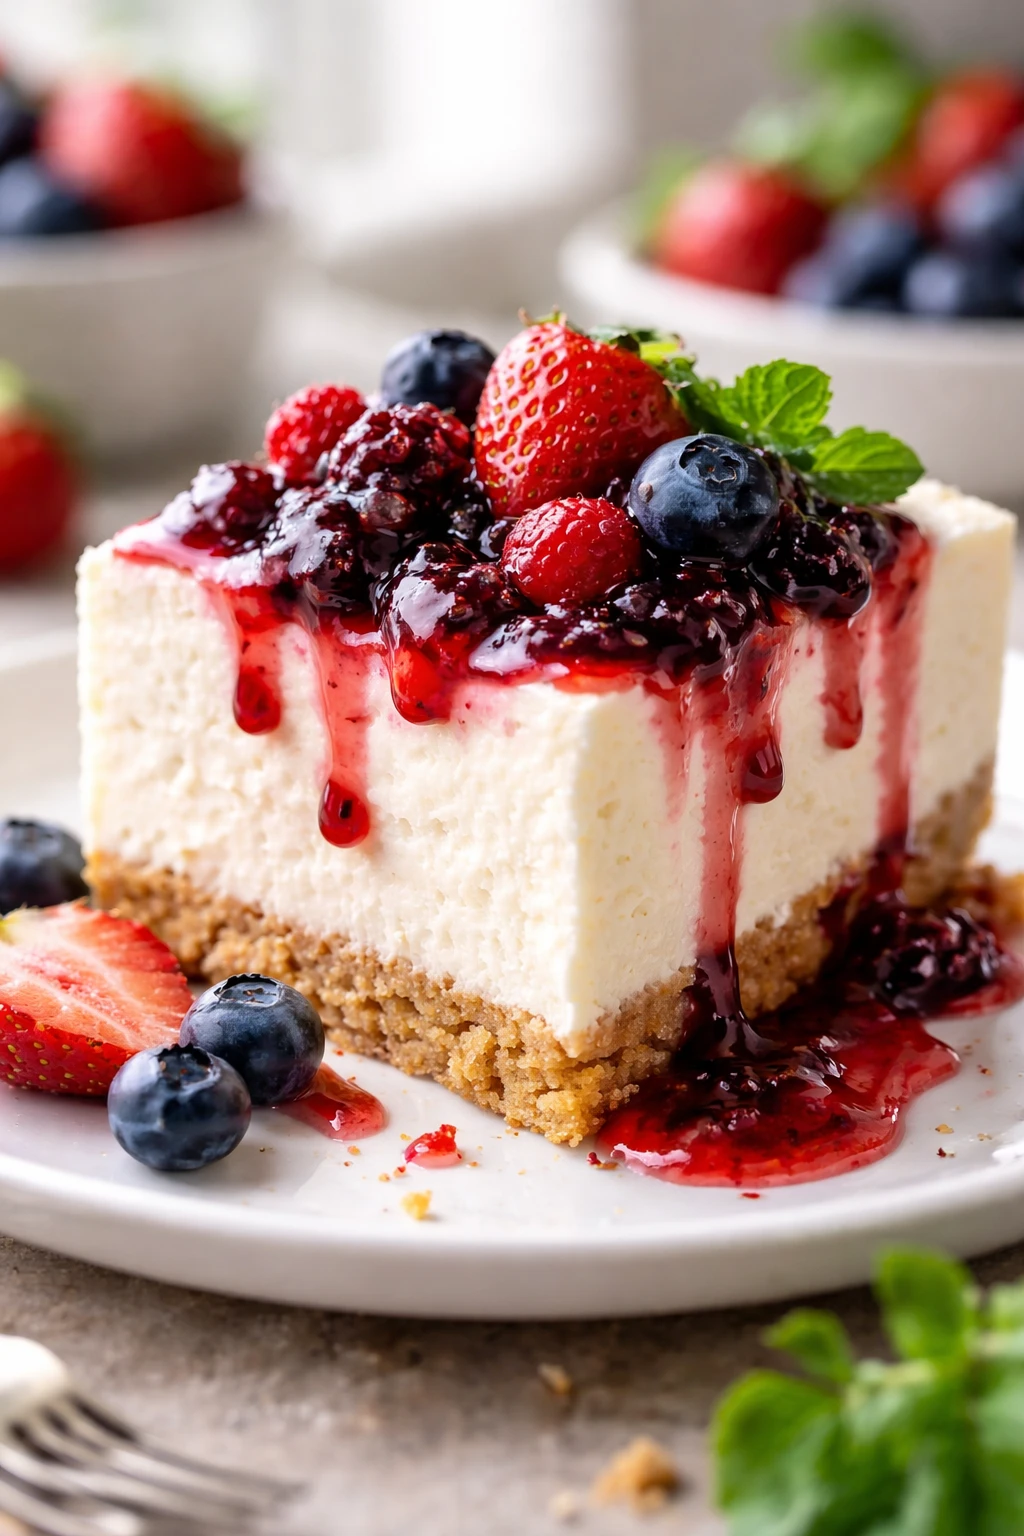
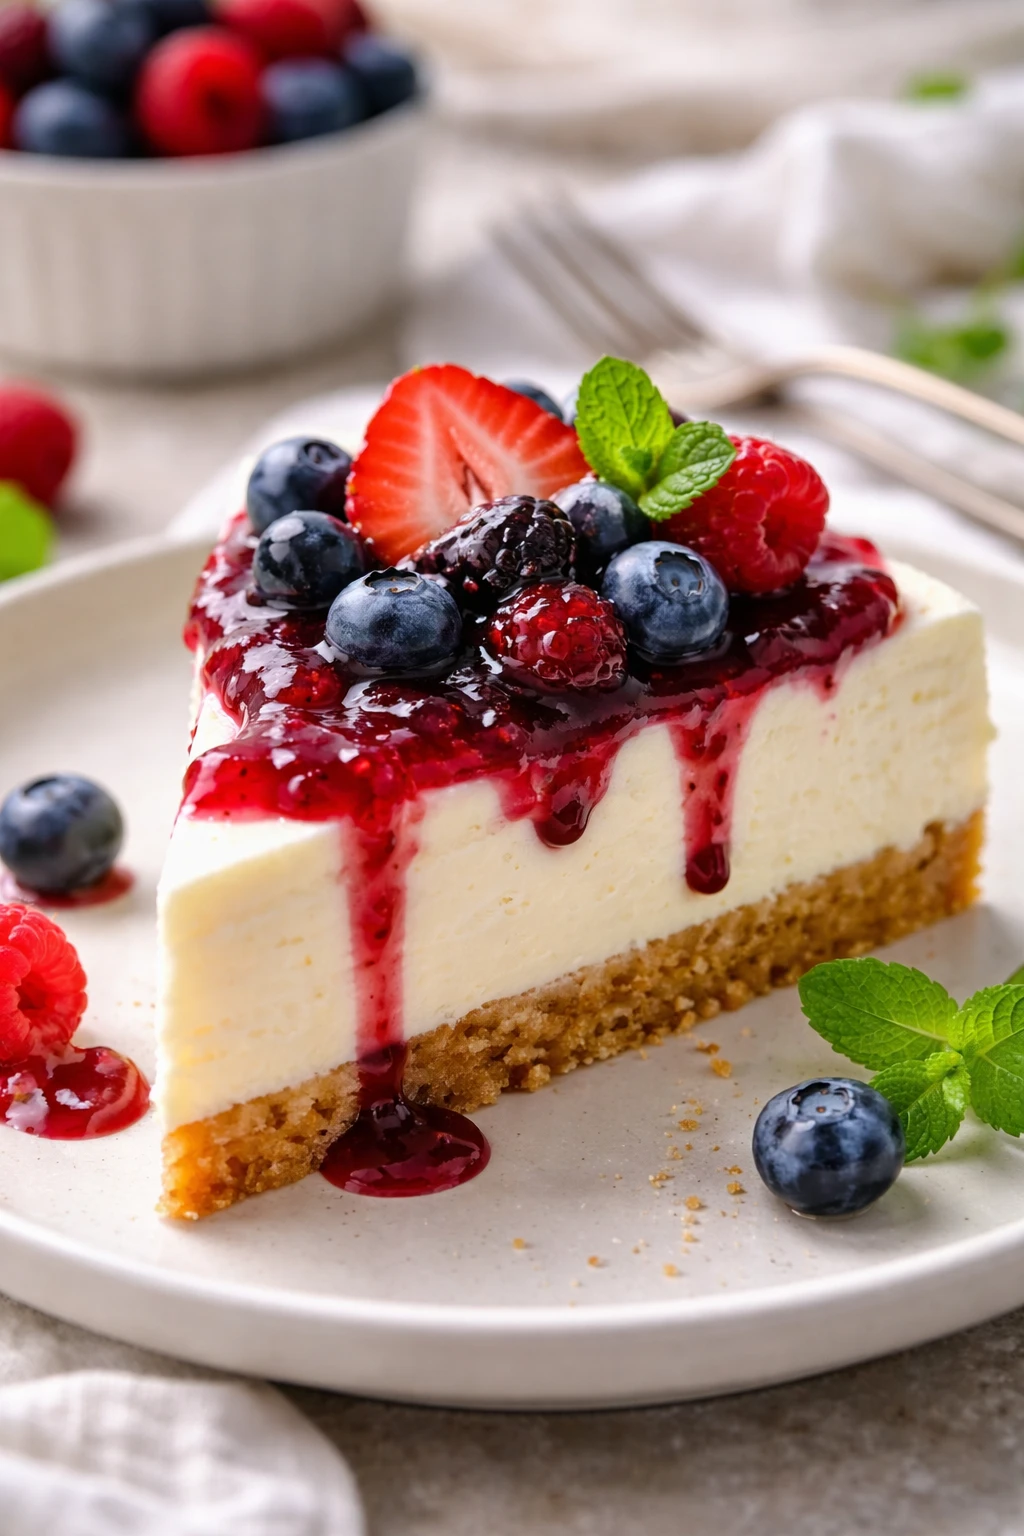
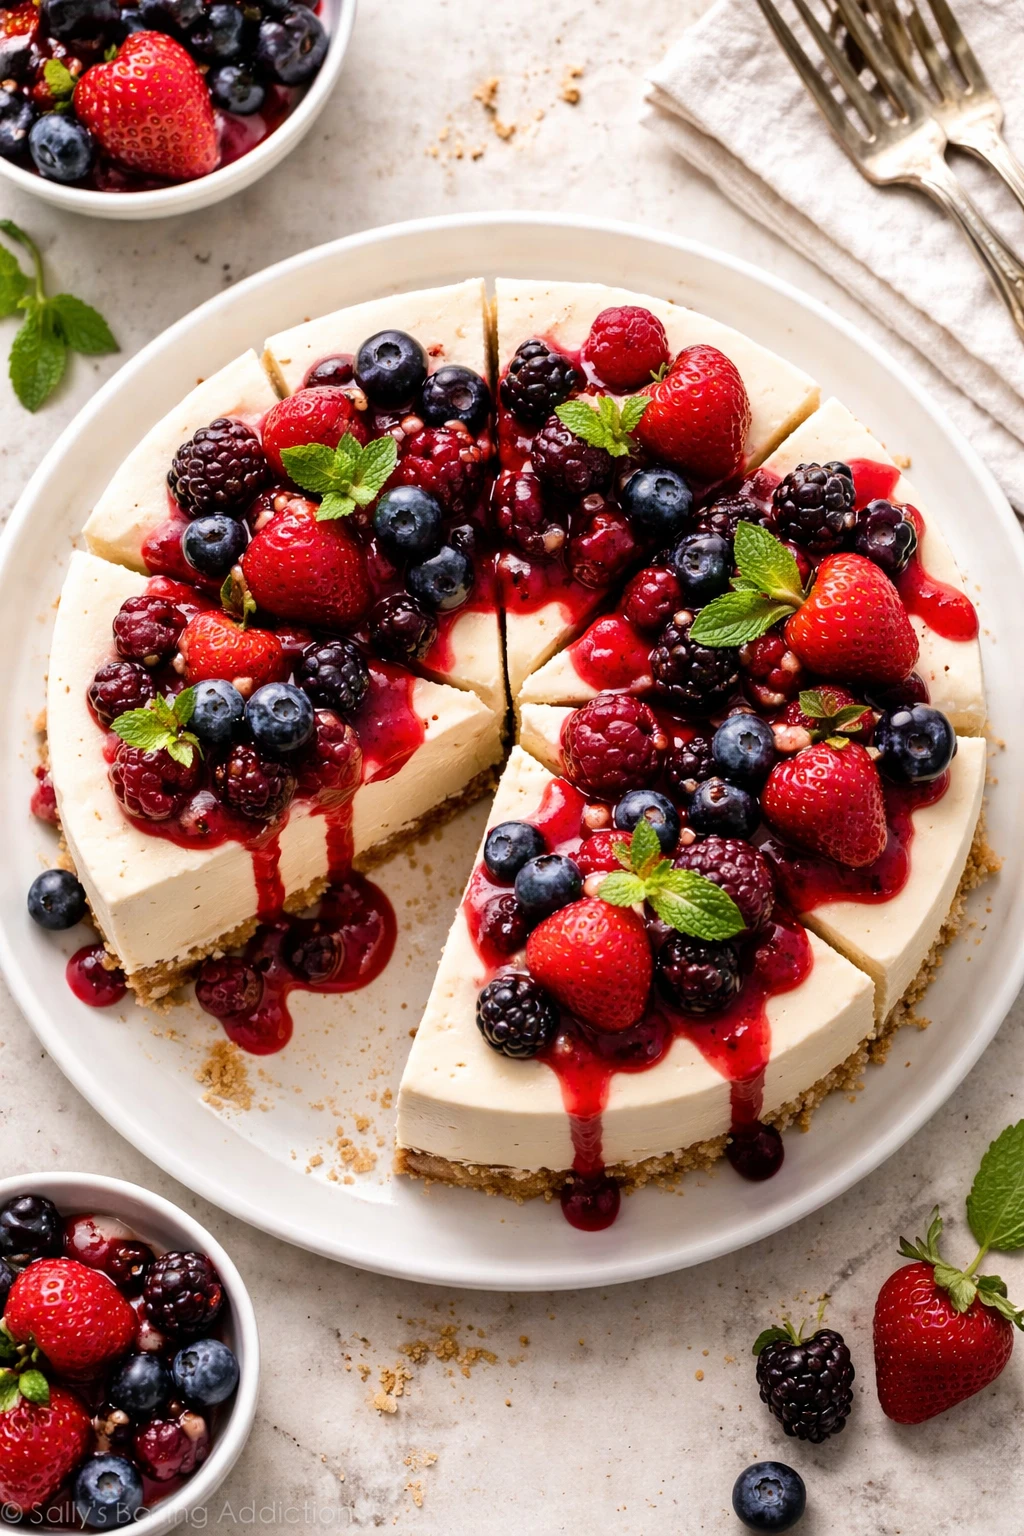
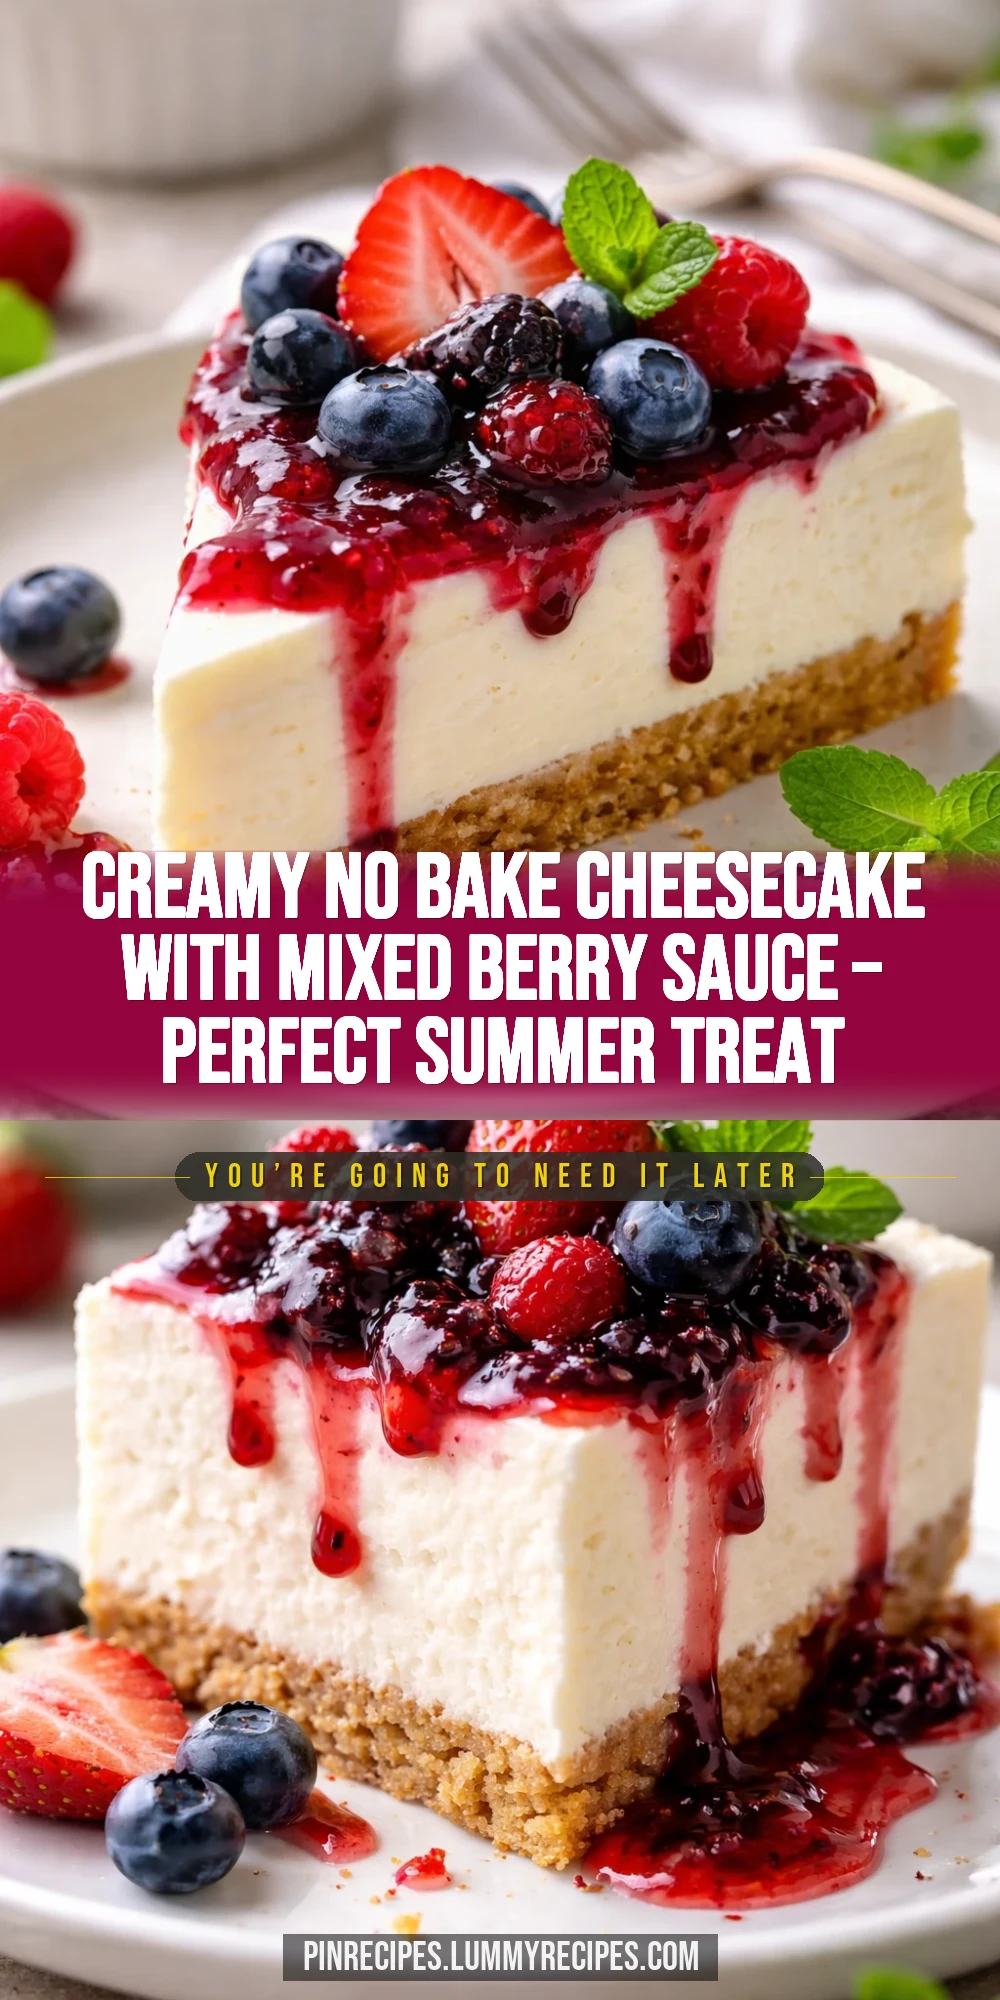
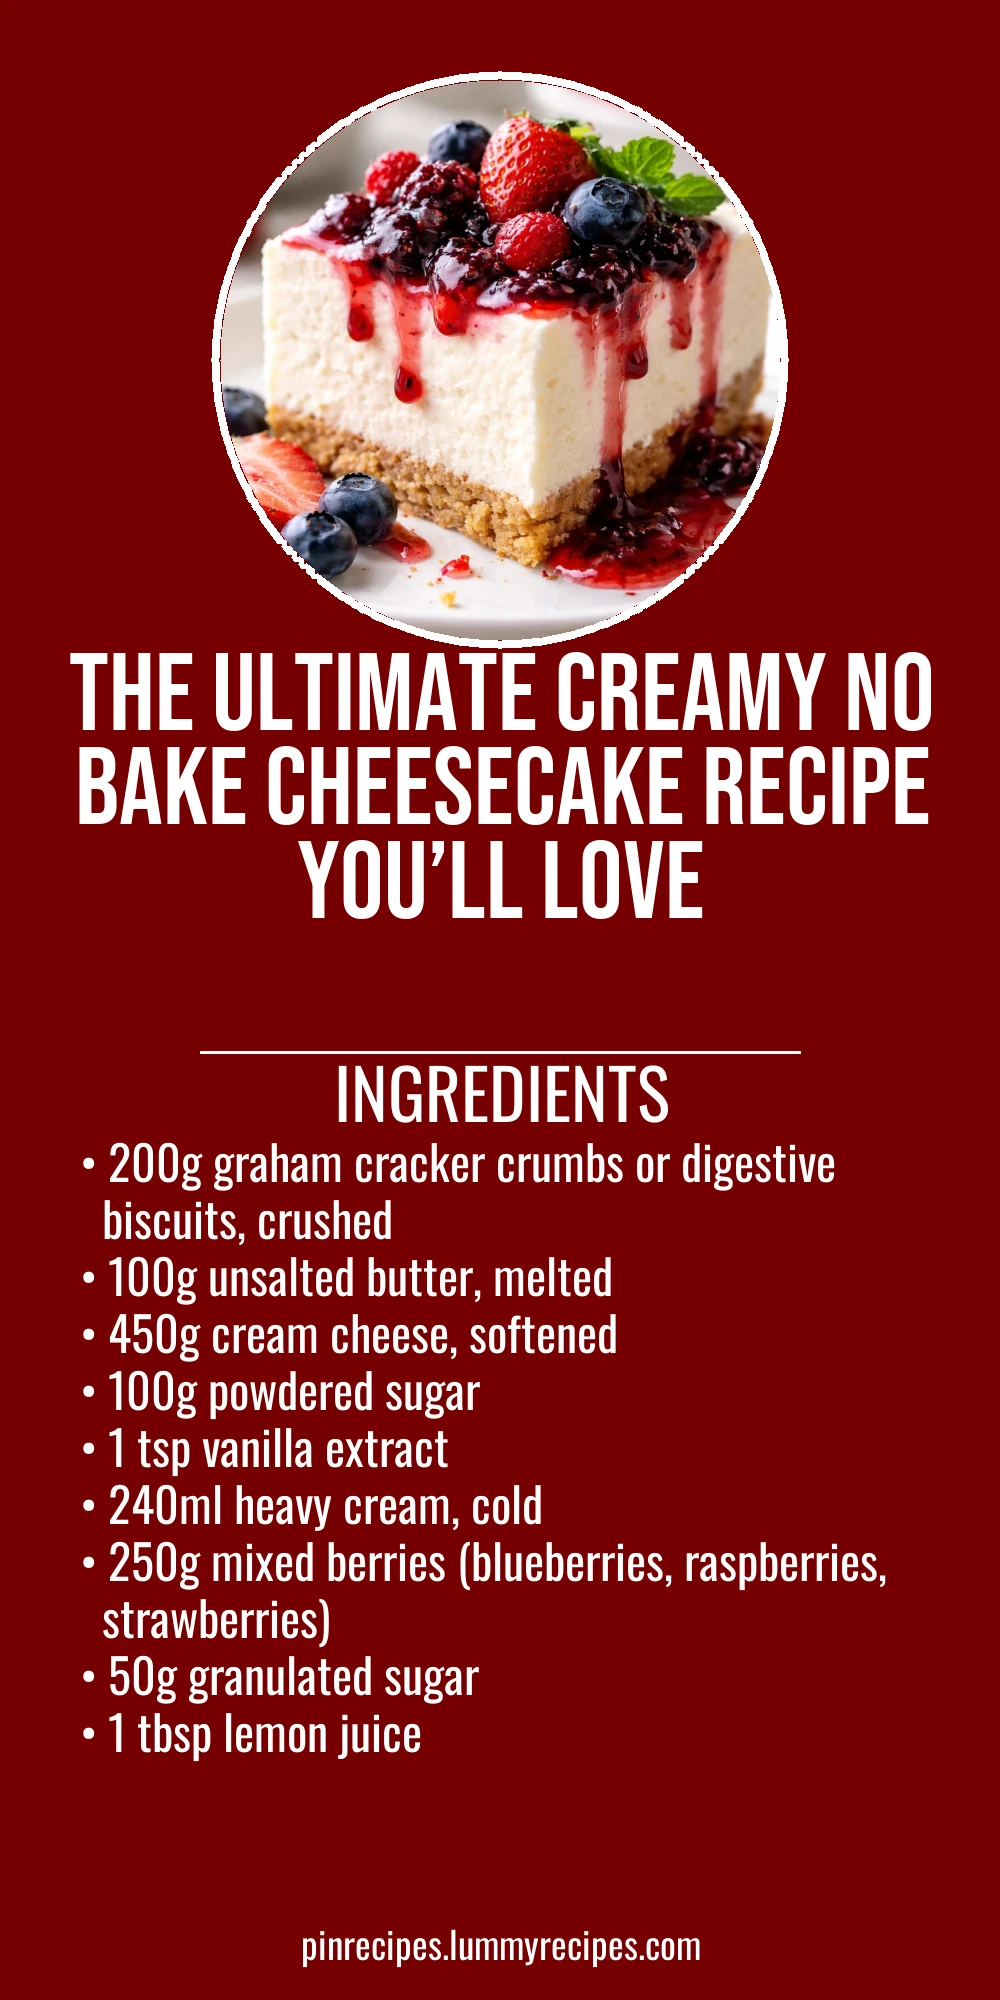
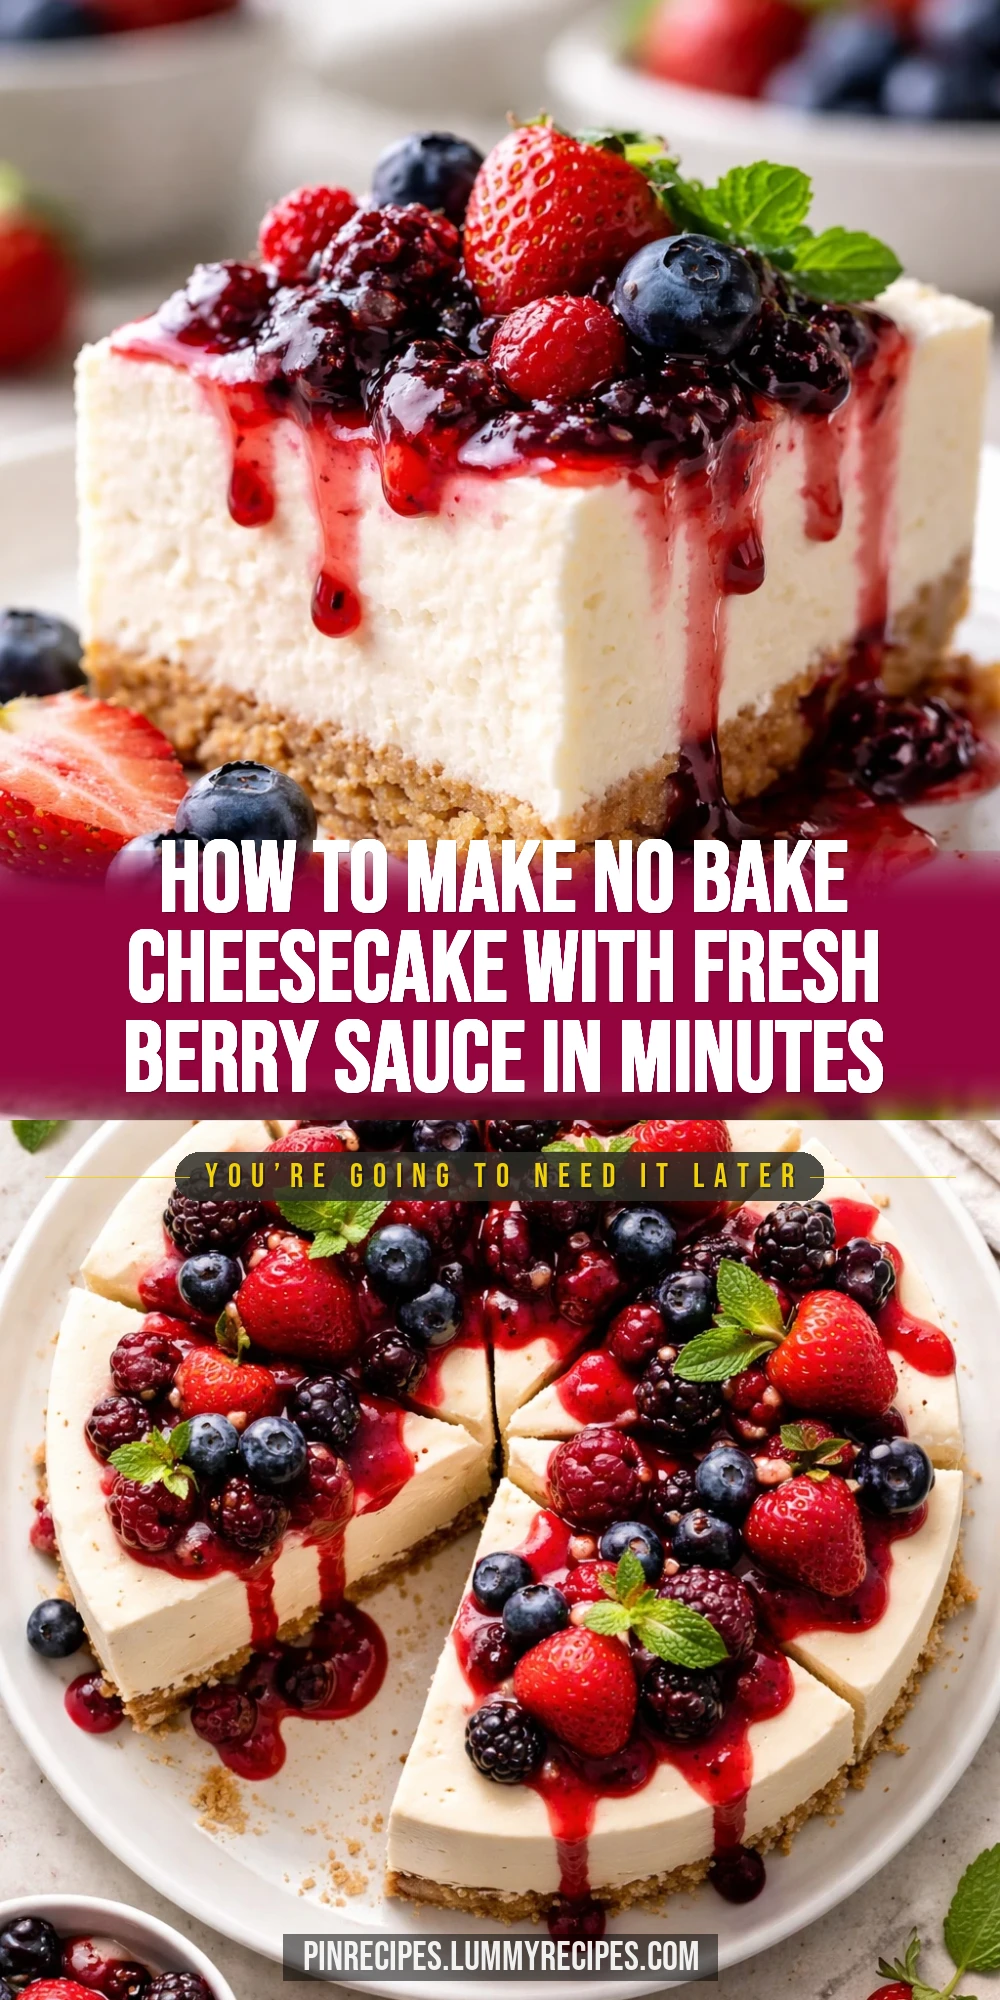
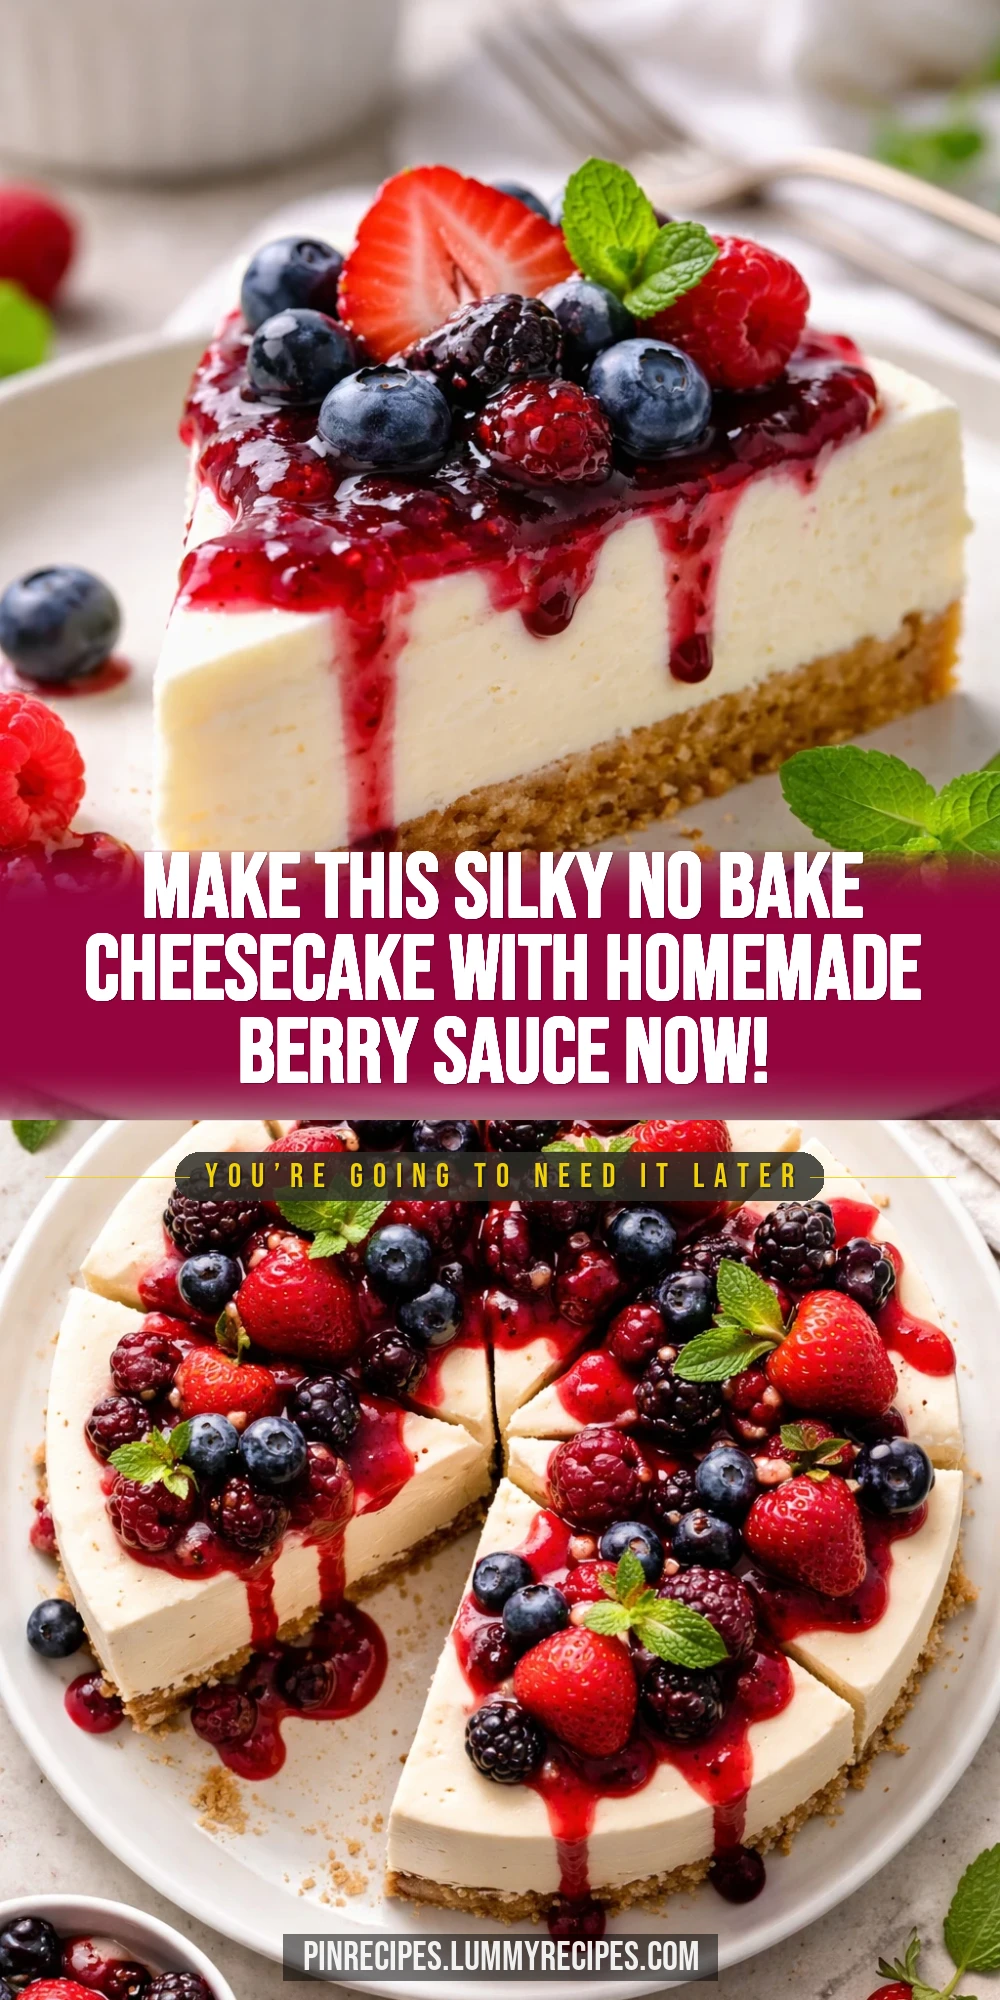
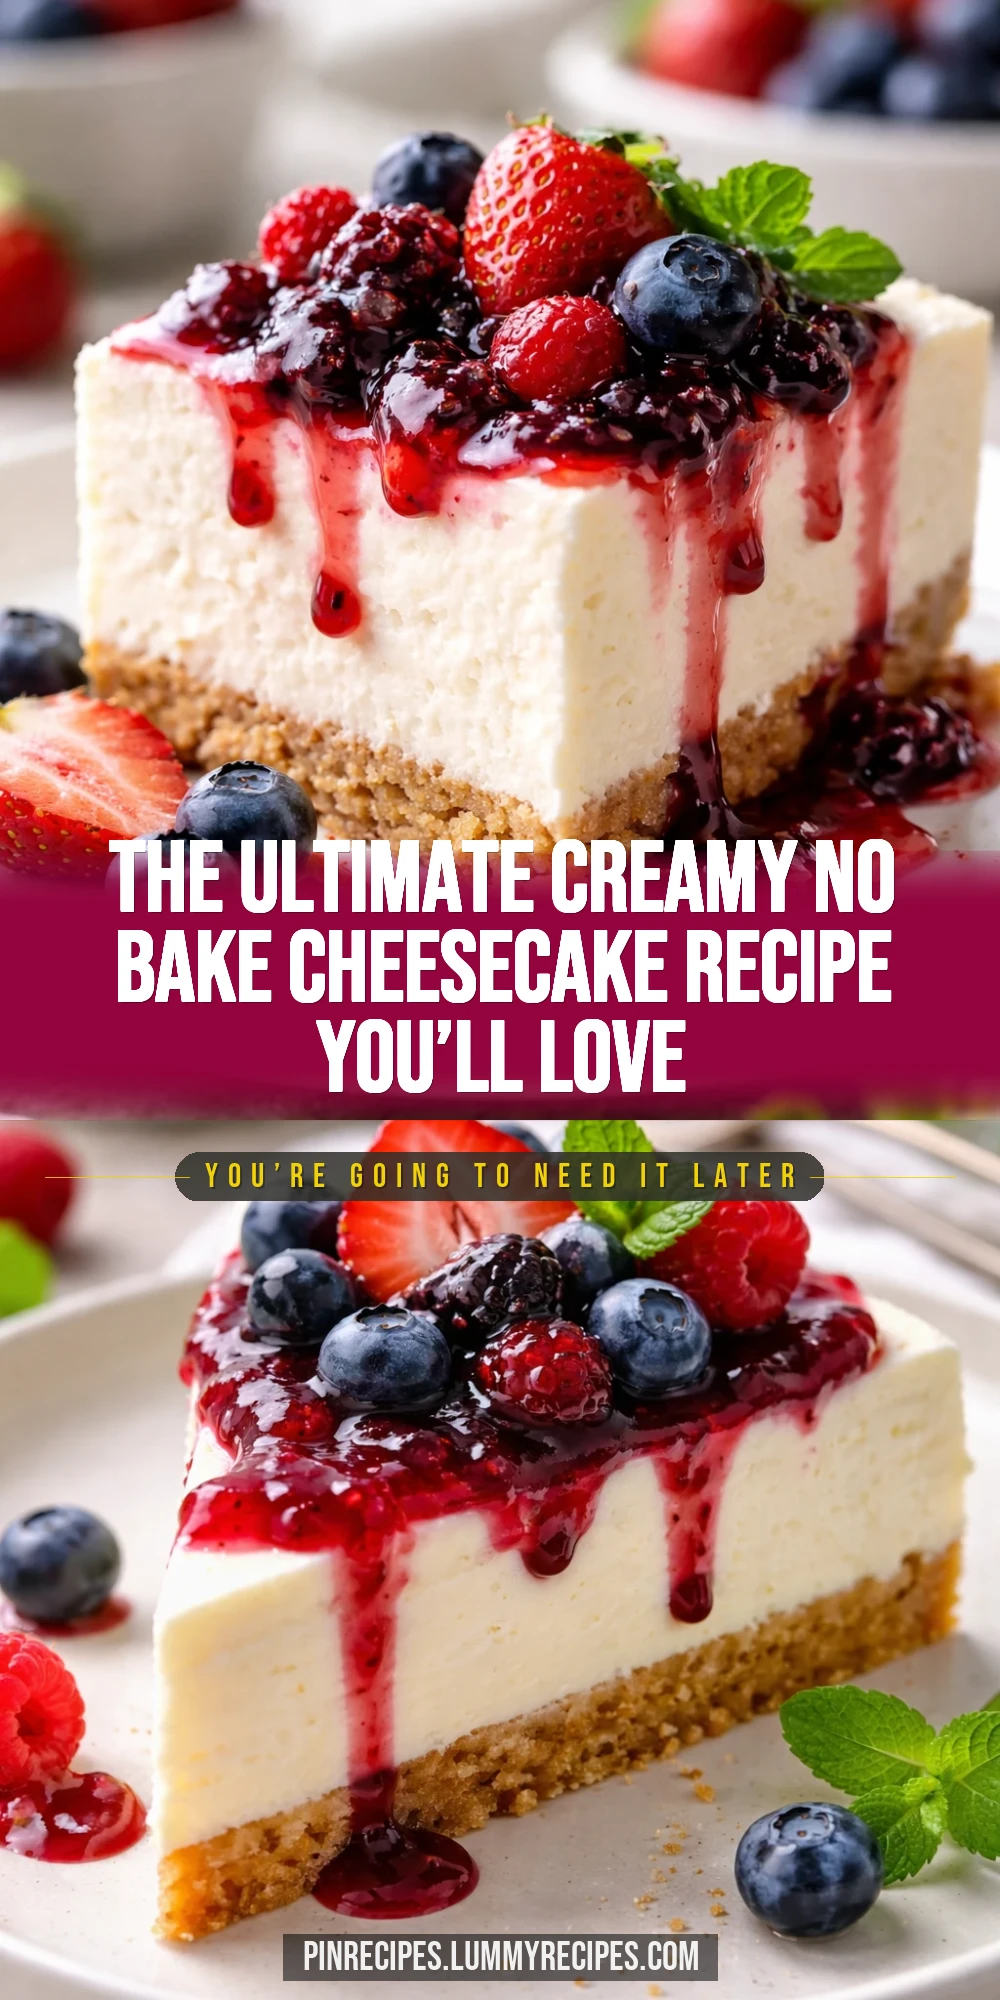
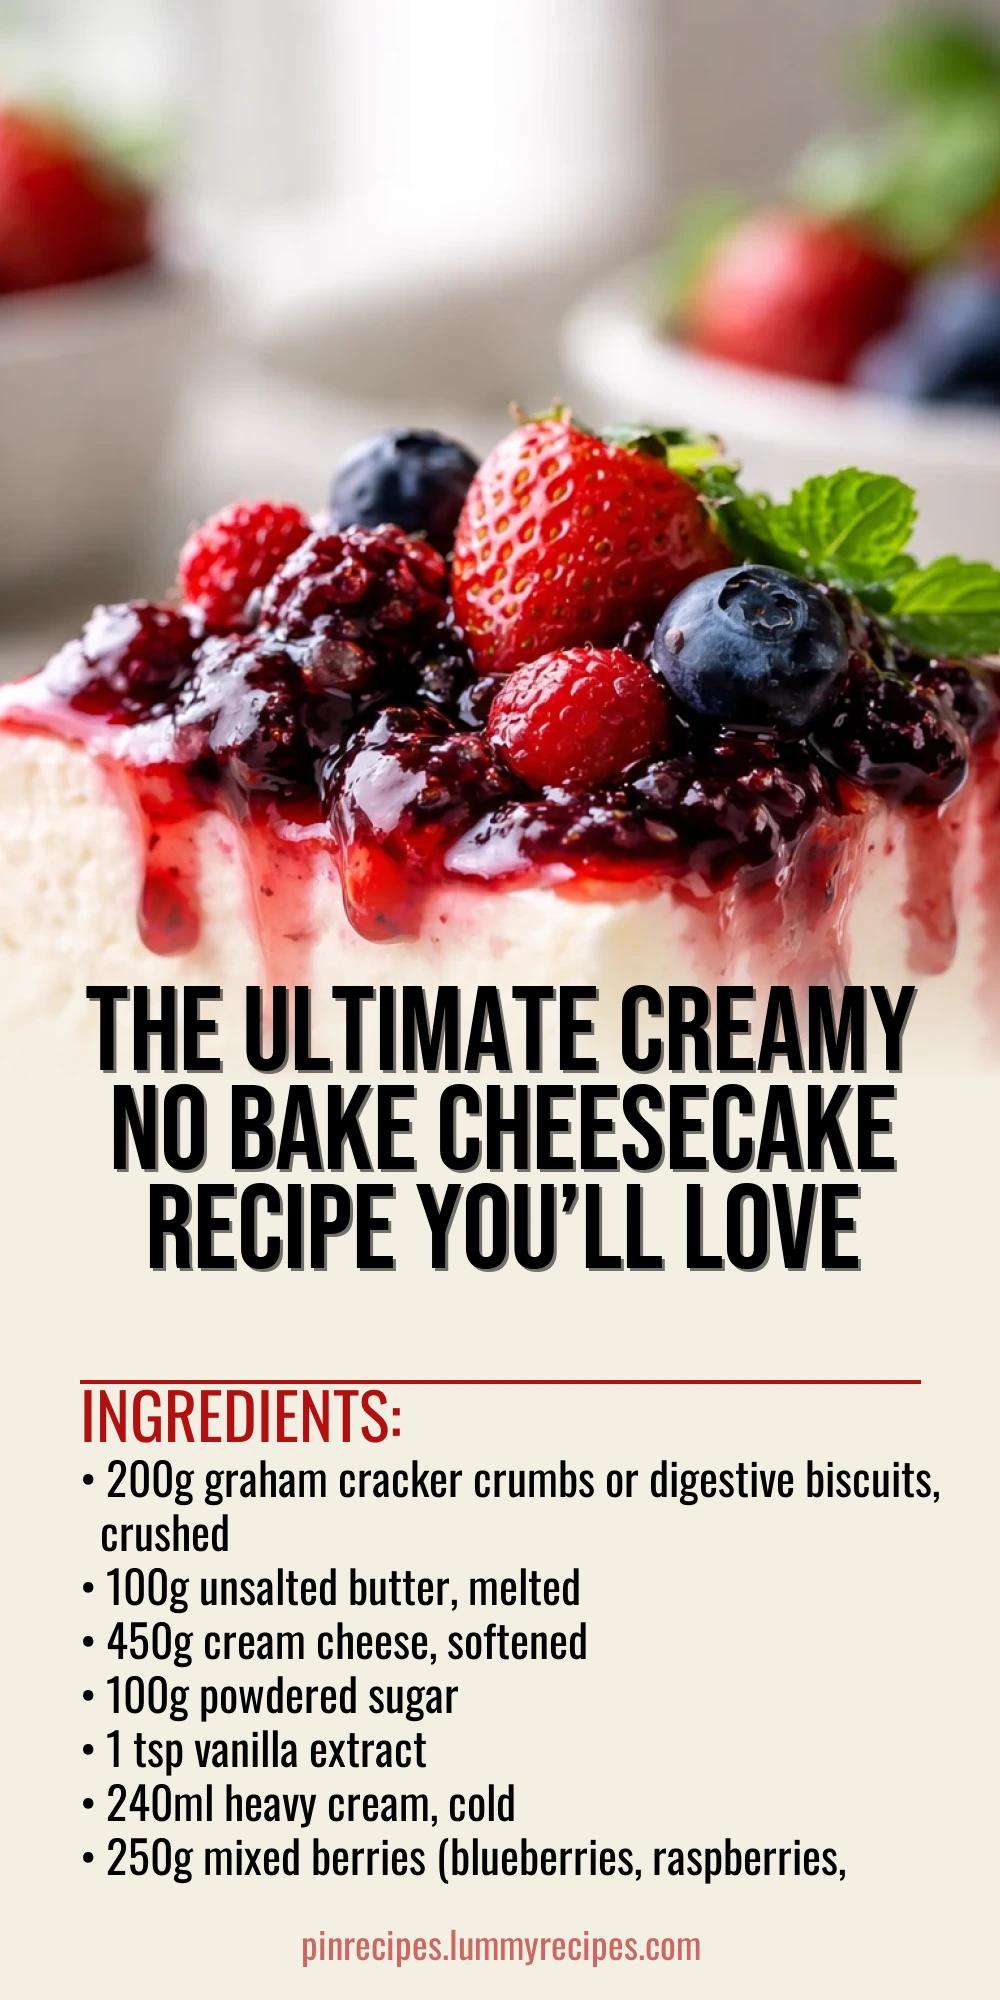
This no bake cheesecake is silky and rich, with a luscious mixed berry sauce that adds a fresh, tangy twist. Perfect for warm days when you want dessert without turning on the oven!
Introduction
I first made this creamy no bake cheesecake on a hot summer afternoon when I really didn’t want to heat up the kitchen. My family loved it so much that it quickly became a go-to dessert for warm weather gatherings. What I adore about this version is how silky smooth the filling turns out without any baking, thanks to whipping the cream just right and folding it gently into the cream cheese mixture. The mixed berry sauce is my favorite part — it’s fresh, tangy, and perfectly balances the richness of the cheesecake. I’ve tried other no bake cheesecakes before, but this one stands out because it’s not overly sweet and has a light texture that melts in your mouth. Plus, the buttery graham cracker crust adds just the right crunch. It’s a dessert that looks fancy but is actually super simple to throw together, making it ideal for last-minute guests or casual weekend treats. You’ll notice the filling sets beautifully in the fridge without feeling dense or heavy. Give it a shot, and I bet it’ll become a favorite in your house too!
How To Do It
Step 1
Start by making the crust. Combine the crushed graham crackers with the melted butter in a bowl and mix until the crumbs are evenly coated and look like wet sand. This step is crucial because the butter binds the crumbs together, giving the crust structure and that perfect crumbly texture. Press the mixture firmly into the bottom of a springform pan or pie dish, making sure to compact it well to avoid it falling apart later. You want the base to be even and solid enough to hold the creamy filling. Avoid pressing too hard or the crust might become too dense.
⏱ Time: 10 minutes
✓ Doneness: Crust feels firm and compact when pressed, with no loose crumbs
Step 2
In a large bowl, beat the softened cream cheese with powdered sugar and vanilla extract until smooth and creamy. It’s important to use softened cream cheese to avoid lumps and ensure a silky texture. If you rush this step or use cold cream cheese, you’ll end up with little chunks that ruin the smoothness. Take your time and scrape down the sides of the bowl as you go to get a uniform mixture.
⏱ Time: 5 minutes
✓ Doneness: Mixture is smooth, creamy, and free of lumps
Step 3
In a separate chilled bowl, whip the heavy cream until it forms stiff peaks. This means when you lift the beaters, the cream holds its shape without collapsing. Whipping the cream properly is essential because it lightens the dense cream cheese mixture and gives the cheesecake its airy texture. Overwhipping can turn it grainy or buttery, so watch carefully and stop as soon as stiff peaks form.
⏱ Time: 5-7 minutes
✓ Doneness: Cream is thick and holds stiff peaks without falling
Step 4
Gently fold the whipped cream into the cream cheese mixture in batches. Use a spatula and fold carefully to keep as much air as possible in the filling. This folding technique is key because it prevents deflating the whipped cream, which would make the cheesecake dense instead of light and fluffy. Avoid stirring vigorously or using a mixer at this point.
⏱ Time: 5 minutes
✓ Doneness: Filling is smooth, fluffy, and well combined with no streaks
Step 5
Pour the filling over the prepared crust and smooth the top with a spatula. Make sure the filling is evenly spread so it sets uniformly in the fridge. Cover the cheesecake with plastic wrap and refrigerate for at least 4 hours, preferably overnight. This chilling step allows the filling to firm up and develop its creamy texture. Don’t rush this; serving it too soon will result in a runny cheesecake.
⏱ Time: 4+ hours
✓ Doneness: Cheesecake is firm to the touch but still creamy
Step 6
While the cheesecake chills, prepare the mixed berry sauce. In a small saucepan, combine the berries, granulated sugar, and lemon juice. Cook over medium heat, stirring occasionally, until the berries break down and the sauce thickens slightly, about 8-10 minutes. The lemon juice brightens the flavor and balances the sweetness. Be careful not to overcook or the sauce will become too thick and lose its fresh berry taste.
⏱ Time: 10 minutes
✓ Doneness: Sauce is syrupy with softened berries, not watery
Step 7
Remove the sauce from heat and let it cool to room temperature. Cooling is important so it doesn’t melt the cheesecake when served. You can refrigerate the sauce if you want it chilled. The sauce should be pourable but not runny, with visible chunks of berries for texture.
⏱ Time: 15 minutes
✓ Doneness: Sauce is cool and slightly thickened with berry pieces
Step 8
Once the cheesecake is set, carefully run a knife around the edges to loosen it from the pan, then remove the springform ring. This helps the cheesecake keep its shape when slicing. If using a pie dish, slice carefully with a sharp knife dipped in hot water for clean cuts.
⏱ Time: 5 minutes
✓ Doneness: Cheesecake edges are clean and slices hold shape well
Step 9
Serve each slice topped generously with the mixed berry sauce. The tartness of the berries perfectly complements the rich, creamy filling. Enjoy immediately for the best texture and flavor. Leftovers should be stored covered in the fridge.
⏱ Time: 0 minutes
✓ Doneness: Cheesecake slices are creamy, with fresh berry sauce on top
Pro Tips
Make sure the cream cheese is fully softened before mixing.
Softened cream cheese blends smoothly with sugar and vanilla, preventing lumps. Cold cream cheese is tough to mix and results in uneven texture, which affects the final creaminess of the cheesecake.
Chill your mixing bowl and beaters before whipping cream.
Cold equipment helps the cream whip faster and hold stiff peaks better. Warm bowls or beaters can cause the cream to become runny or take longer to whip, affecting the cheesecake’s light texture.
Fold whipped cream gently into the cream cheese mixture.
Folding preserves air bubbles in the whipped cream, which lightens the dense cream cheese base. Stirring too vigorously deflates the cream, making the cheesecake heavy and dense rather than fluffy.
Press the crust firmly and evenly into the pan.
A well-packed crust holds together when slicing and contrasts nicely with the creamy filling. Loose crumbs cause the crust to crumble and fall apart, ruining the eating experience.
Let the cheesecake chill overnight for best results.
Chilling allows the fats to solidify and the filling to set properly. This step ensures the cheesecake slices cleanly and has a smooth, creamy texture instead of being runny or soft.
Use fresh or thawed berries for the sauce to avoid excess water.
Frozen berries can release extra water when thawed, making the sauce too runny. Cooking the berries helps reduce moisture and concentrate flavor, but starting with fresh or well-drained berries improves sauce consistency.
Run a hot knife between slices for clean cuts.
Wiping a knife dipped in hot water between slices prevents sticking and creates neat, attractive cheesecake portions. This is especially helpful with creamy no bake cheesecakes that can otherwise smear.
Common Mistakes to Avoid
Using cold cream cheese straight from the fridge
Why it happens Many assume cream cheese can be mixed immediately without softening, leading to lumps.
Fix Always leave cream cheese out for at least 30 minutes to soften. If short on time, microwave in short bursts (5-7 seconds) and stir until smooth but not melted.
Overwhipping the heavy cream
Why it happens It’s easy to get carried away and turn cream into butter.
Fix Stop whipping as soon as stiff peaks form. The cream should hold shape but still be smooth. If overwhipped, it becomes grainy and won’t fold well.
Skipping the chilling time
Why it happens Impatience or last-minute dessert plans lead to serving too soon.
Fix Plan ahead and chill the cheesecake for at least 4 hours, ideally overnight. This step is crucial for the filling to set and flavors to meld.
Not pressing the crust firmly enough
Why it happens Rushing or underestimating the importance of a compact base.
Fix Use the bottom of a glass or measuring cup to press the crust tightly and evenly. This prevents crumbling and ensures a sturdy base.
Overcooking the berry sauce
Why it happens Leaving berries on heat too long in an attempt to thicken.
Fix Cook just until berries break down and sauce thickens slightly. Remove from heat promptly to keep fresh flavor and vibrant color.
Variations
Lemon Zest No Bake Cheesecake
Add 1 tablespoon of fresh lemon zest to the cream cheese mixture for a bright, citrusy twist. Top with a lemon glaze instead of berry sauce for a refreshing flavor change.
Note: The lemon zest adds aromatic oils that enhance the filling’s freshness without altering texture.
Chocolate Swirl No Bake Cheesecake
Melt 100g dark chocolate and gently swirl it into the cream cheese filling before folding in whipped cream. This creates a marbled effect and adds rich chocolate flavor.
Note: Work quickly to swirl before the filling sets, and chill thoroughly to firm the chocolate swirls.
Tropical Mango No Bake Cheesecake
Replace mixed berries with fresh mango chunks and puree mango for the sauce. This gives a sweet, tropical vibe perfect for summer parties.
Note: Mango puree is thicker than berry sauce, so reduce cooking time to keep sauce smooth and fresh.
Nutty Crust No Bake Cheesecake
Mix finely chopped toasted pecans or almonds into the graham cracker crust for extra crunch and flavor. It adds a nutty depth that pairs wonderfully with the creamy filling.
Note: Ensure nuts are finely chopped to avoid a crust that’s too coarse and crumbly.
Vegan No Bake Cheesecake
Use vegan cream cheese and coconut cream whipped to stiff peaks. Substitute the crust with crushed vegan cookies and coconut oil. The berry sauce remains the same for a fresh topping.
Note: Vegan cream cheese can be softer, so chilling the filling longer helps it set properly.
Nutrition
Per Serving:
Nutritional values are estimates and may vary based on specific ingredients used.
Storage & Tips
Room Temperature
This cheesecake can safely sit at room temperature for up to 2 hours when covered to protect from dust and insects. Leaving it out longer risks spoilage due to dairy ingredients.
Refrigerator
Store the cheesecake in an airtight container or covered with plastic wrap in the fridge for up to 4 days. The texture may firm up more and the berry sauce can thicken; serve chilled or let sit a few minutes before slicing.
Freezer
Freeze cheesecake slices individually wrapped in plastic and foil for up to 2 months. Thaw overnight in the fridge and gently re-whip berry sauce if it separates. Freezing may slightly change the texture, making it denser.
Reheating
No reheating needed or recommended. Serve chilled or at room temperature for best texture and flavor. If sauce is too thick after chilling, stir in a teaspoon of water or lemon juice to loosen.
Make Ahead
Prepare the crust and filling a day ahead and chill overnight to save time. Make the berry sauce the morning of serving or up to 2 days ahead and keep refrigerated. Assemble just before serving for freshest presentation.
FAQ
Can I use low-fat cream cheese for this recipe?
Low-fat cream cheese tends to be softer and contains more moisture, which can affect the cheesecake’s texture and firmness. It may result in a runnier filling that doesn’t set well. For best results, use full-fat cream cheese to achieve that rich, creamy texture.
How long does the no bake cheesecake need to chill?
It needs at least 4 hours to set properly, but overnight chilling is best. This allows the fats to firm up and the flavors to meld, resulting in a smooth, sliceable cheesecake that holds together well.
Can I make the berry sauce ahead of time?
Yes! The berry sauce can be made 1-2 days in advance and stored in the fridge. Just give it a good stir before serving. If it thickens too much, add a splash of water or lemon juice to loosen it.
What if I don’t have a springform pan?
You can use a regular pie dish or any round cake pan. Just be careful when slicing as there’s no removable side. Running a hot knife between slices helps create clean cuts.
Can I substitute the graham cracker crust with something else?
Absolutely! You can use crushed cookies like Oreos or digestive biscuits. Just ensure you mix them with melted butter to bind the crust properly and press firmly into the pan.
How do I prevent the cheesecake from cracking?
Since this is a no bake cheesecake, cracking is less of an issue than with baked versions. Just make sure to fold the whipped cream gently and chill the cheesecake undisturbed to maintain a smooth surface.
Can I add gelatin to make it firmer?
You can add gelatin if you want a firmer texture, but it’s not necessary. If you do, dissolve 1 teaspoon of powdered gelatin in warm water and mix it into the cream cheese before folding in the whipped cream.
Is it okay to use frozen berries for the sauce?
Yes, frozen berries work well, but thaw and drain excess liquid before cooking. This prevents the sauce from becoming too watery and helps it thicken nicely.
Final Thoughts
I hope you give this creamy no bake cheesecake with mixed berry sauce a try soon—it’s such a delightful treat! Don’t forget to share how it turns out; I love hearing from you.