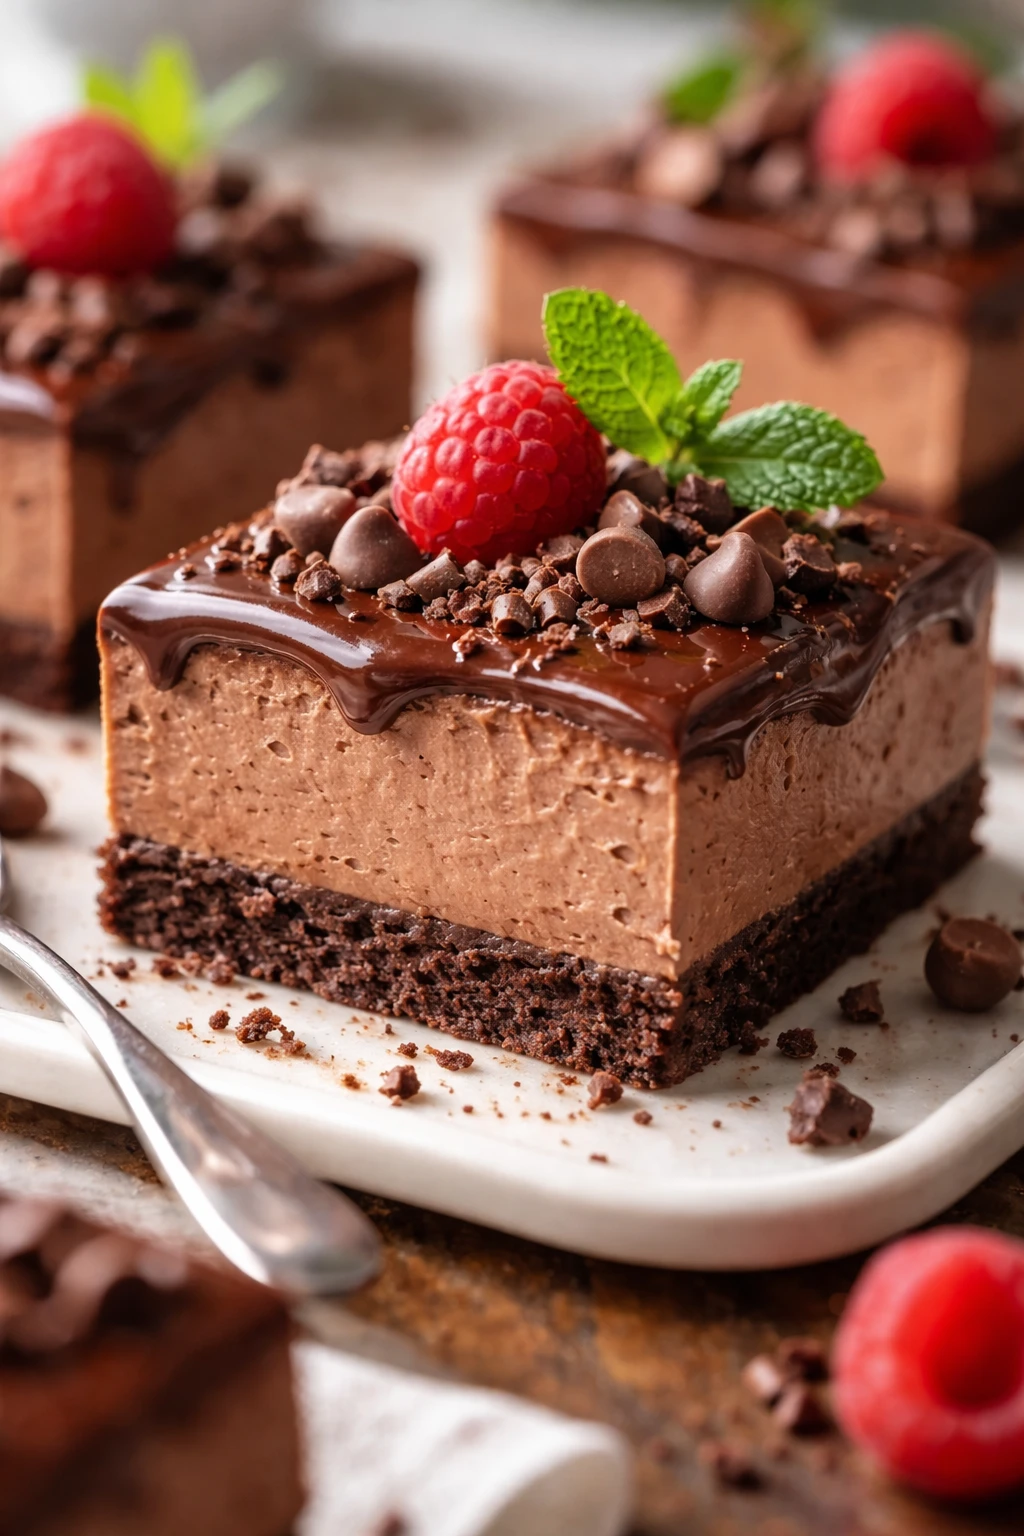
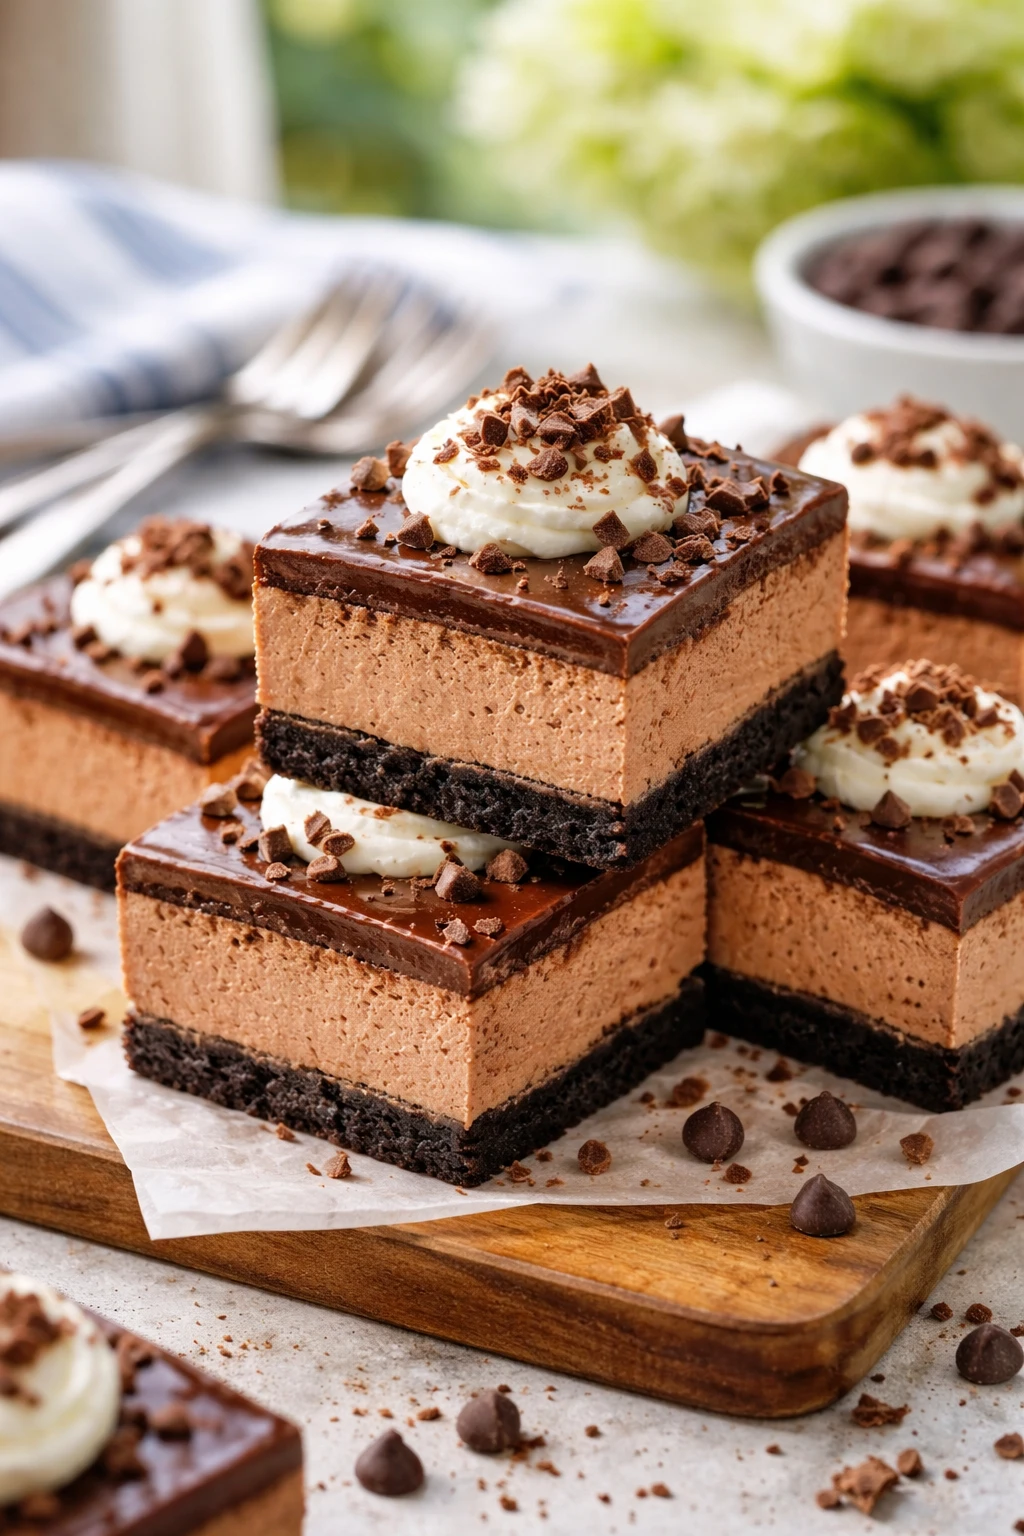
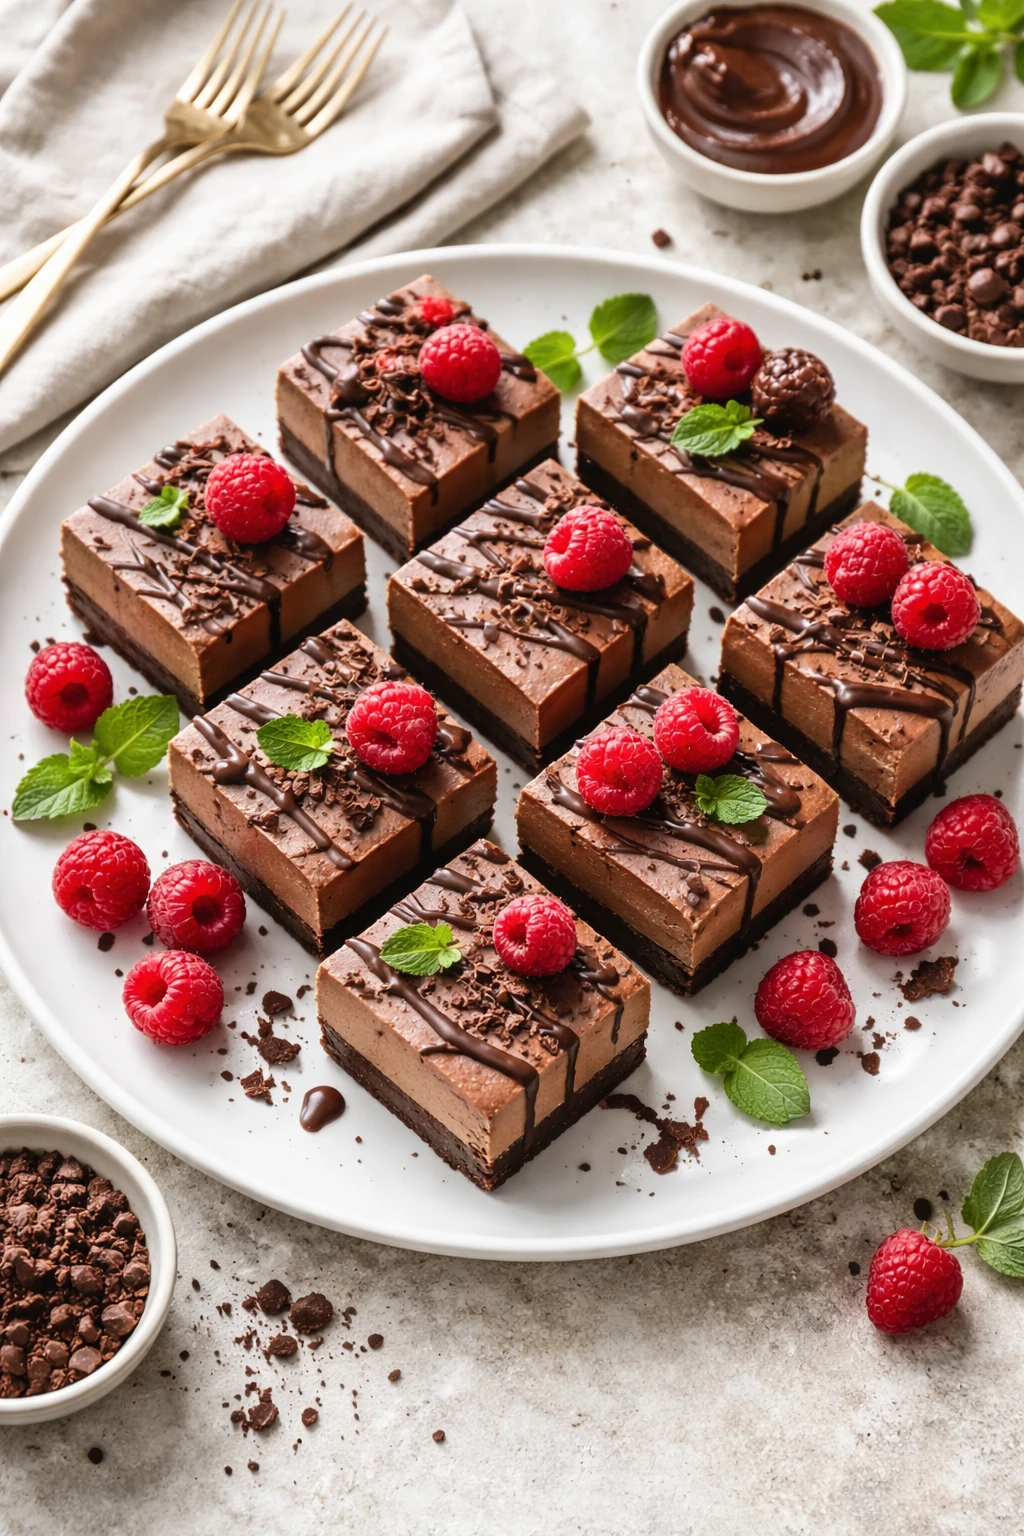
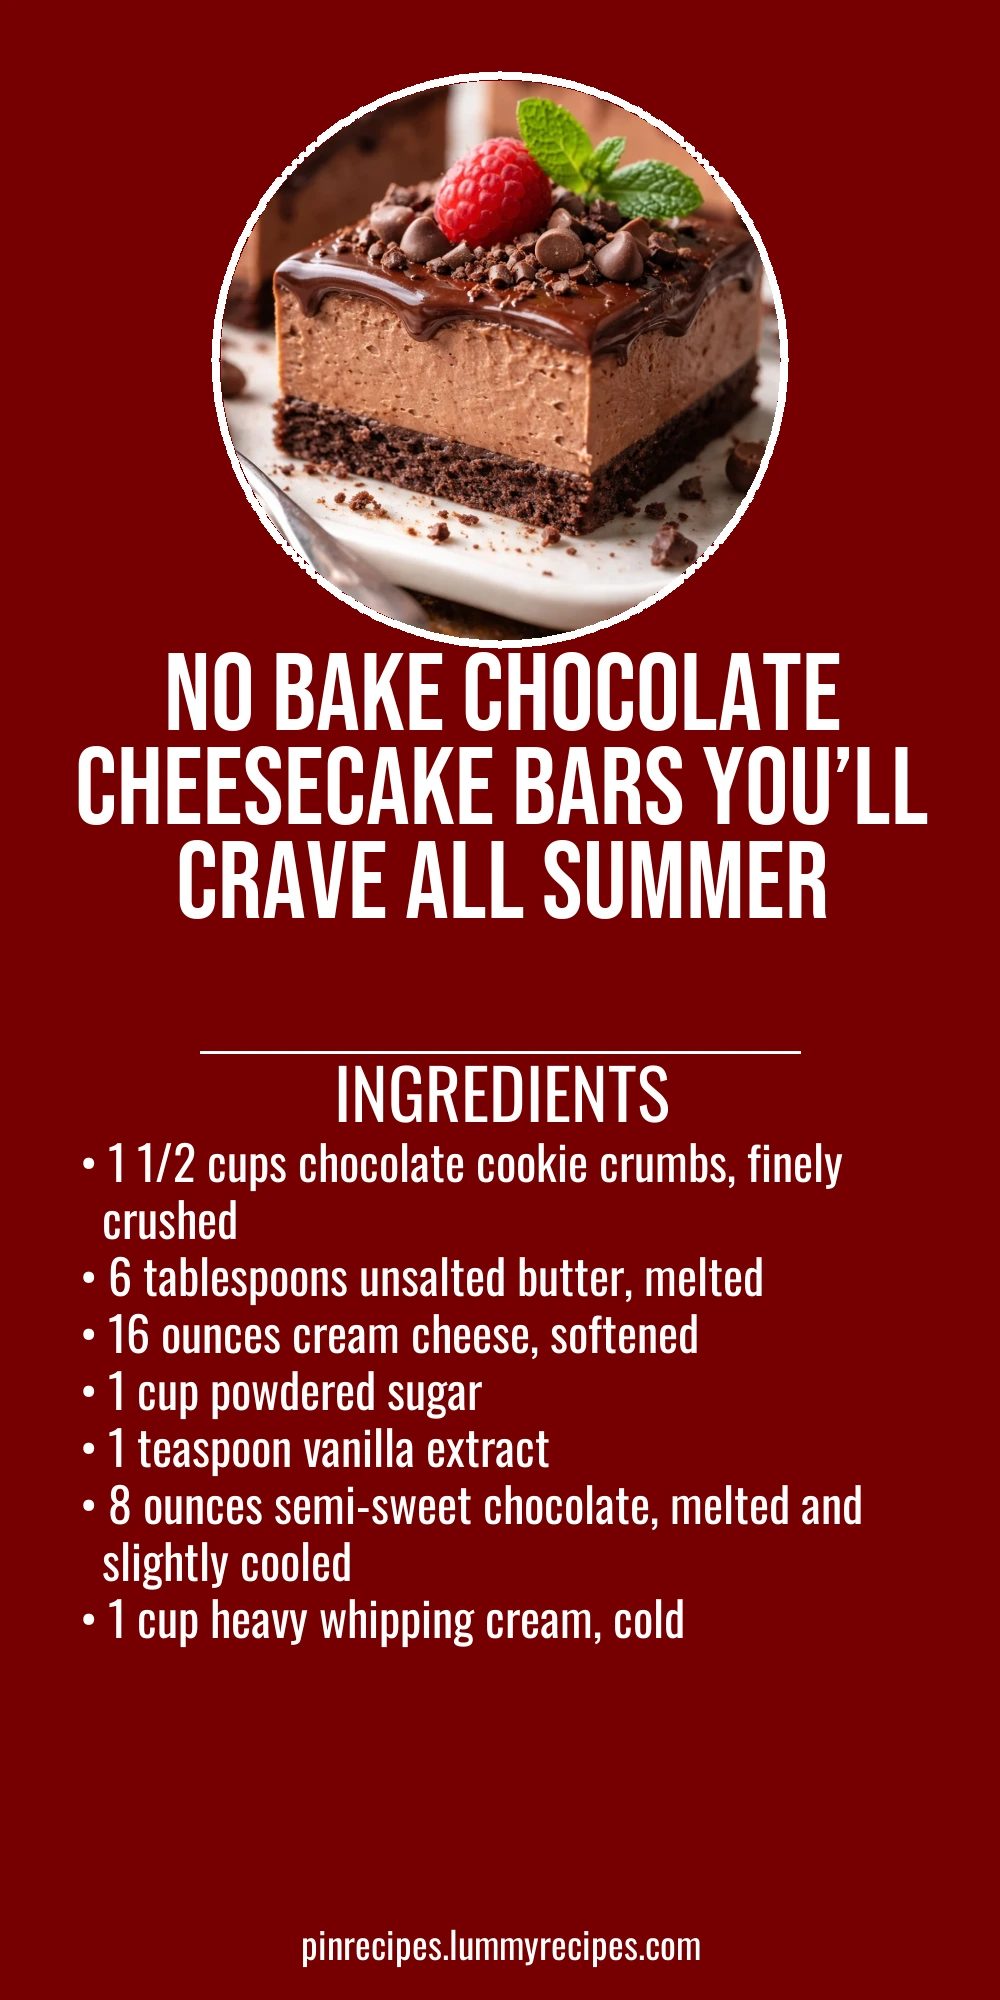
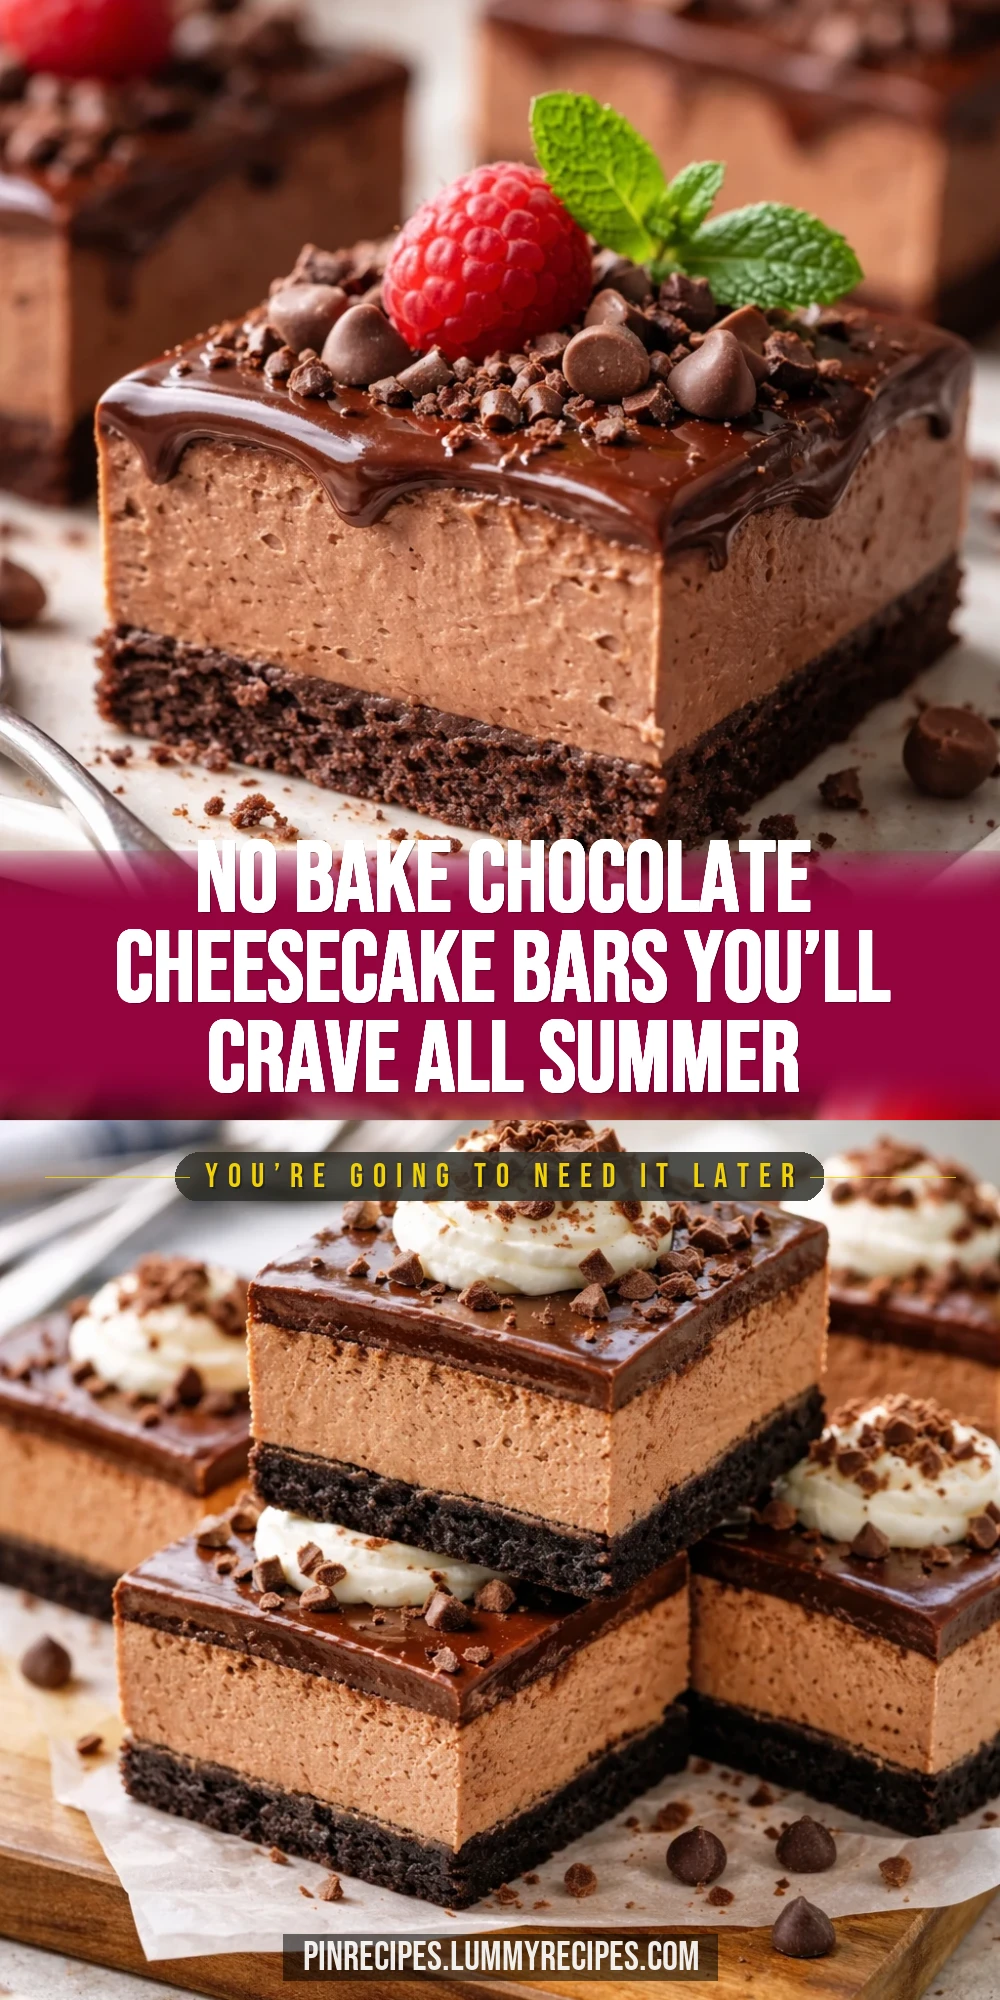
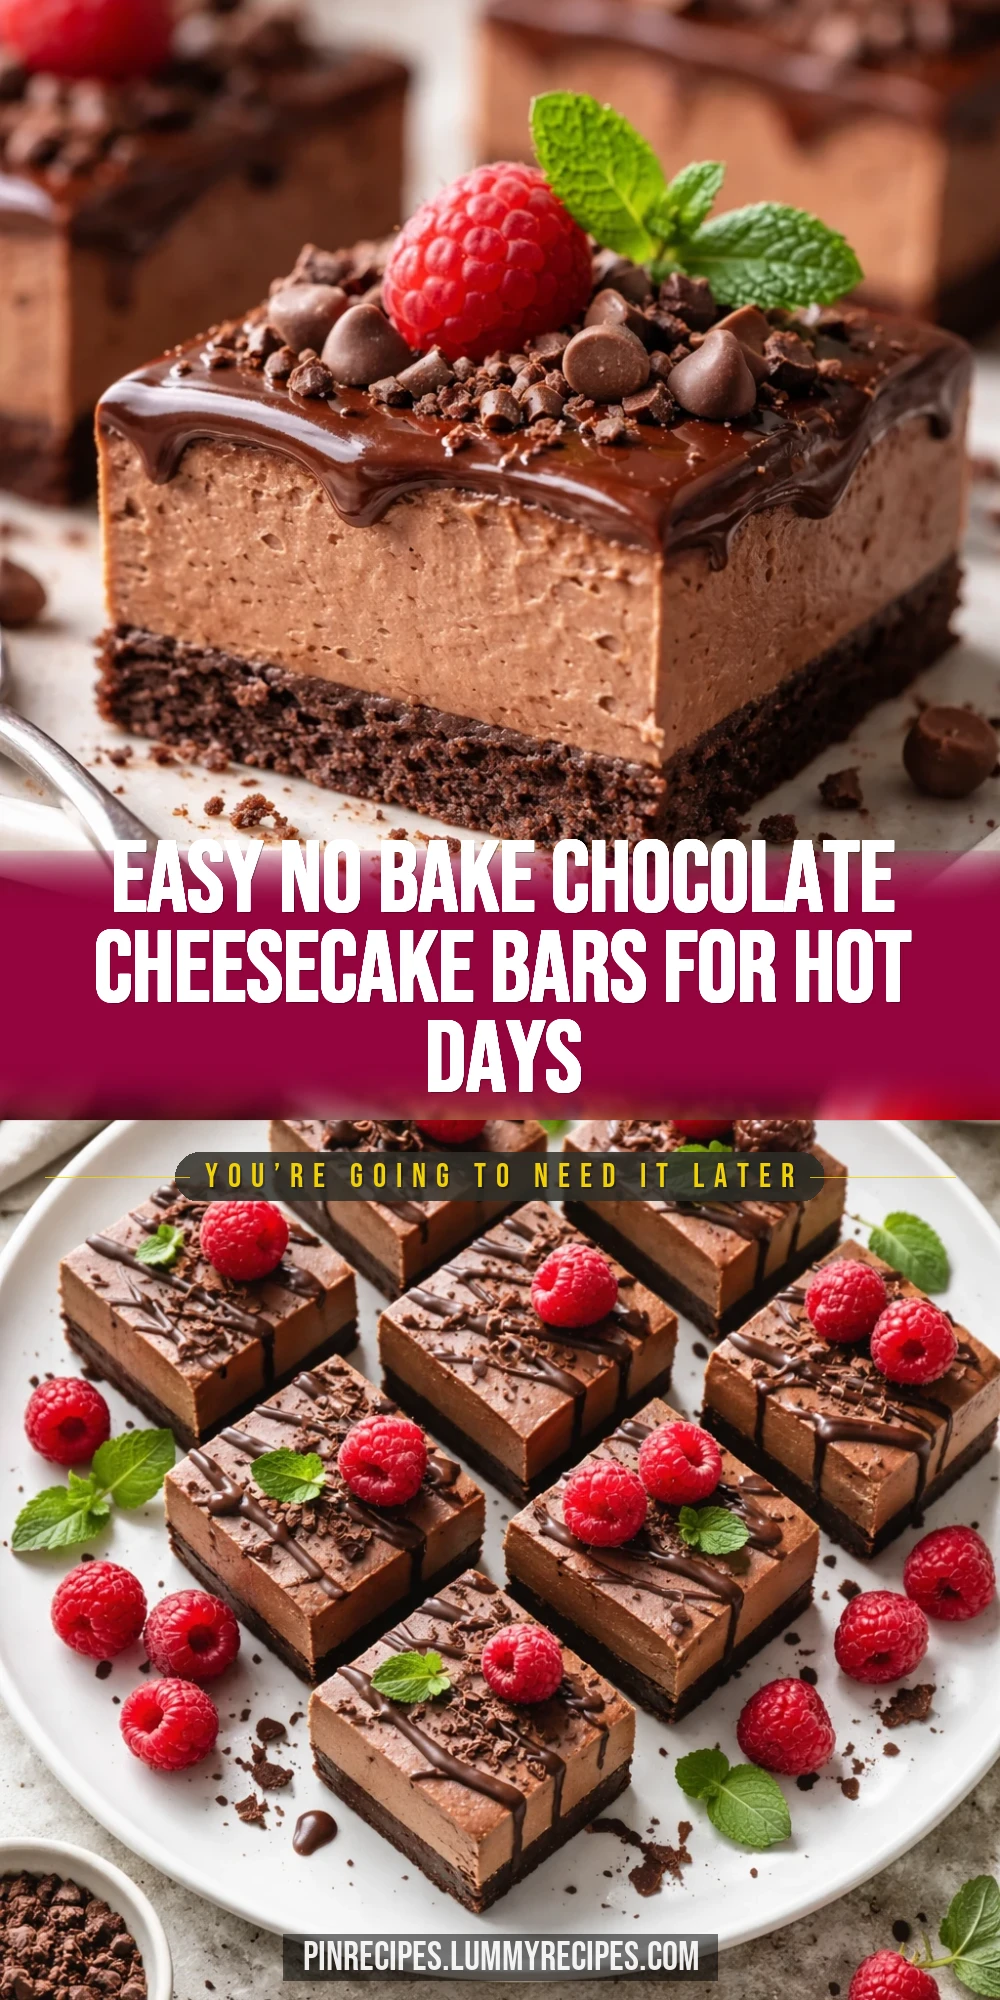
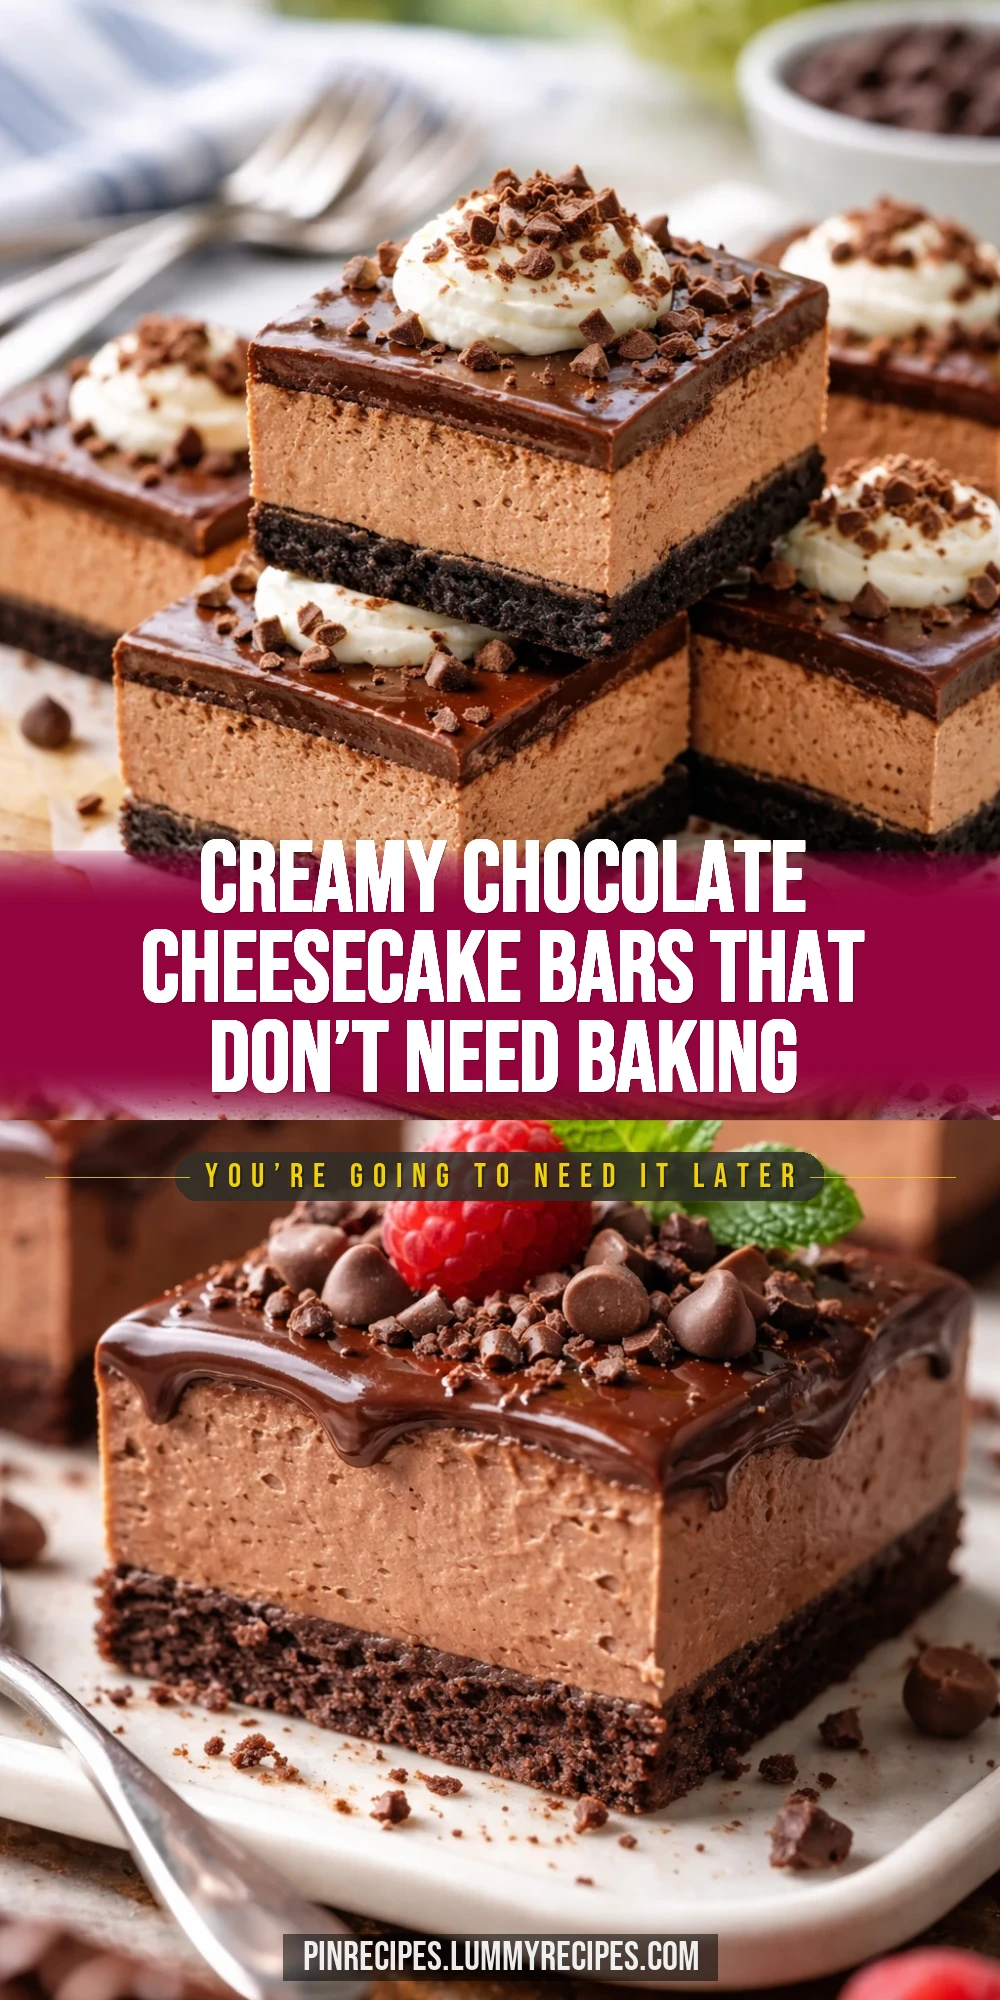
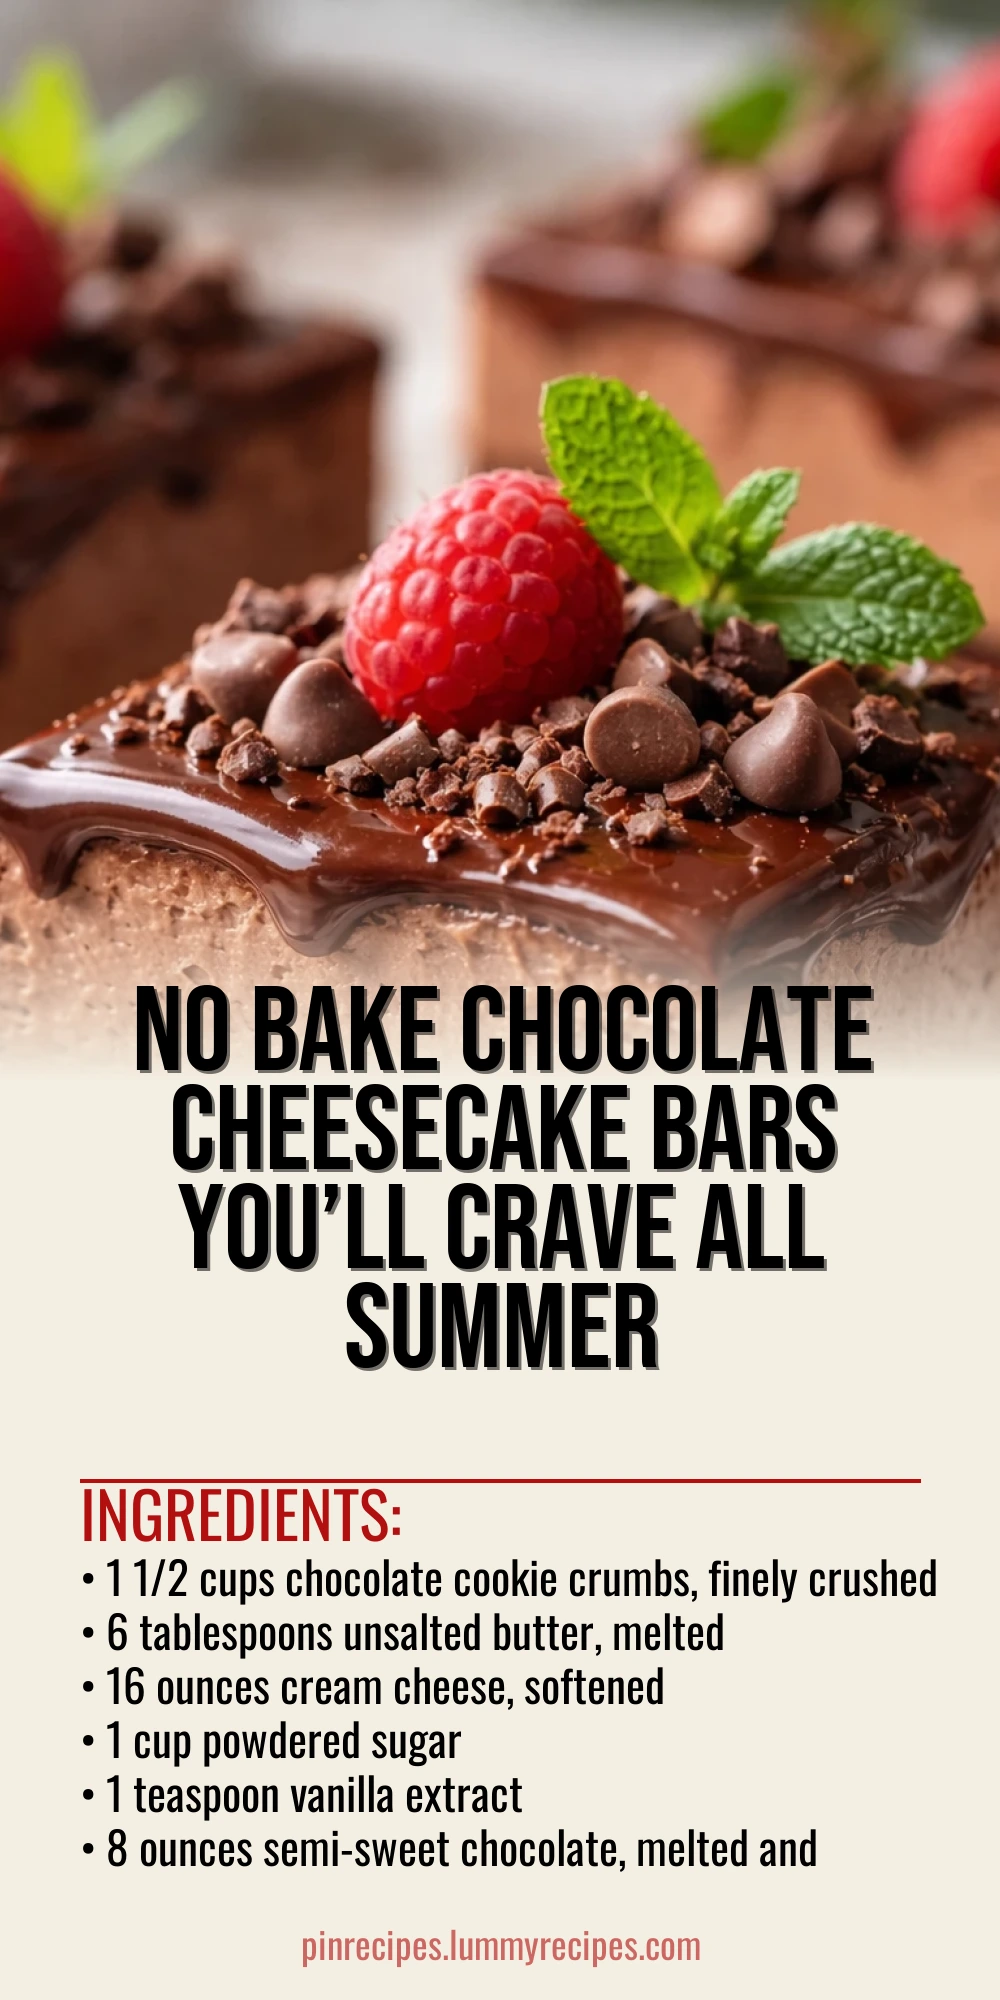
These no bake chocolate cheesecake bars are a summer dream—rich, creamy, and effortless. The secret? A smooth cream cheese filling with melted chocolate folded in. Perfect for hot days when you want dessert without turning on the oven!
Introduction
I first made these creamy no bake chocolate cheesecake bars on a scorching summer afternoon when I was desperate for something sweet but didn’t want to heat up my kitchen. Honestly, my first attempt was a bit runny because I didn’t chill it long enough, but the second try was a total hit! What I love about this recipe is how simple it is—no oven, no complicated steps, just mixing and chilling. The trick I learned was folding in the whipped cream gently to keep the filling light and airy, which makes these bars feel indulgent but not too heavy. Plus, the chocolate cookie crust adds a nice crunch that balances the creamy filling beautifully. When you slice into these bars, you get that perfect contrast of smooth, rich chocolate cheesecake and crumbly base. They’re my go-to dessert for summer get-togethers or whenever I want an easy treat that feels special. You’ll love how this recipe comes together quickly but tastes like it took hours!
How To Do It
Step 1
Start by making the crust. Combine the chocolate cookie crumbs with the melted butter in a medium bowl. Stir until the crumbs are evenly coated and the mixture holds together when pressed. This step is crucial because the butter binds the crumbs into a firm crust that won’t crumble apart when sliced. Press the mixture firmly into the bottom of an 8x8-inch pan lined with parchment paper. Use the bottom of a glass or measuring cup to smooth and compact the crust evenly. This ensures a sturdy base that supports the creamy filling without falling apart.
⏱ Time: 10 minutes
✓ Doneness: Crust feels firm and compact to the touch, with an even, smooth surface
Step 2
In a large bowl, beat the softened cream cheese until smooth and creamy using a hand mixer or stand mixer. Add the powdered sugar and vanilla extract, continuing to beat until fully combined and no lumps remain. This step is important because a smooth cream cheese base ensures the filling will be silky and free of graininess. If you rush or skip beating thoroughly, the texture can be uneven and less enjoyable.
⏱ Time: 5 minutes
✓ Doneness: Mixture is smooth, fluffy, and uniform in color with no lumps
Step 3
Slowly add the melted and slightly cooled semi-sweet chocolate into the cream cheese mixture. Fold gently with a spatula until fully incorporated. The chocolate must be cooled to avoid melting the cream cheese and creating a runny filling. Folding rather than stirring vigorously keeps the texture light and prevents deflating the mixture.
⏱ Time: 5 minutes
✓ Doneness: Filling is uniformly chocolate-colored and smooth without streaks
Step 4
In a separate chilled bowl, whip the cold heavy cream until stiff peaks form. This means when you lift the whisk, the peaks stand straight without drooping. Whipping the cream properly is key to giving the cheesecake bars a light, airy texture that balances the richness of the cream cheese and chocolate.
⏱ Time: 5 minutes
✓ Doneness: Whipped cream holds stiff peaks and looks fluffy and glossy
Step 5
Gently fold about one-third of the whipped cream into the chocolate cream cheese mixture to lighten it. Then carefully fold in the remaining whipped cream until no white streaks remain. Folding gently preserves the airiness of the whipped cream, which prevents the filling from becoming dense or heavy. Overmixing here would deflate the cream and make the bars less creamy.
⏱ Time: 5 minutes
✓ Doneness: Filling is smooth, light, and consistent in color without streaks
Step 6
Pour the filling over the prepared crust and spread evenly with a spatula. Smooth the top for a clean finish. This step sets the stage for the cheesecake bars’ classic layered look—crunchy base with creamy top.
⏱ Time: 5 minutes
✓ Doneness: Filling is evenly spread and level with the crust edges
Step 7
Cover the pan tightly with plastic wrap and refrigerate for at least 4 hours, preferably overnight. This chilling time allows the filling to set firmly so the bars hold their shape when sliced. Rushing this step results in a softer filling that won’t slice cleanly.
⏱ Time: 4 hours minimum
✓ Doneness: Filling is firm to the touch and slices cleanly without sticking
Step 8
Once chilled, remove the bars from the pan using the parchment paper edges. Transfer to a cutting board and slice into 9 equal bars with a sharp knife. For clean cuts, wipe the knife clean between slices to avoid smearing the filling.
⏱ Time: 10 minutes
✓ Doneness: Bars have clean edges and hold together without crumbling
Step 9
Serve immediately or keep refrigerated until ready to enjoy. These bars are best eaten cold to maintain their creamy texture. If you want to add a finishing touch, sprinkle with chocolate shavings or a dusting of cocoa powder right before serving.
⏱ Time: Immediate
✓ Doneness: Bars look glossy and creamy with a firm crust base
Pro Tips
Always chill the filling long enough—ideally overnight.
Chilling allows the cream cheese and whipped cream mixture to firm up, which is essential for clean slicing. Without sufficient chilling, the bars will be too soft and may fall apart when cut or served.
Use room temperature cream cheese for smooth blending.
Cold cream cheese can form lumps and make it hard to achieve a silky filling. Softened cream cheese whips easily and combines uniformly with sugar and chocolate, giving a better texture.
Fold whipped cream gently to keep the mixture airy.
Vigorous stirring deflates the whipped cream, resulting in a dense, heavy cheesecake. Folding preserves the air bubbles, making the filling light and creamy.
Press the crust firmly and evenly into the pan.
A compact crust holds together better when sliced and prevents crumbling. Using the bottom of a glass to press helps create an even layer that supports the filling.
Melt chocolate slowly and cool before mixing.
Adding hot chocolate can melt the cream cheese too much, causing separation. Cooling the chocolate prevents this and helps maintain a smooth texture.
Use a sharp knife wiped clean between cuts.
This technique prevents the filling from sticking and smearing, giving you neat, professional-looking bars.
Line your pan with parchment paper for easy removal.
Parchment paper makes it simple to lift out the entire cheesecake block for slicing, reducing mess and breakage.
Common Mistakes to Avoid
Not chilling the bars long enough
Why it happens Many rush to serve these bars too soon, eager to taste, but underestimate how long the filling needs to set.
Fix Plan ahead and refrigerate the bars for at least 4 hours, preferably overnight. This ensures the filling firms up and slices cleanly without collapsing.
Using cold cream cheese straight from the fridge
Why it happens Some skip softening to save time, but cold cream cheese is stiff and lumpy.
Fix Allow cream cheese to sit at room temperature for 30-60 minutes before mixing. This makes it easier to whip and yields a smoother filling.
Overmixing whipped cream into the filling
Why it happens Eager to combine ingredients, some stir too vigorously, deflating the whipped cream.
Fix Fold whipped cream gently with a spatula until just combined to keep the filling light and fluffy.
Adding hot chocolate to the cream cheese mixture
Why it happens Melting chocolate quickly and adding while hot seems efficient but causes texture problems.
Fix Let melted chocolate cool to room temperature before folding into the cream cheese to prevent curdling or separation.
Not pressing the crust firmly enough
Why it happens Rushing or using loose crumbs leads to a crumbly base.
Fix Use the bottom of a glass or measuring cup to firmly press the crust into the pan for a sturdy, cohesive base.
Variations
Peanut Butter Swirl No Bake Bars
Add swirls of creamy peanut butter into the chocolate cream cheese filling before chilling. This adds a nutty richness and a beautiful marbled look. Expect a slightly denser texture with a salty-sweet flavor twist.
Note: Gently fold in spoonfuls of peanut butter to create swirls without fully mixing it in. Chill as usual.
Mint Chocolate No Bake Cheesecake Bars
Add 1/2 teaspoon peppermint extract to the filling and garnish with crushed mint candies or chocolate chips. This gives a refreshing twist perfect for summer evenings.
Note: Be careful with peppermint extract; too much can overpower. Start small and adjust to taste.
Berry Topped No Bake Chocolate Cheesecake
Top the bars with fresh raspberries or strawberries before serving for a bright, fruity contrast that complements the rich chocolate.
Note: Add berries just before serving to avoid sogginess. You can also fold some crushed berries into the filling for a fruity swirl.
Vegan No Bake Chocolate Cheesecake Bars
Use vegan cream cheese and coconut cream whipped to stiff peaks. Replace butter with coconut oil for the crust. This version is dairy-free but still creamy and decadent.
Note: Chilling time may be longer to firm up vegan fats. Use full-fat coconut cream for best results.
Espresso Infused Chocolate Cheesecake Bars
Add 1 tablespoon instant espresso powder dissolved in a teaspoon of hot water to the filling for a mocha flavor. It’s a grown-up twist that enhances the chocolate notes.
Note: Mix espresso powder into the cream cheese mixture before adding chocolate to ensure even flavor.
Nutrition
Per Serving:
Nutritional values are estimates and may vary based on specific ingredients used.
Storage & Tips
Room Temperature
These bars can safely sit at room temperature for up to 2 hours when covered to avoid drying out. Beyond that, refrigeration is recommended to maintain texture and safety.
Refrigerator
Store bars in an airtight container in the fridge for up to 5 days. The texture remains creamy but slightly firmer when cold. Serve chilled or let sit 10 minutes at room temperature before eating for softer texture.
Freezer
Freeze bars wrapped tightly in plastic wrap and foil for up to 2 months. Thaw in the refrigerator overnight before serving. Freezing may slightly change texture, making them a bit denser.
Reheating
No reheating needed. Serve chilled or at room temperature. If desired, let bars sit out 10-15 minutes to soften before serving.
Make Ahead
Make the crust and filling up to 2 days in advance. Assemble and chill fully before serving. This saves time on the day of your event and improves flavor melding.
FAQ
Can I use low-fat cream cheese in this recipe?
Low-fat cream cheese tends to have more water and less fat, which can make the filling less creamy and more watery. For best texture and flavor, stick with full-fat cream cheese. If you must use low-fat, expect a slightly less rich and dense filling.
What if I don’t have a hand mixer?
You can whisk the cream cheese by hand, but it will take more effort to get a smooth, lump-free mixture. Make sure the cream cheese is very soft, and use a sturdy whisk or fork. For whipping cream, a hand whisk also works but requires patience to reach stiff peaks.
How do I prevent the crust from becoming soggy?
Pressing the crust firmly and chilling it before adding the filling helps it set well. Also, avoid over-wetting the crust with excess butter. The chilling step solidifies the butter, keeping crumbs bound and crisp.
Can I make these bars gluten-free?
Absolutely! Use gluten-free chocolate cookies or wafers for the crust. Ensure all other ingredients are gluten-free certified. The filling is naturally gluten-free.
How long do these bars keep in the fridge?
Stored properly in an airtight container, these cheesecake bars keep well for up to 5 days. After that, the texture and flavor may start to degrade.
Can I add other flavors to the filling?
Yes! Vanilla, coffee, or extracts like mint or almond can be added to customize the flavor. Just add them after beating the cream cheese and sugar for best incorporation.
What’s the best way to slice these bars cleanly?
Use a sharp knife dipped in hot water and wiped dry before slicing. Clean the knife between cuts to prevent filling buildup and get smooth edges.
Is it okay to freeze the bars?
Yes, freezing is fine and helps preserve them for up to 2 months. Thaw in the fridge overnight before serving. Texture may be slightly denser but still tasty.
Final Thoughts
I hope you enjoy making and eating these creamy no bake chocolate cheesecake bars as much as I do! Don’t forget to share your results and favorite twists with me.