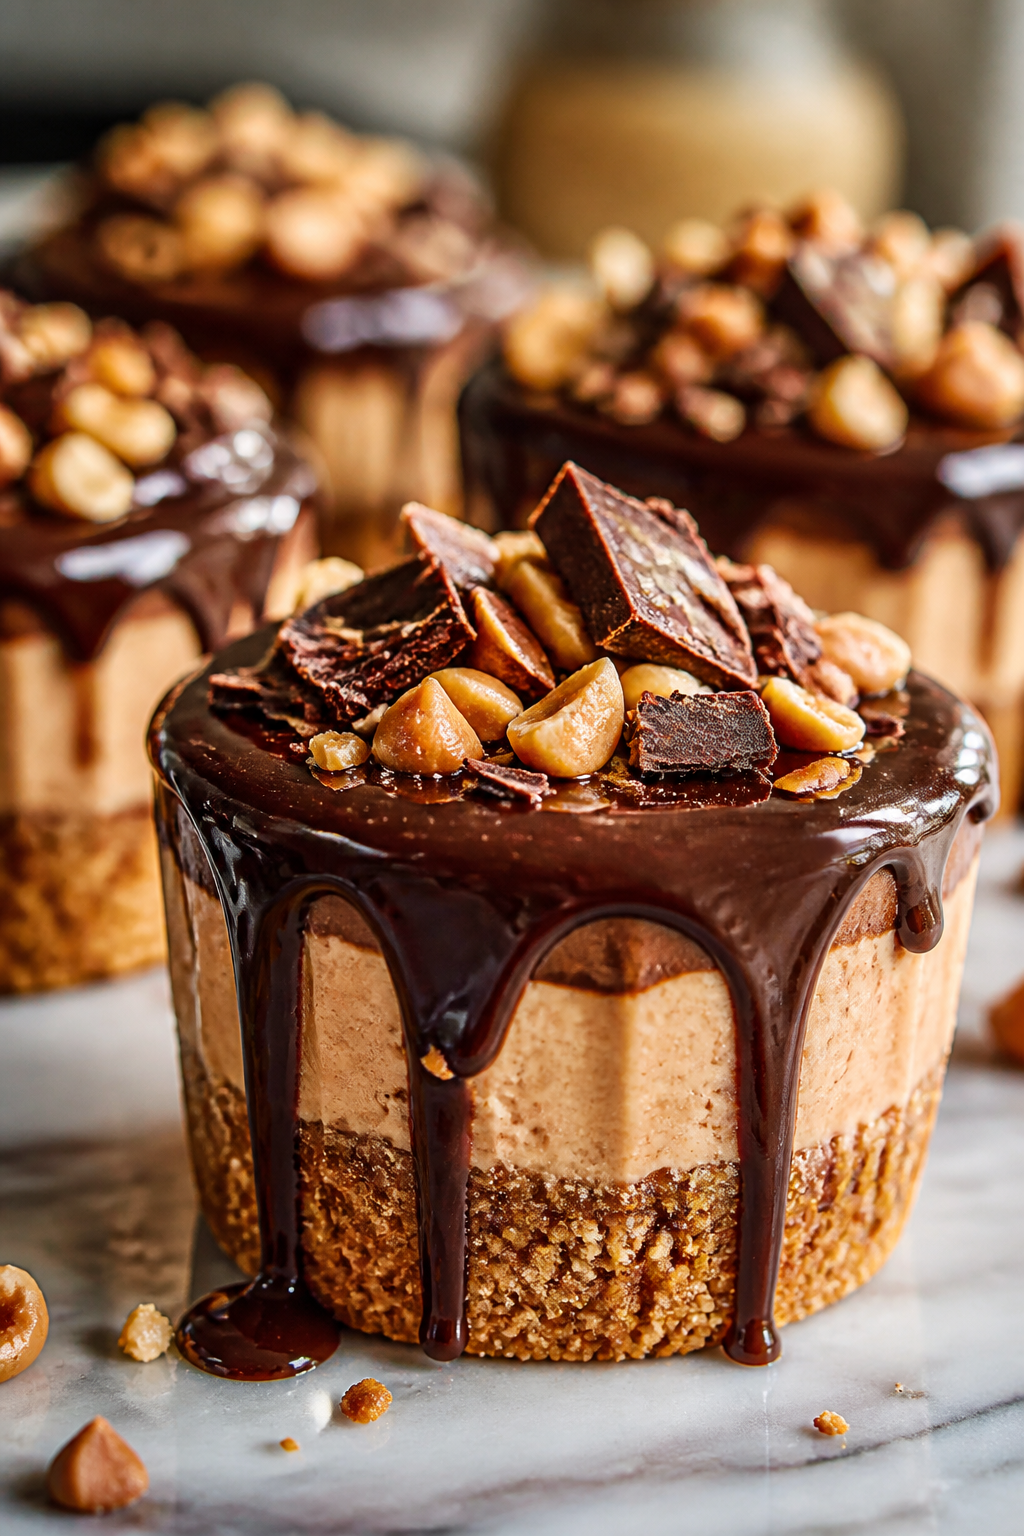
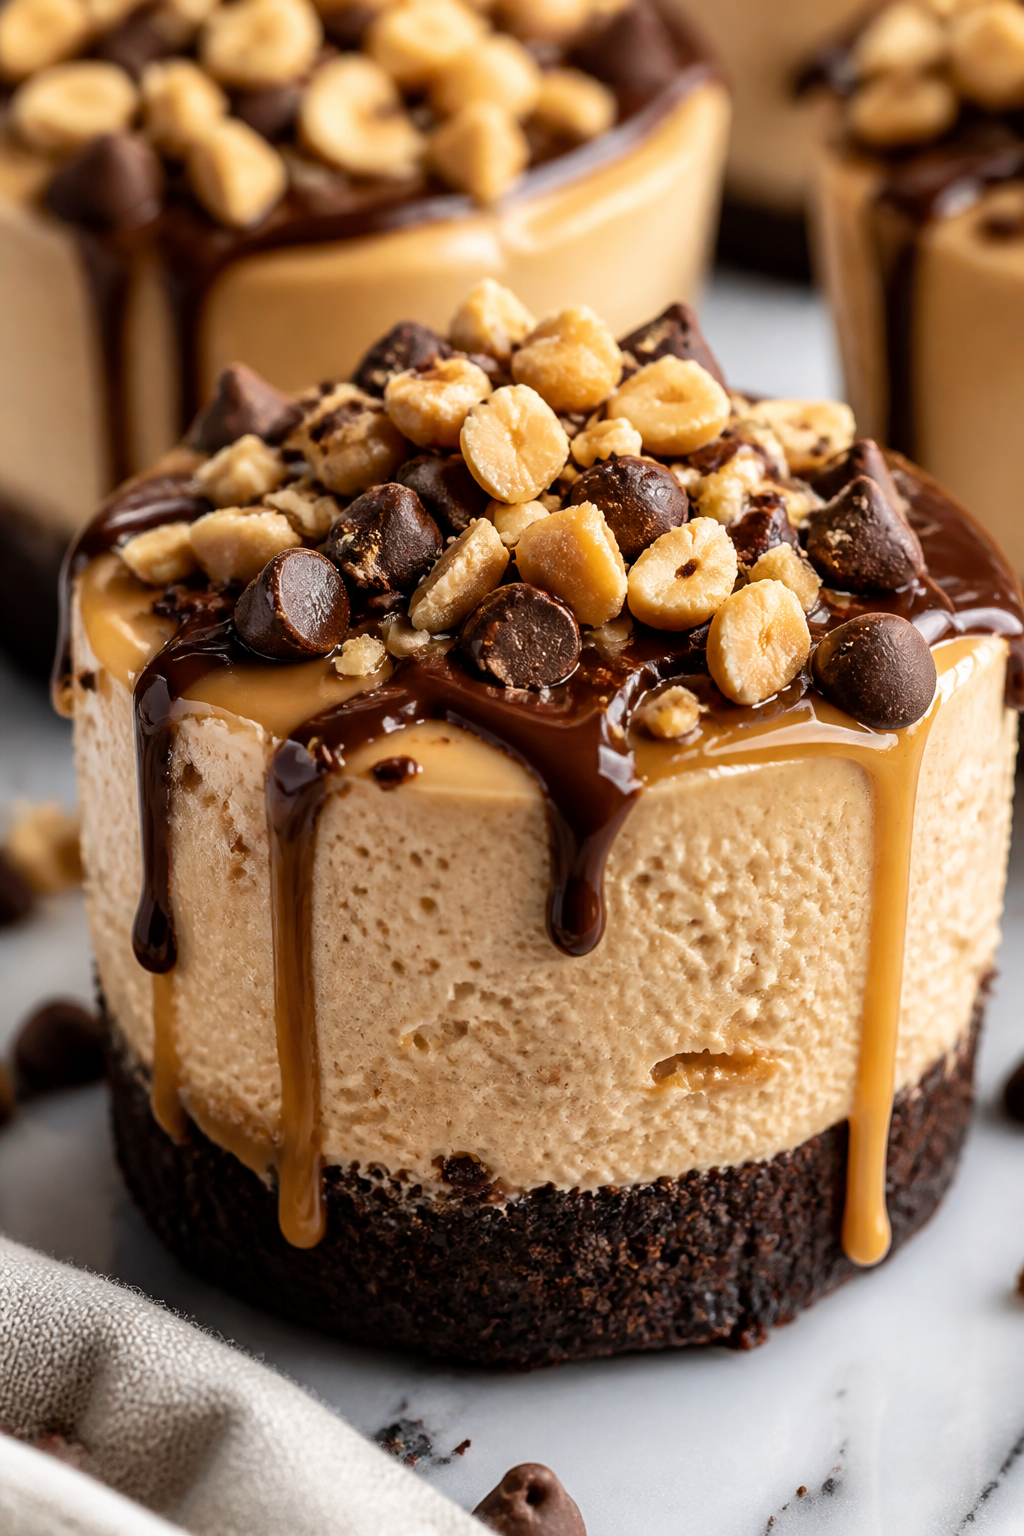
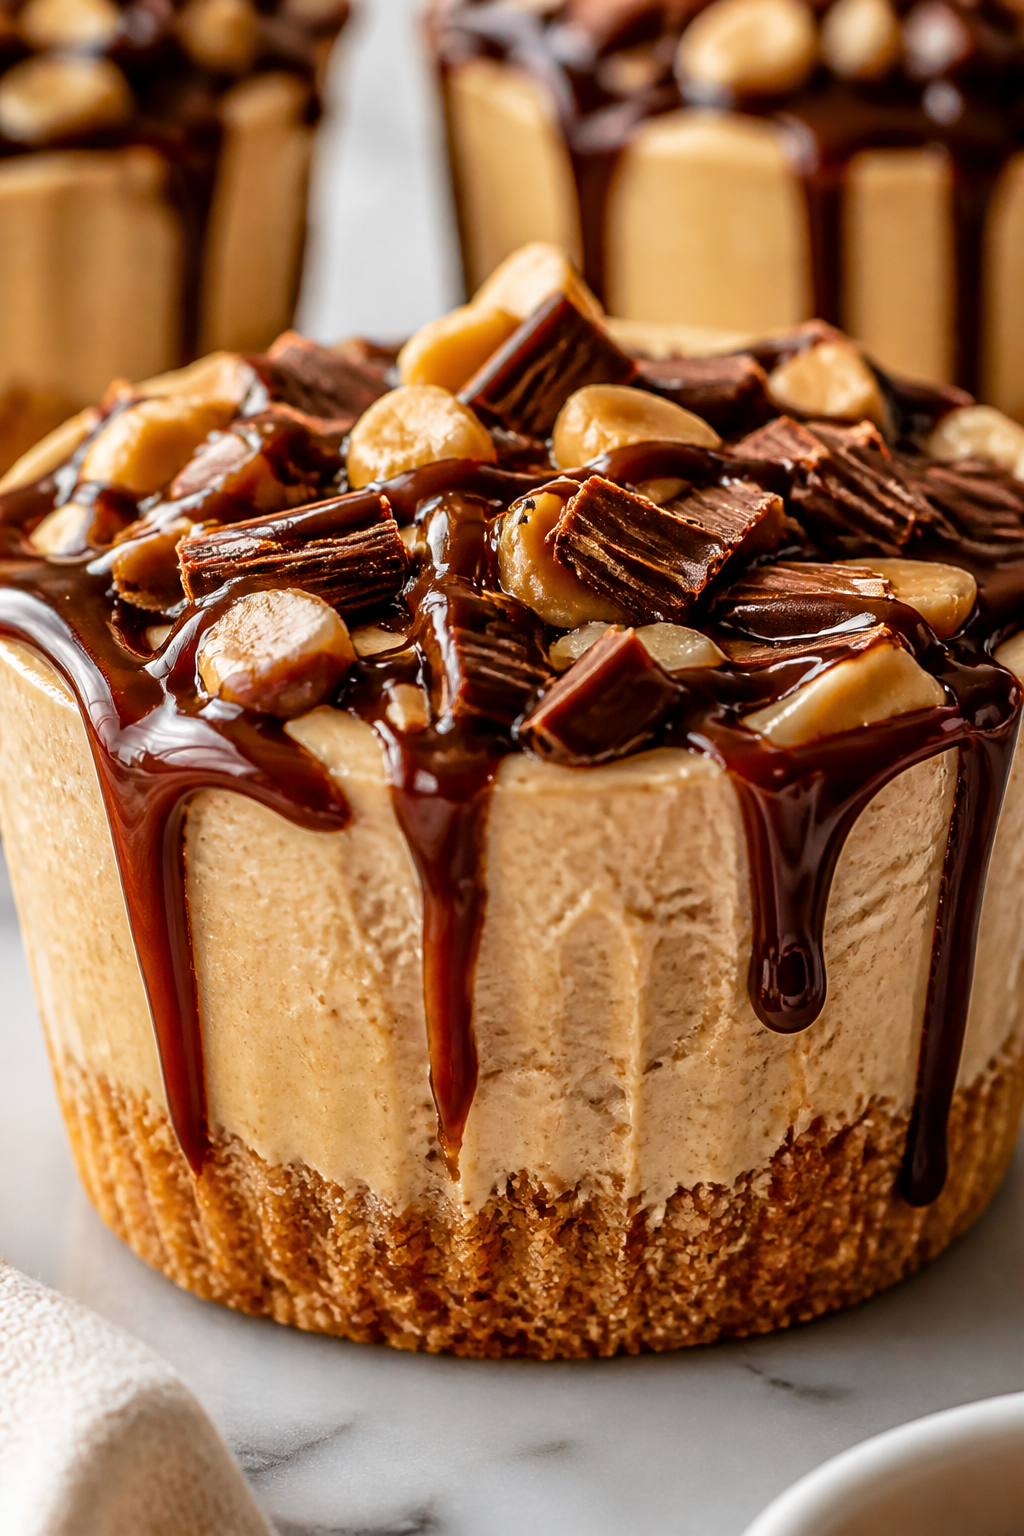
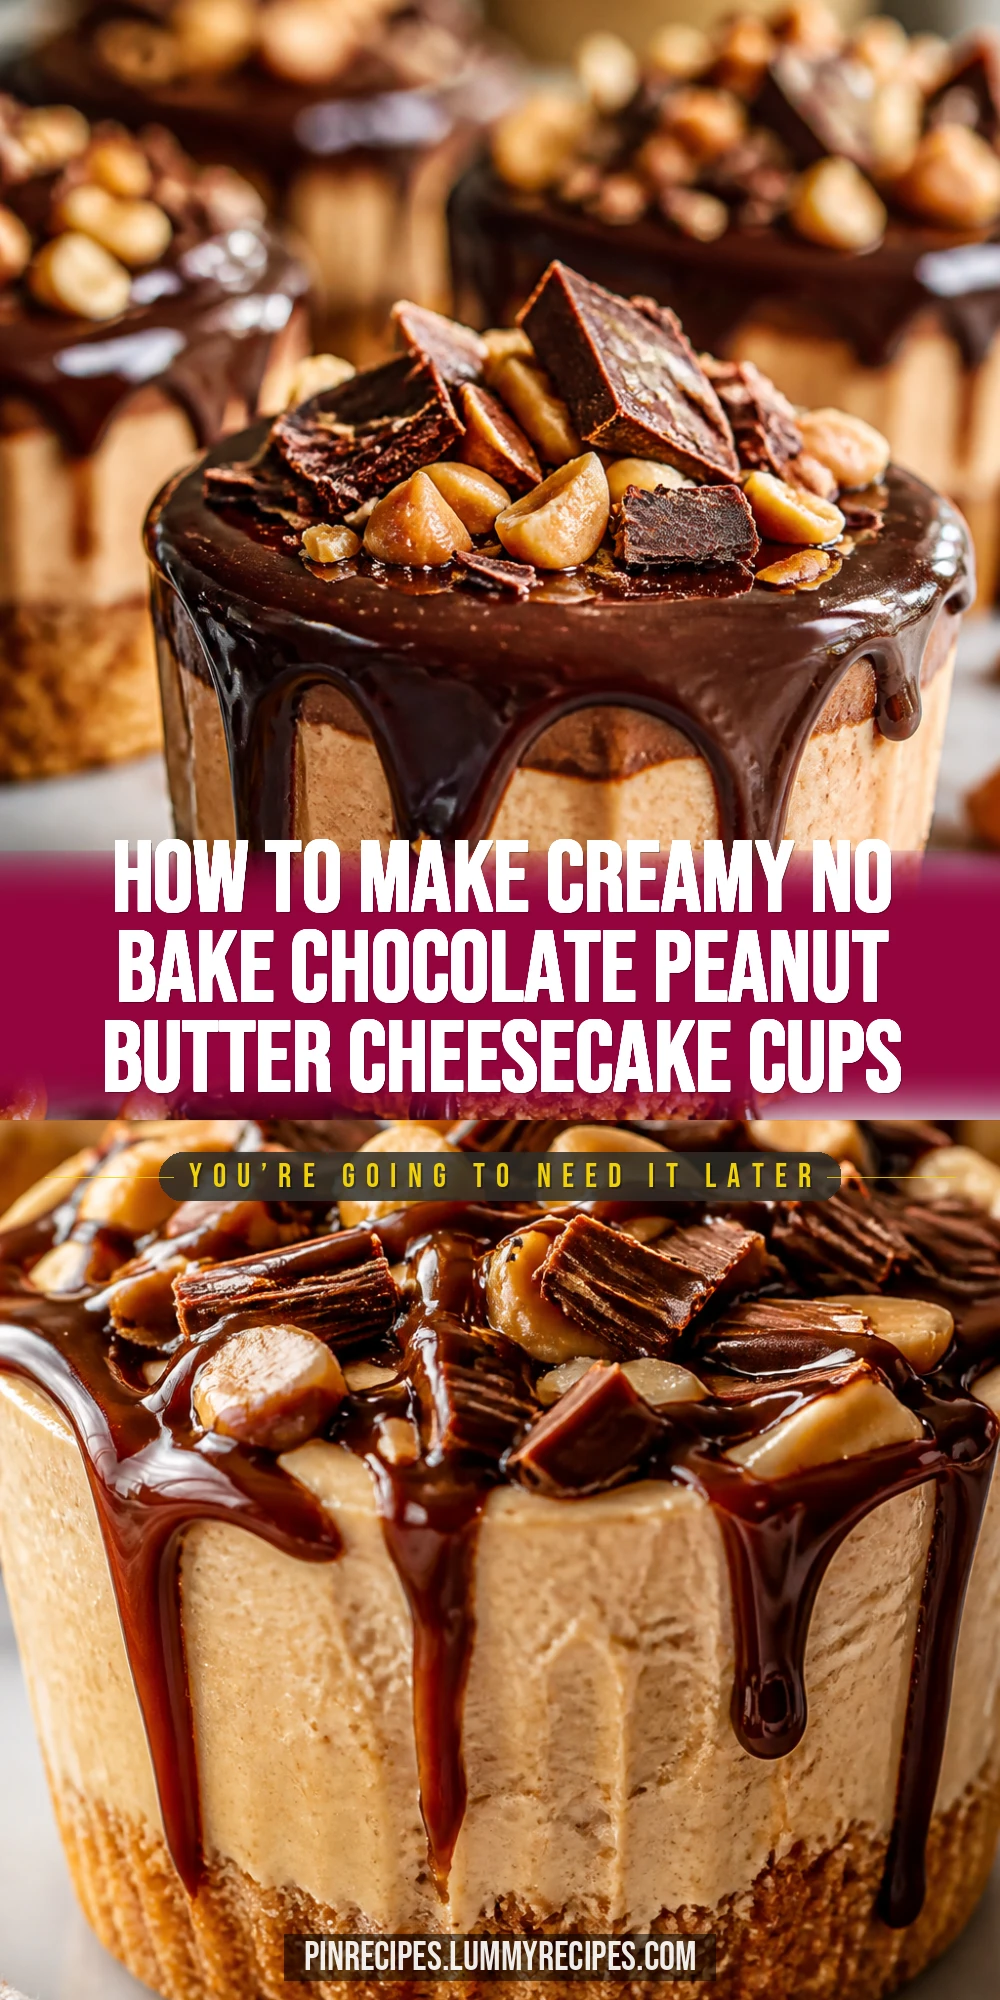
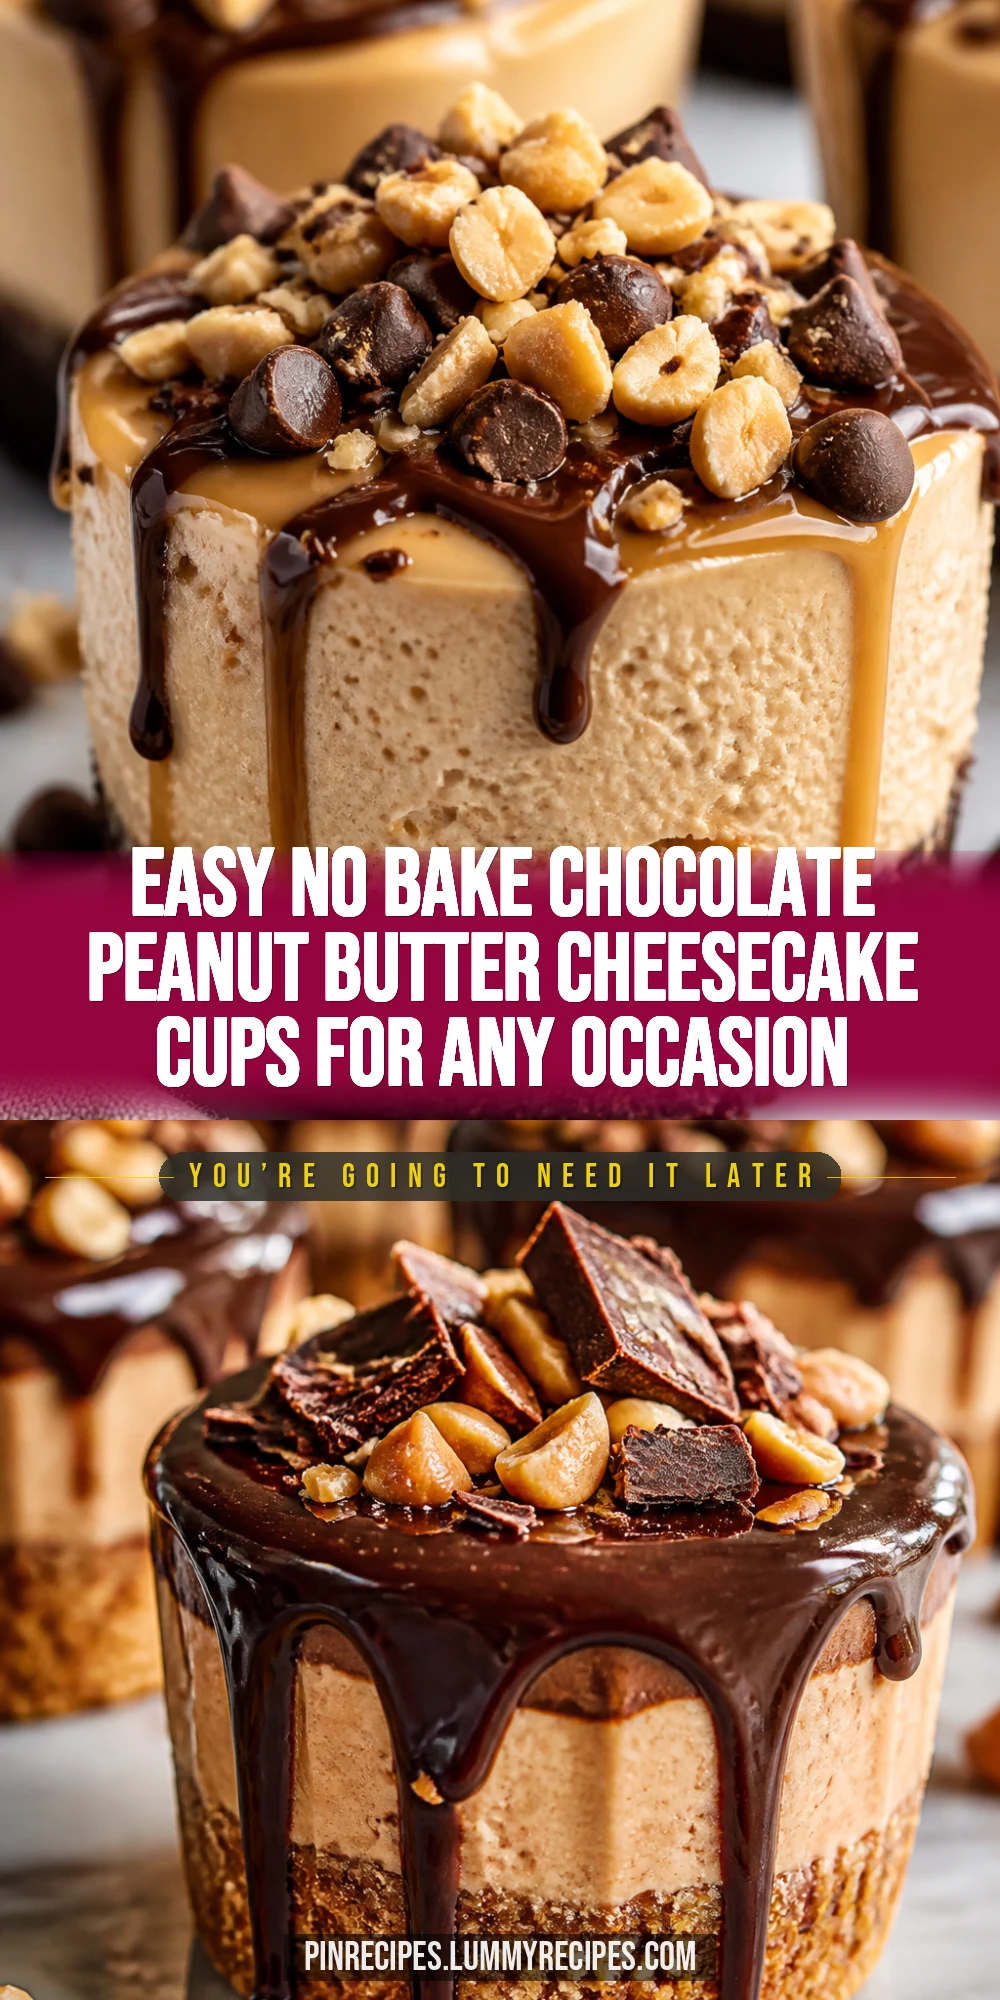
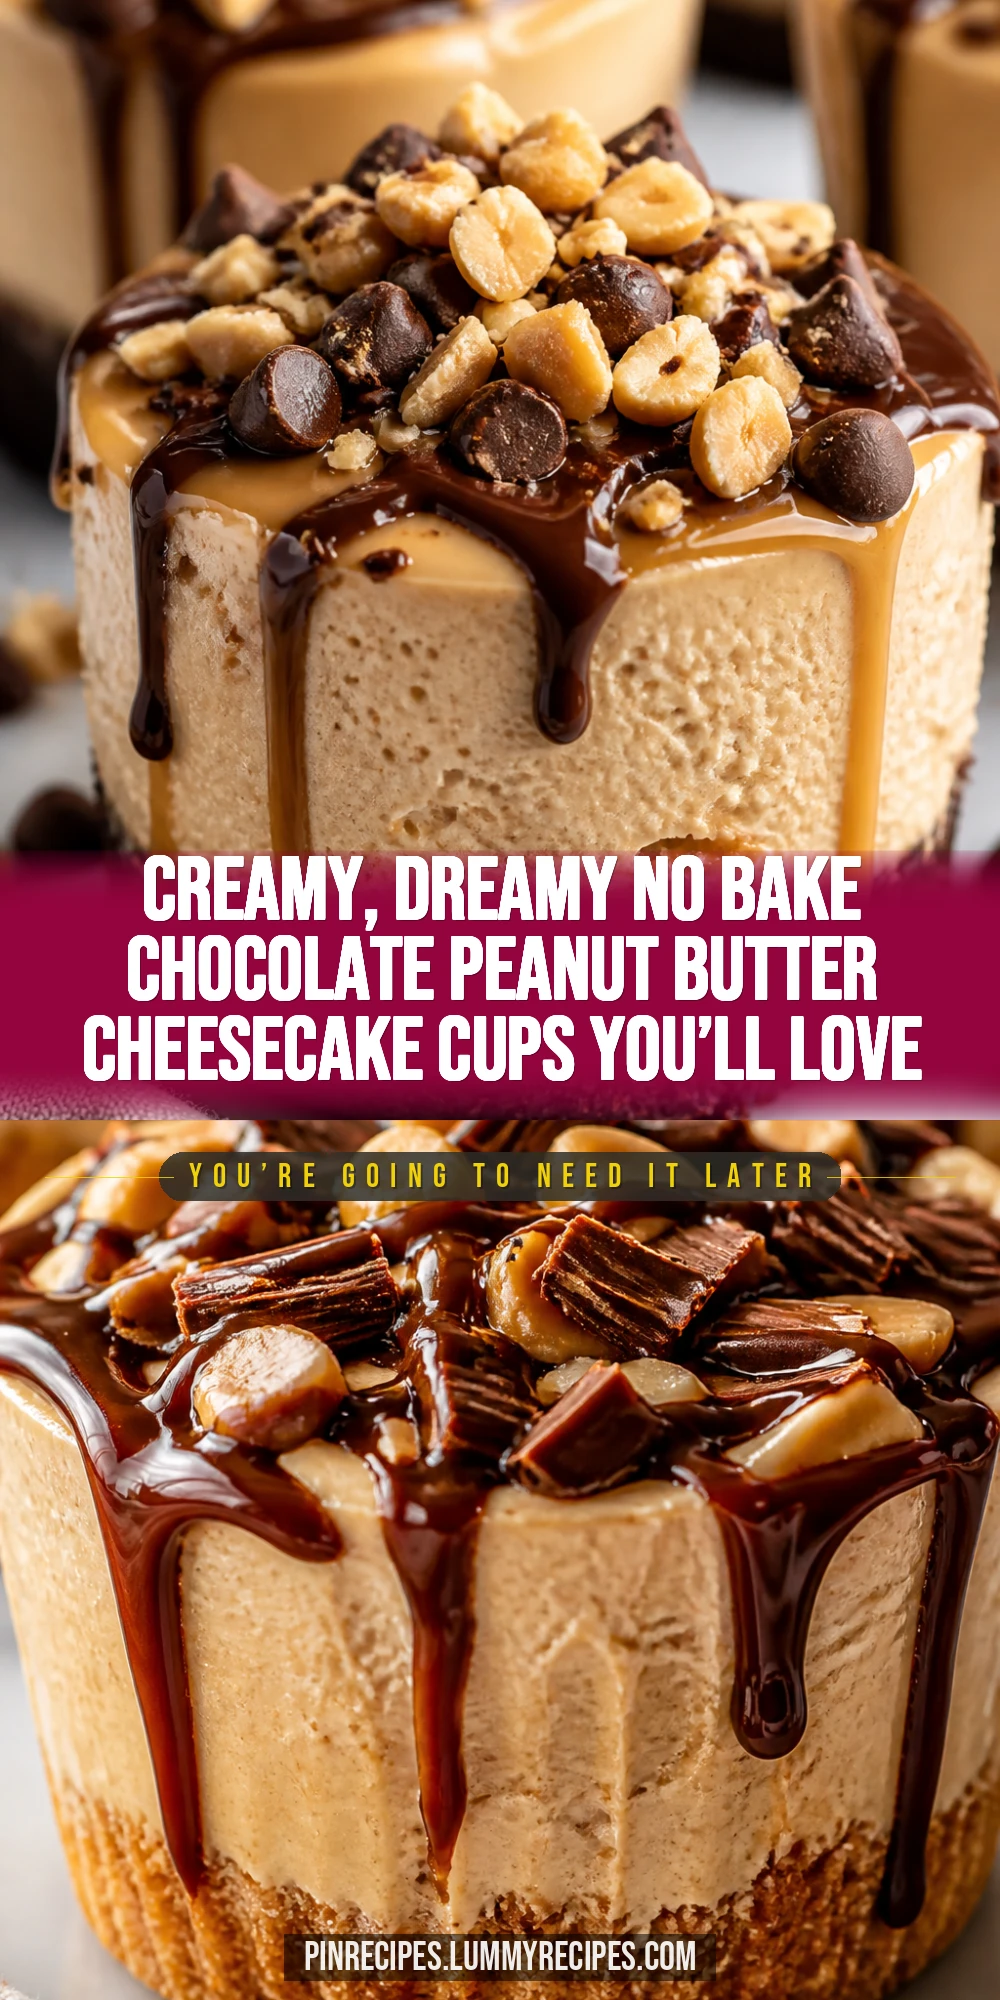
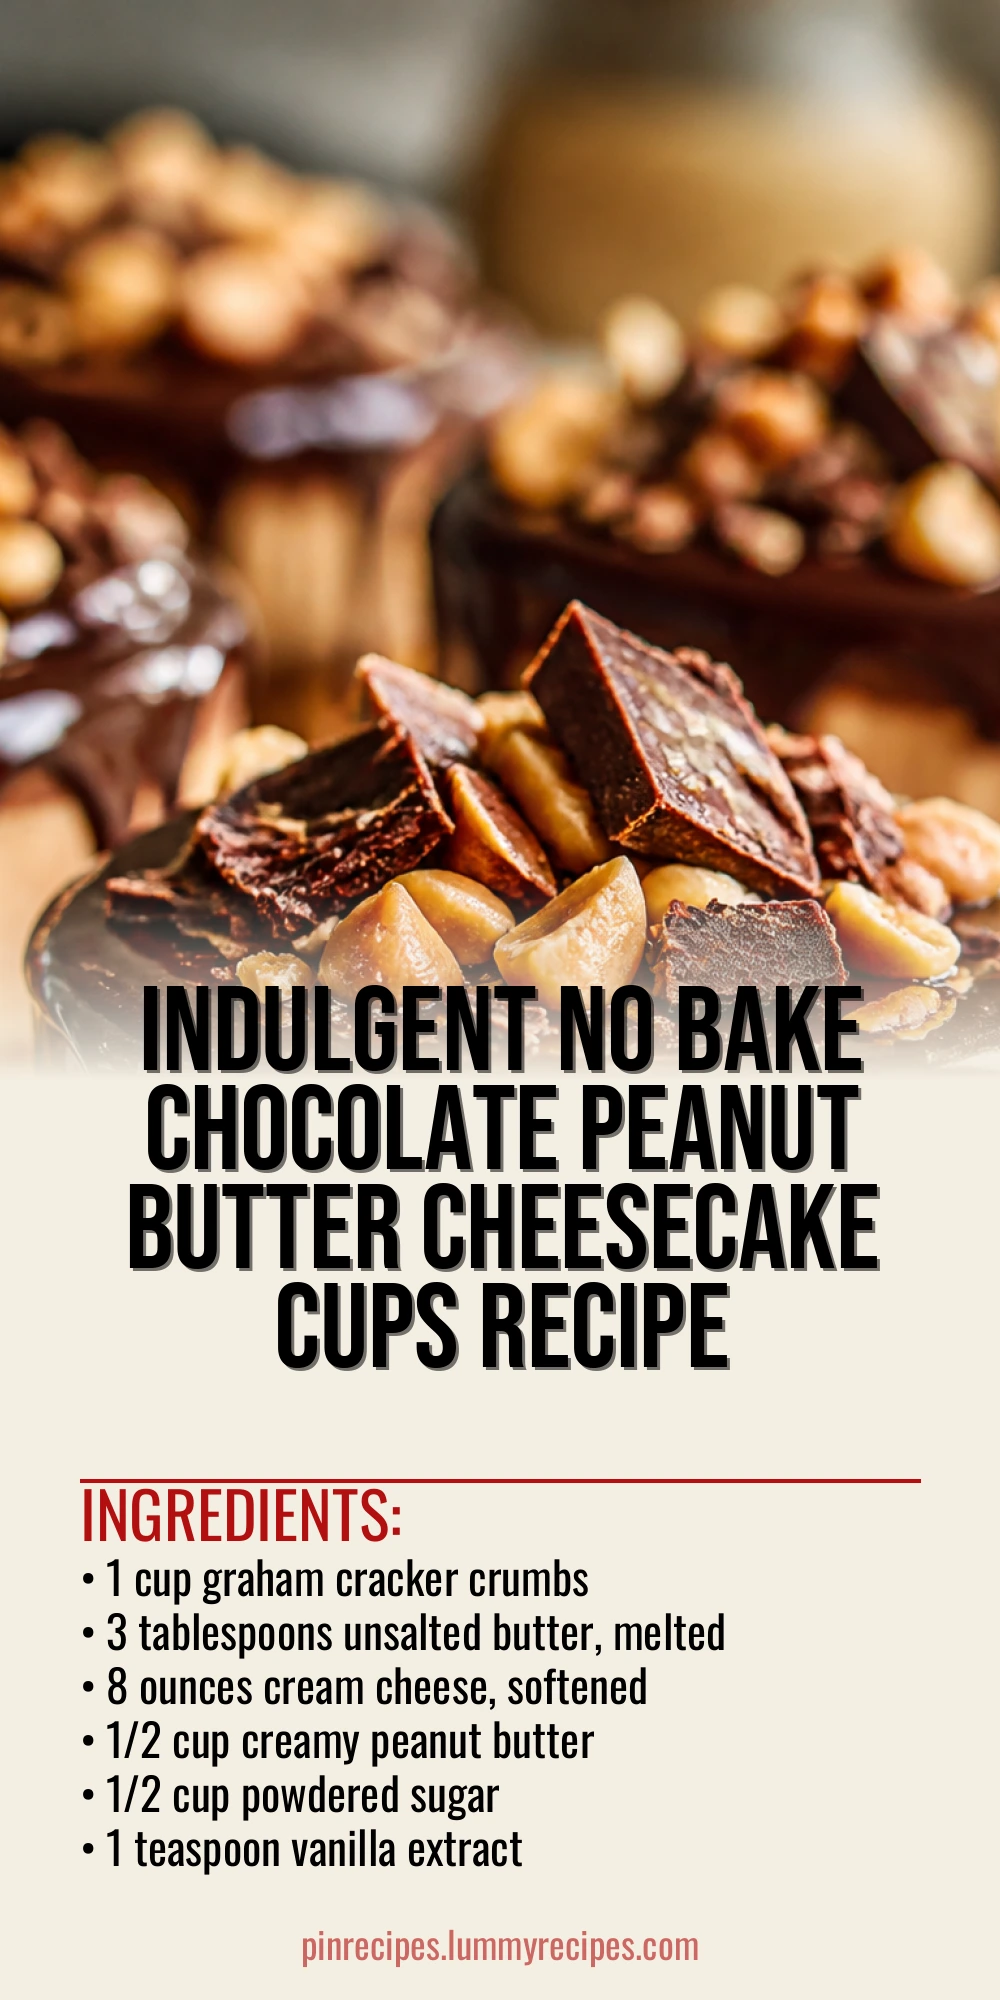
These no bake cheesecake cups are a dreamy combo of rich chocolate and peanut butter, super creamy and ready without turning on the oven. Perfect for an easy dessert when you want something indulgent but fuss-free!
Introduction
I stumbled upon this recipe during a summer weekend when I wanted something sweet but didn’t want to heat up the kitchen. No bake desserts have always been my go-to for easy entertaining, but this chocolate peanut butter cheesecake cup is something special. It’s creamy, rich, and perfectly balanced between the nutty peanut butter and smooth chocolate. What makes this version stand out is the silky texture I get by whipping the heavy cream just right and folding it gently into the peanut butter cream cheese mixture. I also love using graham cracker crumbs for that classic cheesecake base, but in cup form for easy portioning. Honestly, the first time I made this, I was worried it wouldn’t set well without baking, but chilling it overnight worked like a charm. The result is a luscious, dreamy dessert that’s both elegant and simple. It’s perfect for impressing guests or just indulging yourself after a long day. Plus, it’s so quick to whip up—just a few ingredients and no oven needed!
What You'll Need
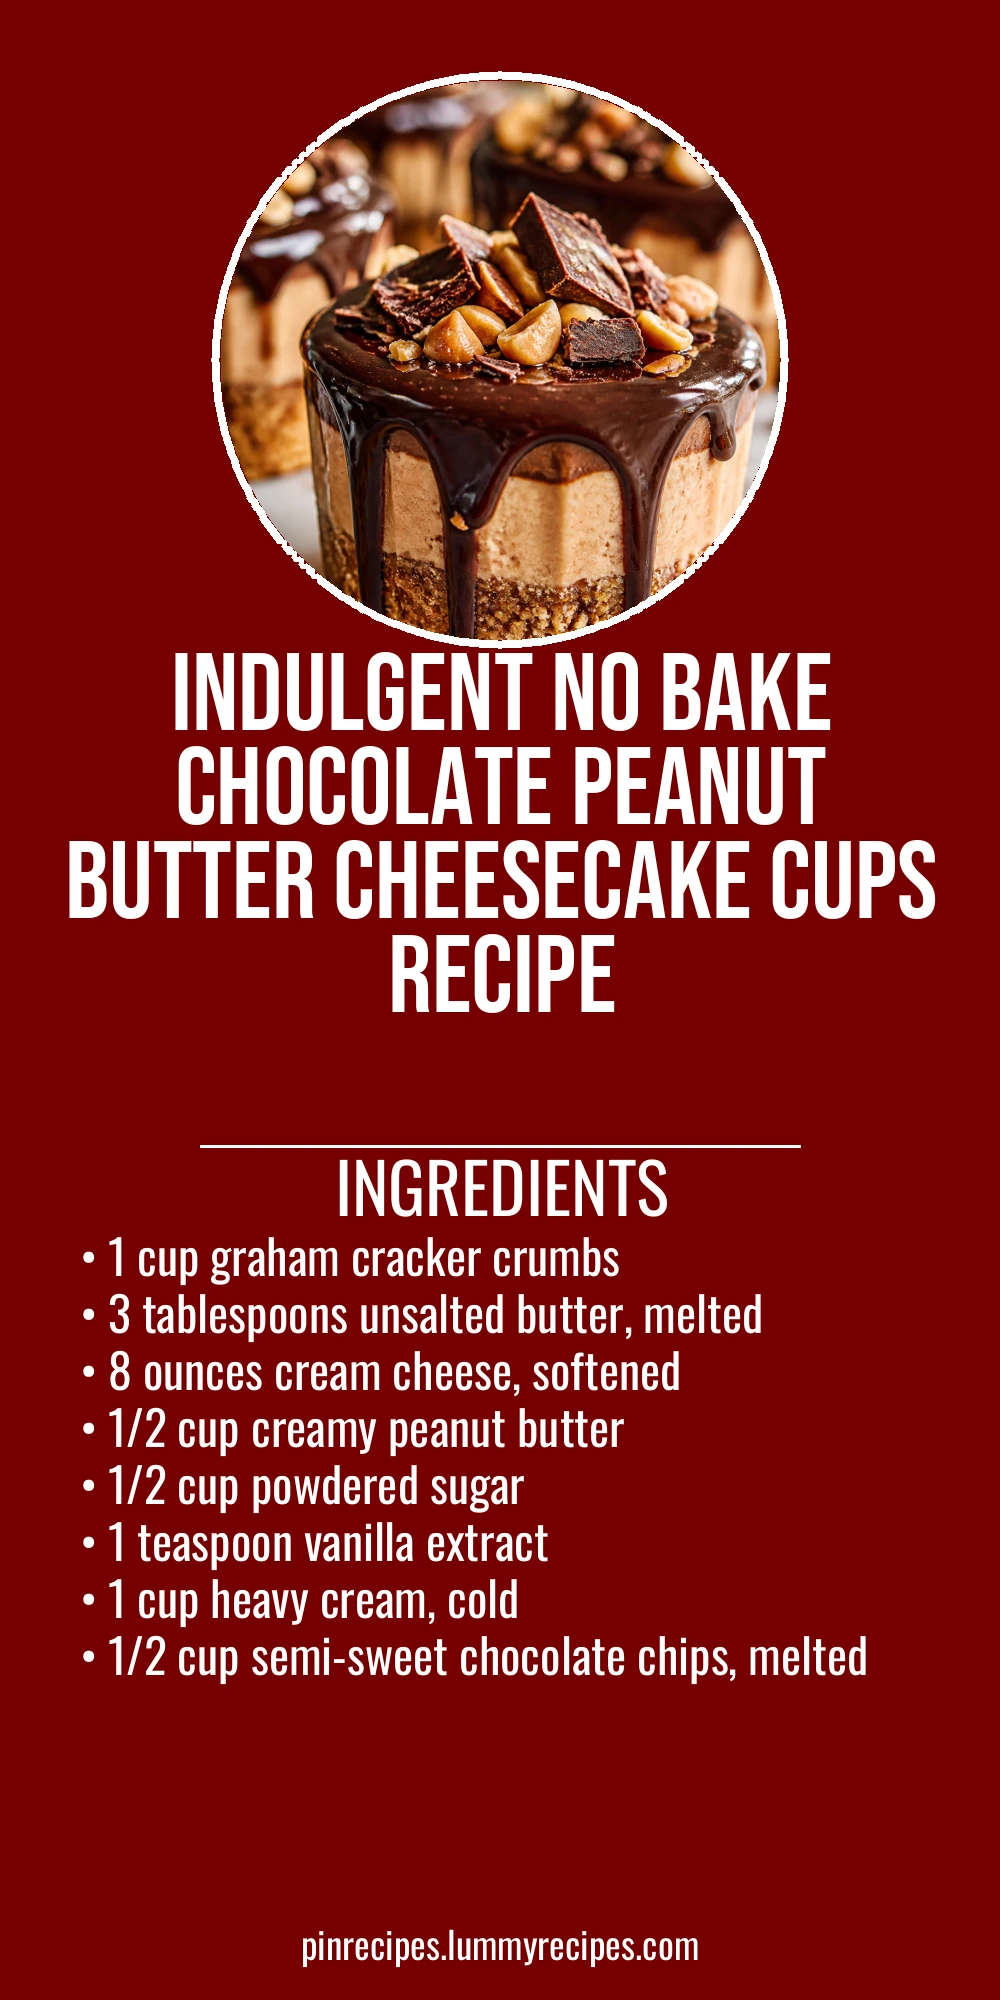
4 individual cheesecake cups
- 1 cup graham cracker crumbs
- 3 tablespoons unsalted butter, melted
- 8 ounces cream cheese, softened
- 1/2 cup creamy peanut butter
- 1/2 cup powdered sugar
- 1 teaspoon vanilla extract
- 1 cup heavy cream, cold
- 1/2 cup semi-sweet chocolate chips, melted
How To Do It
Step 1
Start by combining the graham cracker crumbs with the melted butter in a bowl. Mix until the crumbs are evenly coated and resemble wet sand. This step is crucial because the butter binds the crumbs together, creating a firm base for your cheesecake cups. If you skip this or don’t mix well, the crust won’t hold its shape and will crumble when you try to eat it. Press the mixture firmly into the bottom of your serving cups or jars, ensuring it’s even and compact. This helps the crust stay intact and adds a nice crunchy contrast to the creamy filling.
⏱ Time: 5 minutes
✓ Doneness: Crust is compacted and holds shape when lightly pressed
Step 2
In a separate bowl, beat the softened cream cheese with the peanut butter until smooth and creamy. Add the powdered sugar and vanilla extract, then mix again until fully combined. This step is where the magic happens—the cream cheese provides tang and creaminess, while peanut butter adds richness and flavor. Make sure the cream cheese is softened well; otherwise, you’ll end up with lumps. The powdered sugar sweetens the mixture just right without overpowering the peanut butter.
⏱ Time: 5 minutes
✓ Doneness: Mixture is smooth, thick, and well combined with no lumps
Step 3
In a chilled bowl, whip the heavy cream with an electric mixer until stiff peaks form. This means when you lift the beaters, the cream holds its shape firmly without falling. Whipping the cream properly is essential because it lightens the dense cream cheese mixture, giving your cheesecake cups a fluffy, airy texture. Underwhipping will result in a runny filling that won’t set well, while overwhipping can turn the cream into butter, ruining the texture.
⏱ Time: 5-7 minutes
✓ Doneness: Cream holds stiff peaks and looks glossy
Step 4
Gently fold the whipped cream into the peanut butter cream cheese mixture using a spatula. Use a light hand to keep as much air as possible in the filling. This folding technique is key to maintaining the light texture; stirring too vigorously will deflate the whipped cream and make the filling dense. Fold until just combined and no streaks remain.
⏱ Time: 3 minutes
✓ Doneness: Filling is smooth, creamy, and airy without streaks
Step 5
Spoon or pipe half of the peanut butter cheesecake filling over the graham cracker crust in each cup. Then drizzle or spoon a layer of melted chocolate over the filling. The chocolate adds a rich, glossy finish that pairs beautifully with peanut butter. If your chocolate has cooled too much, gently rewarm it to keep it pourable, but don’t overheat or it will seize.
⏱ Time: 5 minutes
✓ Doneness: Chocolate layer is smooth and shiny over the filling
Step 6
Add the remaining peanut butter cheesecake filling on top of the chocolate layer, smoothing it out with a spatula or the back of a spoon. This layering creates a pretty, multi-textured dessert with chocolate in the middle. Take care not to mix the layers, or the chocolate will blend into the filling and lose its distinct texture.
⏱ Time: 3 minutes
✓ Doneness: Top layer is even and smooth without mixing layers
Step 7
Cover the cups tightly with plastic wrap and refrigerate for at least 4 hours, preferably overnight. Chilling allows the filling to set properly and the flavors to meld. Rushing this step will result in a runny cheesecake that won’t hold its shape when served. Overnight chilling also makes it easier to remove the cups from the fridge and serve without mess.
⏱ Time: 4+ hours
✓ Doneness: Filling is firm to the touch and slices cleanly
Step 8
Before serving, you can optionally garnish the cheesecake cups with chopped peanuts, a drizzle of peanut butter, or a sprinkle of cocoa powder. These finishing touches add texture and visual appeal, making your dessert look as good as it tastes. Avoid adding garnishes too early as they might get soggy from moisture during chilling.
⏱ Time: 5 minutes
✓ Doneness: Garnishes look fresh and add contrast
Step 9
Serve the cheesecake cups chilled straight from the fridge. Use a small spoon to enjoy the layers of crunchy crust, creamy peanut butter filling, and rich chocolate. These cups are great for portion control and make an elegant dessert for any occasion. Leftovers keep well covered in the fridge for a couple of days.
⏱ Time: Immediate
✓ Doneness: Dessert is cold, firm, and deliciously creamy
Pro Tips
Always soften your cream cheese completely before mixing.
Softened cream cheese blends smoothly with peanut butter and sugar, preventing lumps that ruin the filling’s texture. If it’s too cold, you’ll get clumps that are hard to break up, leading to uneven filling and a less pleasant mouthfeel.
Chill your mixing bowl and beaters before whipping the cream.
Cold equipment helps the heavy cream whip faster and hold stiff peaks better. Warm bowls can cause the cream to stay liquid or overwhip quickly, both of which negatively affect the final texture of your cheesecake cups.
Fold whipped cream gently into the cream cheese mixture.
Folding preserves the air whipped into the cream, keeping the filling light and fluffy. Stirring or beating vigorously deflates the cream, resulting in a dense and heavy texture that feels more like a pudding than a cheesecake.
Press the crust firmly into the cups to avoid crumbling.
Firmly packed crusts hold together better when eating. If the crust is loose or crumbly, it won’t provide the desired crunch and can make serving messy. Using the bottom of a glass or spoon helps compact the crumbs evenly.
Chill the assembled cups for at least 4 hours, preferably overnight.
This resting time allows the filling to set fully and flavors to meld. Rushing this step results in a runny, unstable cheesecake that won’t hold its shape when served.
Melt chocolate gently to avoid seizing.
Chocolate can seize and become grainy if overheated or exposed to moisture. Use a double boiler or microwave in short bursts, stirring frequently to maintain smoothness for a glossy finish.
Use powdered sugar instead of granulated for a smooth filling.
Powdered sugar dissolves completely, preventing gritty texture in the cheesecake filling. Granulated sugar can remain grainy and affect the smoothness of the dessert.
Common Mistakes to Avoid
Skipping softening the cream cheese
Why it happens People often try to speed up the process or forget to take it out early, thinking it’s fine to mix cold cream cheese.
Fix Always let cream cheese sit at room temperature for at least 30 minutes or soften it gently in the microwave in short bursts. This ensures smooth mixing without lumps.
Overwhipping or underwhipping the cream
Why it happens It can be tricky to know when cream is perfectly whipped, leading to either runny or grainy textures.
Fix Watch for stiff peaks that hold shape but are still smooth and glossy. Stop whipping as soon as peaks hold to avoid turning cream into butter.
Mixing whipped cream too vigorously
Why it happens Inexperienced cooks might stir aggressively, thinking it helps combine ingredients better.
Fix Use a gentle folding motion with a spatula to preserve air bubbles, keeping the filling light and fluffy.
Not pressing the crust firmly enough
Why it happens People may rush or underestimate the importance of compacting the crust.
Fix Press the crust firmly with the back of a spoon or glass to create a sturdy base that won’t crumble when eating.
Serving too soon without chilling
Why it happens Impatience or lack of planning can cause serving before the filling sets.
Fix Plan ahead and chill the cheesecake cups for at least 4 hours or overnight for best texture and flavor.
Variations
Vegan No Bake Chocolate Peanut Butter Cheesecake Cups
Swap cream cheese with vegan cream cheese and use coconut cream instead of heavy cream. Use vegan graham crackers and dark chocolate to keep it plant-based. Expect a slightly different texture—still creamy but with a subtle coconut flavor.
Note: Whip coconut cream chilled thoroughly to stiff peaks; chilling time may vary slightly.
Salted Caramel Chocolate Peanut Butter Cups
Add a drizzle of salted caramel sauce between the peanut butter filling and chocolate layer for a sweet-salty twist. This elevates the flavor complexity and adds a gooey texture contrast.
Note: Use a thick caramel sauce to prevent it from mixing into layers; chill longer for best set.
Crunchy Nut Topping Cheesecake Cups
Top with chopped roasted peanuts or mixed nuts for added crunch and texture. This gives a nice contrast to the creamy filling and enhances the peanut butter flavor.
Note: Add nuts right before serving to keep them crunchy and fresh.
Mocha Chocolate Peanut Butter Cups
Mix a teaspoon of instant espresso powder into the peanut butter filling for a coffee kick. The mocha flavor pairs wonderfully with chocolate and peanut butter, creating a sophisticated dessert.
Note: Dissolve espresso powder in a small amount of hot water before mixing to avoid graininess.
Berry Swirl No Bake Cheesecake Cups
Swirl in a few tablespoons of raspberry or strawberry jam into the peanut butter filling before layering. This adds a bright fruity note and pretty marbled effect.
Note: Gently fold jam to avoid fully mixing it in, preserving the swirl pattern.
Nutrition
Per Serving:
Nutritional values are estimates and may vary based on specific ingredients used.
Storage & Tips
Room Temperature
These cheesecake cups should not be left at room temperature for more than 2 hours due to the dairy content. Keep them covered to prevent drying out or absorbing fridge odors.
Refrigerator
Store in airtight containers in the fridge for up to 3 days. The texture remains creamy but may firm up slightly. Serve chilled for the best experience; avoid leaving out too long before eating.
Freezer
Freeze the cups for up to 1 month wrapped tightly in plastic wrap and stored in a freezer-safe container. Thaw overnight in the fridge to preserve texture. Avoid refreezing after thawing.
Reheating
No reheating needed or recommended. Serve chilled straight from the fridge. If the filling feels too firm after chilling, let it sit at room temperature for 10 minutes before serving.
Make Ahead
You can prepare the crust and filling separately 1-2 days ahead. Assemble the cups and chill overnight before serving for best texture and flavor. This makes it a great make-ahead dessert for parties.
FAQ
Can I use crunchy peanut butter instead of creamy?
Yes, you can use crunchy peanut butter for added texture inside the filling. Just be aware that it may make the cheesecake slightly less smooth, but it adds a nice nutty crunch that many enjoy.
What if I don’t have graham crackers for the crust?
You can substitute with digestive biscuits, vanilla wafers, or even crushed pretzels for a salty-sweet twist. Just make sure to adjust the sweetness and salt accordingly.
Can I make this recipe gluten-free?
Absolutely! Use gluten-free graham cracker crumbs or gluten-free cookies for the crust. The rest of the ingredients are naturally gluten-free, making this dessert safe for gluten-sensitive diets.
How long do these cheesecake cups last in the fridge?
They keep well for about 3 days in an airtight container. After that, the texture may start to degrade and the crust can become soggy, so it’s best to enjoy them fresh.
Can I prepare these cups in larger containers instead of individual cups?
Yes, you can make this in a single larger dish for slicing. Just increase chilling time and be careful when serving to keep layers intact.
Is there a way to make this recipe lower in fat?
You can try using reduced-fat cream cheese and light whipped cream, but keep in mind the texture and richness will be less indulgent. The full-fat version gives the best creamy mouthfeel.
What’s the best way to melt chocolate for this recipe?
Use a double boiler or microwave in short 20-second bursts, stirring in between. This prevents overheating and seizing, ensuring a smooth, glossy chocolate layer.
Can I add other flavors to the filling?
Definitely! Vanilla extract is classic, but you can experiment with almond extract, cinnamon, or a pinch of cayenne for a spicy kick. Just add small amounts to not overpower the main flavors.
Final Thoughts
I hope you enjoy these creamy no bake chocolate peanut butter cheesecake cups as much as I do. Give them a try and let me know how they turn out!