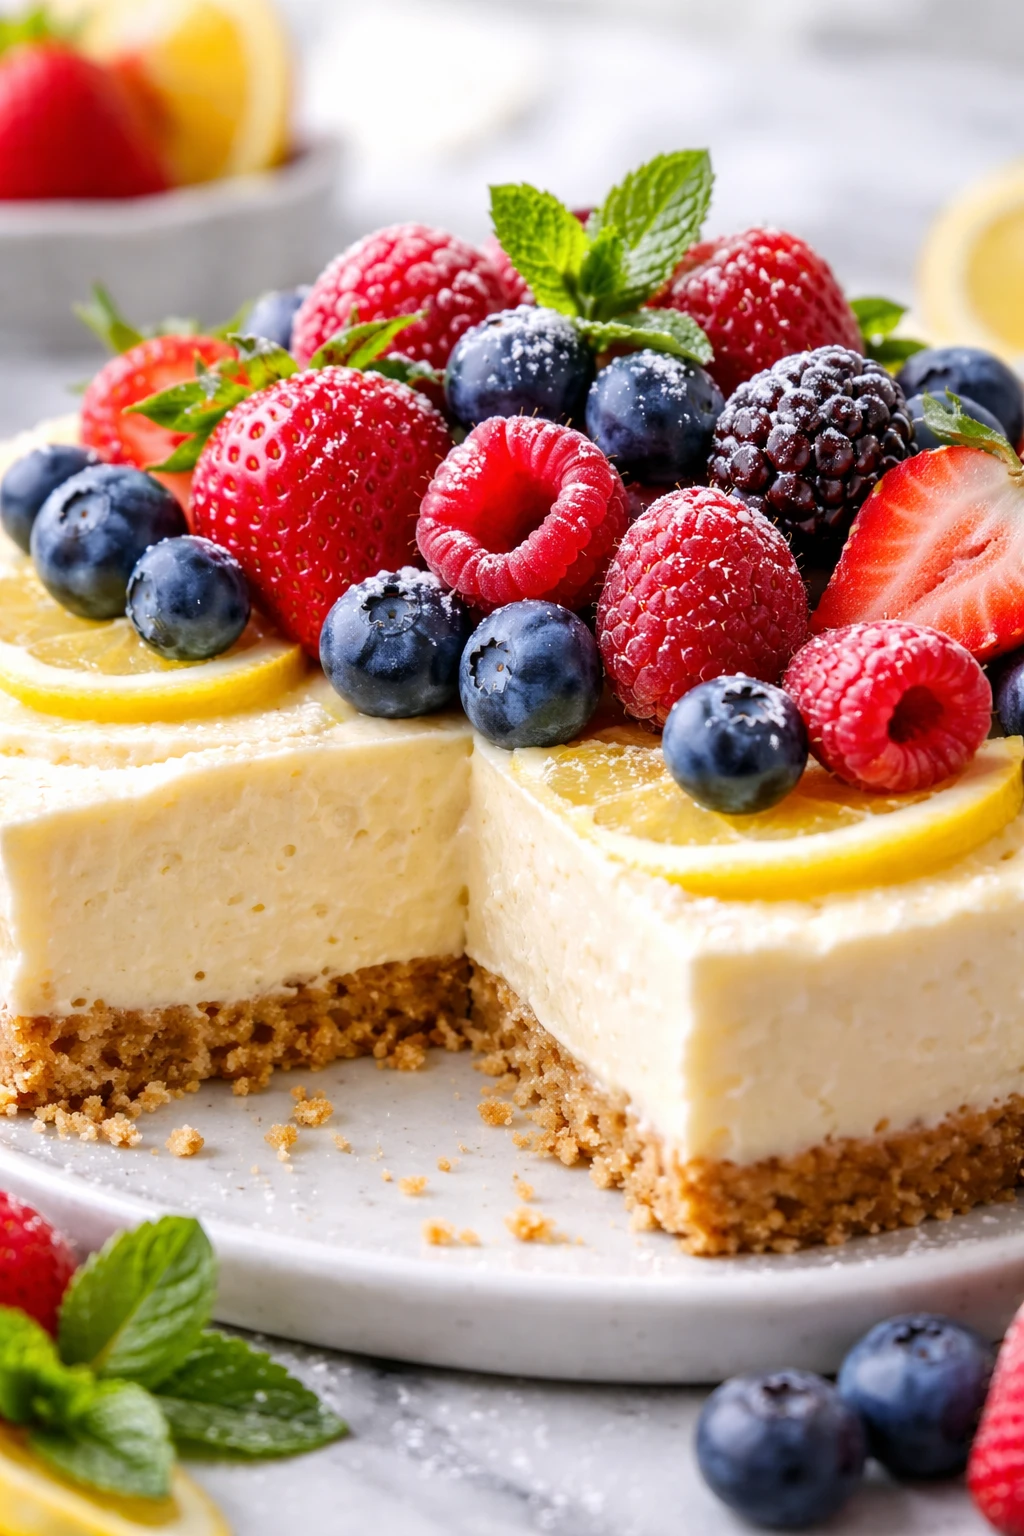
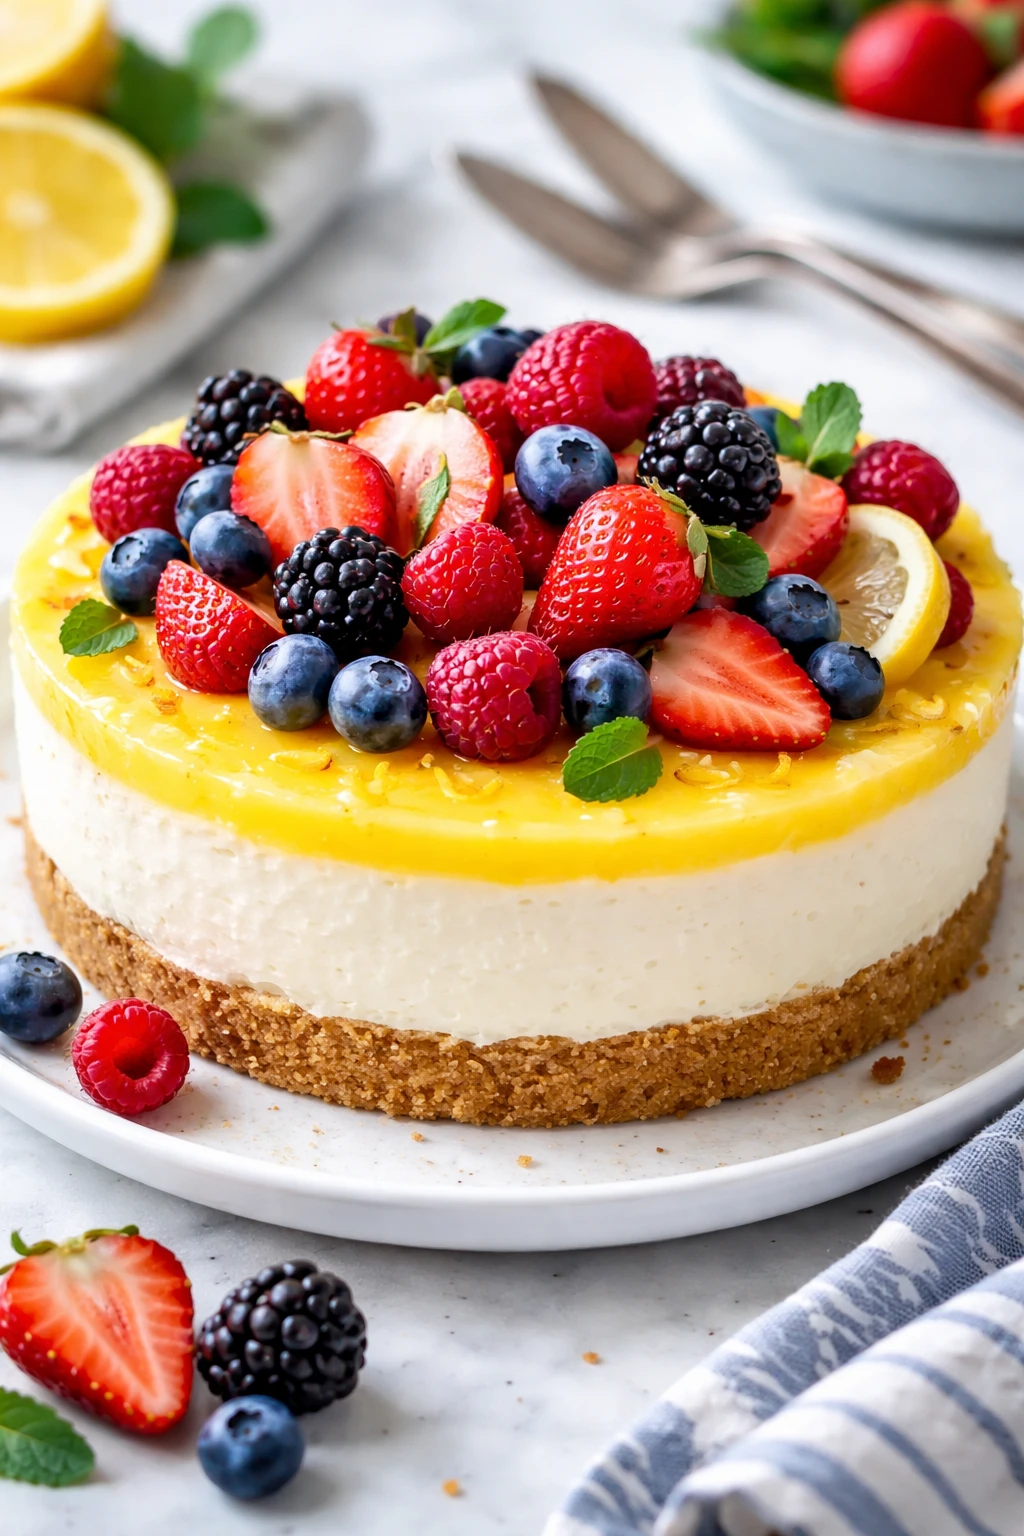
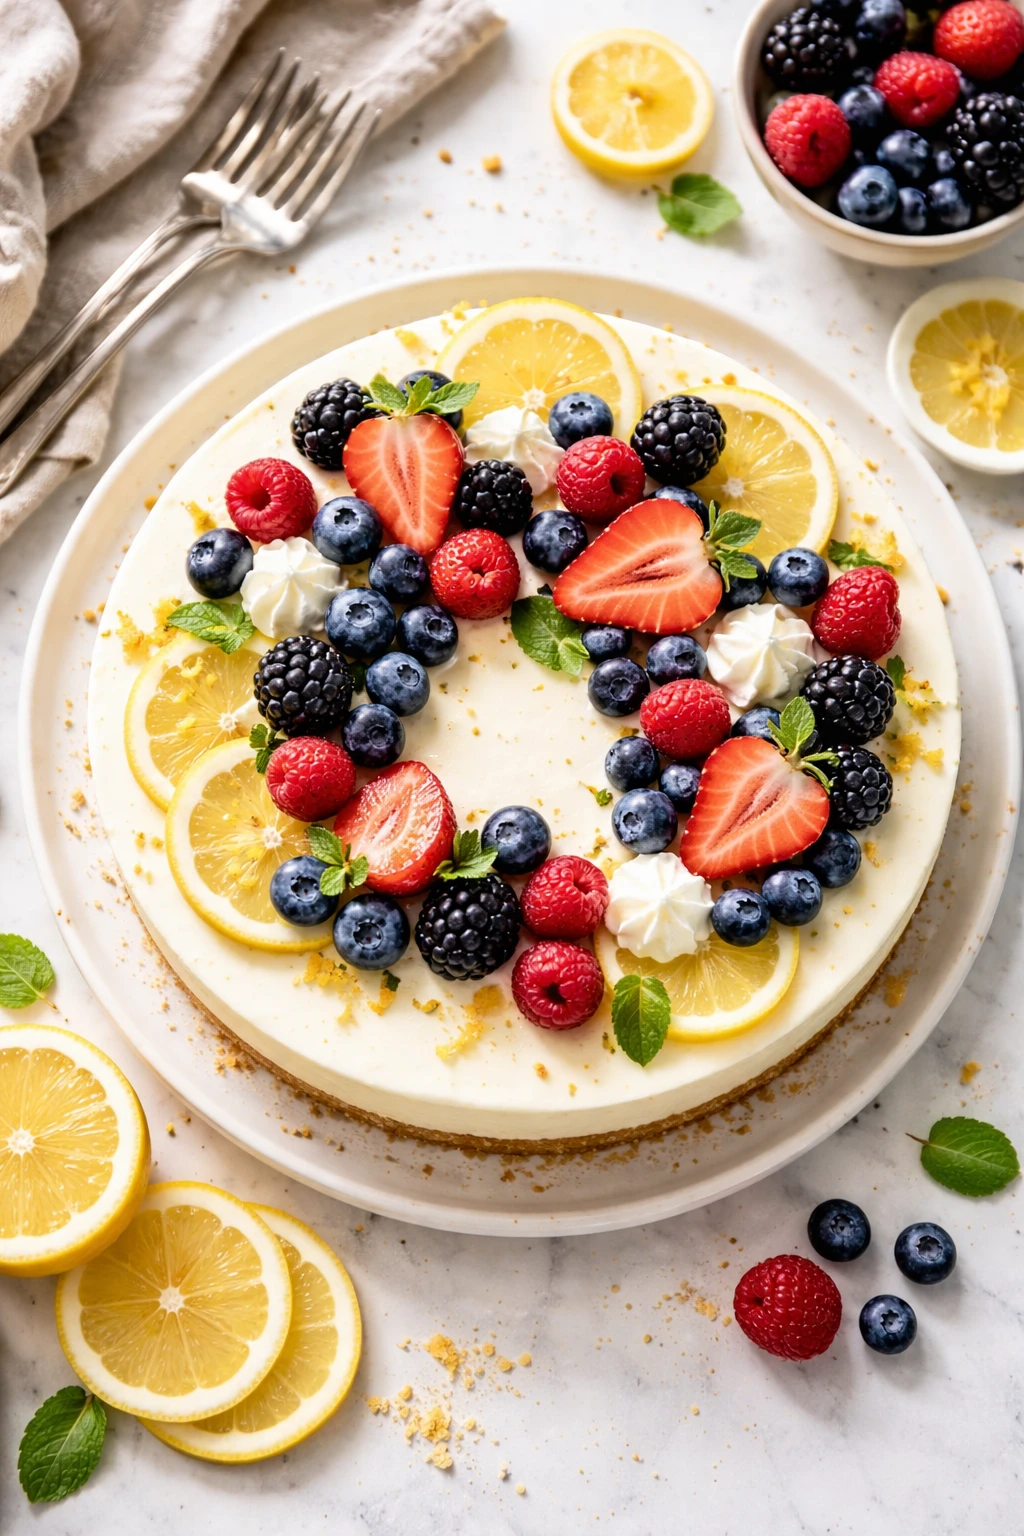
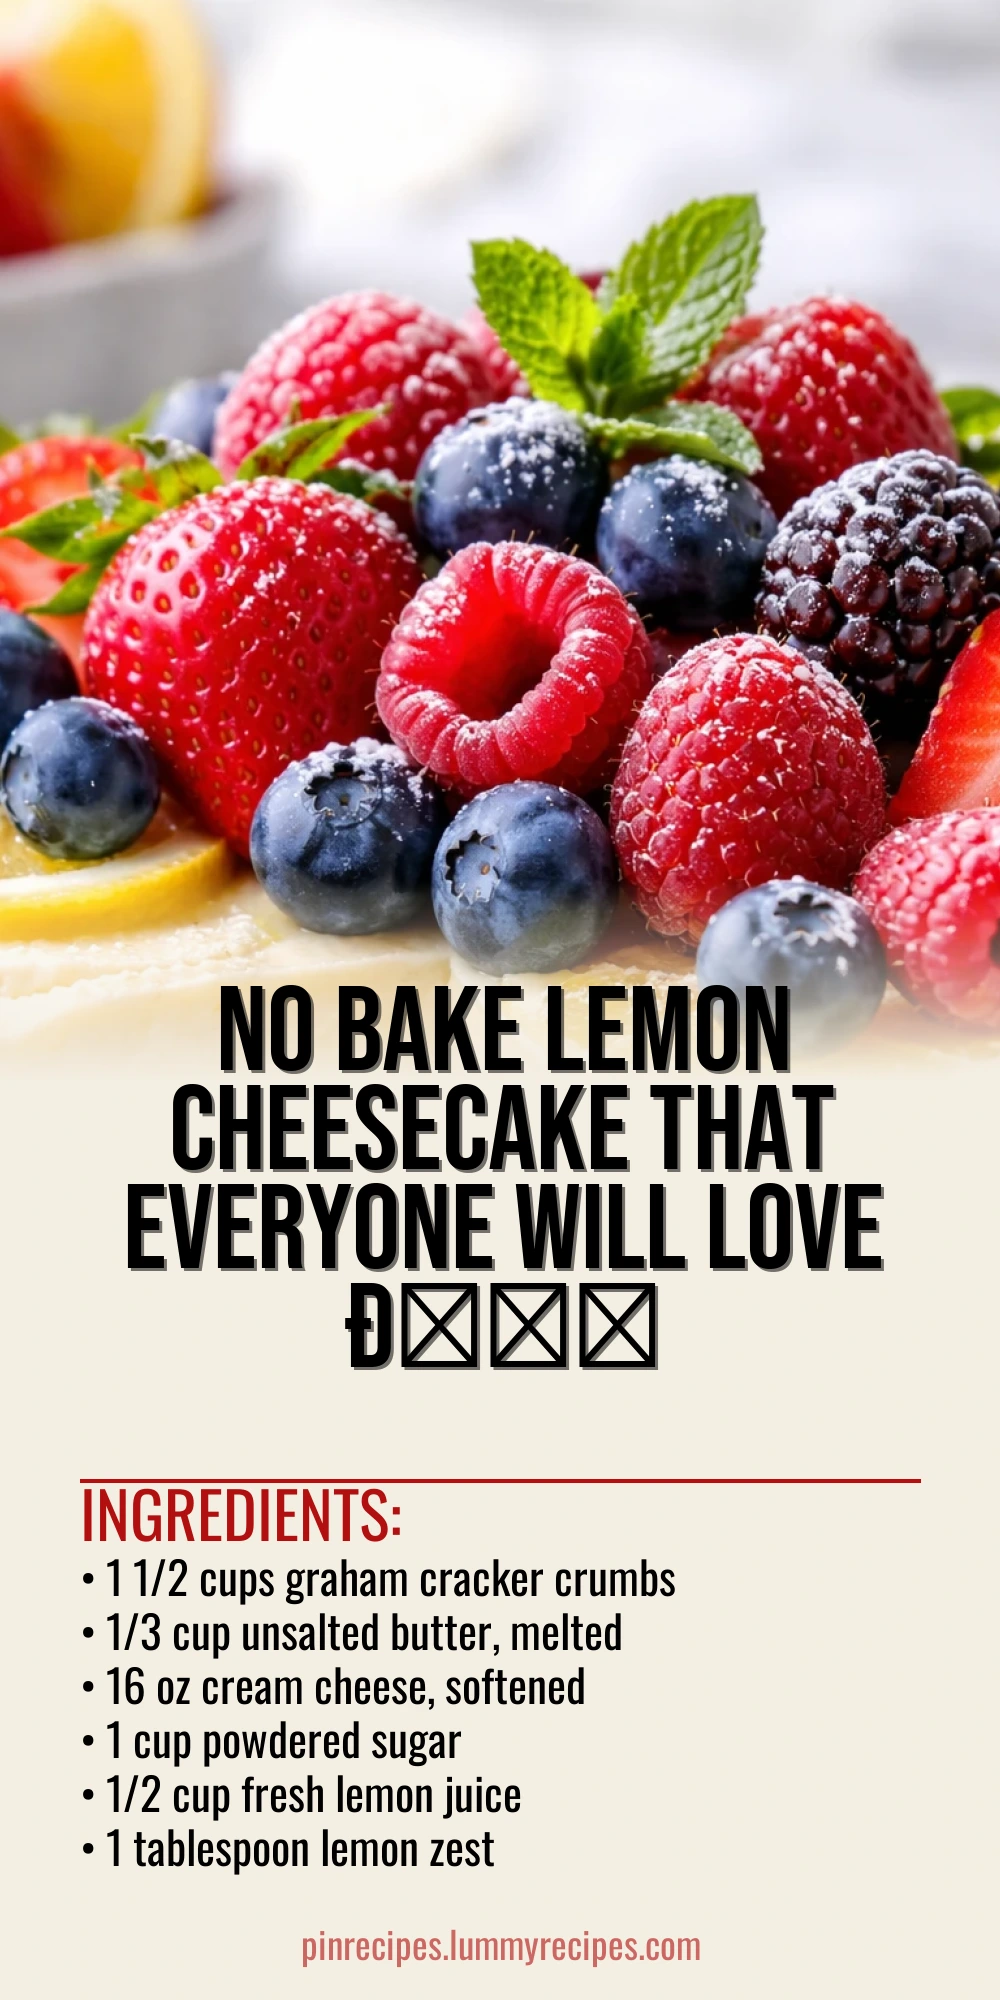
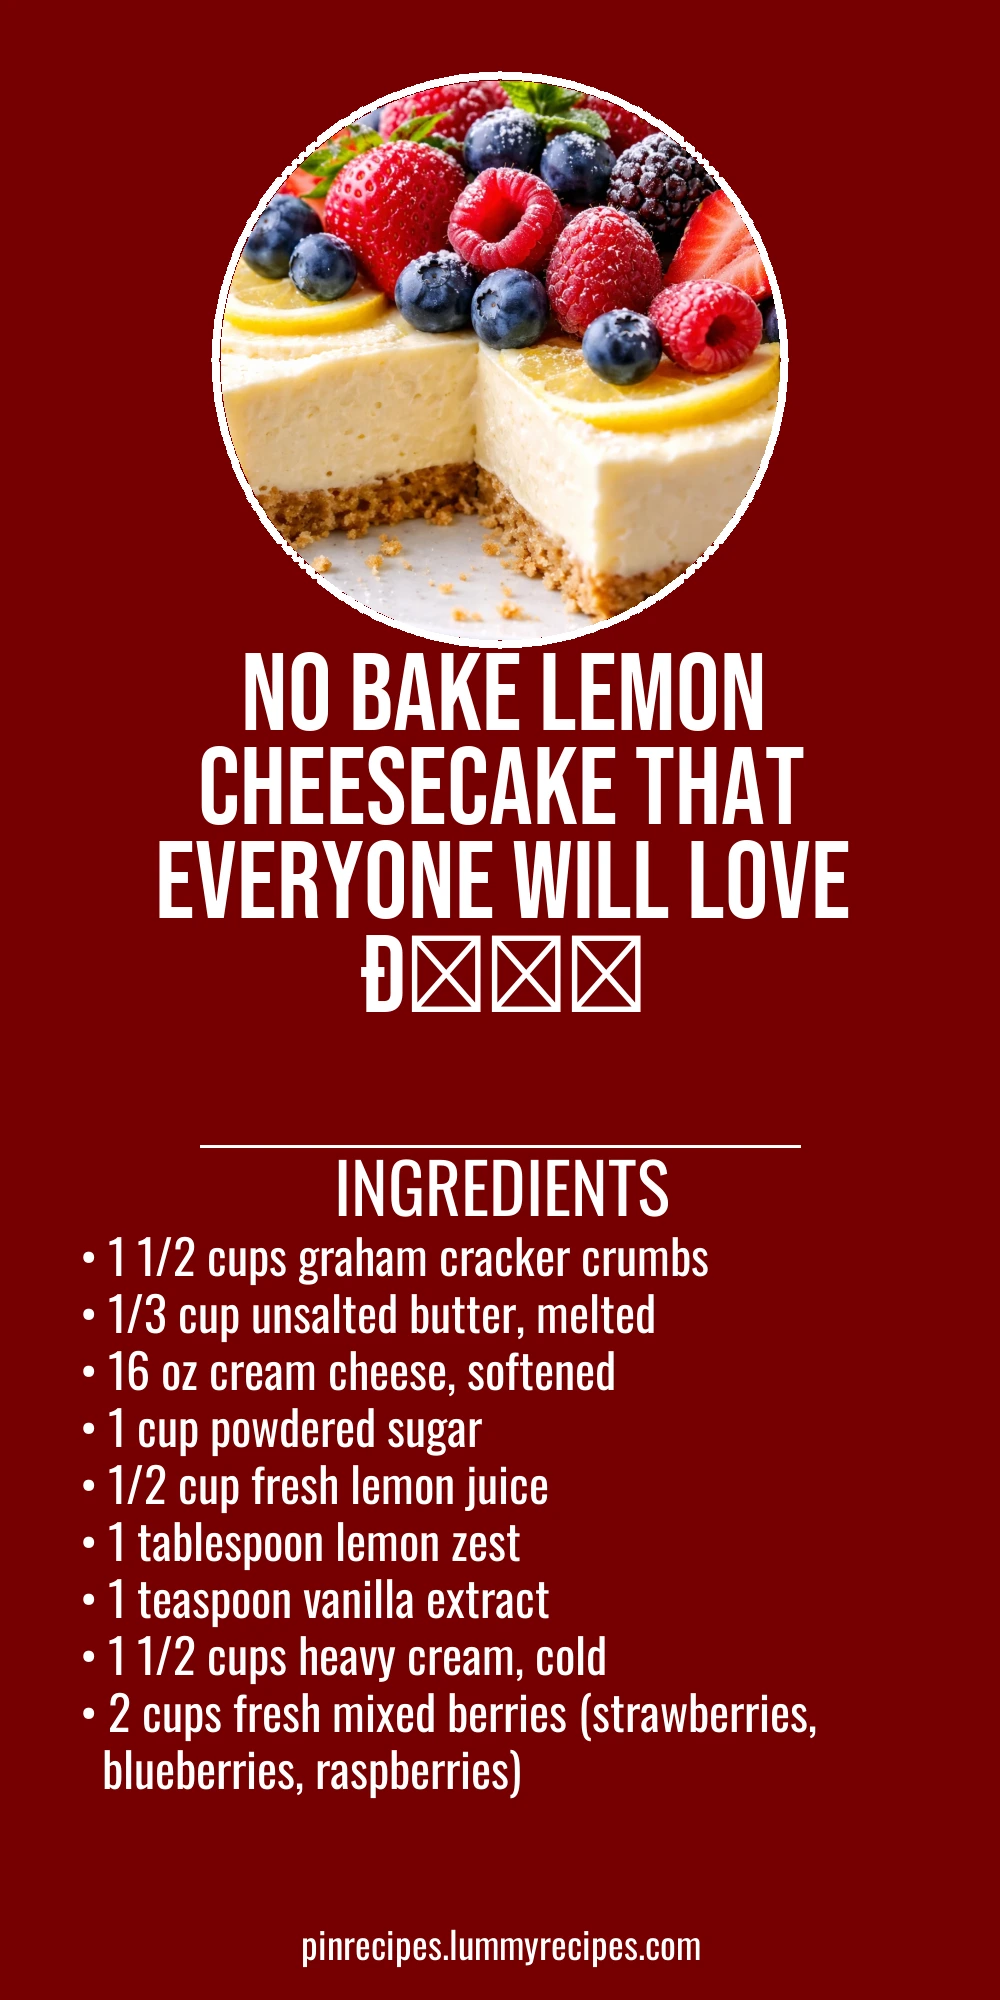
This no bake lemon cheesecake is delightfully creamy and fresh, with a zingy lemon twist that wakes up your taste buds. The fresh berries on top add a natural sweetness and vibrant color. Perfect for warm days or casual get-togethers!
Introduction
I stumbled upon this no bake lemon cheesecake recipe a few summers ago when I wanted something light and refreshing but didn’t want to heat up the kitchen with an oven. Since then, it’s become my go-to dessert for warm weather gatherings and casual dinners. What sets this version apart is the balance between creamy richness and bright lemon zing, thanks to fresh lemon juice and zest. I also love topping it generously with fresh berries — it adds a pop of color and natural sweetness that just feels so fresh. The trick I learned early on was to whip the heavy cream until stiff peaks form before folding it gently into the cream cheese mixture; this keeps the cheesecake airy and smooth without being dense. Honestly, my first attempt was a bit too runny because I rushed the chilling time, so I always make sure to let it set overnight now. The final result is a luscious, velvety cheesecake that slices beautifully and tastes like summer in every bite.
How To Do It
Step 1
Start by making the crust: combine the graham cracker crumbs with melted butter in a bowl. Stir until the crumbs are evenly coated — this helps the crust hold together once chilled. Press the mixture firmly into the bottom of a 9-inch springform pan or pie dish. Use the back of a spoon or a flat-bottomed glass to compact it tightly, which prevents the crust from crumbling when you slice the cheesecake. Chill it in the fridge while you prepare the filling, so it firms up nicely.
⏱ Time: 10 minutes
✓ Doneness: Crust feels firm and compact to the touch after chilling
Step 2
In a large bowl, beat the softened cream cheese with powdered sugar until smooth and creamy. The key is to avoid lumps, so beat thoroughly but don’t overwork it to prevent too much air incorporation. Add the fresh lemon juice, lemon zest, and vanilla extract, mixing until fully combined. The lemon juice not only adds flavor but also slightly firms the filling as it interacts with the cream cheese. This mixture forms the tangy base of your cheesecake filling.
⏱ Time: 5 minutes
✓ Doneness: Filling is smooth, glossy, and evenly mixed with no lumps
Step 3
In a separate chilled bowl, whip the heavy cream until stiff peaks form. This means when you lift the whisk, the cream holds its shape without collapsing. It’s important to use cold cream and a cold bowl for best volume. Stiff peaks give the cheesecake its airy, fluffy texture, balancing the richness of the cream cheese. Be careful not to overwhip or you’ll get butter instead!
⏱ Time: 5-7 minutes
✓ Doneness: Whipped cream holds firm peaks and looks smooth and thick
Step 4
Gently fold about one-third of the whipped cream into the cream cheese mixture to lighten it. Use a rubber spatula and fold with a gentle motion to keep as much air as possible. Then fold in the remaining whipped cream until fully incorporated. This folding technique keeps the filling light and creamy rather than dense or heavy.
⏱ Time: 3-5 minutes
✓ Doneness: Filling is smooth, airy, and homogenous with no streaks
Step 5
Pour the filling over the chilled crust and spread it evenly with an offset spatula or the back of a spoon. Smooth the top carefully without pressing down too hard, which could compact the filling. Cover the cheesecake loosely with plastic wrap and refrigerate for at least 4 hours, preferably overnight. This chilling time is crucial for the filling to set and develop flavor.
⏱ Time: 4+ hours
✓ Doneness: Filling is firm to the touch and holds shape when sliced
Step 6
Before serving, wash and gently pat dry your fresh berries. Arrange them artfully on top of the set cheesecake. The berries add a fresh, juicy contrast to the creamy lemon filling and make the dessert look inviting and vibrant. You can mix different berries or stick to your favorite ones.
⏱ Time: 5 minutes
✓ Doneness: Berries look fresh, plump, and evenly distributed on top
Step 7
Carefully release the springform pan sides if using one, and transfer the cheesecake to a serving plate. Use a sharp knife wiped clean between cuts for neat slices. Serve chilled for the best texture and flavor. If you like, add a few extra berries or a light dusting of powdered sugar on each slice for presentation.
⏱ Time: 5 minutes
✓ Doneness: Cheesecake slices hold together cleanly without crumbling
Step 8
If making ahead, keep the cheesecake covered in the fridge until ready to serve. The flavors actually improve after a day. Just add the fresh berries right before serving to keep them vibrant and fresh. This no bake dessert is great for potlucks or summer dinners since it doesn’t require oven time.
⏱ Time: N/A
✓ Doneness: Cheesecake maintains creamy texture after storage
Step 9
For a fun twist, try adding a thin layer of lemon curd between the crust and filling before chilling. This adds an extra burst of citrus flavor and a glossy finish. Just spread 2-3 tablespoons evenly over the crust and chill for 10 minutes before adding the filling. It’s a little extra effort that makes a big flavor difference!
⏱ Time: 10 minutes prep plus chilling
✓ Doneness: Lemon curd layer is smooth and set before adding filling
Pro Tips
Always soften cream cheese to room temperature before mixing.
Softened cream cheese blends smoothly with other ingredients, preventing lumps and ensuring a creamy filling. Cold cream cheese can create clumps and uneven texture, making it harder to achieve the smooth consistency this cheesecake needs.
Use cold heavy cream and a chilled bowl for whipping.
Cold cream whips faster and holds stiff peaks better, which is essential for creating a light, airy filling. Warm cream won’t whip properly and can result in a runny texture, compromising the cheesecake’s structure.
Fold whipped cream gently into the cream cheese mixture.
Folding preserves the air bubbles in the whipped cream, keeping the filling light and fluffy. Stirring vigorously will deflate the cream, making the cheesecake dense and less enjoyable.
Press the crust firmly and chill before adding filling.
A compact crust holds together when slicing and prevents crumbling. Chilling the crust helps the butter solidify, creating a sturdy base that contrasts nicely with the creamy filling.
Chill the cheesecake overnight for best results.
Extended chilling allows the filling to fully set and the flavors to meld. Rushing this step can lead to a runny cheesecake that doesn’t slice cleanly or hold its shape.
Use fresh lemon juice and zest for bright, natural flavor.
Fresh lemon ingredients provide vibrant citrus notes and aroma that bottled juice can’t match. The zest adds essential oils that deepen the lemon flavor and enhance the overall taste.
Add fresh berries just before serving.
Adding berries last keeps them fresh and juicy, avoiding sogginess or color bleeding into the cheesecake. It also adds a beautiful, fresh contrast to the creamy filling.
Common Mistakes to Avoid
Using cold cream cheese without softening.
Why it happens Many assume cream cheese can be mixed straight from the fridge, but cold cream cheese lumps and doesn’t blend well.
Fix Let cream cheese sit at room temperature for at least 30 minutes before mixing. This ensures smooth, lump-free filling.
Overwhipping the heavy cream.
Why it happens It’s easy to keep whipping past stiff peaks, turning cream into butter.
Fix Stop whipping as soon as stiff peaks form—when the cream holds its shape but is still smooth. Check frequently to avoid overwhipping.
Mixing whipped cream too vigorously into the filling.
Why it happens Some think stirring well makes it smoother, but it actually deflates the air bubbles.
Fix Use a gentle folding motion with a spatula, turning the bowl and lifting from the bottom to preserve airiness.
Skipping the chilling step or not chilling long enough.
Why it happens Impatience or lack of time leads to serving the cheesecake too soon.
Fix Allow at least 4 hours, ideally overnight, for the filling to set properly and flavors to develop.
Not pressing the crust firmly enough.
Why it happens Some just sprinkle crumbs loosely, resulting in a crumbly base.
Fix Use the back of a spoon or glass to compact the crust tightly before chilling to ensure it holds together.
Variations
Blueberry Swirl No Bake Cheesecake
Stir in 1/2 cup blueberry jam into the cream cheese filling before folding in whipped cream. After pouring into the crust, swirl in extra jam with a knife for a pretty marbled effect. Expect a fruity twist with a touch of sweetness that complements the lemon.
Note: Swirling jam adds moisture; chill longer to ensure firm set.
Ginger Graham Cracker Crust
Add 1/2 teaspoon ground ginger and a pinch of cinnamon to the crust mixture for a warm, spicy note that pairs beautifully with lemon. This variation adds depth and a subtle holiday vibe to the dessert.
Note: Spices don’t affect texture but enhance flavor complexity.
Vegan No Bake Lemon Cheesecake
Replace cream cheese with vegan cream cheese and heavy cream with coconut cream. Use maple syrup instead of powdered sugar. The texture will be slightly different but still creamy and refreshing, perfect for dairy-free diets.
Note: Chill longer for coconut cream mixtures to fully set.
Lemon Cheesecake with Almond Crust
Swap graham cracker crumbs for finely ground almonds mixed with butter and a touch of sugar. This crust adds a nutty flavor and crunch, giving the cheesecake a unique texture contrast.
Note: Almond crust may be more fragile; press firmly and chill well.
Mini No Bake Lemon Cheesecakes
Divide crust and filling into muffin tins lined with paper cups for individual servings. These are great for parties or portion control. Expect a faster chill time and adorable presentation.
Note: Chill 2-3 hours; remove carefully to keep shape intact.
Nutrition
Per Serving:
Nutritional values are estimates and may vary based on specific ingredients used.
Storage & Tips
Room Temperature
This cheesecake should not be left at room temperature for more than 2 hours to avoid spoilage. Keep it covered loosely with plastic wrap or a cake dome if serving shortly after removing from fridge.
Refrigerator
Store in an airtight container or cover tightly with plastic wrap in the fridge for up to 4 days. The texture remains creamy but the crust may soften slightly. Best served chilled; you can let it sit 10 minutes at room temp before serving for softer texture.
Freezer
Freeze cheesecake wrapped tightly in plastic wrap and then foil for up to 2 months. To prevent freezer burn, ensure no air pockets. Thaw overnight in the fridge before serving. The texture may be slightly less creamy after freezing but still delicious.
Reheating
No reheating needed for this no bake cheesecake. Serve chilled or at room temperature. Avoid microwaving as it will melt the filling and ruin the texture.
Make Ahead
Make the crust and filling up to 2 days ahead and refrigerate separately. Assemble and chill fully the day before serving. Add fresh berries just before serving for best presentation.
FAQ
Can I use low-fat cream cheese for this recipe?
Low-fat cream cheese tends to be more watery and less creamy, which can affect the texture and firmness of the cheesecake. For best results, use full-fat cream cheese to achieve the rich, smooth filling this recipe is known for.
How long should I chill the cheesecake before serving?
Chilling for at least 4 hours is necessary to let the filling set properly. However, I recommend chilling overnight if possible, as it improves the texture and flavor melding, making the cheesecake easier to slice and more delicious.
Can I substitute the graham cracker crust with another type?
Yes, you can use digestive biscuits, vanilla wafers, or even crushed nuts mixed with butter. Just make sure to press the crust firmly and chill well to ensure it holds together when slicing.
What if I don’t have fresh lemon juice?
Fresh lemon juice is key for the bright flavor and helps the filling set. Bottled lemon juice lacks the fresh aroma and can taste artificial, so I don’t recommend substituting it if you want the best results.
Can I make this cheesecake vegan?
Yes! Replace cream cheese with vegan cream cheese and heavy cream with chilled coconut cream. Use maple syrup instead of powdered sugar. Keep in mind the texture will be slightly different but still delicious and creamy.
How do I prevent the crust from getting soggy?
Press the crust firmly and chill it before adding the filling. This helps the butter solidify and creates a barrier to prevent sogginess. Also, avoid letting the cheesecake sit at room temperature for too long.
Can I prepare this cheesecake in advance for a party?
Absolutely! You can make the crust and filling up to 2 days ahead and keep them refrigerated separately. Assemble and chill fully the day before serving, then add fresh berries just before guests arrive.
Why is my cheesecake filling runny?
Common reasons include not whipping the cream to stiff peaks, folding too vigorously which deflates air, or not chilling long enough. Make sure to whip cream properly, fold gently, and allow enough chilling time.
Final Thoughts
I hope you enjoy this creamy no bake lemon cheesecake as much as my family does—give it a try and don’t forget to share your berry-topped creations!