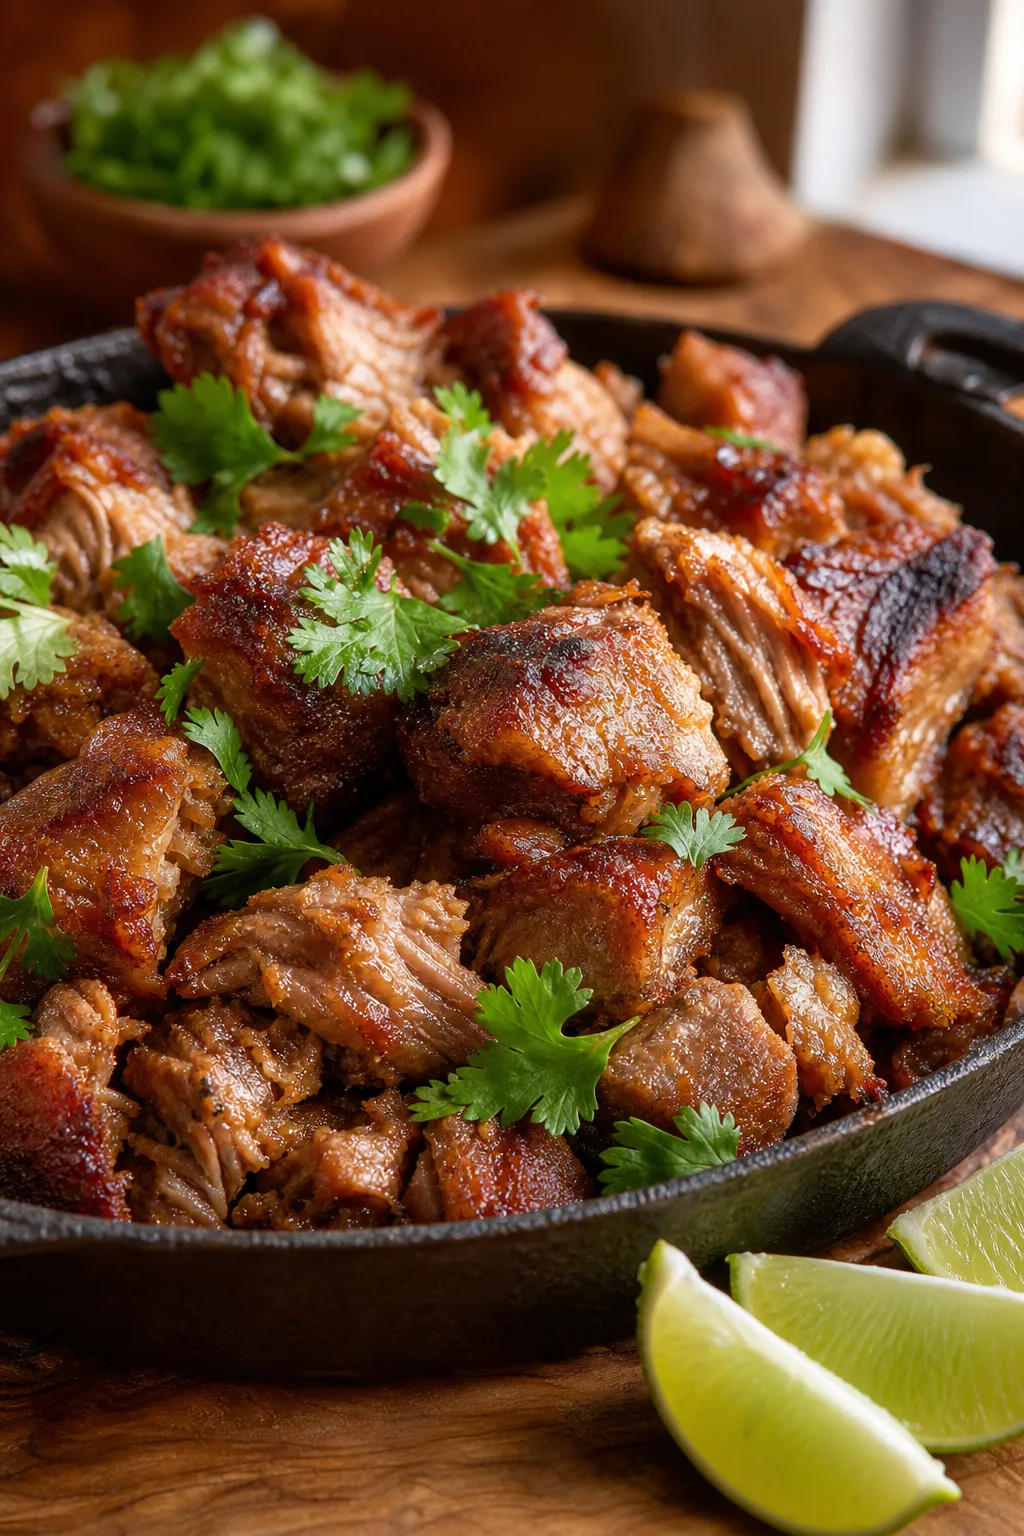
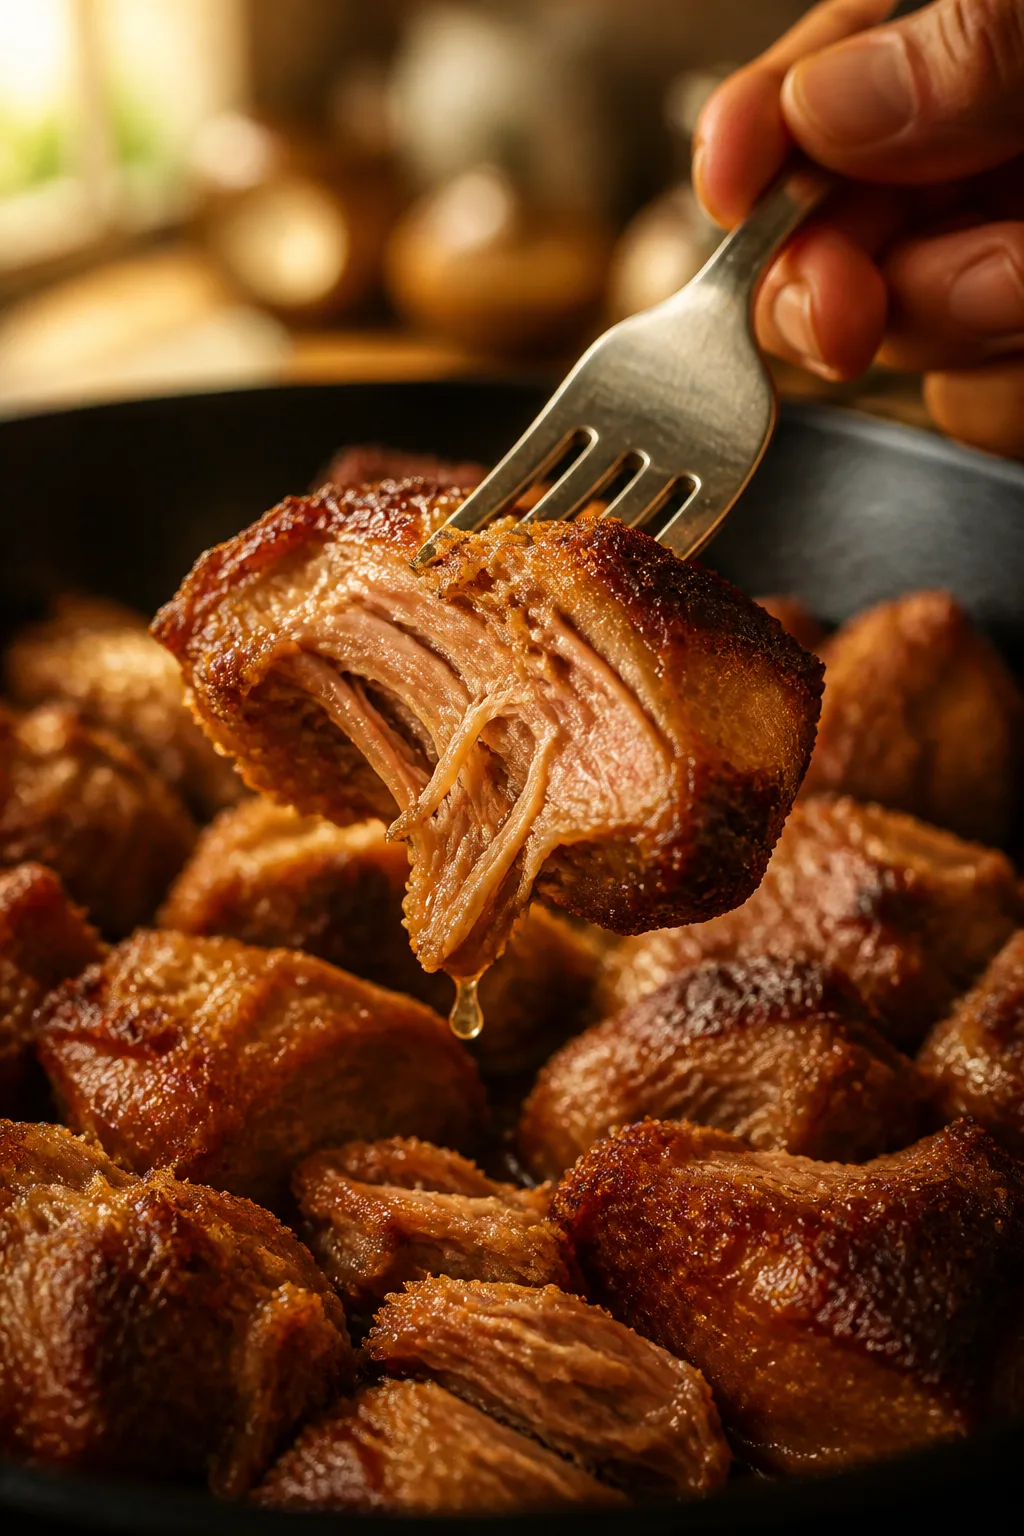
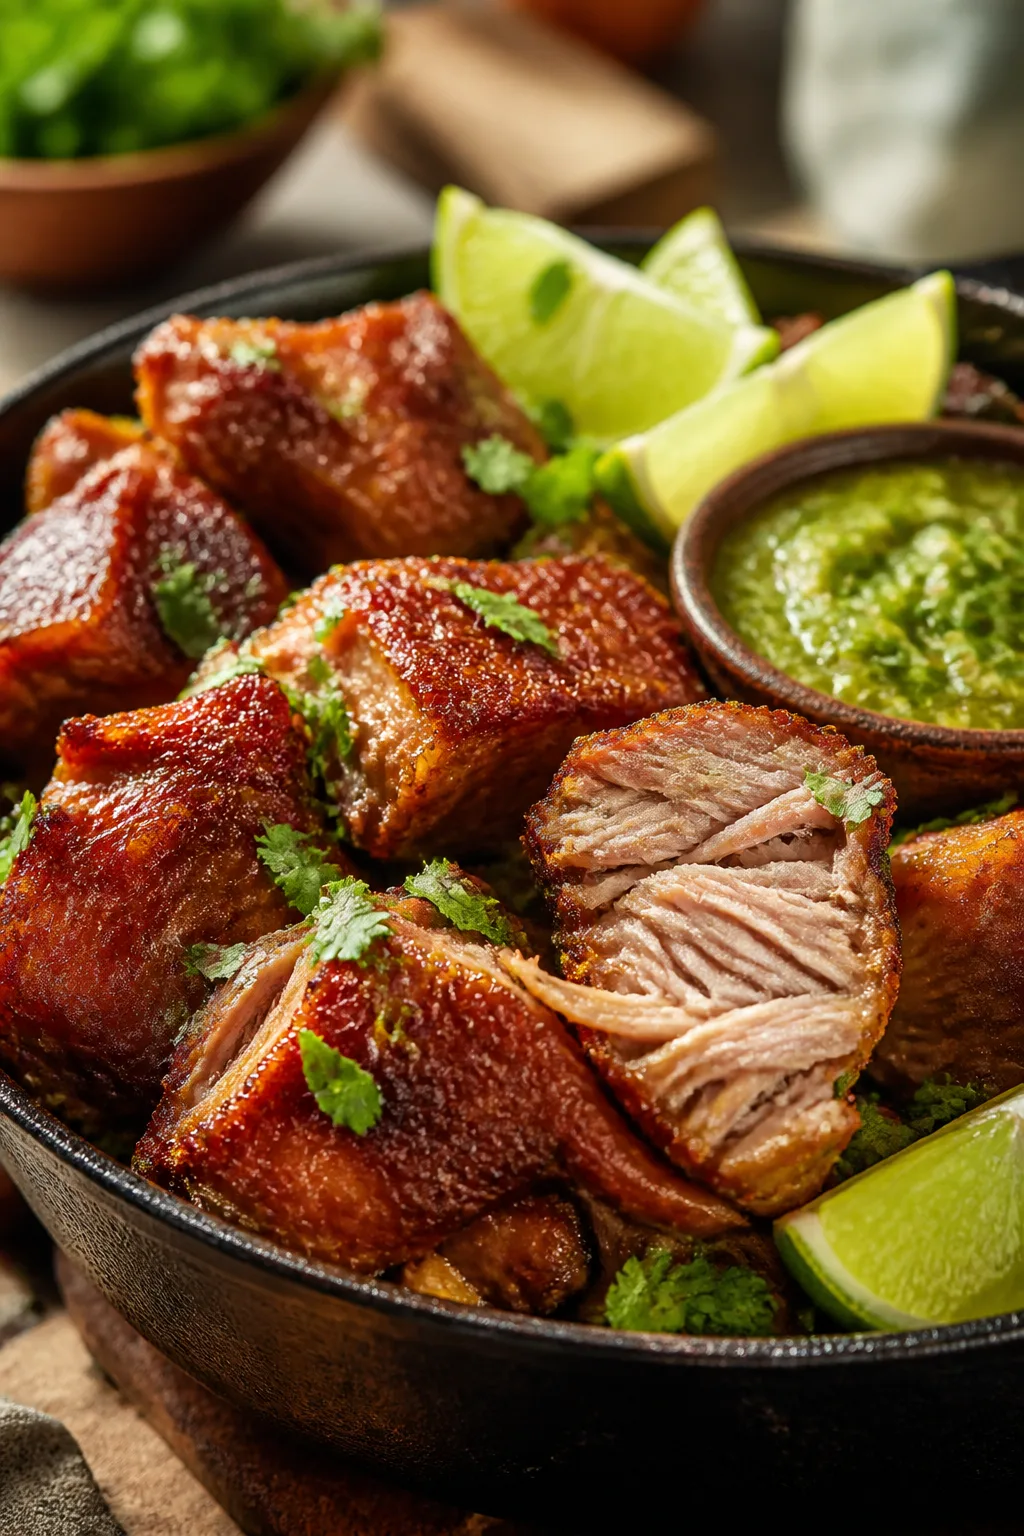
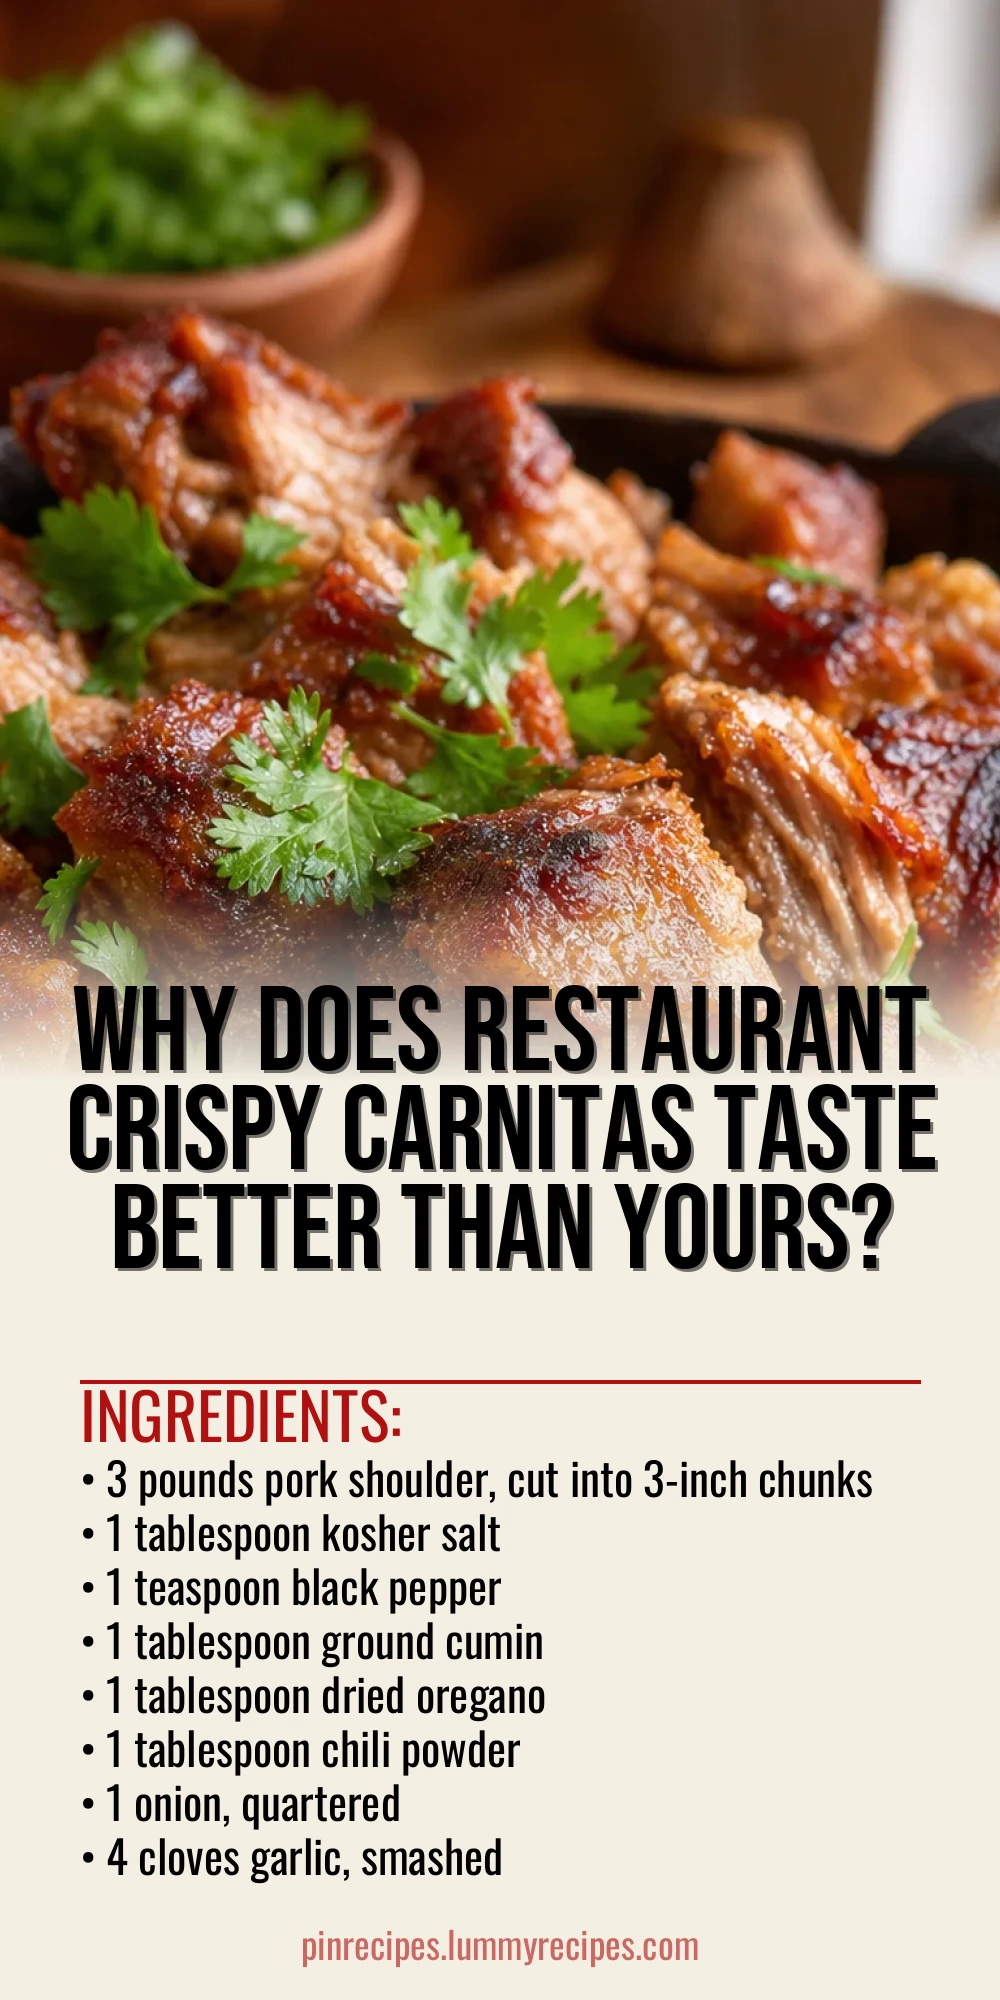
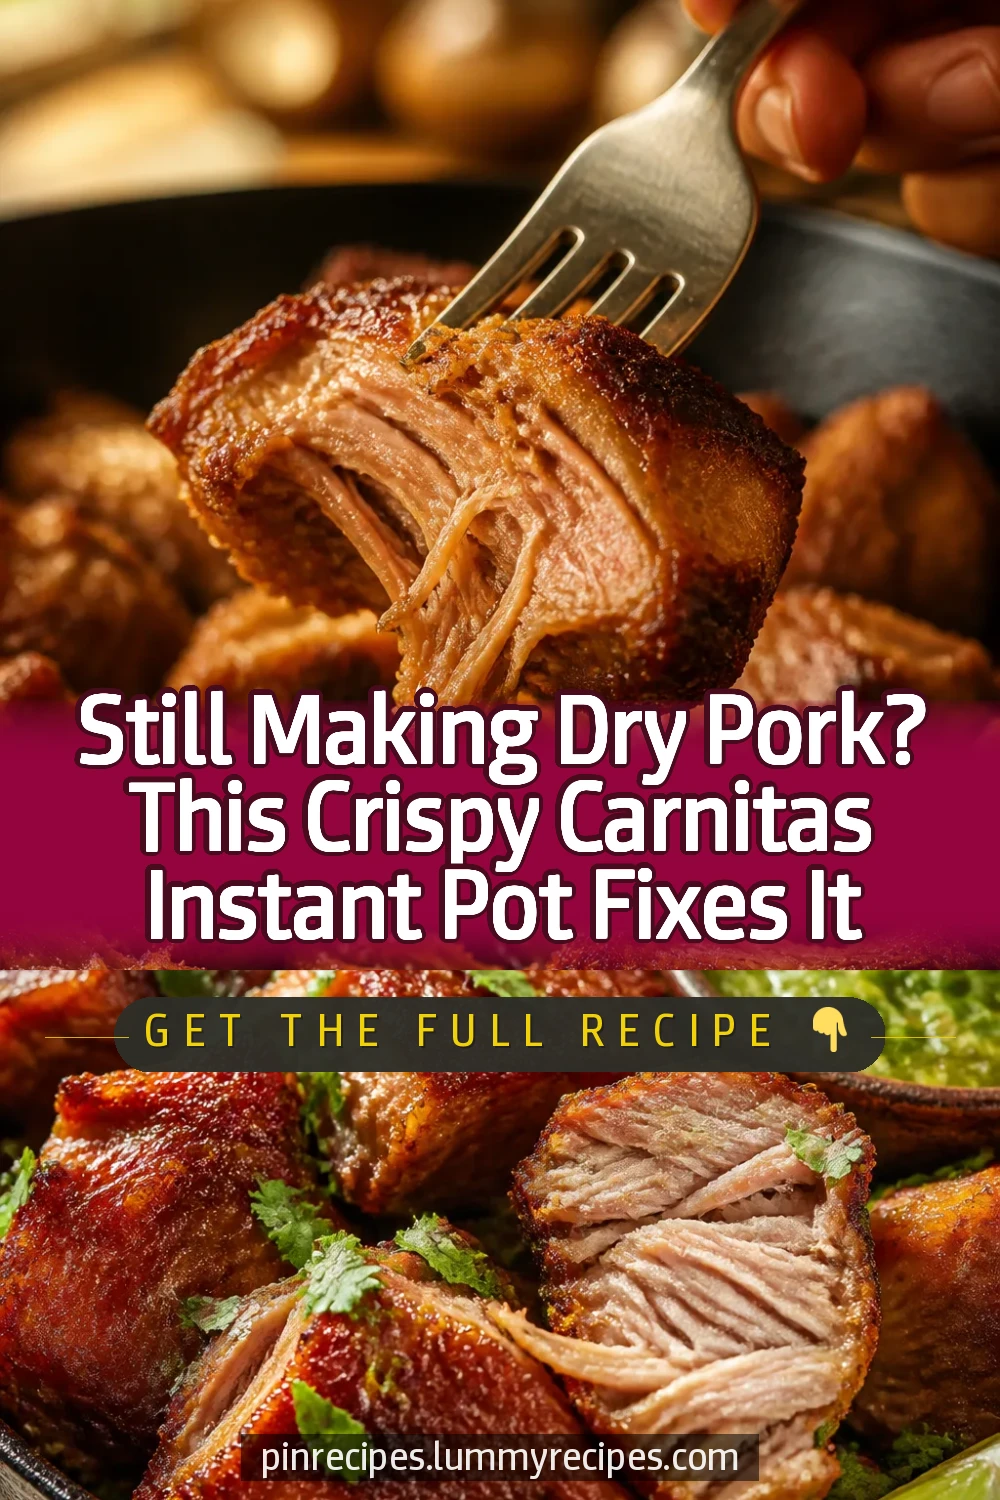
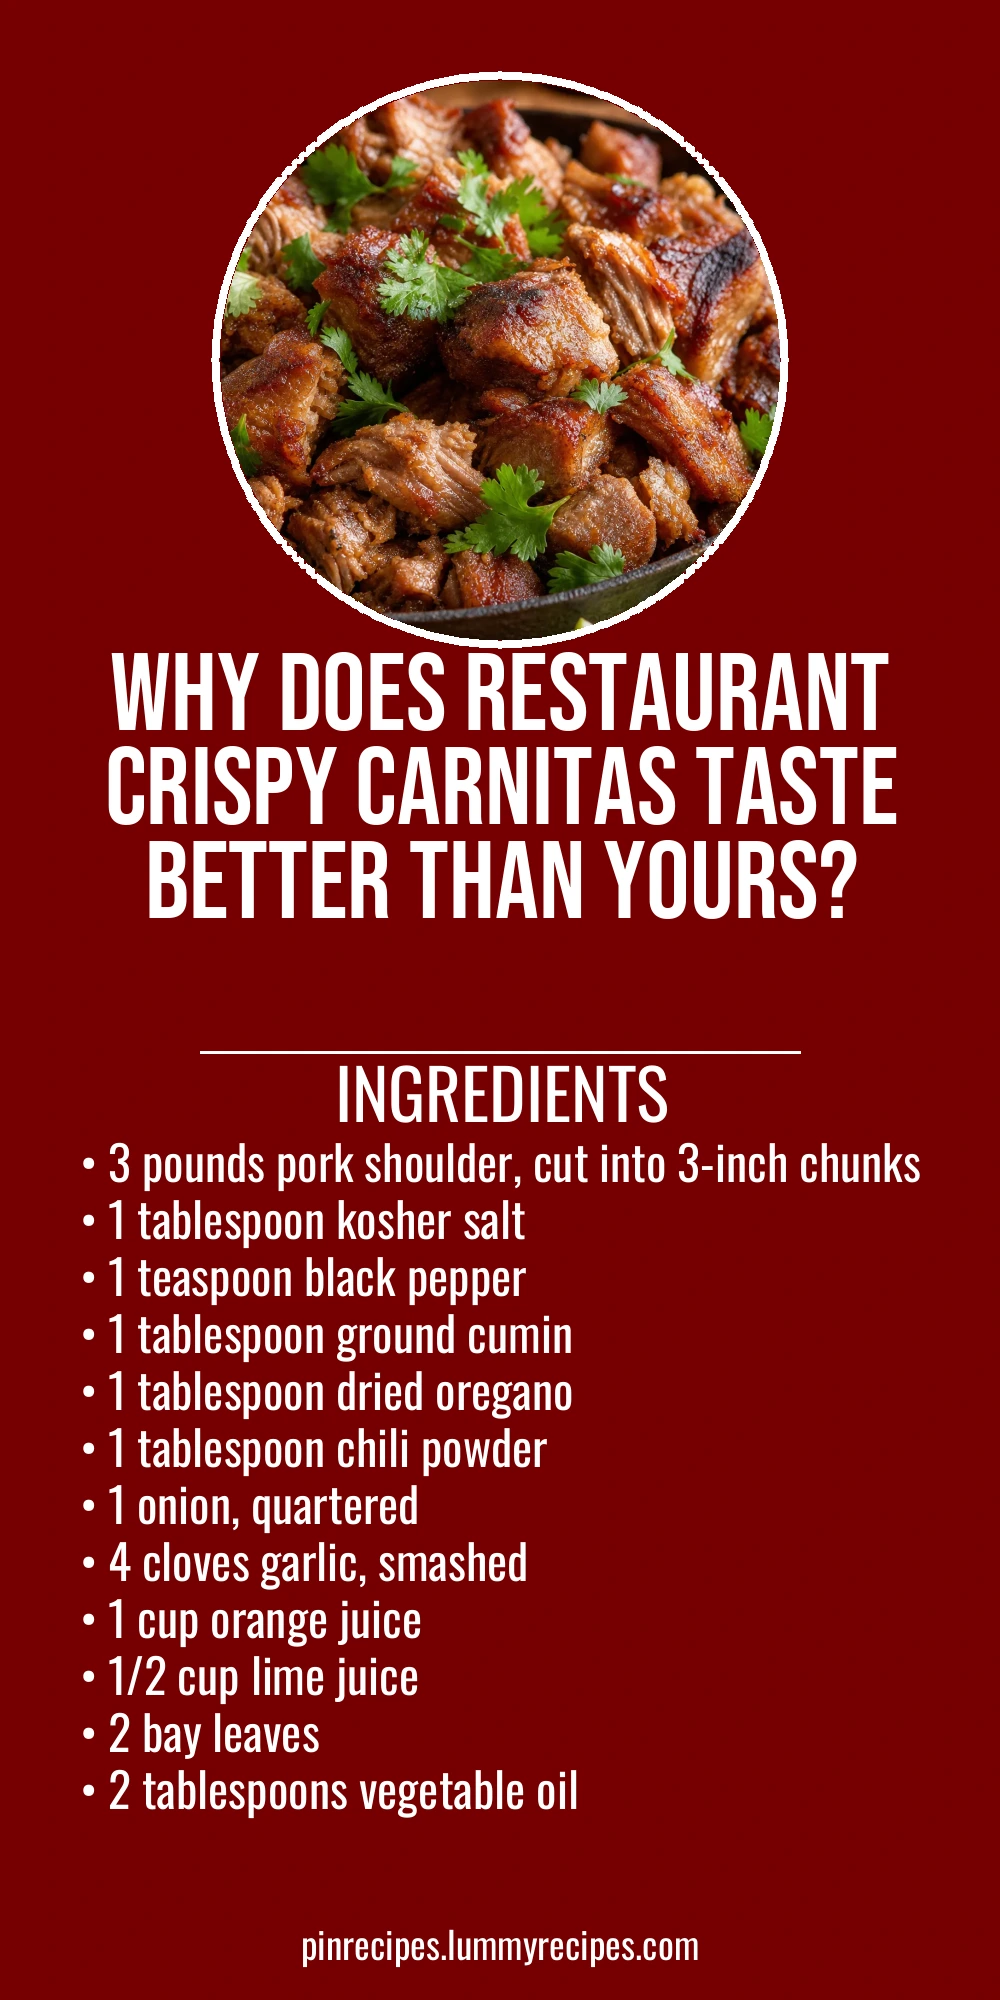
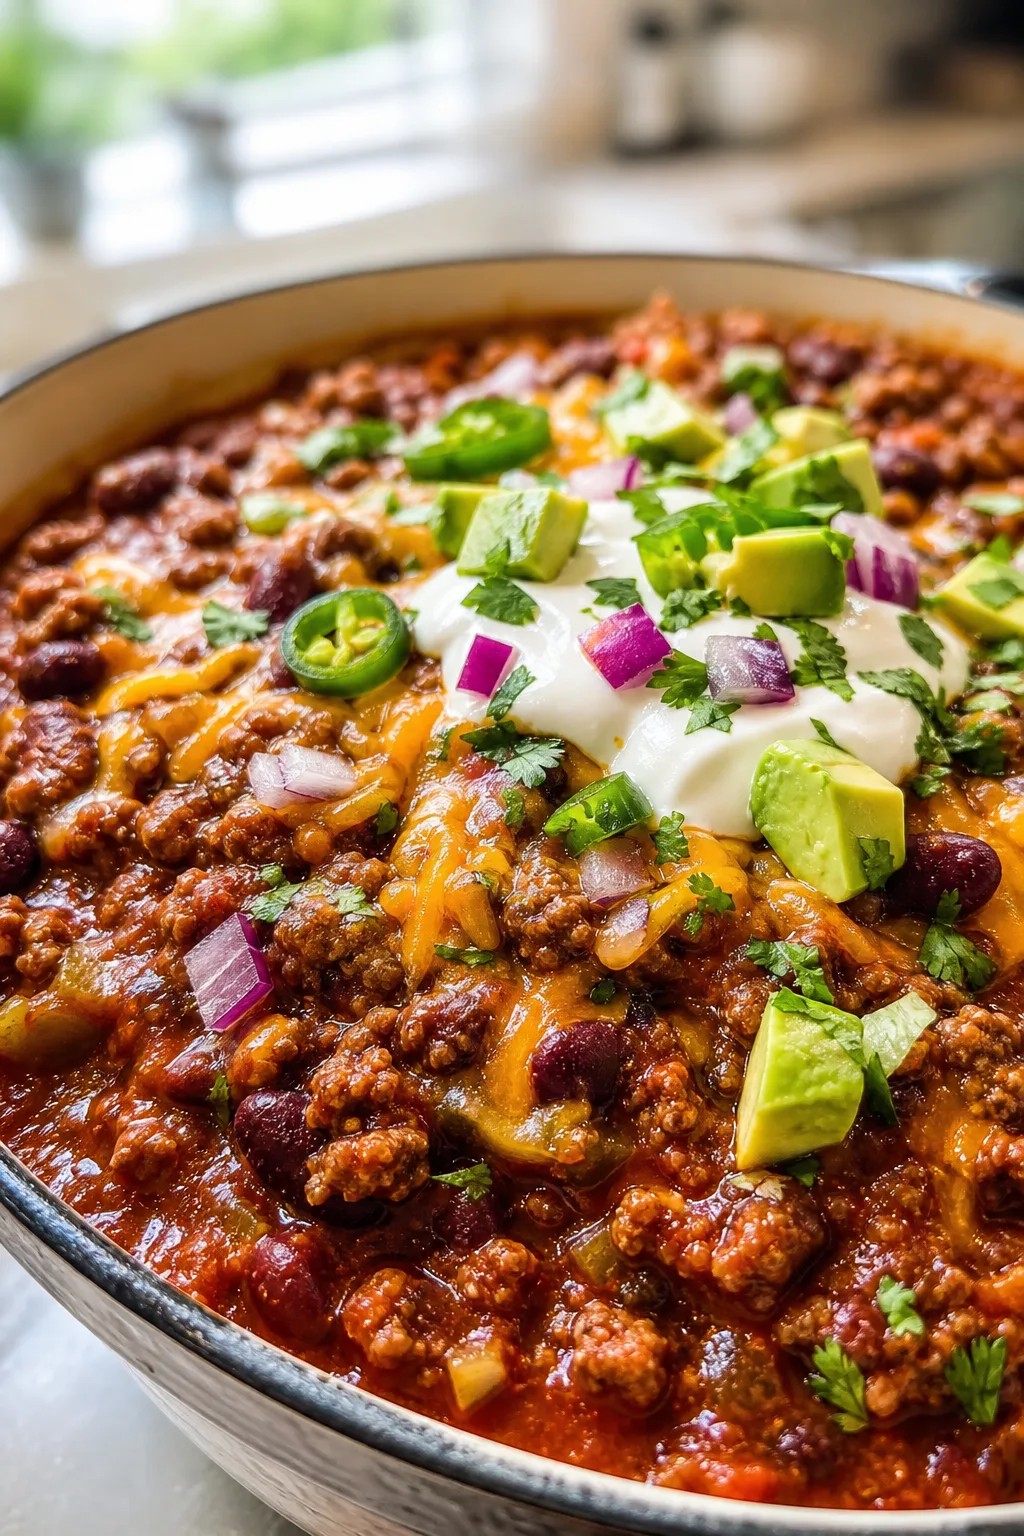
This crispy carnitas Instant Pot recipe delivers tender, juicy pork with irresistibly crispy edges every time. The secret? Pressure cooking for melt-in-your-mouth texture, then crisping under the broiler. Perfect for tacos or family dinners!
Introduction
I first made this crispy carnitas Instant Pot recipe when I was craving authentic Mexican flavors but didn’t want to spend hours slow cooking. The Instant Pot changed everything — it tenderizes the pork quickly, and finishing it under the broiler gives that perfect crispy edge that’s so addictive. What sets my version apart is the balance of spices and the citrus juices that keep the pork juicy and flavorful. I’ve learned that cutting the pork into larger chunks helps it stay moist inside while the broiler crisps the outside beautifully. The result is a juicy, tender carnitas with golden, crispy edges that are perfect for tacos, burritos, or just eating straight from the skillet. This recipe has become a family favorite for busy weeknights because it’s both easy and impressive. Plus, it’s forgiving — even if you’re new to the Instant Pot, you’ll get great results. I love how the citrus and spices brighten the rich pork flavor, making it feel fresh and comforting all at once. If you want flavorful carnitas without the fuss, this recipe is definitely for you!
How To Do It
Step 1
Start by seasoning the pork chunks generously with kosher salt, black pepper, cumin, oregano, and chili powder. Make sure to coat each piece evenly to build layers of flavor. This step is crucial because the seasoning penetrates the meat during cooking, enhancing the taste throughout. Avoid skipping or under-seasoning here, as it can lead to bland carnitas. Let the pork sit with the spices for about 10 minutes while you prepare the other ingredients.
⏱ Time: 10 minutes
✓ Doneness: Pork pieces evenly coated with dry spices, no dry spots
Step 2
Turn your Instant Pot to the sauté setting and heat the vegetable oil until shimmering. Brown the pork chunks in batches, making sure not to crowd the pot. Browning adds depth through the Maillard reaction and helps develop a rich crust that enhances flavor. If you rush this step or skip it, the carnitas won’t have that signature caramelized taste. Each batch should take about 3-4 minutes per side until golden brown. Remove the pork and set aside once browned.
⏱ Time: 15 minutes
✓ Doneness: Pork pieces browned with deep golden crust, not steamed
Step 3
Add the quartered onion and smashed garlic cloves to the Instant Pot and sauté for 2-3 minutes until softened and fragrant. This step builds the aromatic base for the cooking liquid. Stir occasionally to prevent burning. If you skip this, the carnitas may lack depth in flavor. Then, pour in the orange juice and lime juice, scraping the bottom to deglaze and lift all those tasty browned bits.
⏱ Time: 5 minutes
✓ Doneness: Onion translucent and fragrant, liquid simmering with no stuck bits
Step 4
Return the browned pork chunks to the pot, nestling them into the citrus liquid. Add the bay leaves. Seal the Instant Pot lid and set to pressure cook on high for 30 minutes. The pressure cooking tenderizes the pork quickly by breaking down connective tissue, making it melt-in-your-mouth tender. Don’t rush this step or reduce time, or the pork will be tough. Allow the natural pressure release for 15 minutes before opening.
⏱ Time: 45 minutes
✓ Doneness: Pork is fork-tender and easily pulls apart
Step 5
Carefully remove the pork chunks from the Instant Pot and place them on a rimmed baking sheet lined with foil. Spread them out evenly to allow maximum surface area for crisping. Discard bay leaves and strain the cooking liquid if desired. This step preps the pork for the final crisping and is key to getting those irresistible crunchy edges.
⏱ Time: 5 minutes
✓ Doneness: Pork pieces separated and ready for broiling
Step 6
Preheat your oven broiler to high. Place the baking sheet with pork chunks under the broiler for 5-7 minutes, watching closely. Flip the pieces halfway through to crisp all sides evenly. The broiler quickly caramelizes the edges, rendering fat and creating that signature crispy texture. Don’t walk away during this step — broilers vary and the pork can burn fast. Remove when golden and crispy.
⏱ Time: 7-10 minutes
✓ Doneness: Pork edges deeply caramelized and crispy, interior still juicy
Step 7
Transfer the crispy carnitas to a serving dish and garnish with fresh cilantro and lime wedges. These add brightness and complement the rich pork perfectly. Serve immediately with warm tortillas, salsa, and your favorite toppings. The contrast between tender inside and crispy outside is what makes this dish so special.
⏱ Time: 5 minutes
✓ Doneness: Fresh garnish added, ready to serve
Step 8
If you want to store leftovers, cool the carnitas completely before refrigerating in an airtight container. To reheat, warm gently in a skillet or oven to keep the crispiness intact. Avoid microwaving as it can make the pork soggy. This way, you’ll enjoy the same delicious texture even the next day.
⏱ Time: N/A
✓ Doneness: Leftovers reheated without losing crispiness
Step 9
For extra flavor, try spooning some of the strained cooking liquid over the carnitas before serving or mixing it into rice or beans on the side. This adds moisture and a citrusy tang that ties the whole meal together. It’s a simple trick I love for adding an extra punch of flavor.
⏱ Time: N/A
✓ Doneness: Carnitas moist and flavorful with added cooking liquid
Pro Tips
Cut pork into uniform 3-inch chunks for even cooking and crisping.
Uniform pieces ensure that all pork cooks evenly under pressure and crisp up uniformly under the broiler. If chunks vary too much in size, smaller pieces may dry out or burn while larger ones remain undercooked.
Don’t skip browning the pork before pressure cooking.
Browning creates complex flavor compounds through the Maillard reaction, building a rich crust that enhances the final taste. Skipping this results in less flavorful carnitas with a pale appearance.
Use fresh citrus juice for the best flavor and tenderizing effect.
Fresh juice contains natural acids and bright aromatics that bottled juice lacks. This acidity helps break down meat fibers, making the pork more tender and adding a fresh, vibrant note to balance the richness.
Broil the pork in a single layer and flip halfway through.
Even exposure to the broiler’s heat crisps all sides of the pork chunks. Flipping prevents burning on one side and ensures a consistent golden crust that’s crispy but not charred.
Let the Instant Pot naturally release pressure for best texture.
Natural release allows the meat’s juices to redistribute gradually, keeping the pork moist. Quick release can cause the meat to seize up and dry out.
Use a rimmed baking sheet lined with foil for easy cleanup after broiling.
The foil catches rendered fat and caramelized bits, making cleanup faster and preventing sticking. The rim prevents drips from making a mess in the oven.
Serve with fresh cilantro and lime wedges to brighten the rich pork.
Herbs and citrus add fresh flavor contrast, cutting through the pork’s richness and enhancing the overall eating experience.
Common Mistakes to Avoid
Not browning the pork before pressure cooking
Why it happens Some cooks skip browning to save time or because they’re unfamiliar with its importance, assuming pressure cooking alone is enough.
Fix Always brown pork chunks in batches before pressure cooking to develop flavor. It takes only a few extra minutes but makes a huge difference in taste and appearance.
Cutting pork pieces too small
Why it happens People may think smaller pieces cook faster or are easier to eat, but this leads to dry, overcooked meat.
Fix Cut pork into 3-inch chunks for even cooking and to retain juiciness. Larger pieces hold moisture better and crisp nicely under the broiler.
Using bottled citrus juice
Why it happens Convenience or lack of fresh fruit may lead to bottled juice use, which lacks brightness.
Fix Use freshly squeezed orange and lime juice for best flavor and tenderizing effect. It truly makes a difference in the final dish.
Broiling too close to the heat or too long
Why it happens Inexperience with broilers can cause burning instead of crisping.
Fix Place the baking sheet a safe distance from the broiler and watch closely, flipping halfway through to avoid burning and achieve even crispiness.
Reheating carnitas in the microwave
Why it happens Microwaving is quick but causes sogginess and loss of crisp texture.
Fix Reheat leftovers in a skillet or oven to maintain the crispy edges and juicy interior. Add a splash of water if needed to keep moist.
Variations
Slow Cooker Version
For those without an Instant Pot, cook the seasoned pork shoulder in a slow cooker on low for 8 hours until tender. Then transfer to a baking sheet and broil to crisp the edges. Expect a slightly different texture—more fall-apart soft but still delicious.
Note: Slow cooking yields very tender pork but requires longer time. Broiling crisping step remains essential for texture contrast.
Spicy Chipotle Carnitas
Add 1-2 chipotle peppers in adobo sauce to the cooking liquid for smoky heat. This variation adds a nice smoky depth and a spicy kick that pairs well with the citrus and cumin.
Note: Adjust chipotle quantity to taste. The peppers soften during cooking and infuse flavor evenly.
Pineapple Carnitas
Mix in 1 cup crushed pineapple with the orange juice for a tropical sweetness. The pineapple’s enzymes help tenderize the pork further and add a bright fruity note.
Note: Pineapple can speed up tenderizing; monitor texture to avoid over-softening.
Carnitas Tacos with Pickled Onions
Serve the carnitas in warm corn tortillas topped with quick-pickled red onions and fresh cilantro for a classic taco experience. The pickled onions add acidity and crunch.
Note: Pickled onions can be made ahead and stored refrigerated for up to 1 week.
Carnitas Nachos
Use the crispy carnitas as a topping for loaded nachos with melted cheese, jalapeños, and guacamole. Perfect for game day or parties.
Note: Broil the carnitas separately before adding to nachos to maintain crispiness.
Nutrition
Per Serving:
Nutritional values are estimates and may vary based on specific ingredients used.
Storage & Tips
Room Temperature
Crispy carnitas should not be left out at room temperature for more than 2 hours to avoid food safety risks. Cover loosely if serving buffet-style for short periods.
Refrigerator
Store leftovers in an airtight container in the refrigerator for up to 4 days. The pork may lose some crispiness but reheating in an oven or skillet restores texture well.
Freezer
Freeze carnitas in airtight containers or freezer bags for up to 3 months. Thaw overnight in the refrigerator before reheating. Avoid refreezing thawed pork for best quality.
Reheating
Reheat carnitas in a skillet over medium heat or in a 350°F oven until warmed through and crispy. Add a splash of water or broth if needed to prevent drying. Avoid microwaving to keep edges crisp.
Make Ahead
You can prepare the carnitas fully in the Instant Pot up to 2 days ahead, then refrigerate. Broil just before serving to crisp the edges fresh.
FAQ
Can I use pork loin instead of pork shoulder for carnitas?
Pork loin is much leaner and doesn’t have the same fat content or connective tissue as pork shoulder. This means it won’t become as tender or flavorful and can dry out during cooking. For best results, stick with pork shoulder or pork butt, which have the marbling and collagen needed for juicy, tender carnitas.
What if I don’t have an Instant Pot? Can I make this on the stove?
Yes, you can simmer the pork chunks in a covered pot with the citrus and spices on low heat for 2-3 hours until tender. Then transfer to a baking sheet and broil to crisp. The Instant Pot just speeds up the cooking process but the flavor and texture can still be achieved with slower stovetop cooking.
How do I prevent the pork from drying out during broiling?
Broil the pork in a single layer and watch closely, flipping halfway through. Keep the broiler rack a few inches from the heat source to avoid burning. The rendered fat from the pork helps keep it moist while crisping the edges.
Can I make this recipe spicier?
Absolutely! Add chopped jalapeños or chipotle peppers in adobo sauce to the cooking liquid for smoky heat. Adjust the chili powder quantity or add cayenne pepper to taste. Just be mindful not to overpower the citrus and pork flavors.
Is it necessary to brown the pork before pressure cooking?
Browning is highly recommended because it develops flavor through the Maillard reaction and improves the final color and texture. Skipping it results in less flavorful carnitas with a paler appearance.
How do I reheat leftovers without losing crispiness?
Avoid microwaving, which makes the pork soggy. Instead, reheat in a skillet over medium heat or in a 350°F oven until warmed and crispy. Adding a splash of water or broth can help keep the meat moist.
Can I freeze cooked carnitas?
Yes, cooked carnitas freeze well for up to 3 months. Store in airtight containers or freezer bags and thaw overnight in the refrigerator. Reheat as usual, crisping under the broiler or in a skillet.
What sides go well with carnitas?
Carnitas pair wonderfully with warm corn tortillas, salsa verde, pickled onions, guacamole, rice, and beans. Fresh cilantro and lime wedges add brightness that balances the rich pork.
Final Thoughts
I hope you enjoy making and sharing this crispy carnitas Instant Pot recipe as much as my family does. It’s a simple way to get tender, flavorful pork with that perfect crispy finish. Let me know how it turns out!