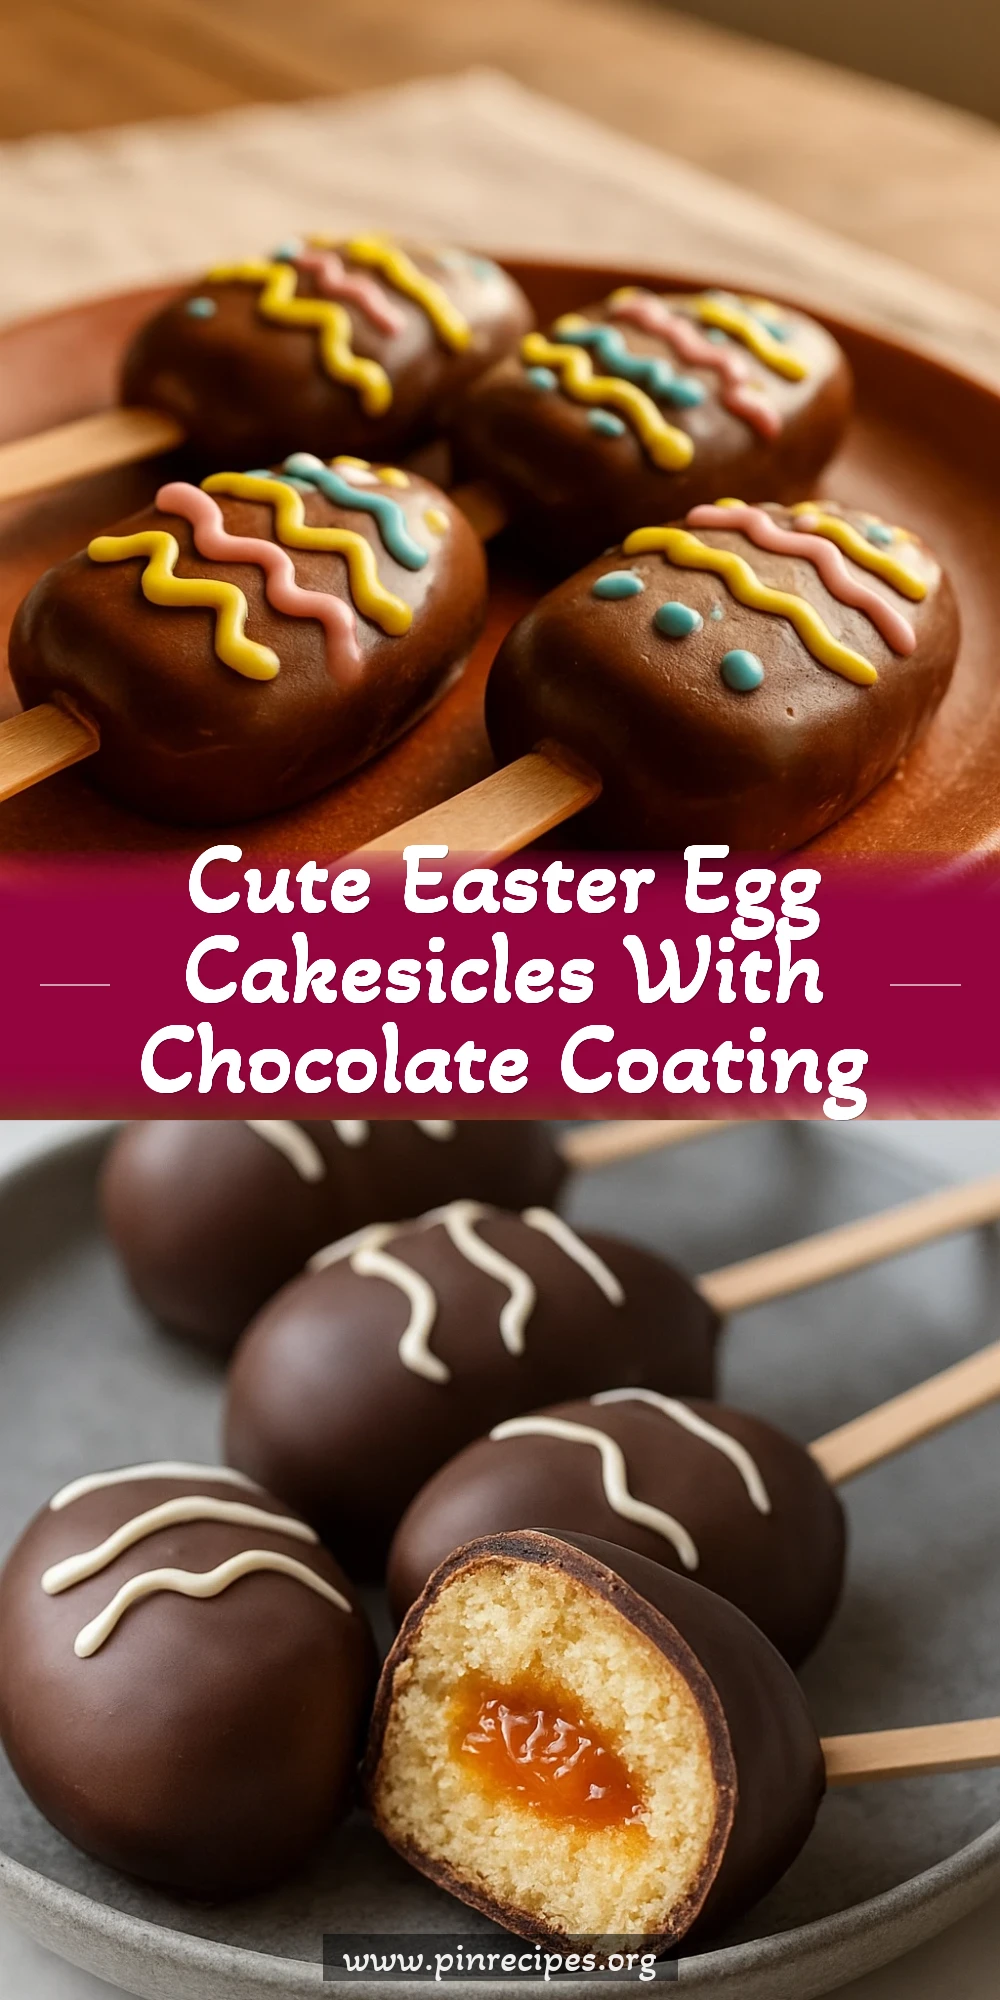
These adorable Easter egg cakesicles are a sweet treat that’s perfect for spring celebrations. Made with colorful cake and coated in rich chocolate, they’re a fun dessert for kids and adults alike!
Introduction
Easter has always been a special time for my family, filled with colorful eggs and sweet treats. A few years ago, I stumbled upon the idea of cakesicles, and it was love at first bite! These cute Easter egg cakesicles are not only visually appealing but also incredibly delicious. The trick is to use a moist vanilla cake that you can easily mold into egg shapes. Trust me, when you dip them in melted chocolate and add sprinkles, they become irresistible! They’re perfect for an Easter gathering or just a fun afternoon baking project with the kids. Plus, they look so festive on any dessert table!
What You'll Need
Approximately 12 cakesicles
- 1 box of vanilla cake mix
- 3 large eggs
- 1 cup water
- 1/3 cup vegetable oil
- 1 cup butter, softened
- 4 cups powdered sugar
- 2-3 tablespoons milk
- 1 teaspoon vanilla extract
- 12 oz chocolate chips, melted
- Sprinkles for decoration
How To Do It
Step 1
Start by preheating your oven to 350°F (175°C). In a large mixing bowl, combine the cake mix, eggs, water, and vegetable oil. Use a hand mixer to blend until smooth, about 2 minutes. This step is crucial because the batter needs to be well-mixed to ensure an even texture in your cakes. If you under-mix, you might end up with lumps in your cake, which can affect the final result. Pour the batter into a greased 9x13 inch baking pan and bake for 20-25 minutes, until a toothpick inserted in the center comes out clean.
⏱ Time: 20-25 minutes
✓ Doneness: The top should be golden brown and a toothpick should come out clean.
Step 2
Once the cake is baked, allow it to cool completely in the pan for about 15 minutes, then transfer it to a wire rack to cool completely. Cooling is essential because if you try to mold the cake while it's warm, it will crumble and fall apart. You want it to be firm enough to hold its shape when you start molding the cakesicles. After cooling, crumble the cake into a large bowl until it resembles fine crumbs.
⏱ Time: 15 minutes
✓ Doneness: The cake should be completely cool to the touch.
Step 3
In a separate bowl, prepare the frosting by mixing the softened butter with powdered sugar, milk, and vanilla extract until smooth. This frosting will act as a binder for your cake crumbs. The key is to add the milk gradually; you want a thick yet spreadable consistency. If it’s too runny, your cakesicles won’t hold together well. Once mixed, add about 1 cup of the frosting to the crumbled cake and mix until fully incorporated. The mixture should be moist enough to hold together when you press it.
⏱ Time: 5 minutes
✓ Doneness: The mixture should hold its shape when pressed together.
Step 4
Now, it’s time to mold the cakesicles! Use a silicone egg mold or a popsicle mold to shape your cakesicles. Take a small amount of the cake mixture and press it firmly into the mold, making sure to fill each cavity completely. The pressing is important because it ensures that your cakesicles will hold their shape when removed. If they’re too loose, they might break apart. Insert a lollipop stick into each mold and freeze for at least 2 hours, or until solid.
⏱ Time: 2 hours
✓ Doneness: The cakesicles should be firm to the touch.
Step 5
Once the cakesicles are frozen, carefully remove them from the mold. If they’re sticking, you can gently wiggle the mold or run warm water over the outside for a few seconds. Now, melt the chocolate chips in a microwave-safe bowl, heating in 30-second intervals and stirring until smooth. This step is key; if the chocolate is too hot, it can cause the cakesicles to melt. You want it to be warm and pourable.
⏱ Time: 3-5 minutes
✓ Doneness: The chocolate should be smooth and shiny.
Step 6
Dip each cakesicle into the melted chocolate, ensuring it’s fully coated. Allow any excess chocolate to drip off. This chocolate coating not only adds flavor but also helps seal in the moisture of the cake. If you want a thicker coating, you can dip them twice. After dipping, immediately sprinkle with colorful sprinkles to add a festive touch! The chocolate should still be warm enough for the sprinkles to stick, so work quickly.
⏱ Time: 10 minutes
✓ Doneness: The chocolate should be fully coating the cakesicles.
Step 7
Place the decorated cakesicles on a parchment-lined baking sheet to set. You can refrigerate them for about 15 minutes to help the chocolate harden faster. The final result should be a beautifully coated cakesicle that’s firm to the touch. Once set, they’re ready to be enjoyed! These cakesicles are not just cute; they’re a delightful combination of moist cake and rich chocolate that everyone will love. Plus, they make for a great centerpiece at any Easter celebration!
⏱ Time: 15 minutes
✓ Doneness: The chocolate should be completely set and firm.
Pro Tips
Use a silicone mold for easy removal.
Silicone molds are flexible, making it easier to pop out the cakesicles without breaking them. If you use a rigid mold, you might risk damaging the shape when trying to remove them.
Let the cake cool completely before crumbling.
If the cake is still warm, it will crumble unevenly and may not hold together when you mold it. Cooling it completely ensures a better texture and structure for your cakesicles.
Don’t rush the chocolate melting process.
Melting chocolate too quickly can cause it to seize or burn. By melting it slowly in intervals, you maintain a smooth consistency that’s perfect for dipping.
Experiment with different cake flavors.
While vanilla is classic, you can use chocolate, red velvet, or even lemon cake for a fun twist. Just remember that the frosting flavor should complement the cake for the best results.
Keep the dipped cakesicles in the fridge to set.
Chilling them helps the chocolate harden faster and prevents any melting. This way, you can enjoy them sooner without worrying about messy hands!
Common Mistakes to Avoid
Not allowing the cake to cool completely.
Why it happens Many people are eager to start molding but don’t realize that warm cake can crumble and fall apart.
Fix Always let the cake cool in the pan for at least 15 minutes, then transfer it to a wire rack until completely cool before crumbling.
Over-mixing the cake batter.
Why it happens It’s tempting to mix until perfectly smooth, but over-mixing can lead to a dense cake.
Fix Mix just until the ingredients are combined, and then stop. This will help keep your cake light and fluffy.
Using too much frosting.
Why it happens It’s easy to add more frosting thinking it will help hold the cake together, but too much can make it overly sweet and mushy.
Fix Start with a cup of frosting and add more only if necessary. The mixture should be moist but not wet.
Not letting the chocolate cool slightly before dipping.
Why it happens Dipping into hot chocolate can cause the cakesicles to melt or lose shape.
Fix Allow the melted chocolate to sit for a few minutes until it’s warm but not hot before dipping.
Variations
Chocolate Cake Version
Swap out the vanilla cake mix for chocolate cake mix for a richer flavor. This variation pairs perfectly with dark chocolate coating and can be decorated with chocolate sprinkles for an indulgent treat.
Note: Ensure the chocolate coating is slightly warmer to help it adhere to the denser chocolate cake.
Lemon Zest Cakesicles
Add lemon zest to the cake batter for a refreshing twist. This bright flavor pairs beautifully with white chocolate coating and can be topped with lemon-flavored sprinkles.
Note: Reduce the amount of frosting slightly to balance the moisture from the lemon zest.
Nutty Surprise
Incorporate finely chopped nuts into the cake mixture for added texture and flavor. Almonds or walnuts work particularly well and add a delightful crunch.
Note: Be careful not to add too many nuts, as they can affect the binding of the cake mixture.
Red Velvet Cakesicles
Use red velvet cake mix for a festive look and flavor. Pair with cream cheese frosting for an extra special treat that’s perfect for any celebration.
Note: Ensure the cream cheese frosting is well-blended to avoid lumps when mixing with the cake crumbs.
Nutrition
Per Serving:
Nutritional values are estimates and may vary based on specific ingredients used.
Storage & Tips
Room Temperature
Cakesicles can be kept at room temperature for up to 2 hours. Make sure to cover them with plastic wrap to prevent drying out.
Refrigerator
Store in an airtight container in the refrigerator for up to 5 days. They can be enjoyed cold, but the chocolate coating may lose some shine.
Freezer
You can freeze cakesicles for up to 3 months. Wrap them individually in plastic wrap and then in foil to prevent freezer burn.
Reheating
Reheating is not necessary, but if you prefer them slightly warm, you can let them sit at room temperature for a few minutes before enjoying.
Make Ahead
You can prepare the cakesicles up to a day in advance. Just mold them and freeze, then dip in chocolate the day of serving for the best texture.
FAQ
Can I use a different type of cake mix?
Absolutely! You can experiment with different flavors like chocolate, lemon, or even funfetti. Just make sure the frosting complements the flavor to keep everything balanced.
What if I don’t have a silicone mold?
If you don’t have a silicone mold, you can use a regular popsicle mold or even shape the cakesicles by hand. Just make sure to chill them well to hold their shape.
How do I store leftover cakesicles?
Store any leftover cakesicles in an airtight container in the fridge for up to 5 days. They can also be frozen for longer storage, just remember to wrap them well.
Can I make these cakesicles gluten-free?
Yes! Simply use a gluten-free cake mix and ensure that all other ingredients, like chocolate chips and sprinkles, are gluten-free as well.
What’s the best way to melt chocolate?
The best way to melt chocolate is to use a microwave in short bursts, stirring in between. Alternatively, you can use a double boiler to gently melt it without burning.
Final Thoughts
I hope you give these cute Easter egg cakesicles a try! They’re not only delicious but also a fun project to do with family. Don’t forget to share your creations!