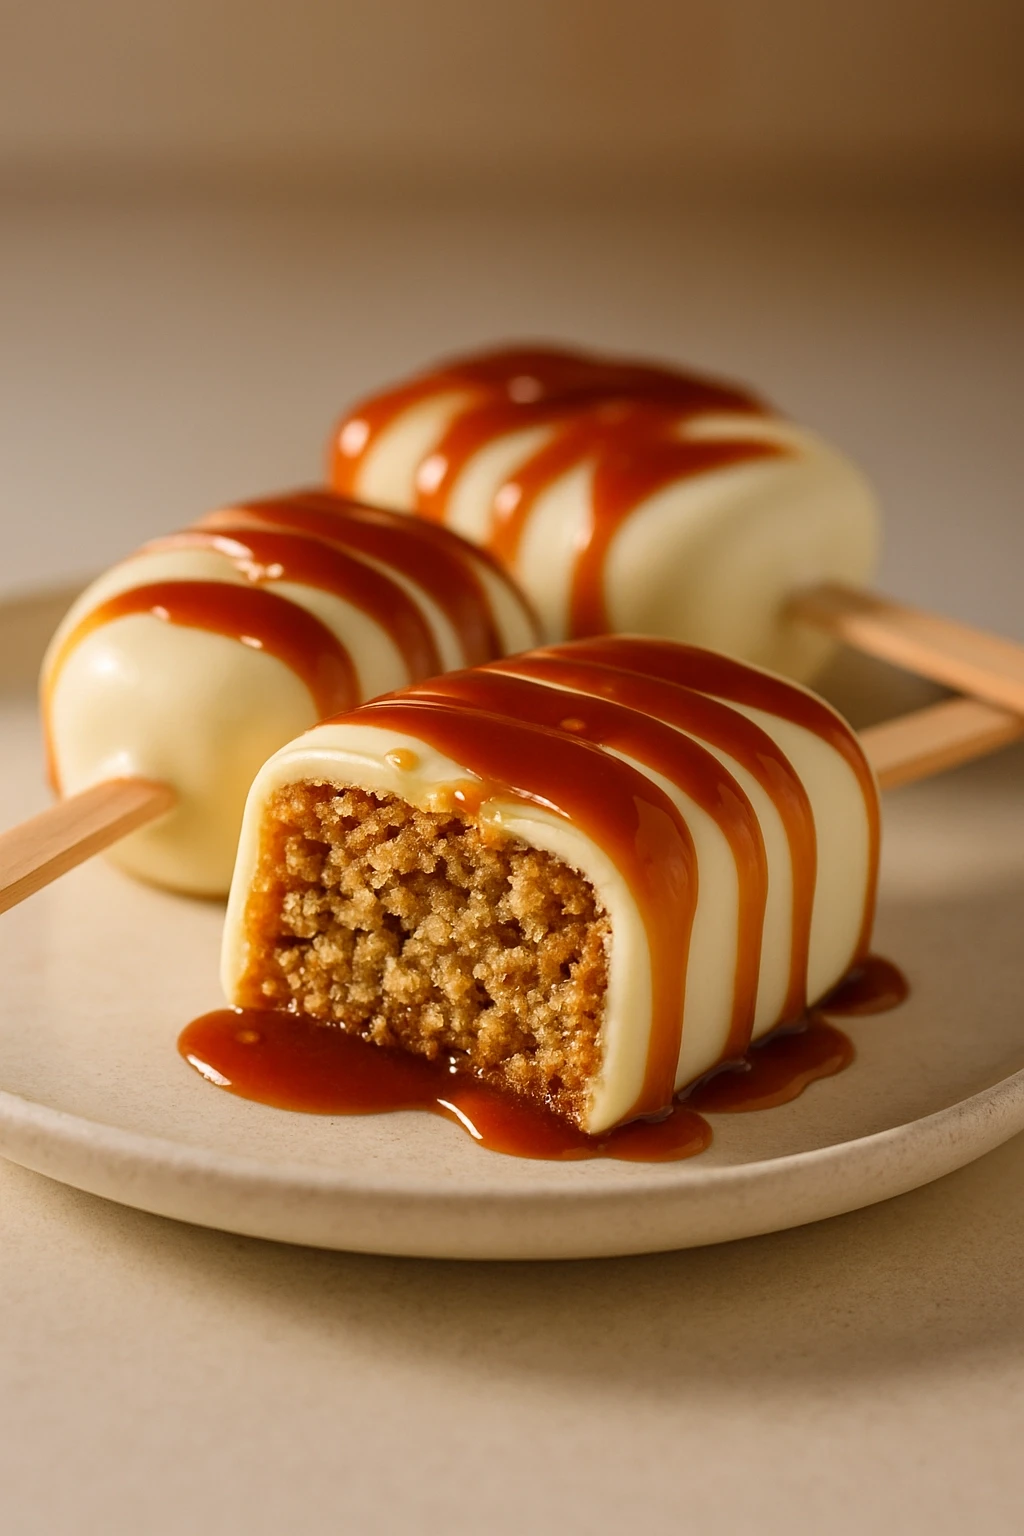
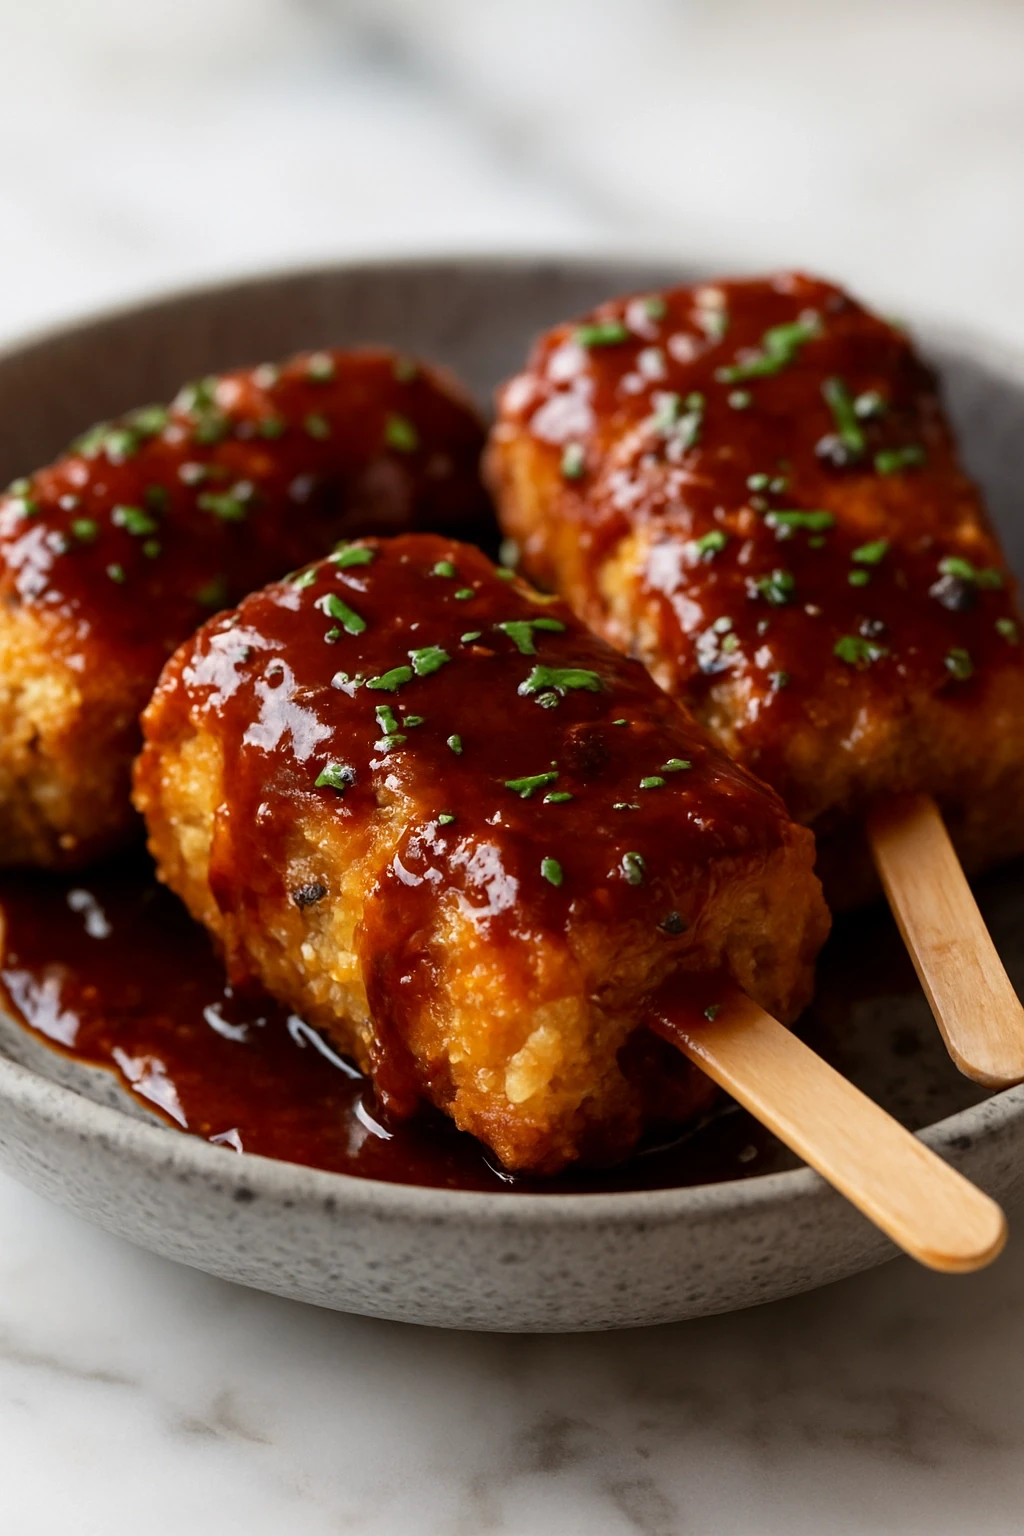
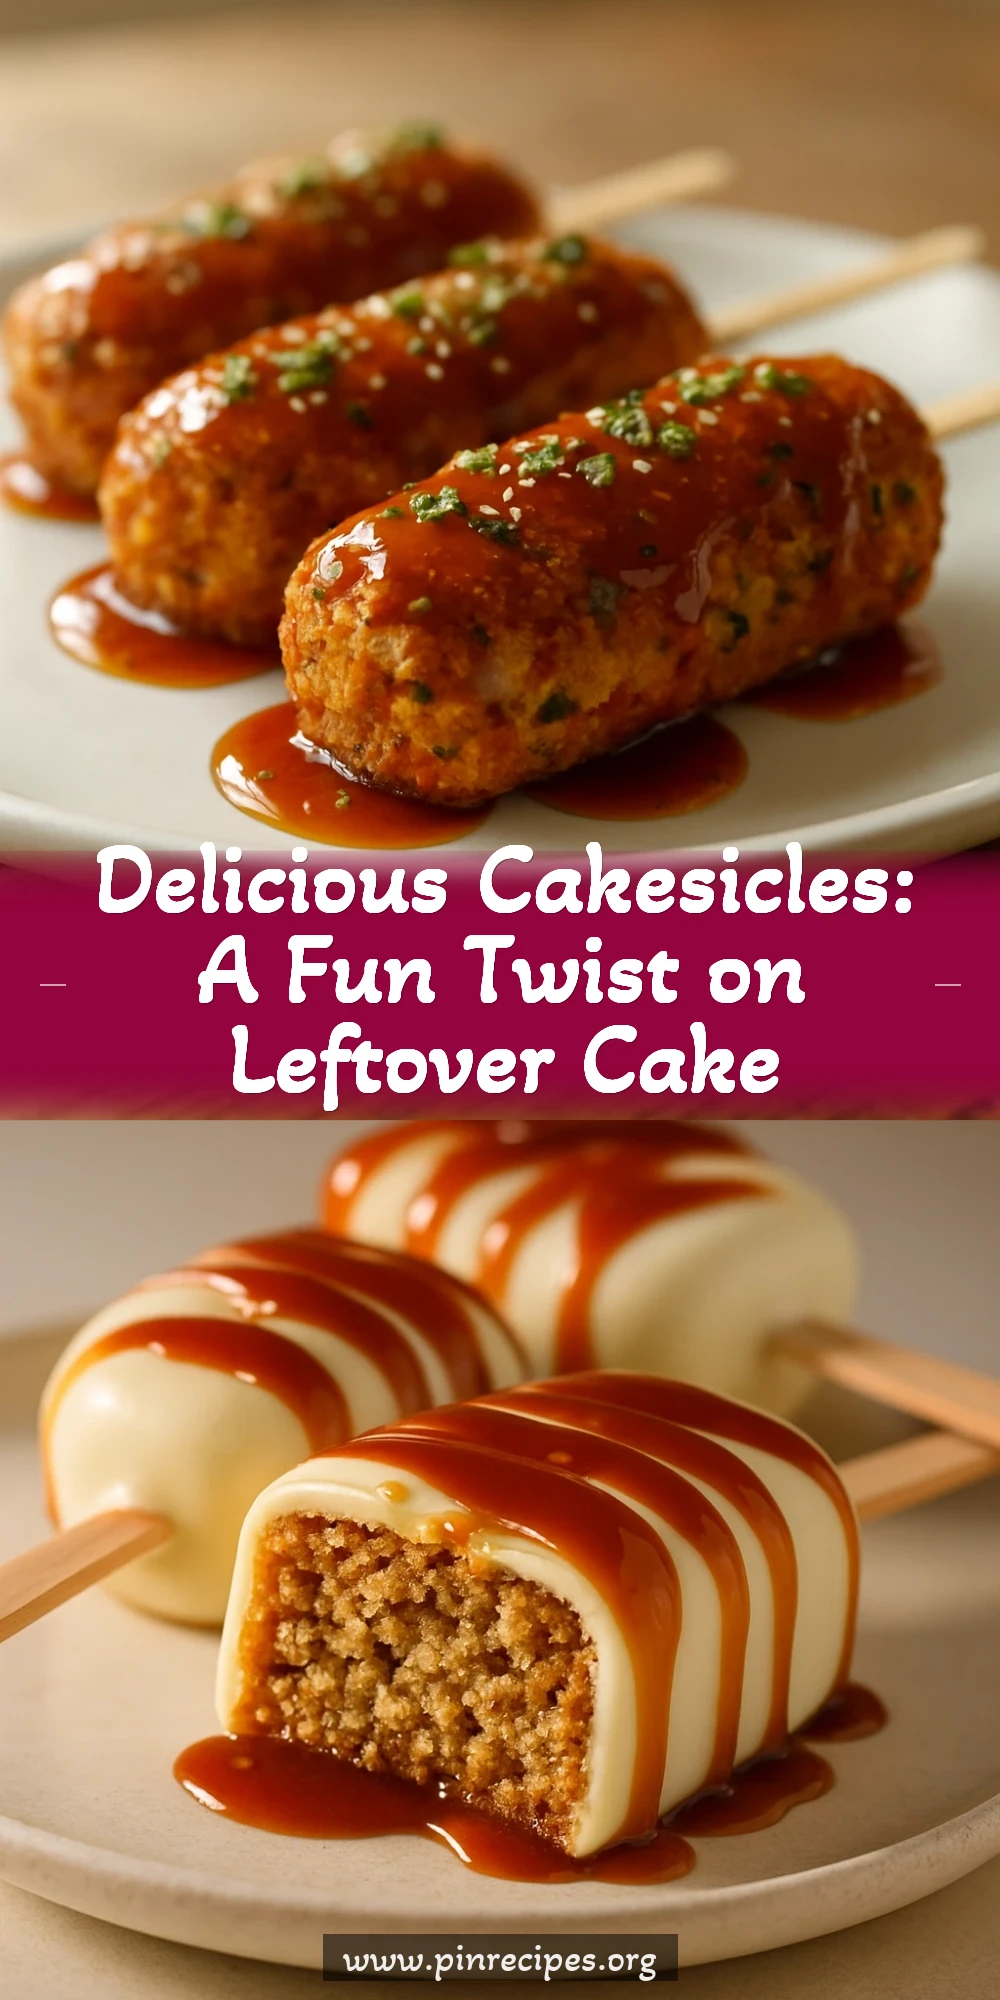
These cakesicles are a delightful way to use leftover cake scraps. Dipped in chocolate and customizable with toppings, they're perfect for parties or a sweet treat any time!
Introduction
I have a soft spot for desserts that are not only delicious but also resourceful. A while back, I found myself with leftover cake scraps from a birthday party, and instead of letting them go to waste, I decided to get creative. That’s when I stumbled upon the idea of cakesicles! They’re essentially cake pops but in a fun, bar-like shape. The best part? You can customize them with any frosting and toppings you have on hand. Trust me, these treats are not just easy to make; they’re also a hit at any gathering. They come out looking adorable and taste even better than they look! Plus, they’re perfect for using up those cake remnants that would otherwise sit in the fridge.
What You'll Need
Approximately 8 cakesicles
- 2 cups leftover cake scraps, crumbled
- 1/2 cup frosting (your choice)
- 1 cup chocolate chips, melted
- Sprinkles or toppings of choice
How To Do It
Step 1
Start by crumbling your leftover cake scraps into a large mixing bowl. The key here is to ensure that the cake is broken down into fine crumbs, which will help it bind together with the frosting. If the pieces are too large, your cakesicles might not hold their shape. Mix in the frosting gradually until the mixture is moist but not overly sticky. You want it to hold together when pressed. This step is crucial because the right consistency will ensure your cakesicles don’t fall apart later.
⏱ Time: 5 minutes
✓ Doneness: The mixture should hold together when pressed into a ball.
Step 2
Using your hands, take about two tablespoons of the cake mixture and shape it into a bar or oval. Insert a popsicle stick into each cakesicle, ensuring it goes in about halfway. This is where the fun begins—don’t worry about making them perfect! Just focus on getting them all roughly the same size. If you find the mixture is too crumbly, you can add a bit more frosting to help it stick. This step is essential for achieving that classic cakesicle look.
⏱ Time: 10 minutes
✓ Doneness: Each cakesicle should be firm enough to stand upright without wobbling.
Step 3
Once shaped, place your cakesicles on a baking sheet lined with parchment paper and pop them in the freezer for about 15-20 minutes. This step helps them firm up before dipping, making the coating process smoother. If you skip this, you might end up with a messy situation when trying to dip them in chocolate. You’ll know they’re ready when they feel solid to the touch and hold their shape well.
⏱ Time: 20 minutes
✓ Doneness: Cakesicles should be firm and hold their shape when touched.
Step 4
While the cakesicles are chilling, melt your chocolate chips in a microwave-safe bowl. Heat in 30-second intervals, stirring in between until smooth. This method prevents the chocolate from burning, which is a common mistake. If your chocolate is too thick, you can add a teaspoon of vegetable oil to thin it out. You want a nice, smooth consistency for an even coating.
⏱ Time: 5 minutes
✓ Doneness: Chocolate should be completely smooth and pourable.
Step 5
Remove the cakesicles from the freezer and dip each one into the melted chocolate, ensuring they’re fully coated. Allow any excess chocolate to drip off before placing them back on the parchment paper. If you want to add sprinkles or other toppings, do this while the chocolate is still wet so they stick properly. This step is where the fun really happens—feel free to get creative with your toppings!
⏱ Time: 10 minutes
✓ Doneness: Chocolate should be evenly coated and toppings should adhere well.
Step 6
After dipping, place the cakesicles back into the freezer for another 10 minutes to let the chocolate set completely. This ensures that the coating hardens nicely, giving you that satisfying crunch when you bite into them. If you’re in a hurry, you can let them sit at room temperature, but the freezer method is much quicker and more effective. You’ll know they’re ready when the chocolate is firm to the touch.
⏱ Time: 10 minutes
✓ Doneness: Chocolate coating should be hard and not sticky.
Step 7
Once set, serve your cakesicles immediately or store them in an airtight container in the fridge. They can last up to a week, but I doubt they'll stick around that long! If you want to serve them at a later date, you can freeze them for up to a month. Just make sure to wrap them well to prevent freezer burn. This step is important for keeping them fresh and tasty.
⏱ Time: 5 minutes
✓ Doneness: Cakesicles should be stored properly to maintain quality.
Pro Tips
Use a mix of cake flavors for variety.
Combining different cake flavors can create a more exciting taste experience. For instance, mixing vanilla and chocolate scraps can yield a delightful surprise in every bite.
Chill the cakesicles before dipping.
Chilling them helps prevent the cakesicles from falling apart during the dipping process. If they're too warm, they may crumble, leading to a messy coating.
Add a splash of flavoring to the chocolate.
Incorporating a bit of vanilla extract or flavored oil into your melted chocolate can elevate the overall taste. It adds an extra layer of flavor that complements the cakesicles beautifully.
Experiment with various toppings.
Using different toppings like nuts, coconut, or crushed cookies can add texture and flavor contrast. This not only makes them visually appealing but also adds a fun crunch.
Make sure the popsicle sticks are secure.
If the sticks aren’t inserted deep enough, they can come out when you’re dipping. Ensure they’re halfway in to provide stability during the coating process.
Use a double boiler for melting chocolate.
This method allows for gentle heating, reducing the risk of burning the chocolate. It ensures a smooth, glossy finish that’s perfect for dipping.
Store cakesicles in a single layer.
To prevent them from sticking together and ruining the coating, store them in a single layer in an airtight container. This keeps them looking and tasting fresh.
Common Mistakes to Avoid
Not chilling the cakesicles before dipping.
Why it happens Many people skip this step thinking it won't make a difference, but it’s crucial for maintaining shape.
Fix Always chill your shaped cakesicles in the freezer for at least 20 minutes before dipping to ensure they hold their form.
Overheating the chocolate.
Why it happens Chocolate can easily burn if heated too quickly, leading to a gritty texture.
Fix Melt chocolate in short intervals and stir frequently to maintain a smooth consistency.
Using too much frosting.
Why it happens It’s tempting to add more frosting for moisture, but too much can lead to overly sweet cakesicles.
Fix Start with the recommended amount and adjust gradually, ensuring the mixture binds without becoming too sticky.
Not using quality chocolate.
Why it happens Some may opt for cheaper chocolate, thinking it won’t matter, but it affects flavor and texture.
Fix Always choose high-quality chocolate chips for the best melting and flavor results.
Variations
Chocolate-Dipped Cakesicles
For a richer flavor, use dark chocolate for dipping instead of milk chocolate. This adds a slight bitterness that balances the sweetness of the cake.
Note: Dark chocolate may require slightly longer to melt smoothly, so keep an eye on it to avoid burning.
Fruit-Infused Cakesicles
Mix in pieces of dried fruit like cranberries or apricots into the cake mixture for added texture and flavor. It creates a delightful contrast and a chewy bite.
Note: Dried fruit can absorb moisture, so ensure the cake mixture is slightly more moist to compensate.
Nutty Cakesicles
Fold in crushed nuts like almonds or walnuts into the cake mixture for an extra crunch. This adds a nutty flavor that pairs wonderfully with chocolate.
Note: Be cautious with the amount of nuts; too many can alter the binding consistency of the cakesicles.
Decorative Cakesicles
After dipping, drizzle contrasting chocolate over the top for a decorative touch. This makes them look extra special for parties or gatherings.
Note: Use a piping bag for precise drizzling to create beautiful patterns.
Nutrition
Per Serving:
Nutritional values are estimates and may vary based on specific ingredients used.
Storage & Tips
Room Temperature
Cakesicles can be kept at room temperature for up to 2 hours but should be stored in a cool place to prevent melting.
Refrigerator
Store in an airtight container in the fridge for up to 1 week. They’ll be a bit firmer when cold, but still tasty!
Freezer
You can freeze cakesicles for up to 3 months. Wrap them individually in plastic wrap and then place them in a freezer bag to prevent freezer burn.
Reheating
No reheating is necessary, but if you prefer them a bit softer, let them sit at room temperature for 10-15 minutes before enjoying.
Make Ahead
You can prepare the cakesicles up to 2 days in advance. Shape and freeze them, then dip in chocolate on the day you plan to serve.
FAQ
Can I use any type of cake for this recipe?
Absolutely! This recipe is versatile, so feel free to use any leftover cake you have. Just keep in mind that different flavors will give you different results, so mix and match as you like.
What if my cakesicles are too crumbly?
If your mixture is too crumbly, it likely needs more frosting. Add a little at a time until it holds together well when pressed. The right balance is key to achieving the perfect texture.
How can I make these cakesicles more festive?
For a festive touch, consider using colored chocolate or adding seasonal sprinkles. You can also shape them into holiday-themed designs using cookie cutters before freezing.
Can I make these vegan?
Yes! Use a vegan cake and frosting, and ensure the chocolate chips are dairy-free. This way, you can enjoy cakesicles that everyone can indulge in!
How do I know when the chocolate is melted correctly?
Melted chocolate should be smooth and glossy, without any lumps. If it looks thick or has a grainy texture, it may have overheated. Stir it well, and if it’s still not smooth, you may need to start over.
Final Thoughts
I hope you give these cakesicles a try! They’re a fantastic way to use up leftover cake and add a touch of fun to your dessert table. Don’t forget to share your creations!