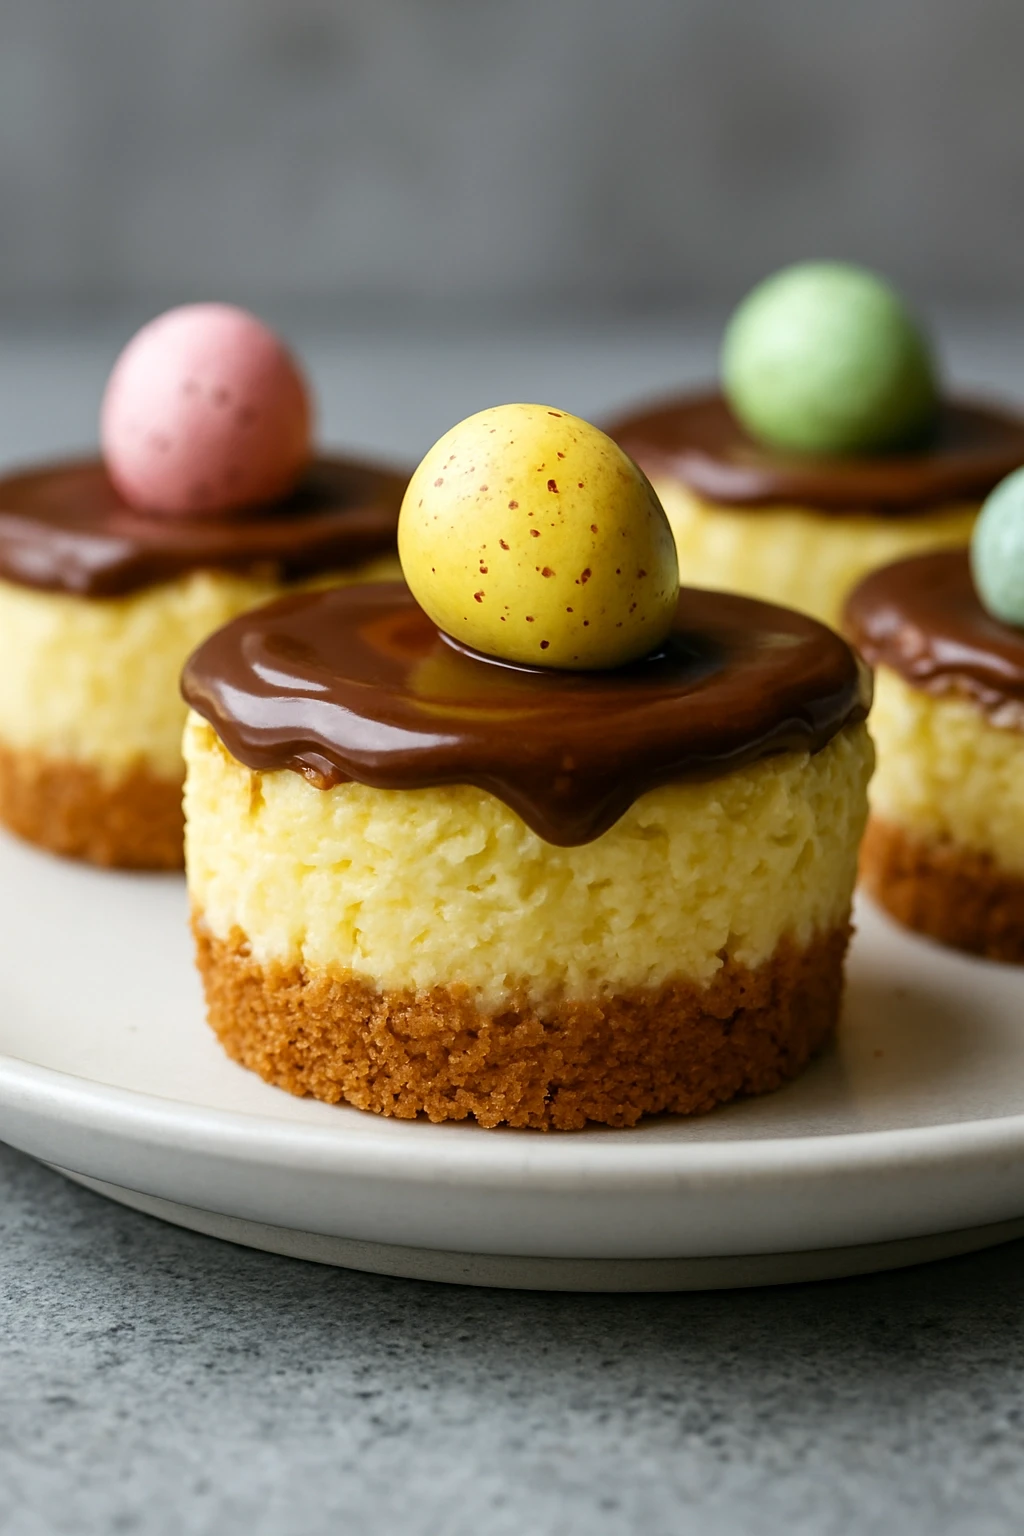
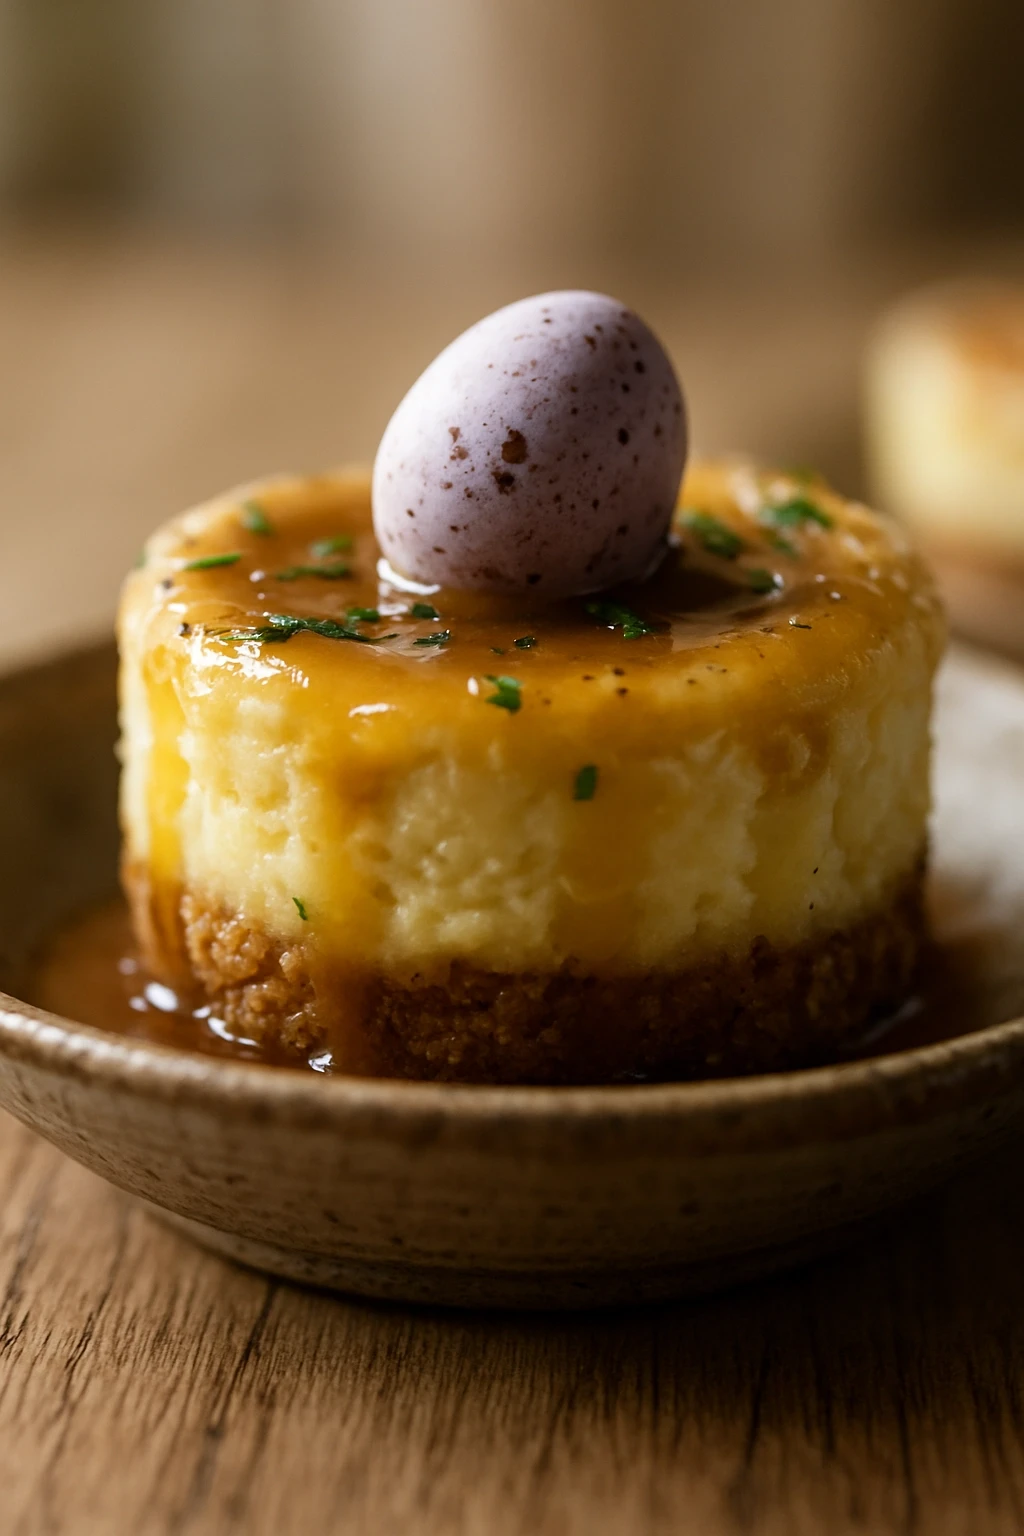
These mini cheesecakes are a delightful treat for Easter gatherings. With a creamy filling and topped with colorful chocolate eggs, they’re sure to impress your guests!
Introduction
I first made these Mini Easter Egg Cheesecakes a few years ago for a family gathering, and they've quickly become a springtime favorite. The combination of creamy cheesecake with a crunchy graham cracker crust is simply irresistible. What makes this version special is the use of sour cream, which adds a rich tanginess that balances the sweetness perfectly. Plus, the colorful chocolate eggs on top make them a festive centerpiece for any Easter table. Trust me, the moment you take a bite, you'll be hooked on their creamy texture and delightful flavors!
How To Do It
Step 1
Preheat your oven to 325°F (160°C). This step is crucial because a stable and consistent temperature helps the cheesecakes bake evenly without cracking. While the oven heats, prepare your muffin tin by lining it with paper liners or greasing it well. This ensures the cheesecakes come out smoothly after baking. If you skip this step, you might end up with a messy cleanup and broken cheesecakes.
⏱ Time: 5 minutes
✓ Doneness: The oven should be fully preheated before you start baking.
Step 2
In a medium bowl, combine the graham cracker crumbs and melted butter. Mix until the crumbs are fully coated and resemble wet sand. This mixture forms the base of your cheesecakes, providing a delicious crunch. Press the mixture firmly into the bottom of each muffin liner to create a solid crust. If the crust is too crumbly, it won’t hold together after baking, so make sure to pack it tightly.
⏱ Time: 5 minutes
✓ Doneness: The crust should feel firm and hold its shape when pressed.
Step 3
In a large mixing bowl, beat the softened cream cheese with an electric mixer until smooth and creamy. This step is essential because it helps to eliminate any lumps, ensuring a velvety texture in your cheesecakes. Gradually add the powdered sugar and vanilla extract, mixing until fully combined. If you add the sugar too quickly, it may not incorporate well, leading to a grainy texture.
⏱ Time: 3 minutes
✓ Doneness: The mixture should be smooth and free from lumps.
Step 4
Add the eggs, one at a time, mixing on low speed after each addition. This prevents the eggs from overmixing, which can introduce too much air and cause cracks during baking. After incorporating the eggs, add the sour cream and mix until just combined. The sour cream adds a delightful tang that balances the sweetness, making these cheesecakes incredibly flavorful. Overmixing at this stage can lead to a dense texture, so be gentle.
⏱ Time: 4 minutes
✓ Doneness: The batter should be smooth and creamy without any visible lumps.
Step 5
Spoon the cheesecake batter over the prepared crusts, filling each muffin liner about three-quarters full. This allows room for the cheesecakes to rise slightly without overflowing. If you overfill them, you’ll end up with a messy oven. Gently tap the muffin tin on the counter to remove any air bubbles trapped in the batter, ensuring a smooth finish.
⏱ Time: 5 minutes
✓ Doneness: The batter should be level and smooth across the tops.
Step 6
Bake the cheesecakes in the preheated oven for 20-25 minutes, or until the edges are set but the center still has a slight jiggle. This is the sweet spot; if you overbake them, they will become dry. Keep an eye on them towards the end of the baking time. Once done, turn off the oven and leave the cheesecakes inside for an additional 10 minutes to cool gradually, which helps prevent cracking.
⏱ Time: 25 minutes
✓ Doneness: The edges should be firm, while the center appears slightly wobbly.
Step 7
Remove the cheesecakes from the oven and let them cool at room temperature for about 30 minutes before transferring them to the refrigerator. Chill for at least 2 hours, or overnight if possible. This chilling time allows the flavors to meld beautifully and firms up the texture. If you skip this step, the cheesecakes may not set properly and could turn out too soft.
⏱ Time: 2 hours
✓ Doneness: The cheesecakes should feel firm to the touch and hold their shape.
Step 8
Before serving, top each cheesecake with a few mini chocolate eggs for a festive touch. This not only adds a pop of color but also a delightful crunch. You can get creative with the toppings too—try crushed cookies or fresh fruit! If you want to make them extra special, drizzle some melted chocolate over the top. Just be careful not to overload them; you want to keep the balance of flavors.
⏱ Time: 5 minutes
✓ Doneness: The cheesecakes should look inviting and colorful with toppings.
Pro Tips
Always use room temperature ingredients.
Room temperature ingredients blend more easily, creating a smoother batter. Cold cream cheese or eggs can result in lumps, so take them out of the fridge ahead of time to ensure a creamy texture.
Don’t skip the chilling time.
Chilling the cheesecakes allows them to set properly and enhances their flavor. If you serve them too soon, they may be too soft and lose that perfect cheesecake texture.
Use a water bath for extra creaminess.
Baking cheesecakes in a water bath creates a moist environment, reducing the chance of cracks. It helps them bake evenly and stay creamy, so consider wrapping your muffin tin in foil and placing it in a larger pan filled with hot water.
Tap the muffin tin before baking.
Tapping releases any air bubbles that may have formed in the batter. This simple step can help prevent cracks and ensure a smooth, even surface on your cheesecakes.
Experiment with toppings.
Toppings not only add visual appeal but also enhance flavor and texture. Try different combinations like fresh fruit, chocolate ganache, or even a sprinkle of sea salt for a gourmet touch.
Common Mistakes to Avoid
Overmixing the batter.
Why it happens Many cooks think that mixing longer will yield a smoother batter, but this can lead to air bubbles and cracks.
Fix Mix just until combined, especially after adding the eggs. Stop as soon as you no longer see streaks of cream cheese for a perfect cheesecake.
Not preheating the oven.
Why it happens Some might think it’s okay to skip preheating, but this can lead to uneven baking.
Fix Always preheat your oven to the correct temperature before placing your cheesecakes inside to ensure they bake evenly and set properly.
Skipping the cooling step.
Why it happens Impatience can lead to cutting corners, but this step is crucial for preventing cracks.
Fix Leave the cheesecakes in the oven with the door slightly ajar for 10 minutes after baking, then transfer to a cooling rack to avoid sudden temperature changes.
Using cold ingredients.
Why it happens It's easy to forget to take ingredients out ahead of time, but cold ingredients can cause lumps.
Fix Plan ahead and let your cream cheese and eggs sit at room temperature for at least 30 minutes before mixing to achieve a smooth batter.
Variations
Chocolate Mini Cheesecakes
Add 1/2 cup of melted chocolate to the batter for a rich chocolate flavor. Top with chocolate shavings for an extra treat.
Note: Ensure the melted chocolate is slightly cooled before adding it to the batter to prevent curdling.
Berry Swirl Cheesecakes
Fold in a swirl of berry puree made from blended strawberries or raspberries into the batter before baking for a fruity twist.
Note: Be gentle when swirling to maintain the marbled effect; overmixing will blend the colors.
Lemon Zest Mini Cheesecakes
Add the zest of one lemon to the batter for a refreshing citrus flavor. Top with a lemon glaze for added zing.
Note: Adjust the sugar slightly if using lemon, as it can enhance the sweetness of the cheesecake.
Nutty Crust Variation
Substitute half of the graham cracker crumbs with finely chopped nuts for a crunchy, nutty flavor in the crust.
Note: Watch the baking time, as nut-based crusts may brown faster than traditional graham cracker crusts.
Nutrition
Per Serving:
Nutritional values are estimates and may vary based on specific ingredients used.
Storage & Tips
Room Temperature
These mini cheesecakes can safely stay at room temperature for up to 2 hours. If you're serving them outside, keep them cool to maintain their texture.
Refrigerator
Store in an airtight container in the fridge for up to 5 days. The flavors will deepen, but the texture may become slightly softer over time.
Freezer
You can freeze these cheesecakes for up to 3 months. Wrap each cheesecake individually in plastic wrap and then in foil to prevent freezer burn.
Reheating
These cheesecakes are best served cold. If you want to enjoy them slightly warmed, let them sit at room temperature for about 15 minutes before serving.
Make Ahead
You can prepare the crust and batter a day in advance. Assemble everything and bake the day of serving for the freshest taste.
FAQ
Can I use low-fat cream cheese?
Yes, you can use low-fat cream cheese, but it may affect the richness and texture of the cheesecake. Full-fat cream cheese yields the best results, providing a creamier filling, while low-fat options can result in a slightly drier texture.
How do I know when the cheesecakes are done?
The cheesecakes are done when the edges are set but the center still jiggles slightly. This ensures they’ll firm up as they cool. Overbaking can lead to a dry texture, so keep an eye on them during the last few minutes.
Can I make these cheesecakes without eggs?
Yes, you can substitute eggs with flax eggs or unsweetened applesauce for a vegan version. Keep in mind that the texture may vary slightly, but they should still set well.
What can I use instead of graham cracker crumbs?
You can use crushed cookies like Oreos or digestive biscuits for the crust. Just ensure they are finely crushed and mixed with melted butter for the best texture.
How long do these cheesecakes last in the fridge?
They can last up to 5 days in the refrigerator when stored in an airtight container. However, for the best flavor and texture, I recommend enjoying them within the first few days.
Final Thoughts
I hope you give these Mini Easter Egg Cheesecakes a try! They’re a delightful addition to any spring celebration, and I’d love to hear how they turn out for you.