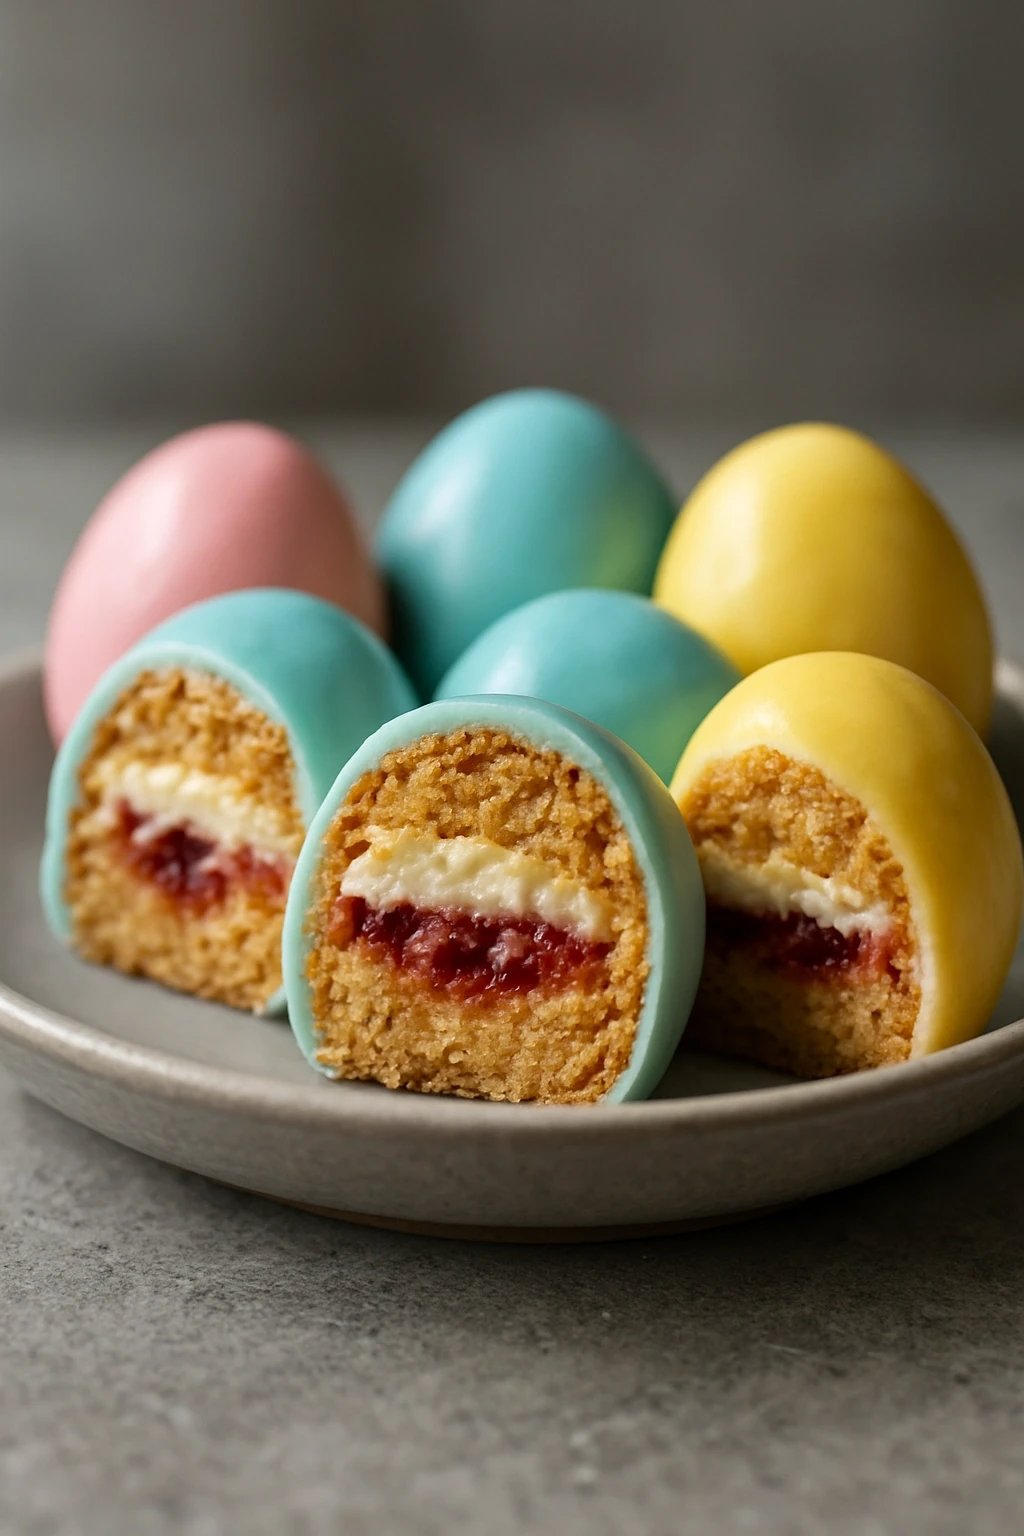
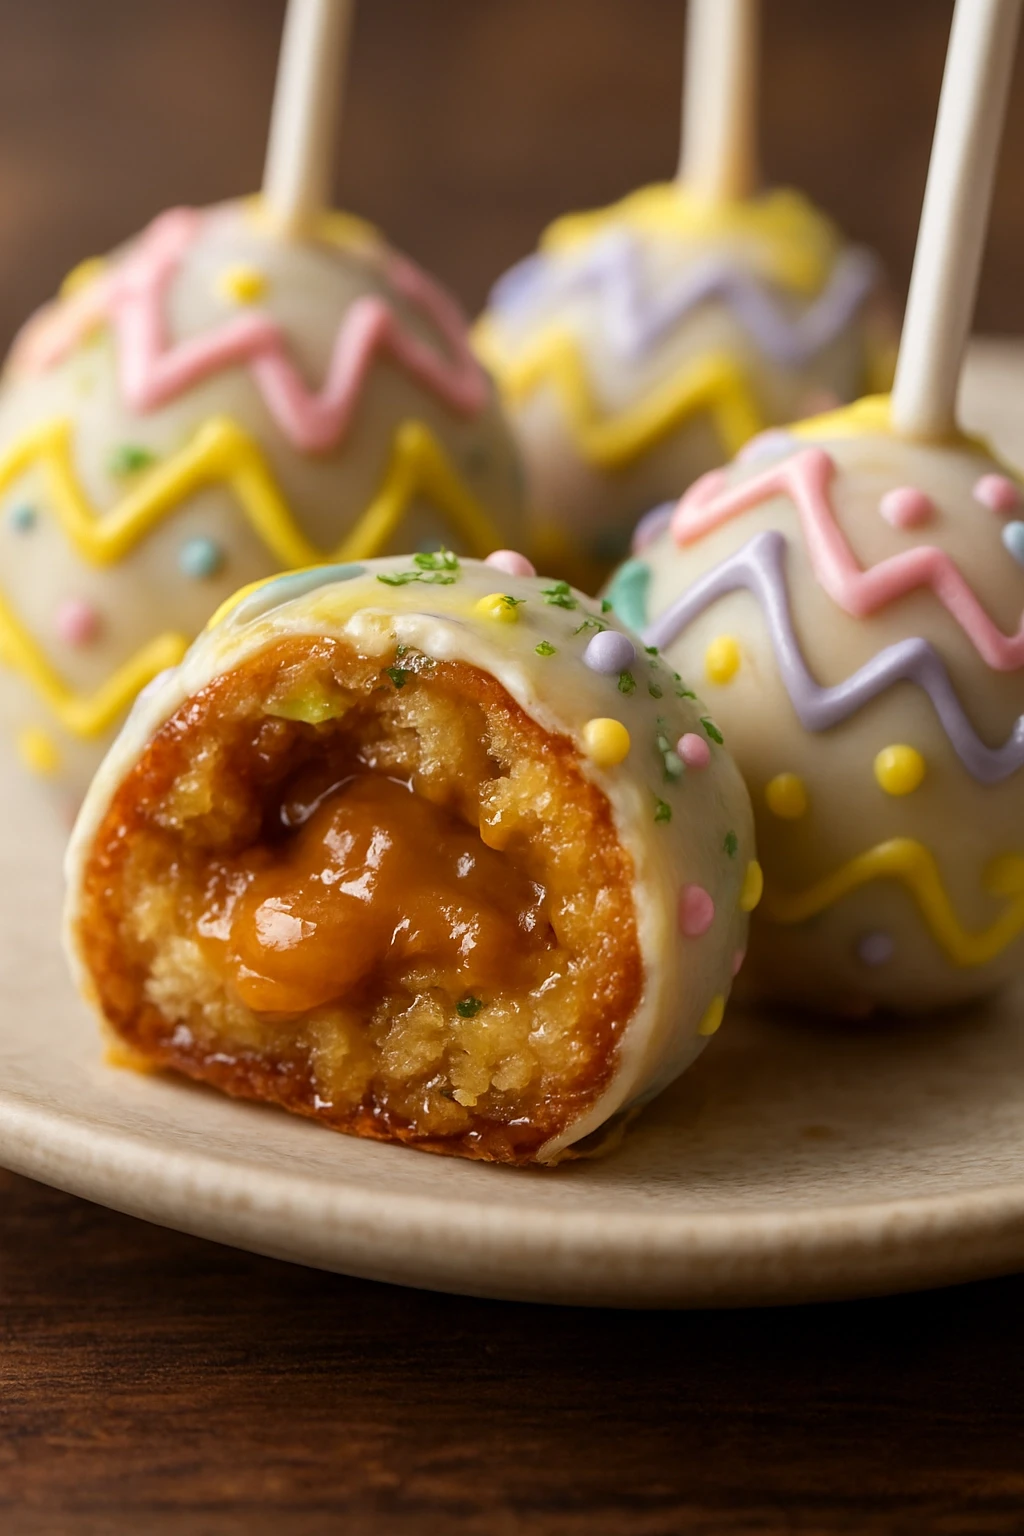
These Easter egg cake pops are a festive treat that everyone will adore! With a simple cake mix and colorful candy coating, they’re perfect for spring gatherings.
Introduction
I first made these Easter egg cake pops a few years ago when I was looking for a fun and interactive dessert for our family gathering. Everyone got to decorate their own, which turned out to be a hit! This recipe is super simple, using a boxed cake mix to save time, and the best part is the frosting that binds the cake together, giving it that moist texture we all love. You can really get creative with the colors of the candy melts and sprinkles, making each pop unique. Trust me, these cake pops not only look adorable but taste amazing too! They’re perfect for an Easter brunch or any spring celebration, and kids absolutely love them!
What You'll Need
Approximately 12 cake pops
- 1 box of cake mix (any flavor)
- 3 eggs
- 1 cup of water
- 1/2 cup of vegetable oil
- 1 cup of frosting (store-bought or homemade)
- 1 bag of candy melts (various colors)
- Lollipop sticks
- Sprinkles for decoration
How To Do It
Step 1
Preheat your oven to 350°F (175°C). Grease and flour a cake pan according to the cake mix instructions. This step is crucial because a well-greased pan prevents sticking and ensures even baking. You'll want to make sure your pan is ready before pouring in the batter, so take your time here. A common mistake is skipping this step, which can lead to broken cake when you try to remove it from the pan.
⏱ Time: 10 minutes
✓ Doneness: The pan should be ready and lightly greased without excess flour.
Step 2
In a large mixing bowl, combine the cake mix, eggs, water, and vegetable oil. Beat on medium speed for about 2 minutes until the batter is smooth and well combined. This is where the magic happens—mixing incorporates air into the batter, which helps the cake rise beautifully. If you overmix, you might end up with a dense cake, so just mix until there are no dry spots.
⏱ Time: 2 minutes
✓ Doneness: Batter should be smooth with no lumps.
Step 3
Pour the batter into the prepared cake pan and bake for 25-30 minutes, or until a toothpick inserted in the center comes out clean. The baking time can vary based on your oven, so keep an eye on it. If you open the oven door too soon, you might cause the cake to sink, so wait until at least the 25-minute mark. This step is essential to achieve that perfect fluffy texture.
⏱ Time: 30 minutes
✓ Doneness: A toothpick should come out clean when inserted into the center.
Step 4
Once baked, let the cake cool in the pan for about 10 minutes before transferring it to a wire rack to cool completely. Cooling is important because if you try to crumble the cake while it's still warm, it can become gummy and hard to work with. Patience is key here—allowing it to cool ensures the best texture for your cake pops.
⏱ Time: 10 minutes
✓ Doneness: The cake should feel cool to the touch.
Step 5
Once the cake is completely cool, crumble it into a large bowl using your hands. Add in the frosting and mix until fully combined. The mixture should hold together when squeezed. This is where the cake pops get their moisture and flavor! If the mixture feels too dry, you can add a bit more frosting, but be careful not to overdo it or they’ll be too sweet.
⏱ Time: 5 minutes
✓ Doneness: The mixture should hold together without crumbling.
Step 6
Using your hands, shape the cake mixture into small balls, about 1 inch in diameter, and place them on a baking sheet lined with parchment paper. This step is all about consistency—try to make them all the same size for even coating later. If you find the mixture is too sticky, you can chill it for a few minutes before rolling. Keep an eye on the size; if they’re too big, they won’t stay on the sticks.
⏱ Time: 10 minutes
✓ Doneness: All cake balls should be uniform in size and shape.
Step 7
Melt the candy melts according to package instructions. Dip the tip of each lollipop stick into the melted candy before inserting it into the cake ball. This helps secure the stick and prevents it from falling out. After that, dip each cake pop into the melted candy, letting any excess drip off. This step is crucial for a smooth finish—if the candy coating is too thick, it could crack as it hardens. Decorate with sprinkles while the coating is still wet!
⏱ Time: 15 minutes
✓ Doneness: The cake pops should be fully coated and decorated before the candy hardens.
Pro Tips
Chill the cake balls before coating them.
Chilling helps the cake balls firm up, making them easier to dip and less likely to fall apart in the hot candy coating. If they’re too warm, they can lose shape and become messy.
Use a deep bowl for melting candy melts.
A deeper bowl allows for easier dipping and helps ensure the candy melts are evenly coated. If the bowl is too shallow, you might struggle to cover the pops completely.
Don’t skip the lollipop stick dipping step.
Dipping the stick in melted candy before inserting it into the cake ball acts as glue. This prevents the stick from pulling out when you take a bite, ensuring a better eating experience.
Work quickly with the candy melts.
Candy melts harden fast, so it's best to work quickly while coating the pops. If the coating hardens in the bowl, it can become difficult to work with, leading to unsightly pops.
Experiment with different flavor combinations.
Mixing different cake flavors and frostings can create unique combinations that surprise your guests. The variations can elevate your cake pops from ordinary to extraordinary.
Common Mistakes to Avoid
Not allowing the cake to cool completely.
Why it happens Many home bakers are eager to start the next step and may rush this process. However, warm cake can lead to a gooey mixture that’s hard to shape.
Fix Make sure to let the cake cool completely on a wire rack before crumbling. This ensures the cake pops hold their shape and texture.
Overmixing the cake batter.
Why it happens It’s easy to think more mixing equals better results, but overmixing can lead to a dense cake.
Fix Mix until just combined, and stop as soon as there are no dry ingredients visible. This will help maintain a light and fluffy cake.
Using the wrong type of chocolate for coating.
Why it happens Some bakers may assume any chocolate will work, but regular chocolate chips won’t melt well for dipping.
Fix Stick to candy melts or chocolate specifically labeled for melting. They’re designed to coat and harden properly.
Making the cake balls too large.
Why it happens It’s tempting to make bigger cake pops, but larger sizes can be unwieldy and hard to eat.
Fix Aim for about 1 inch in diameter for each cake ball. This size is manageable and ensures even coating and cooking.
Variations
Chocolate Cake Pops
Use a chocolate cake mix and chocolate frosting for a rich, decadent treat. You can also drizzle white chocolate on top for a beautiful contrast.
Note: When using chocolate, ensure the candy melts are not too hot to prevent them from melting the cake.
Red Velvet Cake Pops
Substitute red velvet cake mix and cream cheese frosting for a festive twist. These are perfect for Valentine’s Day or holiday gatherings.
Note: Red velvet can be slightly denser, so ensure your cake is fully cooled before crumbling.
Fruit-Flavored Cake Pops
Try a lemon or strawberry cake mix and matching frosting for a refreshing spring flavor. These pops are light and perfect for warm weather.
Note: Adjust the amount of frosting based on the moisture content of the cake mix to maintain the right consistency.
Nutty Cake Pops
Add chopped nuts or nut butter into the cake mixture for added flavor and texture. Almond or hazelnut cake pops are delicious!
Note: Nuts can alter the moisture level, so keep an eye on the consistency of the mixture before rolling.
Nutrition
Per Serving:
Nutritional values are estimates and may vary based on specific ingredients used.
Storage & Tips
Room Temperature
Cake pops can be kept at room temperature for up to 2 days if stored in an airtight container. Make sure they’re not stacked to avoid smudging the coating.
Refrigerator
Store in an airtight container in the fridge for up to 1 week. The texture may change slightly when cold, but they still taste great!
Freezer
You can freeze them for up to 3 months. Wrap them individually in plastic wrap, then place them in a freezer bag to prevent freezer burn.
Reheating
There's no need to reheat cake pops. Simply thaw them in the fridge overnight before serving, or let them sit at room temperature for about 30 minutes.
Make Ahead
You can prepare the cake balls 1-2 days in advance and keep them refrigerated. Coat them in candy melts on the day you plan to serve for the freshest taste.
FAQ
Can I use homemade cake instead of a box mix?
Absolutely! Just make sure your homemade cake is moist and not overly crumbly. The key is to have a good ratio of cake to frosting to ensure they hold together well.
What can I use instead of candy melts?
You can use chocolate chips, but they require tempering for a smooth finish. White chocolate or almond bark can also work, but ensure they’re melted properly to avoid clumping.
How do I prevent the cake pops from falling off the sticks?
Dipping the sticks in melted candy before inserting them into the cake balls helps secure them. Make sure the cake balls are firm and not too warm when you dip them.
Can I make these gluten-free?
Yes! Just use a gluten-free cake mix and ensure your frosting is also gluten-free. Many brands offer great gluten-free options that work just as well.
How can I store leftover cake pops?
Store them in an airtight container at room temperature for up to 2 days or in the fridge for up to a week. If you freeze them, wrap each pop individually to maintain quality.
Final Thoughts
I hope you give these Easter egg cake pops a try—they're a fun and delicious way to celebrate the season! Don't forget to share your creations with me!