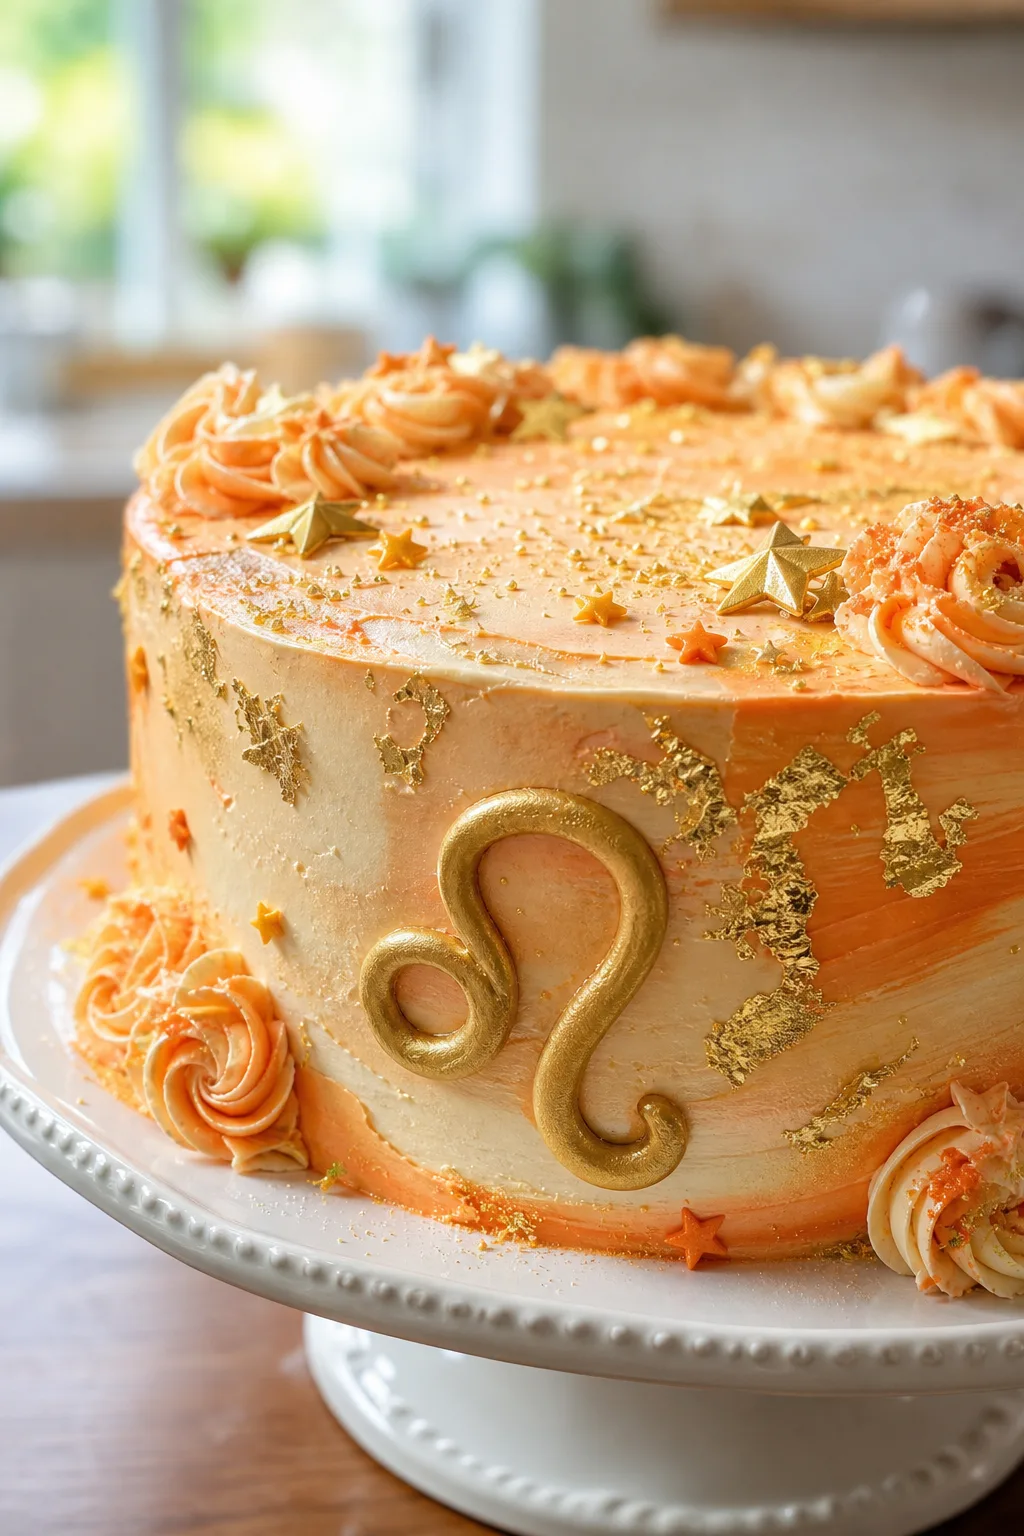
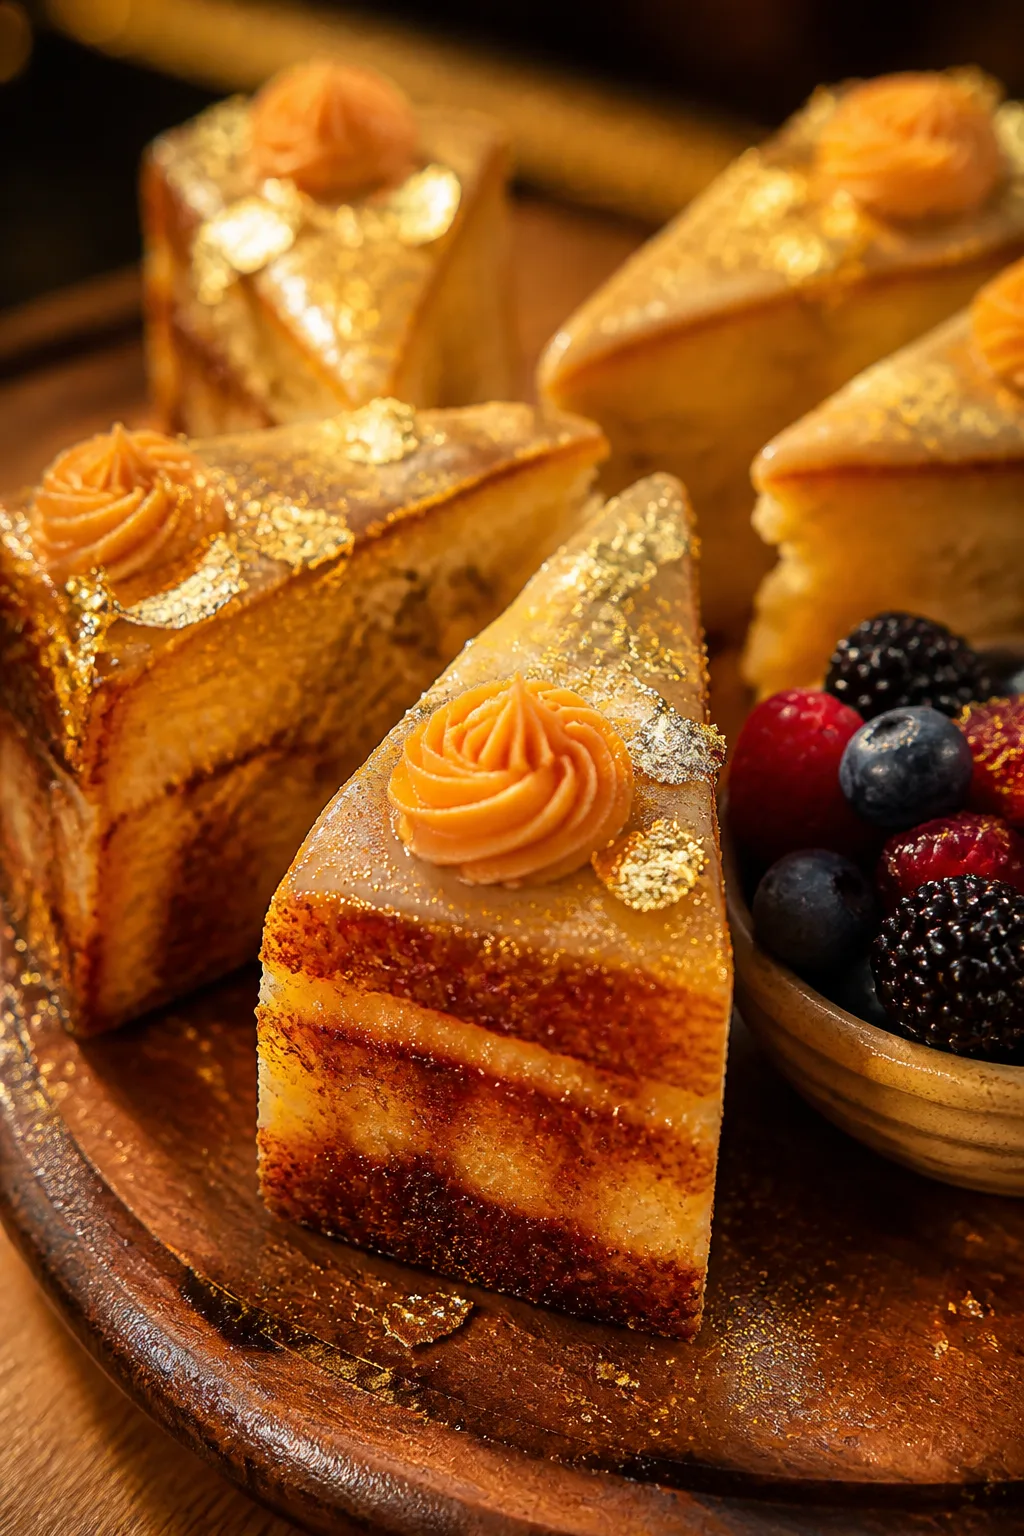
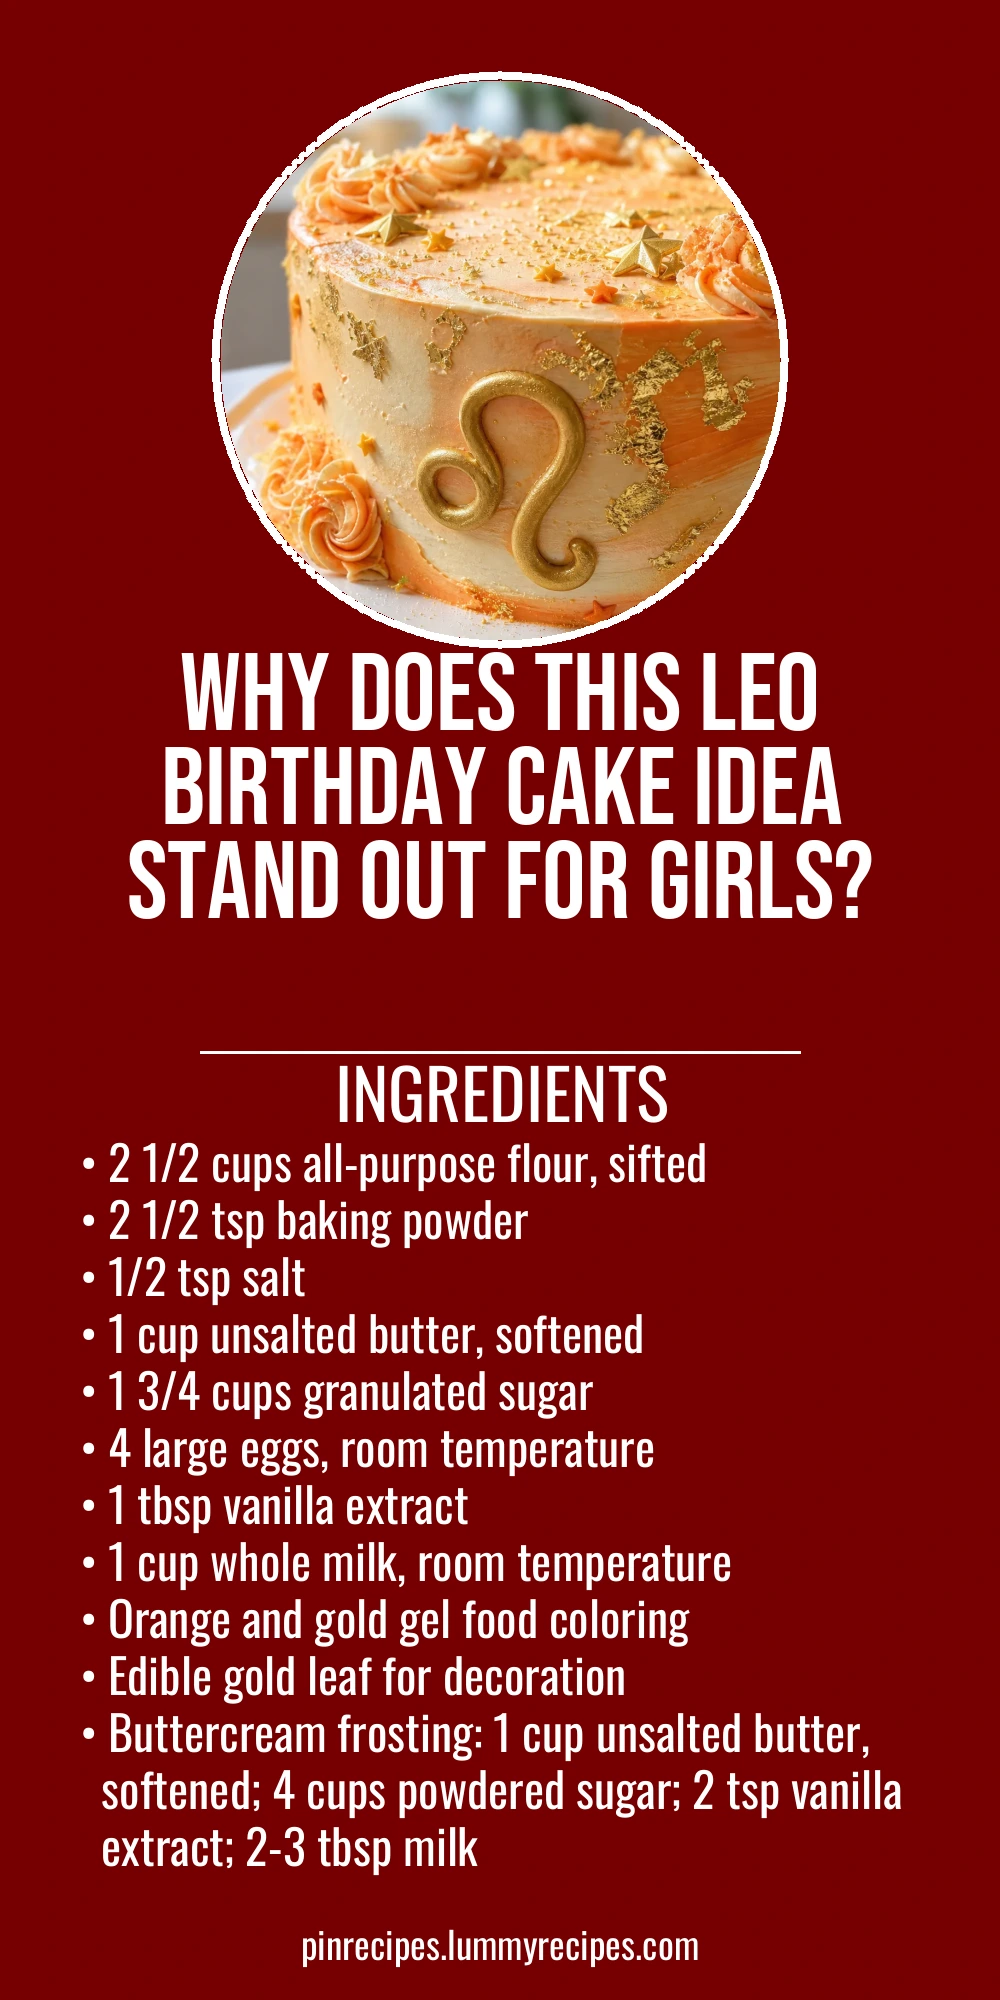
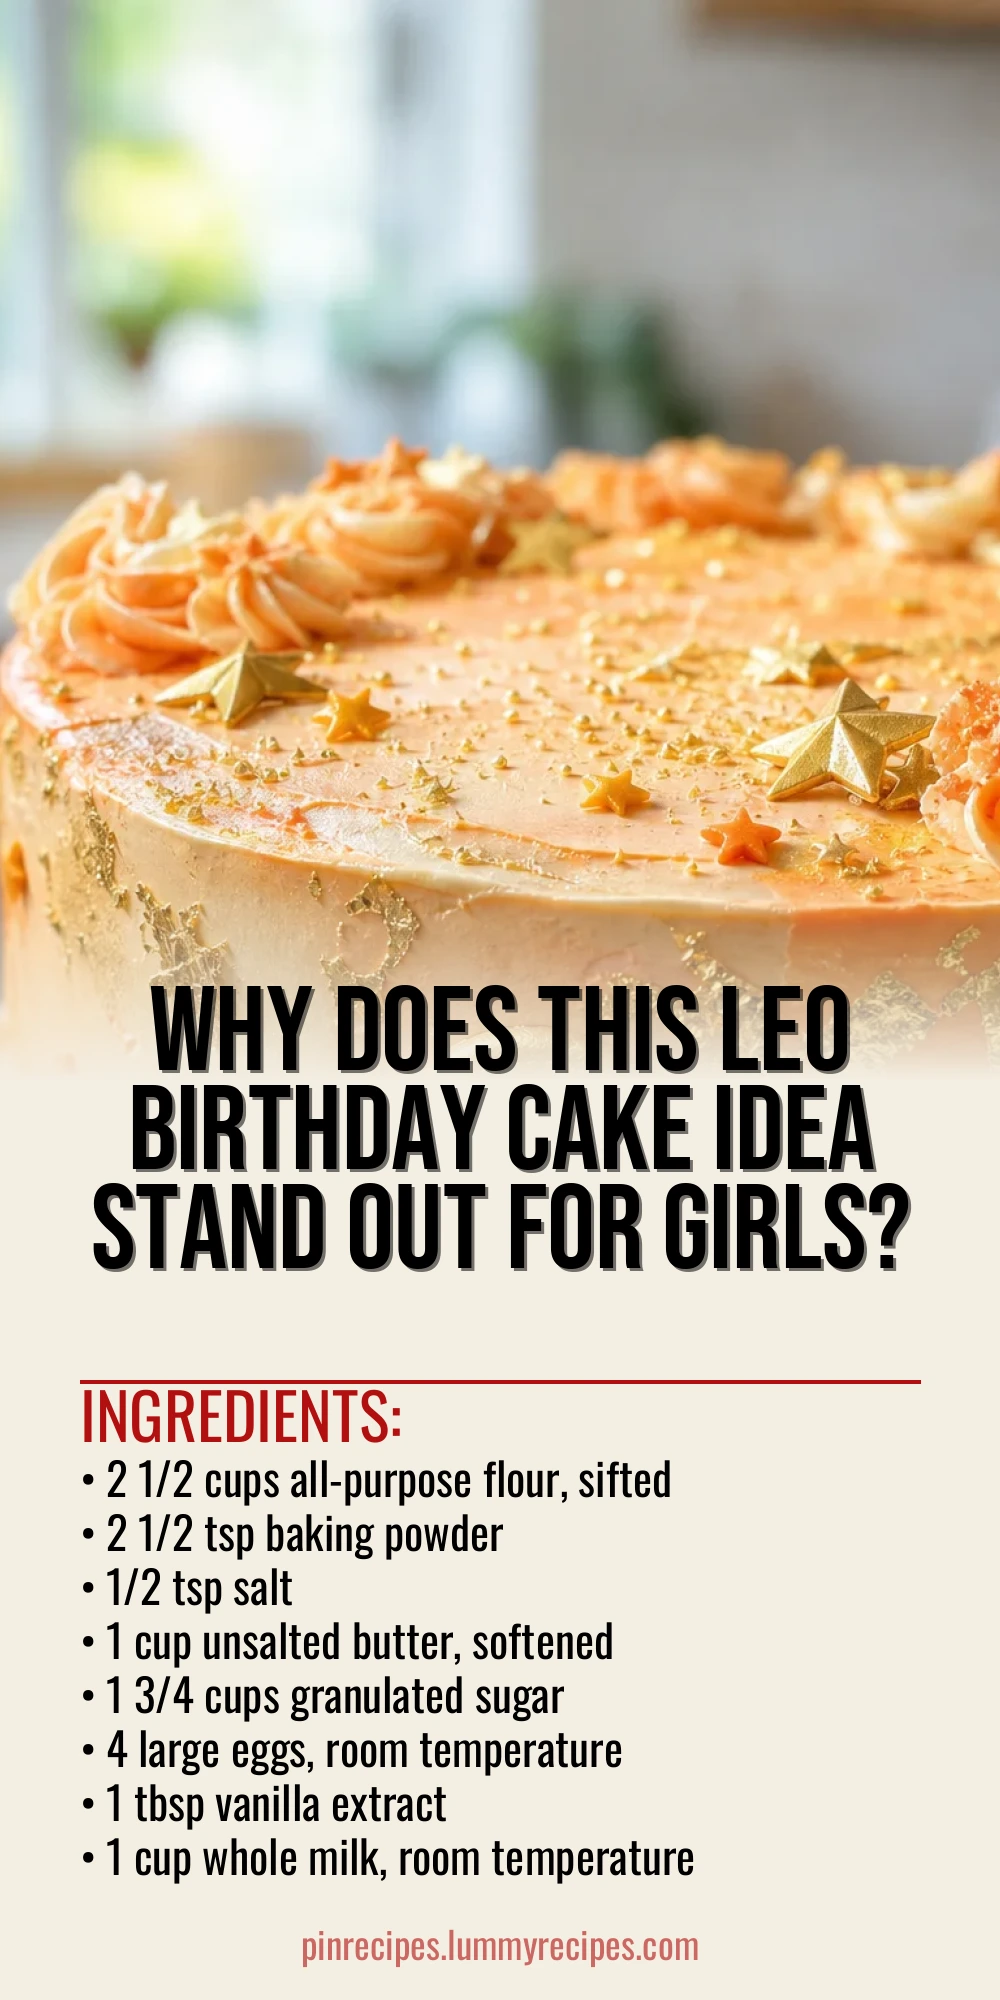
This Leo birthday cake idea for girls is a charming blend of pastel hues and golden zodiac accents that make any celebration special. It's moist, creamy, and decorated with love, perfect for a memorable party centerpiece.
Introduction
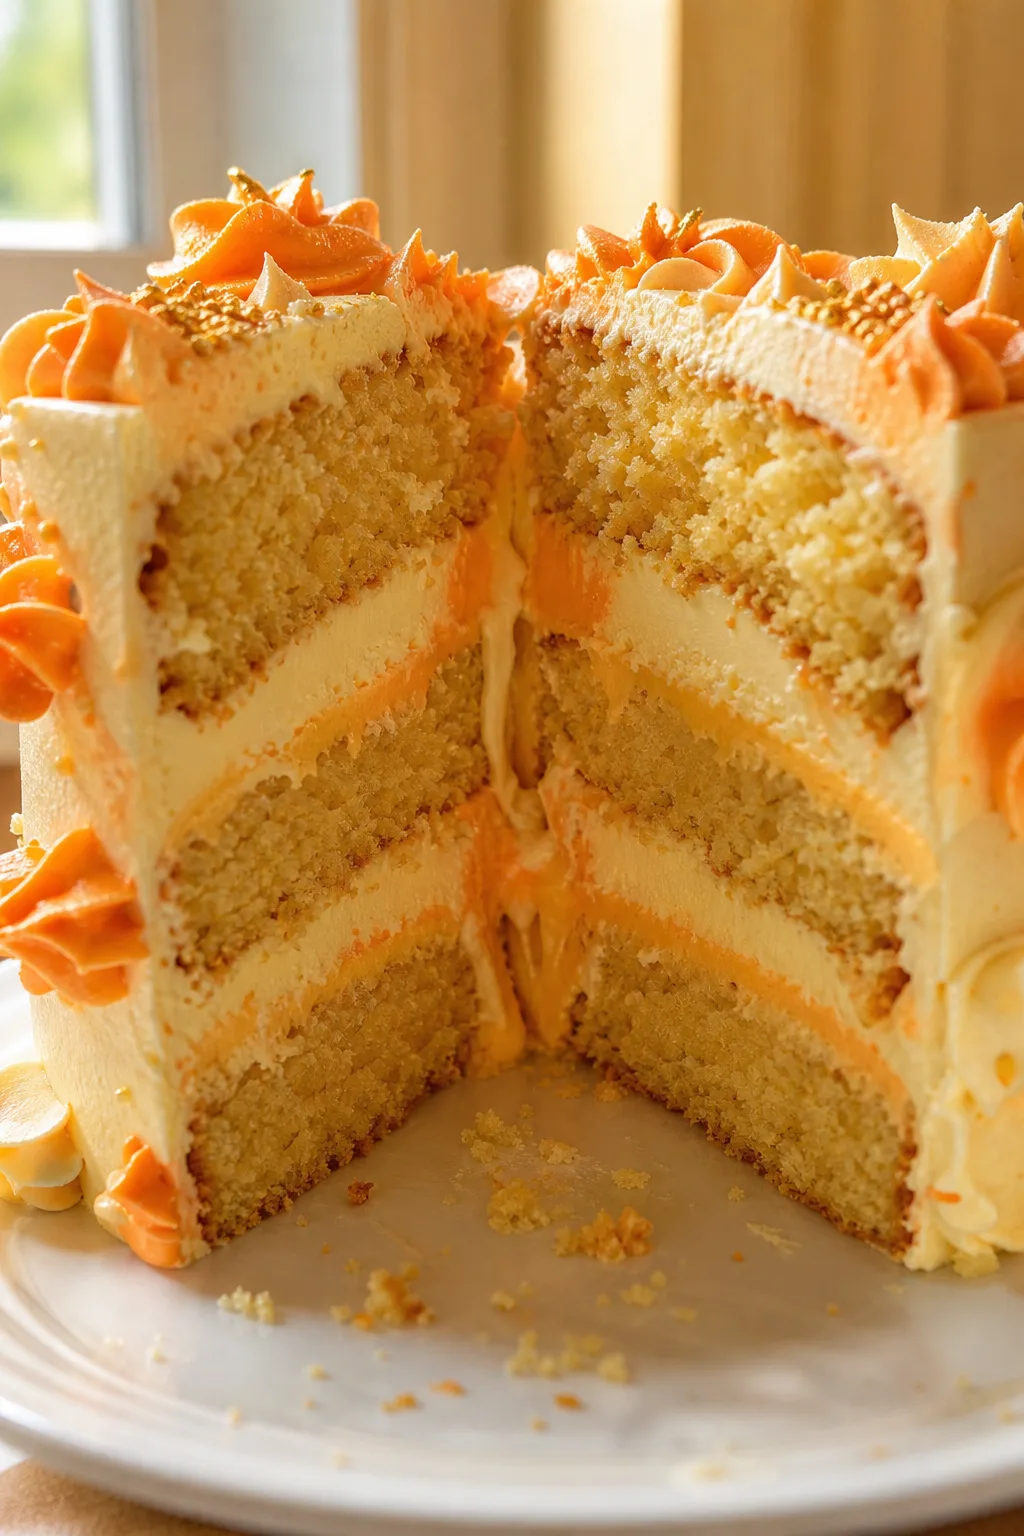
I remember the first time I made a Leo birthday cake for my niece’s tenth birthday. I wanted something that felt special and personal, so I incorporated her zodiac sign’s colors and symbols into the design. This cake isn’t just about looks — it’s moist, fluffy, and has a creamy buttercream that melts in your mouth. What makes this version stand out is the subtle use of edible gold leaf to highlight the Leo symbol, giving it a touch of elegance without being over the top. Plus, I’ve found that layering the cake with a light orange-tinted buttercream adds a fun pop of color inside that kids love. It’s a bit of a project, but the results are so worth it. When you cut into it, the layers and shimmer make the whole table light up. It’s perfect for a girl’s birthday party where you want to impress without fussing over complicated techniques. I think you’ll find it’s easier than it looks, and the smiles it brings are priceless.
What You'll Need
One 9-inch round cake, serves 12
- 2 1/2 cups all-purpose flour, sifted
- 2 1/2 tsp baking powder
- 1/2 tsp salt
- 1 cup unsalted butter, softened
- 1 3/4 cups granulated sugar
- 4 large eggs, room temperature
- 1 tbsp vanilla extract
- 1 cup whole milk, room temperature
- Orange and gold gel food coloring
- Edible gold leaf for decoration
- Buttercream frosting: 1 cup unsalted butter, softened; 4 cups powdered sugar; 2 tsp vanilla extract; 2-3 tbsp milk
How To Do It
Step 1
Preheat your oven to 350°F (175°C) and grease two 9-inch round cake pans, then line them with parchment paper. Sifting the flour, baking powder, and salt together ensures the dry ingredients are evenly mixed and free of lumps, which helps the cake rise evenly and stay tender. Mixing dry ingredients separately before combining with wet prevents overmixing, which can make the cake dense. Be gentle when folding the flour into the wet ingredients to keep the batter light.
⏱ Time: 15
✓ Doneness: Batter is smooth with no lumps and slightly thick but pourable.
Step 2
In a large bowl, cream the softened butter and granulated sugar together until light and fluffy, about 4-5 minutes. This step incorporates air into the batter, which is crucial for a tender crumb. Add eggs one at a time, beating well after each addition to prevent curdling. Stir in vanilla extract. Alternate adding the dry ingredients and milk in three parts, beginning and ending with the dry. Mix just until combined to avoid toughening the cake.
⏱ Time: 15
✓ Doneness: Batter is well combined, smooth, and slightly thick with a creamy texture.
Step 3
Divide the batter evenly between the two prepared pans. Tap the pans gently on the counter to release any large air bubbles. Bake in the preheated oven for 28-32 minutes, or until a toothpick inserted in the center comes out clean. Avoid opening the oven door too early to prevent the cake from sinking.
⏱ Time: 30
✓ Doneness: Golden edges and a toothpick comes out clean with no wet batter.
Step 4
Allow the cakes to cool in their pans for 10 minutes, then turn them out onto wire racks to cool completely. Cooling the cakes fully before frosting is essential to prevent the buttercream from melting and sliding off.
⏱ Time: 30
✓ Doneness: Cakes are completely cool to the touch with no warmth remaining.
Step 5
Prepare the buttercream by beating softened butter until creamy. Gradually add powdered sugar, beating on low speed to avoid a sugar cloud, then increase speed to medium-high until fluffy. Add vanilla and milk one tablespoon at a time to reach desired consistency. Tint the buttercream with orange gel food coloring until you achieve a soft pastel shade.
⏱ Time: 15
✓ Doneness: Buttercream is smooth, fluffy, and spreadable but not runny.
Step 6
Level the cooled cakes with a serrated knife to create flat surfaces for stacking. Place one cake layer on your serving plate or cake board. Spread a generous layer of the orange-tinted buttercream over the top, smoothing it evenly. This layering adds moisture and color contrast inside the cake.
⏱ Time: 10
✓ Doneness: Even, smooth buttercream layer visible between cake layers.
Step 7
Place the second cake layer on top and apply a thin crumb coat of buttercream over the entire cake to seal in crumbs. Chill the cake in the fridge for 15-20 minutes to set the crumb coat before applying the final thick layer of frosting. This step ensures a smooth finish.
⏱ Time: 20
✓ Doneness: Crumb coat is firm to the touch and smooth.
Step 8
Apply the final thick layer of buttercream, smoothing with an offset spatula. Use a small spatula or brush to add edible gold leaf accents in the shape of the Leo zodiac symbol and scatter edible glitter or small stars on top for sparkle. The gold leaf adds a luxurious touch that catches the light beautifully.
⏱ Time: 20
✓ Doneness: Smooth, glossy frosting with shiny gold accents and decorative details.
Step 9
Allow the cake to rest in the fridge for at least 30 minutes before serving to let the frosting set fully. Bring to room temperature about 20 minutes before slicing for the best texture and flavor. This resting time helps the flavors meld and the cake slice cleanly.
⏱ Time: 30
✓ Doneness: Frosting is firm but soft enough to cut clean slices.
Pro Tips
Always use room temperature ingredients for the best batter consistency.
Room temperature butter, eggs, and milk blend more smoothly and evenly, preventing lumps and ensuring the batter emulsifies properly. Cold ingredients can cause the batter to curdle or mix unevenly, affecting cake texture.
Chill the cake after applying the crumb coat before the final frosting.
The crumb coat seals in loose crumbs and firms up, making it easier to apply a smooth final layer of frosting without crumbs mixing in. Skipping this step often results in a messy finish.
Use gel food coloring instead of liquid to tint buttercream.
Gel colors are concentrated and won’t thin your frosting, maintaining the perfect spreadable consistency and vibrant color. Liquid colors can make frosting runny and harder to work with.
Level your cake layers with a serrated knife before stacking.
Level layers stack evenly without leaning or sliding, giving a professional look. Uneven layers can cause the cake to topple or look lopsided.
Add edible gold leaf last and handle with care.
Gold leaf is fragile and can tear easily. Applying it after frosting is set ensures it stays in place and retains its delicate shine, enhancing the cake’s appearance.
Let the cake rest at room temperature before slicing.
Chilled frosting can be too firm and crumbly when cutting. Allowing the cake to warm slightly softens the frosting for clean, smooth slices.
Avoid overmixing after adding flour to keep the cake tender.
Overmixing develops gluten, leading to a dense and chewy cake. Mix just until ingredients are combined for a soft crumb.
Common Mistakes to Avoid
Using cold ingredients straight from the fridge.
Why it happens Many home bakers rush prep and don’t wait for ingredients to warm, assuming it won’t affect the recipe.
Fix Plan ahead to remove butter, eggs, and milk from the fridge at least 30 minutes before baking. This ensures smooth mixing and proper texture.
Skipping the crumb coat before final frosting.
Why it happens Impatience or lack of knowledge about the crumb coat’s purpose.
Fix Always apply a thin crumb coat and chill the cake to lock in crumbs. This makes the final frosting smooth and crumb-free.
Overmixing batter after adding flour.
Why it happens Trying to fully incorporate ingredients quickly without understanding gluten development.
Fix Mix gently and only until no dry streaks remain. This keeps the cake tender and light.
Applying edible gold leaf too early or handling roughly.
Why it happens Gold leaf is delicate and can tear or lose shine if applied on wet frosting or handled carelessly.
Fix Apply gold leaf on set frosting with tweezers carefully to preserve its texture and shine.
Cutting cake straight from the fridge without resting.
Why it happens Wanting to serve immediately after chilling, not realizing frosting firmness.
Fix Let the cake sit at room temperature for 20-30 minutes before slicing for smooth cuts.
Variations
Chocolate Leo Birthday Cake
Swap half the flour for cocoa powder and add chocolate chips for a rich chocolate version. Use chocolate buttercream tinted with orange gel for the Leo theme. Expect a denser, fudgier texture with deep chocolate flavor.
Note: Add baking soda along with baking powder to balance acidity from cocoa; bake time may increase by 5 minutes.
Lemon and Honey Leo Cake
Incorporate fresh lemon zest and honey into the batter for a bright, floral cake. Use lemon buttercream with a touch of orange coloring for a fresh twist. The cake will be lighter and more aromatic.
Note: Reduce sugar slightly to balance honey sweetness; add lemon juice to buttercream carefully to avoid curdling.
Vegan Leo Birthday Cake
Replace eggs with flaxseed meal and use plant-based milk and vegan butter. Use aquafaba for frosting to keep it fluffy. Expect a slightly different crumb but still moist and festive.
Note: Whip aquafaba until stiff peaks form for frosting; bake at slightly lower temperature to prevent drying.
Gluten-Free Leo Cake
Use a gluten-free all-purpose blend with xanthan gum. This version maintains moistness with the same buttercream decoration. Texture will be a bit denser but still tender.
Note: Ensure gluten-free blend includes xanthan gum or add 1/2 tsp; reduce mixing time to avoid gumminess.
Mini Leo Cupcakes
Turn the batter into cupcakes for smaller servings. Decorate each with a tiny edible gold Leo symbol or star. Perfect for parties with lots of kids or as favors.
Note: Bake for 18-22 minutes; adjust frosting piping to smaller tips for detailed decoration.
Nutrition
Per Serving:
Nutritional values are estimates and may vary based on specific ingredients used.
Storage & Tips
Room Temperature
The cake can safely stay at room temperature for up to 4 hours if covered loosely with a cake dome or foil to prevent drying out. Avoid leaving it uncovered to keep the frosting moist.
Refrigerator
Store the cake in an airtight container or covered with plastic wrap in the refrigerator for up to 4 days. The frosting may harden slightly; allow the cake to come to room temperature before serving for best texture.
Freezer
Freeze the cake tightly wrapped in plastic wrap and then foil for up to 2 months. To thaw, move to the refrigerator overnight, then bring to room temperature before serving to restore softness.
Reheating
Avoid microwaving as it can melt the frosting unevenly. Instead, let the cake sit at room temperature for 20-30 minutes before slicing. If desired, warm slices gently in a low oven (275°F) wrapped in foil for 5-7 minutes.
Make Ahead
Bake the cake layers 1-2 days ahead and keep wrapped tightly. Prepare buttercream and decorate the day before the party. This allows flavors to meld and reduces stress on the celebration day.
FAQ
Can I make this Leo birthday cake gluten-free?
Yes, you can substitute the all-purpose flour with a gluten-free blend that contains xanthan gum for structure. Be sure to reduce mixing time to avoid a gummy texture. The cake will be slightly denser but still moist and delicious.
How do I prevent the buttercream from melting on a warm day?
Keep the cake refrigerated until shortly before serving. Use a buttercream recipe with a higher powdered sugar ratio for stability. Avoid direct sunlight and warm environments. If transporting, use a cooler with ice packs.
What’s the best way to apply edible gold leaf?
Use clean, dry tweezers to gently lift and place the gold leaf on set frosting. Apply it last to avoid smudging. Avoid touching it with fingers as it’s very delicate and can tear easily.
Can I make this cake ahead and freeze it?
Absolutely. Wrap the cake tightly in plastic and foil before freezing. Thaw in the refrigerator overnight, then bring to room temperature before serving. This helps maintain moisture and texture.
What’s the secret to a moist cake crumb?
Creaming butter and sugar well incorporates air, and alternating milk and flour additions keeps the batter smooth. Avoid overmixing flour to prevent gluten development, and don’t overbake to retain moisture.
How do I get smooth frosting on the cake?
Apply a thin crumb coat first, chill it to set, then apply the final frosting layer with an offset spatula. Use a hot water-dipped spatula for extra smoothness. Chilling helps prevent crumbs in the final layer.
Can I use liquid food coloring instead of gel?
Gel food coloring is preferred because it doesn’t thin the frosting, keeping it stable and vibrant. Liquid colors can make the frosting runny and harder to work with, so use sparingly if you must.
What type of cake pans work best?
Use heavy-duty, light-colored aluminum pans for even baking and browning. Dark pans can cause over-browning. Always grease and line pans with parchment for easy release.
Final Thoughts
I hope you enjoy making and sharing this Leo birthday cake as much as I do—it’s a beautiful way to celebrate a special girl’s day. Let me know how yours turns out!