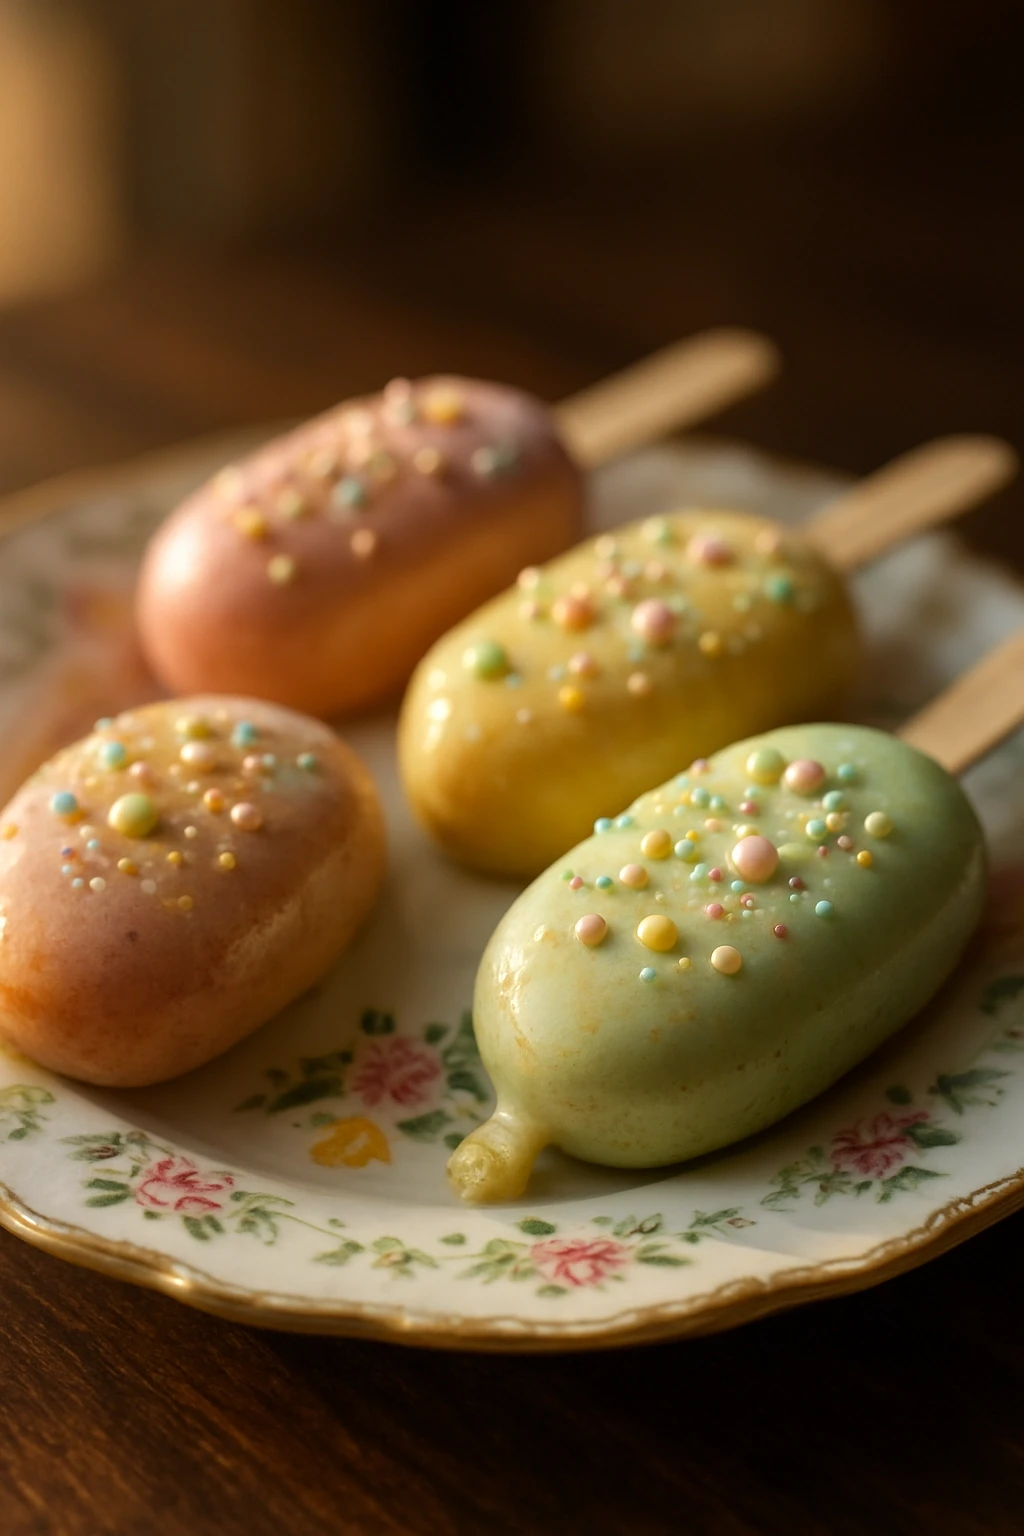
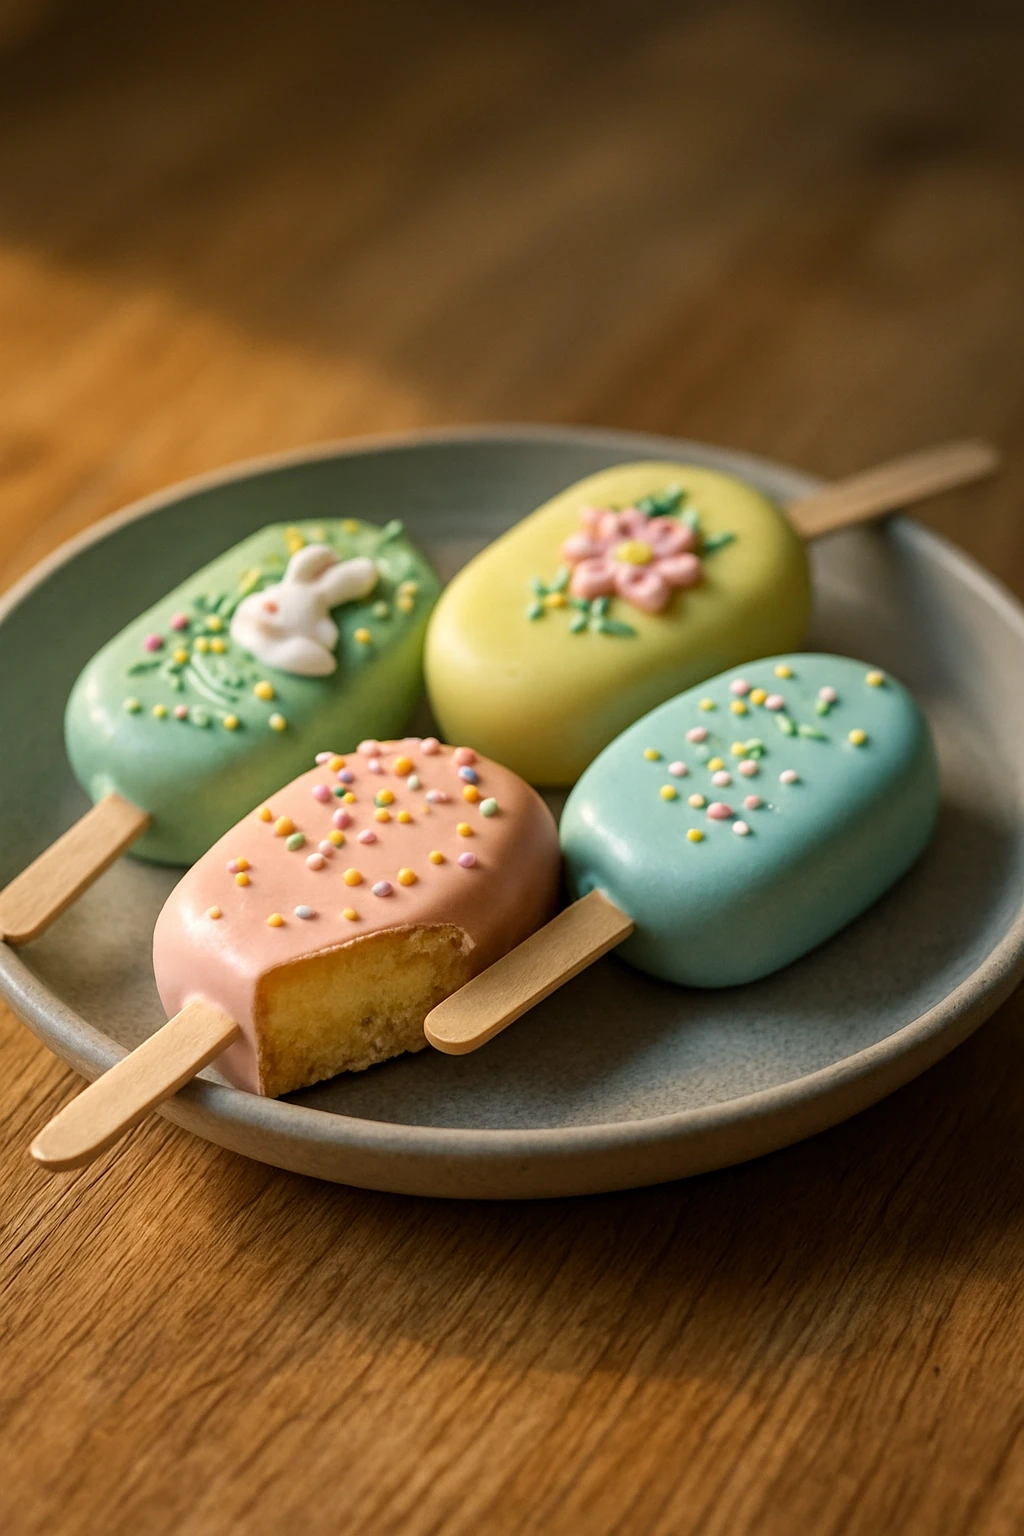
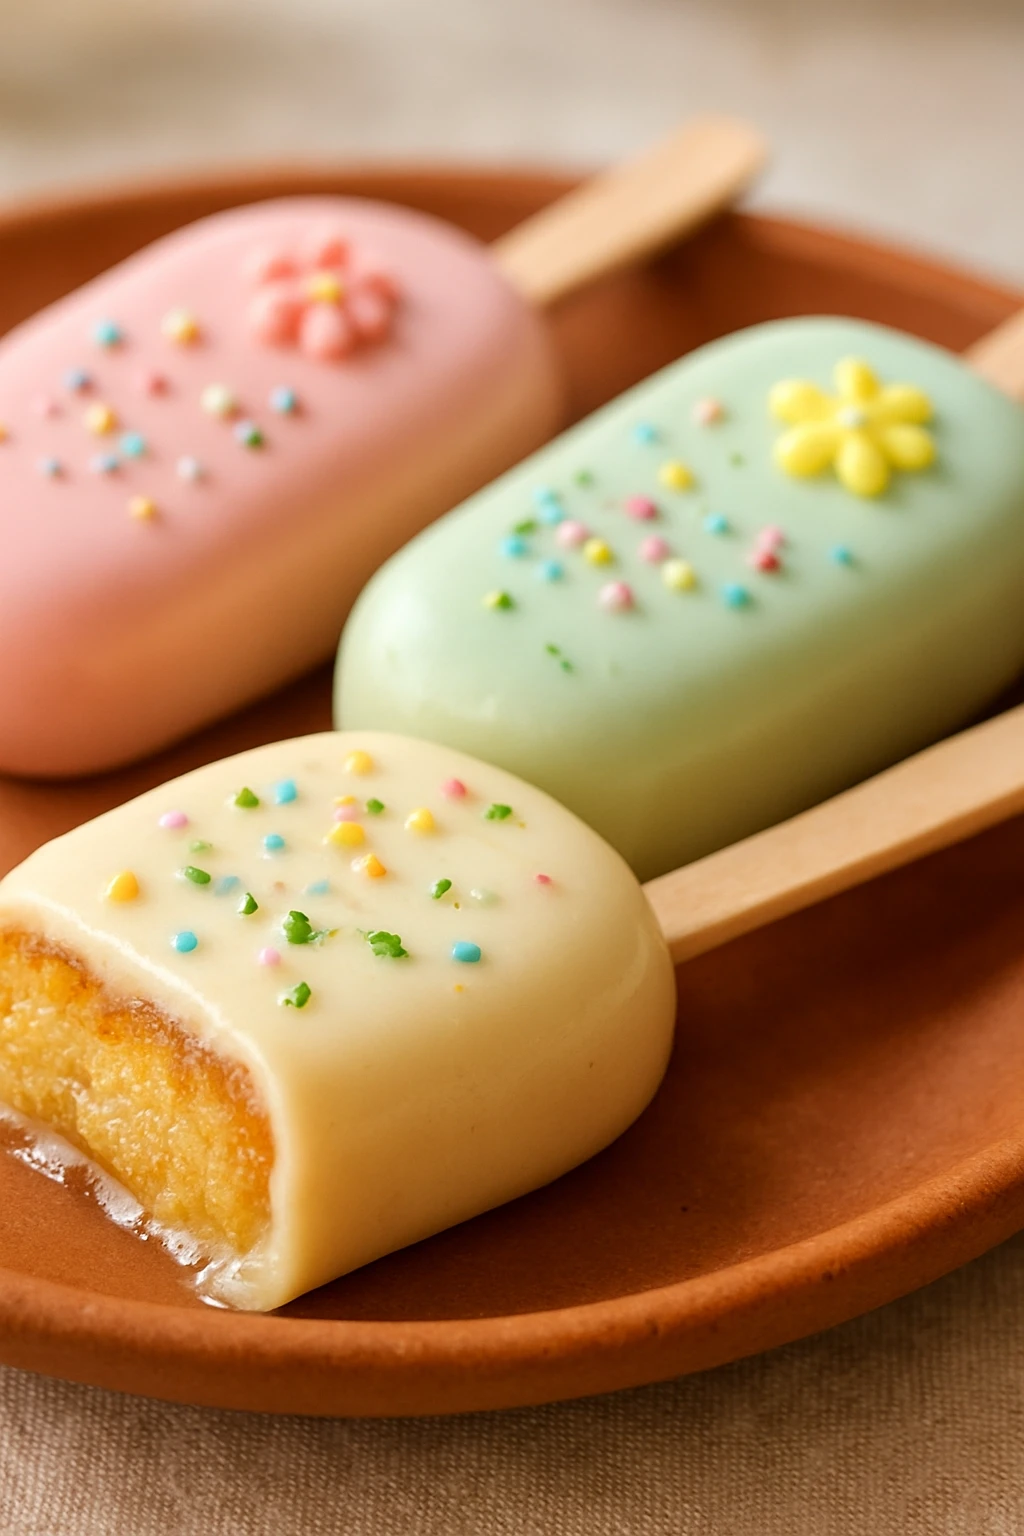
These pastel Easter cakesicles are a fun, festive treat perfect for spring celebrations. With a creamy frosting center and colorful coating, they’re a hit at any gathering!
Introduction
I remember the first time I made cakesicles for Easter; it was such a hit with my family! These pastel delights are not just eye-catching, but they’re also incredibly fun to make. This version stands out because of the creamy buttercream center that peeks through the colorful chocolate coating. The trick I learned is to let the cakes cool completely before dipping them, which prevents the chocolate from melting into the cake. Trust me, the combination of soft cake and sweet frosting is pure bliss, and they look adorable on any dessert table!
What You'll Need
Approximately 12 cakesicles
- 1 box of vanilla cake mix
- 3 large eggs
- 1/2 cup vegetable oil
- 1 cup water
- 1 cup butter, softened
- 4 cups powdered sugar
- 1 teaspoon vanilla extract
- 1/4 cup milk
- Pastel melting chocolate (pink, blue, yellow)
- Sprinkles for decoration
How To Do It
Step 1
Start by preheating your oven to 350°F (175°C). Prepare a 9x13 inch baking pan by greasing it lightly. This step is crucial because a well-greased pan ensures your cake comes out cleanly, preventing any crumbs from sticking. I’ve learned the hard way that skipping this can lead to a crumbled mess, so don't rush it. Once prepped, mix the cake ingredients in a large bowl until just combined.
⏱ Time: 5 minutes
✓ Doneness: The batter should be smooth and slightly thick.
Step 2
Pour the batter into the prepared pan and bake for about 25-30 minutes, or until a toothpick comes out clean. This step is where patience pays off; if you open the oven too early, your cake might sink in the middle. Keep an eye on the edges; they should start to pull away from the pan slightly when it’s done. Let it cool completely before moving on to the next step.
⏱ Time: 30 minutes
✓ Doneness: The cake should spring back when lightly touched.
Step 3
Once the cake is cool, crumble it into a large bowl. You want fine crumbs, so use your hands or a fork to break it down. This is where the magic happens; the crumbled cake will mix beautifully with the buttercream to create a moist filling. Be careful not to overwork it, as you want a nice texture. If it feels too dry, add a splash of milk to help it come together.
⏱ Time: 10 minutes
✓ Doneness: The crumbs should hold together when pressed.
Step 4
In a separate bowl, beat together the softened butter, powdered sugar, vanilla extract, and milk until smooth. This buttercream is rich and creamy, and it’s the secret to making these cakesicles extra special. Make sure there are no lumps; it should be light and fluffy. If it’s too thick, add a bit more milk until you reach a spreadable consistency.
⏱ Time: 5 minutes
✓ Doneness: The mixture should be smooth and spreadable.
Step 5
Now, mix the crumbled cake with the buttercream until well combined. You can use your hands for this, which is the best way to ensure everything is evenly mixed. This step is crucial for achieving that delicious filling that will hold its shape when frozen. If it feels too sticky, don’t hesitate to add a bit more cake crumb to balance it out.
⏱ Time: 5 minutes
✓ Doneness: The mixture should be moist but not overly sticky.
Step 6
Scoop out portions of the cake mixture and shape them into popsicle-like forms. Insert a stick into each one and place them on a baking sheet lined with parchment paper. This step is where you can get creative with the shape; I love making them a bit thicker for a more substantial bite. Once shaped, freeze them for at least 2 hours until solid. This helps them hold their shape when dipped in chocolate.
⏱ Time: 2 hours
✓ Doneness: The cakesicles should be firm to the touch.
Step 7
Melt the pastel chocolate according to the package instructions. Dip each frozen cakesicle into the melted chocolate, allowing the excess to drip off. This is where they get their beautiful coating! You can also sprinkle some fun toppings while the chocolate is still wet. Make sure to work quickly, as the chocolate will set fast. Let them sit on parchment to harden completely before serving.
⏱ Time: 15 minutes
✓ Doneness: The chocolate should be fully set and hard.
Pro Tips
Let your cakes cool completely before crumbling.
This prevents the cake from becoming too mushy when mixed with frosting. If you crumble warm cake, it can create a dense mixture that doesn't hold together well.
Use a cookie scoop for even portions.
This ensures that all your cakesicles are uniform in size, which helps them freeze evenly. Uneven sizes can lead to some being overcooked while others are undercooked.
Work quickly when dipping in chocolate.
Chocolate sets fast, especially if the cakesicles are frozen. If you take too long, the chocolate may not adhere properly, resulting in a messy finish.
Experiment with flavors in the buttercream.
Adding different extracts or even a bit of citrus zest can elevate your cakesicles. It’s a great way to personalize the recipe and surprise your guests.
Use a double boiler for melting chocolate.
This method prevents the chocolate from burning and ensures a smooth consistency. If you microwave it, be sure to do it in short bursts to avoid overheating.
Common Mistakes to Avoid
Skipping the cooling step.
Why it happens Many people are eager to move on, but warm cake can lead to a gooey mess.
Fix Always allow your cake to cool completely before crumbling. This will give you a better texture and prevent sogginess.
Not mixing the cake and frosting well.
Why it happens It’s easy to rush this step, but uneven mixing can lead to dry bites.
Fix Ensure that the mixture is well combined, with no dry crumbs left. Use your hands to really work it together if needed.
Dipping warm cakesicles into chocolate.
Why it happens The excitement can make you overlook this crucial detail.
Fix Always freeze the cakesicles until they are solid before dipping to maintain their shape and texture.
Using low-quality chocolate.
Why it happens Some may think any chocolate will do, but it can affect the taste.
Fix Invest in good melting chocolate for a better flavor and smoother texture.
Variations
Chocolate Cakesicles
Swap out the vanilla cake mix for chocolate cake mix for a rich twist. Pair it with chocolate buttercream for an indulgent treat that chocolate lovers will adore.
Note: Keep an eye on the melting chocolate; darker chocolate may require a bit longer to melt smoothly.
Fruit-Flavored Cakesicles
Incorporate fruit purees like strawberry or raspberry into the buttercream for a fruity flavor. This adds a fresh taste that’s perfect for springtime.
Note: Adjust the sugar in the buttercream to balance the sweetness of the fruit puree.
Nutty Surprise Cakesicles
Add chopped nuts like almonds or hazelnuts to the cake mixture for a delightful crunch. This variation adds texture and a nutty flavor that complements the sweetness.
Note: Be sure to chop the nuts finely to ensure they mix well with the cake batter.
Coconut Cakesicles
Mix shredded coconut into the cake batter for a tropical twist. You can also use coconut-flavored chocolate for the coating to enhance the flavor.
Note: Make sure to use sweetened shredded coconut for the best results.
Nutrition
Per Serving:
Nutritional values are estimates and may vary based on specific ingredients used.
Storage & Tips
Room Temperature
Cakesicles can safely stay at room temperature for about 2 hours. Keep them covered to avoid drying out.
Refrigerator
Store in an airtight container in the fridge for up to 5 days. The chocolate may lose some of its snap but will still taste great.
Freezer
You can freeze these cakesicles for up to 3 months. Wrap them individually in plastic wrap to prevent freezer burn.
Reheating
These treats are best enjoyed cold or at room temperature. If you want to soften them slightly, leave them out for about 10 minutes before serving.
Make Ahead
You can make the cake and buttercream a day ahead. Just store them separately in the fridge and assemble the cakesicles the day you plan to serve them.
FAQ
Can I use a different cake flavor?
Absolutely! You can use any flavor of cake mix you prefer. Just keep in mind that different flavors may require adjustments in the buttercream or chocolate coating to match the taste.
What if my chocolate coating is too thick?
If your melted chocolate is too thick, try adding a teaspoon of coconut oil or vegetable oil to thin it out. This will make it easier to dip and give a smoother finish.
How do I prevent freezer burn?
To prevent freezer burn, wrap each cakesicle tightly in plastic wrap and then place them in a freezer-safe bag or container. This double-layer protection keeps them fresh longer.
Can I make these gluten-free?
Yes! Just use a gluten-free cake mix and ensure all other ingredients are gluten-free. The texture may vary slightly, but they will still be delicious!
How do I know when they are ready to dip in chocolate?
Your cakesicles should be solid and firm to the touch after freezing for at least 2 hours. If they feel soft, give them more time in the freezer.
Final Thoughts
I hope you give these pastel Easter cakesicles a try! They’re not only fun to make but also a delightful treat for any spring celebration. Don’t forget to share your creations with me!