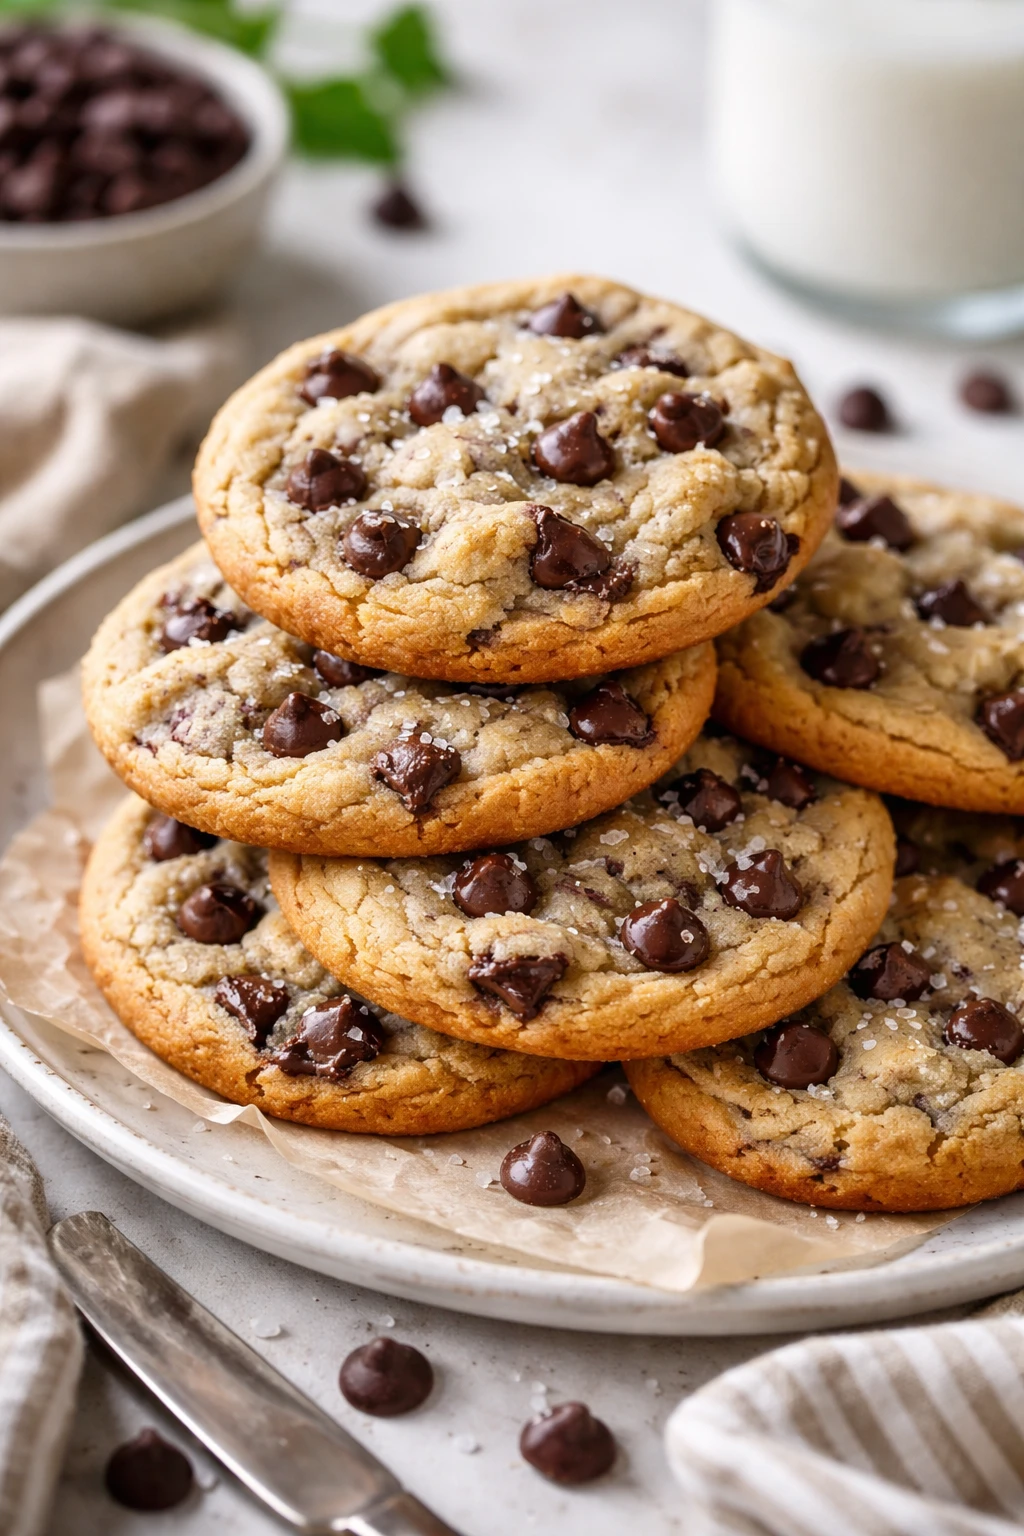
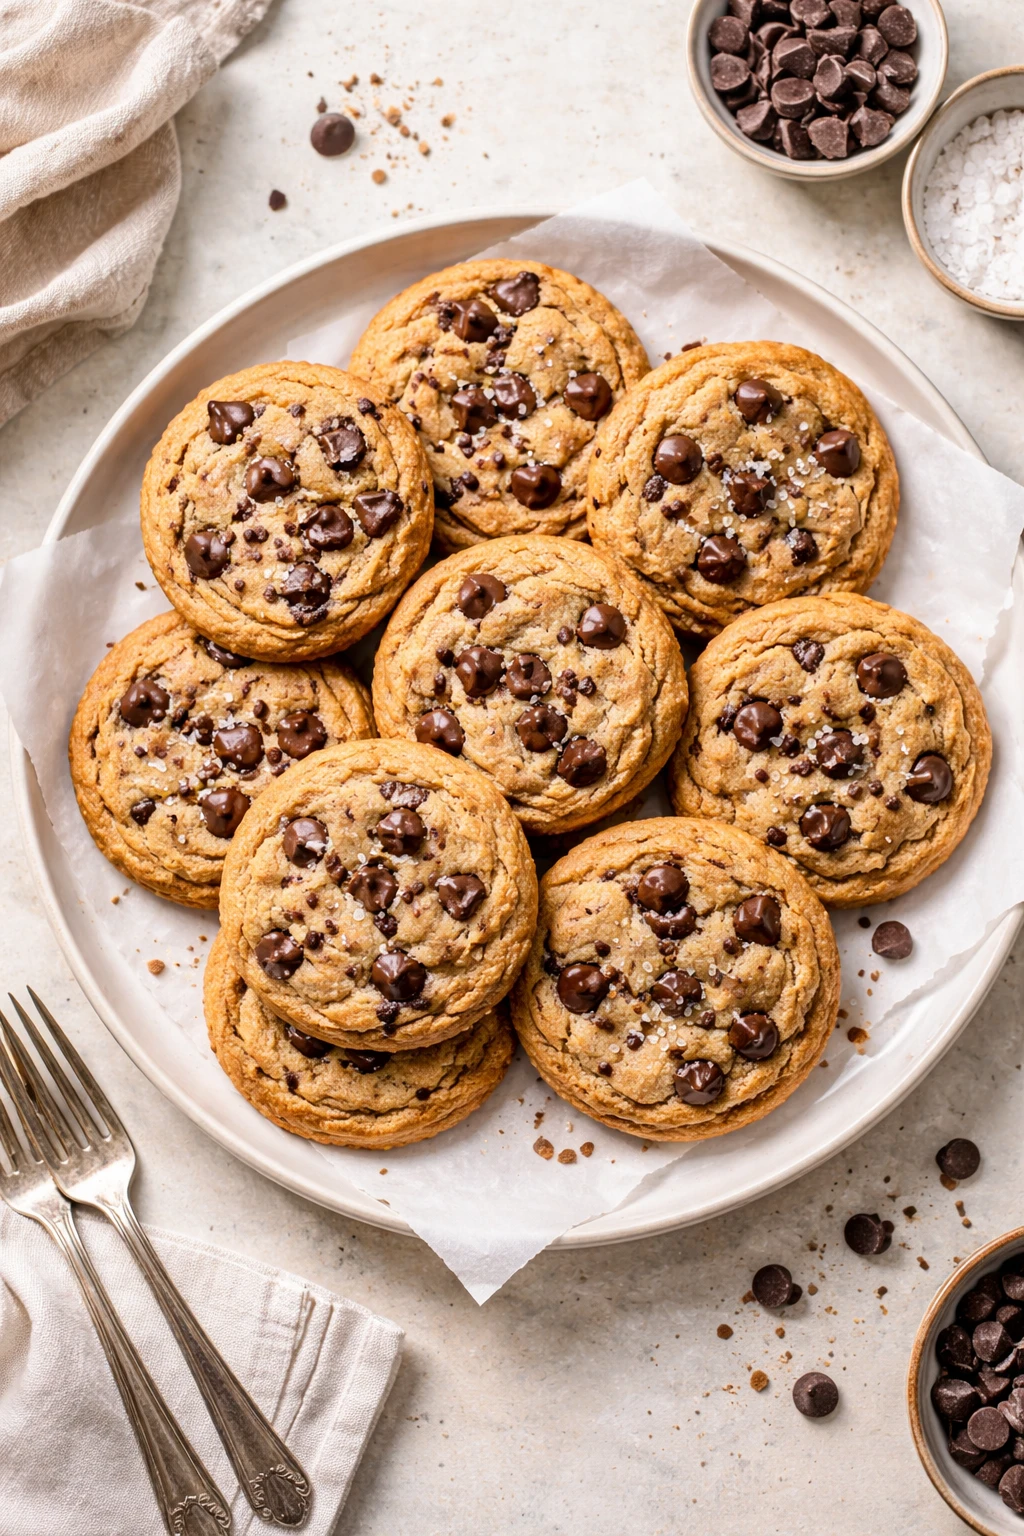
These chocolate chip cookies are my go-to when I want something sweet but don’t have hours to bake. Just five simple ingredients, no fuss, and they come out soft and chewy every time. Perfect for a quick treat after dinner!
Introduction
I first made these chocolate chip cookies on a hectic weeknight when I needed something sweet but didn’t want to spend hours baking. I was surprised how just five main ingredients could come together to create soft, chewy cookies that tasted homemade and comforting. Over time, I tweaked the recipe to use simple pantry staples and cut down on prep time without sacrificing flavor or texture. The trick I learned was to use both brown and granulated sugar for that perfect balance of chewiness and crisp edges. Also, letting the dough chill briefly helps the cookies hold their shape and develop richer flavors. These cookies bake up golden with melty chocolate pockets, and they’re always a hit with my family after dinner or as an afternoon pick-me-up. Honestly, they’re so easy that I find myself making them more often than not — and they never disappoint. If you want a quick, no-fuss dessert that feels homemade, this recipe is for you!
What You'll Need
Approximately 24 cookies, 4 servings
- 1 cup unsalted butter, softened
- 3/4 cup brown sugar, packed
- 1/2 cup granulated sugar
- 2 large eggs
- 2 1/4 cups all-purpose flour
- 1 teaspoon baking soda
- 1/2 teaspoon salt
- 1 1/2 cups semisweet chocolate chips
How To Do It
Step 1
Start by preheating your oven to 350°F (175°C). Line two baking sheets with parchment paper or silicone baking mats to prevent sticking and ensure even baking. This step is crucial because it helps the cookies bake evenly and makes cleanup a breeze. Avoid greasing the pans directly as it can cause the cookies to spread too much and lose their shape.
⏱ Time: 10 minutes
✓ Doneness: Oven preheated and baking sheets prepared with parchment
Step 2
In a large bowl, cream together the softened butter, brown sugar, and granulated sugar using a hand mixer or stand mixer on medium speed. This process should take about 3-4 minutes until the mixture is light and fluffy. Creaming incorporates air, which helps the cookies rise and gives them a tender texture. Don’t rush this step or you’ll end up with dense cookies.
⏱ Time: 4 minutes
✓ Doneness: Butter and sugars combined into a pale, fluffy mixture
Step 3
Add the eggs one at a time, beating well after each addition. This ensures the eggs are fully incorporated and helps bind the dough together. If you add both at once, the mixture might curdle or separate, affecting the cookie texture. Mix just until combined to avoid overworking the dough.
⏱ Time: 2 minutes
✓ Doneness: Smooth, well-mixed batter with no streaks of egg
Step 4
In a separate bowl, whisk together the all-purpose flour, baking soda, and salt. This evenly distributes the leavening agent and salt, which is important for consistent rising and balanced flavor. Sifting the flour is optional but helps avoid lumps and ensures a lighter dough.
⏱ Time: 3 minutes
✓ Doneness: Uniform dry mixture with no clumps
Step 5
Gradually add the dry ingredients to the wet mixture, mixing on low speed or folding gently with a spatula. Overmixing at this stage can develop gluten, making cookies tough. Stop mixing as soon as the flour is just incorporated to keep the cookies soft and tender.
⏱ Time: 3 minutes
✓ Doneness: Dough comes together with no visible flour streaks
Step 6
Fold in the chocolate chips evenly using a spatula. This ensures every cookie will have pockets of melty chocolate. Be gentle to avoid breaking the chips or overmixing the dough, which can affect texture.
⏱ Time: 2 minutes
✓ Doneness: Chocolate chips evenly distributed throughout dough
Step 7
For best results, chill the dough in the refrigerator for at least 30 minutes. This firms up the butter, which helps the cookies hold their shape and develop deeper flavors during baking. If you're in a hurry, you can skip this step but expect the cookies to spread more and be thinner.
⏱ Time: 30 minutes
✓ Doneness: Dough firm and cold to the touch
Step 8
Scoop the dough onto the prepared baking sheets using a cookie scoop or tablespoon, spacing them about 2 inches apart. This spacing allows the cookies room to spread without merging. Pressing the dough balls slightly flat helps them bake more evenly.
⏱ Time: 10 minutes
✓ Doneness: Evenly spaced dough balls slightly flattened
Step 9
Bake in the preheated oven for 10-12 minutes or until the edges are golden and the centers look set but still soft. The cookies will continue to firm up as they cool, so avoid overbaking to keep them chewy. Remove from oven and let cool on the baking sheet for 5 minutes before transferring to a wire rack.
⏱ Time: 12 minutes
✓ Doneness: Golden edges with soft, slightly shiny centers
Pro Tips
Always use room temperature butter for creaming.
Room temperature butter blends smoothly with sugar, trapping air that helps cookies rise and become fluffy. Cold butter won’t cream properly, while melted butter leads to flat, greasy cookies.
Chill the dough before baking whenever possible.
Chilling firms the dough so cookies spread less in the oven, resulting in thicker, chewier cookies. It also allows flour to hydrate fully, improving texture and flavor development.
Don’t overmix once you add the flour.
Overmixing develops gluten, which can make cookies tough and dense. Mix just until the flour is incorporated to keep the texture tender.
Use parchment paper or silicone mats to prevent sticking.
These liners provide an even surface that prevents cookies from sticking or burning on the bottom, ensuring even browning and easy cleanup.
Measure flour by spooning into the cup and leveling off.
Scooping flour directly can pack it, resulting in too much flour and dry, dense cookies. Lightly spooning and leveling ensures correct measurement.
Remove cookies from the oven when centers look slightly underbaked.
Cookies continue to bake on the hot sheet after removal. Pulling them out too late causes dry, hard cookies instead of soft, chewy ones.
Let cookies cool on the baking sheet for a few minutes before transferring.
This resting time allows cookies to set and firm up, preventing them from breaking apart when moved to a cooling rack.
Common Mistakes to Avoid
Using melted butter instead of softened butter
Why it happens Some think melted butter speeds up mixing, but it changes dough texture and causes cookies to spread too much.
Fix Always use butter softened at room temperature, not melted. If butter is too cold, microwave in short bursts and let it soften naturally before creaming.
Skipping chilling the dough
Why it happens Impatience or lack of time leads to skipping this step, but it affects cookie thickness and flavor.
Fix Plan ahead to chill dough at least 30 minutes. If short on time, chill as long as possible or freeze dough balls for 10 minutes before baking.
Overmixing the dough after adding flour
Why it happens Trying to fully blend ingredients quickly can lead to overmixing, developing gluten.
Fix Mix gently and just until flour disappears to keep cookies tender and soft.
Incorrect flour measurement
Why it happens Scooping flour directly from the bag packs it and adds too much flour.
Fix Use the spoon-and-level method to measure flour accurately and avoid dry, dense cookies.
Baking cookies for too long
Why it happens Waiting for cookies to look fully done can result in overbaking and dryness.
Fix Remove cookies when edges are golden but centers still look soft; they will firm as they cool.
Variations
Add chopped nuts for crunch
Mix in 1/2 cup chopped walnuts or pecans along with the chocolate chips for added texture and a nutty flavor. The nuts add a satisfying crunch that contrasts nicely with the soft cookie base.
Note: Chop nuts uniformly to ensure even distribution and avoid overly hard bites.
Use white chocolate chips and dried cranberries
Swap semisweet chips for white chocolate and add 1/2 cup dried cranberries for a sweet-tart twist. This variation is great for festive occasions or when you want a lighter chocolate flavor.
Note: Dried cranberries add chewiness and moisture; reduce sugar slightly if desired.
Make gluten-free with almond flour
Replace all-purpose flour with a gluten-free almond flour blend. The cookies will be a bit more delicate and nutty but still delicious for those avoiding gluten.
Note: Almond flour absorbs moisture differently; chill dough longer and watch baking time closely.
Add a pinch of cinnamon and sea salt
Stir in 1/2 teaspoon ground cinnamon and sprinkle a little flaky sea salt on top before baking. This adds warmth and enhances the chocolate flavor, creating a more complex cookie.
Note: Don’t overdo salt; a light sprinkle is enough to balance sweetness.
Use peanut butter chips instead of chocolate
For a peanut butter lover’s dream, swap chocolate chips with peanut butter chips. The cookies become rich and nutty, perfect with a glass of milk.
Note: Peanut butter chips melt differently; keep an eye on baking time to avoid burning.
Nutrition
Per Serving:
Nutritional values are estimates and may vary based on specific ingredients used.
Storage & Tips
Room Temperature
Cookies can be kept at room temperature in an airtight container for up to 3 days. Make sure they’re completely cooled before storing to avoid sogginess. They stay soft but may lose some freshness after a couple of days.
Refrigerator
Store cookies in an airtight container in the fridge for up to 1 week. They may firm up and become less chewy when cold; bring to room temperature or warm briefly in the microwave before serving for best texture.
Freezer
Freeze cookies in a single layer on a baking sheet, then transfer to a freezer-safe bag or container for up to 3 months. Wrap well to prevent freezer burn. Thaw at room temperature or warm gently in the oven to restore softness.
Reheating
Reheat cookies in a 300°F oven for 5-7 minutes or microwave for 10-15 seconds. Adding a small piece of bread in the container can help keep cookies moist. Avoid overheating, which can dry them out.
Make Ahead
You can prepare the dough up to 2 days ahead and keep it chilled in the fridge. Alternatively, shape dough balls and freeze them, then bake directly from frozen adding a couple of extra minutes to baking time.
FAQ
Can I use salted butter instead of unsalted?
Yes, but reduce or omit the added salt in the recipe to prevent the cookies from becoming too salty. Salted butter varies in salt content, so taste your dough before baking and adjust accordingly.
Why do my cookies spread too much?
This usually happens if the dough is too warm or you used melted butter. Make sure to chill the dough before baking and use softened, not melted, butter. Also, check your flour measurement to avoid too little flour.
Can I substitute the all-purpose flour with whole wheat flour?
You can, but whole wheat flour will make cookies denser and give a nuttier flavor. Use a lighter whole wheat flour and consider adding a bit more moisture or chilling longer to maintain softness.
How do I keep my cookies soft for longer?
Store cookies in an airtight container with a slice of bread or a damp paper towel to retain moisture. Avoid refrigeration if you want to keep them soft, or warm them slightly before serving.
Can I add other mix-ins besides chocolate chips?
Absolutely! Nuts, dried fruit, or different types of chocolate chips all work well. Just keep the total mix-in quantity similar to maintain dough balance and baking time.
Why are my cookies dry or crumbly?
This can happen if you overbake or use too much flour. Measure flour carefully and remove cookies from the oven when centers are still soft. Overmixing can also cause dryness by developing gluten.
Can I make these cookies vegan?
To veganize, replace butter with a vegan butter substitute and use flax eggs (1 tbsp ground flax + 3 tbsp water per egg). The texture may be slightly different but still delicious.
Is it necessary to chill the dough?
Chilling improves texture and flavor, but if you’re in a hurry, you can bake immediately. Just expect thinner, crisper cookies with less depth of flavor.
Final Thoughts
I hope you give these easy 5 ingredient chocolate chip cookies a try and enjoy how simple and delicious they are. Don’t forget to share your baking stories—I’d love to hear how they turn out!