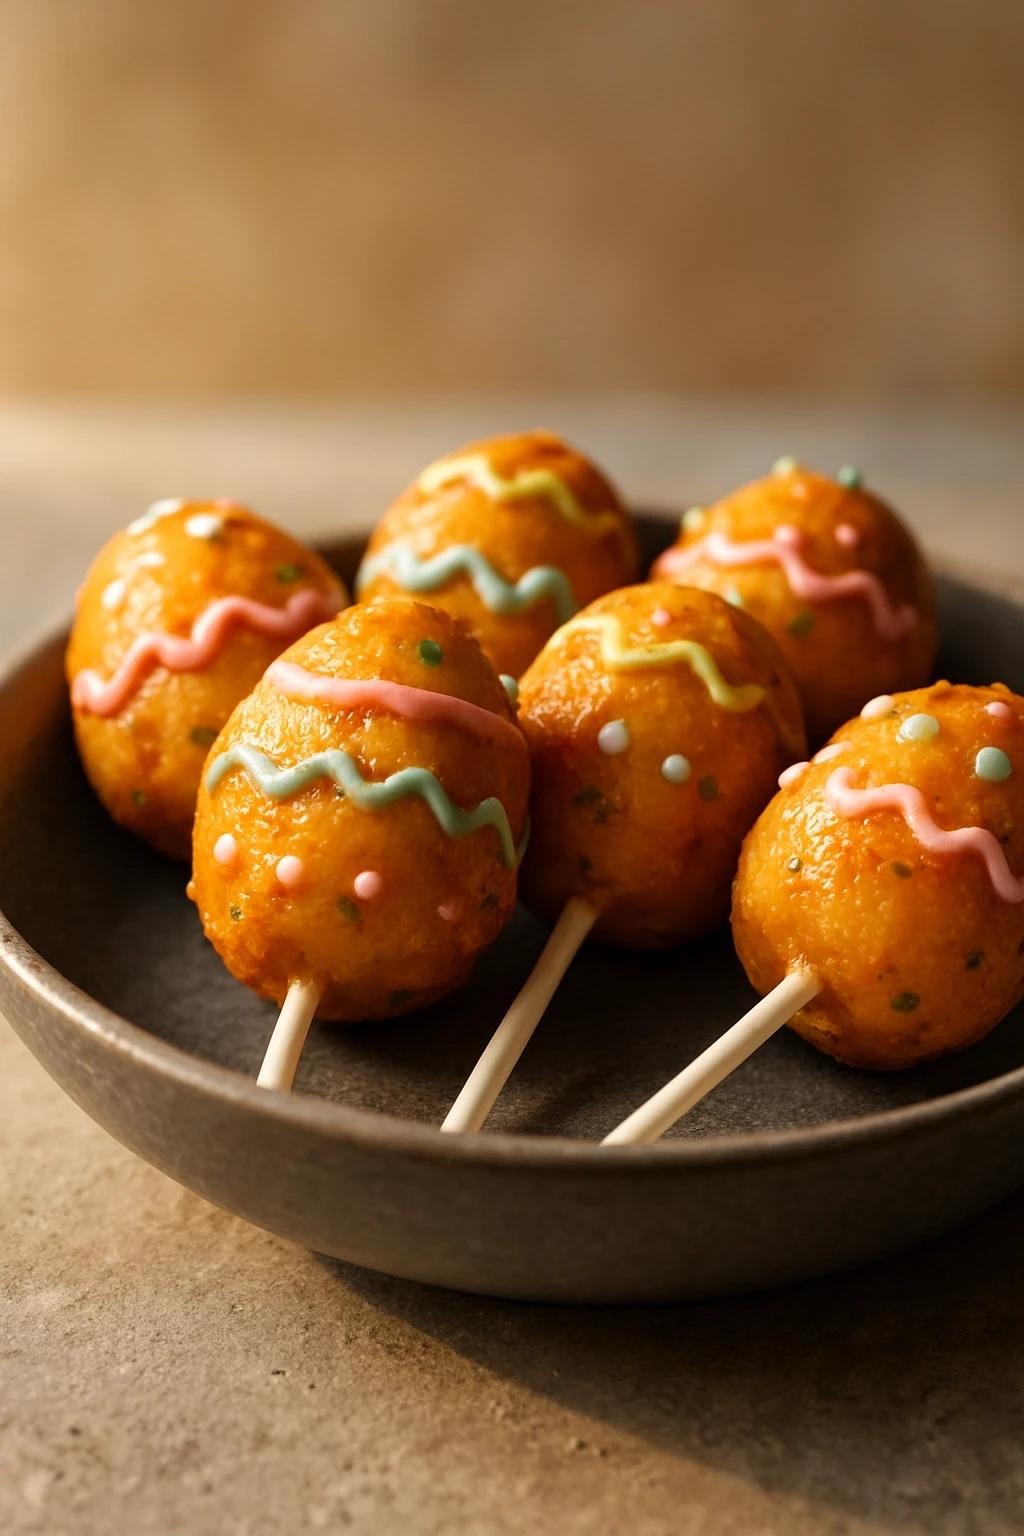
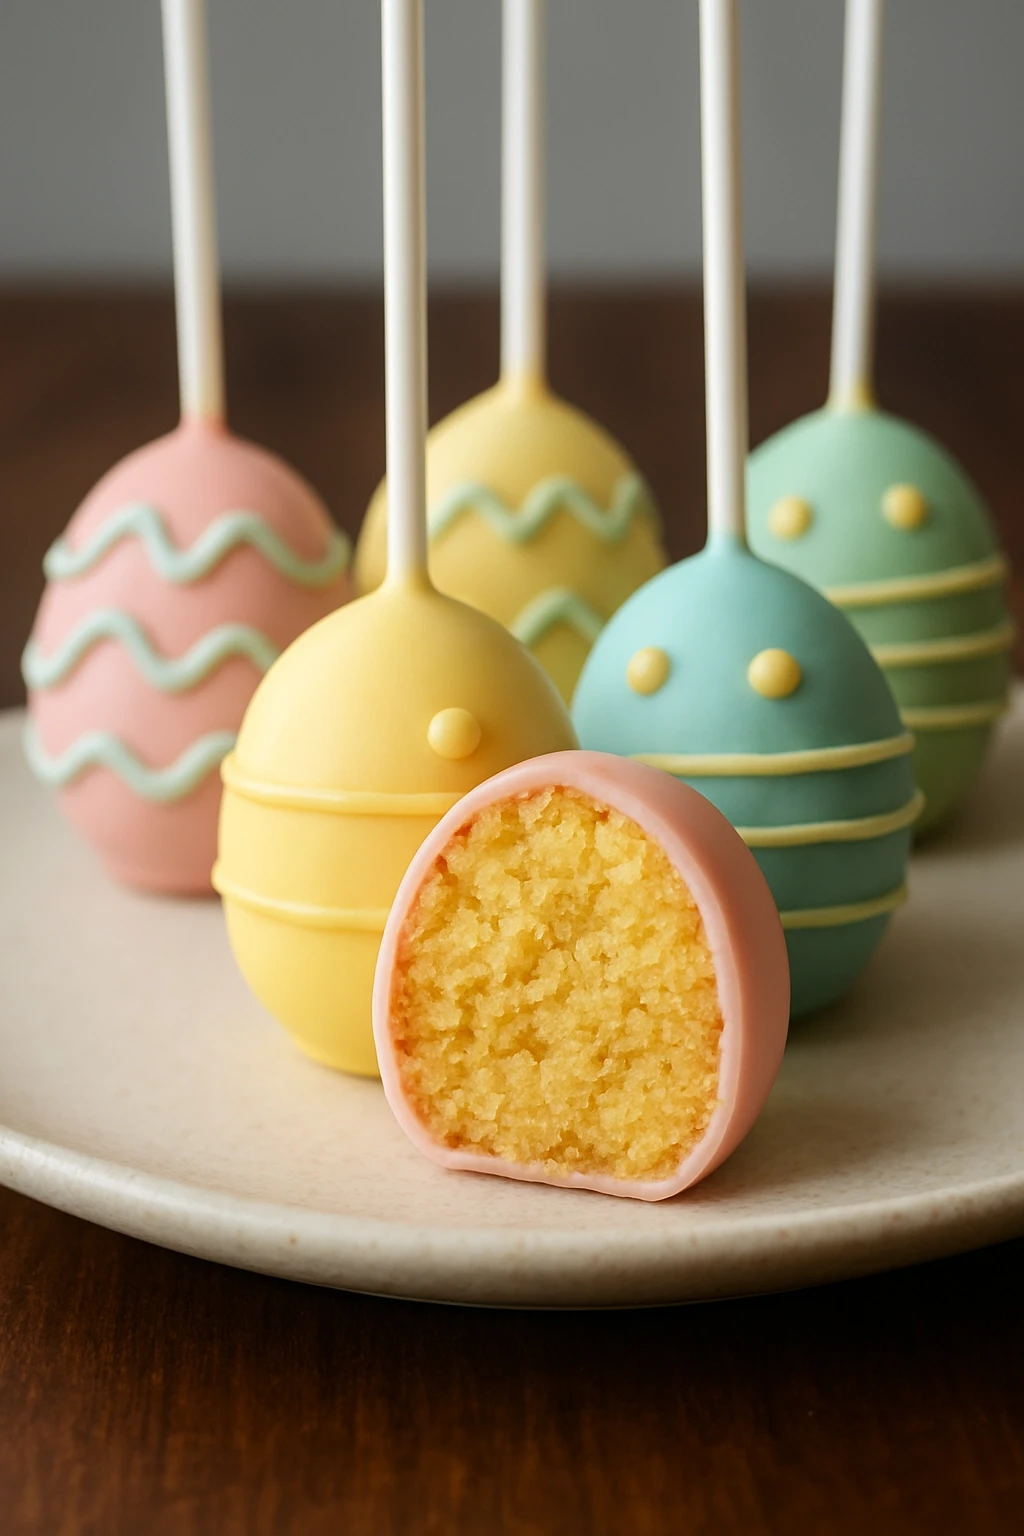
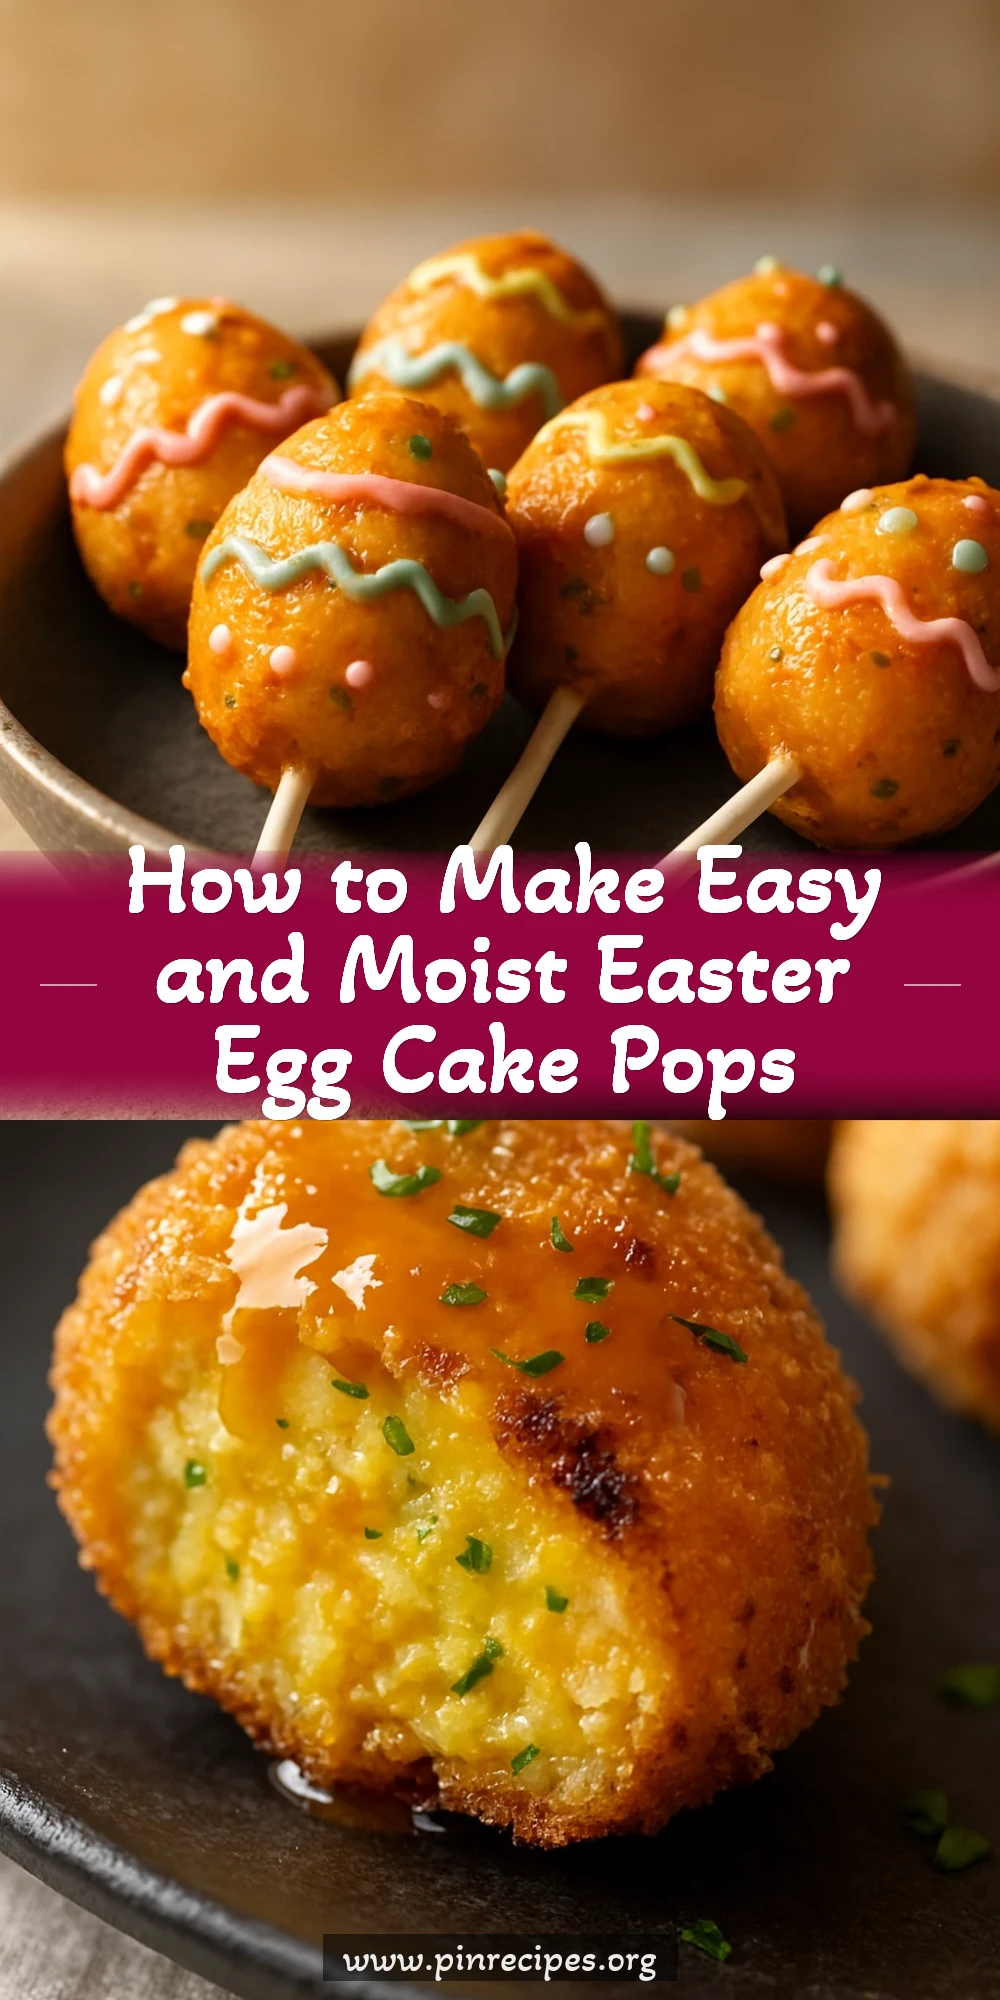
These cute Easter egg cake pops are a delightful treat that's simple to make. Using a secret ingredient for moistness and colorful icing, they're perfect for family gatherings or spring parties!
Introduction
I first tried making cake pops a few years ago for an Easter brunch, and honestly, it was a bit of a mess. The cake was too dry, and the pops kept falling apart. After some trial and error, I discovered that mixing the cake crumbs with cream cheese frosting creates the perfect moist, moldable base. This recipe is my go-to for Easter because the egg shape is festive and fun, and decorating with pastel candy melts and sprinkles makes them look adorable. Plus, they’re easy enough to make with kids, which is always a bonus during the busy spring season. The finished pops are moist, flavorful, and have just the right sweetness. They’re great for gifting or as a centerpiece on your dessert table.
What You'll Need
Approximately 12 cake pops
- 1 box vanilla cake mix, prepared according to package instructions and cooled
- 1 cup cream cheese frosting, room temperature
- Food coloring gel (pastel colors), as desired
- 12 lollipop sticks
- 1 package white candy melts
- Sprinkles and edible decorations, assorted colors
How To Do It
Step 1
Start by crumbling the cooled vanilla cake into a large bowl using your hands or a fork. The finer the crumbs, the smoother your cake pops will be. This step is crucial because large chunks can make shaping difficult and cause the pops to fall apart later. Aim for a texture similar to coarse sand. Avoid using freshly baked cake that’s still warm, as it will make the mixture too sticky and hard to handle.
⏱ Time: 5 minutes
✓ Doneness: Cake crumbs are fine and uniform with no large chunks
Step 2
Add the cream cheese frosting gradually to the cake crumbs, mixing gently with a spatula or your hands. Start with about half a cup and add more as needed until the mixture holds together well when pressed. The frosting acts as a binder and adds moisture, preventing dry pops. Be careful not to add too much frosting, or the mixture will become too sticky and hard to shape.
⏱ Time: 5 minutes
✓ Doneness: Mixture is moist but holds shape when rolled into a ball
Step 3
Divide the cake mixture into 12 equal parts and shape each into an oval or egg shape with your hands. This shape is festive and fits the Easter theme perfectly. Press firmly but gently to avoid cracks. If the mixture feels too sticky, chill it in the fridge for 10 minutes to firm up before shaping.
⏱ Time: 10 minutes
✓ Doneness: Smooth, firm egg-shaped balls with no cracks
Step 4
Insert a lollipop stick into each shaped cake pop about halfway through. This step requires a gentle hand to avoid breaking the pops. If the cake mixture feels fragile, dip the tip of the stick in melted candy melts first to act as glue, then insert it into the cake. This helps secure the stick and prevents the pop from falling off later.
⏱ Time: 5 minutes
✓ Doneness: Sticks are firmly anchored and cake pops hold together
Step 5
Place the cake pops on a parchment-lined tray and chill in the refrigerator for at least 30 minutes. Chilling firms up the pops, making them easier to dip and decorate. Skipping this step can lead to crumbling or melting when coating with candy melts.
⏱ Time: 30 minutes
✓ Doneness: Cake pops are firm and cold to the touch
Step 6
Melt the white candy melts in a microwave-safe bowl in 30-second intervals, stirring between each until smooth. Candy melts should be fluid but not too hot. Overheating can cause them to seize or become grainy, so take care to heat gently.
⏱ Time: 5 minutes
✓ Doneness: Candy melts are smooth, glossy, and pourable
Step 7
Dip each chilled cake pop into the melted candy melts, covering completely. Tap off excess gently on the side of the bowl. This coating seals the cake and gives a beautiful smooth surface for decorating. Work quickly so the coating doesn’t harden before you add decorations.
⏱ Time: 10 minutes
✓ Doneness: Cake pops are evenly coated with a smooth candy shell
Step 8
While the coating is still wet, decorate with sprinkles, edible glitter, or piped designs using colored candy melts. This step adds personality and festive charm to your pops. If you wait too long, decorations won’t stick properly.
⏱ Time: 10 minutes
✓ Doneness: Decorations are firmly attached and vibrant
Step 9
Allow the cake pops to set upright in a styrofoam block or cake pop stand at room temperature until the coating hardens completely, about 20 minutes. This ensures the pops keep their shape and the coating stays intact during serving or transport.
⏱ Time: 20 minutes
✓ Doneness: Candy coating is fully hardened and firm to the touch
Pro Tips
Use room temperature frosting for easier mixing.
Cold frosting is stiff and hard to incorporate evenly into cake crumbs, which can result in uneven texture and dry spots. Room temperature frosting blends smoothly, ensuring the cake pop mixture is uniform and holds together well.
Chill cake pops before dipping to firm up the shape.
Chilling solidifies the cake pop mixture, making it less likely to crumble or fall off the stick during dipping. It also helps the candy coating adhere better and prevents melting or warping of the shape.
Dip the lollipop stick in melted candy before inserting.
This acts like edible glue, securing the stick inside the cake pop. Without this step, the stick can loosen or fall out, especially when handling or serving.
Tap off excess candy coating gently after dipping.
Removing excess coating prevents thick, uneven shells that can crack or take longer to set. A thin, even layer looks better and hardens faster.
Work quickly when decorating while coating is wet.
Candy melts harden fast at room temperature, so adding decorations promptly ensures they stick well. Waiting too long results in poor adhesion and messy appearance.
Use a styrofoam block or cake pop stand to dry upright.
Drying cake pops upright keeps the coating smooth and prevents flat spots or smudges. It also helps maintain the stick’s position and prevents damage.
Avoid overmixing cake and frosting to keep texture light.
Overmixing can make the mixture too dense or sticky, making shaping difficult and resulting in heavy cake pops. Gentle mixing keeps them tender yet firm.
Common Mistakes to Avoid
Using warm cake for the mixture
Why it happens Many assume freshly baked cake is best, but warm cake makes the frosting melt and creates a sticky mess.
Fix Always cool cake completely before crumbling. If in a hurry, chill it in the fridge to speed up the process and ensure the mixture holds together properly.
Skipping the chilling step before dipping
Why it happens Impatience or lack of planning leads to dipping soft cake pops that crumble easily.
Fix Chill the shaped cake pops for at least 30 minutes to firm them up. This prevents breakage and helps candy coating adhere smoothly.
Applying too much frosting
Why it happens Thinking more frosting makes cake moister, but too much makes the mixture sticky and hard to shape.
Fix Add frosting gradually, just until mixture holds together. If it’s too sticky, add more cake crumbs or chill to firm up.
Overheating candy melts
Why it happens Microwaving too long or at high power causes candy melts to seize or become grainy.
Fix Heat in short bursts (20-30 seconds), stirring often. Remove from heat as soon as smooth and fluid.
Not securing sticks properly
Why it happens Skipping dipping sticks in candy melts leads to loose sticks that fall out.
Fix Dip stick tips in melted candy before inserting into cake balls. Chill to set before dipping the whole pop.
Variations
Chocolate Easter Egg Cake Pops
Swap vanilla cake mix for chocolate and use chocolate candy melts for coating. Decorate with pastel-colored drizzle or sprinkles. Expect a richer, more intense flavor with a fudgy texture.
Note: Chocolate cake crumbs may be denser, so adjust frosting amount slightly to maintain moldable texture.
Lemon Poppy Seed Cake Pops
Use lemon cake mix and add poppy seeds to the mixture. Coat with white candy melts tinted yellow and decorate with edible flowers or lemon zest. These pops have a bright, fresh taste perfect for spring.
Note: Poppy seeds add texture; mix gently to avoid breaking cake balls during shaping.
Vegan Easter Cake Pops
Use a vegan cake mix and dairy-free frosting. Opt for vegan candy melts or melted vegan chocolate for coating. The texture might be slightly different but still delicious and festive.
Note: Vegan frosting can be thinner; chill mixture longer before shaping to firm up.
Peanut Butter Easter Cake Pops
Mix peanut butter into cream cheese frosting before combining with cake crumbs. Use milk chocolate candy melts for coating and decorate with chopped peanuts. These have a nutty, creamy flavor twist.
Note: Peanut butter adds fat and moisture; reduce frosting slightly to keep consistency.
Mini Easter Egg Cake Pops
Make smaller, bite-sized cake pops for easy snacking or party favors. Adjust stick length and chill time accordingly. These are perfect for kids or buffet tables.
Note: Smaller size means faster chilling and coating; handle gently to avoid breakage.
Nutrition
Per Serving:
Nutritional values are estimates and may vary based on specific ingredients used.
Storage & Tips
Room Temperature
Cake pops can be safely kept at room temperature for up to 4 hours if covered loosely to avoid drying out. Avoid direct sunlight or heat sources that soften the candy coating.
Refrigerator
Store cake pops in an airtight container in the fridge for up to 4 days. The coating will harden further and the cake inside may firm up. Bring to room temperature before serving for best flavor and texture.
Freezer
Freeze cake pops in a single layer on a tray until firm, then transfer to an airtight container or freezer bag for up to 2 months. Wrap pops individually in plastic wrap to prevent freezer burn. Thaw overnight in the fridge before serving.
Reheating
Cake pops are best served at room temperature. Avoid microwaving as it can melt the candy coating unevenly. If needed, let them sit out for 30 minutes to soften naturally.
Make Ahead
Prepare cake pop mixture and shape the eggs 1-2 days ahead. Store shaped pops on a tray covered loosely in the fridge, then proceed with dipping and decorating on the day of serving for freshest results.
FAQ
Can I use homemade cake instead of box mix?
Absolutely! Homemade cake works great as long as it’s fully cooled and not too moist. The key is crumbly texture so it mixes well with frosting. Avoid very dense or oily cakes which can affect binding.
What if my cake pops keep falling off the sticks?
This usually means the mixture is too crumbly or the stick isn’t secured. Try adding a bit more frosting to bind, and dip the stick tip in melted candy before inserting. Also, chilling the pops before dipping helps them hold together.
Can I freeze decorated cake pops?
Yes, but wrap them well to avoid moisture and freezer burn. Freeze on a tray first, then store in airtight containers. Thaw in the fridge overnight and bring to room temperature before serving to maintain texture.
How do I get smooth candy coating without lumps?
Heat candy melts slowly in short bursts, stirring frequently. Avoid overheating which causes graininess. If lumps appear, add a small amount of vegetable oil and stir gently to smooth out.
Can I make these gluten-free?
Yes! Use a gluten-free cake mix and ensure your candy melts and decorations are gluten-free. The technique remains the same, but the texture might be slightly different depending on the cake mix.
What’s the best way to store cake pops for a party?
Keep them in an airtight container at room temperature if serving the same day. For longer storage, refrigerate and bring to room temp before serving. Use a cake pop stand or styrofoam block to keep them upright and prevent damage.
Can I use chocolate chips instead of candy melts?
Regular chocolate chips don’t harden as firmly as candy melts and can be tricky to dip with. If you prefer chocolate, use coating chocolate or compound chocolate designed for dipping.
How do I fix sticky or crumbly cake pop mixture?
If sticky, chill the mixture to firm up or add more cake crumbs. If crumbly, add a bit more frosting. The mixture should be moist enough to hold shape but not sticky or wet.
Final Thoughts
Give these Easter egg cake pops a try—they’re fun to make and even better to eat! I’d love to hear how yours turn out, so don’t forget to share your photos and tips.