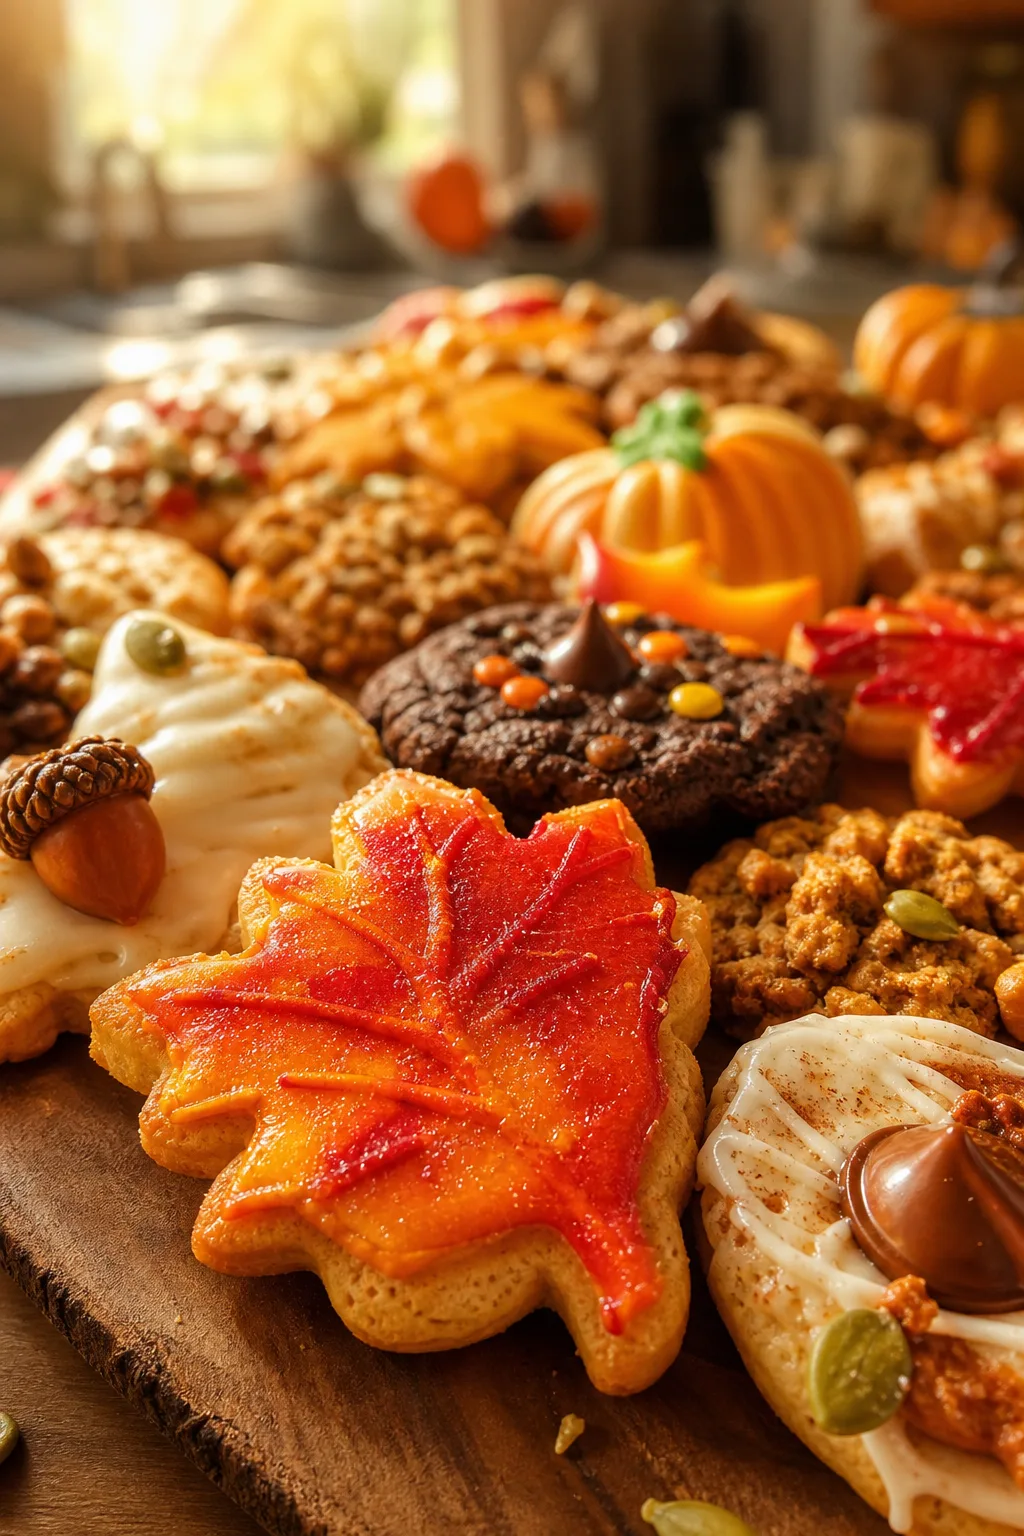
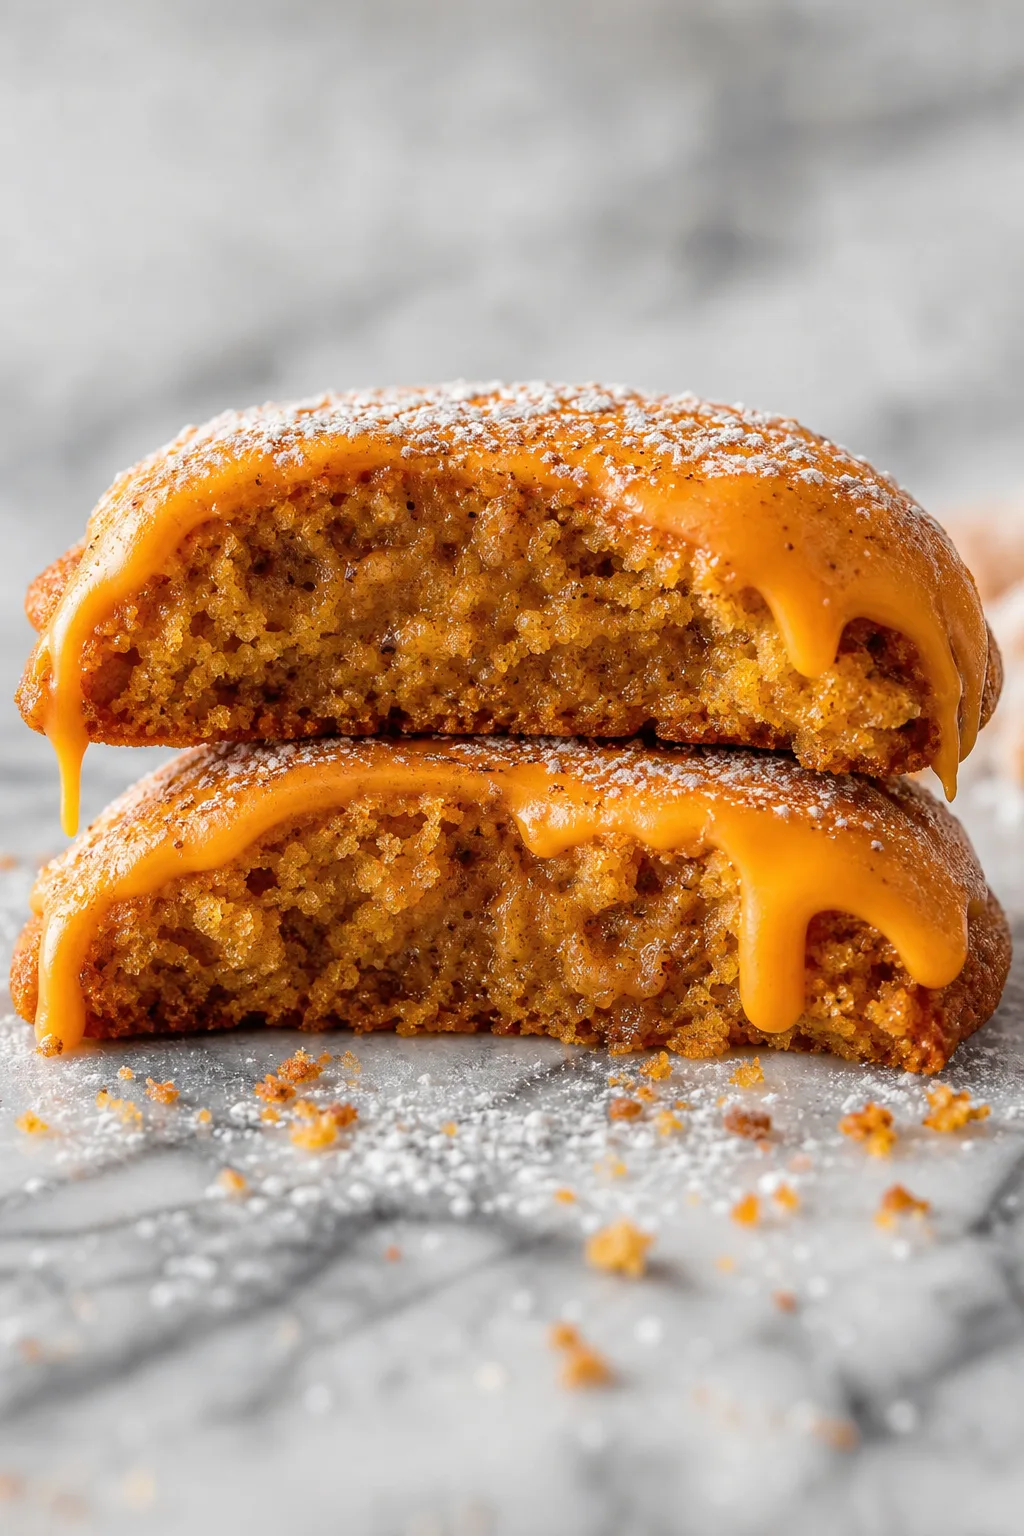
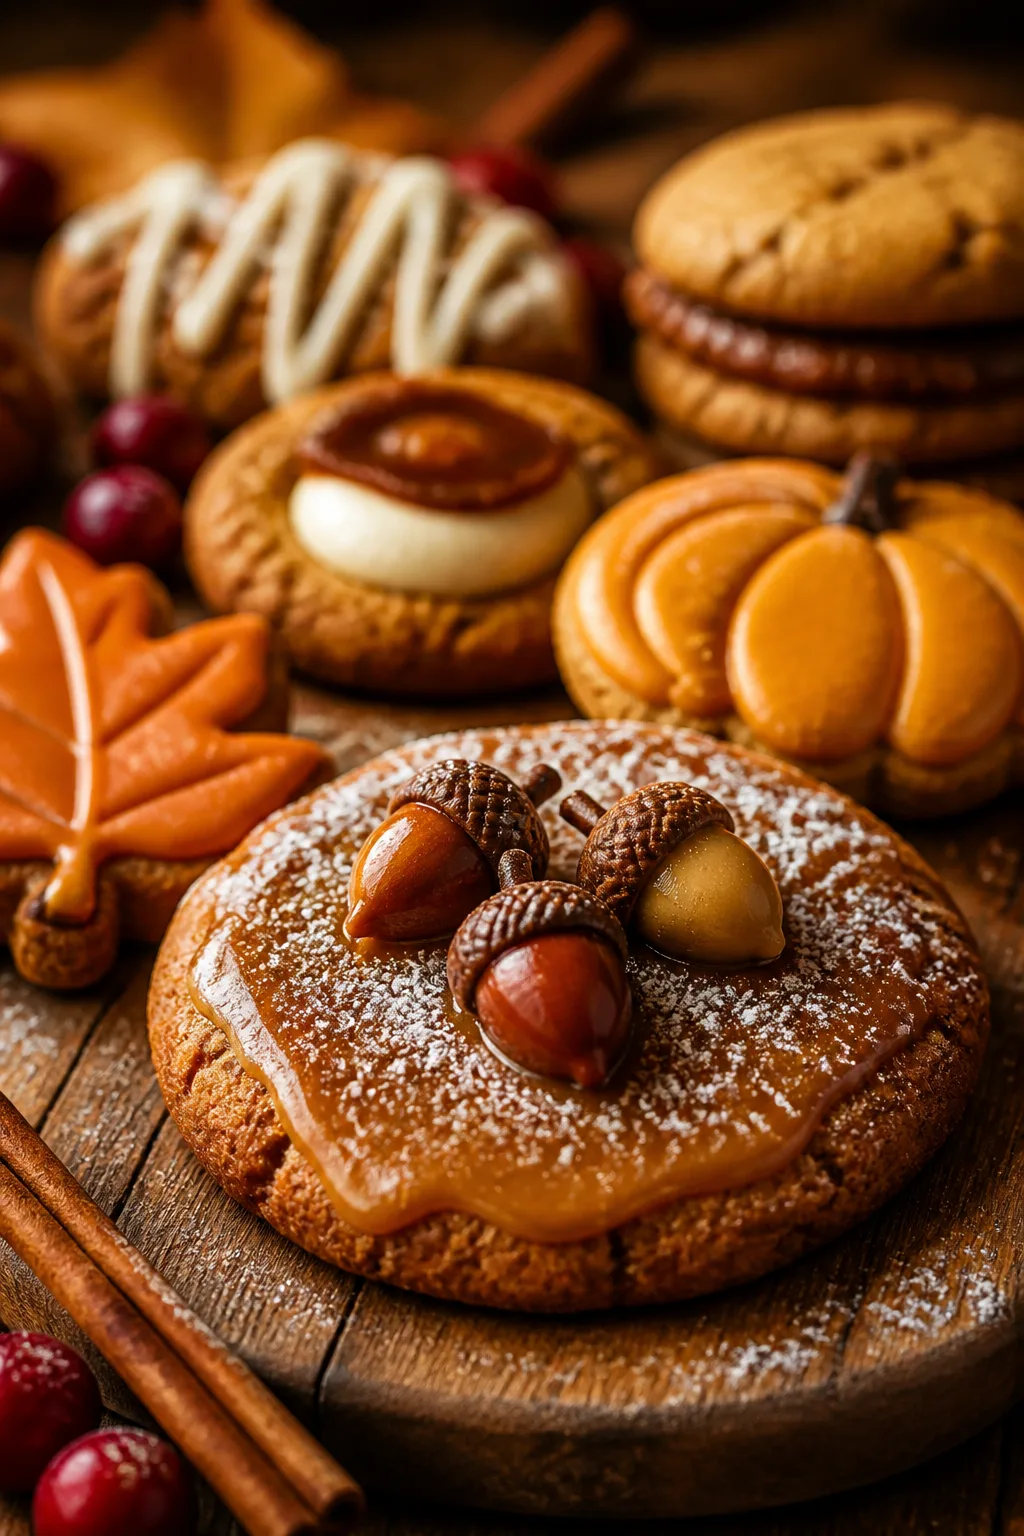
These easy fall treats are perfect for making with kids on crisp autumn afternoons. With simple ingredients and fun shapes, they’re a cozy way to celebrate the season together. Great for after school or weekend baking fun!
Introduction
I’ve always loved baking with my kids during the fall—it’s such a cozy way to welcome the season and make memories. This recipe for fall treats to make with kids has been a family favorite for years. What makes it special is how simple the dough is to mix and roll out, plus the fun of cutting out autumn shapes like leaves and pumpkins. I remember the first time my youngest decorated the cookies with bright orange icing—it was a messy but joyful moment that made me realize how much these little traditions mean. The trick I learned is to chill the dough well before rolling; it keeps the cookies from spreading too much and helps them hold their shapes perfectly. These treats bake up soft with a hint of warm spices, and the icing adds a sweet, colorful finish that kids love. Whether you’re baking after school or on a lazy weekend morning, these fall treats are easy, fun, and delicious enough to share with friends and family. I hope you enjoy making them as much as we do!
What You'll Need
Approximately 24 cookies, 8 servings
- 2 cups all-purpose flour
- 1 teaspoon baking powder
- 1/2 teaspoon baking soda
- 1 teaspoon ground cinnamon
- 1/2 teaspoon ground nutmeg
- 1/4 teaspoon salt
- 1/2 cup unsalted butter, softened
- 1 cup granulated sugar
- 1 large egg
- 1/2 cup canned pumpkin puree
- 1 teaspoon vanilla extract
- For icing: 1 cup powdered sugar, 2 tablespoons milk, food coloring (orange, red, yellow)
How To Do It
Step 1
Start by whisking together the flour, baking powder, baking soda, cinnamon, nutmeg, and salt in a medium bowl. This dry mix ensures the spices are evenly distributed and the leavening agents are well combined, which helps the cookies rise just right and have a balanced flavor. Mixing the dry ingredients separately prevents clumps and guarantees a smooth dough texture later. Set aside while you prepare the wet ingredients.
⏱ Time: 5 minutes
✓ Doneness: Dry ingredients are evenly mixed with no lumps or streaks.
Step 2
In a large bowl, cream the softened butter and sugar together using a hand mixer or stand mixer on medium speed. This process incorporates air into the mixture, making the cookies light and tender. Beat until the mixture is pale and fluffy, about 3-4 minutes. Add the egg, pumpkin puree, and vanilla extract, then mix until fully combined. The pumpkin adds moisture and a subtle autumn flavor, keeping the cookies soft.
⏱ Time: 7 minutes
✓ Doneness: Mixture is smooth, creamy, and homogenous with no visible butter or sugar granules.
Step 3
Gradually add the dry ingredient mixture into the wet ingredients, mixing on low speed to avoid overworking the dough. Overmixing can develop gluten and make cookies tough. Mix just until the flour disappears and the dough forms a cohesive ball. If the dough feels sticky, chill it in the refrigerator for 30 minutes to make rolling easier and to help the cookies hold their shape during baking.
⏱ Time: 5 minutes plus 30 minutes chilling
✓ Doneness: Dough is smooth, slightly firm but pliable, and holds together well.
Step 4
Preheat your oven to 350°F (175°C) and line baking sheets with parchment paper. Lightly flour your work surface and roll out the dough to about 1/4 inch thickness. Using fall-themed cookie cutters (leaves, pumpkins, acorns), cut out shapes and place them 1 inch apart on the baking sheets. Rolling evenly ensures uniform baking and prevents some cookies from burning while others remain underdone.
⏱ Time: 10 minutes
✓ Doneness: Cookies are evenly cut with clean edges and spaced properly on the sheet.
Step 5
Bake the cookies for 10-12 minutes or until the edges are just set and lightly golden. Avoid overbaking to keep them soft and tender inside. You’ll notice a subtle aroma of cinnamon and pumpkin filling your kitchen. Remove from the oven and let the cookies cool on the baking sheet for 5 minutes before transferring them to a wire rack to cool completely.
⏱ Time: 12 minutes baking plus 5 minutes cooling
✓ Doneness: Edges are slightly golden but centers remain soft; cookies are firm enough to move without breaking.
Step 6
While cookies cool, prepare the icing by whisking powdered sugar with milk and a few drops of food coloring until smooth and glossy. Adjust the consistency by adding more milk to thin or more sugar to thicken. This icing is perfect for decorating and dries to a shiny finish that kids love to customize with sprinkles or edible decorations.
⏱ Time: 5 minutes
✓ Doneness: Icing is smooth, shiny, and coats the back of a spoon without running off quickly.
Step 7
Once cookies are completely cool, spread or pipe the icing onto the tops. Get creative with colors and patterns—this is the fun part for kids! Let the icing set at room temperature for at least 30 minutes before stacking or storing to prevent smudging.
⏱ Time: 15 minutes decorating plus 30 minutes setting
✓ Doneness: Icing is dry to the touch and holds shape without sticking.
Step 8
Store the decorated cookies in an airtight container at room temperature for up to 3 days. Layer with parchment paper between to avoid sticking. These cookies are best enjoyed within a few days to keep them soft and fresh.
⏱ Time: N/A
✓ Doneness: Cookies remain soft and flavorful when stored properly.
Step 9
For extra fun, invite kids to help with mixing, rolling, cutting, and decorating. It’s a great way to teach basic baking skills and enjoy quality time together. Plus, the joy on their faces when they see their creations is priceless!
⏱ Time: N/A
✓ Doneness: Kids engaged and proud of their cookie creations.
Pro Tips
Chill the dough for at least 30 minutes before rolling.
Chilling firms the butter and hydrates the flour, which prevents the cookies from spreading too much in the oven. This step helps the cookies maintain their festive shapes and develop crisp edges with a tender center.
Use parchment paper on baking sheets.
Parchment prevents sticking and promotes even baking by insulating the cookie bottoms. It also makes cleanup easier, which is great when baking with kids.
Don’t overmix the dough once you add the flour.
Overmixing develops gluten, which can make cookies tough and chewy instead of soft and tender. Mix just until the flour is incorporated to keep the texture light.
Let cookies cool completely before icing.
Icing melts and slides off warm cookies. Cooling ensures a smooth, glossy finish that sets well, perfect for decorating and stacking.
Use gel food coloring for vibrant icing colors.
Gel colors are more concentrated and won’t thin out the icing like liquid colors can. This keeps the icing consistency perfect for decorating.
Add a pinch of salt to the icing.
A little salt balances the sweetness and enhances the icing flavor, making it taste less cloying and more complex.
Involve kids in decorating with sprinkles and edible decorations.
It makes baking fun and creative. Plus, kids are more likely to enjoy treats they helped make!
Common Mistakes to Avoid
Rolling the dough too thin
Why it happens Sometimes, in an effort to speed up baking, dough is rolled too thin which causes cookies to bake too quickly and become crisp or burnt.
Fix Aim for about 1/4 inch thickness. This ensures the cookies bake evenly with a soft center and crisp edges. Use a ruler or rolling pin guides if you have them.
Skipping chilling the dough
Why it happens Impatience or lack of time leads some to bake immediately, but warm dough spreads too much and loses shape.
Fix Plan ahead and chill the dough for at least 30 minutes. This step is essential for maintaining the cookie shapes and texture.
Overbaking the cookies
Why it happens Cookies continue to cook slightly after removal, so leaving them in too long results in dry, hard treats.
Fix Remove cookies when edges are set and just starting to brown. Let them cool on the pan for a few minutes to finish cooking gently.
Using pumpkin pie filling instead of puree
Why it happens Some confuse canned pumpkin pie filling with puree, but the filling contains added sugars and spices that alter texture and flavor.
Fix Use pure pumpkin puree only to control sweetness and spice levels yourself.
Applying icing to warm cookies
Why it happens Icing melts and runs off if cookies are warm, ruining the decoration.
Fix Always wait until cookies are completely cool before decorating.
Variations
Gluten-Free Fall Cookies
Swap all-purpose flour for a gluten-free blend designed for baking. Add 1/4 teaspoon xanthan gum if your blend doesn’t include it to help with structure. Expect a slightly different texture but still soft and delicious.
Note: Gluten-free dough may be more fragile; chill well and handle gently when rolling and cutting.
Vegan Pumpkin Cookies
Replace butter with coconut oil or vegan margarine and use a flax egg (1 tablespoon ground flaxseed + 3 tablespoons water) instead of a chicken egg. These changes keep the cookies moist and flavorful without animal products.
Note: Vegan dough may be softer; chilling is even more important to maintain shape.
Spiced Maple Icing
Add 1/2 teaspoon maple extract and a pinch of cinnamon to the icing for a richer fall flavor. This pairs beautifully with the pumpkin spice cookies and adds complexity.
Note: Adjust milk quantity in icing to maintain proper consistency after adding extracts.
Chocolate-Dipped Fall Cookies
Dip half of each cooled cookie in melted dark or milk chocolate and let set on parchment paper. Adds a decadent touch kids will love, perfect for special occasions.
Note: Use tempered chocolate or add a little coconut oil to melted chocolate for a smooth finish.
Pumpkin Chocolate Chip Cookies
Fold 1/2 cup mini chocolate chips into the dough before chilling. The chocolate adds a melty surprise inside each cookie, enhancing the pumpkin spice flavor.
Note: Chill dough well as the chips can make it softer and harder to cut shapes.
Nutrition
Per Serving:
Nutritional values are estimates and may vary based on specific ingredients used.
Storage & Tips
Room Temperature
Keep cookies in an airtight container at room temperature for up to 3 days. Avoid humid environments which can make cookies soggy. Layer with parchment paper to prevent sticking.
Refrigerator
Store decorated cookies in an airtight container in the fridge for up to 5 days. They may firm up slightly; bring to room temperature before serving for best texture.
Freezer
Freeze undecorated cookies in a single layer on a baking sheet, then transfer to a freezer-safe container or bag for up to 3 months. Thaw at room temperature before icing or serving.
Reheating
Cookies are best enjoyed at room temperature. If desired, warm gently in a 300°F oven for 5 minutes to refresh softness. Avoid microwaving decorated cookies to prevent melting icing.
Make Ahead
Prepare and chill the dough 1-2 days ahead. Roll and cut shapes just before baking. Cookies can be baked and cooled in advance, then iced on the day of serving for freshest results.
FAQ
Can I use fresh pumpkin instead of canned puree?
Yes, you can roast and puree fresh pumpkin, but make sure it’s cooked until very soft and drained well to avoid excess moisture. This helps maintain the dough consistency and baking results similar to canned pumpkin.
What if my dough is too sticky to roll out?
Chill the dough longer to firm up the butter and hydrate the flour. If still sticky, lightly flour your work surface and rolling pin, but avoid adding too much flour as it can make cookies dry.
Can I make these cookies without icing?
Absolutely! The cookies are delicious on their own with warm spices and pumpkin flavor. Icing is optional and mainly for decoration and added sweetness.
How do I keep the cookies soft longer?
Store them in an airtight container with a slice of bread inside; the bread helps retain moisture and keeps cookies soft. Avoid refrigeration as it can dry them out.
Can I freeze decorated cookies?
It’s best to freeze cookies before icing. Decorated cookies can be frozen if the icing is fully set and hardened, but texture and decoration quality may suffer slightly.
What’s the best way to involve kids in this recipe?
Kids love helping with mixing, rolling, cutting shapes, and decorating. Give them small tasks like sprinkling cinnamon or choosing icing colors to keep them engaged and make baking fun.
Can I substitute the spices with pumpkin pie spice?
Yes, you can use pumpkin pie spice instead of individual cinnamon and nutmeg. Use about 1 1/4 teaspoons to match the flavor profile.
Why are my cookies spreading too much?
This usually happens if the dough is too warm or you skipped chilling. Make sure to chill the dough well and avoid overworking it. Also, check your baking powder and soda freshness.
Final Thoughts
I hope you and your family enjoy these fall treats as much as mine do. They’re simple, fun, and bring a little cozy magic to any autumn day. Happy baking!