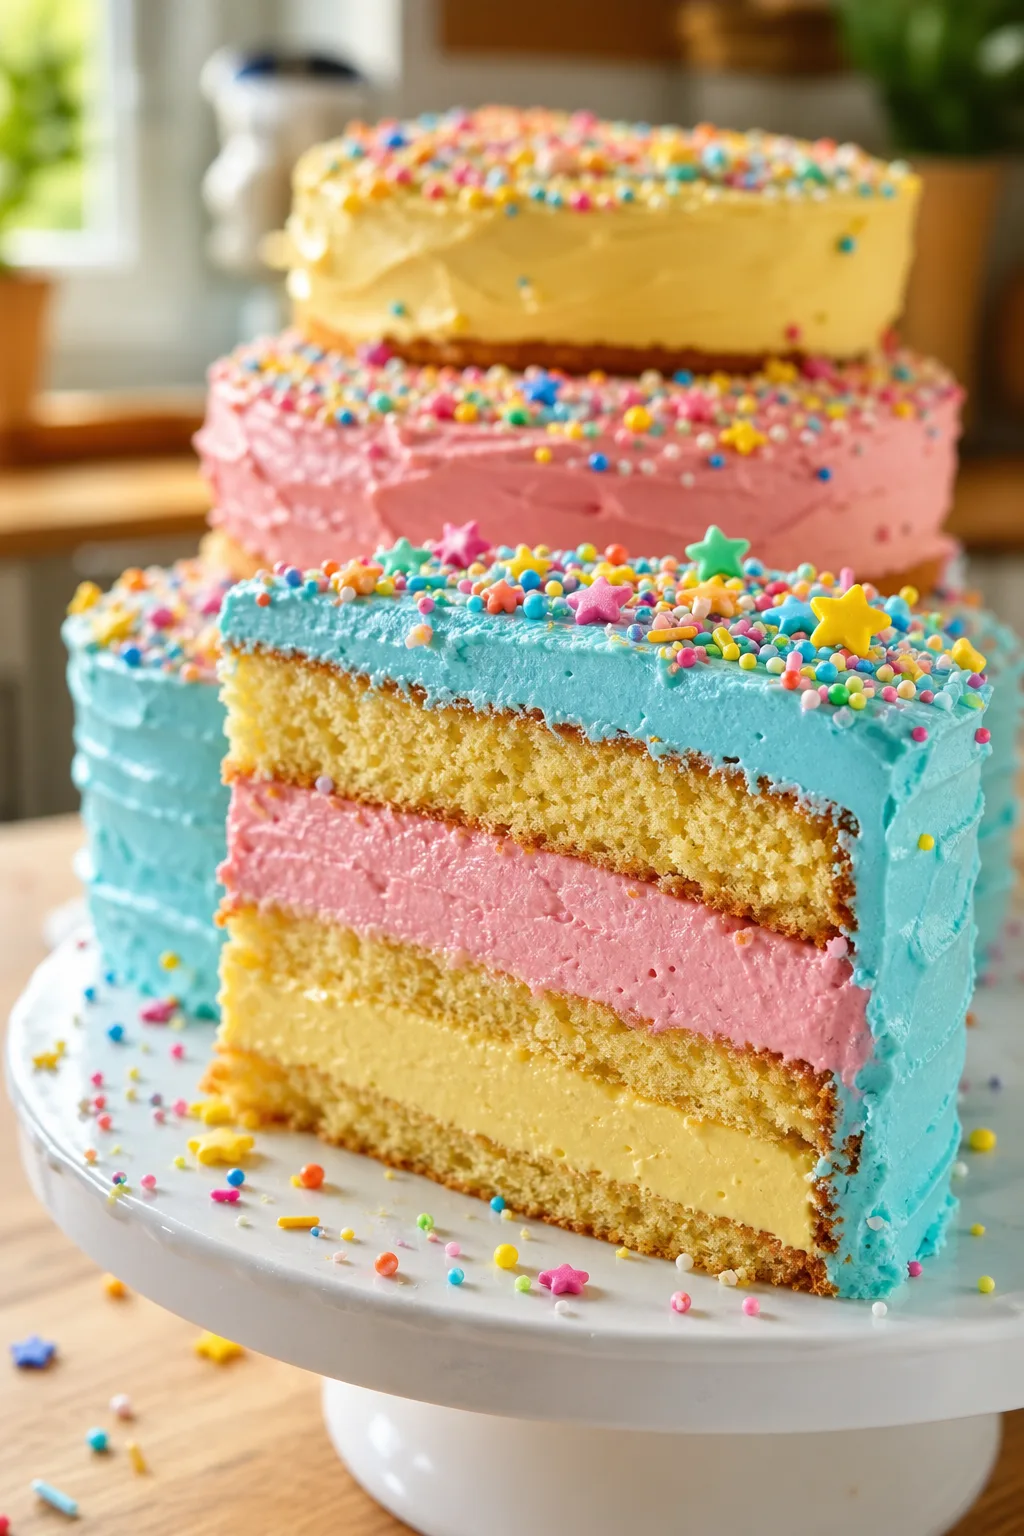
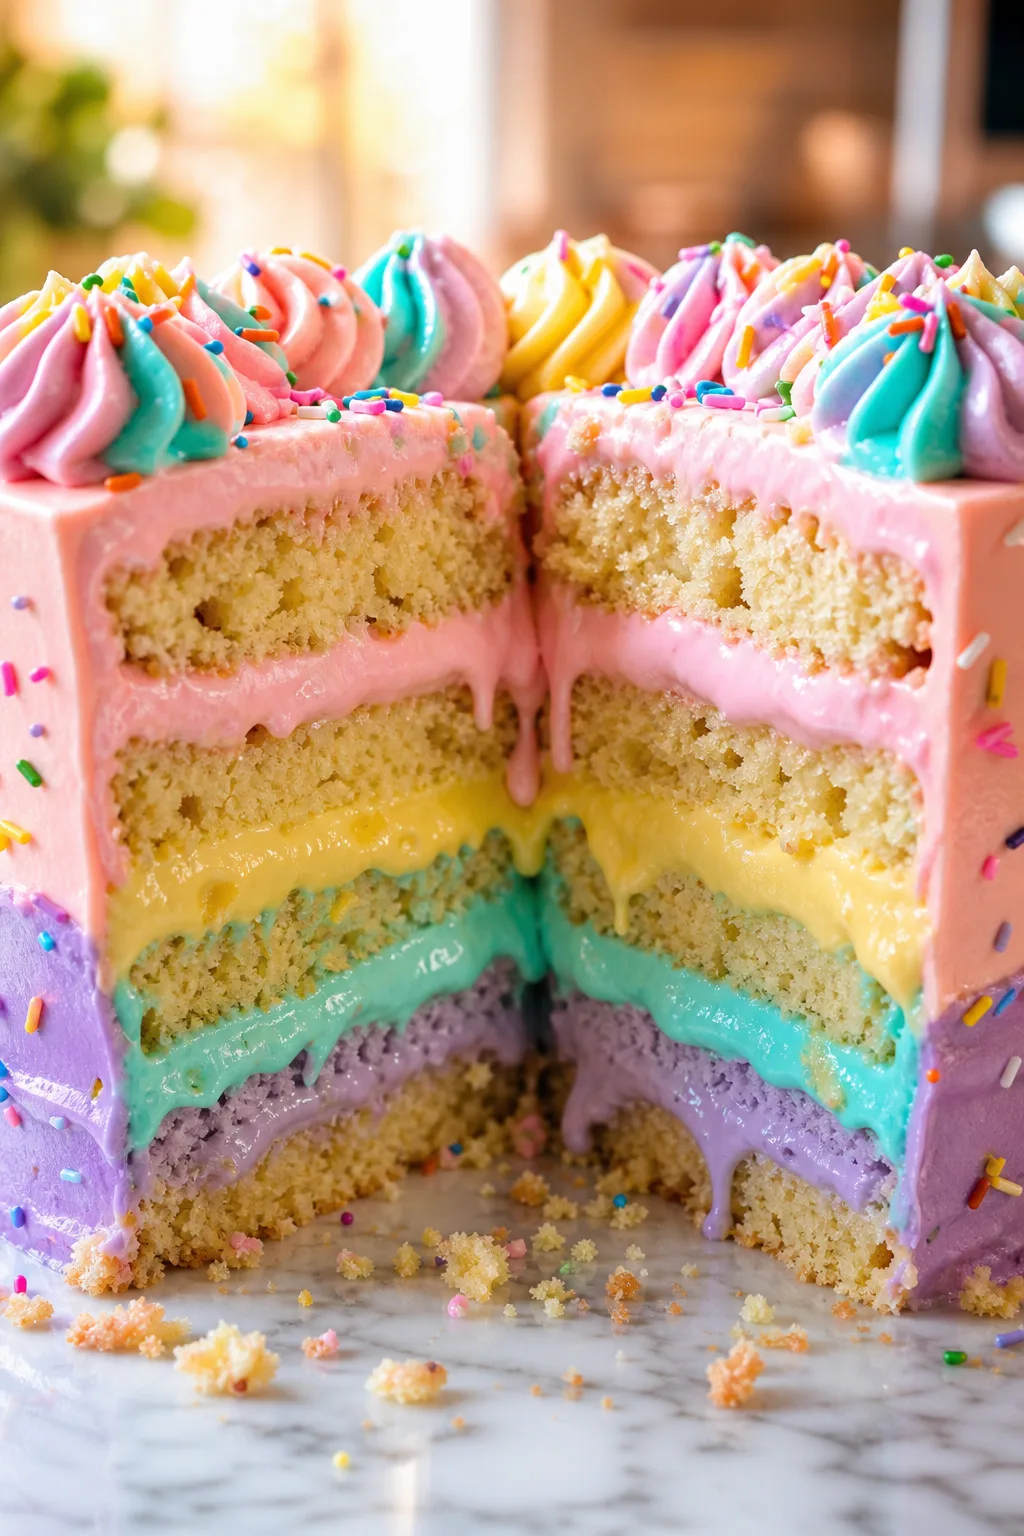
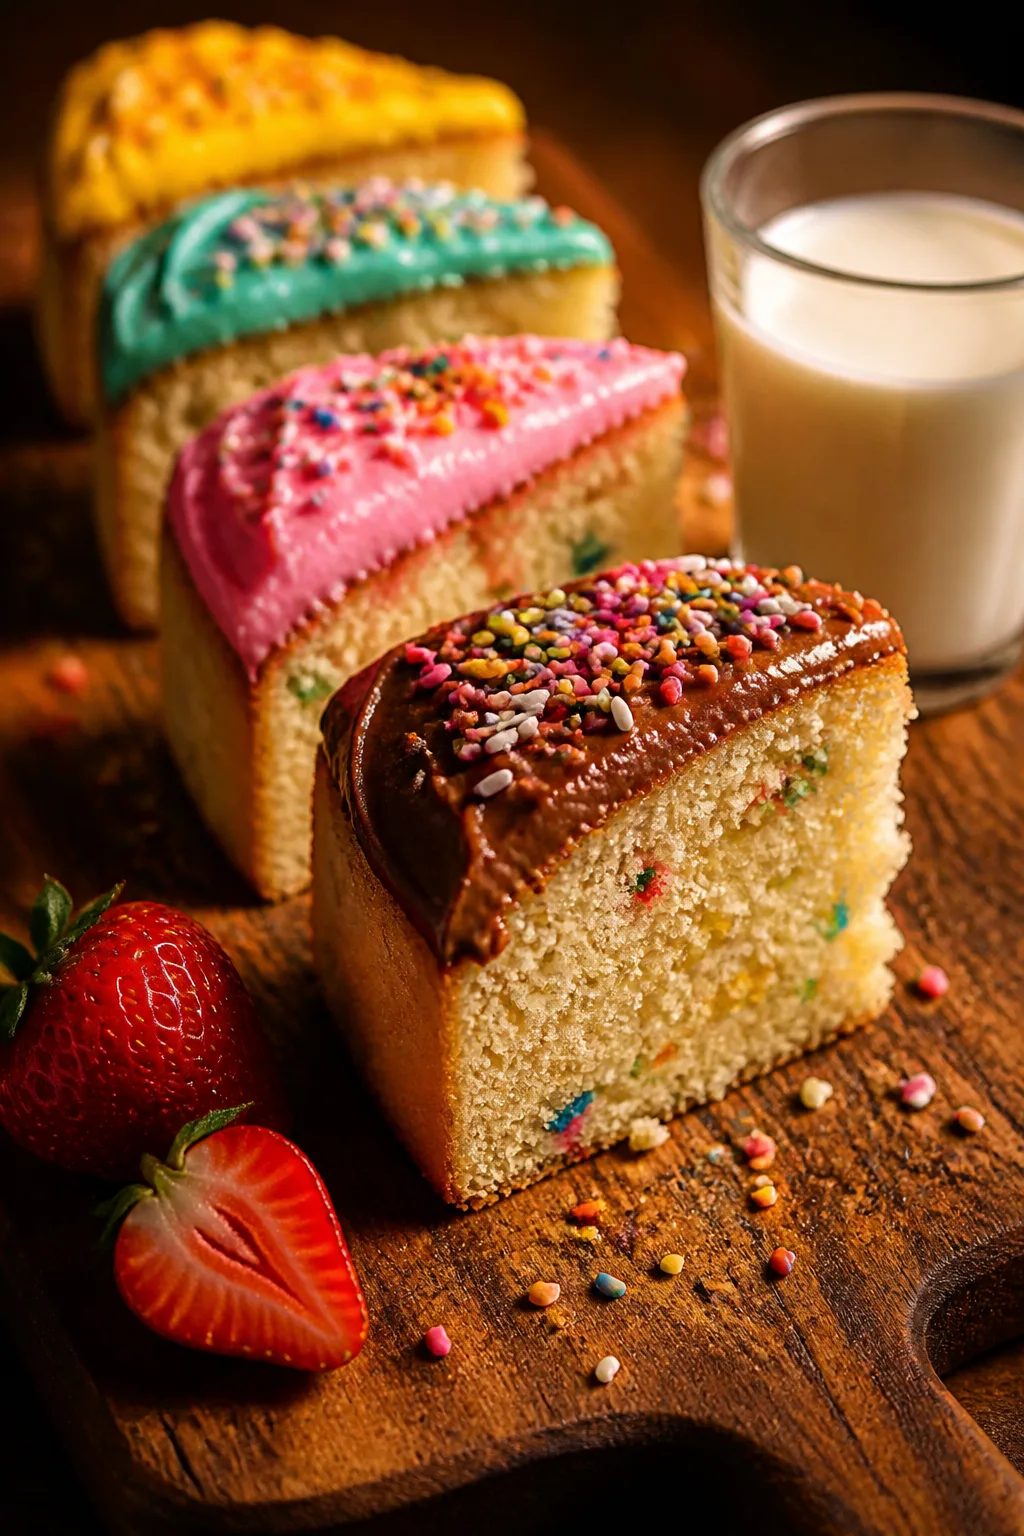
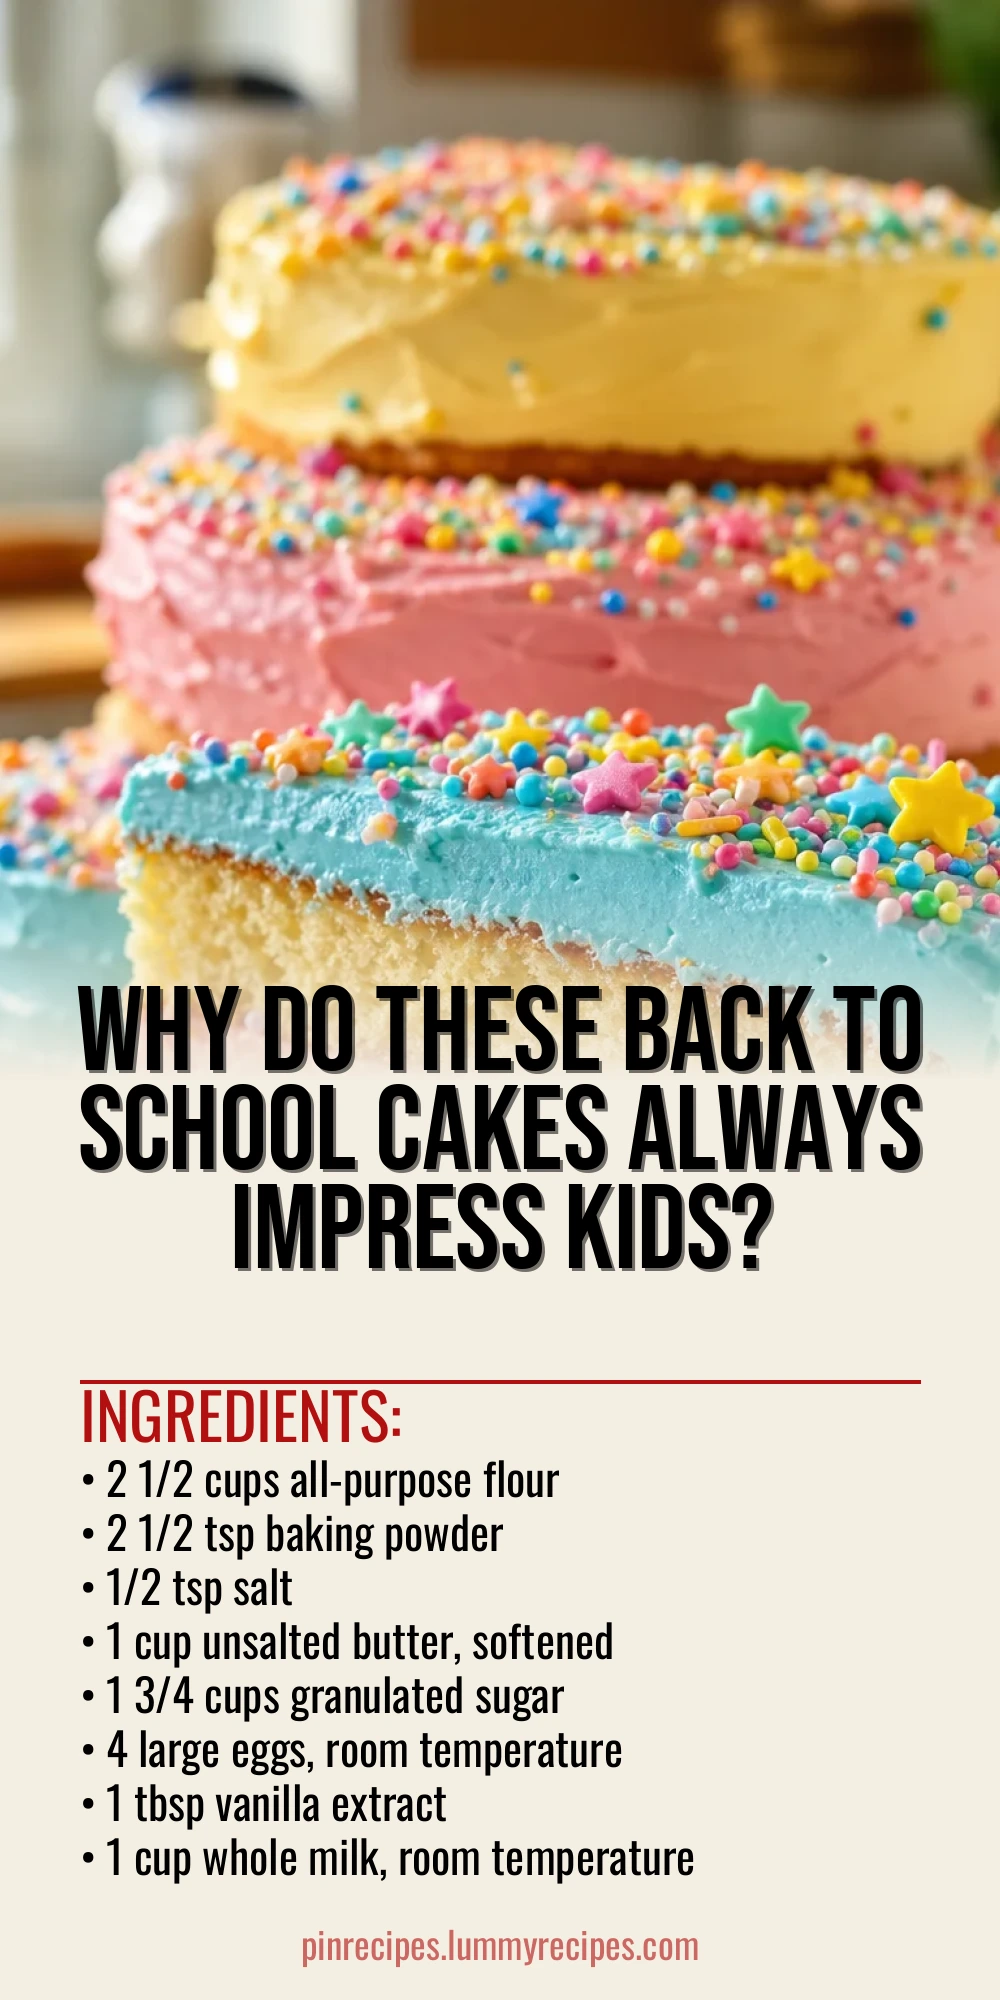
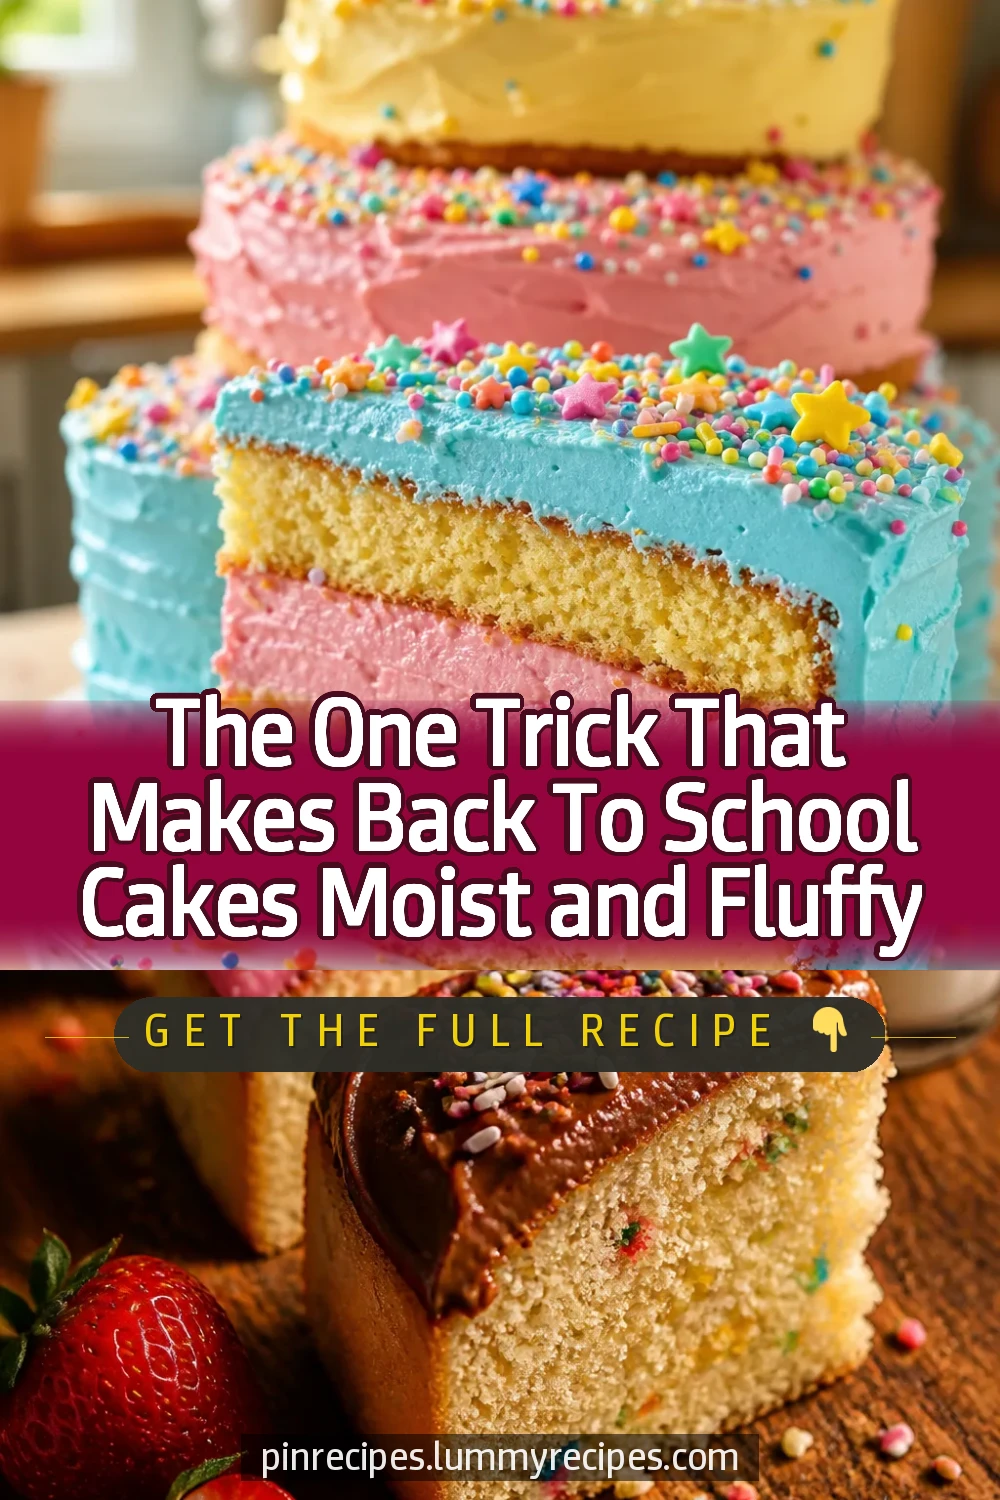
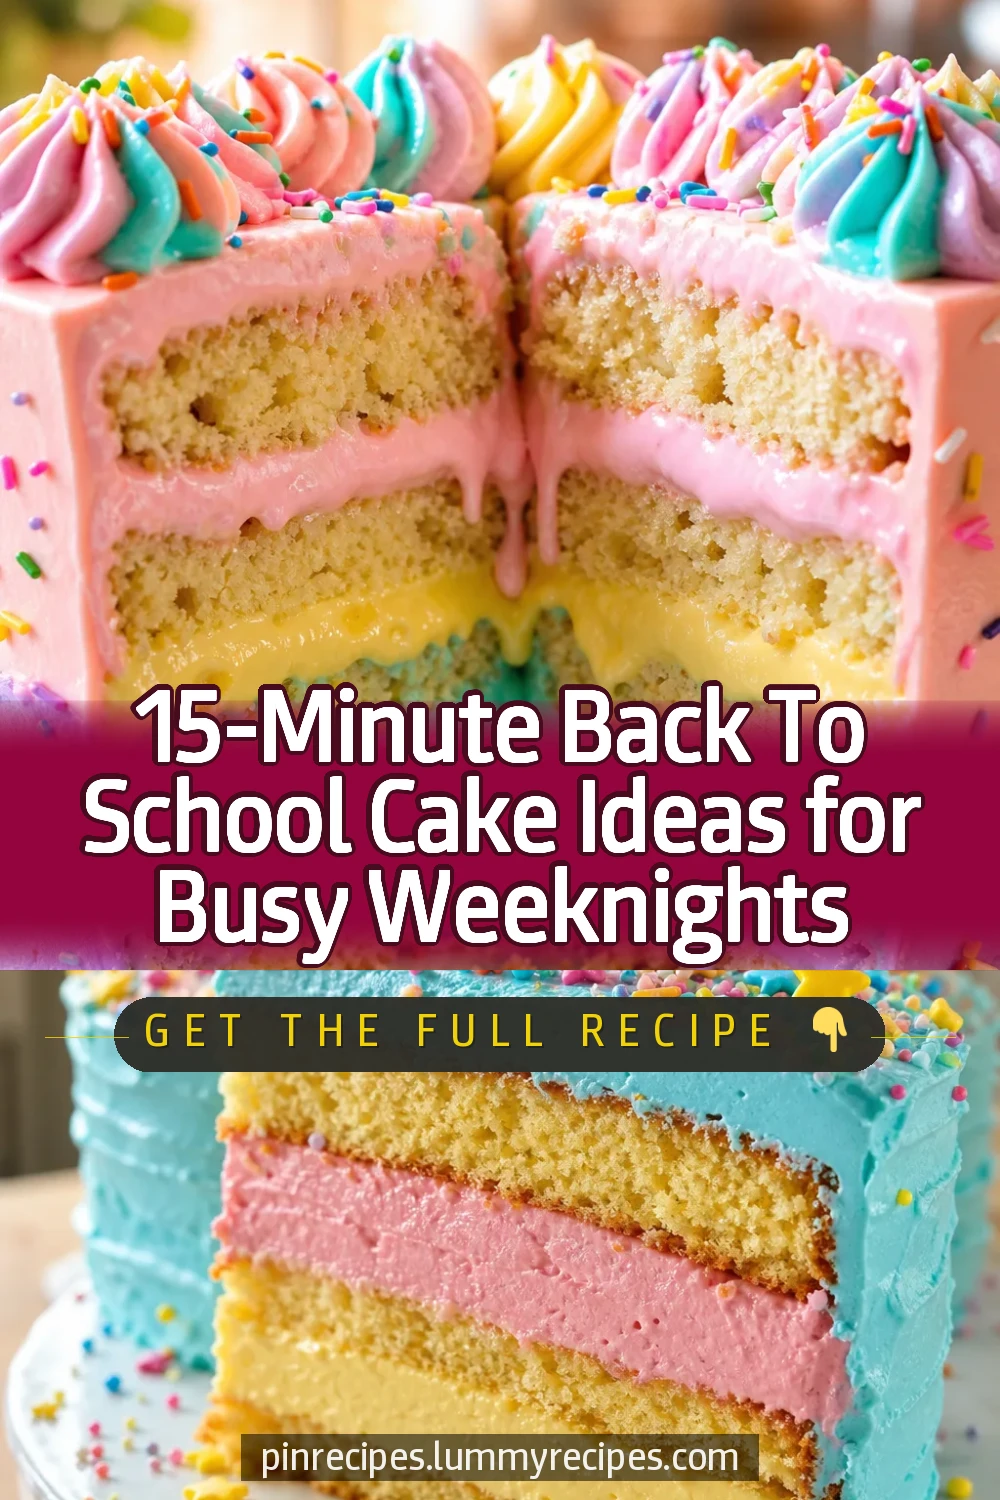
These easy back to school cake ideas are perfect for making mornings a little sweeter. With colorful frosting and simple ingredients, they’re a fun treat for kids and a breeze to bake. Great for after-school snacks or celebrations!
Introduction
I remember the first time I baked a special cake to celebrate the start of school for my kids. It wasn’t just about the cake itself, but the joy it brought on that busy morning. Over time, I’ve perfected a simple, colorful cake that’s moist, fluffy, and decorated with fun sprinkles to make those back to school mornings a little brighter. What makes this recipe stand out is the balance of classic vanilla flavor with a tender crumb that stays moist for days. I also love tinting the frosting in soft pastel colors to keep it playful but not overwhelming. The trick I learned early on was to bring all ingredients to room temperature and to carefully fold in the sprinkles to avoid color bleed. The result is a cake that looks delightful and tastes delicious — perfect for both breakfast treats and after-school celebrations. Plus, it’s easy enough to whip up on a weeknight when time is tight. I hope you try this with your family and make your own sweet back to school tradition!
What You'll Need
8 servings, two 8-inch layered cakes
- 2 1/2 cups all-purpose flour
- 2 1/2 tsp baking powder
- 1/2 tsp salt
- 1 cup unsalted butter, softened
- 1 3/4 cups granulated sugar
- 4 large eggs, room temperature
- 1 tbsp vanilla extract
- 1 cup whole milk, room temperature
- 3/4 cup colorful sprinkles (optional)
- 2 cups buttercream frosting, divided and tinted with food coloring
How To Do It
Step 1
Preheat your oven to 350°F (175°C). Grease and flour two 8-inch round cake pans to prevent sticking. Sifting the flour, baking powder, and salt together ensures even distribution of leavening agents, which helps the cake rise uniformly. This step also prevents lumps in the batter, giving you a smooth texture. Avoid skipping sifting as it can lead to dense spots in the cake.
⏱ Time: 10
✓ Doneness: Dry, evenly coated pans with no residual flour clumps.
Step 2
In a large bowl, beat the softened butter and sugar together until light and fluffy, about 3-5 minutes. This creaming process incorporates air, which is crucial for a tender crumb. If you rush this step or use cold butter, the cake may turn out dense. Make sure the mixture is pale and fluffy before moving on.
⏱ Time: 5
✓ Doneness: Butter and sugar mixture looks pale, fluffy, and has increased in volume.
Step 3
Add eggs one at a time, beating well after each addition to fully incorporate air and avoid curdling. Mix in the vanilla extract. This gradual addition helps maintain a smooth batter and ensures even flavor throughout the cake. Avoid adding eggs too quickly or all at once.
⏱ Time: 5
✓ Doneness: Batter looks smooth and homogeneous with no streaks of egg white.
Step 4
Alternately add the dry ingredients and milk to the butter mixture, starting and ending with the dry ingredients. Mix gently after each addition to avoid overworking the gluten, which can make the cake tough. The batter should be smooth and pourable but not runny.
⏱ Time: 5
✓ Doneness: Batter is smooth with no lumps and has a medium-thick consistency.
Step 5
Gently fold in the sprinkles if using, being careful not to overmix to prevent the colors from bleeding into the batter. This adds fun pops of color without turning the batter pastel. Use a rubber spatula and fold just until combined.
⏱ Time: 2
✓ Doneness: Sprinkles are evenly distributed without color streaks in the batter.
Step 6
Divide the batter evenly between the prepared pans, smoothing the tops with a spatula. This ensures even baking and consistent layer thickness. Tap the pans gently on the counter to release any air bubbles that could cause holes.
⏱ Time: 3
✓ Doneness: Batter surface is level and smooth with no large air bubbles.
Step 7
Bake in the preheated oven for 28-32 minutes or until a toothpick inserted into the center comes out clean or with a few moist crumbs. Avoid opening the oven door too early to prevent the cake from sinking. Rotate pans halfway through baking for even heat distribution.
⏱ Time: 30
✓ Doneness: Golden brown edges and toothpick test passes.
Step 8
Let the cakes cool in the pans for 10 minutes, then turn them out onto wire racks to cool completely. Cooling in the pan too long can cause sogginess; cooling upside down on racks prevents condensation and keeps the crumb tender.
⏱ Time: 20
✓ Doneness: Cakes are completely cool to the touch before frosting.
Step 9
Tint your buttercream frosting with food coloring as desired. Spread a thick layer on the first cake layer, then top with the second layer and frost the top and sides. Decorate with additional sprinkles or edible stars for a festive look. Use an offset spatula for smooth edges and a clean finish.
⏱ Time: 15
✓ Doneness: Frosting is smooth, evenly spread, and decorations are evenly placed.
Pro Tips
Always bring ingredients to room temperature before mixing.
Room temperature ingredients blend more evenly, preventing lumps and curdling. This helps the batter trap air better for a lighter crumb and ensures even baking.
Don’t overmix once you add the flour.
Overmixing develops gluten, which can make the cake tough and dense instead of tender and soft. Mix just until ingredients are combined for best texture.
Use an offset spatula for frosting.
An offset spatula allows smooth, even spreading of frosting with control, preventing tearing the cake layers and creating a professional finish.
Rotate cake pans halfway through baking.
Ovens often have hot spots; rotating pans ensures even heat distribution and uniform baking, preventing one side from browning too quickly.
Tap the cake pans gently before baking.
This releases trapped air bubbles in the batter, preventing holes or uneven texture in the baked cake.
Cool cakes completely before frosting.
Frosting warm cakes causes it to melt and slide off, ruining the appearance and texture. Patience here yields a neater, more stable cake.
Use gel food coloring for frosting.
Gel colors provide vibrant hues without thinning the frosting, maintaining its perfect spreadable consistency.
Common Mistakes to Avoid
Using cold ingredients
Why it happens Many bakers forget to take eggs and butter out ahead of time, rushing the process.
Fix Plan ahead to bring all ingredients to room temperature. If you’re short on time, warm eggs in a bowl of warm water for 10 minutes and soften butter gently in the microwave in short bursts.
Overmixing batter after adding flour
Why it happens It’s tempting to mix thoroughly to avoid lumps, but this develops gluten.
Fix Mix just until you see no flour streaks remaining. Use gentle folding motions with a spatula rather than vigorous beating.
Opening the oven door too early
Why it happens Curiosity or impatience can cause bakers to check too soon.
Fix Wait until at least 3/4 of the baking time has passed before checking. Opening early can cause cakes to sink due to temperature shock.
Not preparing pans properly
Why it happens Skipping greasing or flouring to save time.
Fix Always grease and flour pans or use parchment paper to prevent sticking and ensure easy release.
Frosting warm cakes
Why it happens Impatience to decorate immediately after baking.
Fix Allow cakes to cool completely on wire racks before frosting to avoid melting and sliding.
Variations
Chocolate Back To School Cake
Swap half the flour for unsweetened cocoa powder and add mini chocolate chips for a rich chocolate twist. Use chocolate buttercream tinted with a hint of red for a fun school theme. Expect a slightly denser crumb but still moist and tender.
Note: Cocoa powder absorbs moisture, so consider adding an extra tablespoon of milk to keep batter moist.
Gluten-Free Back To School Cake
Use a gluten-free all-purpose flour blend in place of regular flour. Add 1/2 teaspoon xanthan gum if your blend doesn’t contain it for structure. This variation keeps the cake tender and flavorful for gluten-sensitive kids.
Note: Mix gluten-free batter gently and avoid overbaking to prevent dryness.
Vegan Back To School Cake
Replace eggs with flax eggs and use plant-based milk and vegan butter. Use aquafaba or a commercial egg replacer for best rise. The result is a moist, colorful cake perfect for vegan families.
Note: Whip aquafaba until stiff peaks form to mimic egg whites and fold gently into batter.
Funfetti Back To School Cake
Add rainbow sprinkles directly into the batter for a playful confetti effect inside the cake. Use white buttercream frosting decorated with matching sprinkles on top. This is a classic kid favorite for celebrations.
Note: Fold sprinkles in gently to avoid color bleeding and maintain vibrant dots.
Lemon Zest Back To School Cake
Add fresh lemon zest and a tablespoon of lemon juice to the batter for a bright, citrusy flavor. Pair with lemon buttercream frosting tinted pale yellow. This fresh twist adds a zingy surprise.
Note: Avoid adding too much lemon juice as it can curdle the batter; zest adds flavor without altering texture.
Nutrition
Per Serving:
Nutritional values are estimates and may vary based on specific ingredients used.
Storage & Tips
Room Temperature
Store the cake covered loosely with a cake dome or plastic wrap at room temperature for up to 2 days. Keep away from direct sunlight or heat sources to prevent frosting from melting.
Refrigerator
Keep cake in an airtight container or tightly wrapped with plastic wrap for up to 5 days. The cake may dry slightly but frosting will stay firm. Bring to room temperature before serving for best flavor.
Freezer
Wrap cake layers tightly in plastic wrap and aluminum foil and freeze up to 3 months. Thaw overnight in the refrigerator and bring to room temperature before frosting or serving.
Reheating
For best texture, serve cake at room temperature. If refrigerated, let sit out for 30 minutes before serving. Avoid microwaving as it can melt frosting unevenly.
Make Ahead
Bake cake layers 1-2 days ahead and store wrapped at room temperature or refrigerated. Prepare frosting in advance and tint on the day of assembly for freshest look and flavor.
FAQ
Can I use a different size cake pan?
Yes, but baking time will vary. For smaller pans, reduce baking time and check doneness earlier. For larger pans, increase baking time slightly. Always test with a toothpick for doneness.
What if I don’t have food coloring?
You can leave the frosting white or use natural colorings like beet juice, turmeric, or matcha powder. Keep in mind natural colors may affect flavor slightly.
How do I prevent sprinkles from bleeding color?
If you want vibrant color dots inside the cake, use sprinkles sparingly and fold them in gently to avoid melting the color.
Can I make this cake dairy-free?
Yes, substitute dairy milk with almond, soy, or oat milk and use dairy-free butter or margarine. Use a dairy-free frosting recipe to keep it consistent.
How do I store leftover cake?
Store leftovers in an airtight container at room temperature for 2 days or in the refrigerator up to 5 days. Bring to room temperature before serving for best taste.
Is it okay to use salted butter?
You can use salted butter but reduce added salt in the recipe by half to avoid over-salting the cake.
Can I prepare the frosting ahead of time?
Yes, buttercream frosting can be made up to 3 days ahead and stored in the refrigerator. Bring it to room temperature and re-whip before frosting the cake.
What’s the best way to level cake layers?
Use a serrated knife or cake leveler to trim domed tops for even stacking. This prevents leaning and creates a professional look.
Final Thoughts
I hope you enjoy making and sharing these colorful back to school cakes as much as my family does. They’re simple, fun, and sure to bring smiles to your kids’ faces!