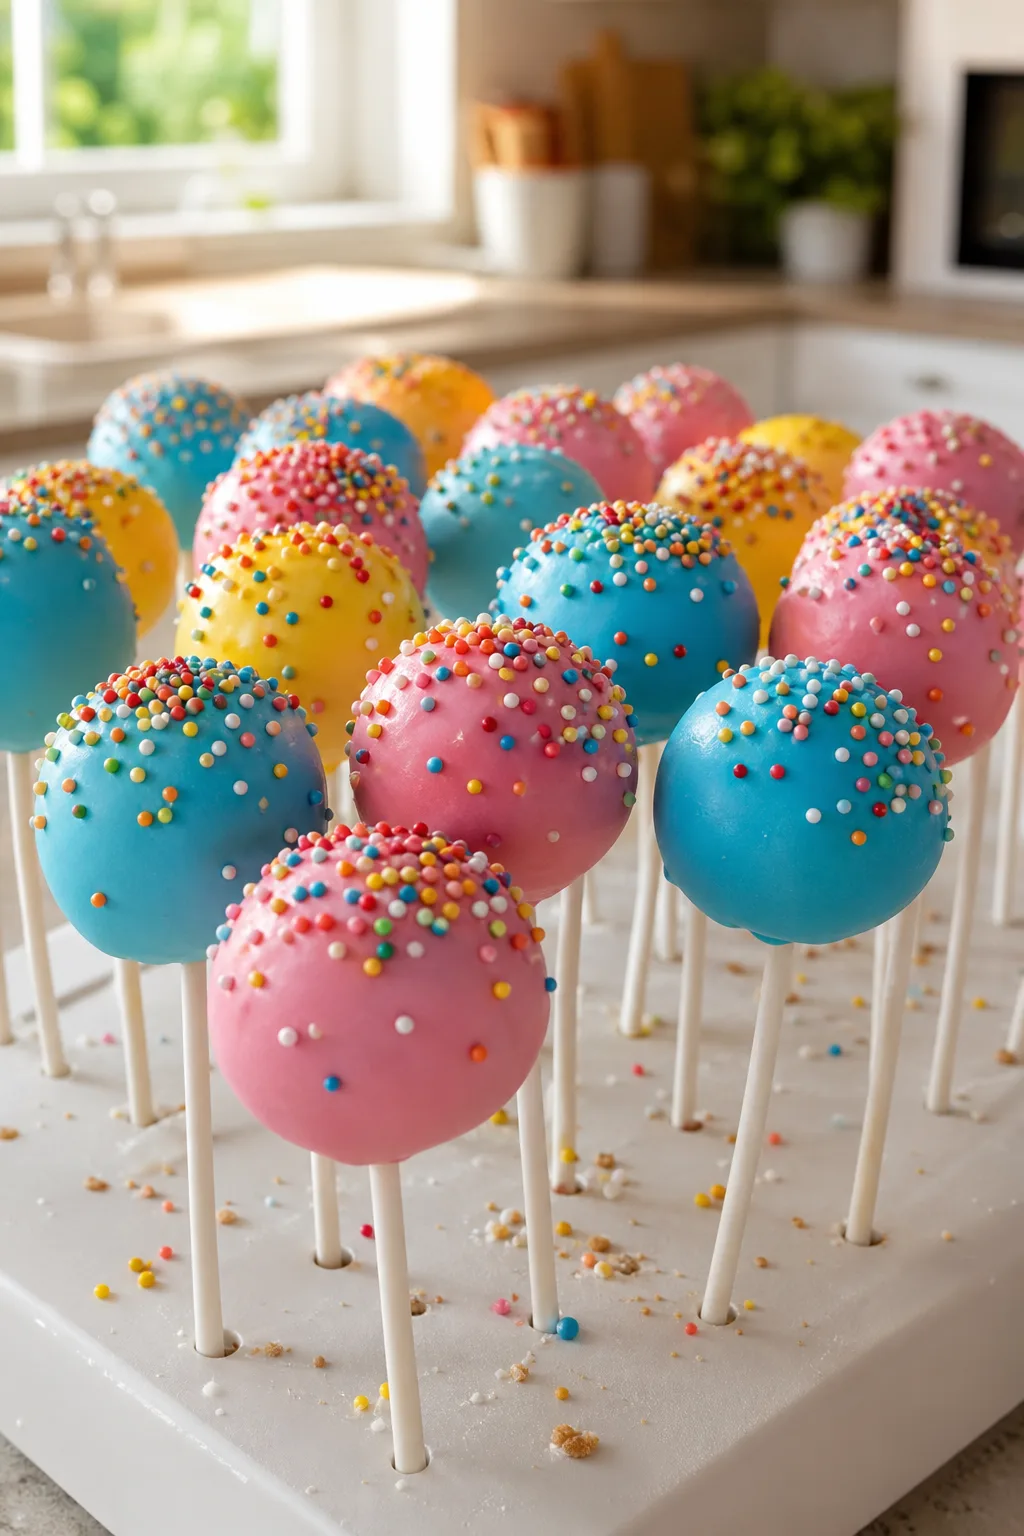
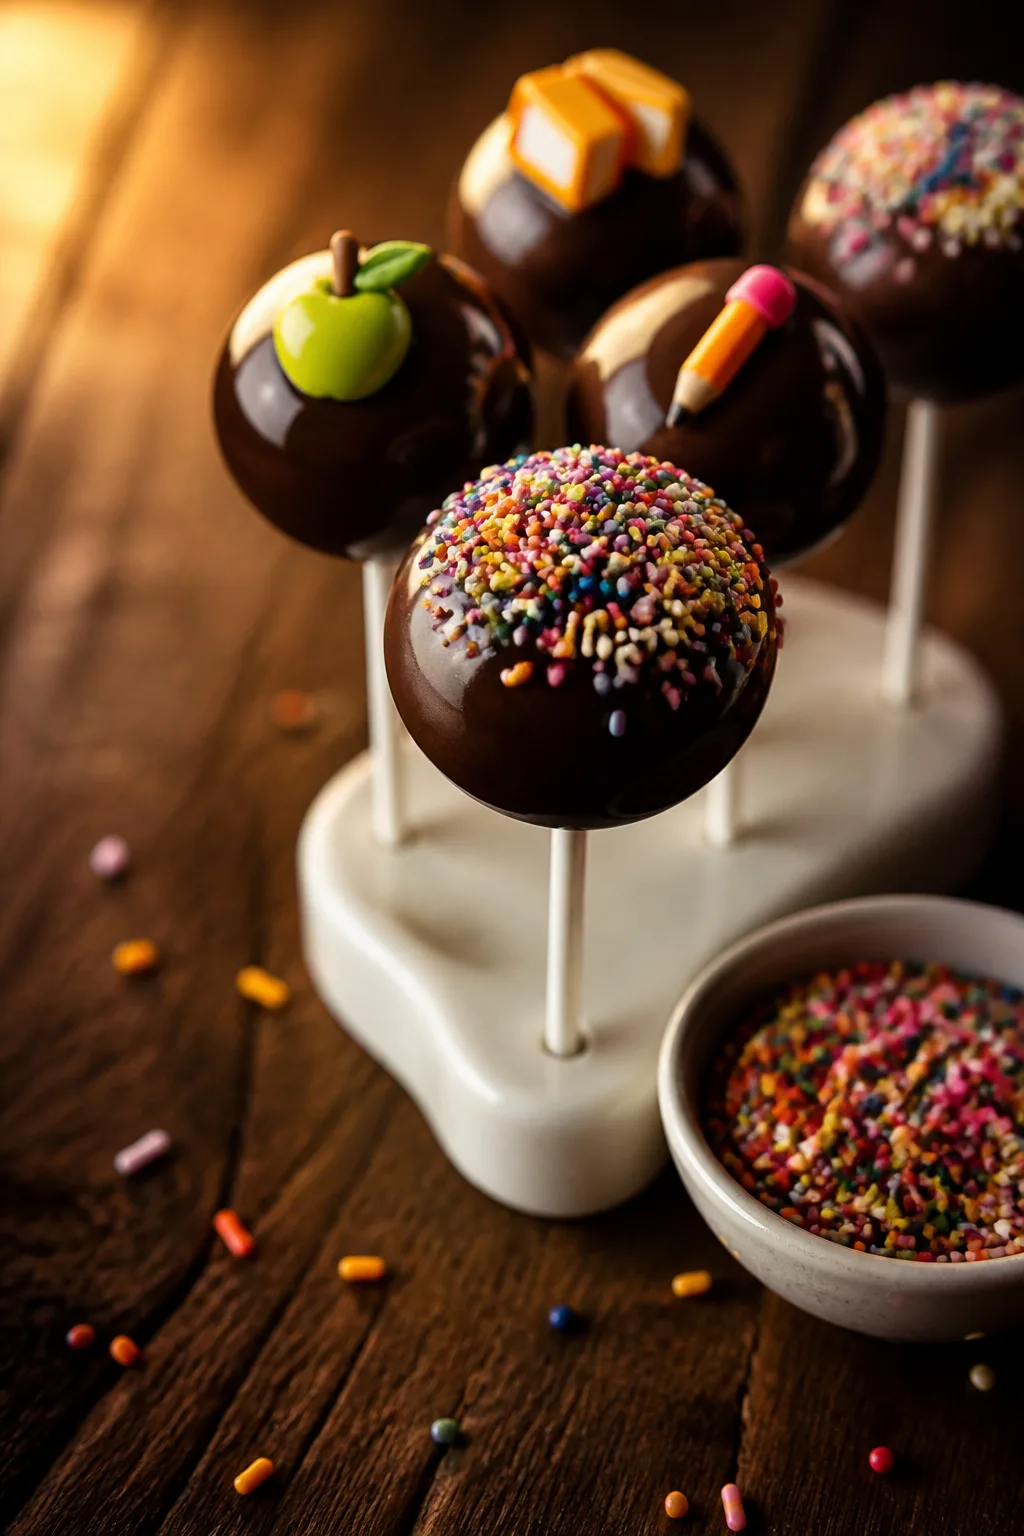
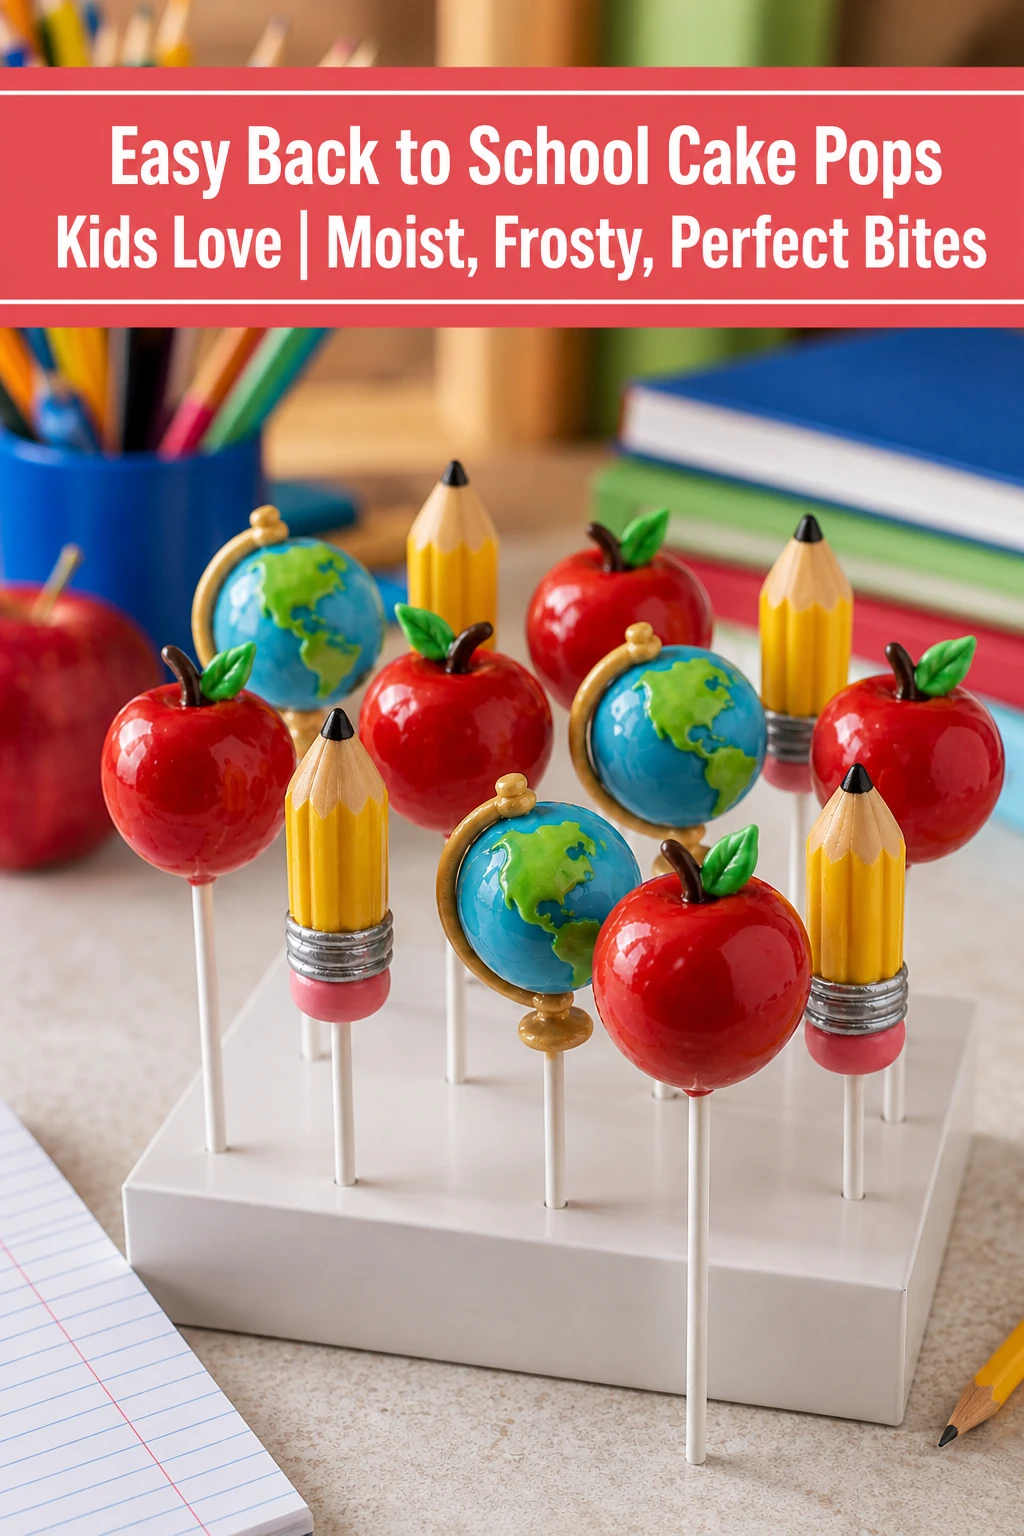
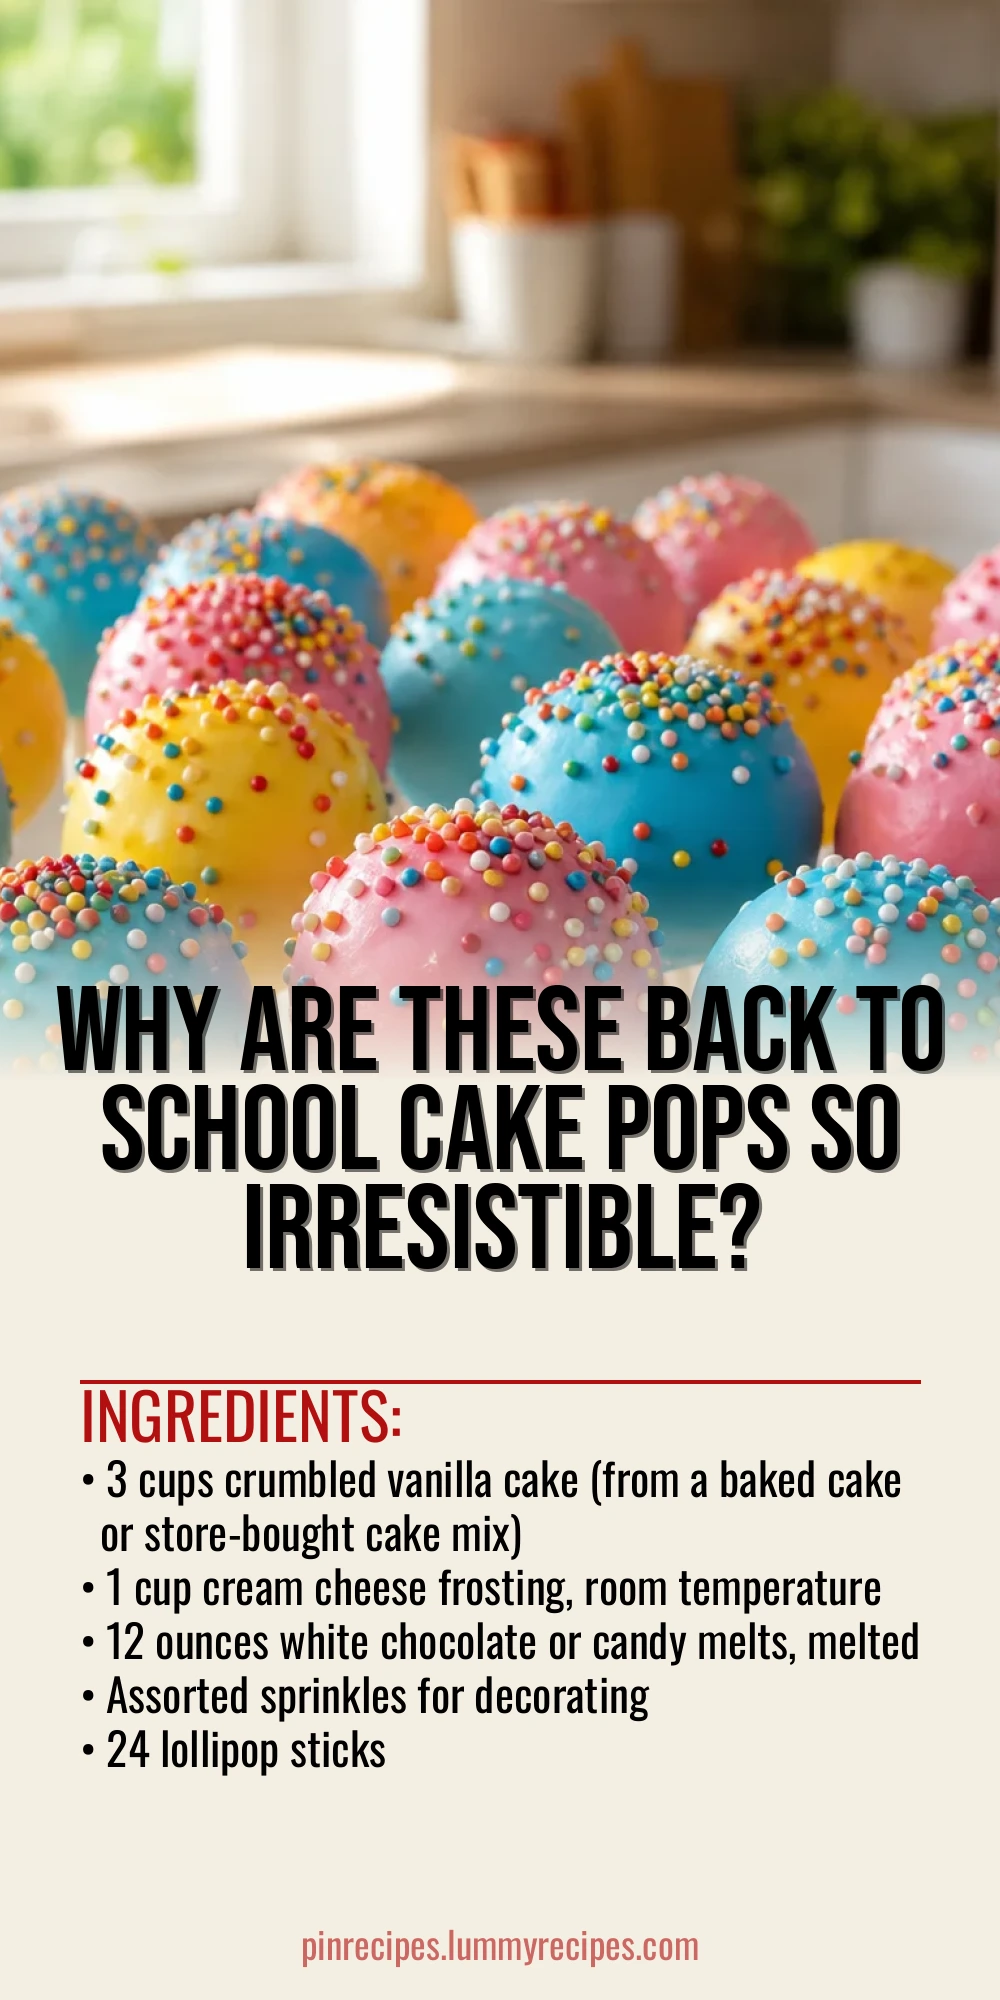
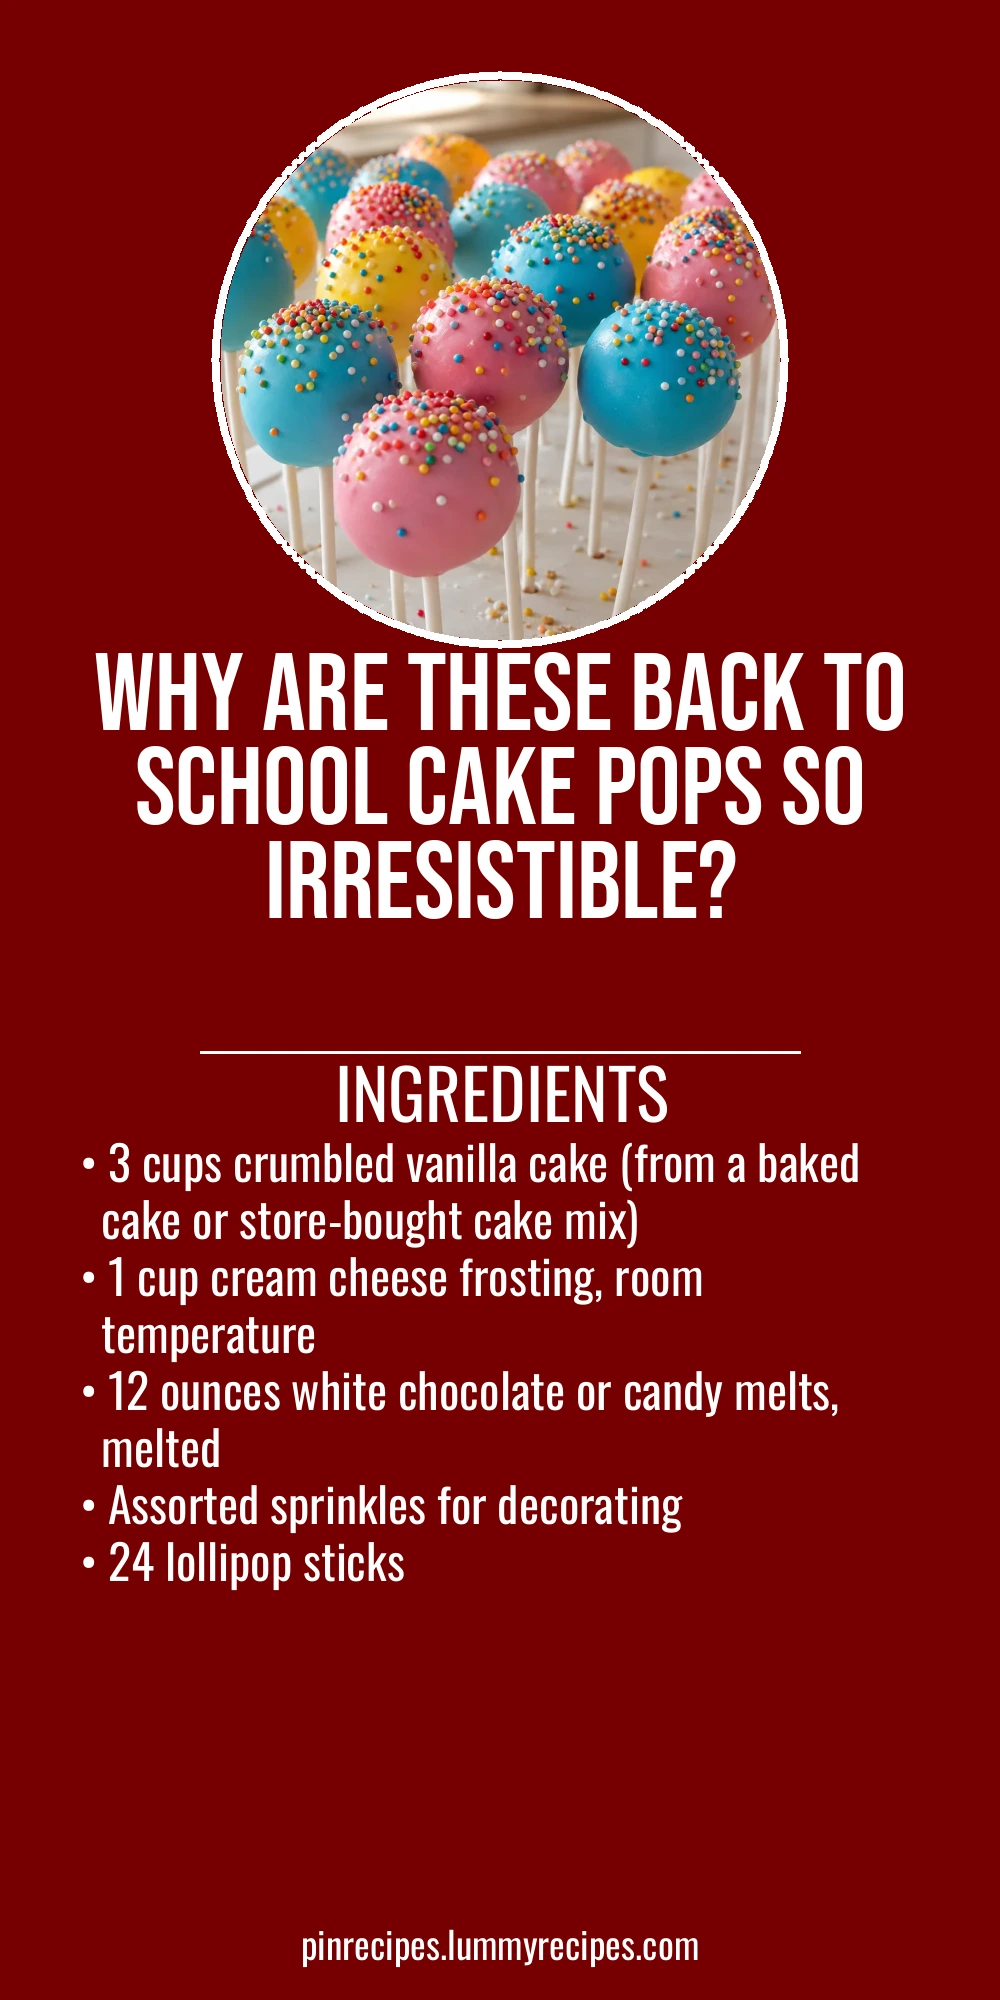
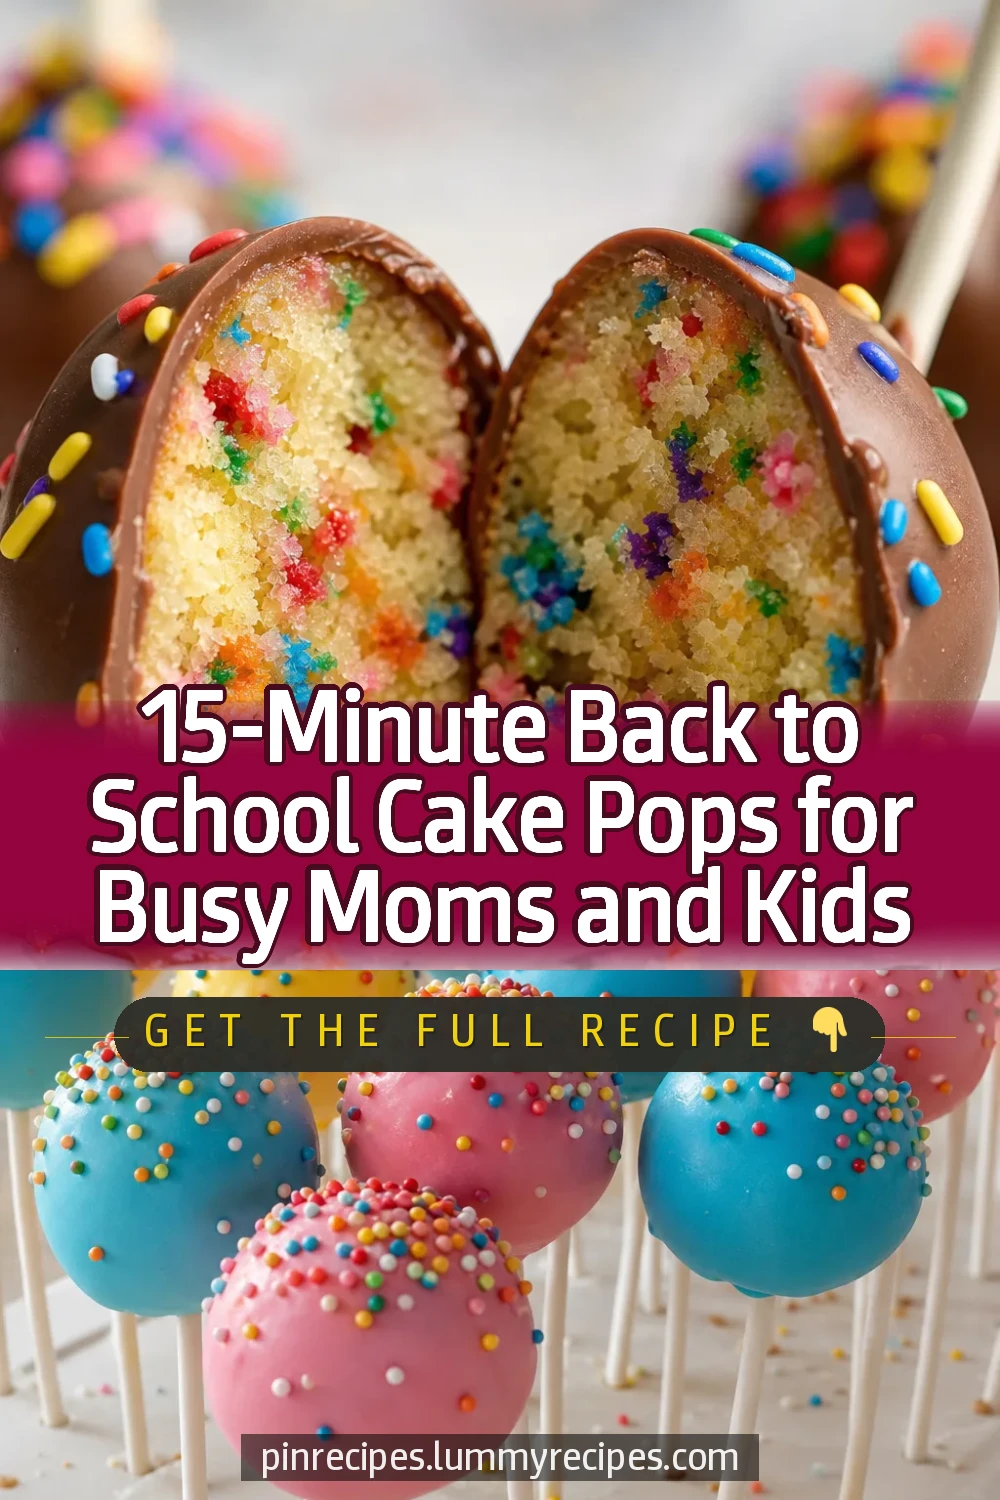
These back to school cake pops are a fun, easy treat that kids can help make. The secret is using moist cake crumbs mixed with creamy frosting for perfect bite-sized pops. Great for after-school snacks or classroom parties!
Introduction
I first made these back to school cake pops a few years ago when my kids wanted a fun treat to celebrate the new school year. What I love about this recipe is how simple it is—no fancy equipment, just cake crumbs, frosting, and chocolate. The trick I learned early on was to mix just enough frosting into the cake crumbs so they stick together but aren’t too wet, which makes rolling them into perfect balls so much easier. Plus, dipping them in melted chocolate gives a smooth, glossy finish that kids adore, especially when decorated with colorful sprinkles. These cake pops are moist, sweet, and perfectly sized for little hands, making them a hit at school parties or after-school snacks. I think what sets this version apart is using cream cheese frosting instead of buttercream—it adds a subtle tang that balances the sweetness beautifully. Once dipped, I chill them briefly to set the coating, which keeps them firm but still tender inside. They’re a cheerful, easy way to kick off the school year or brighten any day with a little homemade fun.
What You'll Need
Approximately 24 cake pops
- 3 cups crumbled vanilla cake (from a baked cake or store-bought cake mix)
- 1 cup cream cheese frosting, room temperature
- 12 ounces white chocolate or candy melts, melted
- Assorted sprinkles for decorating
- 24 lollipop sticks
How To Do It
Step 1
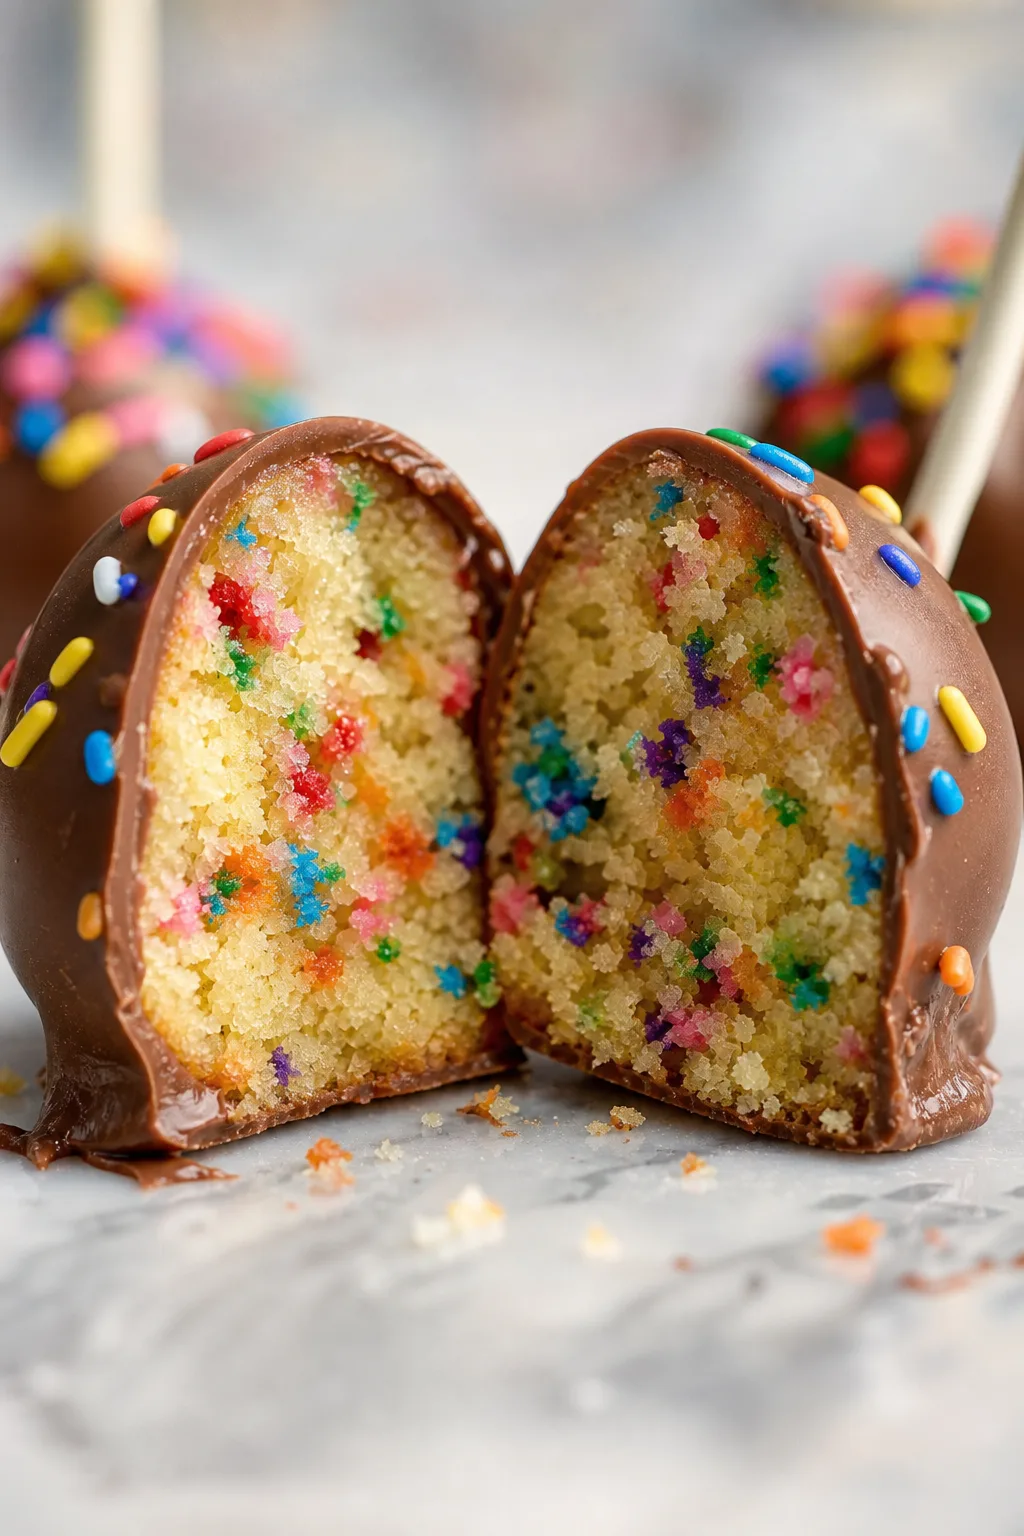
Start by crumbling your cooled vanilla cake into a large mixing bowl. Use your hands or a fork to break it down into fine crumbs without large chunks. This step is important because uniform crumbs will mix better with the frosting, creating a consistent texture for your cake pops.
⏱ Time: 5
✓ Doneness: The cake should be evenly crumbled with no big lumps.
Step 2
Add the cream cheese frosting to the cake crumbs a little at a time, mixing gently with a spoon or your hands. You want just enough frosting to bind the crumbs together so they hold their shape when rolled into balls, but not so much that the mixture becomes sticky or soggy. This balance ensures the cake pops stay moist but firm.
⏱ Time: 5
✓ Doneness: The mixture should hold together when pressed but not feel wet.
Step 3
Roll the cake mixture into 1-inch balls, placing them on a parchment-lined baking sheet. Try to keep the balls uniform in size for even coating and presentation. Once rolled, chill the balls in the refrigerator for at least 30 minutes to firm up. This step is crucial because chilled cake balls dip more easily and hold their shape better.
⏱ Time: 10
✓ Doneness: The cake balls should feel firm and cool to the touch.
Step 4
Prepare your melted white chocolate or candy melts in a microwave-safe bowl. Heat in 30-second intervals, stirring in between, until smooth and fully melted. Be careful not to overheat, as chocolate can seize and become grainy. Smooth chocolate ensures an even coating on your cake pops.
⏱ Time: 5
✓ Doneness: Chocolate should be glossy and fluid without lumps.
Step 5
Dip the tip of each lollipop stick into the melted chocolate, then insert it about halfway into a chilled cake ball. This 'glue' helps secure the stick inside the cake pop so it won’t fall out during dipping or handling.
⏱ Time: 5
✓ Doneness: Stick should feel firmly anchored in the cake ball.
Step 6
Dip each cake pop into the melted chocolate, fully coating it. Gently tap off excess chocolate by tapping the stick on the bowl edge. This technique prevents thick, uneven coatings and helps the chocolate set smoothly.
⏱ Time: 10
✓ Doneness: Cake pops should have a smooth, even chocolate layer without drips.
Step 7
Immediately decorate the dipped cake pops with sprinkles before the chocolate sets. Working quickly is key because once the coating hardens, sprinkles won’t stick well.
⏱ Time: 5
✓ Doneness: Sprinkles should be evenly distributed and adhere well.
Step 8
Place the decorated cake pops upright in a styrofoam block or a cake pop stand to dry completely. Let them sit at room temperature or in the refrigerator until the chocolate coating is fully set, about 15-20 minutes.
⏱ Time: 20
✓ Doneness: Chocolate should be firm and no longer tacky to the touch.
Step 9
Once set, store the cake pops in an airtight container in the refrigerator until ready to serve. Allow them to come to room temperature for about 10 minutes before eating for the best texture and flavor.
⏱ Time: 5
✓ Doneness: Cake pops should be firm but tender when bitten.
Pro Tips
Chill cake balls before dipping to prevent crumbling.
Chilling firms the cake balls, making them easier to dip without falling apart. Warm cake balls can be too soft, causing the chocolate coating process to become messy and uneven.
Tap off excess chocolate after dipping for a smooth finish.
Removing excess chocolate prevents thick, uneven coatings that can hide the cake texture and cause longer drying times. It also helps the cake pop look neat and professional.
Use room temperature frosting for easier mixing.
Cold frosting is stiff and difficult to blend evenly with cake crumbs, leading to clumps or uneven texture. Room temperature frosting mixes smoothly, ensuring a consistent batter.
Decorate immediately after dipping while chocolate is wet.
Sprinkles stick best to wet chocolate. Waiting too long results in dry chocolate where decorations won’t adhere properly, leading to patchy or falling toppings.
Store cake pops upright to keep their shape.
Upright storage prevents the chocolate coating from cracking or denting. Laying them flat can cause the coating to stick to surfaces or deform.
Use a microwave-safe bowl and stir often when melting chocolate.
Frequent stirring prevents overheating and seizing, ensuring a smooth, glossy coating that’s easy to work with.
Let cake pops come to room temperature before serving.
Cold cake pops can be too firm and mask flavor. Allowing them to warm slightly restores the tender texture and enhances the taste.
Common Mistakes to Avoid
Using too much frosting making cake balls soggy
Why it happens Many assume more frosting helps bind better, but excess moisture causes the cake balls to become mushy and hard to shape.
Fix Add frosting gradually, mixing gently until the mixture holds together without feeling sticky. Test by pressing a small amount into a ball before rolling all.
Melting chocolate too quickly or at too high heat
Why it happens Rushing the melting process can cause chocolate to seize or burn, resulting in grainy texture that’s hard to dip smoothly.
Fix Melt chocolate in short bursts (30 seconds), stirring thoroughly between intervals. Remove from heat as soon as it’s mostly melted and stir to finish melting with residual warmth.
Not chilling cake balls before dipping
Why it happens Warm cake balls are fragile and may fall apart when dipped in chocolate, making the process frustrating.
Fix Refrigerate or freeze cake balls until firm but not frozen solid (about 30 minutes). This makes them sturdy enough to handle dipping without damage.
Waiting too long to add sprinkles
Why it happens Adding decorations after chocolate hardens means they won’t stick properly and may fall off.
Fix Sprinkle immediately after dipping while chocolate is still wet. Work quickly but carefully to decorate all pops.
Using flimsy sticks that break during dipping
Why it happens Thin or low-quality sticks can bend or snap, causing cake pops to fall apart or be hard to handle.
Fix Invest in sturdy, food-grade lollipop sticks designed for cake pops. Dipping the stick tip in chocolate before inserting also secures them.
Variations
Chocolate Cake Pops
Swap the vanilla cake for moist chocolate cake for a richer flavor. Use chocolate frosting to complement the cake and dip in dark or milk chocolate coating. This variation offers a deeper, more indulgent taste.
Note: Chocolate cake crumbs may be denser; adjust frosting quantity slightly to maintain proper consistency.
Peanut Butter Cake Pops
Add a swirl of peanut butter to the frosting before mixing with cake crumbs. Dip in milk chocolate and sprinkle crushed peanuts for a nutty twist kids love. Great for peanut butter fans!
Note: Ensure peanut butter is smooth and room temperature for easy mixing and binding.
Funfetti Cake Pops
Use confetti cake mix or add rainbow sprinkles to plain cake batter before baking. The colorful specks inside the cake make these pops extra festive and perfect for celebrations.
Note: Be gentle mixing sprinkles into batter to avoid melting or color bleeding.
Vegan Cake Pops
Use a vegan cake recipe and dairy-free frosting, with vegan chocolate melts for coating. This adapts the recipe for plant-based diets without sacrificing taste or texture.
Note: Check all ingredients are certified vegan and adjust frosting consistency as needed.
Gluten-Free Cake Pops
Make cake using gluten-free flour blend and ensure frosting and chocolate are gluten-free certified. These cake pops are safe for gluten-sensitive eaters but just as delicious.
Note: Gluten-free cake crumbs may be more delicate; chill thoroughly before rolling.
Nutrition
Per Serving:
Nutritional values are estimates and may vary based on specific ingredients used.
Storage & Tips
Room Temperature
Cake pops can be safely kept at room temperature for up to 4 hours if covered to avoid drying out. Beyond this, refrigeration is recommended to maintain freshness and prevent spoilage.
Refrigerator
Store cake pops in an airtight container in the refrigerator for up to 5 days. The chocolate coating may firm up and the cake slightly denser when cold. Let them sit at room temperature for 10 minutes before serving for best texture.
Freezer
Freeze cake pops in a sealed container or freezer bag for up to 2 months. Wrap individually in plastic wrap to prevent freezer burn. Thaw overnight in the refrigerator and bring to room temperature before serving.
Reheating
No reheating is necessary. If desired, let refrigerated cake pops sit at room temperature for 10-15 minutes to soften the cake interior and enhance flavor. Avoid microwaving as it can melt the chocolate coating.
Make Ahead
You can prepare the cake balls up to 2 days ahead and keep them chilled before dipping. Alternatively, dip and decorate cake pops a day ahead and store in the refrigerator. This allows for stress-free assembly on the day of serving.
FAQ
Can I use store-bought cake mix for this recipe?
Absolutely! Store-bought cake mix works great and saves time. Just bake the cake according to package instructions and let it cool completely before crumbling. Using a moist cake mix will yield better cake pops.
What if my cake balls fall apart when dipping?
This usually means the cake balls are too warm or the mixture is too dry. Make sure to chill the cake balls for at least 30 minutes before dipping. Also, add enough frosting to bind the crumbs well but not too much to make them soggy.
Can I use buttercream frosting instead of cream cheese?
Yes, buttercream can be used, but cream cheese frosting adds a nice tang and moisture that balances the sweetness. If using buttercream, ensure it’s smooth and at room temperature for easy mixing.
How do I store leftover cake pops?
Store cake pops in an airtight container in the refrigerator for up to 5 days. Bring them to room temperature before serving for best taste and texture.
Can I freeze cake pops?
Yes, freeze them wrapped individually in plastic wrap and stored in a freezer-safe container for up to 2 months. Thaw in the refrigerator overnight before serving.
What kind of chocolate is best for coating?
Use high-quality white chocolate or candy melts. Candy melts are easier to work with and set faster, but white chocolate offers a richer flavor. Avoid chocolate chips as they don’t melt as smoothly.
How do I keep sprinkles from falling off?
Apply sprinkles immediately after dipping while the chocolate is still wet. This helps them adhere properly. If chocolate hardens first, sprinkles won’t stick well.
Can I make these gluten-free or vegan?
Yes, substitute with gluten-free cake and frosting or vegan alternatives. Ensure all ingredients are certified gluten-free or vegan to avoid cross-contamination.
Final Thoughts
I hope you enjoy making these back to school cake pops as much as my family does. They’re a simple, fun way to celebrate any occasion—don’t forget to share your results!