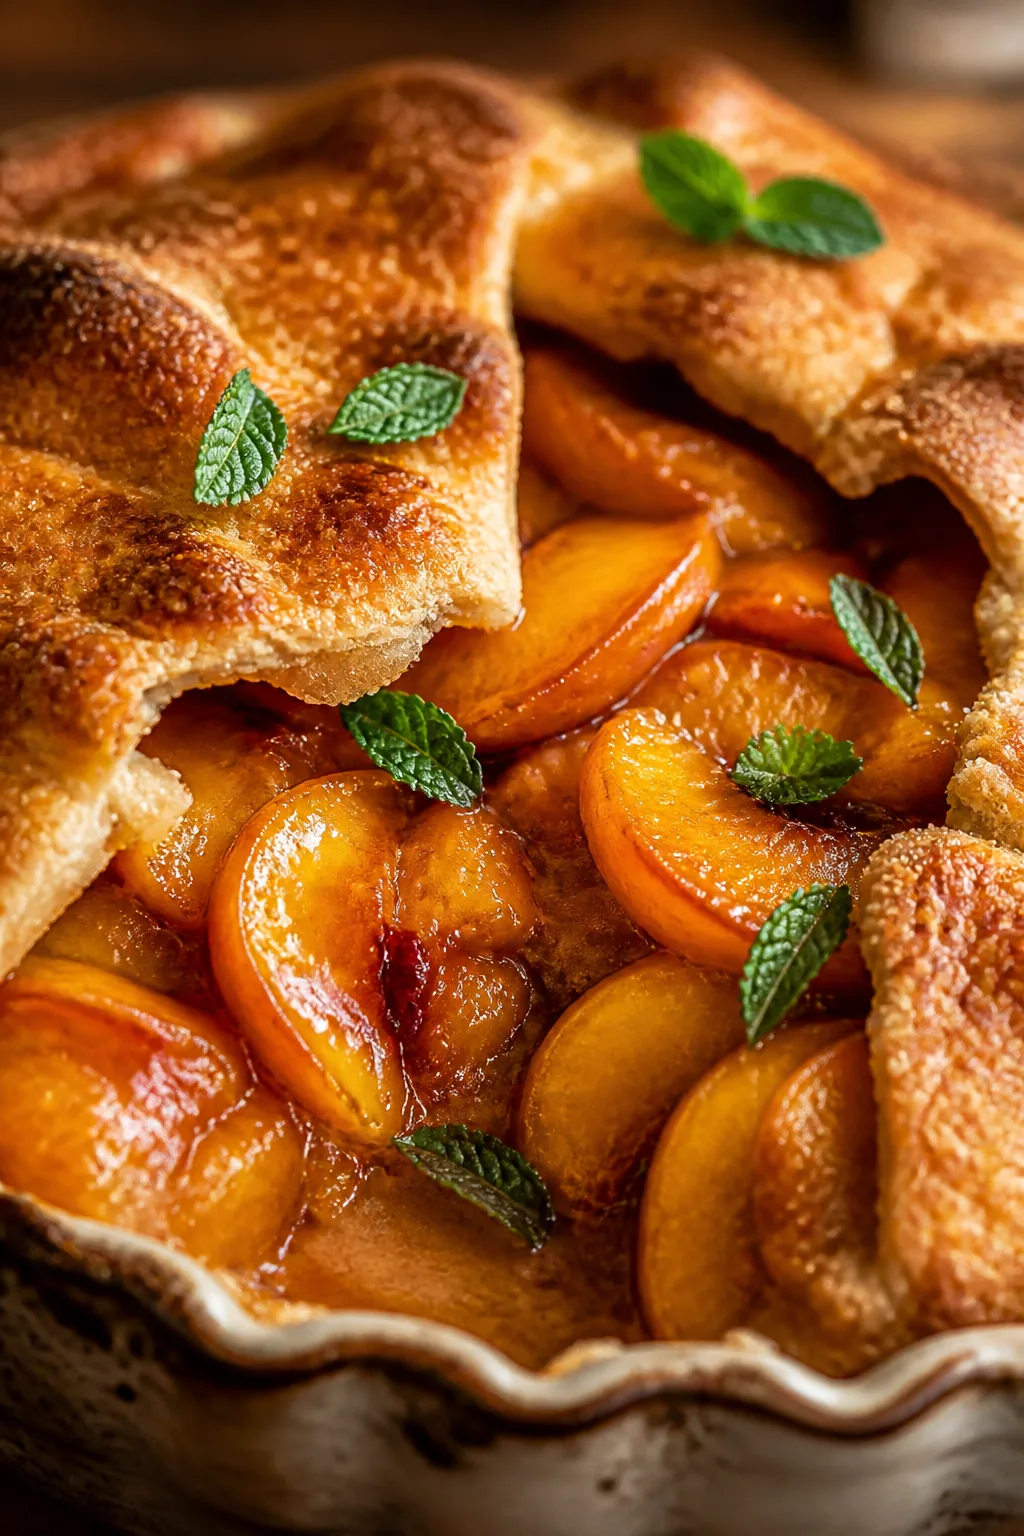
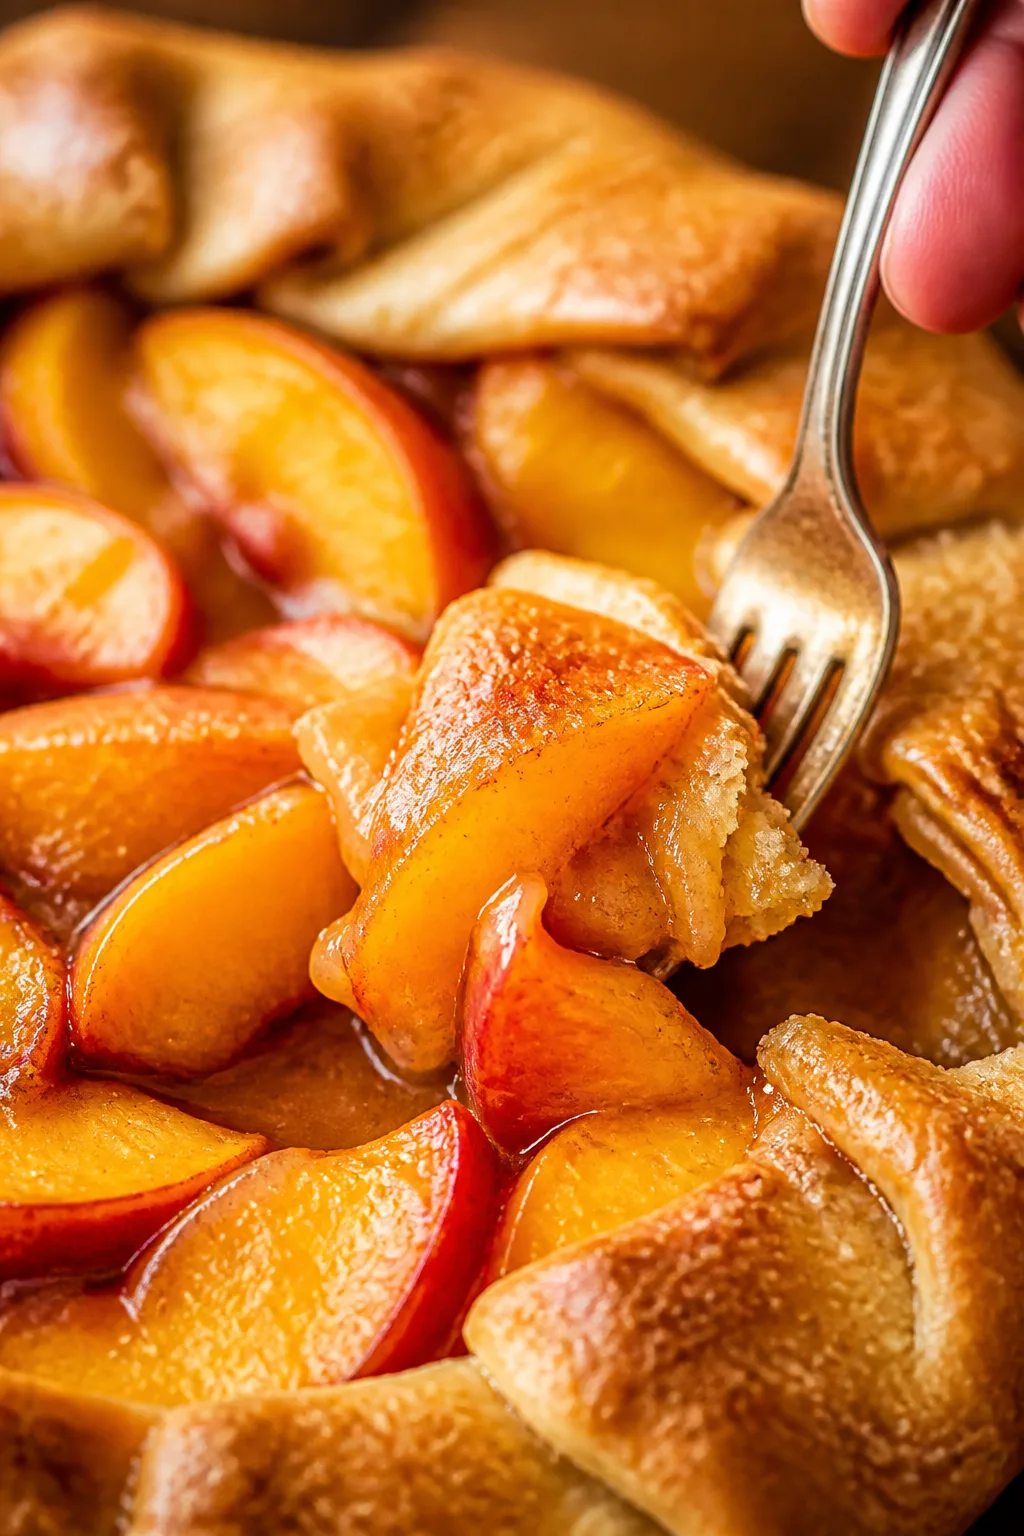
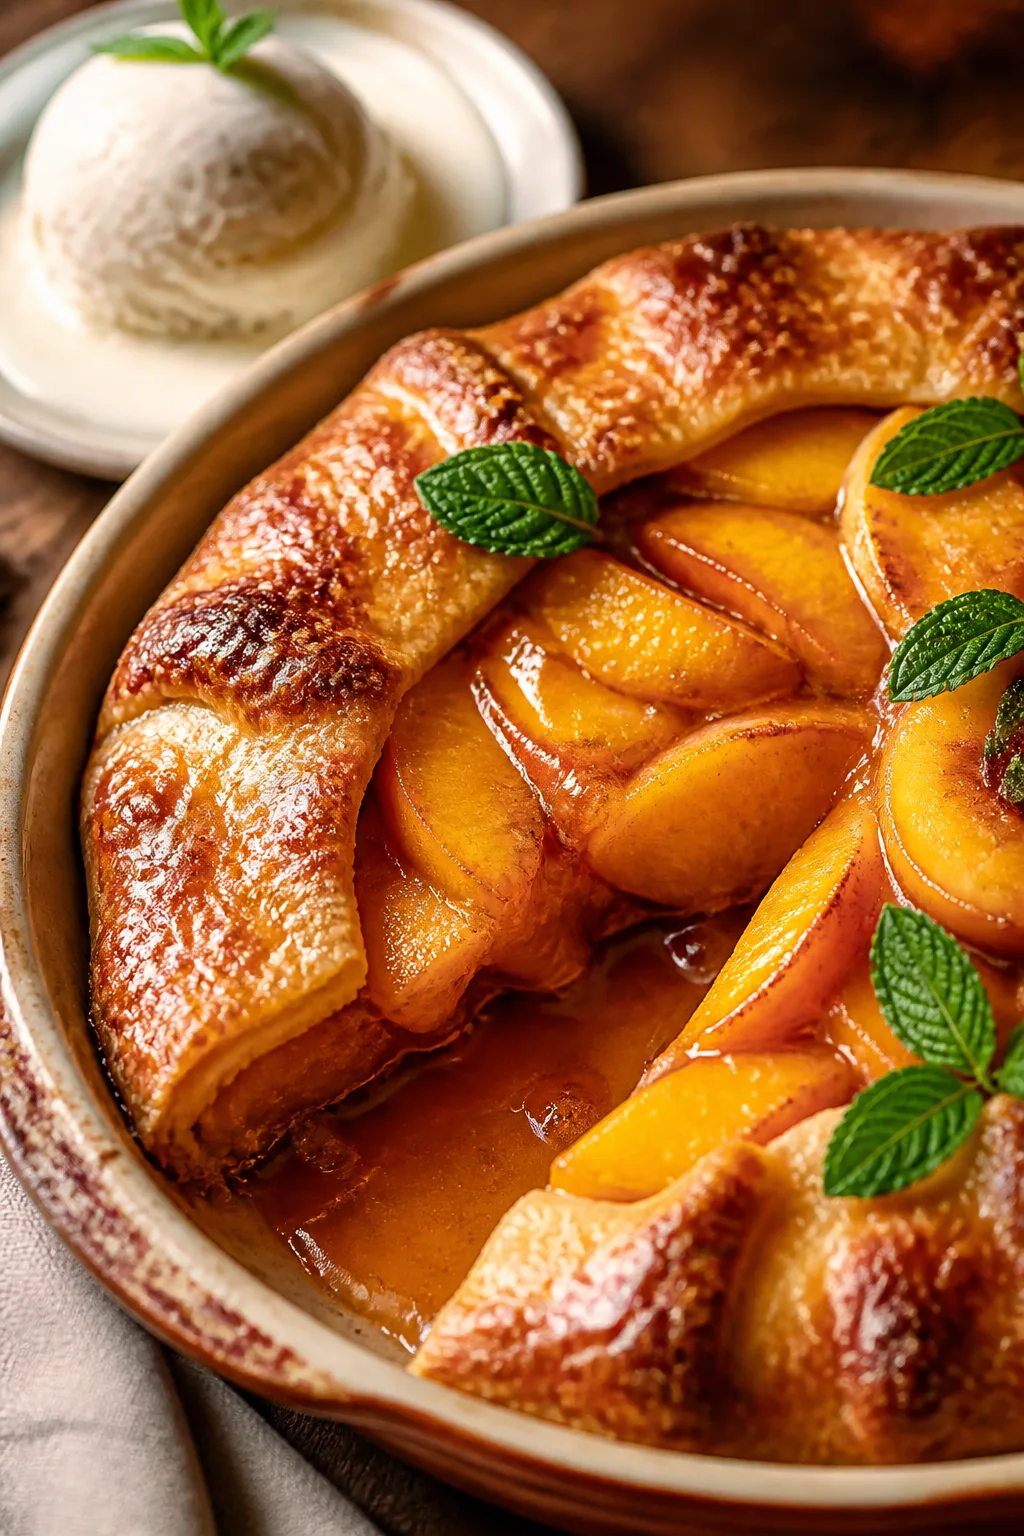
This peach galette is a simple, rustic dessert that’s full of summer sweetness. The flaky buttery crust pairs perfectly with juicy peaches and a touch of sugar. It’s my go-to for easy weekend baking when I want something homemade but not fussy.
Introduction
I first made this peach galette a few summers ago when I had a basket of fresh peaches from the farmer’s market and wanted something simple, not too sweet, and easy to put together. I love that this recipe skips the fuss of a pie pan and lattice crust but still delivers all the buttery, flaky goodness I crave. What makes this galette stand out is the balance between the tender, juicy peaches and the crisp, golden crust that’s just slightly caramelized on the edges. I usually chill my dough well and slice the peaches thinly to get that perfect tender filling that isn’t too runny. It’s the kind of dessert you can whip up on a weekend afternoon, and it’s always a hit with my family and friends. The rustic look means it doesn’t have to be perfect, which is a relief when you’re baking at home. Once baked, it has this warm, inviting aroma and a texture that’s flaky, juicy, and a little crisp all at once. I hope you enjoy making it as much as I do!
What You'll Need
One 9-inch galette, approximately 6 servings
- 1 1/4 cups all-purpose flour, chilled
- 1/4 teaspoon salt
- 1 tablespoon granulated sugar
- 8 tablespoons unsalted butter, cold and cubed
- 3-4 tablespoons ice water
- 4 ripe peaches, peeled and sliced
- 1/4 cup granulated sugar
- 1 tablespoon cornstarch
- 1 teaspoon lemon juice
- 1/2 teaspoon ground cinnamon
- 1 egg, beaten for egg wash
- Coarse sugar for sprinkling
How To Do It
Step 1
In a large bowl, whisk together the flour, salt, and sugar. Add the cold, cubed butter and use a pastry cutter or your fingers to work the butter into the flour until the mixture resembles coarse crumbs with some pea-sized pieces. This step is crucial for creating a flaky crust because the small chunks of butter melt during baking, creating steam pockets. Avoid overworking the dough to keep it tender.
⏱ Time: 10 minutes
✓ Doneness: The dough should look crumbly with visible chunks of butter and no large clumps.
Step 2
Slowly add ice water, one tablespoon at a time, mixing gently until the dough just comes together. You want it to hold when pressed but not be sticky. Too much water can make the dough tough. Form the dough into a disk, wrap in plastic wrap, and chill for at least 1 hour. Chilling firms the butter and relaxes the gluten, which helps the crust be tender and flaky.
⏱ Time: 1 hour
✓ Doneness: The dough should be firm and cold to the touch, easy to roll out without cracking.
Step 3
While the dough chills, prepare the peach filling. In a large bowl, toss the sliced peaches with sugar, cornstarch, lemon juice, and cinnamon. The cornstarch helps thicken the juices released during baking, preventing a soggy crust. The lemon juice balances the sweetness and brightens the flavor. Let the peaches sit while you roll out the dough.
⏱ Time: 10 minutes
✓ Doneness: The peaches should be evenly coated and slightly juicy but not watery.
Step 4
Preheat the oven to 400°F (200°C). On a lightly floured surface, roll out the chilled dough into a 12-inch circle about 1/8 inch thick. Keep the edges slightly thicker for folding. Rolling evenly ensures uniform baking and a crisp crust. If the dough cracks at the edges, press it gently to seal.
⏱ Time: 10 minutes
✓ Doneness: The dough should be smooth and even in thickness, about 12 inches in diameter.
Step 5
Transfer the dough to a parchment-lined baking sheet. Spoon the peach mixture into the center, leaving a 2-inch border. Fold the edges of the dough up over the peaches in pleats, overlapping as needed. This rustic folding keeps the filling contained while allowing steam to escape. The free edges will crisp nicely in the oven.
⏱ Time: 10 minutes
✓ Doneness: The edges should be folded neatly over the filling with no gaps.
Step 6
Brush the crust edges with beaten egg and sprinkle coarse sugar on top. The egg wash promotes a golden, shiny crust, and the sugar adds a nice crunch and sparkle. This finishing touch makes the galette look irresistible and adds texture.
⏱ Time: 5 minutes
✓ Doneness: The crust edges should be evenly coated and glistening.
Step 7
Bake the galette in the preheated oven for 30-35 minutes until the crust is golden brown and the peach filling is bubbling. Keep an eye on the crust to avoid burning; if it browns too quickly, tent with foil. The bubbling filling indicates the peaches are cooked through and thickened.
⏱ Time: 30-35 minutes
✓ Doneness: The crust should be deep golden and the filling visibly bubbling.
Step 8
Remove the galette from the oven and let it cool on the baking sheet for at least 15 minutes. Cooling allows the filling to set slightly for easier slicing and prevents burns from hot juices. It also helps the crust crisp up as it cools.
⏱ Time: 15 minutes
✓ Doneness: The filling should be thickened and the galette slightly cooled but still warm.
Step 9
Serve warm or at room temperature, optionally with a scoop of vanilla ice cream or a dollop of whipped cream. The contrast of warm, flaky crust and cold ice cream is heavenly. Enjoy immediately for best texture and flavor.
⏱ Time: Serve immediately
✓ Doneness: The galette should be warm with the filling tender and crust crisp.
Pro Tips
Keep your butter and water ice cold when making the dough.
Cold butter creates steam pockets as it melts in the oven, which leads to a flaky crust. Warm butter blends too thoroughly with flour, resulting in a dense, tough pastry. Ice-cold water helps keep the dough cool and prevents gluten from developing too much.
Don’t overmix the dough once you add water.
Overmixing activates gluten, making the crust tough instead of tender. Mix just until the dough holds together. It’s okay if it’s a bit shaggy or crumbly; it will come together when you press it into a disk.
Slice peaches evenly and not too thick.
Even slices ensure the peaches cook uniformly, and thinner slices release less juice, preventing a soggy crust. Thick slices might stay undercooked or cause the crust to become soggy from excess moisture.
Chill the dough for at least an hour before rolling.
Chilling firms the butter and relaxes the gluten, which prevents shrinking and tough texture. It also makes the dough easier to roll out and fold without cracking.
Use parchment paper to transfer and bake the galette.
Parchment paper prevents sticking and makes cleanup easier. It also helps in sliding the galette onto the baking sheet without tearing the dough.
Brush the crust with egg wash and sprinkle coarse sugar before baking.
This gives the crust a beautiful golden color and a slight crunch, enhancing both appearance and texture.
Let the galette cool slightly before slicing.
Cooling allows the filling to set, making it easier to cut neat slices and preventing hot juices from spilling.
Common Mistakes to Avoid
Using warm butter or overworking the dough
Why it happens Sometimes in a rush, people don’t chill butter enough or mix the dough too much, thinking it will help it come together better.
Fix Always use cold butter and add water gradually, mixing gently until just combined. Chill the dough for at least an hour before rolling to keep the butter firm and the crust flaky.
Peach filling too watery
Why it happens Using overripe peaches or skipping the cornstarch causes excess juice to leak and make the crust soggy.
Fix Use firm ripe peaches and toss them with cornstarch and sugar to absorb juices. Let the mixture sit for a few minutes before assembling to thicken.
Crust burns before filling is cooked
Why it happens Baking at too high a temperature or not monitoring the crust can cause edges to overbrown.
Fix Bake at 400°F and tent the crust edges with foil halfway through if they brown too quickly.
Dough cracks when rolling
Why it happens Dough not chilled enough or too dry will crack when rolled out.
Fix Chill dough thoroughly and add a teaspoon of water if it feels dry before rolling. Patch cracks gently with extra dough.
Galette falls apart when serving
Why it happens Cutting too soon or using a flimsy crust can cause it to crumble.
Fix Let the galette cool for 15 minutes to set the filling and crust before slicing carefully with a sharp knife.
Variations
Mixed Berry Galette
Swap peaches for a combination of fresh berries like blueberries, raspberries, and strawberries. Adjust sugar slightly as berries can be more tart. The filling will be juicier, so add a bit more cornstarch to prevent sogginess.
Note: Berries release more juice than peaches, so careful thickening with cornstarch and gentle folding of the crust edges is important to keep the galette intact.
Peach and Almond Galette
Add sliced almonds to the peach filling or sprinkle almond flour on the crust before folding. This adds a lovely nutty flavor and extra texture. You can also brush the crust with almond extract for a subtle aroma.
Note: Almond flour can absorb some moisture from the filling, helping prevent soggy crust while adding flavor.
Gluten-Free Peach Galette
Use a gluten-free flour blend designed for baking in place of all-purpose flour. The texture will be slightly different but still delicious. Chill the dough well and handle gently to avoid crumbling.
Note: Gluten-free doughs often need more careful handling and chilling to mimic the elasticity gluten provides.
Vegan Peach Galette
Replace butter with a vegan butter substitute and use a flax egg or aquafaba for the egg wash. The crust will still be flaky and delicious, and the filling remains the same.
Note: Vegan butter should be cold and solid for best flakiness. Egg wash can be substituted with plant milk brushed on for color.
Spiced Peach Galette
Add warming spices like nutmeg, ginger, or cardamom to the peach filling for a more complex flavor. This is great for cooler months or when you want a cozy twist on summer fruit.
Note: Use spices sparingly to complement, not overpower, the natural peach flavor.
Nutrition
Per Serving:
Nutritional values are estimates and may vary based on specific ingredients used.
Storage & Tips
Room Temperature
Store leftover peach galette covered loosely at room temperature for up to 1 day. Keep away from direct heat or sunlight to maintain crust texture. Best eaten within a day for optimal freshness.
Refrigerator
Place galette in an airtight container or cover with plastic wrap and refrigerate for up to 3 days. The crust may soften slightly but reheating in a warm oven can restore crispness.
Freezer
Wrap the galette tightly in plastic wrap and then foil to freeze for up to 2 months. Thaw overnight in the refrigerator before reheating. Freezing may slightly affect crust texture but flavor remains good.
Reheating
Reheat slices in a 350°F oven for 10-15 minutes to crisp the crust and warm the filling. Avoid microwaving as it makes the crust soggy. A splash of water or brush of melted butter before reheating can refresh the crust.
Make Ahead
Prepare the dough up to 2 days ahead and keep wrapped in the refrigerator. Assemble the galette and bake on the day you want to serve for the freshest crust and best flavor. You can also slice peaches and mix the filling a few hours ahead and refrigerate.
FAQ
Can I use frozen peaches for this galette?
Yes, you can use frozen peaches if fresh ones aren’t available. Just make sure to thaw them completely and drain any excess juice before mixing with sugar and cornstarch. This helps prevent a soggy crust. Frozen peaches might be softer, so handle gently.
How do I prevent the crust from getting soggy?
The key is using cornstarch in the filling to thicken the juices and chilling the dough well before baking. Also, folding the crust edges up helps contain the filling and allows steam to escape. Baking at a higher temperature crisps the crust quickly, reducing sogginess.
Can I make the dough in advance?
Absolutely! The dough can be made and refrigerated for up to 2 days before rolling out. Just keep it tightly wrapped in plastic wrap to prevent drying out. Bring it to the fridge when ready to use and roll out cold for best results.
What if my dough cracks when rolling?
If the dough cracks, it likely needs more moisture or chilling. You can patch cracks by pressing the dough gently together or adding a teaspoon of ice water to help it hold. Always roll gently and keep the dough chilled.
Can I substitute the butter with shortening or margarine?
Butter is preferred for flavor and texture, but you can use shortening or margarine. Keep in mind these fats have different melting points and water content, which may affect flakiness and taste. Using a mix of butter and shortening can be a good compromise.
How do I store leftover galette?
Store leftovers in an airtight container at room temperature for a day or in the fridge for up to 3 days. Reheat in the oven to refresh the crust. Avoid microwaving as it makes the crust soggy.
Can I add spices to the peach filling?
Yes, adding warm spices like cinnamon, nutmeg, or ginger can enhance the flavor. Use them sparingly so they complement rather than overpower the peaches. This is especially nice in cooler months.
Is it necessary to peel the peaches?
Peeling peaches is recommended because the skin can be tough and affect the texture of the filling. If you prefer, you can leave the skin on, especially if peaches are very ripe and tender, but the texture will be less smooth.
Final Thoughts
I hope you enjoy this easy peach galette as much as my family does. It’s a simple, delicious way to celebrate fresh fruit and homemade baking. Let me know how yours turns out!