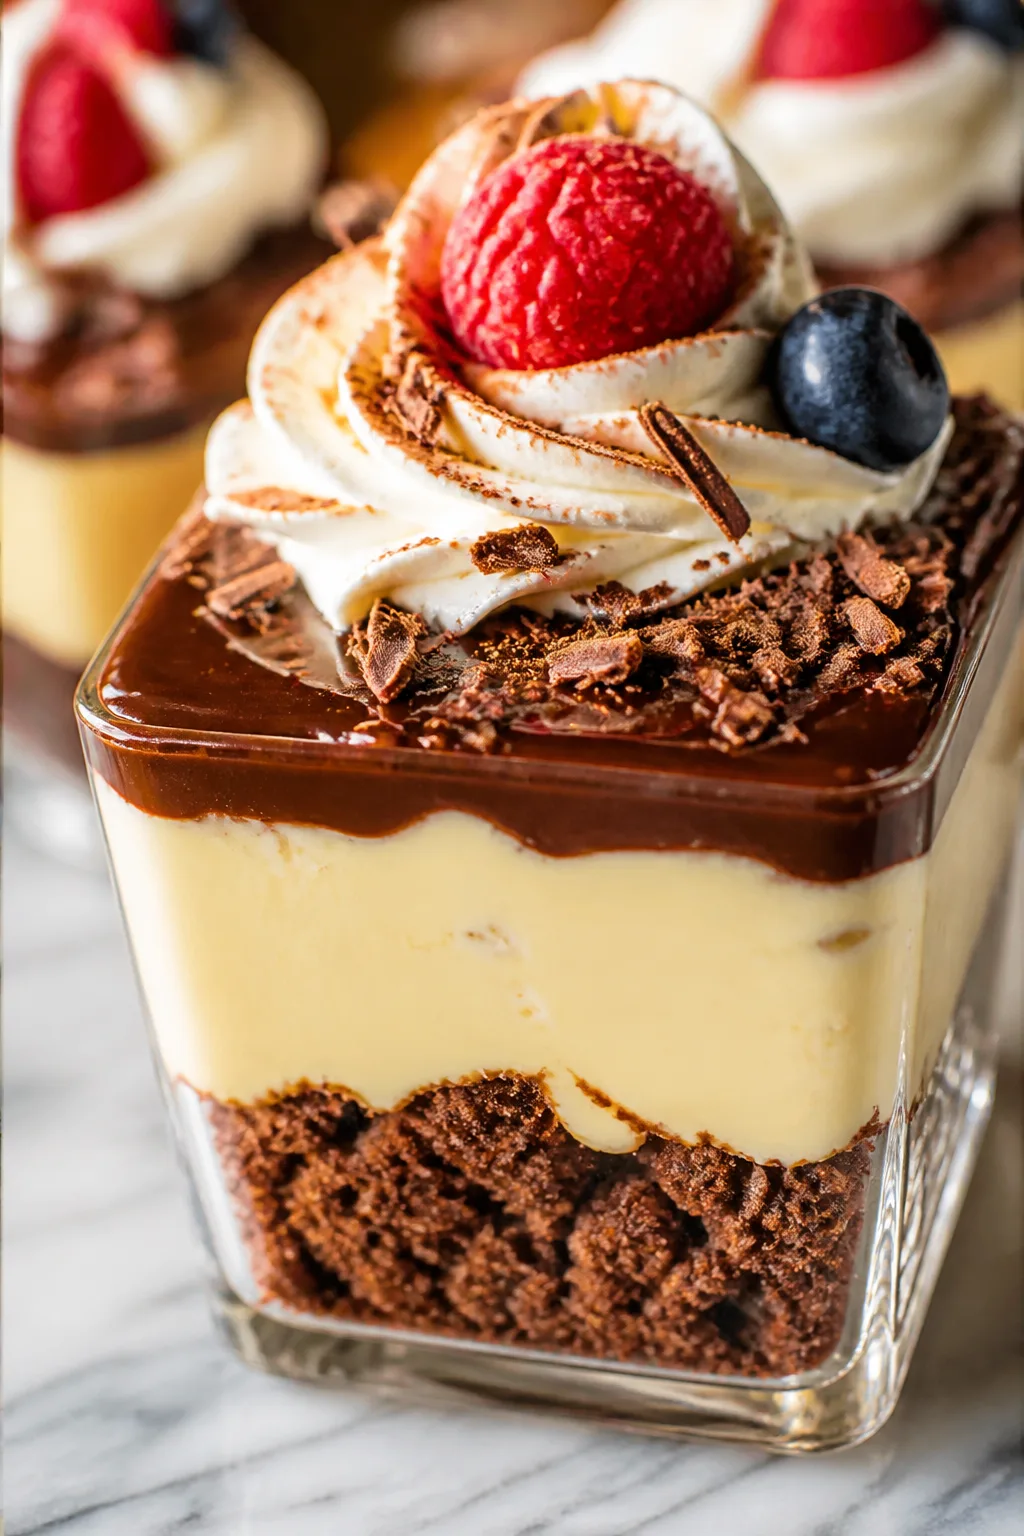
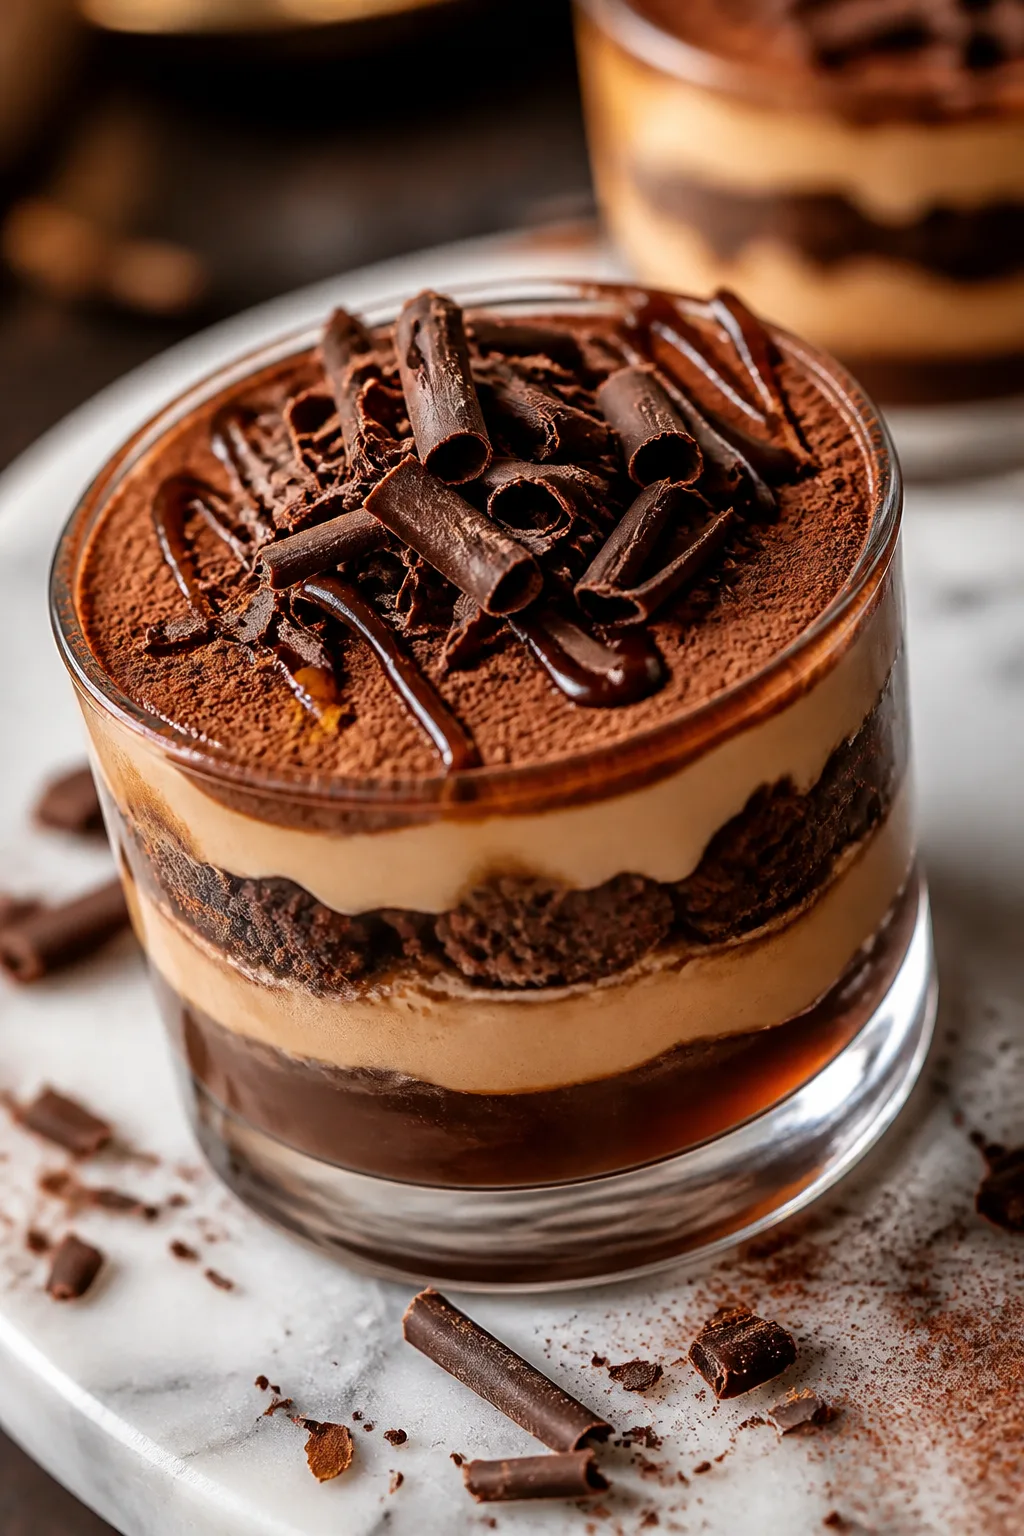
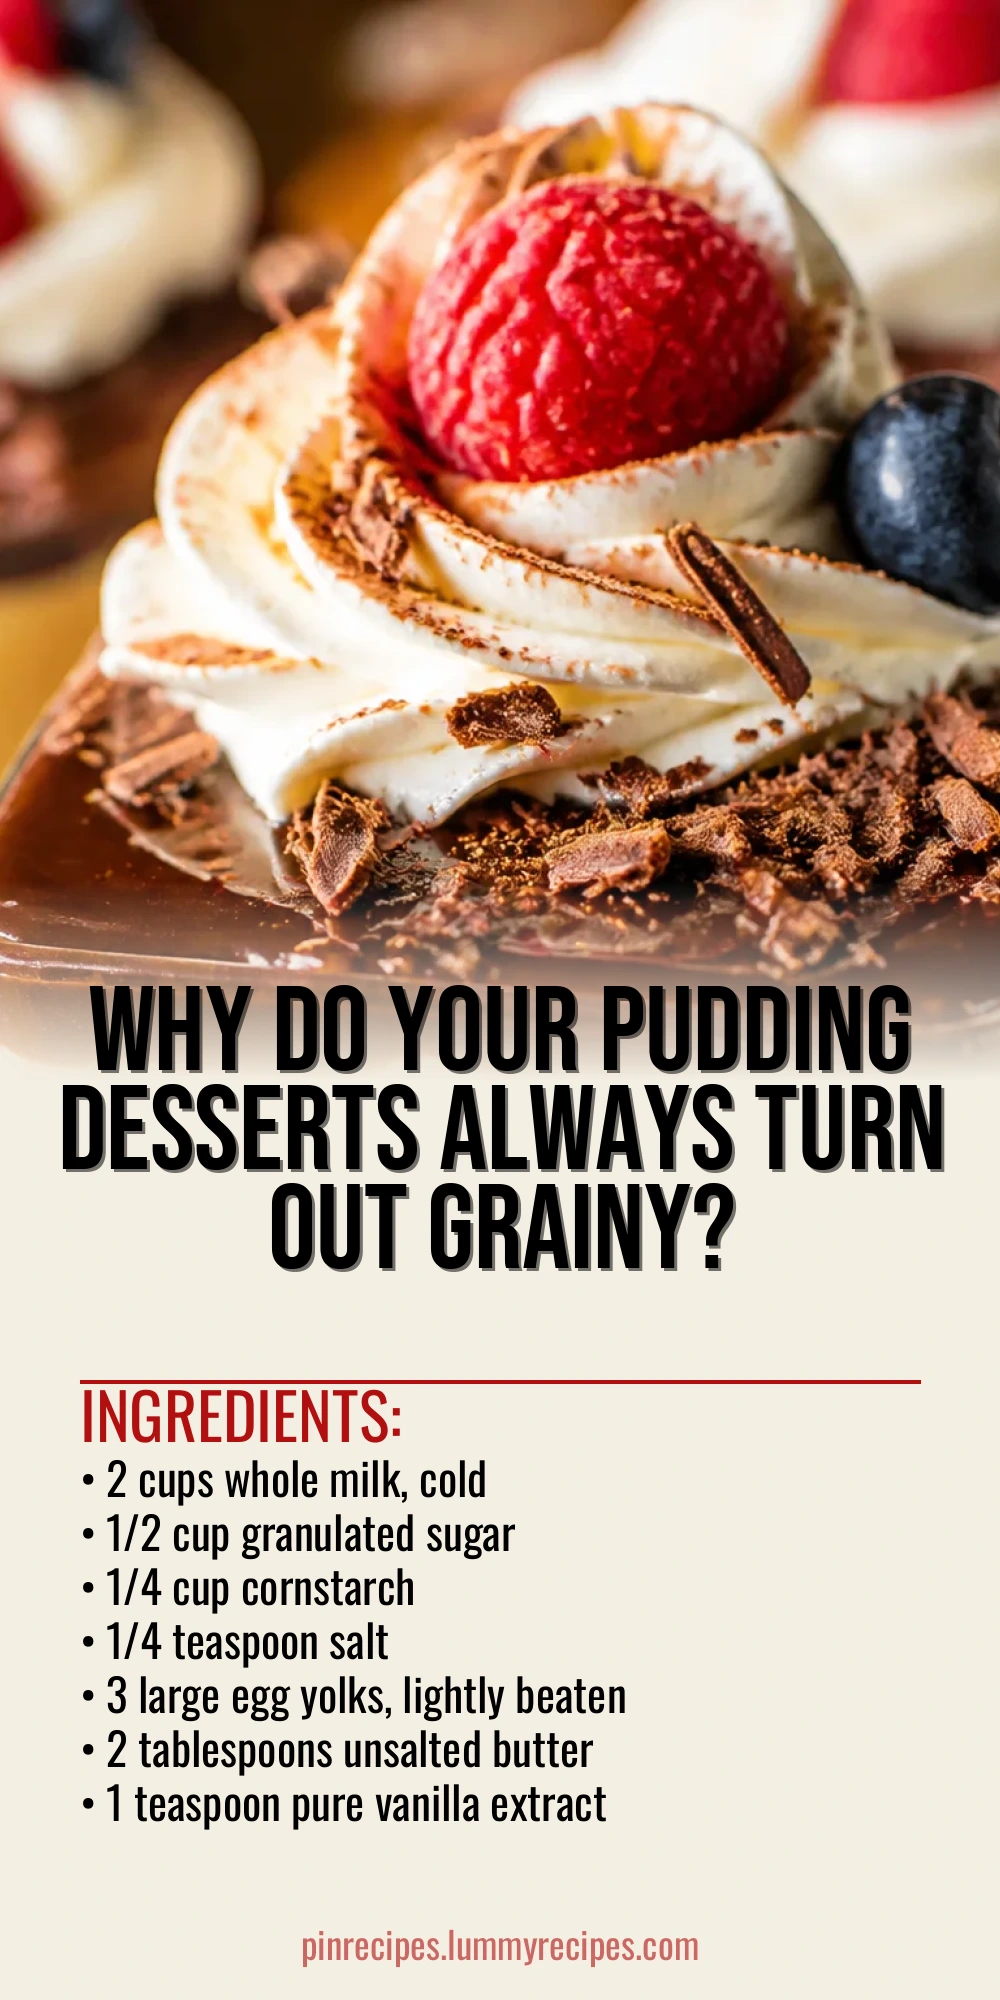
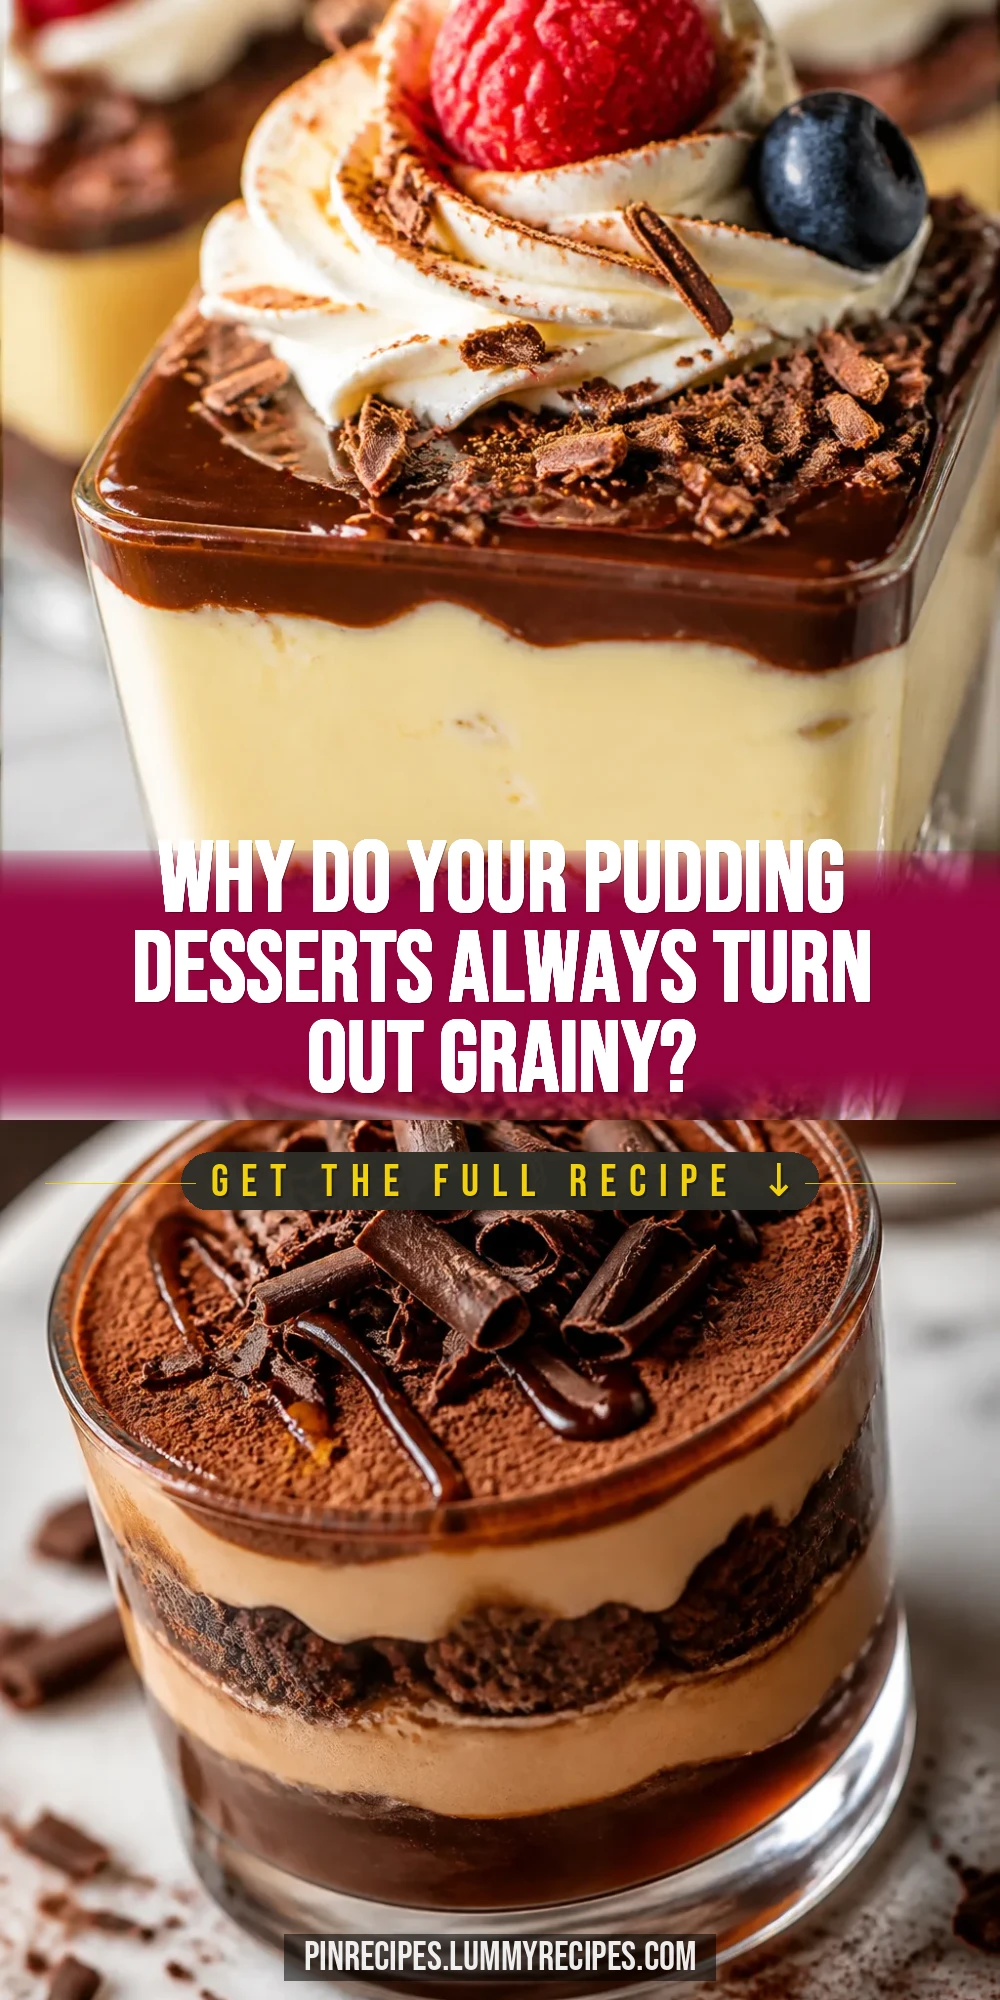
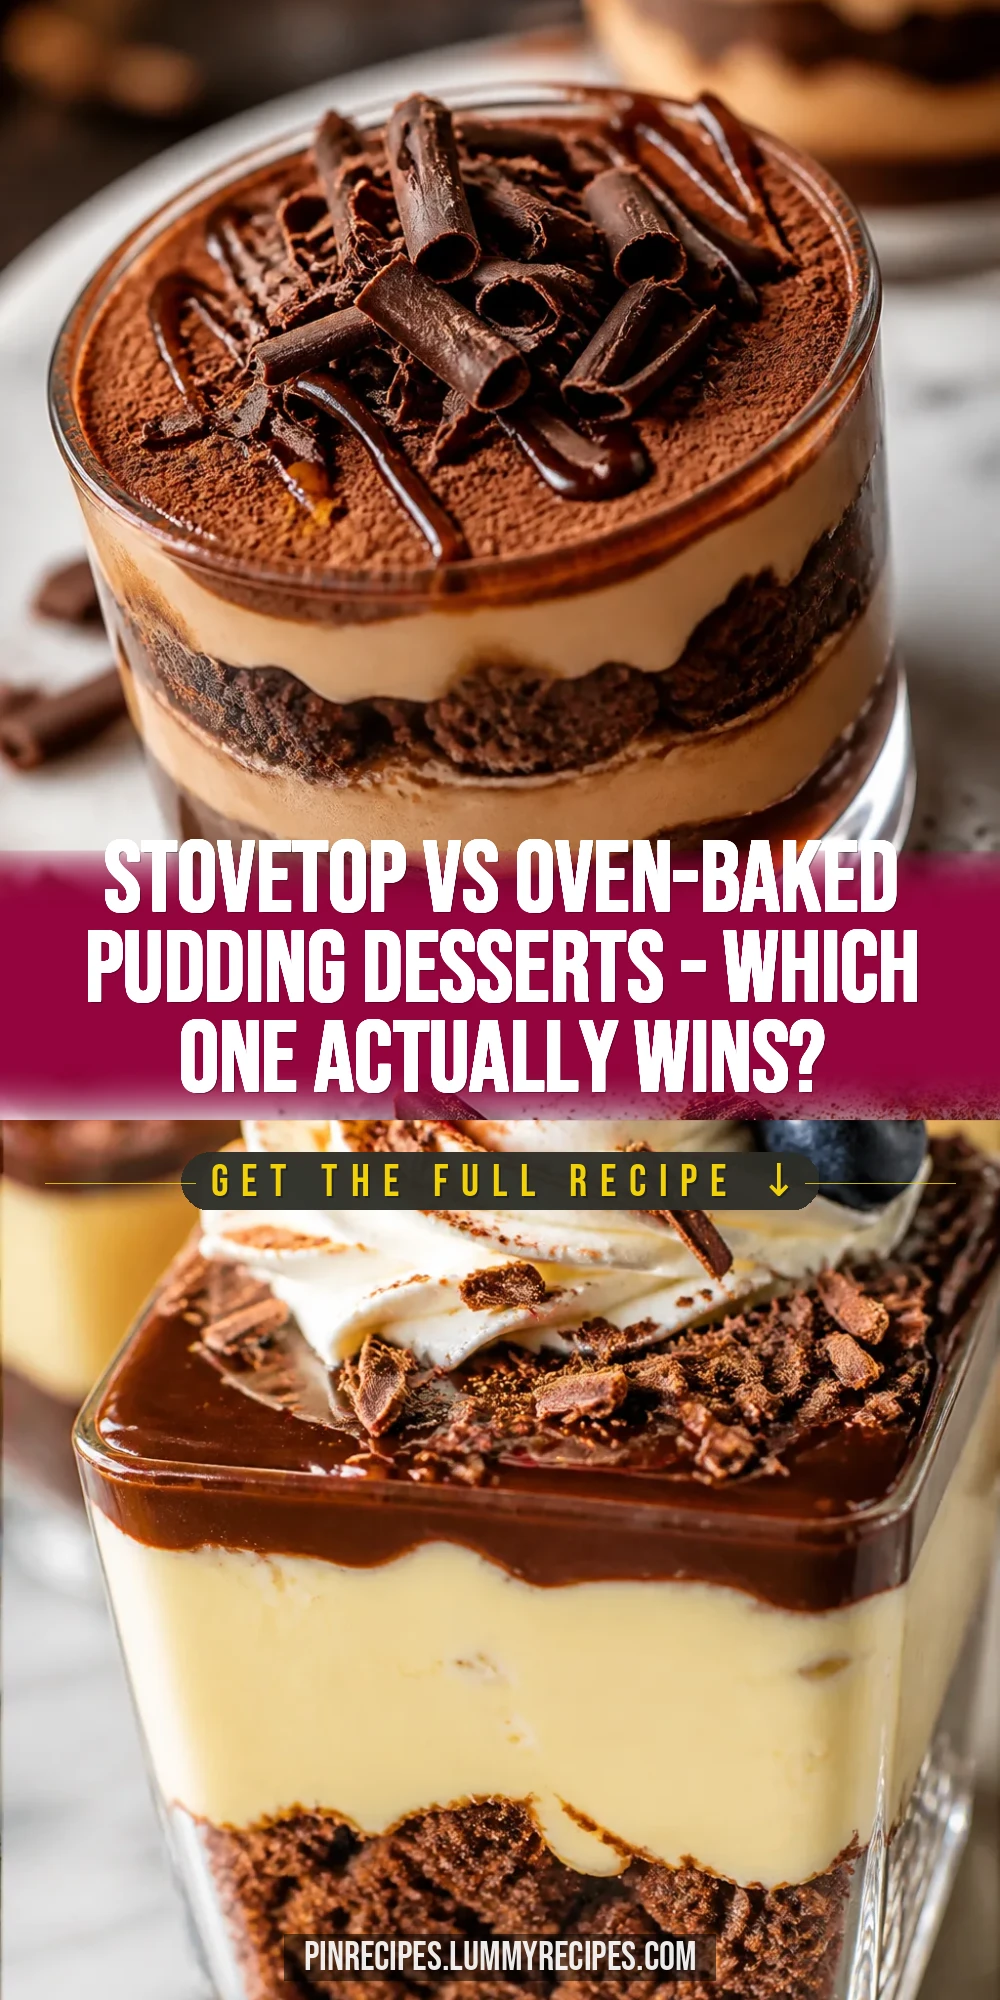
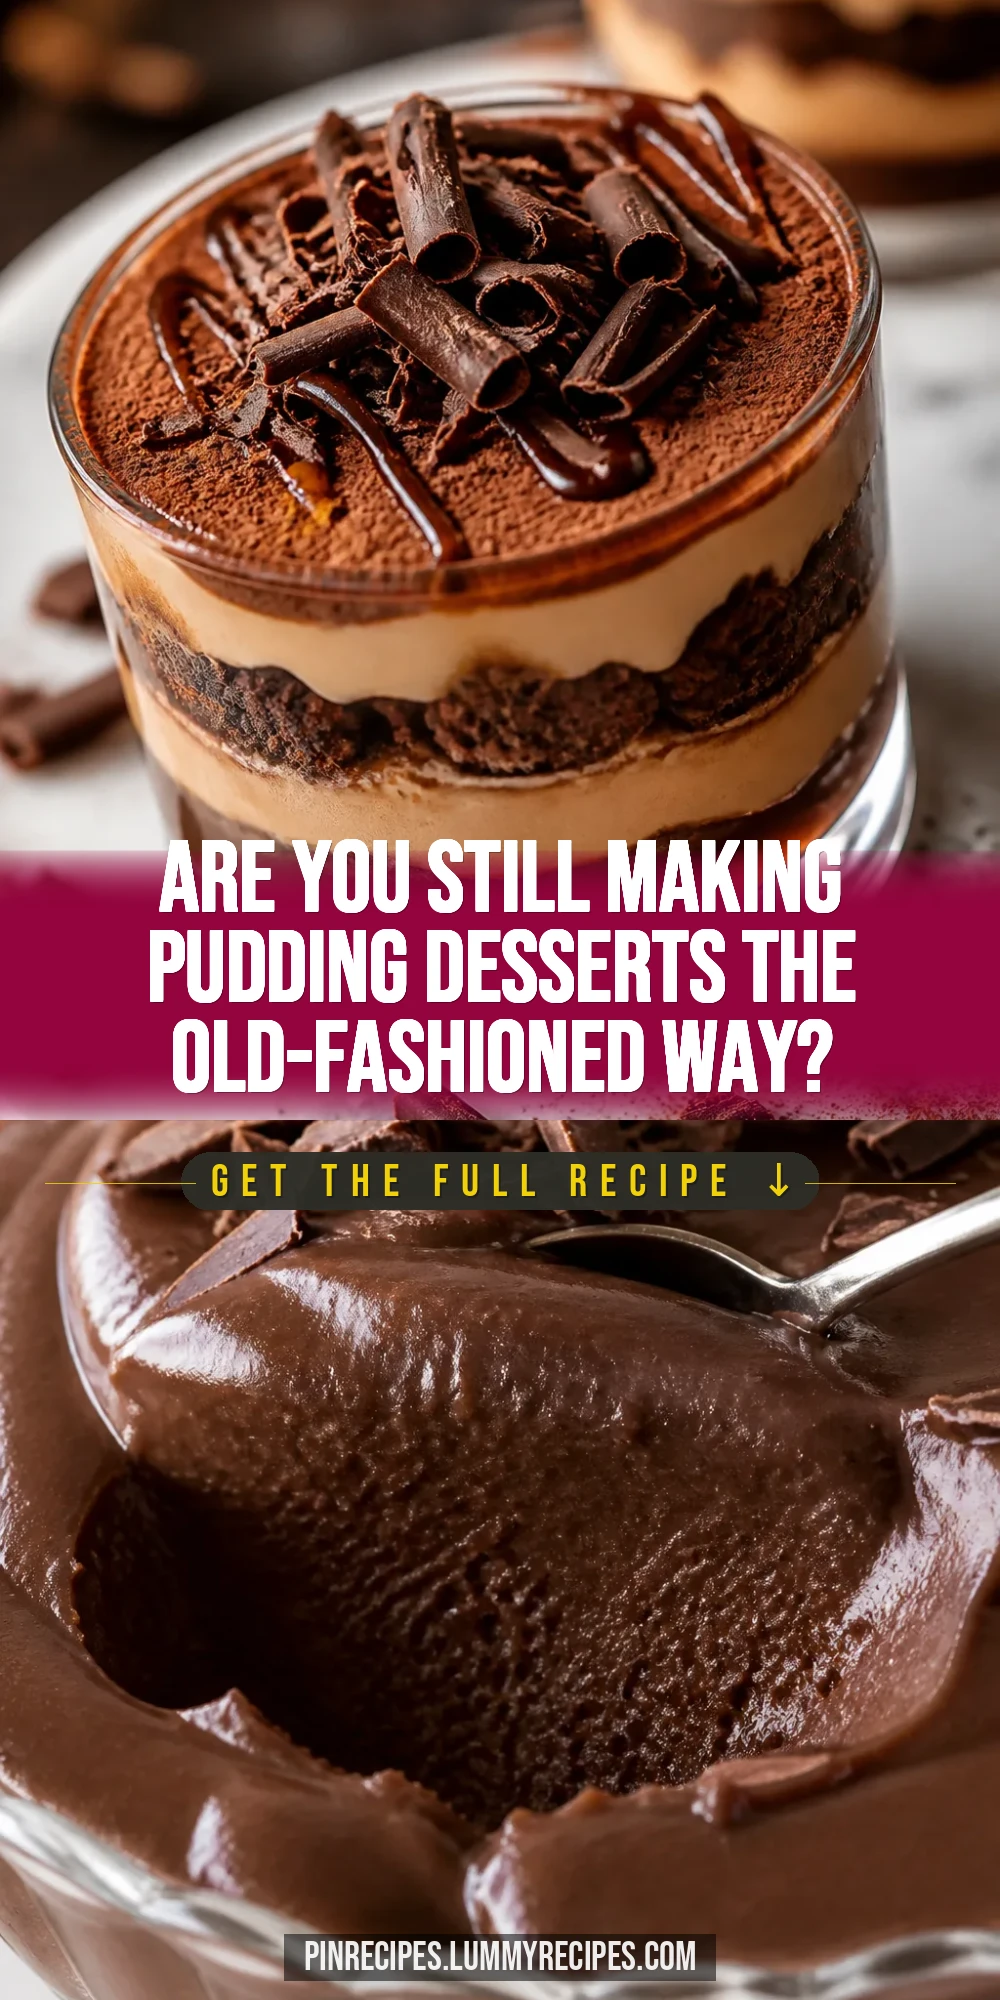
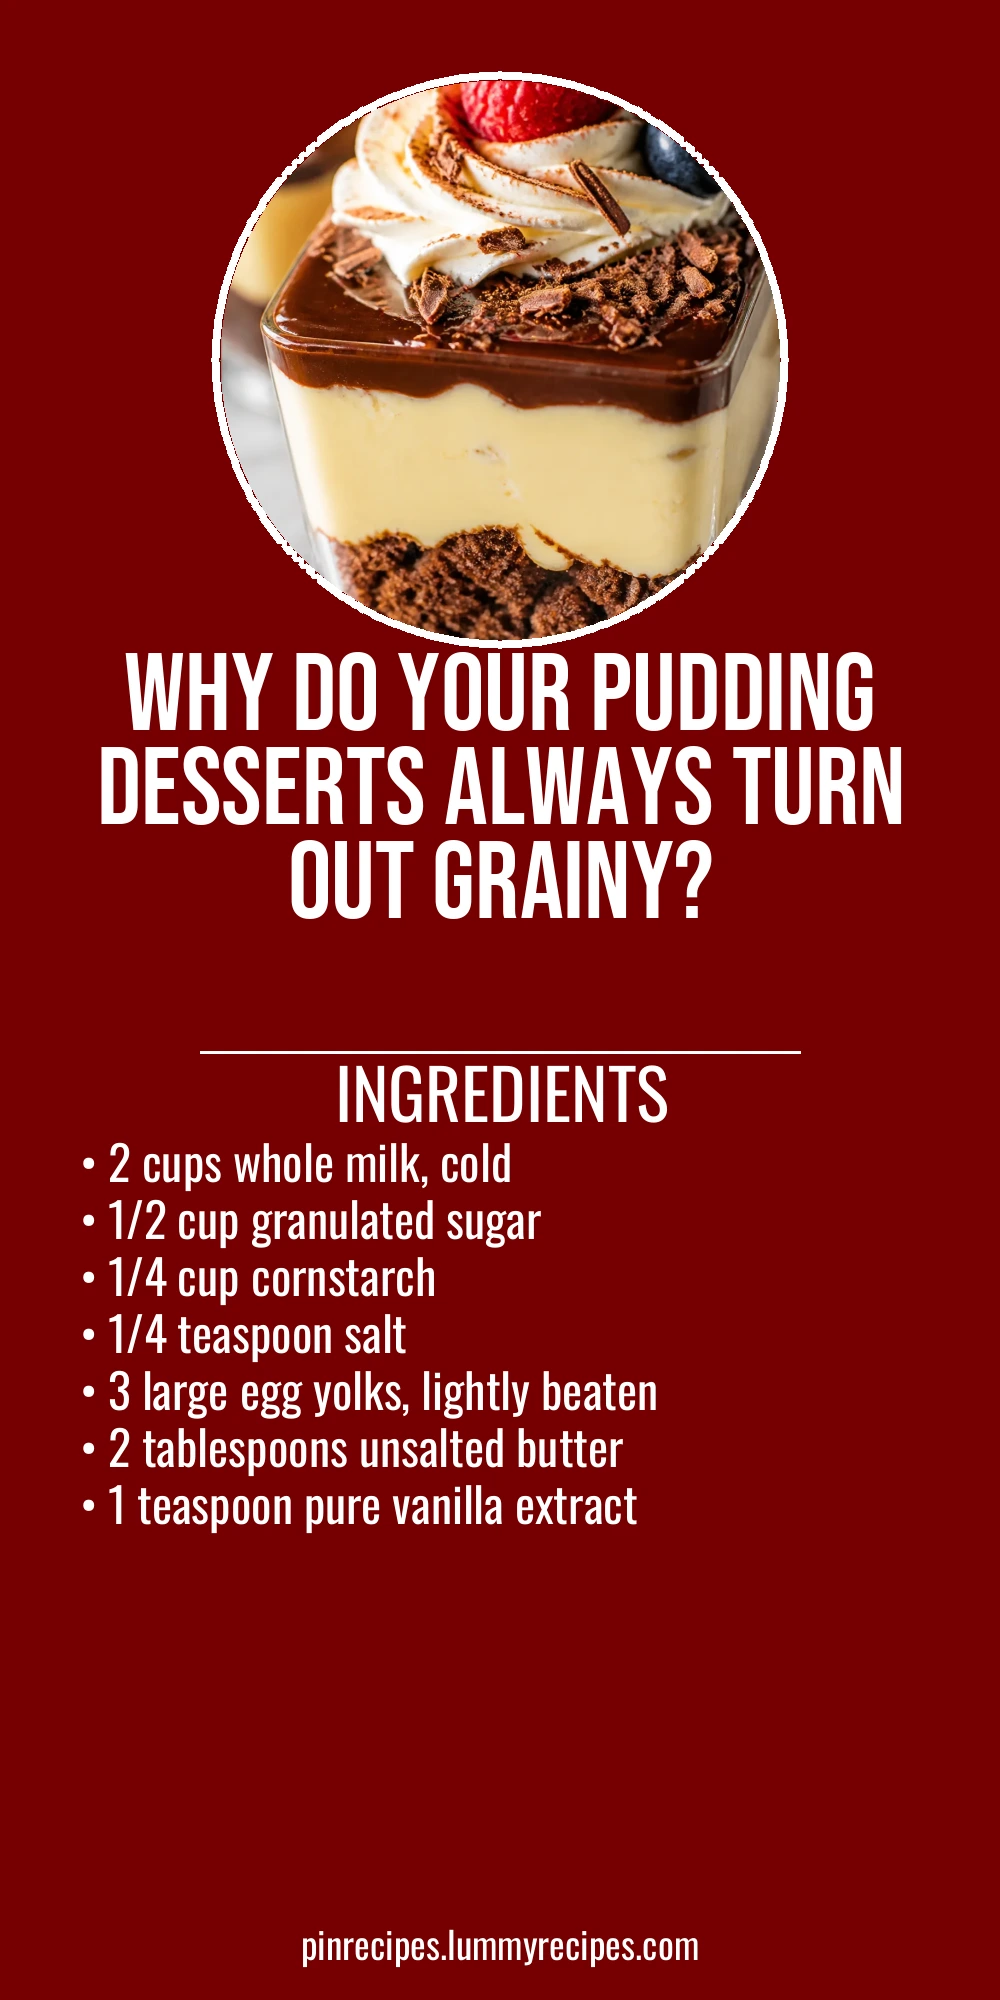
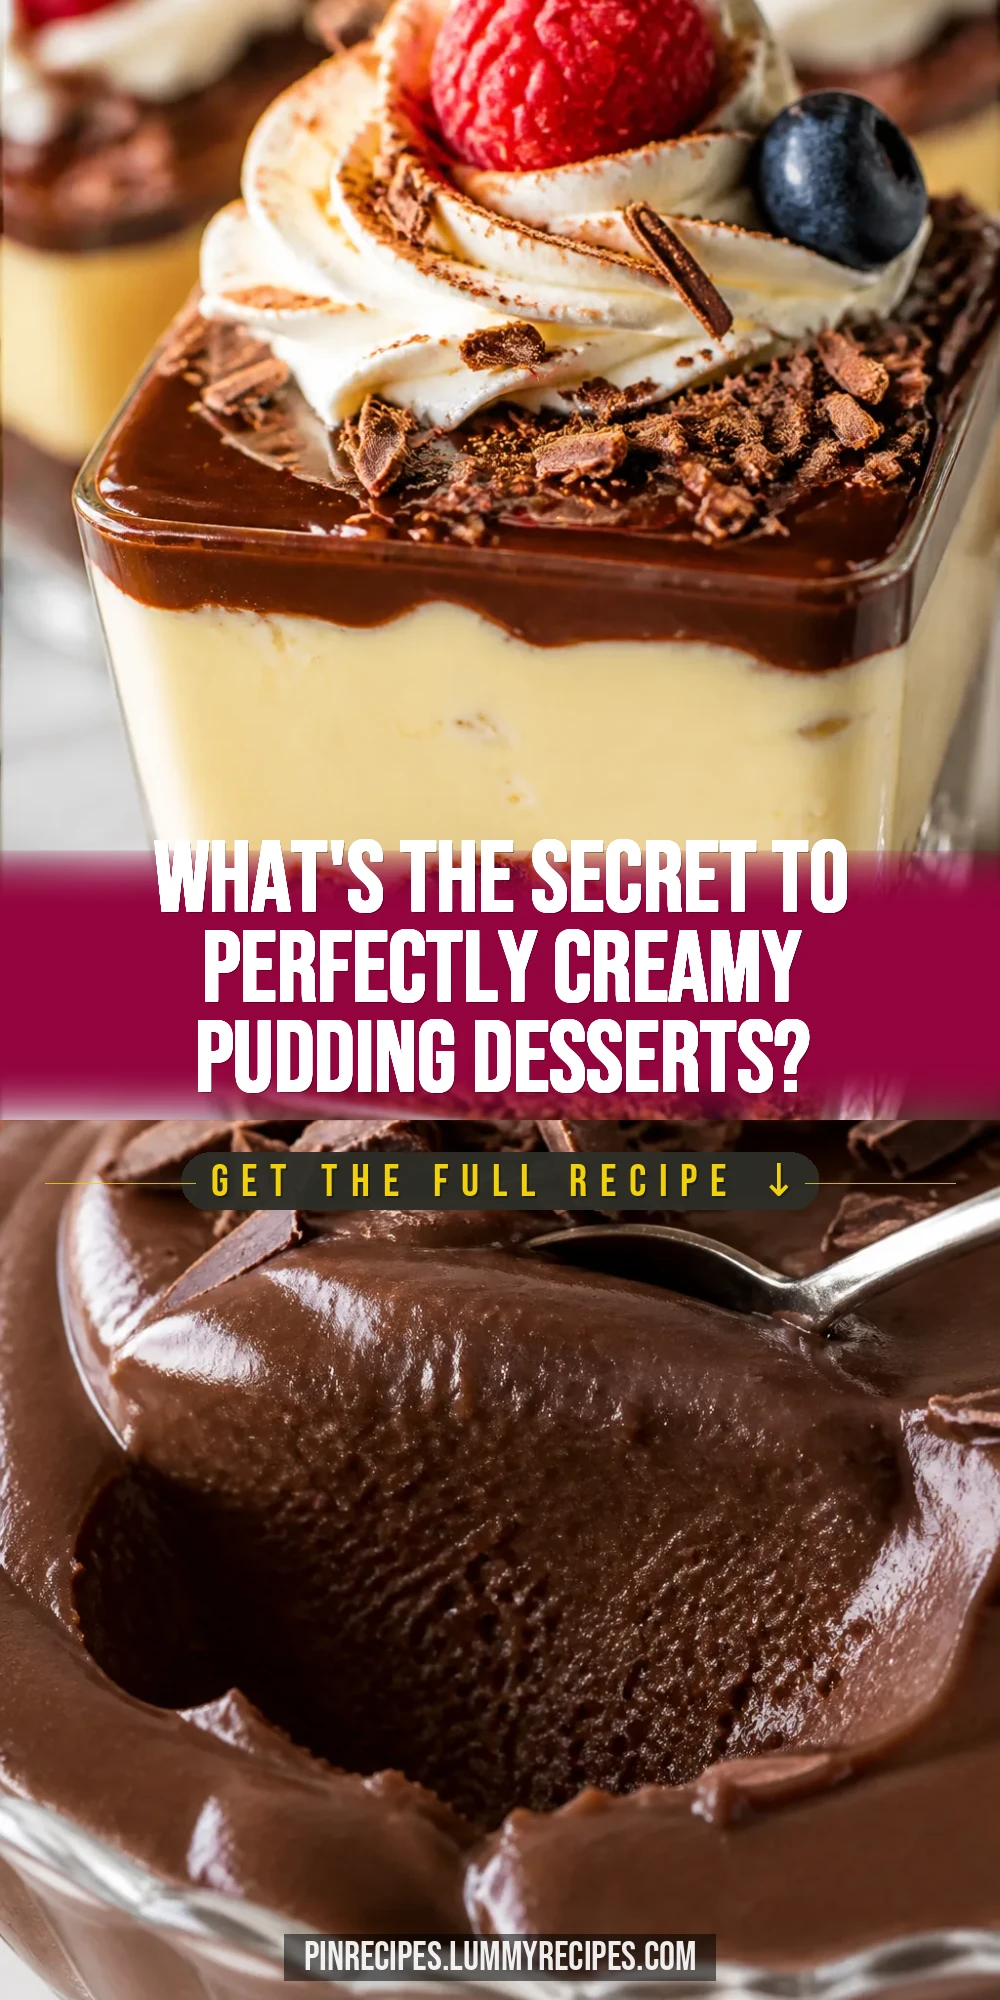
This pudding dessert recipe is a simple, comforting treat that feels like a hug in a bowl. With a silky texture and just the right sweetness, it’s perfect for a cozy night in or a casual family dessert.
Introduction
I’ve been making pudding desserts for years, and this recipe has become a family favorite because it’s so straightforward yet delicious. What sets this pudding apart is the gentle whisking technique I use to avoid lumps and the slow simmer that gives it that velvety texture. I remember the first time I tried making pudding from scratch — it was a bit of a disaster with clumps everywhere, but after some trial and error, I found the perfect balance of heat and stirring. Now, this pudding is always silky smooth and just sweet enough without being overpowering. It’s great for a cozy evening dessert or when you want something simple but satisfying. Plus, it’s made with basic ingredients you probably already have in your kitchen, which makes it a go-to for last-minute treats. I love serving it with a sprinkle of cinnamon or fresh berries for a little extra flair.
How To Do It
Step 1
In a medium saucepan, whisk together the sugar, cornstarch, and salt. This dry mix is crucial because it prevents lumps and ensures even thickening. Slowly pour in the cold milk while whisking constantly to combine everything smoothly. This gradual mixing helps avoid clumps from forming. Place the saucepan over medium heat and cook, stirring frequently with a whisk, until the mixture begins to thicken and bubble. This step can take about 8-10 minutes, and you’ll know it’s ready when the pudding coats the back of a spoon thickly. Avoid rushing or turning the heat too high, or the pudding could scorch or become grainy.
⏱ Time: 10
✓ Doneness: Pudding is thick and coats the back of a spoon smoothly without lumps.
Step 2
Once the pudding base starts to thicken, temper the egg yolks by slowly whisking in about half a cup of the hot pudding mixture into the yolks. This gradual warming prevents the eggs from scrambling. Then, pour the egg yolk mixture back into the saucepan and continue cooking over medium-low heat for 2-3 more minutes, stirring constantly, until the pudding is thicker and creamy. Remove from heat and stir in butter and vanilla extract for richness and flavor. The butter adds a silky finish while vanilla enhances the taste. Pour the pudding into serving dishes and cover with plastic wrap directly on the surface to prevent a skin from forming. Chill in the fridge for at least 2 hours before serving for the best texture.
⏱ Time: 10
✓ Doneness: Pudding is thick, creamy, and smooth with a glossy surface.
Step 3
Before serving, give the pudding a gentle stir to reincorporate any settled creaminess and smooth out the texture. If desired, top with fresh fruit, whipped cream, or a sprinkle of cinnamon or nutmeg for added flavor and presentation. This final touch makes the pudding feel special and inviting. Serve chilled for a refreshing dessert or at room temperature if you prefer it warmer. Enjoy!
⏱ Time: 5
✓ Doneness: Pudding is smooth and ready to serve with optional garnishes.
Step 4
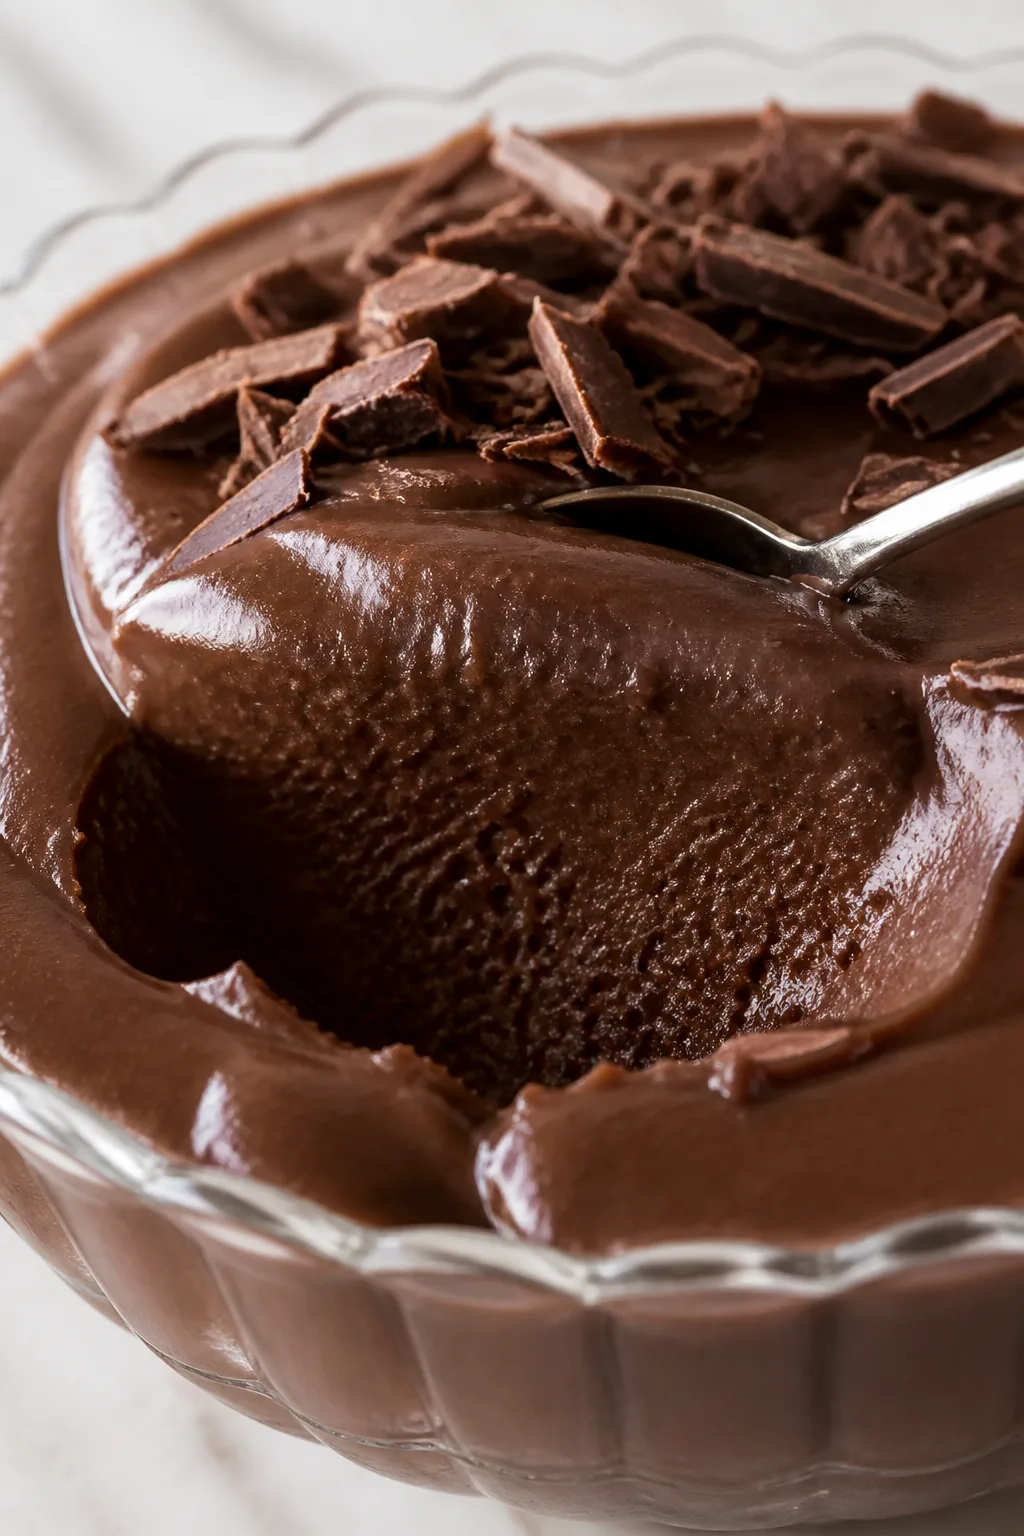
If you want to add a chocolate twist, melt 2 ounces of good-quality dark chocolate and stir it into the hot pudding right after removing from heat. This creates a rich chocolate pudding that’s perfect for chocolate lovers. Just make sure the chocolate is fully melted and incorporated before chilling.
⏱ Time: 5
✓ Doneness: Chocolate is fully melted and blended evenly into the pudding.
Step 5
To make a layered pudding parfait, alternate spooning pudding and crushed cookies or granola into glasses. This adds texture and makes a fun presentation for guests or kids. Chill the parfaits to let flavors meld before serving.
⏱ Time: 10
✓ Doneness: Layers are distinct and pudding is chilled and set.
Step 6
For a dairy-free version, substitute coconut milk for whole milk and use a dairy-free butter alternative. The coconut milk adds a subtle tropical flavor and creamy texture, though it may be slightly less thick. Adjust sweetness if needed.
⏱ Time: 5
✓ Doneness: Pudding is creamy and smooth with a slight coconut aroma.
Step 7
If you want to speed up chilling, place the pudding dishes in an ice bath for 15 minutes before transferring to the fridge. This helps cool the pudding faster and reduces wait time. Just be sure to cover the surface with plastic wrap to avoid skin formation.
⏱ Time: 15
✓ Doneness: Pudding is cool to the touch and ready for refrigeration.
Step 8
When reheating leftover pudding, warm gently in a saucepan over low heat, stirring constantly. Add a splash of milk if it’s too thick or dry. Avoid overheating or boiling, which can cause curdling or separation.
⏱ Time: 5
✓ Doneness: Pudding is warmed through, smooth, and creamy.
Step 9
For extra richness, fold in whipped cream into cooled pudding before serving. This lightens the texture and adds a mousse-like quality. Be gentle to keep the airiness intact and serve immediately for best texture.
⏱ Time: 5
✓ Doneness: Pudding is light, airy, and creamy.
Pro Tips
Whisk the dry ingredients before adding milk to prevent lumps.
Mixing cornstarch with sugar and salt first ensures even distribution and prevents clumps when the milk is added. This step is crucial to achieve a smooth pudding base without gritty bits.
Cook pudding over medium heat, stirring constantly.
Constant stirring prevents the pudding from sticking to the pan and scorching. Medium heat allows gradual thickening, which is key to a silky texture. High heat can cause uneven cooking and graininess.
Temper egg yolks by slowly adding hot pudding to them.
Tempering warms the yolks gently, preventing them from scrambling when added back to the hot mixture. This keeps the pudding smooth and prevents curdling.
Cover pudding surface with plastic wrap while chilling.
Direct contact of plastic wrap prevents a skin from forming on top of the pudding, which can be tough and unpleasant. This simple trick keeps the texture consistent.
Use fresh eggs for best flavor and texture.
Fresh eggs contribute to a richer taste and better structure. Older eggs can affect the pudding’s consistency and flavor negatively.
Add butter and vanilla off heat after cooking.
Adding these ingredients after removing from heat preserves their delicate flavors and prevents butter from separating, resulting in a glossy, rich pudding.
Chill pudding for at least 2 hours before serving.
Chilling allows the pudding to set fully and develop its creamy texture. Serving too soon can result in a runny consistency.
Common Mistakes to Avoid
Pudding turns out lumpy or grainy.
Why it happens This usually happens when cornstarch isn’t mixed well with sugar before adding milk or when the mixture isn’t stirred constantly during cooking.
Fix Always whisk dry ingredients thoroughly before adding milk. Stir continuously over medium heat to prevent lumps. If lumps form, strain the pudding before chilling.
Egg yolks scramble when added.
Why it happens Adding hot pudding directly to cold yolks shocks them, causing them to cook unevenly and form curds.
Fix Temper the yolks by slowly whisking in a small amount of hot pudding before combining fully. This gradual warming prevents scrambling.
Pudding is too thin or runny.
Why it happens Not cooking long enough for starch to fully gelatinize or using low-fat milk can cause thin pudding.
Fix Cook until pudding coats the back of a spoon thickly. Use whole milk for best results. If still thin, cook a bit longer, stirring constantly.
Skin forms on pudding surface.
Why it happens Cooling pudding uncovered allows a skin to form as the top dries out.
Fix Press plastic wrap directly onto the pudding surface while chilling to prevent skin formation.
Pudding sticks to pan or burns.
Why it happens High heat or insufficient stirring causes scorching.
Fix Use medium heat and stir constantly. Remove from heat as soon as thickened.
Variations
Chocolate Pudding
Add melted dark chocolate into the hot pudding base for a rich, chocolatey twist. This version is perfect for chocolate lovers craving a creamy dessert.
Note: Melt chocolate off heat and stir in thoroughly to avoid lumps. Chill as usual.
Vanilla Bean Pudding
Use a vanilla bean pod instead of extract for an intense, aromatic vanilla flavor. Scrape seeds into the milk and simmer for a natural infusion.
Note: Simmer milk with vanilla bean pod, then strain before proceeding with recipe.
Coconut Milk Pudding
Substitute coconut milk for dairy to create a tropical, dairy-free pudding. It’s creamy with a subtle coconut flavor, great for those avoiding dairy.
Note: Use full-fat coconut milk for best texture; pudding may be slightly thinner.
Layered Pudding Parfaits
Alternate pudding layers with crushed cookies or granola in glasses for texture and visual appeal. Great for parties or kids’ treats.
Note: Chill pudding layers before adding next to maintain distinct layers.
Spiced Pudding
Add cinnamon, nutmeg, or cardamom to the milk while heating for a warm, spiced flavor profile. Perfect for fall or winter desserts.
Note: Simmer spices with milk and strain before mixing with dry ingredients.
Nutrition
Per Serving:
Nutritional values are estimates and may vary based on specific ingredients used.
Storage & Tips
Room Temperature
Pudding should not be left out at room temperature for more than 2 hours to avoid spoilage. Cover with plastic wrap if storing briefly.
Refrigerator
Store pudding in an airtight container or covered with plastic wrap for up to 3 days. Texture may thicken slightly; stir gently before serving. Best served chilled.
Freezer
Freezing pudding is not recommended as texture can become grainy and separated upon thawing. If necessary, freeze in airtight containers for up to 1 month and thaw slowly in the refrigerator.
Reheating
Reheat pudding gently over low heat on the stovetop, stirring constantly. Add a splash of milk if too thick. Avoid boiling to prevent curdling. Microwave reheating is possible but may cause uneven heating.
Make Ahead
You can prepare pudding up to 2 days in advance and chill. For best results, add toppings or garnishes just before serving. Cover surface with plastic wrap to prevent skin.
FAQ
Can I use low-fat or skim milk instead of whole milk?
Yes, but the pudding will be less creamy and slightly thinner. Whole milk provides the best texture and richness, but low-fat milk works if you prefer a lighter dessert.
How do I prevent lumps in my pudding?
Whisk the cornstarch with sugar and salt before adding milk to ensure even distribution. Stir constantly while heating to keep the mixture smooth. If lumps form, strain the pudding before chilling.
Can I make pudding without eggs?
Yes, you can omit egg yolks and rely solely on cornstarch for thickening. The pudding will be less rich and silky but still tasty. Increase cornstarch slightly for thickness.
Why did my pudding curdle?
Curdling usually happens when eggs are added too quickly or the heat is too high. Temper eggs slowly with hot pudding and cook gently to avoid this.
How long does homemade pudding last in the fridge?
Store pudding in an airtight container for up to 3 days. It may thicken over time, so stir gently before serving.
Can I add flavors like chocolate or coffee?
Absolutely! Melt chocolate into the hot pudding or stir in instant coffee granules for a mocha twist. Add these after cooking and before chilling.
Is it necessary to cover pudding with plastic wrap while chilling?
Yes, placing plastic wrap directly on the pudding surface prevents a skin from forming, keeping the texture smooth and pleasant.
Can I use this pudding recipe to make pies or tarts?
Yes, this pudding works well as a filling for pies or tarts. Let it cool and thicken fully before using to ensure it sets properly.
Final Thoughts
I hope you enjoy making this easy pudding dessert as much as my family does. It’s a simple recipe that delivers big comfort—give it a try and let me know how it turns out!