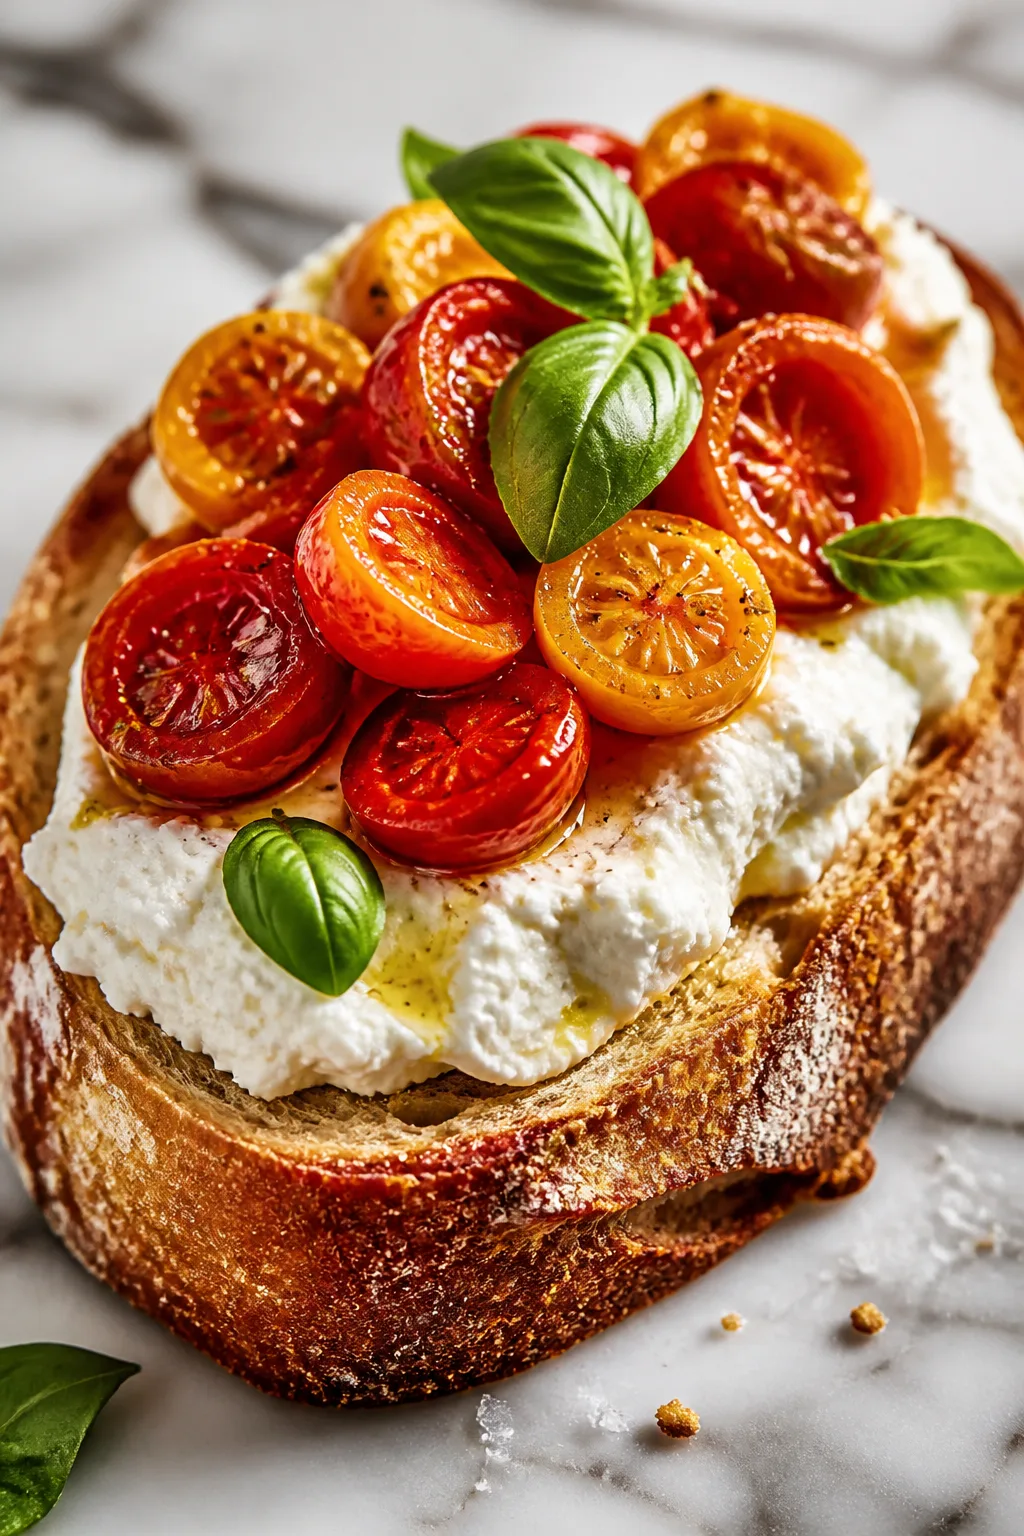
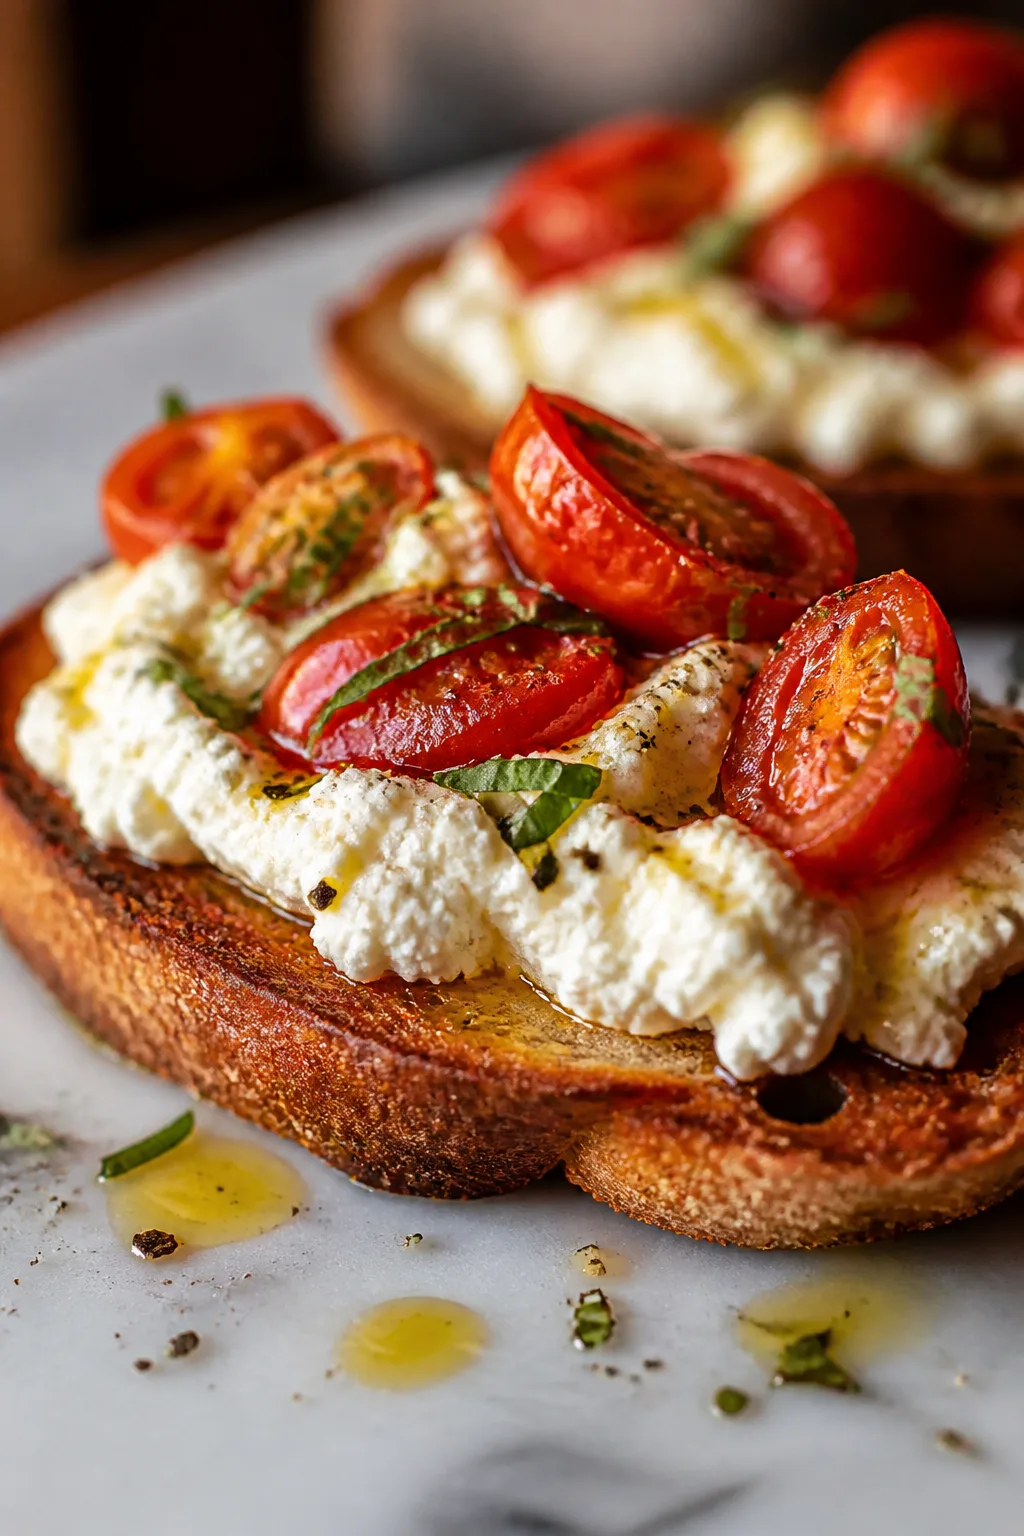
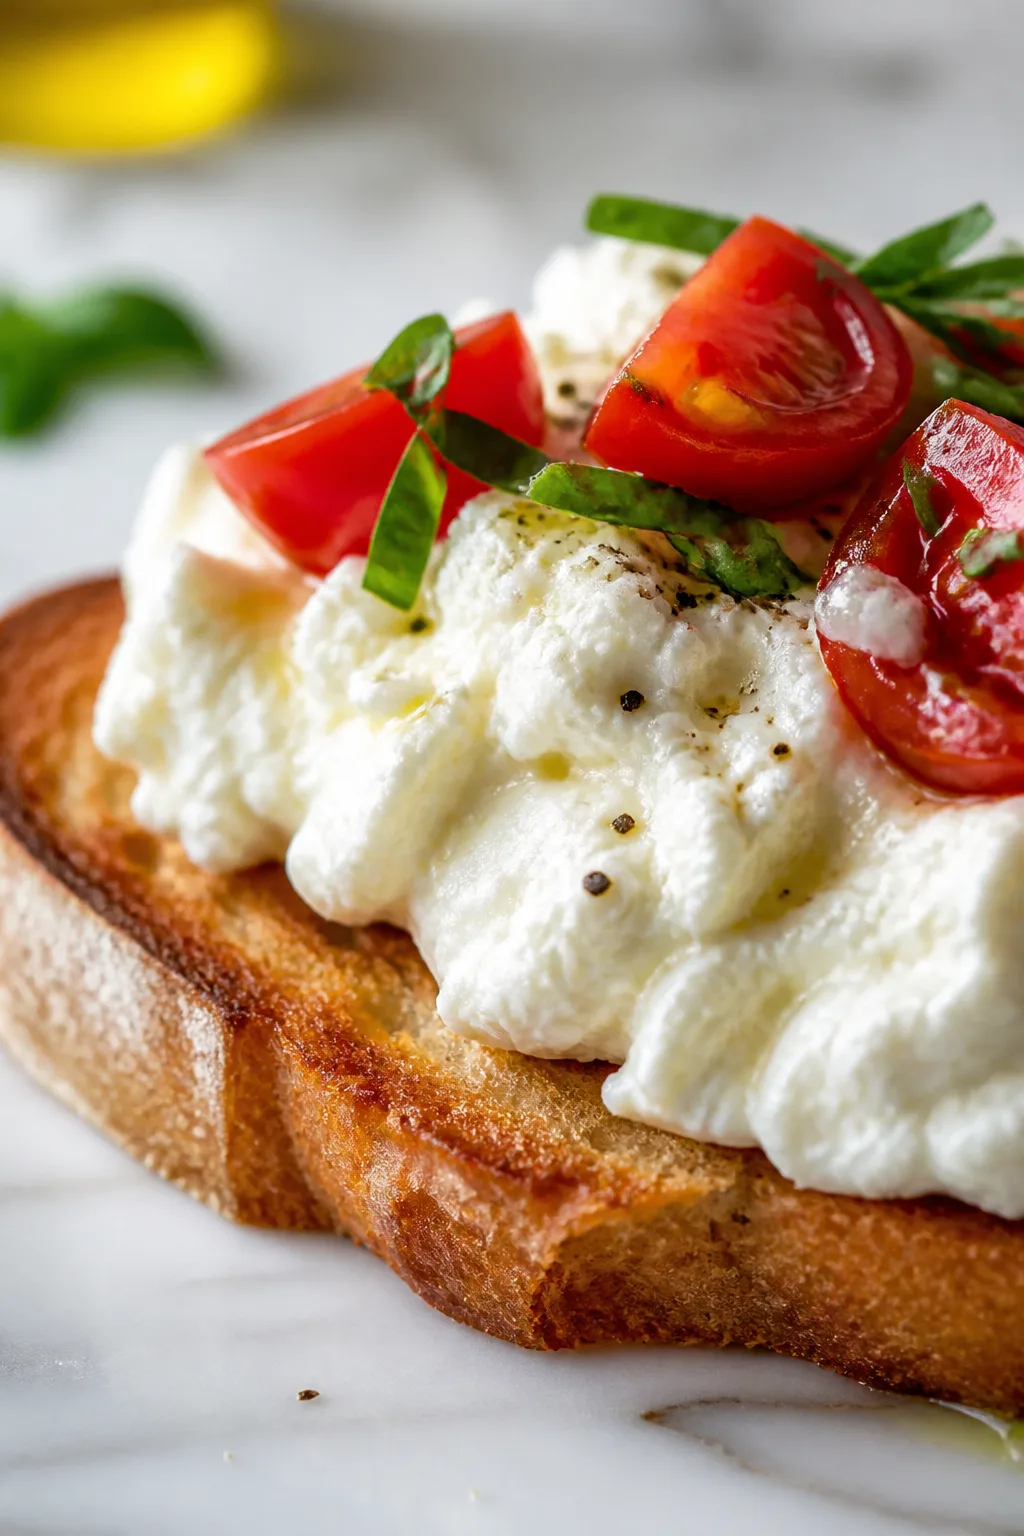
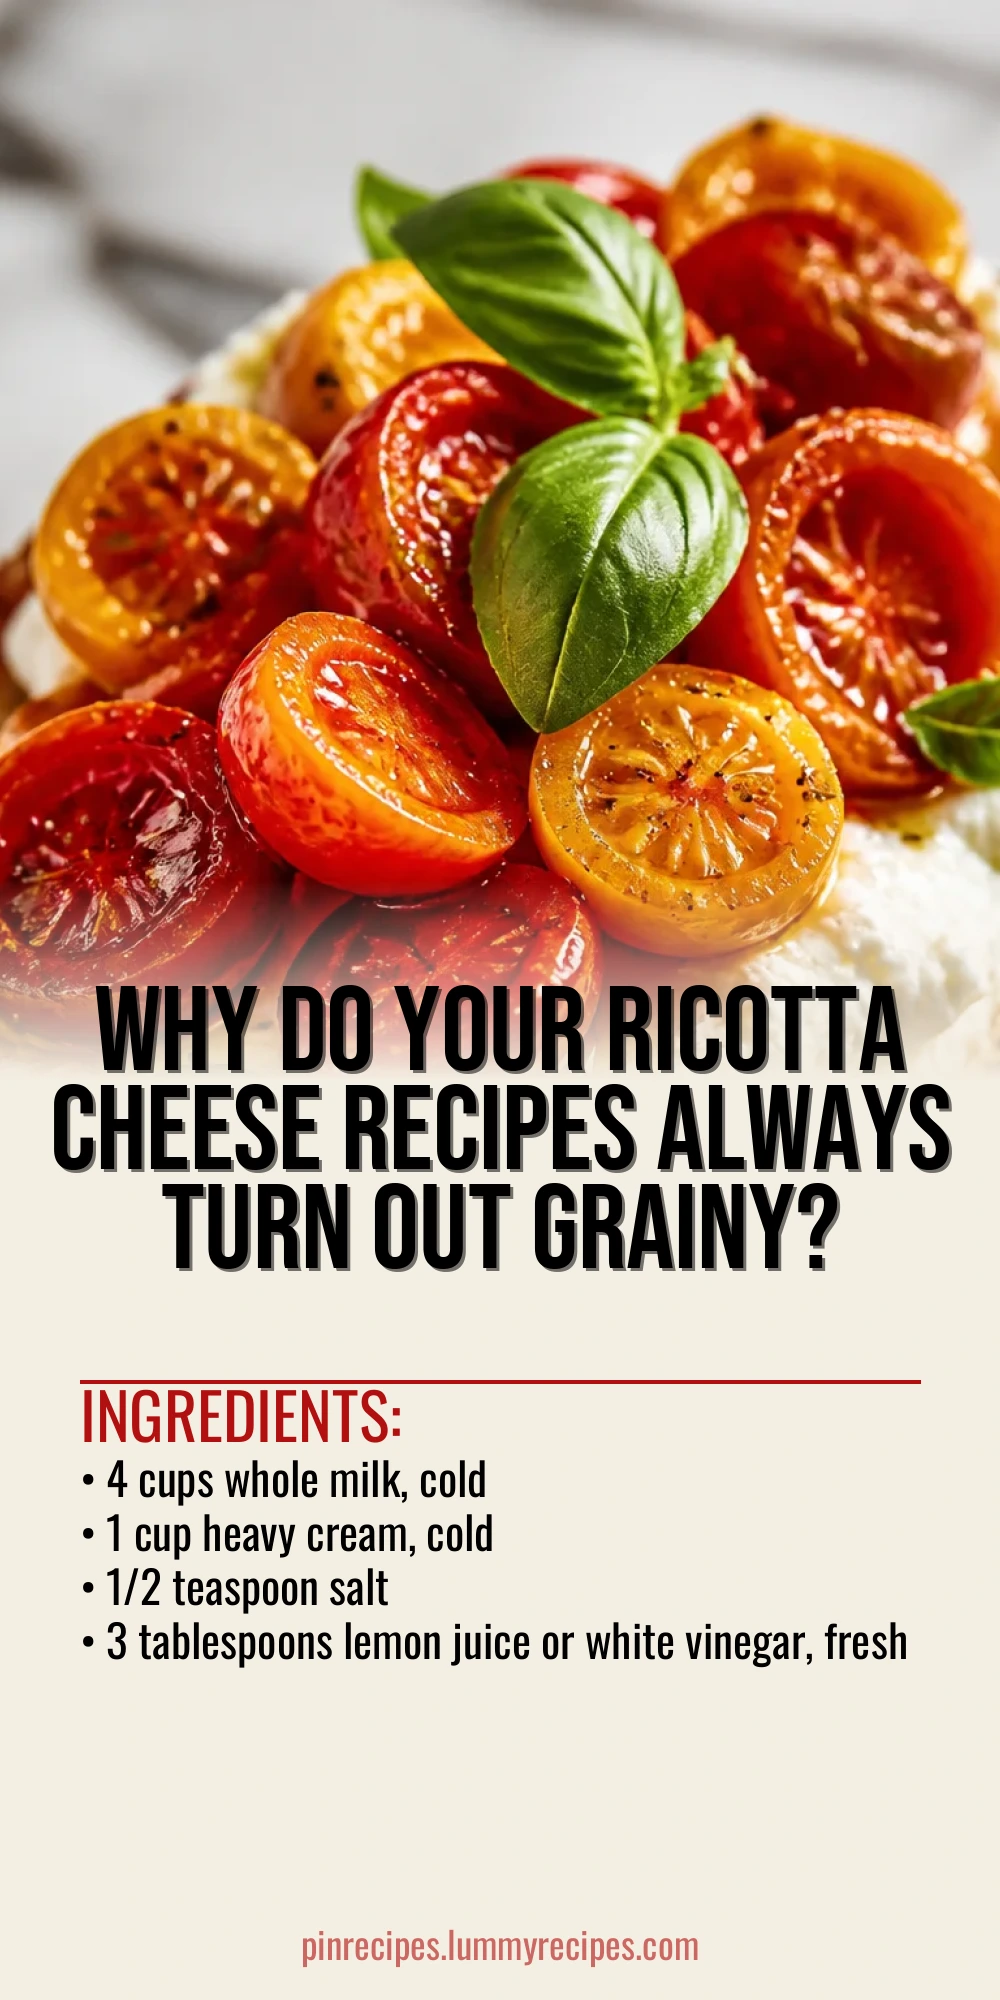
If you love creamy, fresh cheese, these ricotta cheese recipes are a must-try. I use a simple homemade ricotta that’s silky and perfect for everything from pasta to desserts. Great for cozy family dinners or weekend cooking.
Introduction
I first tried making ricotta cheese at home years ago when I wanted a fresher, creamier option than store-bought. It was a bit intimidating at first, but once I learned the gentle heating and curdling technique, it became a favorite weekend project. What makes this version special is the addition of heavy cream, which gives the ricotta a luscious, silky texture that’s perfect for both savory dishes and desserts. I also prefer lemon juice over vinegar for a subtle brightness that doesn’t overpower. The result is a soft, fluffy ricotta with a delicate flavor that my family loves slathered on toast, stirred into pasta, or dolloped onto fresh fruit. It’s surprisingly simple and worth the little extra effort. Plus, knowing exactly what’s in your cheese is a comforting feeling. I think once you try making ricotta yourself, you’ll never want to buy the rubbery tubs again!
What You'll Need
Approximately 2 cups of fresh ricotta cheese
- 4 cups whole milk, cold
- 1 cup heavy cream, cold
- 1/2 teaspoon salt
- 3 tablespoons lemon juice or white vinegar, fresh
How To Do It
Step 1
Pour the whole milk, heavy cream, and salt into a large heavy-bottomed pot. Slowly heat over medium-low heat, stirring occasionally to prevent scorching. The goal is to gently raise the temperature to about 190°F (just before boiling) so the milk proteins start to separate without curdling too quickly. Watch closely because overheating can cause a grainy texture. This slow, even heating is key to creamy ricotta.
⏱ Time: 15 minutes
✓ Doneness: Milk looks slightly thickened with small curds forming, and temperature reaches 190°F
Step 2
Once the milk is hot, remove the pot from heat and stir in the lemon juice or vinegar. Let it sit undisturbed for 10 minutes. During this time, the acid causes the milk to curdle and separate into curds and whey. Avoid stirring while it rests to allow the curds to form gently and fully. If you rush or stir, you risk breaking the curds into smaller pieces, which affects texture.
⏱ Time: 10 minutes
✓ Doneness: The liquid is visibly separated into white curds floating in a clear yellowish whey
Step 3
Line a fine mesh strainer with a few layers of cheesecloth and place it over a large bowl. Carefully ladle the curds into the strainer, allowing the whey to drain. For creamier ricotta, drain for about 10-15 minutes; for drier cheese, drain longer. Avoid pressing or squeezing the curds, as that can make the texture dense rather than fluffy.
⏱ Time: 10-20 minutes
✓ Doneness: Curds hold together but are soft and moist, with whey mostly drained
Step 4
Transfer the drained ricotta to a bowl and gently stir to break up any large clumps. Taste and adjust salt if needed. The cheese should be creamy, smooth, and slightly tangy. If you want it richer, fold in a tablespoon of cream. Store in the refrigerator and use within 3 days for best freshness.
⏱ Time: 5 minutes
✓ Doneness: Ricotta is smooth, creamy, and spreadable with a fresh, milky aroma
Step 5
Use your homemade ricotta in pasta dishes like lasagna or stuffed shells, spread it on toast with honey for breakfast, or add it to desserts like cheesecake. It’s versatile and adds a fresh, homemade touch to any meal. Always bring it to room temperature before use for best flavor and texture.
⏱ Time: N/A
✓ Doneness: Ricotta is ready to be incorporated into recipes or served fresh
Step 6
If you want to store longer, freeze ricotta in an airtight container. Thaw in the fridge overnight and stir well before using. Texture may be slightly grainier but still good for cooking.
⏱ Time: N/A
✓ Doneness: Ricotta thaws soft and ready for use in cooked dishes
Step 7
For a lighter ricotta, substitute half the cream with milk, but expect a less creamy texture. This is great if you want a lower-fat option but still crave homemade freshness.
⏱ Time: N/A
✓ Doneness: Ricotta is lighter but still holds curds well
Step 8
To flavor your ricotta, add fresh herbs like basil or chives after draining. This makes a great spread or filling. Mix gently to avoid breaking the curds.
⏱ Time: N/A
✓ Doneness: Ricotta is infused with fresh herb aroma and flavor
Step 9
Always use fresh, high-quality milk for the best results. Ultra-pasteurized milk often doesn’t curdle properly, so check labels. Whole milk gives the richest texture.
⏱ Time: N/A
✓ Doneness: Milk quality impacts final ricotta texture and flavor
Pro Tips
Use a heavy-bottomed pot for even heating.
A heavy-bottomed pot distributes heat evenly, preventing hotspots that can scorch the milk or cause uneven curdling. Scorching leads to off-flavors and grainy texture, so this simple equipment choice ensures gentle, controlled heating essential for smooth ricotta.
Don’t stir after adding acid.
Stirring after acid addition breaks up the forming curds, resulting in smaller, less cohesive curds and a grainy texture. Letting the mixture rest undisturbed allows the curds to form fully and separate cleanly from whey, leading to a creamier cheese.
Use fresh lemon juice instead of bottled vinegar.
Fresh lemon juice adds a subtle brightness and cleaner flavor compared to bottled vinegar, which can be harsh or have additives. The flavor difference is noticeable and elevates the ricotta’s delicate profile, making it more versatile for both sweet and savory uses.
Drain ricotta for the right amount of time.
Draining controls moisture content. Too little draining leaves ricotta watery and bland; too much makes it dry and crumbly. Adjust draining time based on your desired texture—short for creamy spreads, longer for firmer cheese used in cooking.
Bring milk and cream to room temperature before heating.
Starting with room temperature dairy heats more evenly and reduces the risk of scorching or curdling too fast. Cold dairy can cause temperature fluctuations that affect curd formation and texture consistency.
Use a thermometer to monitor temperature.
Accurate temperature control is crucial. Too low and curds won’t form properly; too high and proteins can denature excessively, causing graininess. A thermometer takes guesswork out and ensures perfect texture every time.
Add a splash of cream after draining for extra richness.
If your ricotta feels a bit dry after draining, folding in a tablespoon of cream restores silkiness without diluting flavor. This small adjustment can transform the mouthfeel, especially for spreads or desserts.
Common Mistakes to Avoid
Overheating the milk
Why it happens Many cooks rush heating and let the milk boil rapidly, which breaks down proteins unevenly and leads to grainy, rubbery ricotta.
Fix Heat milk slowly over medium-low heat, stirring occasionally to prevent scorching. Use a thermometer to stop at 190°F, just before boiling, for smooth curd formation.
Stirring after adding acid
Why it happens It’s natural to want to mix in the acid, but stirring disrupts curd formation and results in tiny, crumbly curds.
Fix Add acid, then leave the pot undisturbed for 10 minutes to let curds fully develop before draining.
Using ultra-pasteurized milk
Why it happens Ultra-pasteurized milk’s proteins are damaged by high heat, preventing proper curdling.
Fix Always choose fresh, whole milk labeled pasteurized, not ultra-pasteurized, for best results.
Draining too long or pressing curds
Why it happens Pressing or over-draining squeezes out moisture, making ricotta dry and crumbly.
Fix Drain just enough to remove whey but keep ricotta moist and fluffy. Avoid squeezing the cheesecloth.
Not seasoning properly
Why it happens Skipping salt or adding it unevenly can make ricotta bland.
Fix Add salt to the milk before heating to evenly season the cheese. Taste and adjust after draining if needed.
Variations
Herbed Ricotta
Mix fresh chopped herbs like basil, parsley, or chives into ricotta after draining. This adds a fresh, savory note perfect for spreading on bread or topping pasta.
Note: Add herbs gently to avoid breaking curds; fold in at the end for best texture.
Lemon Zest Ricotta
Add finely grated lemon zest to ricotta for a bright, citrusy twist. Great for desserts or breakfast dishes.
Note: Add zest after draining and stirring to evenly distribute flavor without affecting curd texture.
Low-Fat Ricotta
Replace half the cream with skim milk for a lighter cheese. Texture will be less creamy but still fresh and spreadable.
Note: Expect a slightly firmer curd and adjust draining time to maintain moisture.
Ricotta with Honey
Sweeten ricotta with a drizzle of honey for an easy dessert or breakfast topping. Pair with fresh fruit or nuts.
Note: Add honey just before serving to keep flavors vibrant and texture creamy.
Baked Ricotta
Use homemade ricotta in baked dishes like lasagna or stuffed shells for a rich, fresh flavor that elevates classic recipes.
Note: Ricotta holds moisture well in baking; no need to drain extensively for these uses.
Nutrition
Per Serving:
Nutritional values are estimates and may vary based on specific ingredients used.
Storage & Tips
Room Temperature
Fresh ricotta should not be left out at room temperature for more than 2 hours. Keep it covered with plastic wrap or in an airtight container to prevent drying out and contamination.
Refrigerator
Store ricotta in an airtight container in the fridge for up to 3 days. The texture may firm slightly when cold; bring to room temperature before serving for best creaminess.
Freezer
Freeze ricotta in a sealed container for up to 2 months. Thaw overnight in the refrigerator. Texture may become slightly grainy but is still good for cooked dishes.
Reheating
Reheat ricotta gently on the stovetop or microwave with a splash of milk or cream to restore creaminess. Avoid overheating to prevent curdling.
Make Ahead
Make ricotta 1-2 days ahead and store refrigerated. Drain fully before storing to avoid excess moisture. Add fresh herbs or seasoning just before serving.
FAQ
Can I use skim milk to make ricotta?
You can use skim milk, but the ricotta will be less creamy and more crumbly because of the lower fat content. For best texture, whole milk with some cream is recommended, but skim milk works if you want a lighter cheese.
Why did my ricotta turn out grainy?
Grainy ricotta usually results from overheating the milk or stirring too much after adding acid. Heating slowly to just below boiling and letting curds form undisturbed helps achieve a smooth, creamy texture.
How long does homemade ricotta last?
Store homemade ricotta in the refrigerator in an airtight container for up to 3 days. It’s best eaten fresh but can be frozen for up to 2 months for cooked dishes.
Can I use bottled lemon juice instead of fresh?
Fresh lemon juice is preferred for its bright flavor and consistent acidity. Bottled lemon juice often contains preservatives and can impart a bitter taste, so it’s less ideal.
What’s the difference between ricotta and cottage cheese?
Ricotta is made from whey and has a finer, creamier texture with a mild flavor. Cottage cheese is made from curds and is chunkier with a more pronounced tang. Ricotta is smoother and better for creamy dishes.
Can I add herbs or flavorings during cooking?
It’s best to add herbs or flavorings after draining to preserve their fresh taste and prevent interference with curd formation. Add them gently to keep the ricotta’s texture intact.
Is it necessary to use cheesecloth?
Cheesecloth helps drain whey while holding delicate curds. You can use a fine mesh strainer lined with a clean kitchen towel, but avoid paper towels as they can stick or tear.
How do I know when to stop draining?
Drain until the ricotta reaches your desired moisture level. For spreads, drain less so it stays creamy; for firmer cheese, drain longer. Avoid pressing the curds to keep them light.
Final Thoughts
I hope you enjoy making this homemade ricotta as much as I do. It’s a simple way to add fresh, creamy goodness to your meals. Give it a try and share how it turns out!