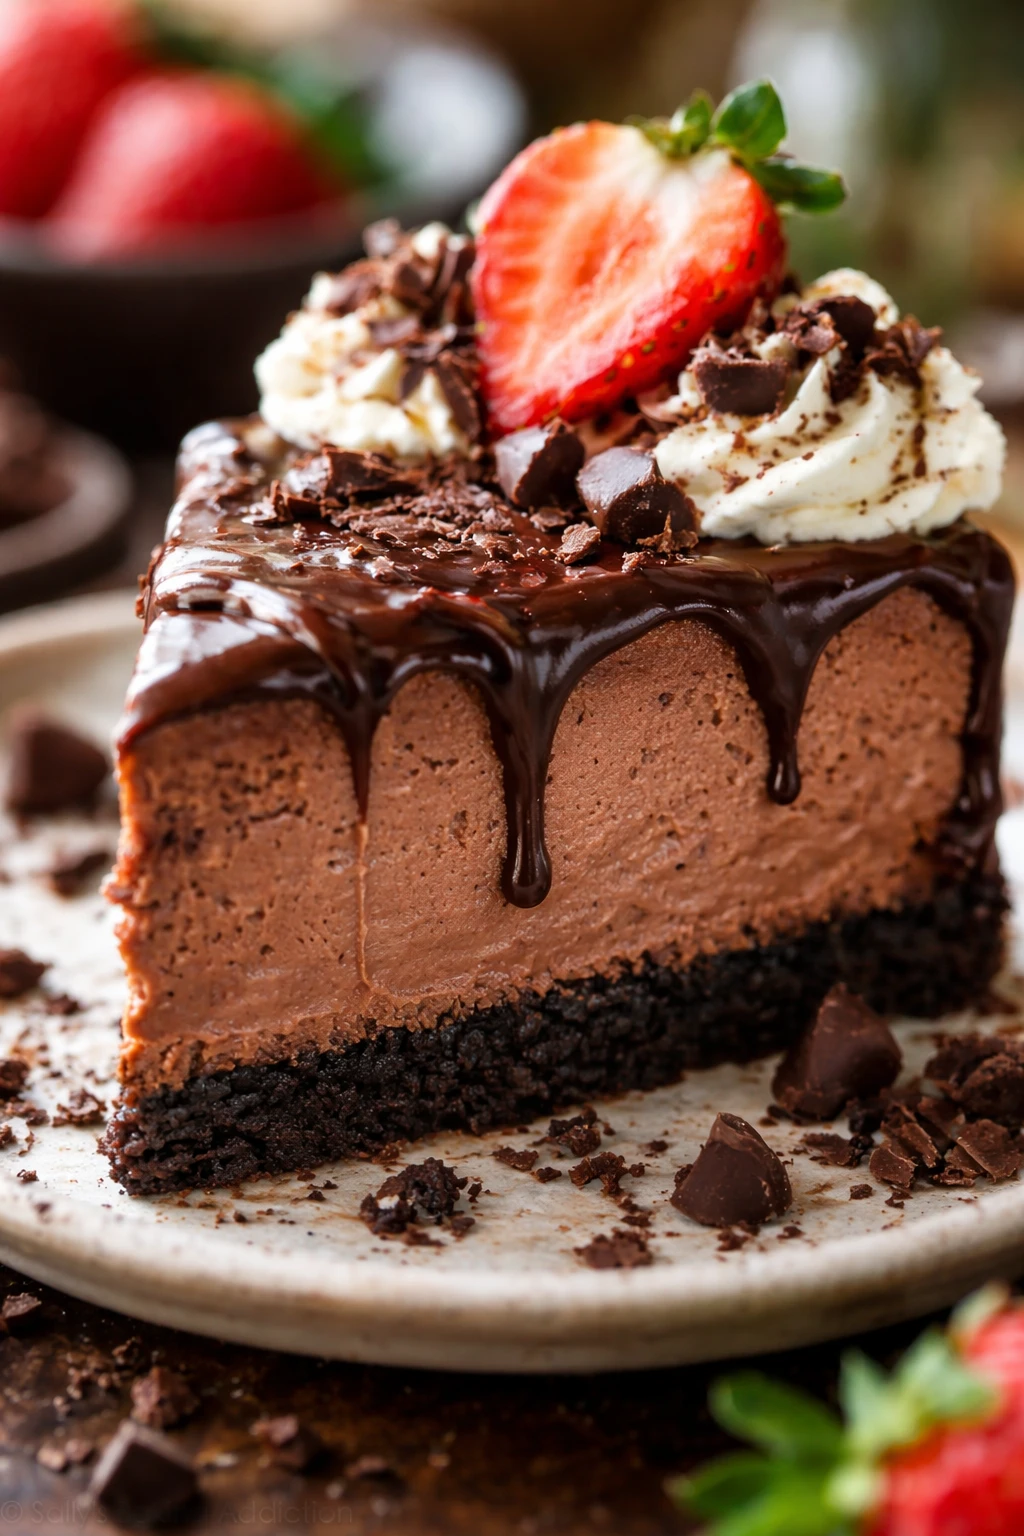
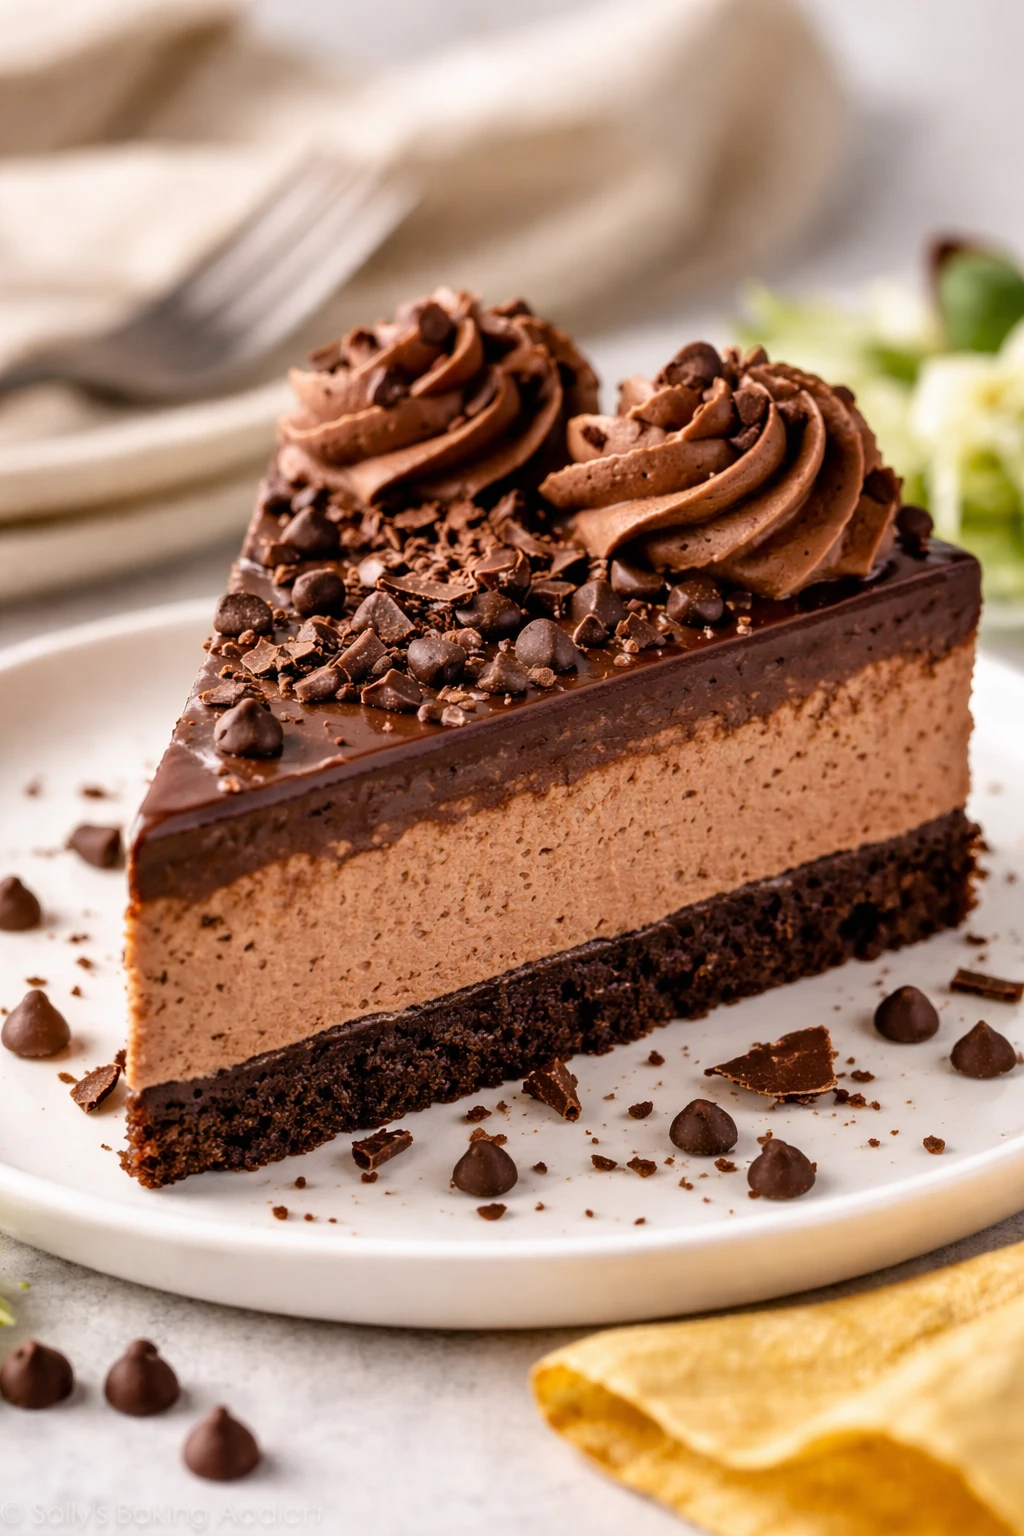
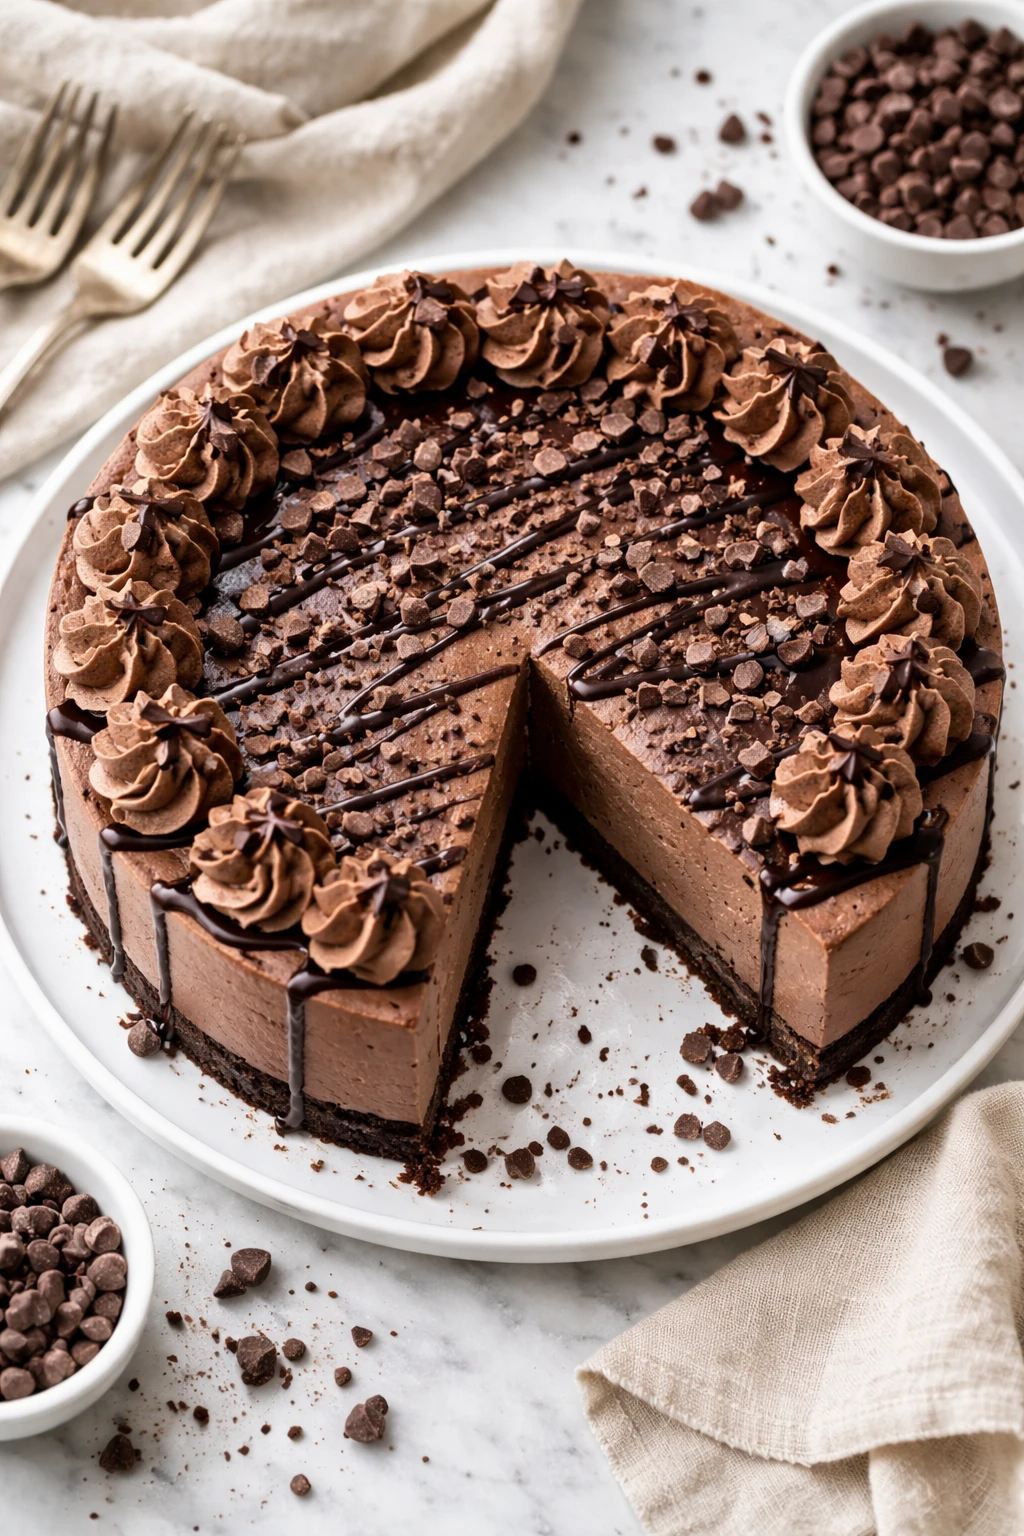
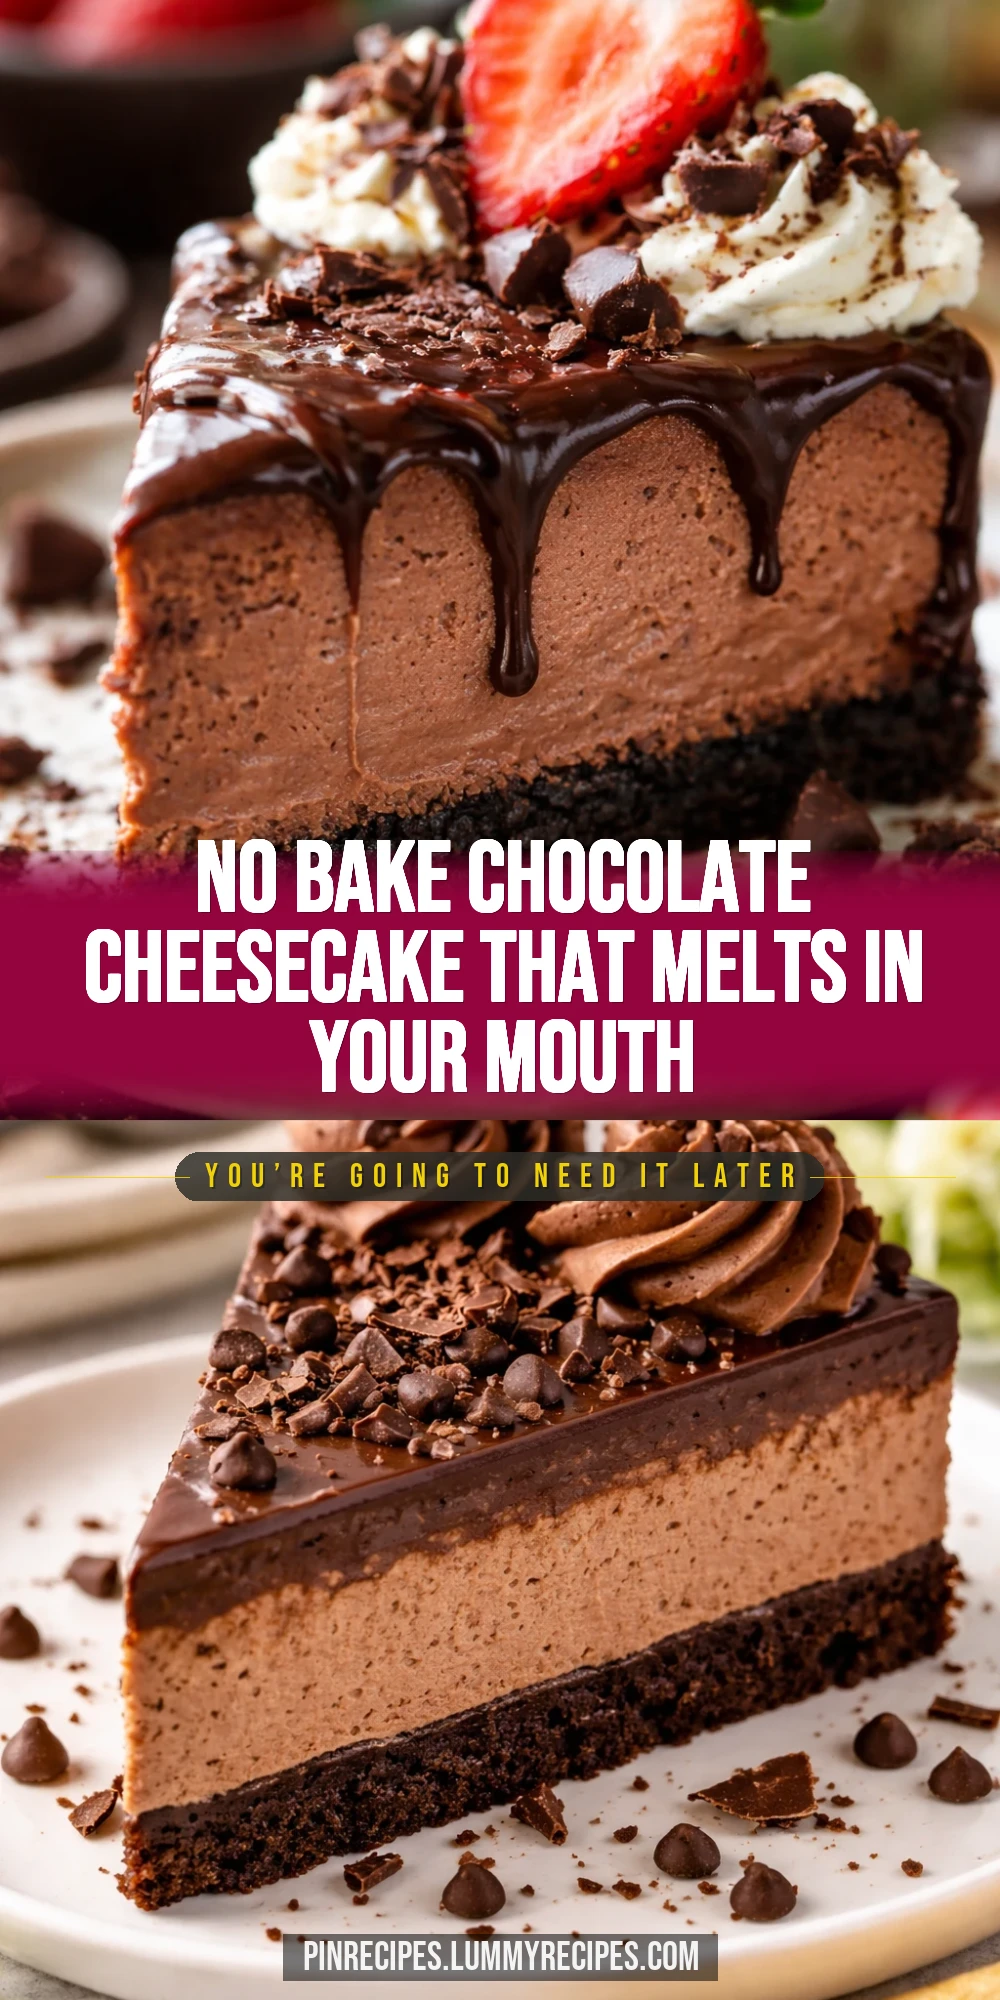
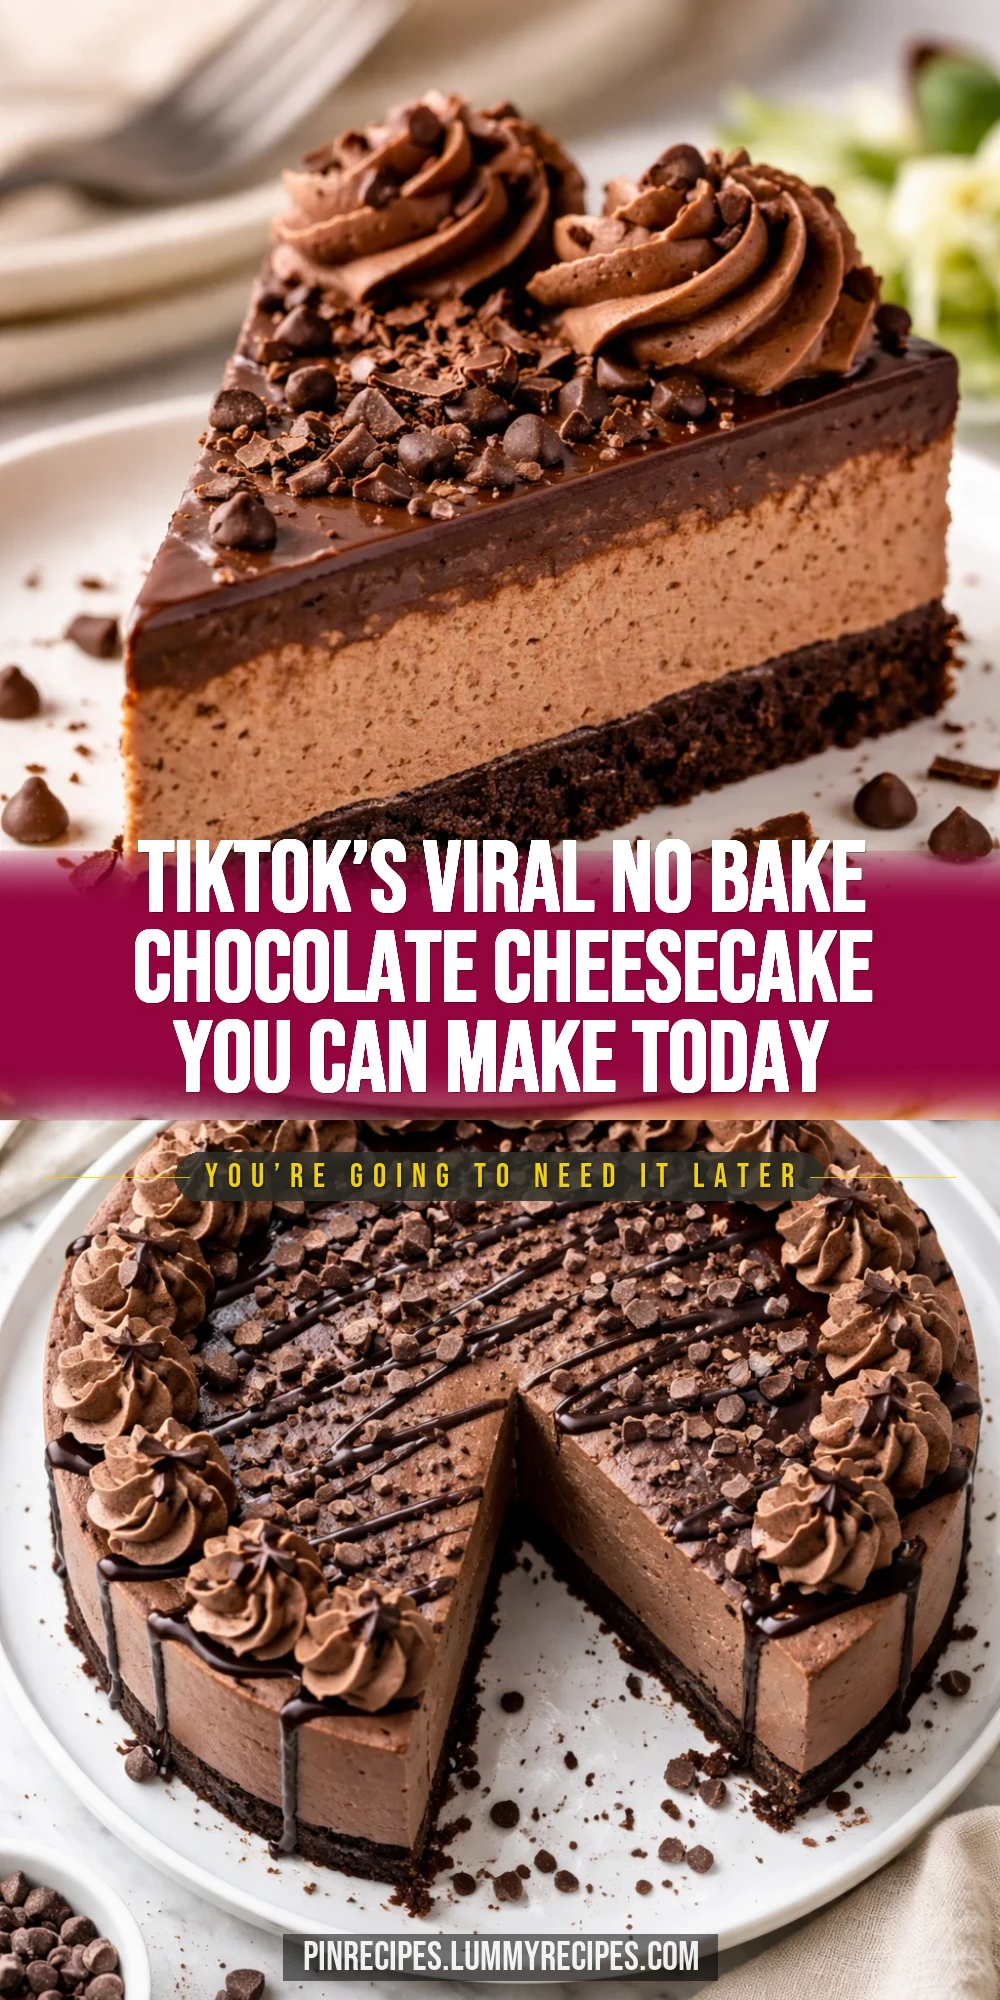
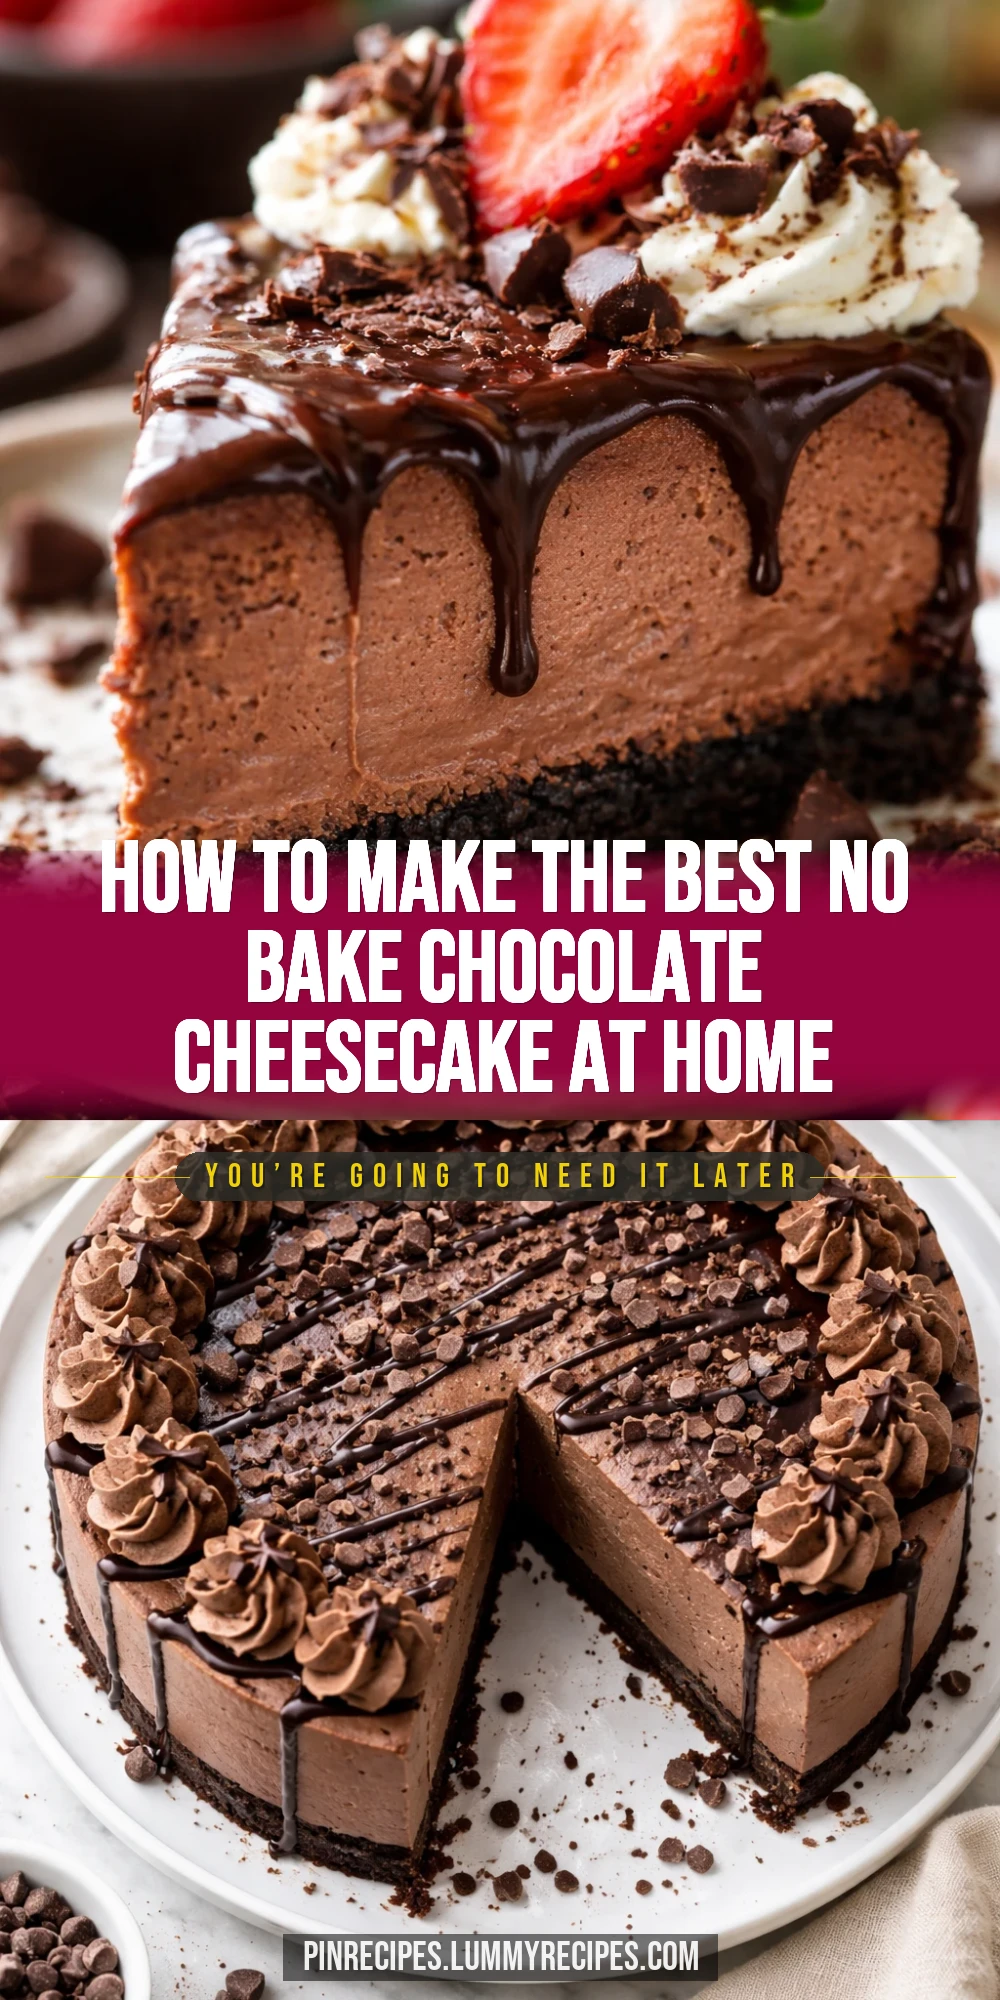
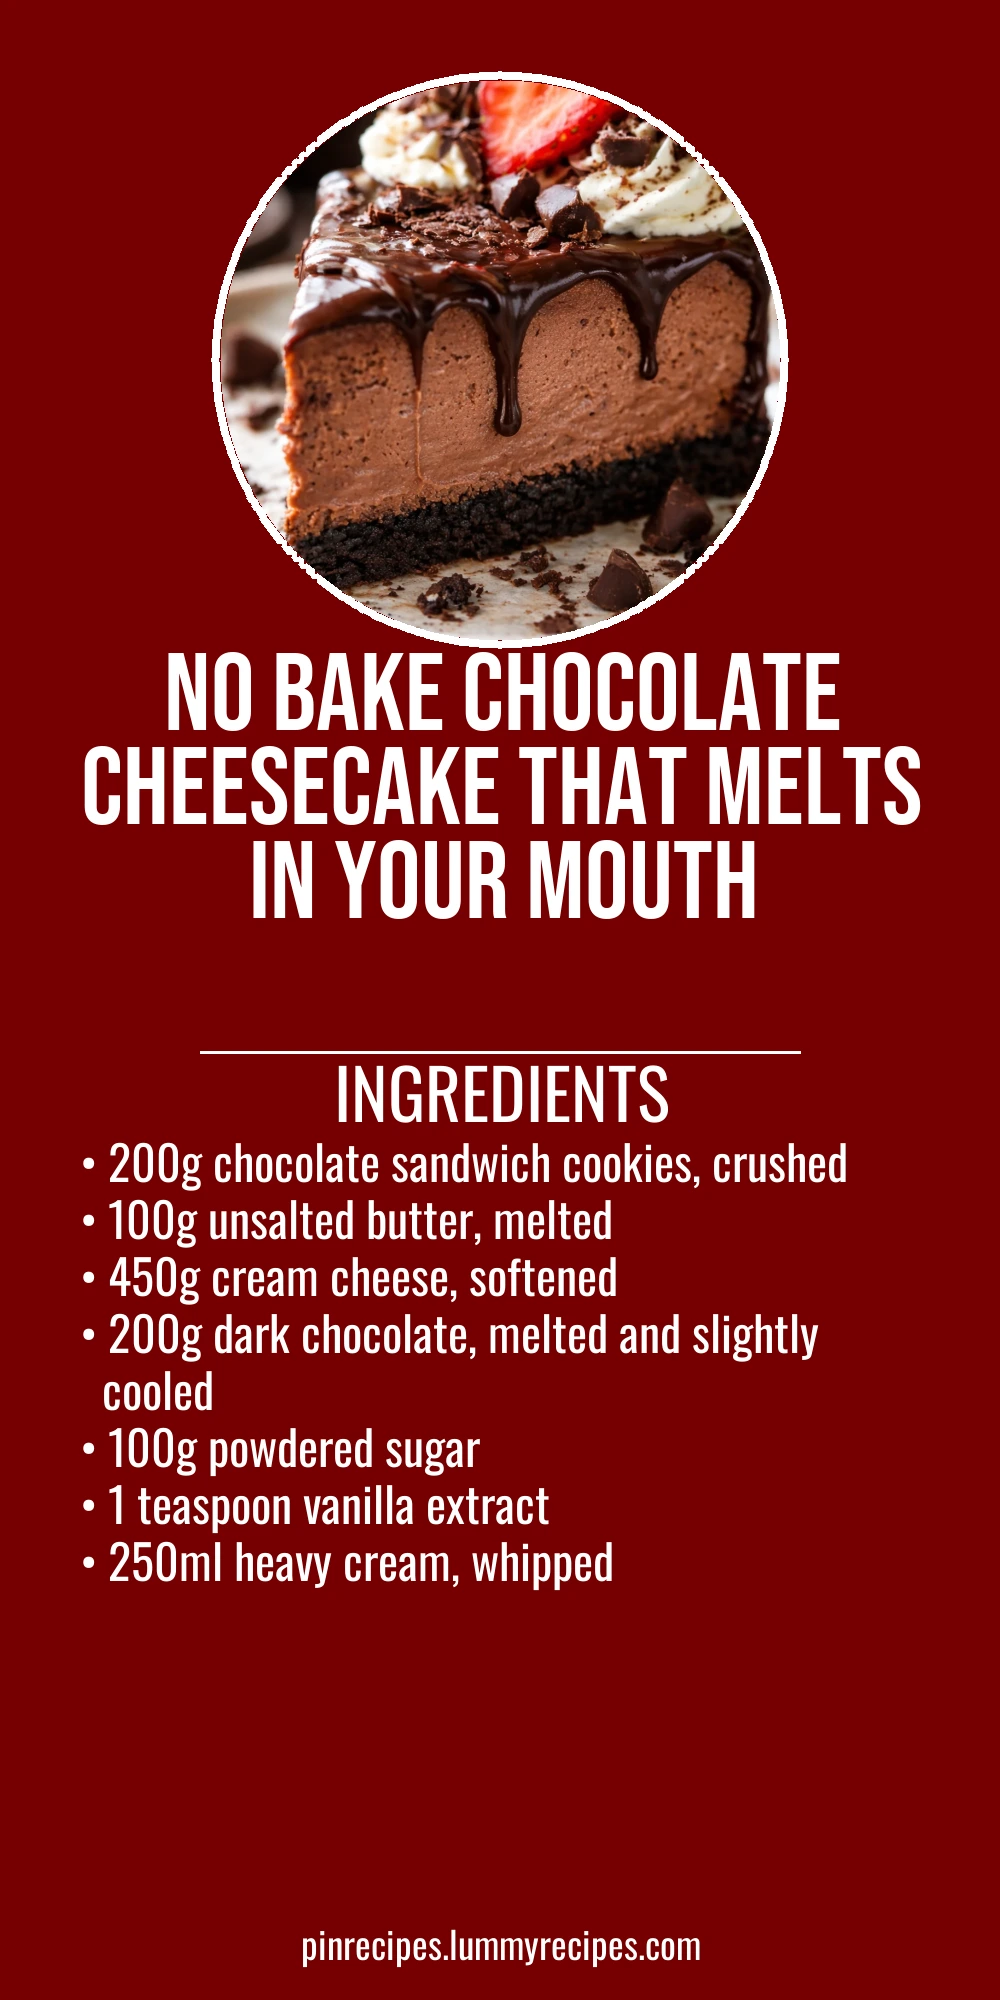
This no bake chocolate cheesecake is creamy, rich, and so simple to make. It uses just a few ingredients and sets in the fridge, perfect for when you want a fuss-free dessert that tastes like a dream. Great for parties or a sweet treat anytime!
Introduction
I first stumbled upon this no bake chocolate cheesecake while scrolling through TikTok one lazy afternoon. Everyone was raving about how easy and delicious it was, so I decided to give it a try. Honestly, it’s one of the simplest desserts I’ve ever made, and the best part? No oven required! The crust is made from crushed chocolate sandwich cookies mixed with melted butter, which gives it a lovely crunch and deep chocolate flavor. The filling is silky smooth thanks to the cream cheese and whipped cream combo, and the melted dark chocolate adds that rich, decadent touch that makes it feel special. I’ve tried a few no bake cheesecakes before, but this one stands out because it’s perfectly balanced — not too sweet, with just the right amount of chocolate. Plus, it sets beautifully in the fridge, so it’s great for making ahead when you want to impress guests or just treat yourself after a long day. The trick I learned is to let the melted chocolate cool a bit before mixing it in, so the filling stays fluffy and doesn’t get grainy. When it’s done, the cheesecake has a smooth, creamy texture with a satisfying chocolate kick and a crunchy base that makes every bite delightful. Trust me, once you make this, it’ll be your go-to dessert for any occasion!
What You'll Need
One 9-inch cheesecake, 8 servings
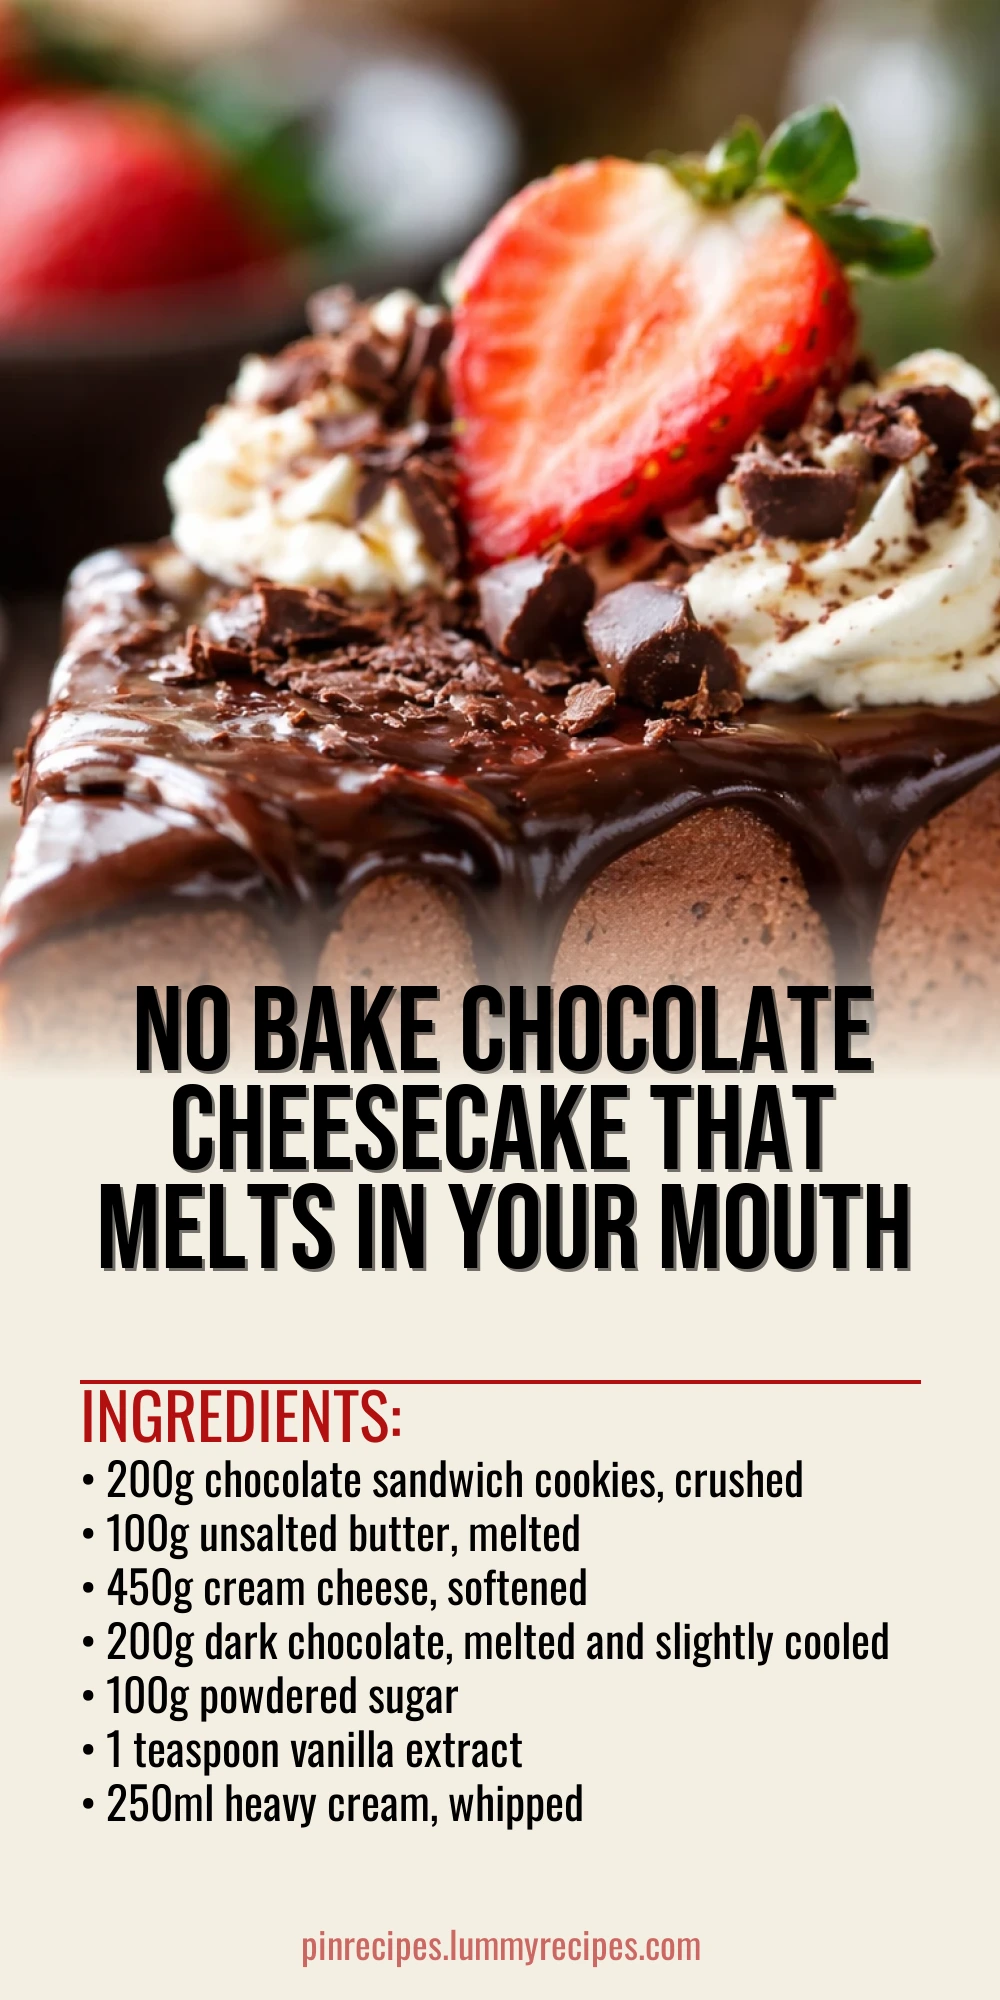
- 200g chocolate sandwich cookies, crushed
- 100g unsalted butter, melted
- 450g cream cheese, softened
- 200g dark chocolate, melted and slightly cooled
- 100g powdered sugar
- 1 teaspoon vanilla extract
- 250ml heavy cream, whipped
How To Do It
Step 1
Start by crushing the chocolate sandwich cookies into fine crumbs. You can do this by placing them in a sealed plastic bag and using a rolling pin or pulsing in a food processor. The finer the crumbs, the better the crust will bind together. Then, mix the crumbs with the melted butter until well combined. This mixture will form the base of your cheesecake and provide a sturdy, flavorful crust. Press it evenly into the bottom of a 9-inch springform pan, making sure to pack it tightly so it holds together when sliced. Chill this crust in the fridge while you prepare the filling to help it set properly.
⏱ Time: 15
✓ Doneness: Crust feels firm and compact after chilling
Step 2
In a large mixing bowl, beat the softened cream cheese with powdered sugar and vanilla extract until smooth and creamy. Make sure there are no lumps for the best texture. Next, gently fold in the slightly cooled melted dark chocolate to keep the mixture light and fluffy. If the chocolate is too hot, it can cause the cream cheese to seize or become grainy, so patience here is key. Finally, fold in the whipped heavy cream carefully to maintain the airy texture. This filling is the heart of your cheesecake, so mixing it just right ensures a silky, luscious result.
⏱ Time: 15
✓ Doneness: Filling is smooth, shiny, and light without streaks of chocolate or lumps
Step 3
Pour the chocolate cream cheese filling over the chilled crust, smoothing the top with a spatula. Tap the pan gently on the counter to release any air bubbles trapped inside. This step helps the cheesecake set evenly and prevents cracks on the surface. Cover the cheesecake with plastic wrap and refrigerate it for at least 4 hours, preferably overnight. This chilling time allows the filling to firm up and develop its full flavor. Resist the temptation to rush this step; a well-set cheesecake slices beautifully and holds its shape.
⏱ Time: 240
✓ Doneness: Filling is firm to the touch and holds shape when sliced
Step 4
Once chilled, carefully remove the cheesecake from the springform pan. You can run a warm knife along the edges to loosen it if needed. For an extra touch, garnish with chocolate shavings, fresh berries, or a dusting of cocoa powder. These add visual appeal and complement the rich chocolate flavor. Slice with a sharp knife, wiping it clean between cuts for neat slices. Serve chilled and enjoy the creamy, chocolatey goodness!
⏱ Time: 10
✓ Doneness: Clean slices with no crumbling or melting
Step 5
If you want to add a little twist, try folding in some finely chopped nuts or a swirl of peanut butter into the filling before chilling. This adds texture and a nutty depth that pairs wonderfully with chocolate. Just be sure to fold gently to keep the filling light. It’s a simple way to customize the cheesecake to your taste without complicating the recipe.
⏱ Time: 5
✓ Doneness: Nuts or swirls are evenly distributed without deflating the filling
Step 6
For a smoother crust, you can toast the cookie crumbs lightly in a dry pan before mixing with butter. This enhances the flavor and gives a subtle crunch. Just watch carefully to avoid burning. Toasting releases the oils in the cookies, making the crust more aromatic and flavorful.
⏱ Time: 5
✓ Doneness: Crumbs smell toasted but are not burnt
Step 7
Make sure the cream cheese is completely softened before mixing to avoid lumps. If it’s too cold, it won’t blend well and can leave clumps in the filling. I usually take it out of the fridge about 30 minutes before starting. This small step saves a lot of frustration and results in a silky texture.
⏱ Time: 0
✓ Doneness: Cream cheese is smooth and easy to whip
Step 8
Whip the heavy cream to medium peaks—not too stiff—to fold into the filling. Overwhipping can make the filling grainy, while underwhipping won’t give enough structure. Medium peaks provide a perfect balance for a light yet stable cheesecake filling.
⏱ Time: 5
✓ Doneness: Whipped cream holds shape but is still soft and pliable
Step 9
When melting the chocolate, do it slowly over a double boiler or in short bursts in the microwave, stirring often. This prevents overheating, which can cause the chocolate to seize or become grainy. Smooth melted chocolate is essential for a luscious filling and beautiful texture.
⏱ Time: 5
✓ Doneness: Chocolate is smooth, glossy, and pourable
Pro Tips
Softening cream cheese at room temperature before mixing
Softened cream cheese blends smoothly with other ingredients, preventing lumps. If used cold, it resists mixing and results in a grainy filling. Proper softening also helps the filling achieve a silky texture and better mouthfeel.
Cool melted chocolate before folding into the cream cheese
Adding hot chocolate can cause the cream cheese to seize or curdle, ruining the texture. Cooling the chocolate slightly ensures it blends smoothly without affecting the lightness of the filling, keeping the cheesecake creamy and airy.
Press the cookie crust firmly and chill before adding filling
A well-packed crust holds together and provides a sturdy base. Chilling it helps the butter solidify, preventing the crust from crumbling when sliced. Skipping this can cause a messy dessert with a crumbly bottom.
Fold whipped cream gently into the cream cheese mixture
Folding preserves the air whipped into the cream, keeping the filling light. Stirring vigorously deflates the cream, resulting in a dense, heavy cheesecake. Gentle folding ensures a fluffy, smooth texture.
Chill the cheesecake for at least 4 hours or overnight
Chilling firms up the fats and allows flavors to meld. Insufficient chilling leads to a runny filling that won’t slice well. Patience here results in a perfect slice and rich taste.
Use a springform pan for easy removal
A springform pan allows you to release the cheesecake without inverting or damaging it. Trying to remove from a regular pan can ruin the crust and filling presentation.
Run a warm knife around the edges before slicing
Warming the knife slightly helps cut clean slices without cracking or dragging the filling. It makes serving neater and more appealing.
Common Mistakes to Avoid
Not softening the cream cheese enough
Why it happens Many assume cream cheese can be mixed straight from the fridge, but cold cream cheese is stiff and resists blending, leading to lumps.
Fix Take the cream cheese out 30 minutes before starting or microwave it briefly in 10-second bursts until just soft. This ensures a smooth filling without grainy bits.
Adding hot melted chocolate directly to the cream cheese
Why it happens Rushing this step causes the cream cheese to seize or curdle because the heat destabilizes the fats and proteins.
Fix Let the melted chocolate cool for 5-10 minutes until warm but not hot before folding it in. This preserves the smooth texture.
Skipping the chilling time
Why it happens Impatience or lack of planning leads to cutting the cheesecake before it’s set, resulting in a runny mess.
Fix Plan ahead and chill the cheesecake for at least 4 hours, preferably overnight, to let it firm up and develop flavor.
Overwhipping the cream
Why it happens Trying to get very stiff peaks can turn the cream grainy or buttery, ruining the filling’s texture.
Fix Stop whipping when the cream forms medium peaks—soft but holds shape. This keeps the filling light and smooth.
Not pressing the crust firmly
Why it happens A loosely packed crust falls apart when sliced because the crumbs aren’t bound tightly with butter.
Fix Use the bottom of a glass or measuring cup to press the crust down firmly and evenly before chilling.
Variations
Peanut Butter Swirl No Bake Chocolate Cheesecake
Add dollops of creamy peanut butter to the filling and swirl gently before chilling. This adds a nutty richness that pairs beautifully with chocolate. The texture remains smooth but with a delightful flavor twist.
Note: Swirl peanut butter carefully to avoid deflating the filling. Chill as usual for best set.
Mint Chocolate No Bake Cheesecake
Add a teaspoon of peppermint extract to the filling and garnish with crushed peppermint candies. This gives a refreshing minty note that’s perfect for holidays or anytime you want a cool chocolate treat.
Note: Use extract sparingly to avoid overpowering the chocolate. Chill fully before serving.
Berry Topped No Bake Chocolate Cheesecake
Top the cheesecake with fresh mixed berries or a berry compote before serving for a bright, tangy contrast that cuts through the richness. It adds color and freshness to the dessert.
Note: Add berries just before serving to avoid moisture seeping into the crust.
Vegan No Bake Chocolate Cheesecake
Replace cream cheese with vegan cream cheese and use coconut cream instead of heavy cream. Use dairy-free chocolate to keep it fully vegan. The texture is slightly different but still creamy and delicious.
Note: Chill longer as vegan creams may take more time to set firmly.
Salted Caramel No Bake Chocolate Cheesecake
Drizzle salted caramel sauce over the top before serving for a luscious sweet-salty combo. This elevates the cheesecake to a decadent treat perfect for special occasions.
Note: Add caramel just before slicing to prevent it from soaking into the filling.
Nutrition
Per Serving:
Nutritional values are estimates and may vary based on specific ingredients used.
Storage & Tips
Room Temperature
The cheesecake should not be left at room temperature for more than 2 hours to prevent spoilage. Keep it covered with plastic wrap or in a cake dome to avoid drying out.
Refrigerator
Store in an airtight container or covered tightly with plastic wrap for up to 4 days. The texture remains creamy but may firm up more when cold. Best served chilled or slightly softened at room temperature for 10 minutes.
Freezer
Freeze the cheesecake wrapped tightly in plastic wrap and foil for up to 2 months. To thaw, move to the fridge overnight. Avoid thawing at room temperature to maintain texture and prevent sogginess.
Reheating
No reheating is needed or recommended for this no bake cheesecake. Serve chilled or allow to soften slightly at room temperature for best flavor and texture.
Make Ahead
You can prepare the crust and filling up to 2 days ahead. Assemble the cheesecake and chill until ready to serve. This makes it perfect for entertaining or busy schedules.
FAQ
Can I use regular granulated sugar instead of powdered sugar?
Powdered sugar dissolves more easily, giving a smoother filling without grit. Using granulated sugar might result in a slightly grainy texture unless you dissolve it first in a small amount of liquid. For best results, stick with powdered sugar.
What if I don’t have a springform pan?
You can use a regular cake pan lined with parchment paper, but removing the cheesecake will be trickier. Chill well and use the parchment to lift it out gently. A springform pan is recommended for easy release and neat slices.
How long does the cheesecake need to chill?
At least 4 hours is needed for the filling to set properly, but overnight chilling is best. This allows the flavors to meld and the texture to firm up so the cheesecake slices cleanly.
Can I make this gluten-free?
Yes! Substitute the chocolate sandwich cookies with gluten-free chocolate cookies or crushed gluten-free graham crackers. The crust will still bind well with butter and taste delicious.
Is it okay to use low-fat cream cheese or cream?
Low-fat versions may affect the texture and richness, often resulting in a less creamy or slightly watery cheesecake. For the best decadent texture, full-fat cream cheese and heavy cream are recommended.
Can I add flavors like coffee or liqueurs?
Absolutely! Adding a teaspoon of espresso powder or a tablespoon of your favorite liqueur (like Baileys or Kahlua) to the filling can enhance the chocolate flavor and add complexity. Just fold gently to keep the texture light.
Why did my cheesecake crack on top?
Cracking usually happens with baked cheesecakes due to oven temperature or overbaking. Since this is no bake, cracks are rare but can occur if the filling is disturbed before fully set. Handle gently and chill thoroughly to avoid cracks.
Can I double the recipe?
Yes, doubling works well. Use a larger pan or two pans and increase chilling time slightly. Just be sure to mix ingredients evenly and press the crust firmly for best results.
Final Thoughts
I hope you give this easy no bake chocolate cheesecake a try—it’s one of those recipes that never fails to impress. Let me know how it turns out and what variations you love!