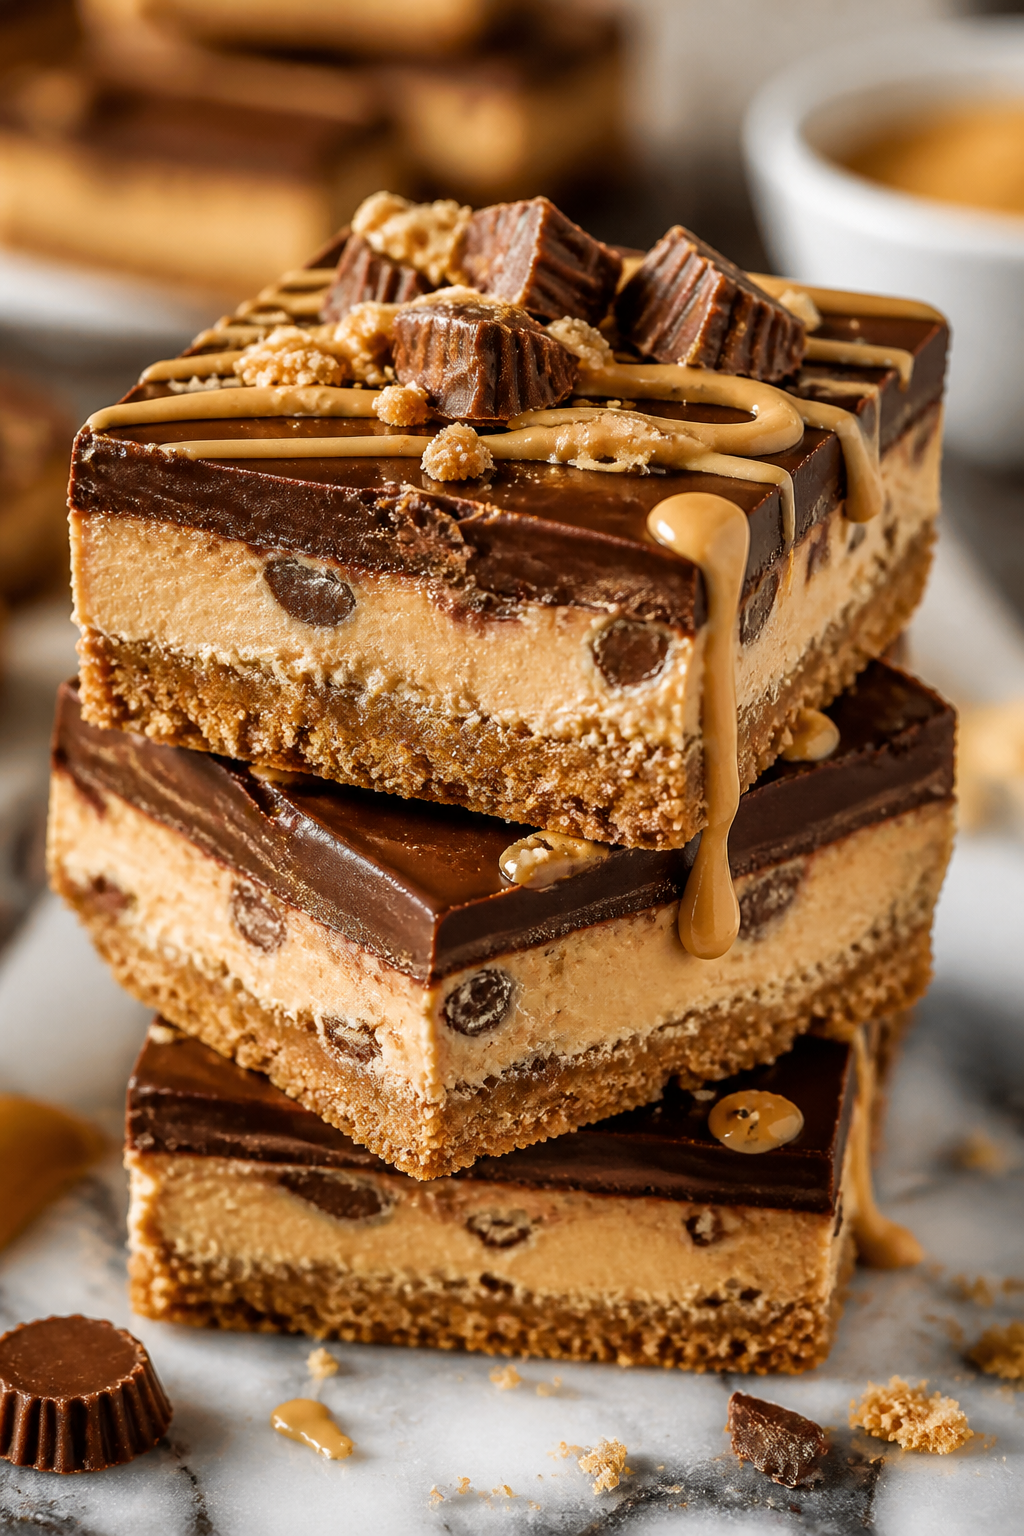
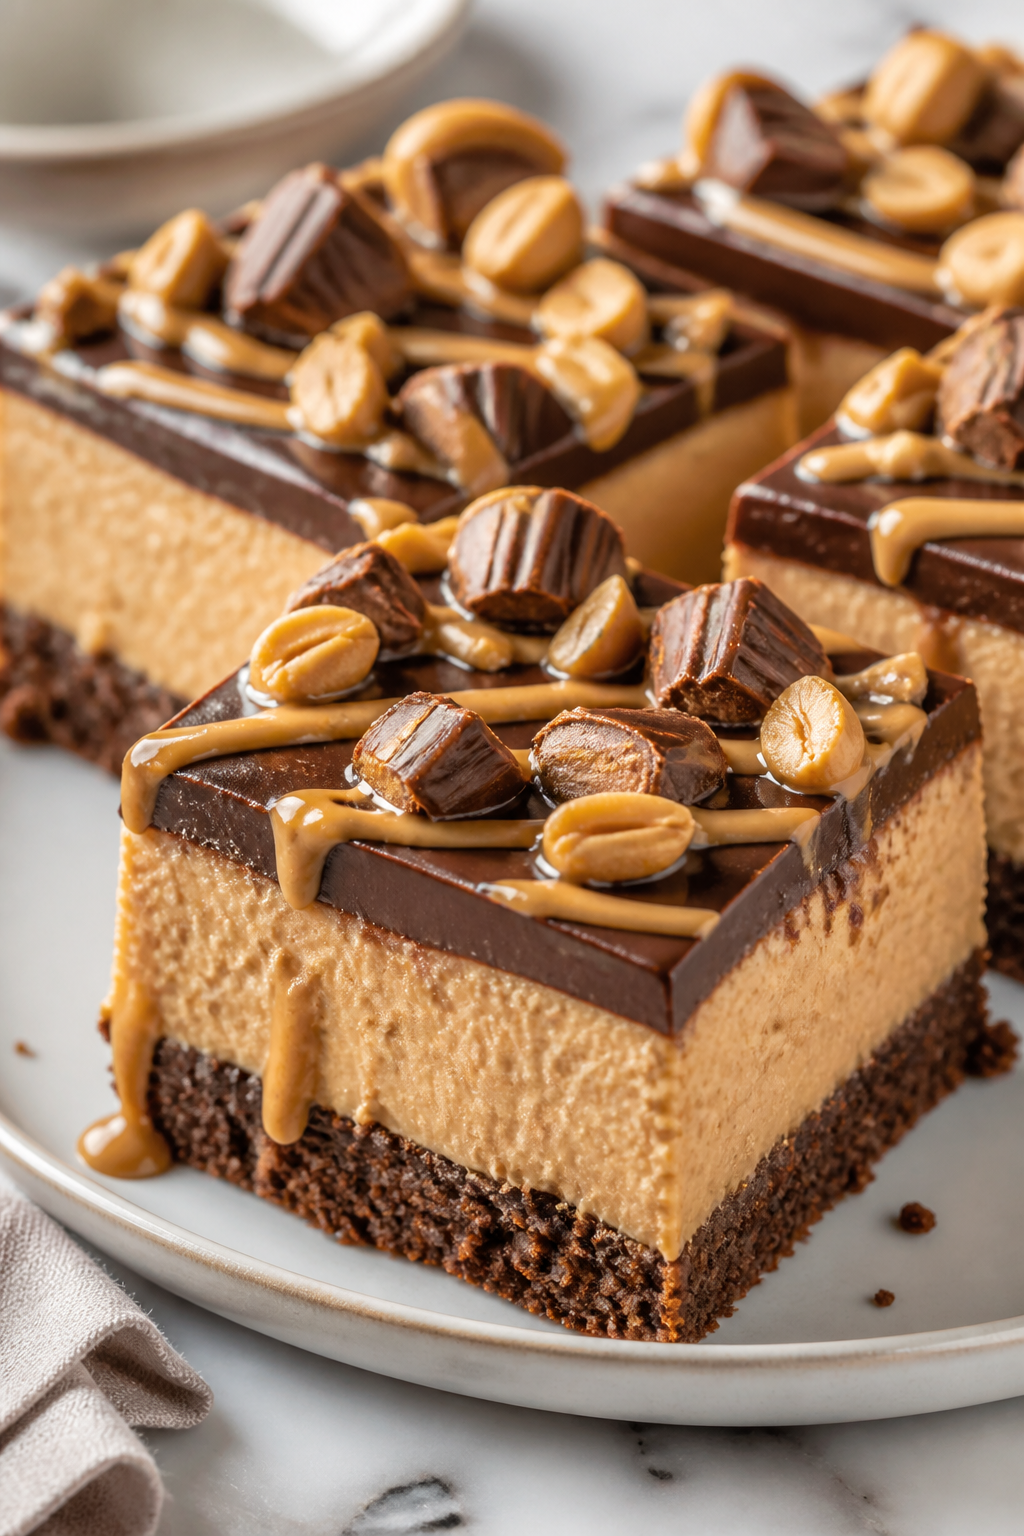
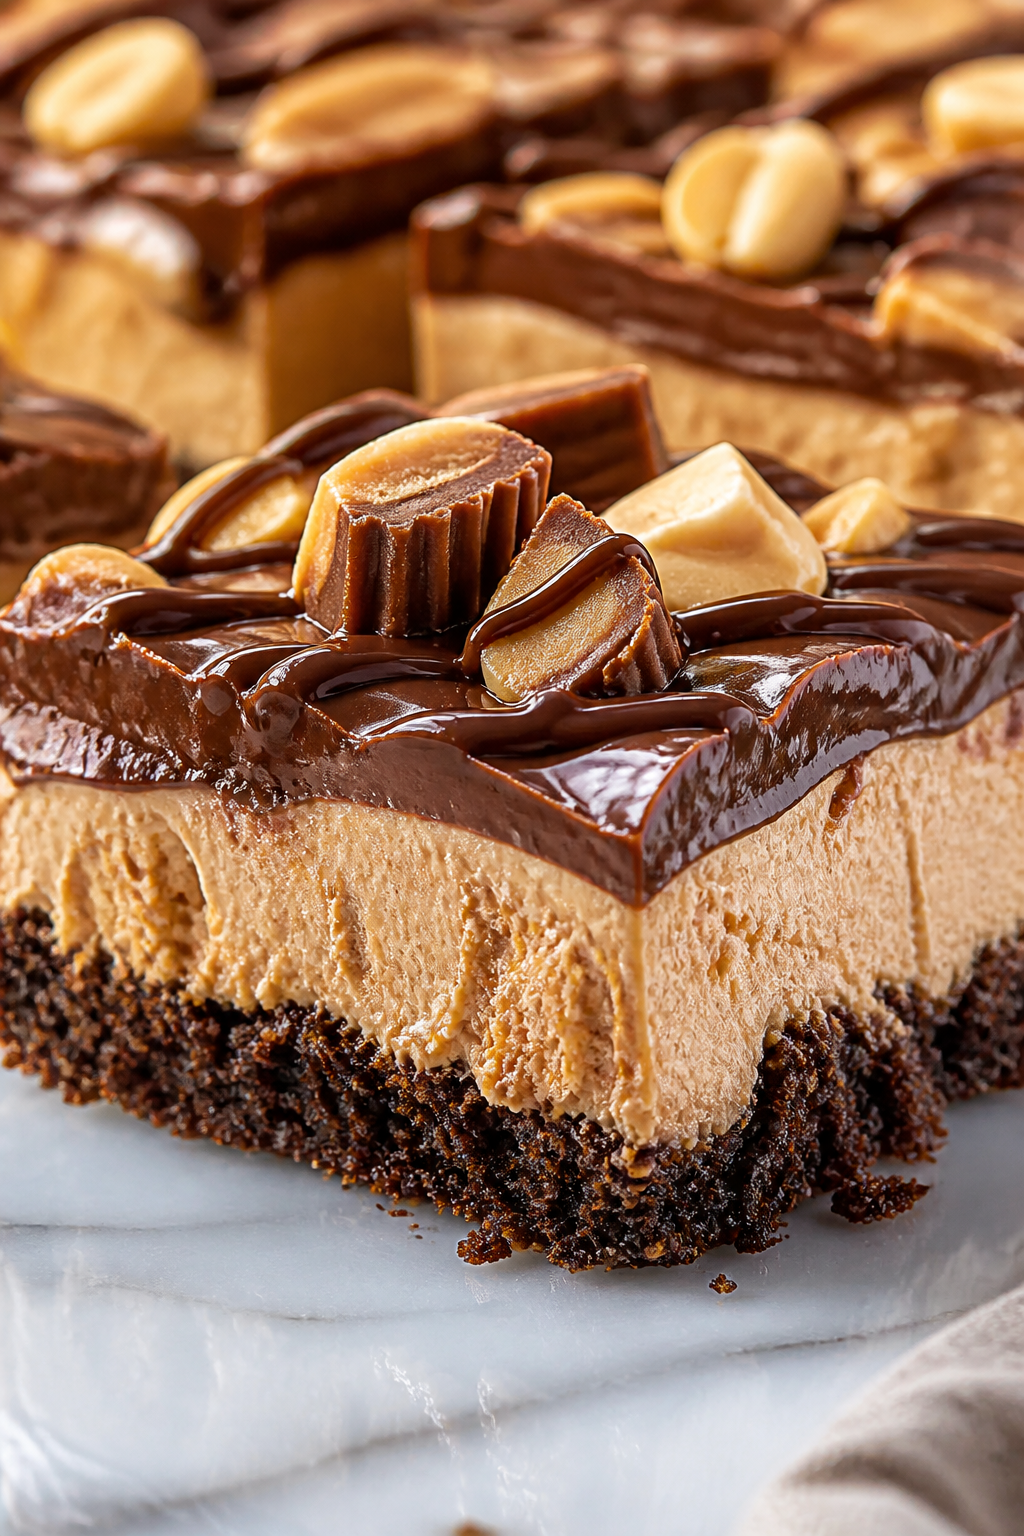
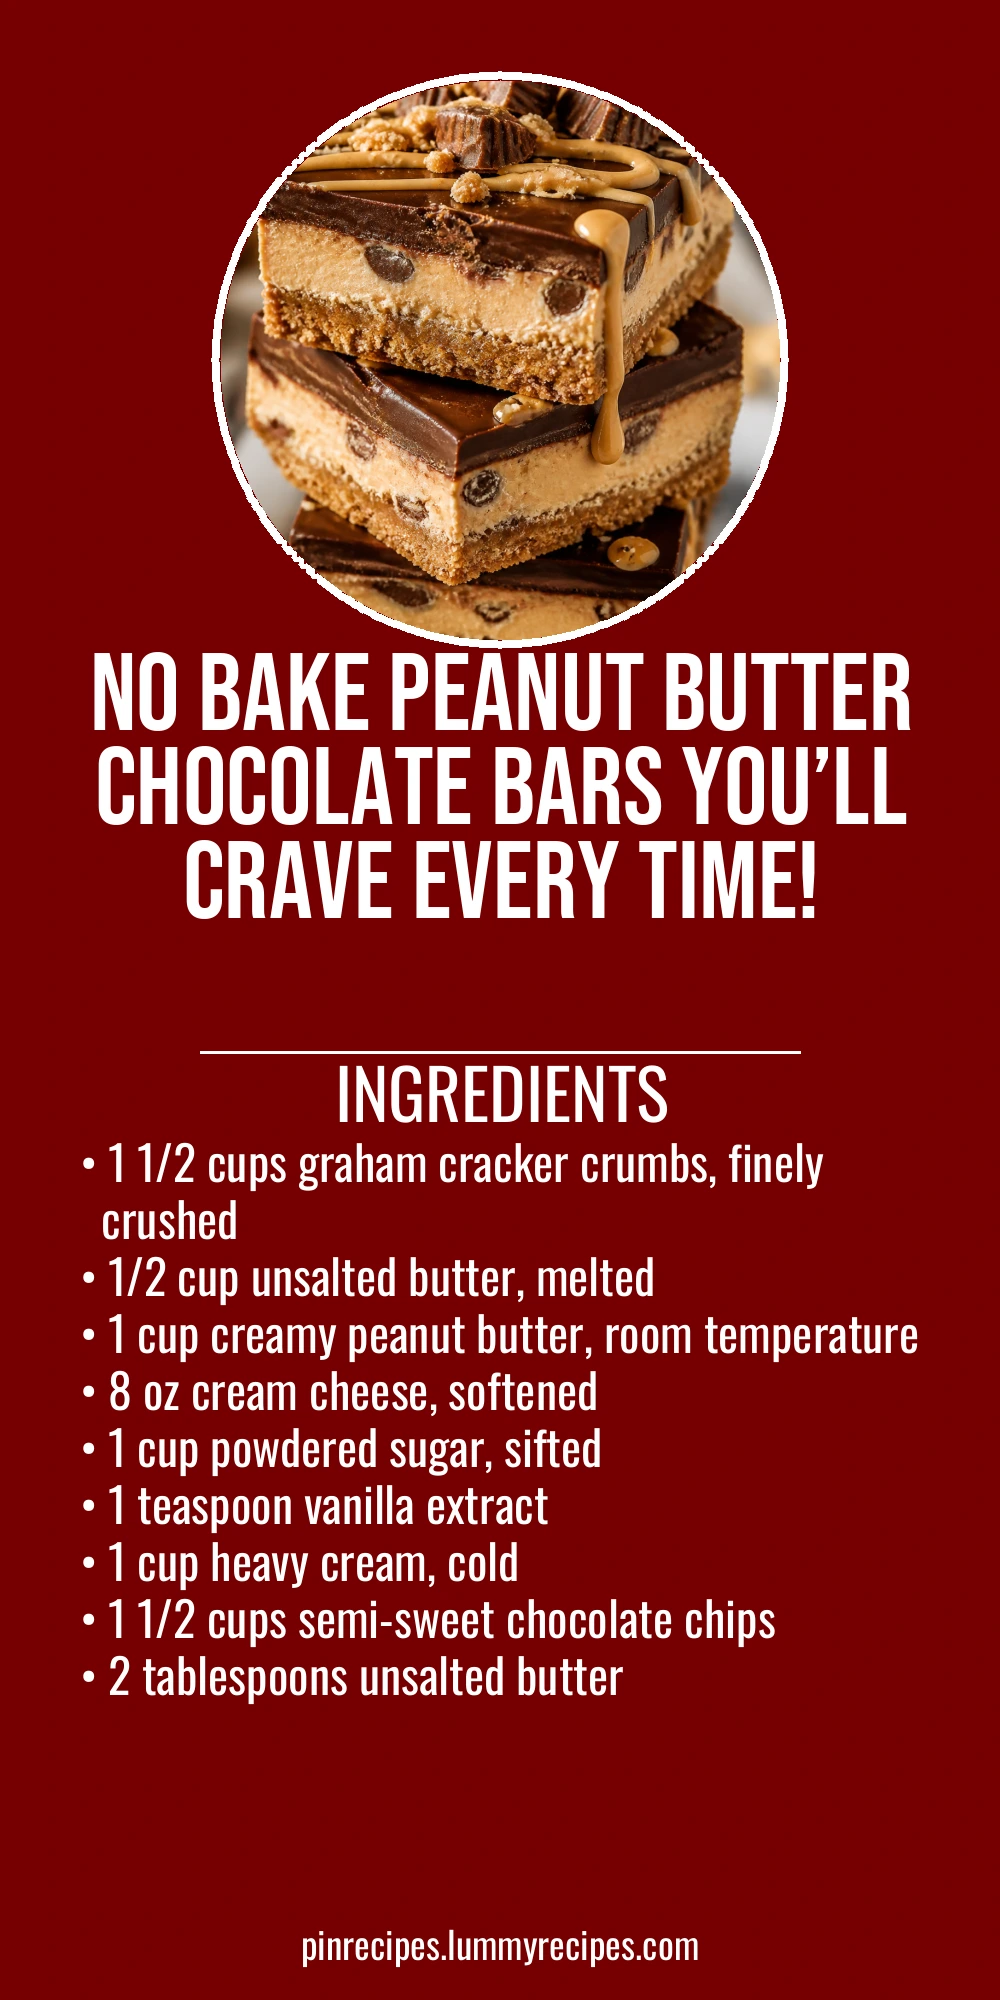
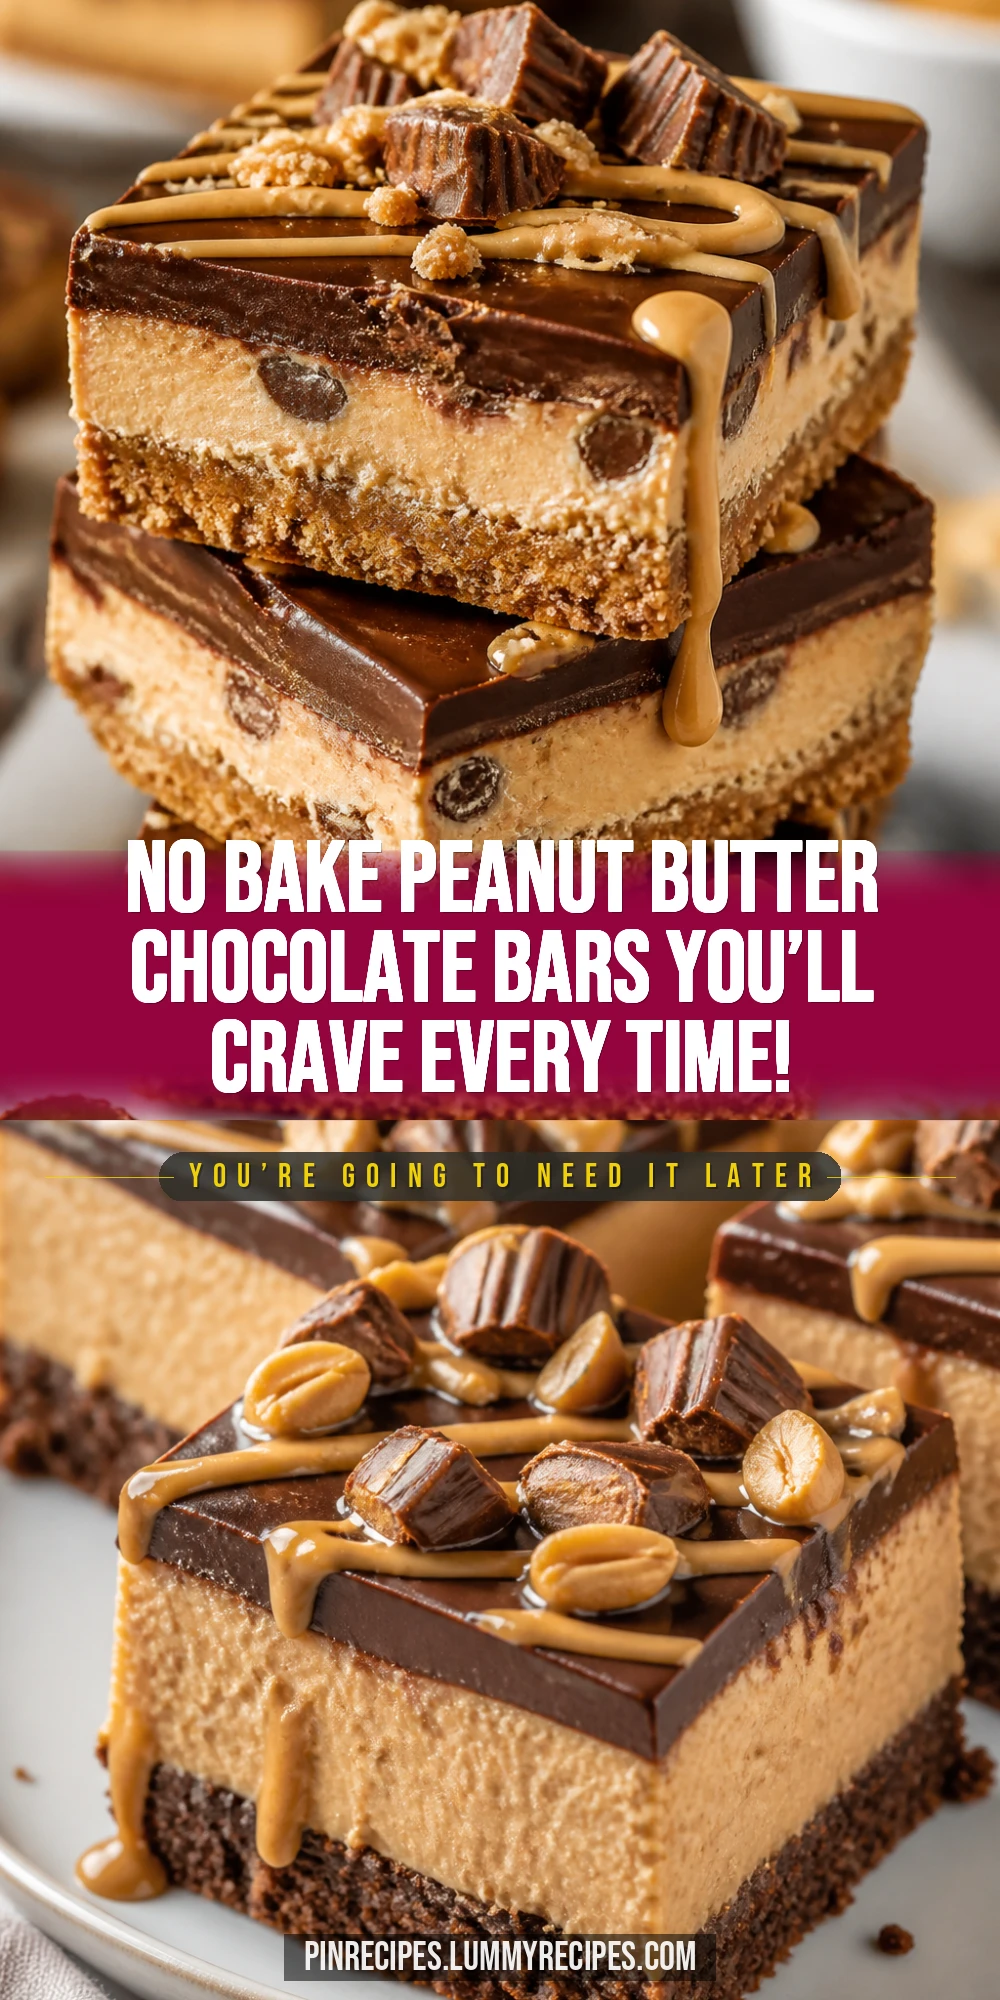
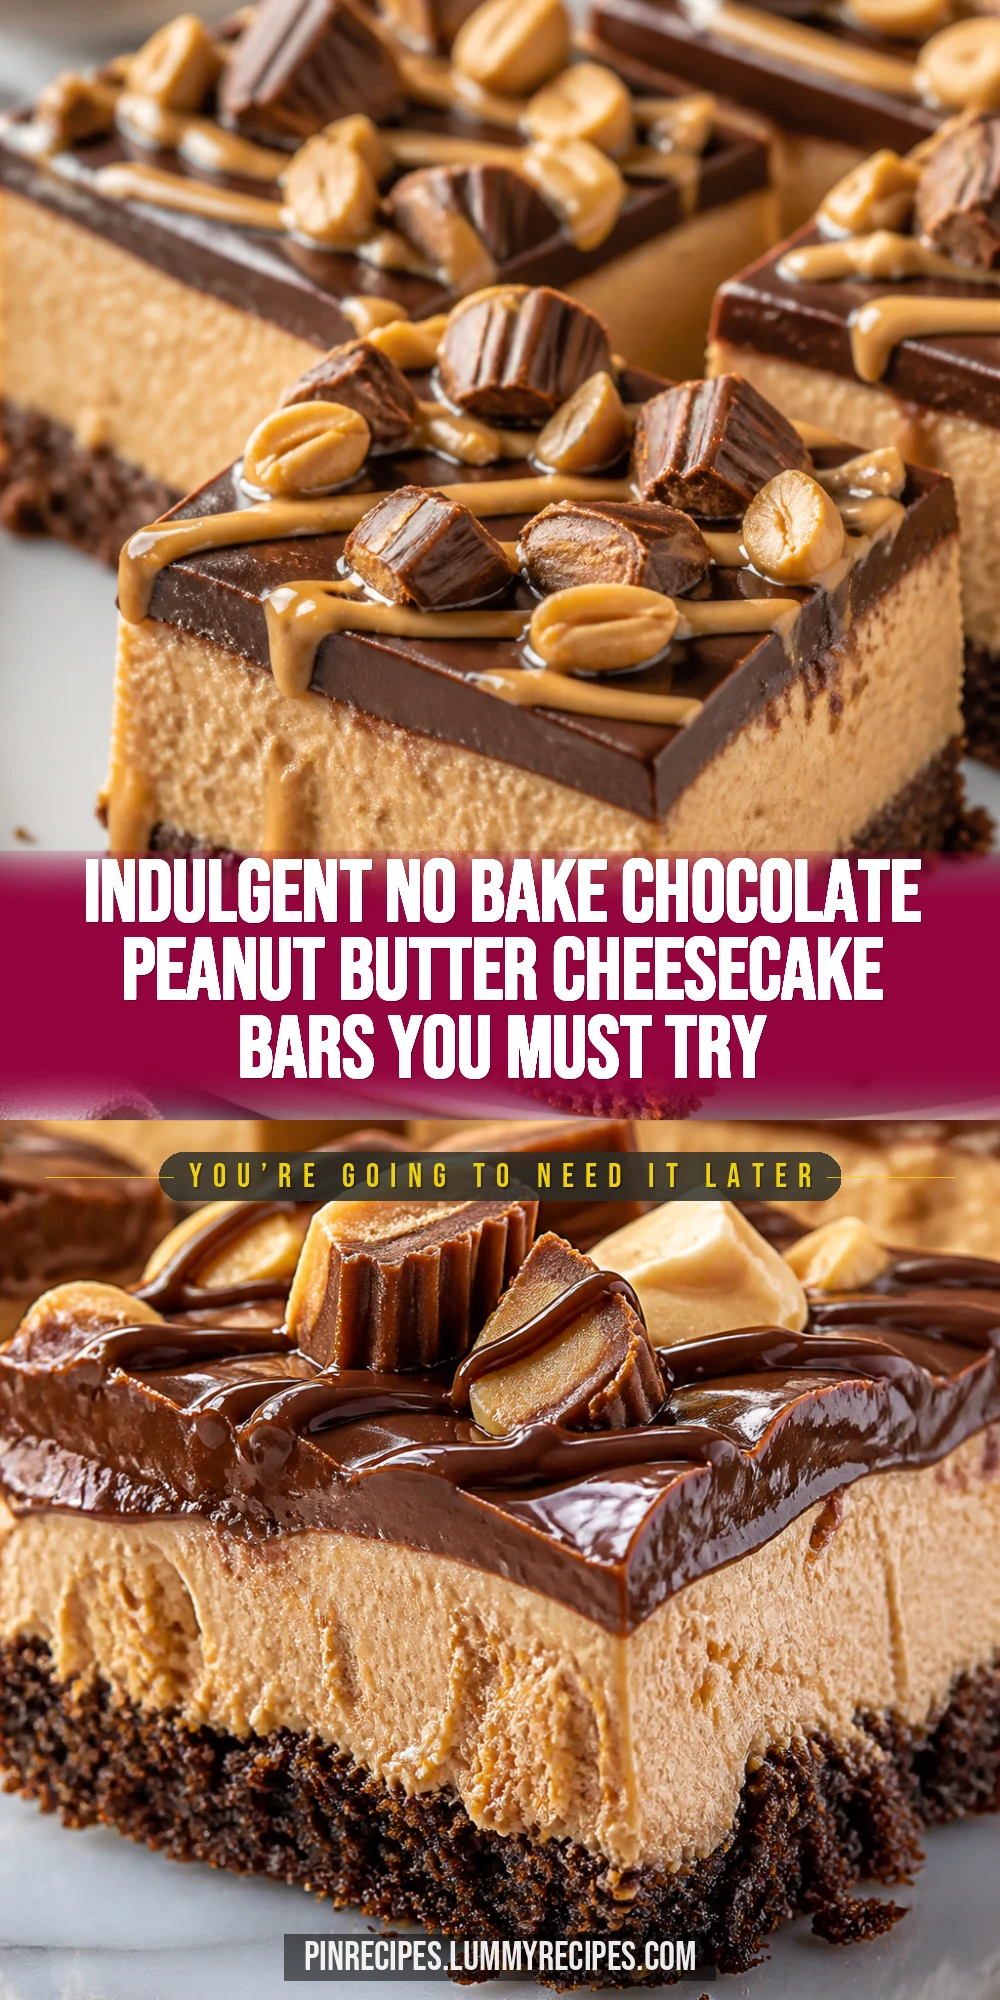
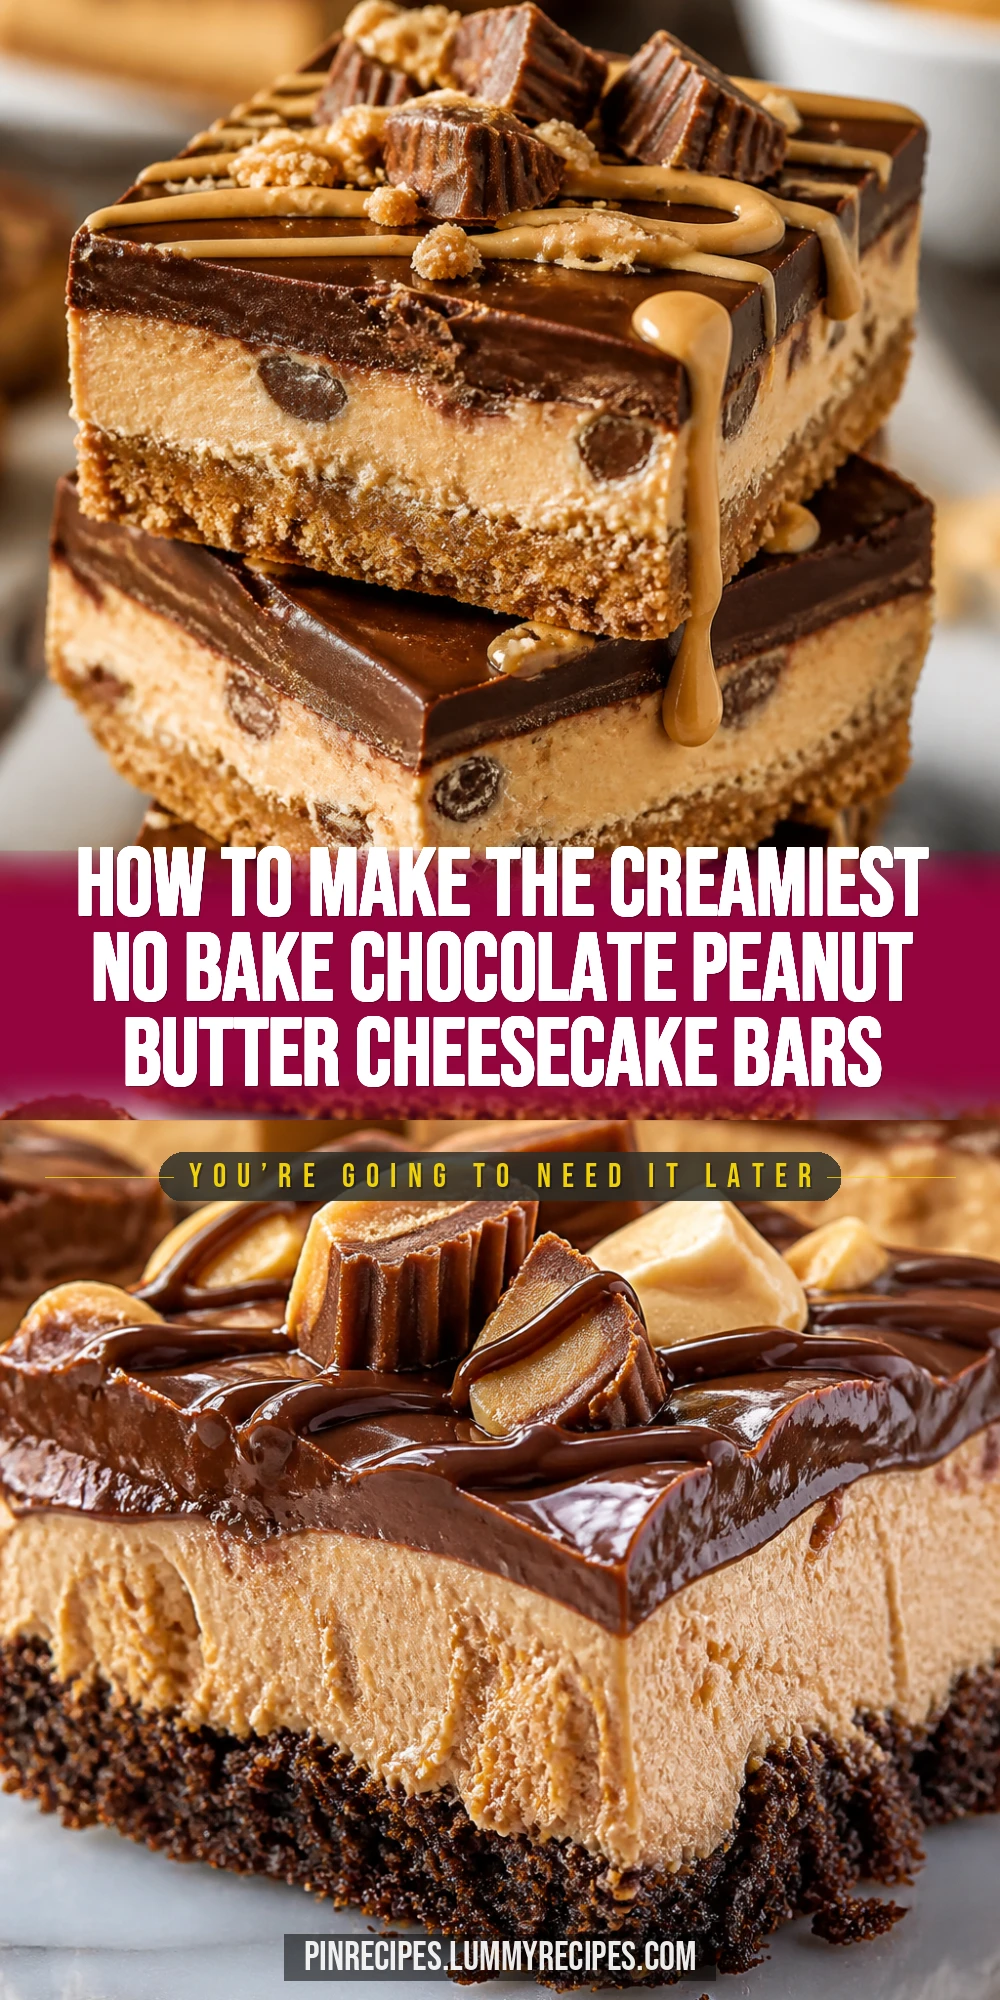
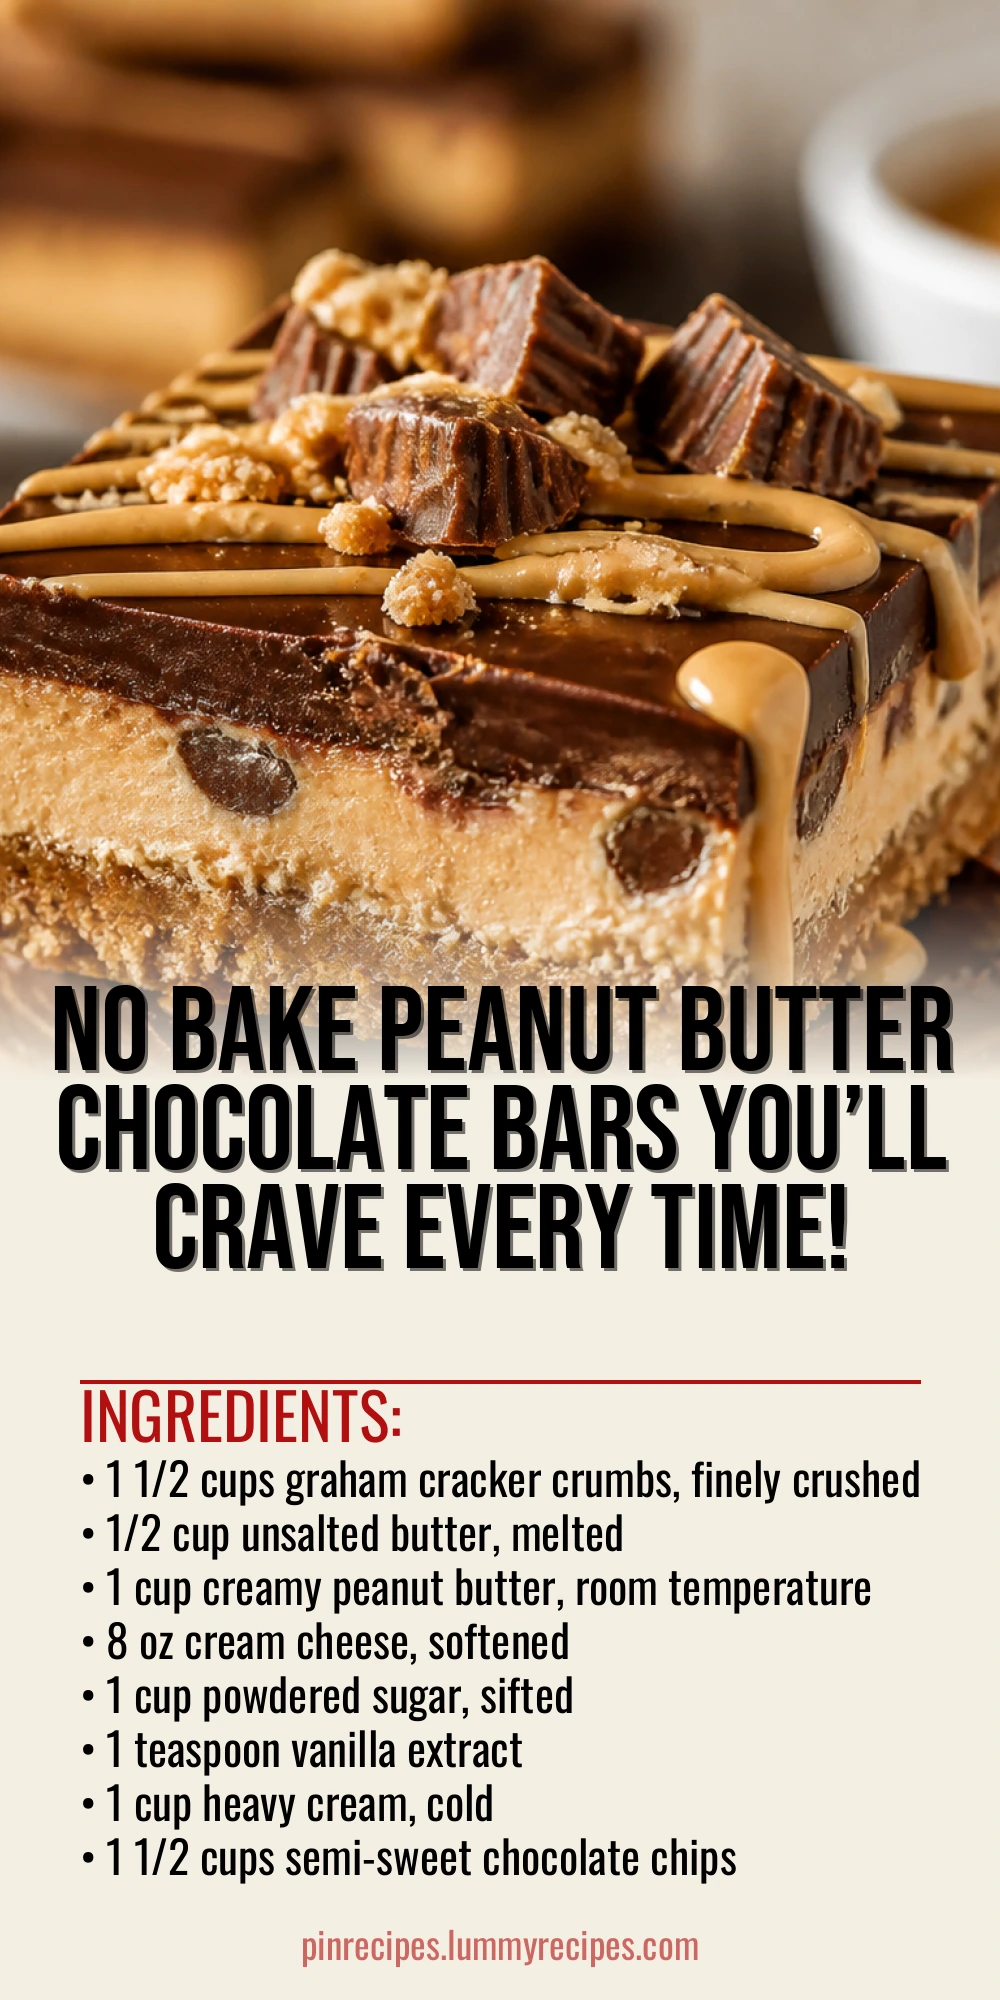
These no bake cheesecake bars combine creamy peanut butter with rich chocolate in a silky, dreamy dessert. Super simple to make—no oven needed! Perfect for a quick treat or weekend indulgence.
Introduction
I first made these Easy No Bake Chocolate Peanut Butter Cheesecake Bars on a lazy Sunday afternoon when I wanted something sweet but didn’t feel like heating up the kitchen. What makes this recipe stand out is how effortlessly the peanut butter and chocolate come together without any baking involved. I’ve tried other no bake cheesecakes before, but this one has the perfect balance of creamy and rich thanks to the smooth peanut butter and silky cream cheese. The crust is buttery and crunchy, made from graham cracker crumbs, which adds a nice texture contrast. One trick I learned is to whip the heavy cream until stiff peaks form before folding it into the peanut butter mixture—this keeps the bars light and fluffy instead of dense. The chocolate topping is simple but indulgent; melting it with butter gives it a glossy finish that sets up beautifully. The final bars are creamy, decadent, and just the right amount of sweet, perfect for sharing at a casual get-together or just indulging yourself after a long day. Honestly, the first time I made them, I was worried they wouldn’t set properly, but chilling them overnight worked like a charm. Now, these bars are a go-to whenever I want a fuss-free dessert that feels a little fancy.
How To Do It
Step 1
Start by making the crust. Combine the graham cracker crumbs and melted butter in a bowl, mixing until all crumbs are evenly coated. Press this mixture firmly into the bottom of a 9x9 inch baking pan lined with parchment paper. Pressing firmly is key here because it helps the crust hold together when you slice the bars later. If you don’t press hard enough, the crust may crumble apart, so take your time and use the back of a spoon or your fingers to compact it well.
⏱ Time: 10 minutes
✓ Doneness: Crust is evenly pressed, smooth, and holds together when touched
Step 2
In a large mixing bowl, beat the cream cheese and peanut butter together until smooth and creamy. This step ensures the base is silky without lumps. Add the powdered sugar and vanilla extract, then mix again until fully combined. The powdered sugar sweetens the mixture and helps stabilize the texture. Be sure to scrape down the sides of the bowl so all ingredients are incorporated evenly.
⏱ Time: 5 minutes
✓ Doneness: Mixture is smooth, creamy, and homogenous with no lumps
Step 3
In a separate chilled bowl, whip the heavy cream with a hand mixer until stiff peaks form. This means when you lift the beaters, the peaks stand straight without collapsing. Whipping the cream separately and folding it in gently is what keeps the cheesecake filling light and airy instead of dense. If you overwhip, the cream can turn grainy, so watch carefully.
⏱ Time: 5 minutes
✓ Doneness: Whipped cream holds stiff peaks and is fluffy
Step 4
Gently fold the whipped cream into the peanut butter and cream cheese mixture. Use a spatula and fold slowly to keep the air in. This folding technique is important because it preserves the whipped cream’s volume, giving your bars a lighter texture. Avoid stirring vigorously or you’ll deflate the mixture.
⏱ Time: 3 minutes
✓ Doneness: Mixture is smooth and fluffy without streaks of cream or peanut butter
Step 5
Pour the cheesecake filling over the prepared crust and spread evenly with a spatula. Smooth the top so it’s level. This helps the bars set evenly and look neat once sliced. Tap the pan gently on the counter to release any air bubbles trapped in the filling.
⏱ Time: 5 minutes
✓ Doneness: Filling evenly spread and smooth on top
Step 6
Place the pan in the refrigerator to chill for at least 4 hours or overnight. This chilling time is crucial as it allows the filling to firm up properly. If you try to cut the bars too soon, they’ll be too soft and messy. Overnight chilling also helps the flavors meld beautifully.
⏱ Time: 4+ hours
✓ Doneness: Filling is firm to the touch and holds shape when sliced
Step 7
While the bars chill, prepare the chocolate topping. Melt the chocolate chips and butter together in a heatproof bowl over simmering water or in short bursts in the microwave, stirring frequently. The butter adds gloss and smoothness to the chocolate, making it easier to spread and giving it a nice sheen once set.
⏱ Time: 5 minutes
✓ Doneness: Chocolate is melted smooth and glossy with no lumps
Step 8
Remove the cheesecake bars from the fridge and pour the melted chocolate over the top, spreading it evenly with an offset spatula. Work quickly so the chocolate doesn’t start to set before it’s spread. The chocolate layer adds a rich contrast and a bit of snap to each bite.
⏱ Time: 5 minutes
✓ Doneness: Chocolate layer is smooth, even, and glossy
Step 9
Return the bars to the fridge for another hour to let the chocolate set completely. Once set, use a sharp knife to cut into squares. For clean cuts, wipe the knife between slices with a warm damp cloth. This final chilling step ensures the bars hold together nicely and the chocolate topping doesn’t crack or crumble.
⏱ Time: 1 hour
✓ Doneness: Chocolate is firm but not brittle, bars hold shape when cut
Pro Tips
Press the crust firmly and evenly into the pan.
Firmly pressing the crust helps it bind together, preventing it from crumbling when cutting the bars. This creates a stable base that holds the filling well, giving you clean, neat slices.
Whip the heavy cream to stiff peaks separately before folding in.
Whipping the cream separately traps air, which lightens the dense cream cheese and peanut butter mixture. Folding it in gently preserves these air bubbles, resulting in a fluffy, creamy texture rather than a dense one.
Chill the bars overnight before cutting.
Chilling allows the fats in the crust, filling, and chocolate topping to solidify, ensuring the bars hold their shape and slice cleanly. Cutting too soon will cause the bars to be soft and messy.
Use room temperature cream cheese and peanut butter.
Softened ingredients blend smoothly without lumps, creating a silky filling. Cold cream cheese can cause clumps, leading to an uneven texture.
Melt chocolate with butter for the topping.
Butter lowers the melting point of chocolate and adds shine, resulting in a glossy, smooth topping that sets firmly but doesn’t crack.
Use an offset spatula to spread filling and chocolate evenly.
An offset spatula helps spread layers smoothly and evenly, improving the bars’ appearance and ensuring consistent thickness for even chilling and slicing.
Wipe your knife with a warm, damp cloth between cuts.
Cleaning the knife removes sticky residue, allowing for clean, neat slices without dragging or tearing the bars.
Common Mistakes to Avoid
Not pressing the crust firmly enough
Why it happens Many assume just sprinkling crumbs is enough, but without firm pressing, the crust won’t hold together.
Fix Use the back of a spoon or your fingers to press the crust evenly and firmly into the pan. This compacts the crumbs and butter so the crust sets properly.
Overwhipping or underwhipping the cream
Why it happens It’s easy to whip cream too much or not enough if you’re not watching closely.
Fix Stop whipping as soon as stiff peaks form—when peaks hold their shape but are still smooth. Overwhipping can turn cream grainy; underwhipping won’t provide enough structure.
Mixing whipped cream too vigorously into filling
Why it happens Some try to speed up mixing by stirring quickly, which deflates the whipped cream.
Fix Fold gently with a spatula, turning the bowl and lifting the mixture over itself to keep air bubbles intact.
Cutting bars before they’re fully chilled
Why it happens Impatience or forgetting to chill overnight leads to soft bars that fall apart.
Fix Chill for at least 4 hours, preferably overnight, so the filling and chocolate set properly for clean slicing.
Using cold cream cheese or peanut butter
Why it happens Cold ingredients don’t blend smoothly, causing lumps.
Fix Let cream cheese and peanut butter sit at room temperature for 30-60 minutes before mixing.
Variations
Chocolate Swirl Peanut Butter Cheesecake Bars
Before chilling, swirl melted dark chocolate into the peanut butter filling with a knife for a marbled effect. This adds visual interest and a richer chocolate flavor without changing the texture.
Note: Swirl gently to avoid deflating the whipped cream; don’t overmix or the filling will lose fluffiness.
Crunchy Nut Topping
Sprinkle chopped roasted peanuts or crushed pretzels on top of the chocolate layer before it sets for extra crunch and saltiness that contrasts the creamy filling.
Note: Add toppings immediately after spreading chocolate so they stick well before it hardens.
Vegan No Bake Version
Use vegan cream cheese and coconut cream whipped to stiff peaks, and swap butter for coconut oil. The flavor will be slightly different but still creamy and delicious.
Note: Chill the coconut cream well before whipping to achieve stiff peaks similar to heavy cream.
Salted Caramel Drizzle
Drizzle homemade or store-bought salted caramel sauce over the chocolate topping before chilling for a sweet-salty twist that elevates the bars.
Note: Add caramel drizzle just before chilling so it sets slightly but doesn’t mix into the chocolate.
Mini Cheesecake Bar Bites
Make this recipe in mini muffin tins lined with paper cups for individual bite-sized bars, perfect for parties or portion control.
Note: Reduce chilling time slightly but still allow at least 2-3 hours for setting.
Nutrition
Per Serving:
Nutritional values are estimates and may vary based on specific ingredients used.
Storage & Tips
Room Temperature
These bars can be kept at room temperature for up to 2 hours when covered to prevent drying out. Beyond that, refrigeration is recommended to maintain texture and safety.
Refrigerator
Store in an airtight container in the fridge for up to 5 days. The bars may firm up more and the texture becomes denser when cold. Serve chilled or let sit at room temperature for 10 minutes before eating for a creamier feel.
Freezer
Freeze bars wrapped tightly in plastic wrap and placed in a freezer-safe container for up to 2 months. Thaw overnight in the fridge. Freezing may slightly change texture, but they remain delicious.
Reheating
No reheating needed as these are no bake bars. If preferred softer, let sit at room temperature for 15-20 minutes before serving. Avoid microwaving as it can melt the chocolate topping unevenly.
Make Ahead
You can prepare the crust and filling a day ahead and keep them chilled separately. Assemble and add the chocolate topping the day of serving for the freshest look and texture.
FAQ
Can I use crunchy peanut butter instead of creamy?
Yes, but crunchy peanut butter will add texture to the filling, which some may enjoy. However, it can make the filling less smooth and creamy, so if you prefer a silky texture, stick to creamy peanut butter.
What can I substitute for graham cracker crumbs?
You can use digestive biscuits or vanilla wafers crushed finely as a substitute. Just make sure they are dry and not too coarse so the crust binds well with the butter.
How long do these bars keep in the fridge?
Stored properly in an airtight container, these bars stay fresh for up to 5 days in the refrigerator. The texture may firm up but the flavor remains great.
Can I make this recipe gluten-free?
Yes, simply use gluten-free graham cracker crumbs or gluten-free cookies for the crust. Make sure all other ingredients are also gluten-free to avoid cross-contamination.
Why did my filling turn out runny?
Runny filling usually means the whipped cream wasn’t whipped to stiff peaks or was overfolded, deflating the air bubbles. Also, insufficient chilling time can cause a soft set. Make sure to whip cream properly and chill overnight.
Can I use a different nut butter?
Absolutely! Almond or cashew butter can be used for a different flavor profile. Keep in mind that some nut butters have a thinner consistency, so the texture might vary slightly.
How do I get clean slices when cutting?
Use a sharp knife and wipe it clean with a warm, damp cloth between each cut. This prevents sticking and helps you get neat, smooth edges on each bar.
Can I freeze these bars?
Yes, these bars freeze well for up to 2 months. Wrap them tightly and thaw overnight in the fridge before serving. The texture may soften slightly but the flavor remains delicious.
Final Thoughts
I hope you enjoy making and eating these Easy No Bake Chocolate Peanut Butter Cheesecake Bars as much as I do! Don’t forget to share your creations and let me know how they turn out.