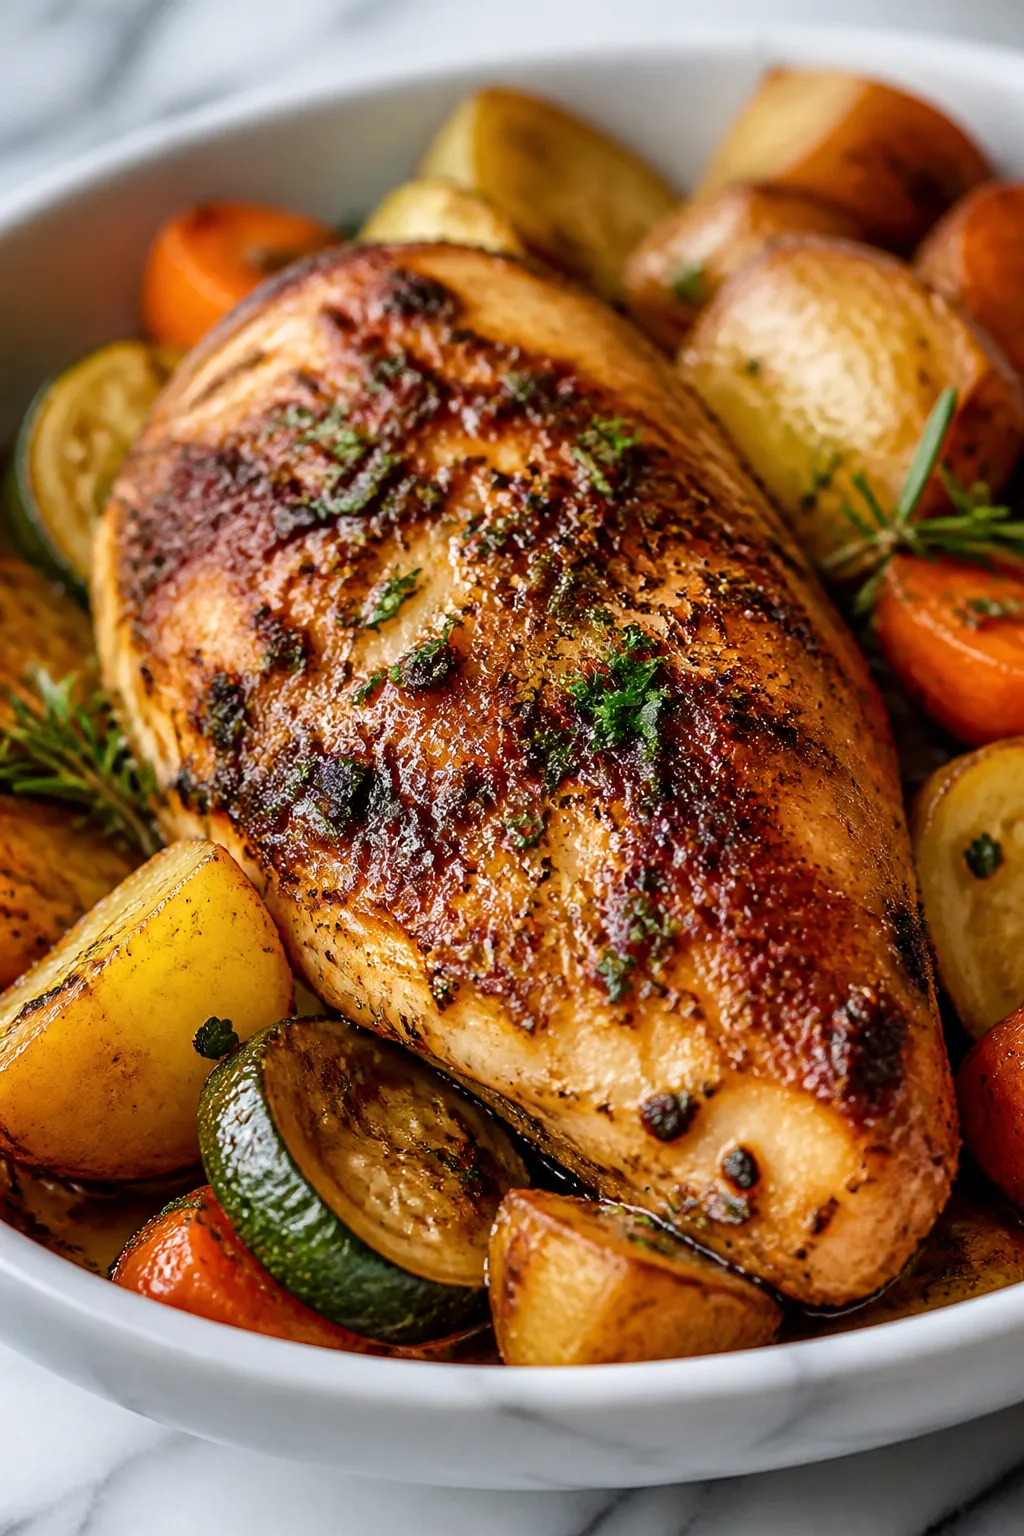
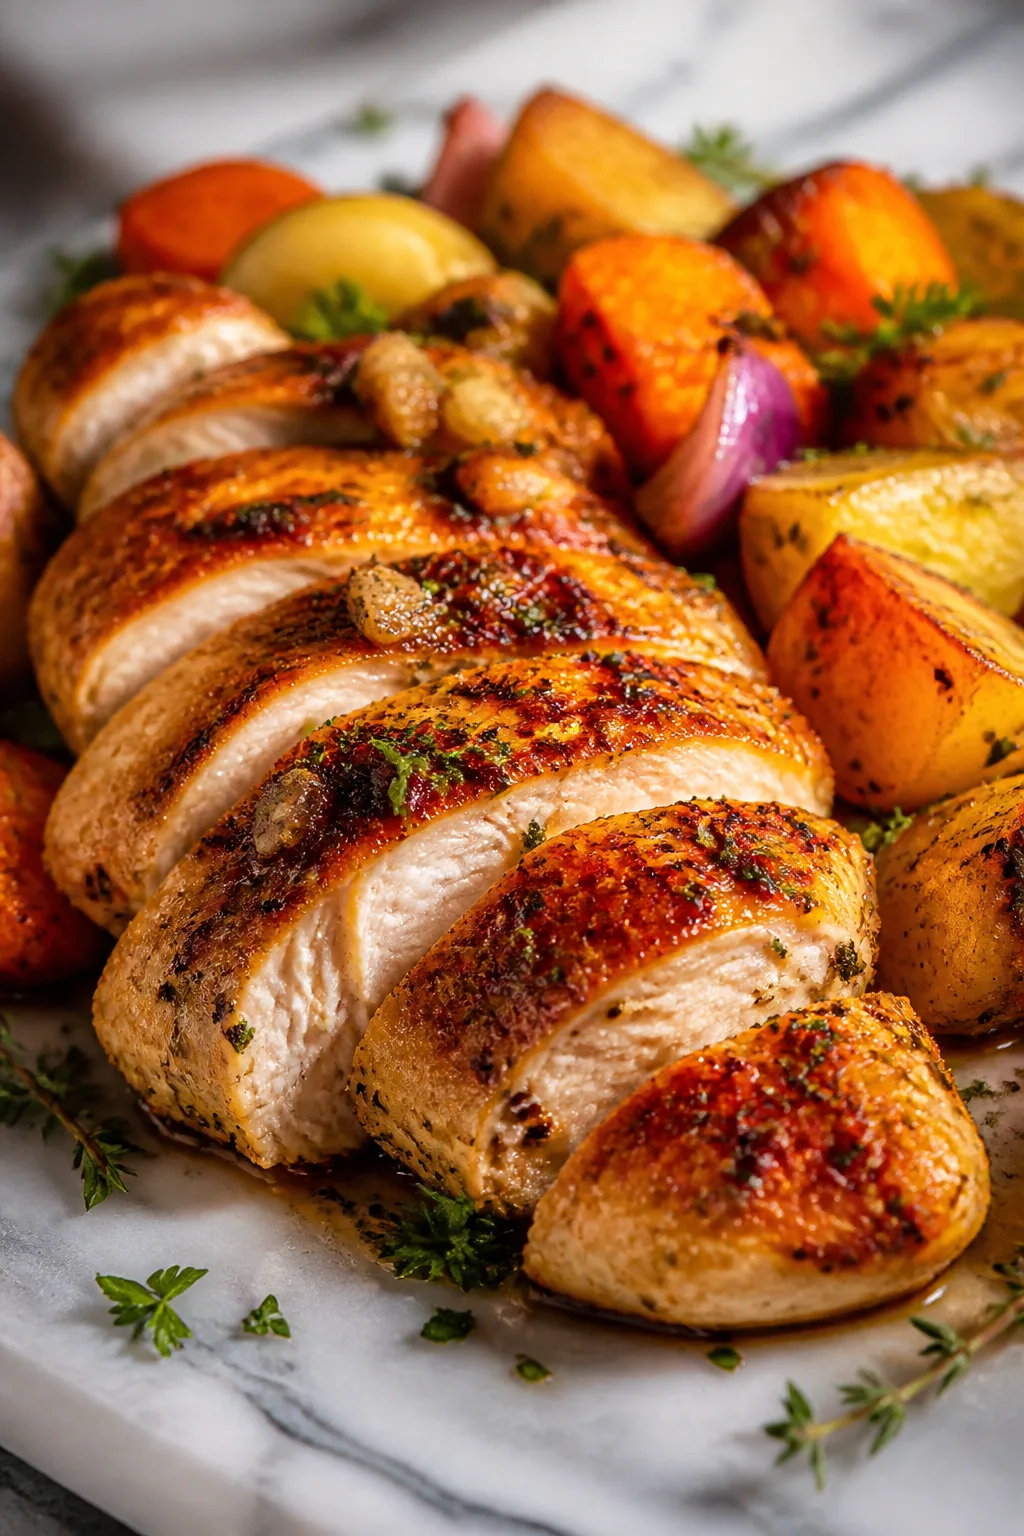
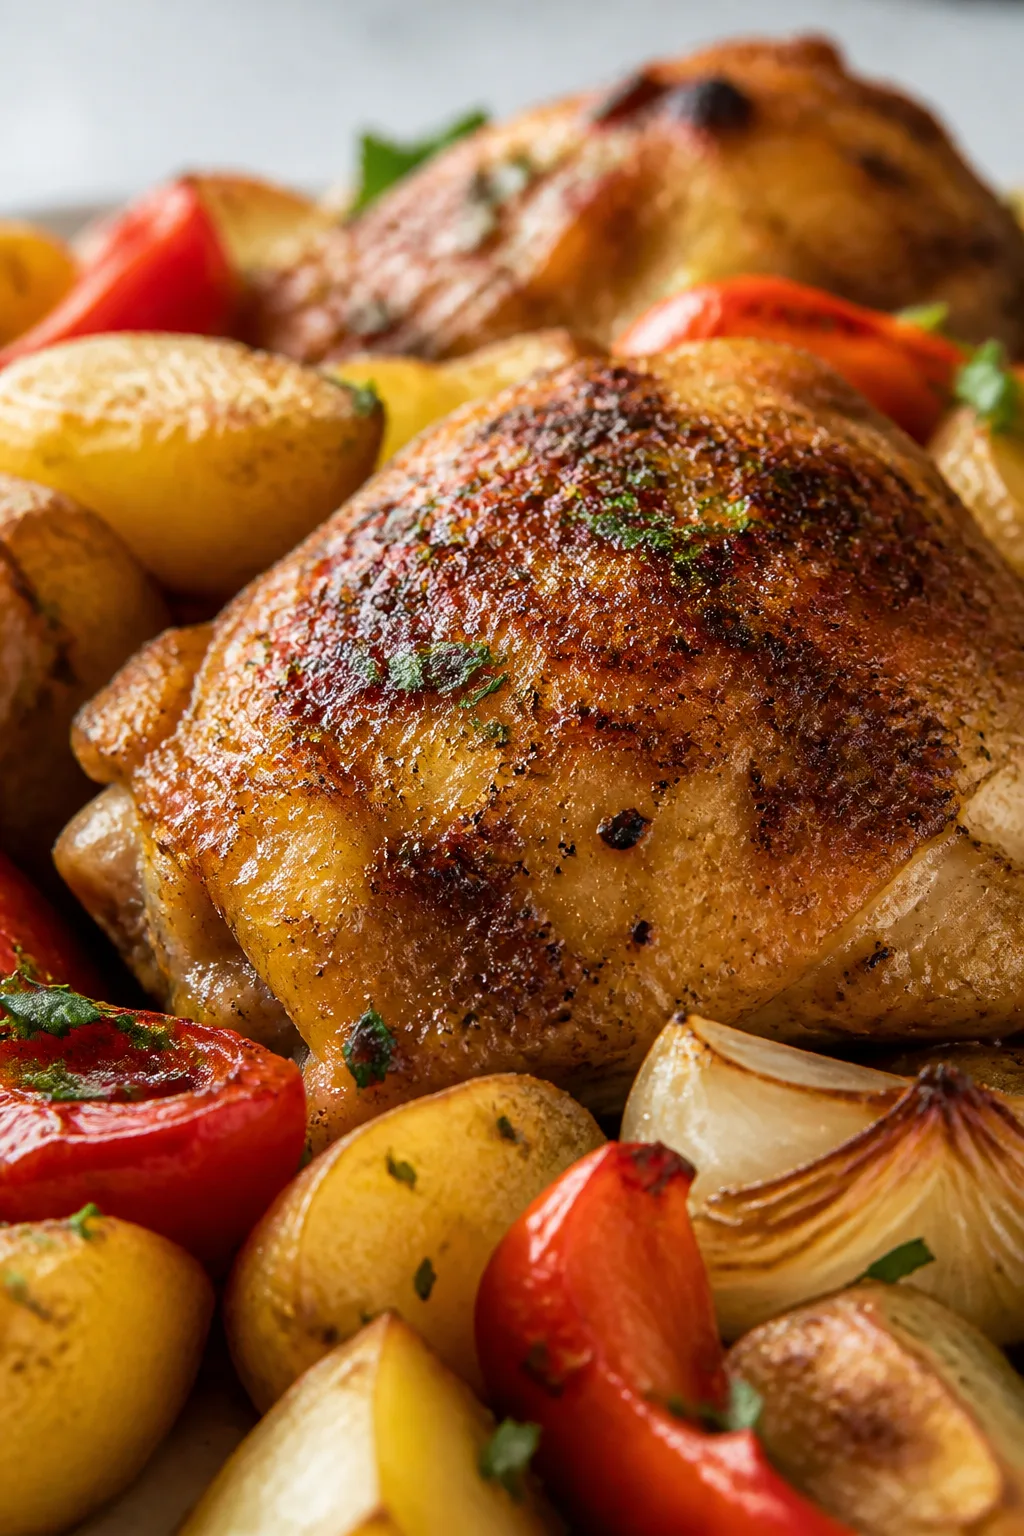
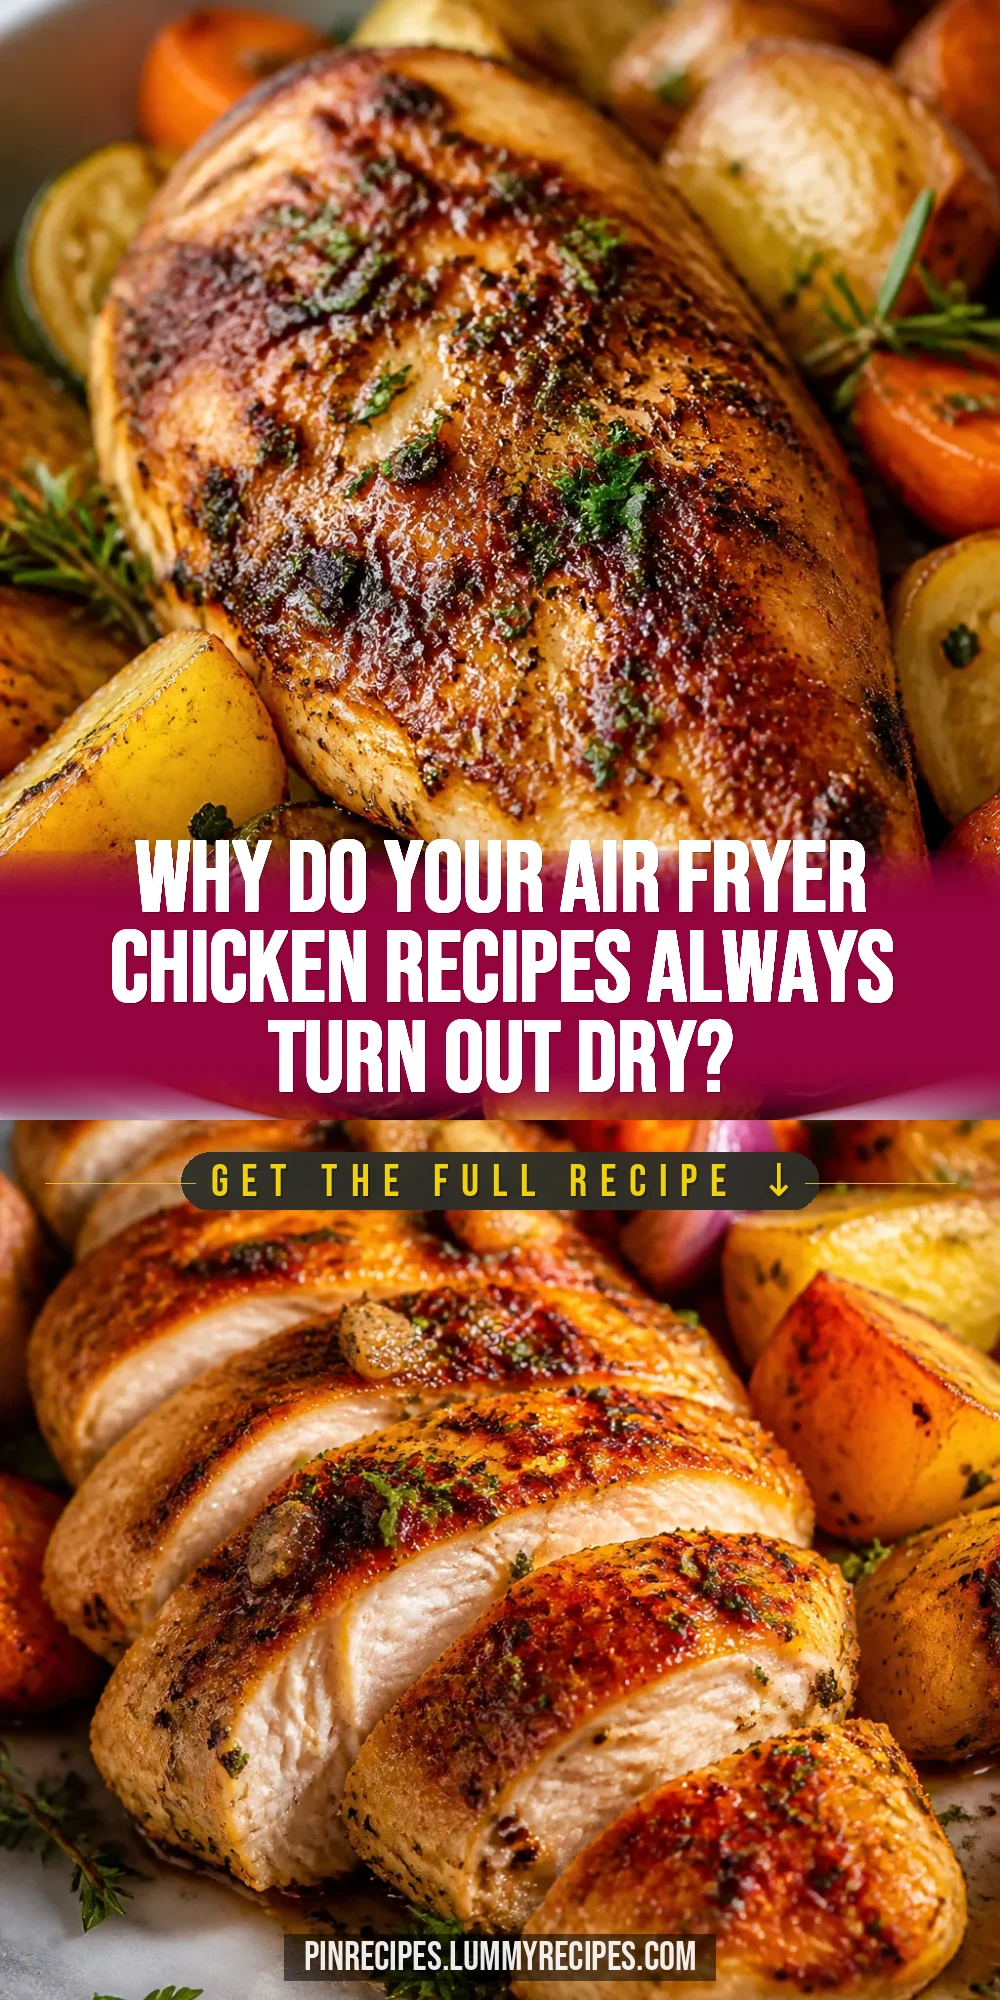
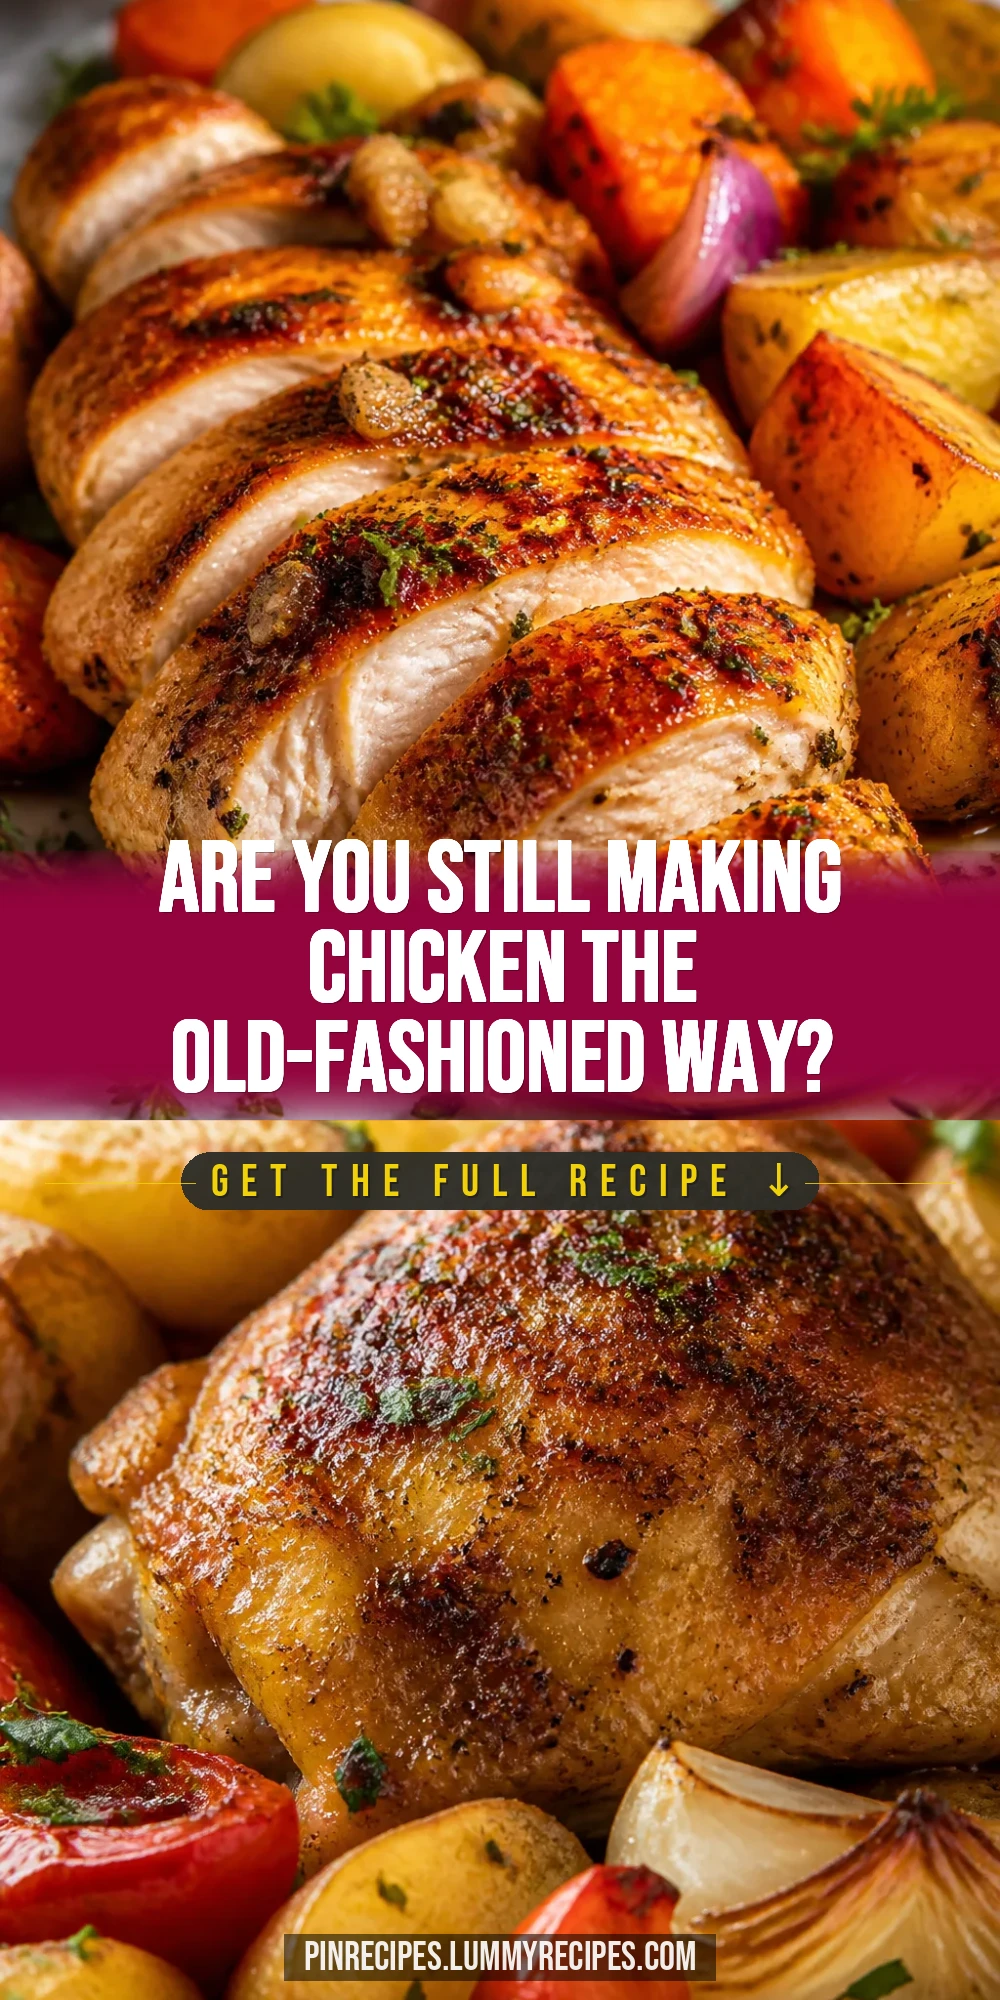
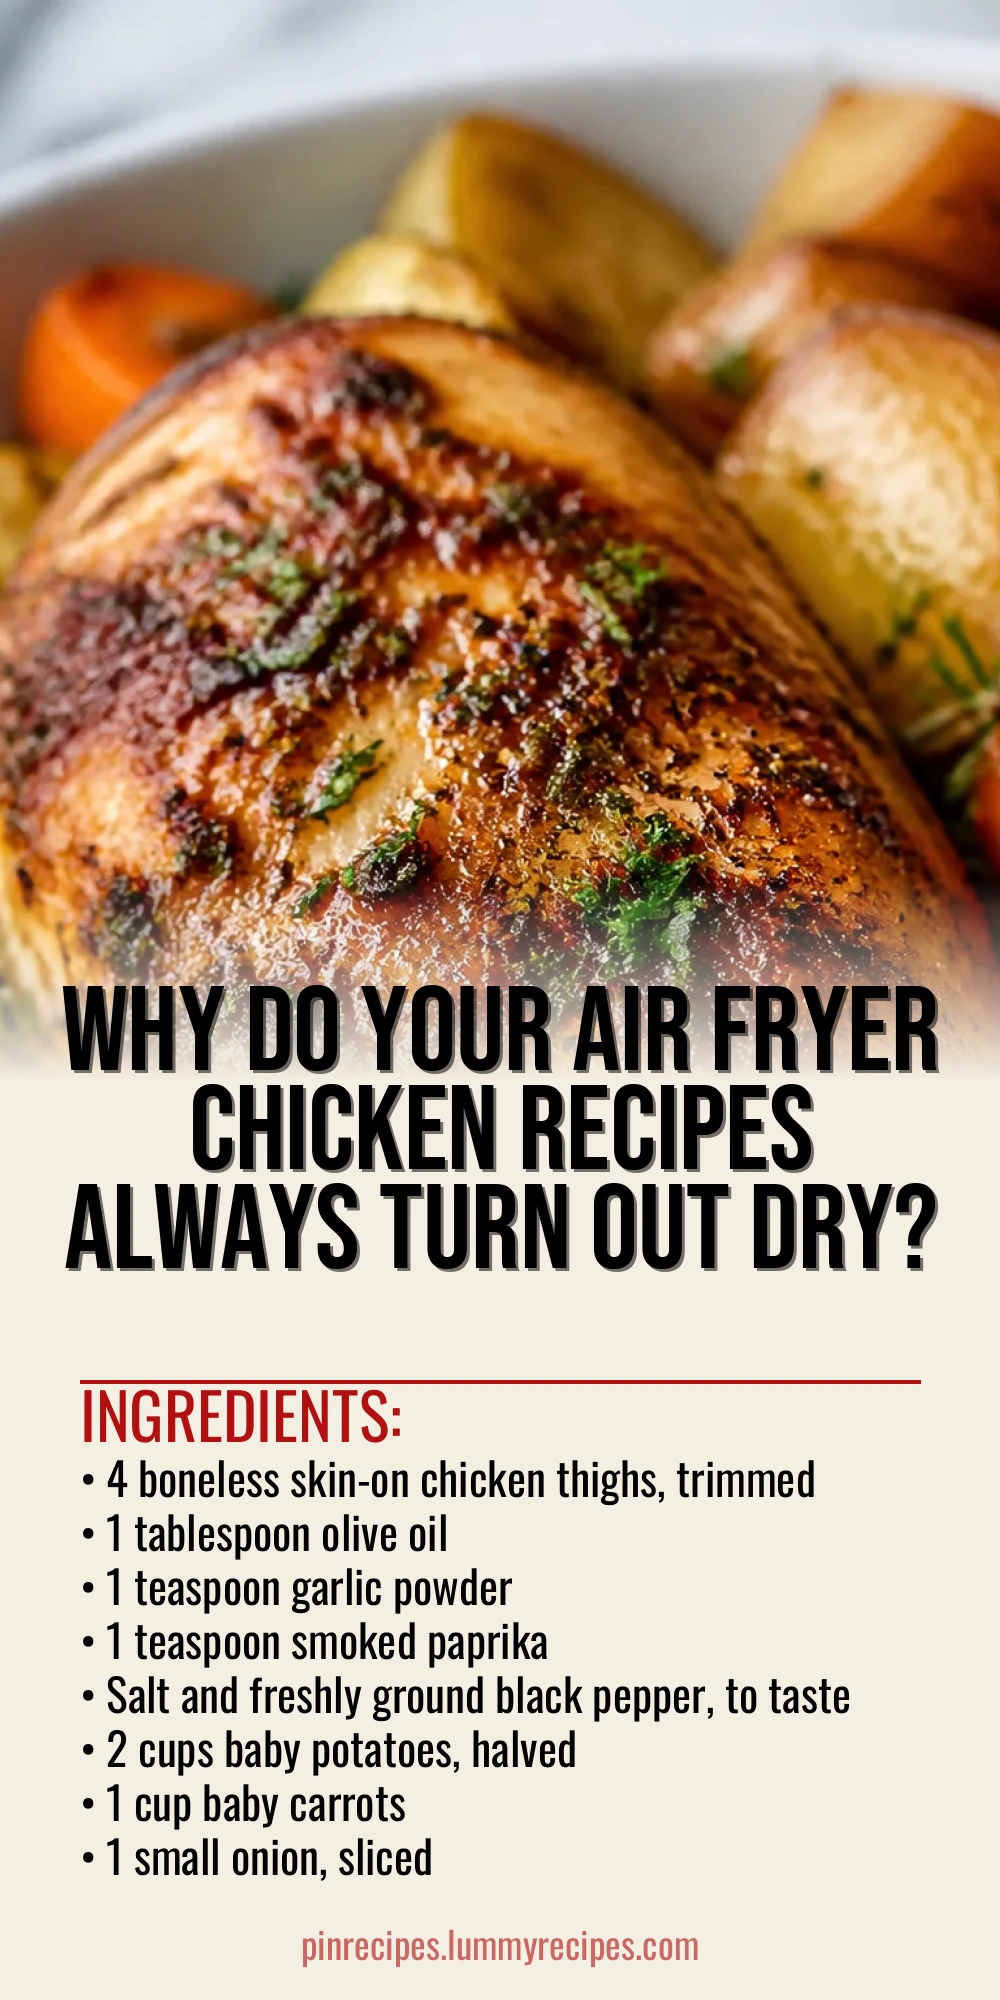
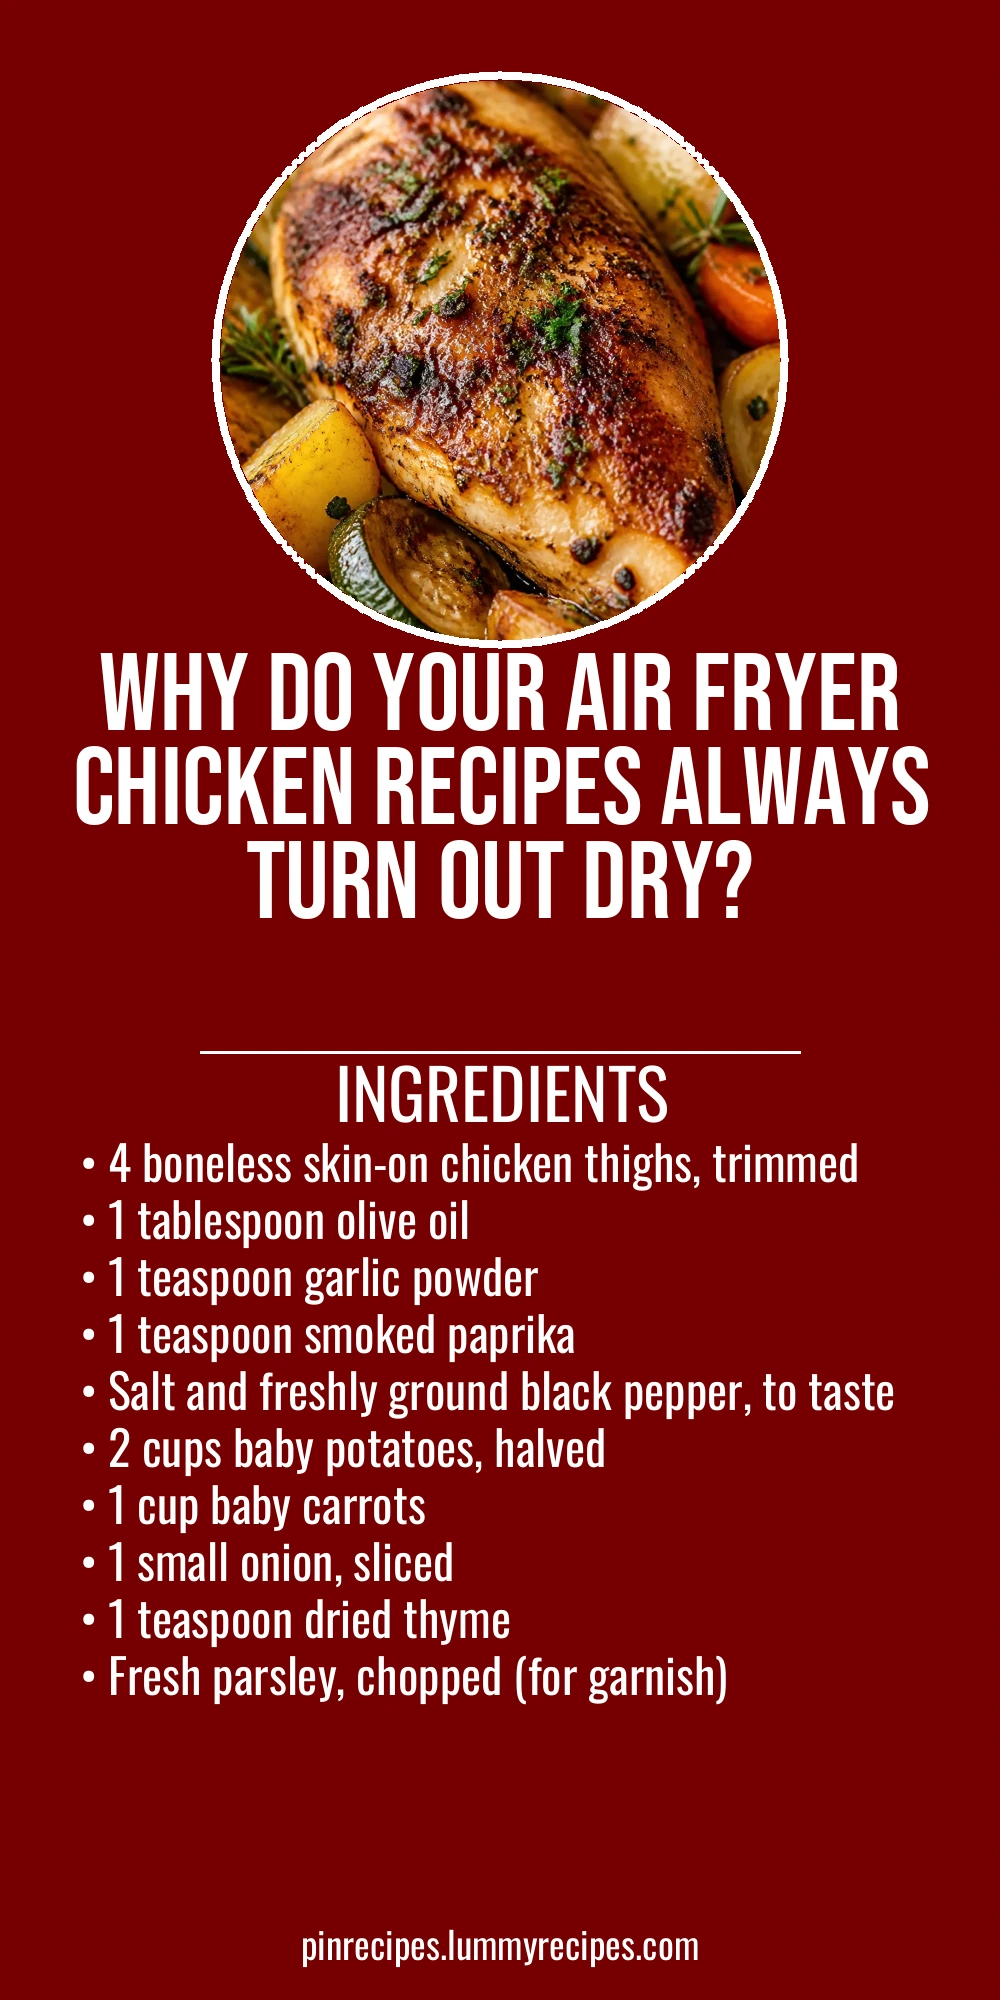
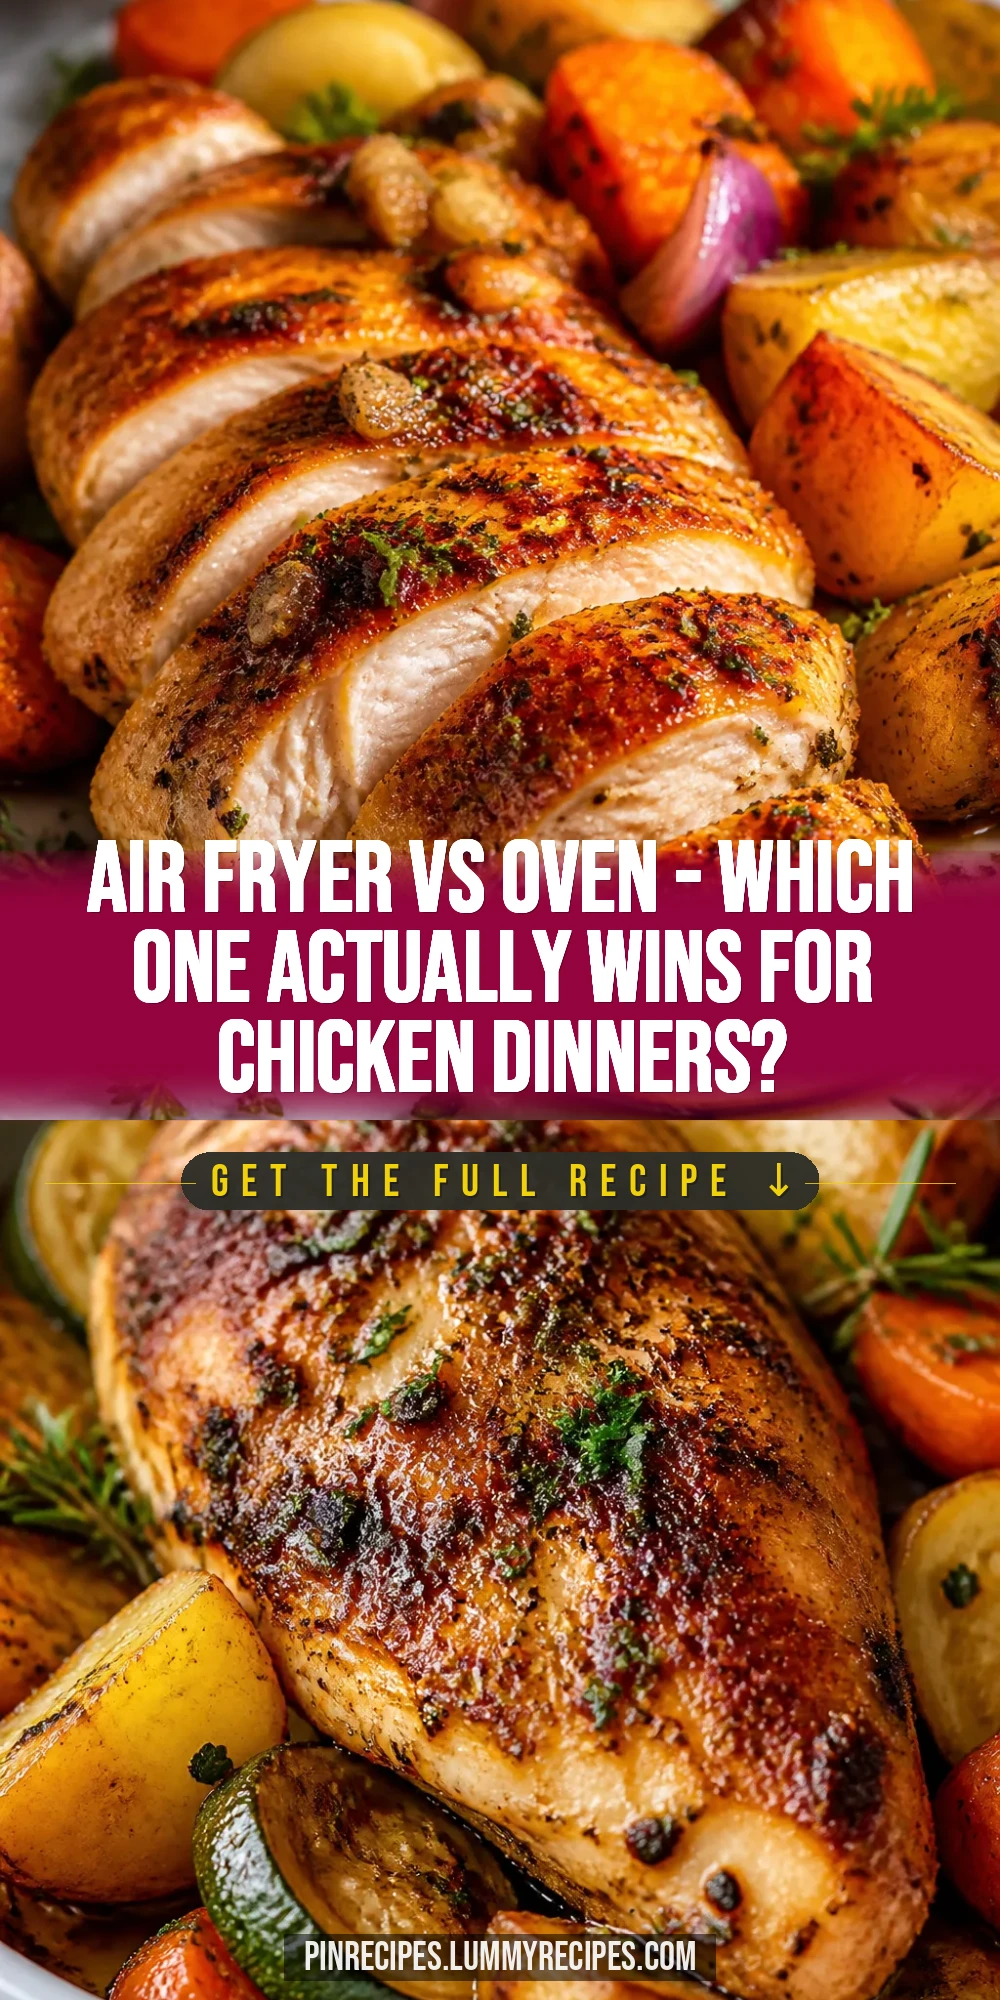
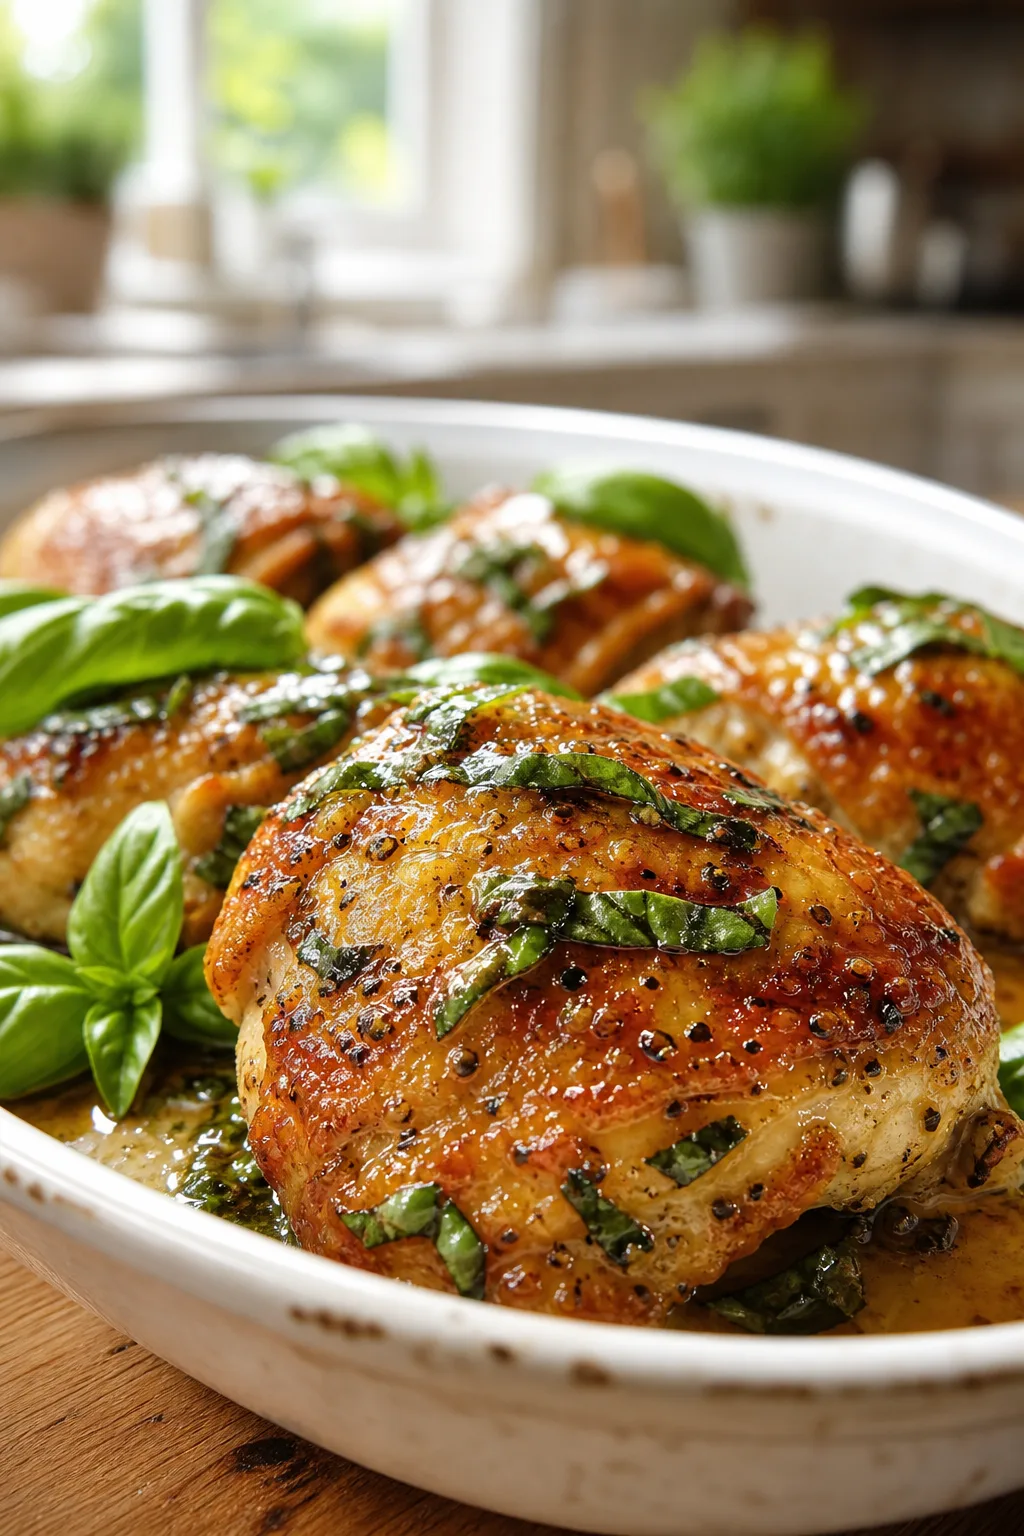
This one pot air fryer chicken recipe is a lifesaver when you want dinner on the table fast without a mess. The secret? Cooking everything together for juicy, flavorful chicken and tender veggies. Perfect for busy weeknights!
Introduction
I first tried making one pot air fryer chicken a few months ago when I was desperate for a quick, no-fuss dinner after a long day. Honestly, I was skeptical about cooking everything together in the air fryer, but it turned out amazing — juicy chicken, perfectly cooked veggies, and almost no cleanup. What makes this recipe stand out is the way the chicken skin crisps up beautifully while the potatoes and carrots soak up all those delicious juices. I love that it’s all done in one pot, which saves so much time and effort. Plus, the seasoning is simple but flavorful, perfect for anyone who wants a comforting, familiar meal without any complicated steps. If you’ve struggled with dry chicken or bland sides in the air fryer before, this recipe will change your mind. It’s become a staple in my kitchen for busy weeknights when I want something satisfying and easy.
How To Do It
Step 1
Start by patting the chicken thighs dry with paper towels. This is key to getting that crispy skin everyone loves. Then, rub the chicken all over with olive oil, garlic powder, smoked paprika, salt, and pepper. The oil helps the seasoning stick and promotes browning, while the spices add a smoky, savory flavor that’s simple but delicious. Don’t skip drying the chicken — wet skin steams instead of crisps, which ruins the texture.
⏱ Time: 10
✓ Doneness: Chicken skin looks dry to the touch and evenly coated with seasoning.
Step 2
Place the halved baby potatoes, baby carrots, and sliced onion in the bottom of your air fryer basket or one pot insert. Toss with a little olive oil, salt, pepper, and dried thyme. This layering allows the veggies to cook evenly and absorb the chicken’s juices, making them extra flavorful. If you rush this step or skip seasoning, your veggies might turn out bland or unevenly cooked.
⏱ Time: 5
✓ Doneness: Vegetables are lightly coated and spread evenly in a single layer.
Step 3
Nestle the seasoned chicken thighs skin-side up on top of the vegetables. This positioning lets the chicken skin get crispy from the hot air circulating above while the veggies roast below. It also helps the chicken juices drip down, flavoring the potatoes and carrots beneath. Avoid overcrowding, or the chicken won’t crisp properly.
⏱ Time: 2
✓ Doneness: Chicken pieces are spaced evenly with skin exposed.
Step 4
Set your air fryer to 375°F and cook for 25-30 minutes, checking halfway through to shake the basket or stir the veggies gently. This ensures even cooking and browning. Resist the urge to open too often as it drops the temperature and can dry out the chicken. The timing may vary slightly depending on your air fryer model.
⏱ Time: 30
✓ Doneness: Chicken skin is golden brown and crispy; vegetables are tender when pierced with a fork.
Step 5
Use a meat thermometer to check the chicken’s internal temperature; it should reach 165°F for safe eating. This step guarantees your chicken is perfectly cooked — juicy inside but fully done. Undercooked chicken can be unsafe, and overcooked chicken dries out quickly, so don’t skip this.
⏱ Time: 2
✓ Doneness: Thermometer inserted into thickest part reads 165°F.
Step 6
Once cooked, let the chicken rest for 5 minutes before serving. Resting allows the juices to redistribute, keeping the meat moist and tender. Cutting in too soon causes the juices to run out, leaving the chicken dry.
⏱ Time: 5
✓ Doneness: Chicken feels slightly firm but not tough when pressed.
Step 7
Transfer the chicken and vegetables to a serving platter. Sprinkle with freshly chopped parsley for a pop of color and fresh flavor. This simple garnish brightens the dish and makes it look inviting on the table.
⏱ Time: 2
✓ Doneness: Parsley is evenly scattered and vibrant green.
Step 8
Serve immediately while everything is warm and fresh. Pair it with a simple green salad or steamed greens if you want a fuller meal. The one pot air fryer method makes cleanup a breeze, so you can enjoy your dinner without extra hassle.
⏱ Time: 0
✓ Doneness: Dish is plated attractively and ready to eat.
Step 9
Clean your air fryer basket and pot after it cools to keep your appliance in good shape. Regular maintenance prevents buildup that can affect cooking performance and flavor.
⏱ Time: 10
✓ Doneness: Basket and pot are free of food residue and grease.
Pro Tips
Pat chicken dry before seasoning.
Removing excess moisture from the chicken skin ensures it crisps up instead of steaming. Wet skin traps steam, preventing browning and resulting in soggy texture.
Don’t overcrowd the air fryer basket.
Giving the chicken and veggies space allows hot air to circulate evenly, which is essential for even cooking and crispiness. Overcrowding leads to uneven results.
Use a meat thermometer to check doneness.
Visual cues can be misleading; the thermometer guarantees the chicken reaches a safe internal temperature of 165°F without overcooking, preserving juiciness.
Shake or stir veggies halfway through cooking.
This prevents uneven browning and ensures all pieces cook through properly. Without this, some vegetables might remain undercooked or burn.
Rest the chicken after cooking.
Resting lets juices redistribute, making the meat tender and moist. Cutting too soon causes juices to leak out, drying the meat.
Use skin-on thighs for best texture.
The skin crisps in the air fryer, adding flavor and protecting the meat from drying out. Skinless cuts won’t have the same juicy result.
Season veggies well before cooking.
Proper seasoning enhances the natural sweetness of the potatoes and carrots and complements the chicken’s flavor. Skipping this step leads to bland sides.
Common Mistakes to Avoid
Skipping drying the chicken skin
Why it happens Many cooks assume seasoning alone is enough and overlook the importance of drying the skin first.
Fix Always pat the chicken dry with paper towels before seasoning. This removes surface moisture that prevents crisping, ensuring a golden, crispy skin.
Overcrowding the air fryer basket
Why it happens Trying to fit too much food at once to save time or cooking in a small appliance.
Fix Cook in batches if needed, leaving space between pieces so hot air can circulate, which is essential for even cooking and crispiness.
Not using a thermometer to check doneness
Why it happens Relying on appearance or cooking time alone.
Fix Invest in an instant-read thermometer and check the thickest part of the chicken to ensure it’s cooked to 165°F, avoiding under or overcooking.
Skipping the resting period
Why it happens Eager to serve the meal quickly.
Fix Let the chicken rest 5 minutes after cooking to keep it juicy. Cutting immediately causes the flavorful juices to escape.
Using skinless chicken thighs
Why it happens Skinless thighs are sometimes chosen for health reasons or convenience.
Fix Use skin-on thighs for this recipe to get the crispy texture and juicy interior. Skinless will dry out faster and lack flavor.
Variations
Lemon Herb One Pot Air Fryer Chicken
Add lemon zest and juice along with fresh rosemary and thyme to the seasoning mix. This brightens the dish with fresh, citrusy notes and pairs beautifully with the roasted veggies. Expect a lighter, aromatic flavor profile.
Note: Add lemon slices on top of the chicken before cooking to infuse flavor; adjust cooking time slightly if needed.
Spicy Cajun One Pot Air Fryer Chicken
Swap smoked paprika for Cajun seasoning and add a pinch of cayenne pepper for a spicy kick. This variation delivers a bold, flavorful meal with a touch of heat, perfect for those who like it spicy.
Note: Be cautious with cayenne amounts to avoid overpowering the dish; balance with a squeeze of lime after cooking.
Garlic Parmesan One Pot Air Fryer Chicken
After cooking, sprinkle grated Parmesan cheese and minced garlic over the hot chicken and veggies. The cheese melts slightly, adding a creamy, savory finish that’s irresistible.
Note: Add Parmesan right after cooking and during resting to allow it to melt without burning.
Mediterranean One Pot Air Fryer Chicken
Include olives, cherry tomatoes, and a sprinkle of oregano with the vegetables. This variation brings Mediterranean flavors and a juicy, colorful presentation.
Note: Add delicate ingredients like cherry tomatoes near the last 10 minutes of cooking to prevent overcooking.
Honey Mustard Glazed One Pot Air Fryer Chicken
Brush a mixture of honey and Dijon mustard over the chicken before cooking. The glaze caramelizes in the air fryer, creating a sweet and tangy crust that’s delicious with the roasted veggies.
Note: Apply glaze halfway through cooking to prevent burning the sugars.
Nutrition
Per Serving:
Nutritional values are estimates and may vary based on specific ingredients used.
Storage & Tips
Room Temperature
This dish can safely sit out covered at room temperature for up to 2 hours. Beyond that, bacteria growth increases, so refrigerate promptly.
Refrigerator
Store leftovers in an airtight container for up to 3 days. Flavors may meld and improve, but the chicken skin will lose crispness. Reheat gently to avoid drying out.
Freezer
Freeze cooked chicken and vegetables in a freezer-safe container for up to 2 months. Wrap tightly to prevent freezer burn. Thaw overnight in the fridge before reheating.
Reheating
Reheat in the air fryer at 350°F for 5-7 minutes to restore some crispness, or microwave covered for 2-3 minutes if short on time. Add a splash of water to veggies if dry.
Make Ahead
You can prep and season the chicken and veggies a day ahead, storing them covered in the fridge. When ready, simply cook in the air fryer as directed for a fresh meal.
FAQ
Can I use chicken breasts instead of thighs in this recipe?
You can substitute chicken breasts, but they tend to dry out faster in the air fryer. To keep them juicy, consider marinating first and reduce cooking time slightly. Using skin-on breasts helps retain moisture, but thighs are generally more forgiving and flavorful.
What if I don’t have an air fryer with a one pot insert?
You can still make this recipe using the air fryer basket alone. Just layer the veggies first and place the chicken on top carefully. You might need to cook in batches or adjust timing slightly to ensure even cooking and crisping.
How do I prevent the veggies from burning before the chicken is done?
Cut vegetables into uniform sizes to ensure even cooking. Stir or shake the veggies halfway through cooking to prevent burning. If certain veggies cook faster, add them later in the process or cut them larger.
Can I use frozen vegetables for this recipe?
Frozen veggies tend to release more moisture and can become soggy. If using frozen, thaw and pat dry first, then adjust cooking time as needed. Fresh vegetables yield the best texture and flavor.
Is it necessary to flip the chicken during cooking?
For this recipe, it’s best to keep the chicken skin-side up the entire time to maximize crispiness. Flipping can cause the skin to stick or tear, and the hot air circulation will cook it evenly without flipping.
How can I make this recipe spicier?
Add cayenne pepper, chili powder, or hot paprika to the seasoning mix. You can also serve with a spicy dipping sauce or sprinkle red pepper flakes on top after cooking. Adjust quantities to your heat preference.
What’s the best way to clean my air fryer after this recipe?
Allow the air fryer to cool completely. Remove the basket and pot, then wash with warm soapy water using a non-abrasive sponge. For stuck-on bits, soak briefly before scrubbing. Regular cleaning prevents buildup and ensures optimal performance.
Can I double this recipe for a larger family?
You can double ingredients, but it’s best to cook in batches to avoid overcrowding the air fryer. Overcrowding reduces airflow and leads to uneven cooking and less crispy results.
How do I store leftovers to keep the chicken from getting soggy?
Store chicken and vegetables separately if possible. Keep chicken skin-side up and reheat in the air fryer to restore crispness. Avoid covering tightly with foil or plastic wrap before reheating, as this traps moisture.
Can I add other vegetables to this recipe?
Absolutely! Vegetables like bell peppers, zucchini, or green beans work well. Just add them according to their cooking times—denser veggies first, softer ones later—to ensure everything cooks evenly.
Final Thoughts
I hope you give this one pot air fryer chicken recipe a try — it’s become a family favorite for easy, delicious dinners. Let me know how yours turns out!