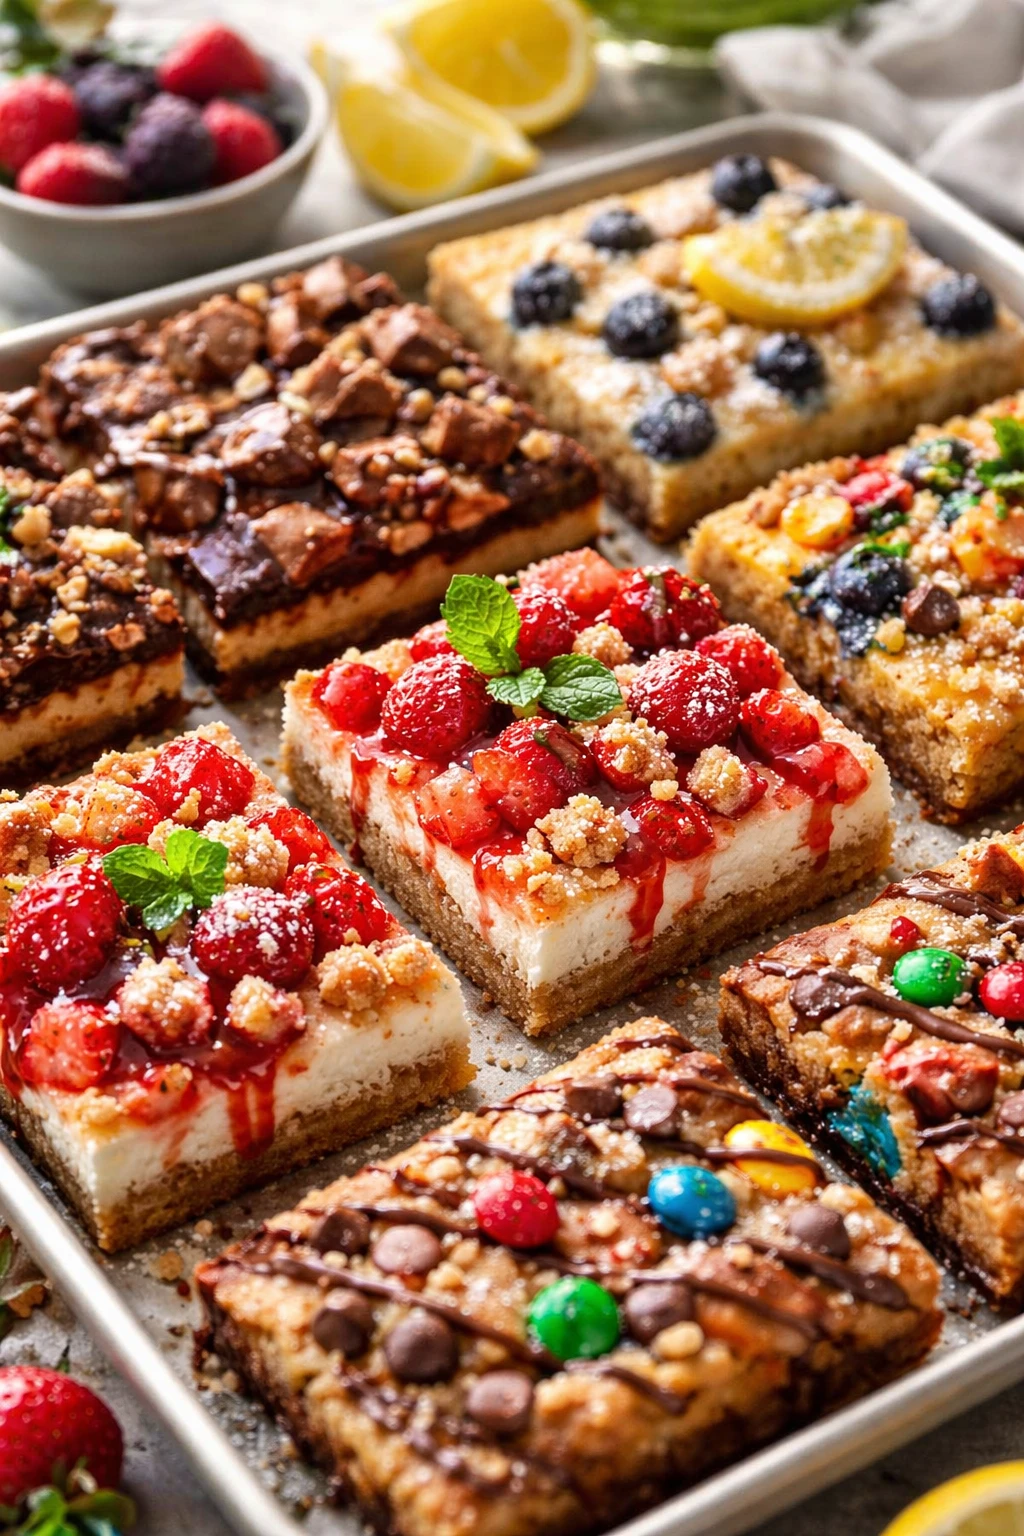
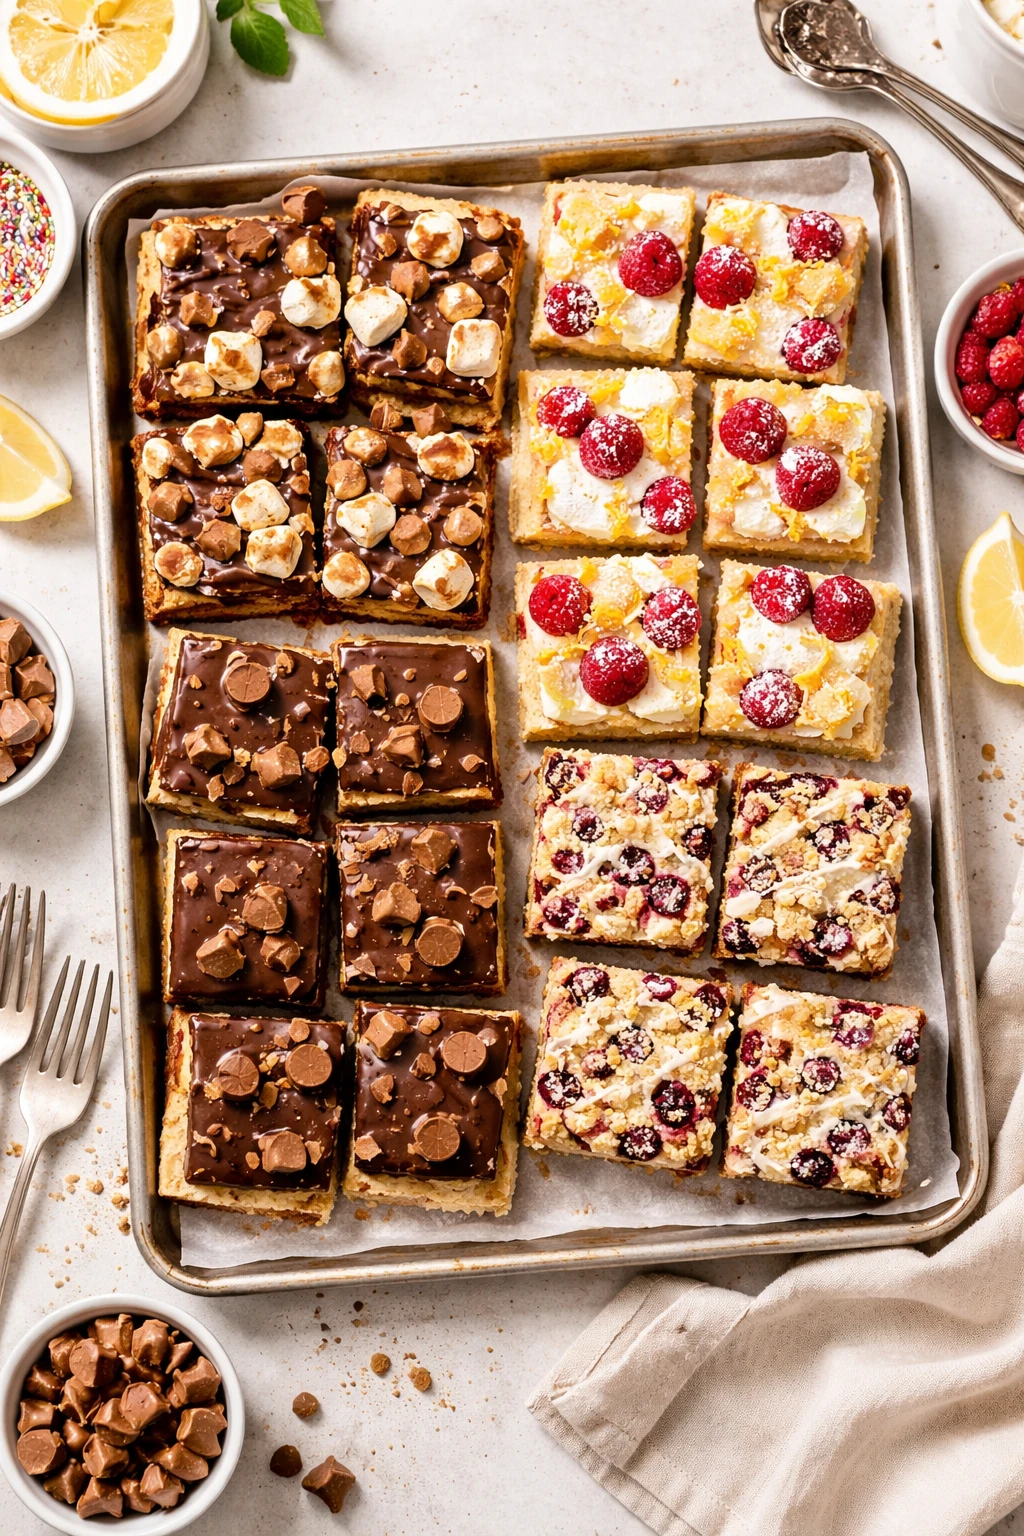
This sheet pan dessert is a total lifesaver for when you’re feeding a bunch of friends or family. It’s super simple to throw together, uses just one pan, and has a delicious mix of gooey and crunchy textures. Perfect for casual gatherings or potlucks!
Introduction
I first stumbled upon sheet pan desserts a few years ago when I needed a quick, no-fuss sweet treat for a family gathering. Honestly, I was skeptical that something so simple could taste so good, but this recipe quickly changed my mind. What I love most about this dessert is how it manages to be both rich and light at the same time — it’s gooey in all the right places with a slight crunch on top. The trick I learned is to melt the butter before mixing; it creates a tender crumb that’s not too cakey or dense. Plus, you can easily customize it with your favorite mix-ins like berries, nuts, or chocolate chips. It’s perfect for potlucks, birthday parties, or anytime you want to feed a crowd without fussing over individual portions. The finished dessert has this warm, inviting aroma and a beautiful golden top that makes everyone eager for a slice. I’ve made it countless times, and it’s always a hit — even with picky eaters! If you’re looking for a dessert that’s as easy as it is delicious, this one’s a keeper.
What You'll Need
Approximately 9x13 inch sheet pan, 8 servings
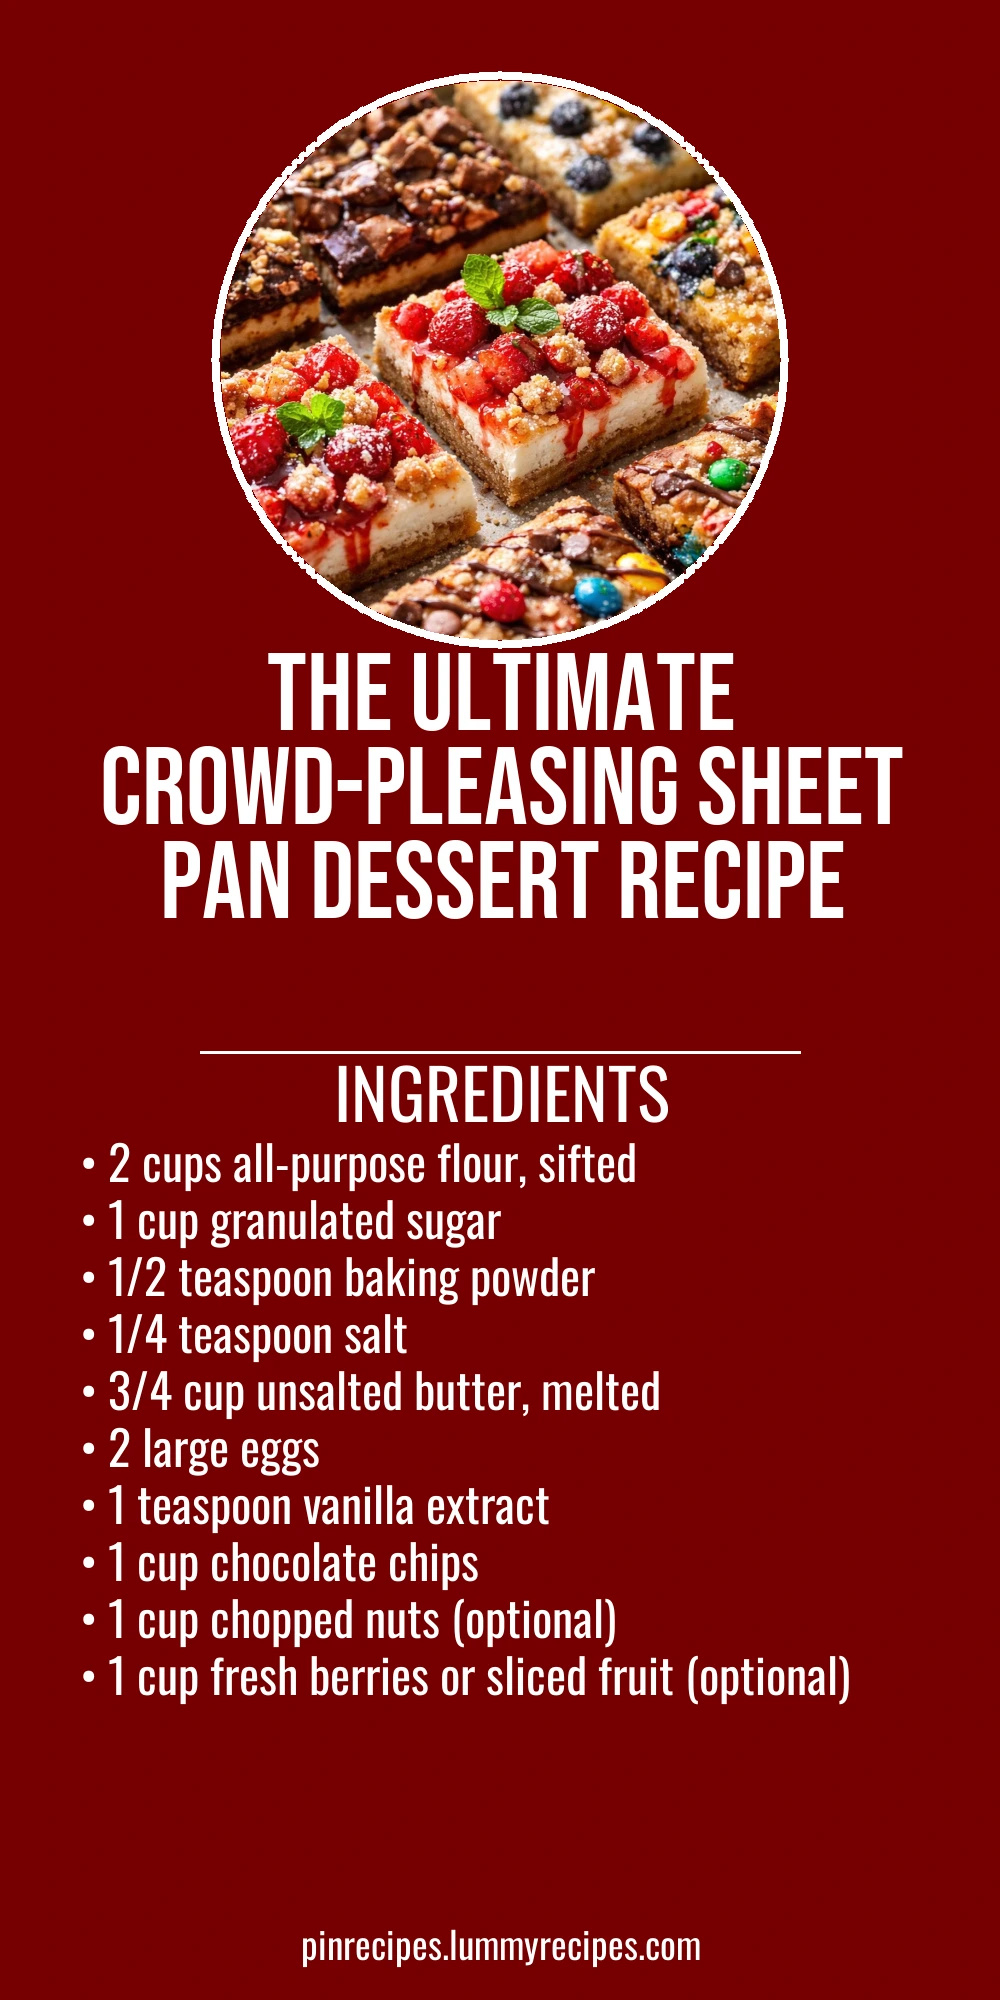
- 2 cups all-purpose flour, sifted
- 1 cup granulated sugar
- 1/2 teaspoon baking powder
- 1/4 teaspoon salt
- 3/4 cup unsalted butter, melted
- 2 large eggs
- 1 teaspoon vanilla extract
- 1 cup chocolate chips
- 1 cup chopped nuts (optional)
- 1 cup fresh berries or sliced fruit (optional)
How To Do It
Step 1
Preheat your oven to 350°F (175°C). This ensures the pan is evenly heated, which is crucial for baking the dessert uniformly. Avoid rushing this step because putting the batter into a cold oven can cause uneven rising and a soggy texture. Also, prepare your sheet pan by lining it with parchment paper or lightly greasing it to prevent sticking. This step sets the foundation for a perfect bake.
⏱ Time: 10 minutes
✓ Doneness: Oven fully preheated and pan ready with parchment or grease
Step 2
In a large bowl, whisk together the sifted flour, sugar, baking powder, and salt. Mixing the dry ingredients first helps distribute the leavening agent evenly, which is key for a consistent rise. If you skip this, you might end up with pockets of baking powder that can taste bitter or cause uneven texture.
⏱ Time: 5 minutes
✓ Doneness: Dry ingredients are thoroughly combined with no lumps
Step 3
Melt the unsalted butter until just liquid but not hot, then add it to the dry ingredients along with the eggs and vanilla extract. Stir gently until just combined. Overmixing here can develop gluten and make the dessert tough, so mix until you no longer see dry flour but don’t go beyond that.
⏱ Time: 5 minutes
✓ Doneness: Batter is smooth with no dry spots but still slightly lumpy
Step 4
Fold in the chocolate chips and nuts (if using). This step adds texture and flavor contrast. Be gentle to keep the batter light and avoid breaking the chips or nuts too much, which can affect the final texture.
⏱ Time: 3 minutes
✓ Doneness: Mix-ins are evenly distributed without overmixing
Step 5
Pour the batter evenly into the prepared sheet pan and smooth the top with a spatula. Spreading the batter evenly ensures uniform baking and prevents some parts from being undercooked while others overcook. Take your time to get a nice flat surface.
⏱ Time: 5 minutes
✓ Doneness: Batter surface is level and smooth in the pan
Step 6
If using fresh berries or sliced fruit, scatter them evenly on top of the batter now. This adds freshness and a touch of natural sweetness. Press them lightly into the batter so they don’t fall off after baking.
⏱ Time: 3 minutes
✓ Doneness: Fruit is evenly placed and slightly pressed into batter
Step 7
Bake in the preheated oven for 25-30 minutes. Keep an eye on the dessert starting around 20 minutes; ovens can vary. The top should turn golden brown and a toothpick inserted in the center should come out with a few moist crumbs but not wet batter.
⏱ Time: 25-30 minutes
✓ Doneness: Golden top and toothpick test shows moist crumbs but no raw batter
Step 8
Remove the dessert from the oven and let it cool in the pan for at least 15 minutes. Cooling allows it to set and makes slicing easier. Cutting too soon can cause it to crumble or fall apart.
⏱ Time: 15 minutes
✓ Doneness: Dessert feels firm to touch and edges start to pull away from pan
Step 9
Slice into squares and serve warm or at room temperature. This dessert is great on its own or with a scoop of ice cream or a drizzle of caramel sauce for an extra special touch. Enjoy!
⏱ Time: 5 minutes
✓ Doneness: Clean slices with minimal crumbling
Pro Tips
Always sift your dry ingredients before mixing.
Sifting aerates the flour and evenly distributes baking powder and salt, which helps prevent lumps and ensures a uniform rise. Skipping this can lead to uneven texture and pockets of unblended ingredients.
Don’t overmix the batter once wet ingredients are added.
Overmixing develops gluten in the flour, making the dessert tough and chewy rather than tender. Mix just until combined to keep the texture soft and delicate.
Use parchment paper to line your sheet pan.
This prevents sticking and makes cleanup easier. It also helps the dessert release cleanly from the pan without breaking apart, preserving those perfect squares.
Let the dessert cool completely before slicing.
Cooling allows the structure to set, making it easier to cut clean squares without crumbling. Cutting too soon often results in messy slices.
Customize with your favorite mix-ins like nuts or dried fruit.
Adding mix-ins introduces new textures and flavors, making the dessert more interesting. Just be mindful not to overload the batter, which can affect baking time and texture.
Use a toothpick to test doneness starting at 20 minutes.
Ovens vary, so checking early prevents overbaking, which dries out the dessert. The toothpick should come out with moist crumbs but no wet batter.
Press fresh fruit gently into the batter before baking.
This helps the fruit stay embedded during baking and prevents it from sliding off the top, ensuring even distribution and better presentation.
Common Mistakes to Avoid
Putting batter into an unheated oven
Why it happens Sometimes cooks prep the batter first and delay turning on the oven, thinking it saves time. This results in uneven baking and poor texture.
Fix Always preheat your oven fully before placing the batter inside. This ensures immediate and even heat, allowing the dessert to rise and set properly.
Overmixing the batter after adding wet ingredients
Why it happens It’s tempting to mix thoroughly to get a smooth batter, but this activates gluten and toughens the dessert.
Fix Mix gently and only until the ingredients are just combined. A few lumps are okay and will disappear during baking.
Using expired baking powder
Why it happens Baking powder loses potency over time, and many forget to check the expiration date.
Fix Test baking powder by mixing a small amount in hot water—if it bubbles vigorously, it’s good. Otherwise, replace it to ensure proper rise.
Skipping parchment paper or greasing the pan
Why it happens Some think the batter won’t stick or want to save time on prep.
Fix Always line with parchment or grease well. This prevents sticking, making removal and cleanup much easier.
Cutting dessert too soon after baking
Why it happens Impatience or thinking it tastes better warm leads to slicing immediately.
Fix Allow the dessert to cool for at least 15 minutes to set the structure and avoid crumbling.
Variations
Berry Almond Sheet Pan Dessert
Swap chocolate chips for sliced almonds and scatter mixed berries on top before baking. This variation offers a nutty crunch and fresh, tangy fruit flavor, making it lighter and perfect for summer gatherings.
Note: Baking time remains similar, but watch the fruit moisture to avoid sogginess.
Peanut Butter Chocolate Sheet Pan Bars
Add 1/2 cup peanut butter swirled into the batter and use peanut butter chips instead of nuts. The rich, creamy peanut butter pairs beautifully with chocolate for a decadent twist.
Note: Swirl peanut butter gently to maintain texture; baking time may increase by 2-3 minutes.
Vegan Sheet Pan Dessert
Replace eggs with flax eggs (1 tbsp flaxseed meal + 3 tbsp water per egg) and use coconut oil instead of butter. Use dairy-free chocolate chips for a vegan-friendly treat that’s still moist and flavorful.
Note: Flax eggs may slightly change texture; bake until a toothpick comes out with moist crumbs.
Spiced Pumpkin Sheet Pan Dessert
Add 1 cup pumpkin puree and 1 tsp pumpkin pie spice to the batter for a seasonal spin. This creates a moist, warmly spiced dessert perfect for fall celebrations.
Note: Increase baking time by 5-7 minutes and check doneness carefully due to added moisture.
Salted Caramel Sheet Pan Dessert
Drizzle salted caramel sauce over the batter before baking and sprinkle flaky sea salt on top. The sweet-salty combo elevates this simple dessert to a crowd-pleasing indulgence.
Note: Use a light hand with caramel to avoid excess moisture; bake as usual.
Nutrition
Per Serving:
Nutritional values are estimates and may vary based on specific ingredients used.
Storage & Tips
Room Temperature
Store the dessert covered at room temperature for up to 2 days. Use a cake dome or airtight container to keep it moist and prevent it from drying out.
Refrigerator
Keep leftovers in an airtight container in the fridge for up to 5 days. The texture firms up when chilled, so you might want to bring slices to room temperature before serving or warm them slightly.
Freezer
Wrap tightly in plastic wrap and then foil to freeze for up to 2 months. Thaw overnight in the fridge and warm gently in the oven to restore freshness.
Reheating
Reheat slices in a 325°F oven for 8-10 minutes or microwave for 20-30 seconds. Adding a small splash of milk or cream before warming can help maintain moisture.
Make Ahead
You can prepare the batter and pour it into the pan up to 1 day ahead, covered and refrigerated. Bake fresh on the day of serving for best texture and flavor.
FAQ
Can I use gluten-free flour in this recipe?
Yes, you can substitute a 1:1 gluten-free baking flour blend. However, the texture might be slightly different—often a bit more crumbly. Make sure your blend includes xanthan gum or another binder to help with structure.
What if I don’t have a 9x13 inch sheet pan?
You can use a similar-sized baking dish, like an 8x8 inch pan, but baking time will increase because the batter will be thicker. Check doneness with a toothpick starting around 30 minutes.
Can I make this dessert dairy-free?
Absolutely! Swap the butter for coconut oil or a dairy-free margarine and use dairy-free chocolate chips. The texture will be slightly different but still delicious.
How do I prevent the dessert from sticking to the pan?
Line your pan with parchment paper or grease it well with butter or non-stick spray. This makes removal easy and keeps the dessert intact.
Can I add other mix-ins besides chocolate chips and nuts?
Yes! Dried fruit, shredded coconut, or even toffee bits work well. Just be careful not to add too much, which could affect baking time and texture.
Why is my dessert dry after baking?
Overbaking is the most common cause. Start checking for doneness a few minutes before the recipe’s minimum time. Also, overmixing can make it tough and dry.
Can I prepare the batter ahead of time?
Yes, you can prepare the batter and keep it refrigerated for up to 24 hours before baking. Just give it a gentle stir before pouring into the pan.
What’s the best way to store leftovers?
Keep leftovers in an airtight container at room temperature for up to 2 days or in the fridge for up to 5 days. Reheat gently before serving for best texture.
Final Thoughts
I hope you give this easy sheet pan dessert a try—it’s truly one of my go-to recipes for feeding a crowd with minimal fuss. Let me know how it turns out!