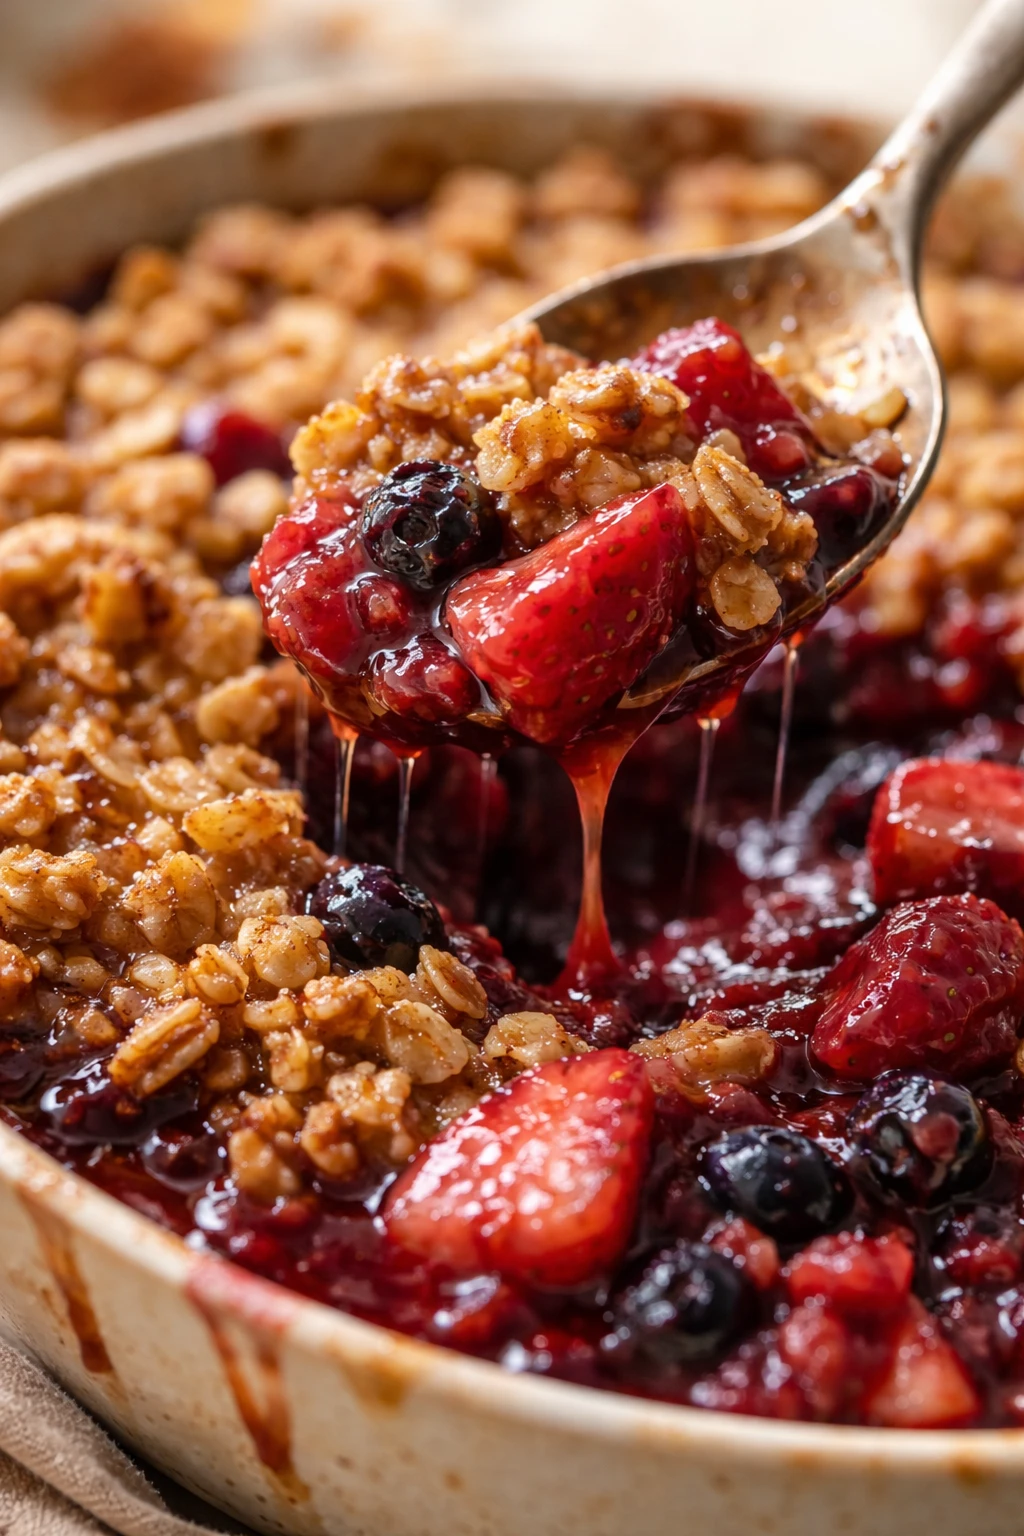
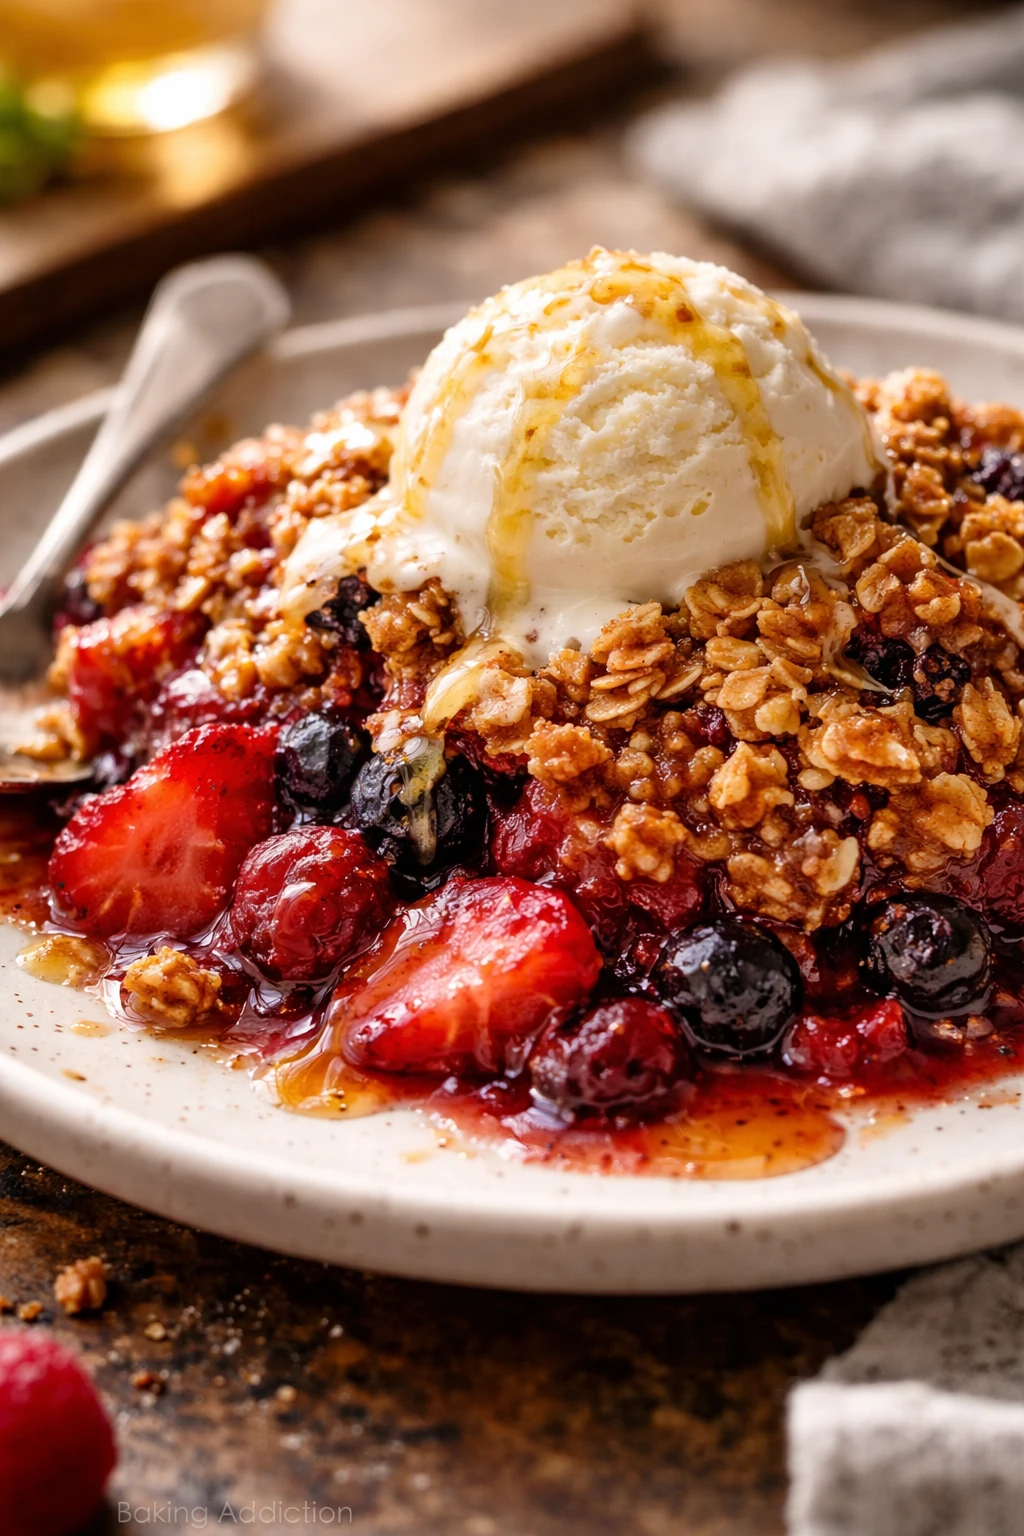
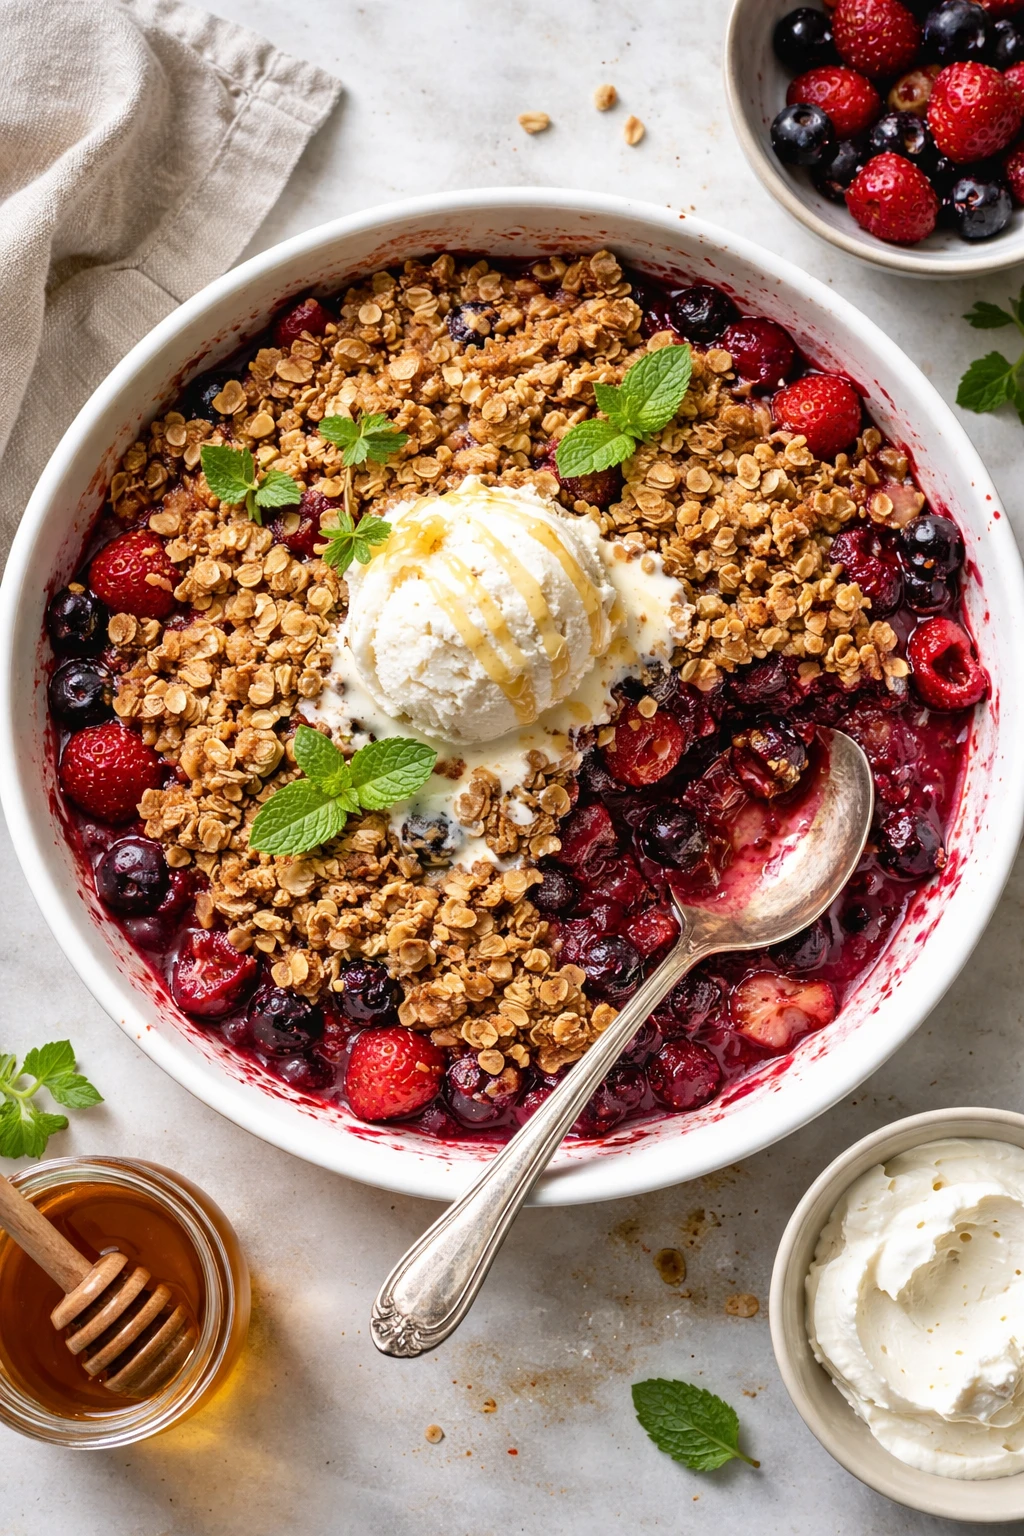
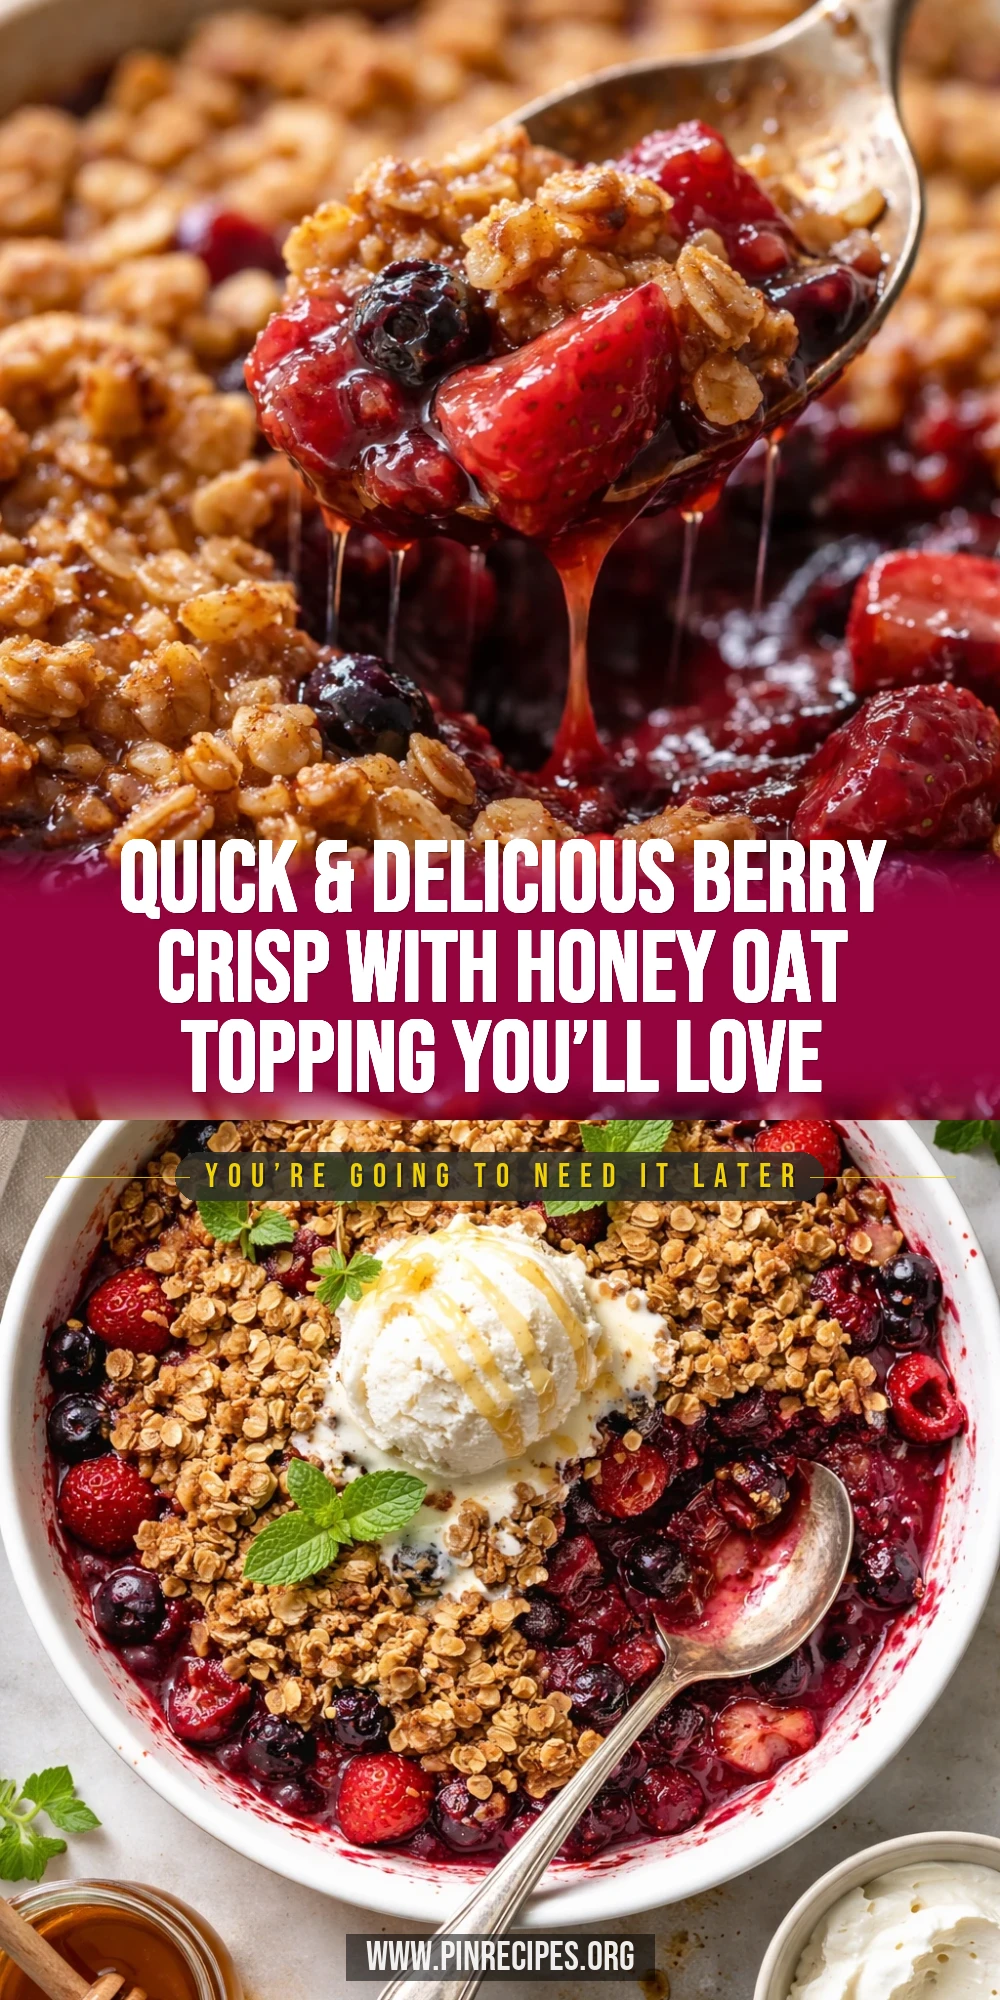
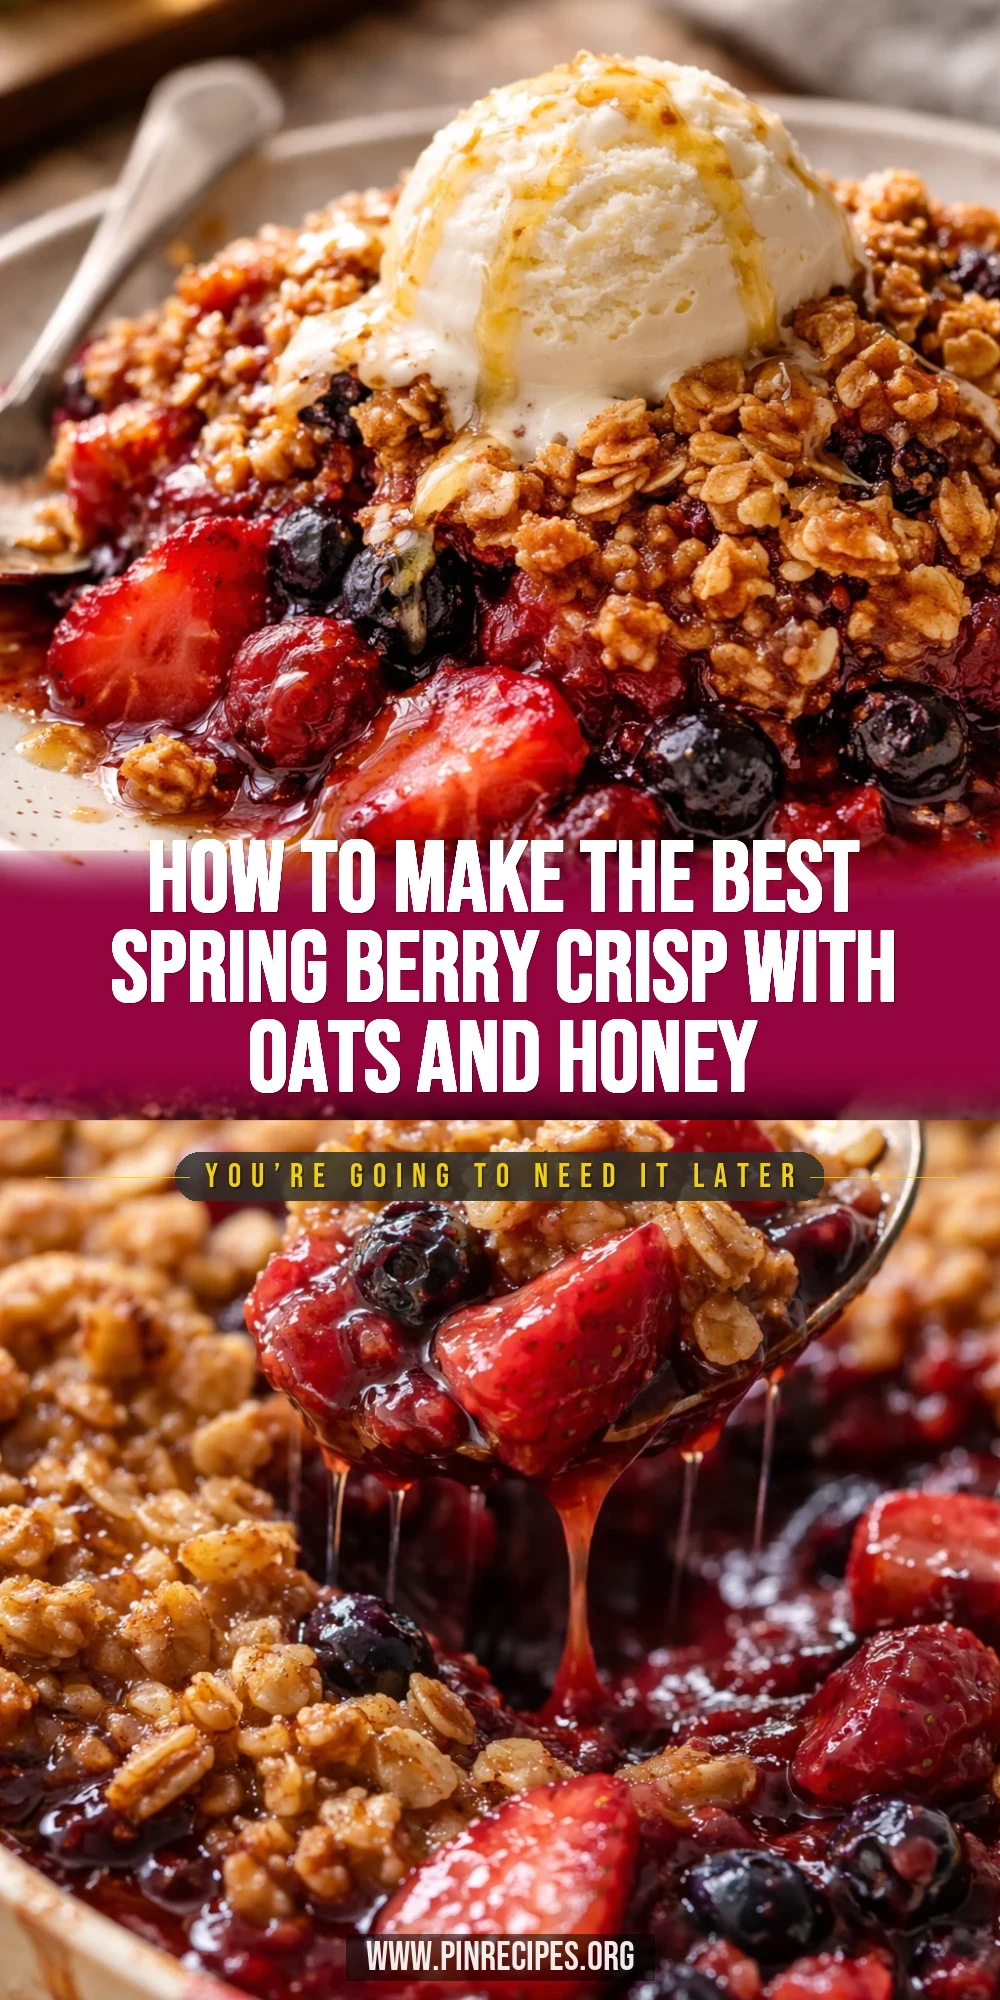
This spring berry crisp is a delightful mix of tart and sweet berries topped with a crunchy oat and honey crumble. It’s quick to make and perfect for casual weekend treats or dinner parties.
Introduction
I first made this spring berry crisp a few years ago when I had a basket of fresh berries from the farmers’ market and wanted something simple but special. What I love about this recipe is how it balances the bright, juicy berries with a crunchy oat topping that's lightly sweetened with honey instead of just sugar. It feels lighter and fresher, perfect for spring and early summer evenings. The trick I learned early on was to use cold butter cut into the oat mixture, which creates that perfect crumbly texture. Plus, adding a splash of lemon juice to the berries really wakes up their flavor without overpowering the natural sweetness. Every time I bake this, my family asks for seconds – it’s that good! The finished crisp is golden on top, bubbling with berry juices underneath, and just the right mix of sweet and tart. It’s a cozy, comforting dessert that doesn’t feel heavy or overdone. I think you’ll find it’s as easy to make as it is delicious to eat.
What You'll Need
Serves 6 generous portions
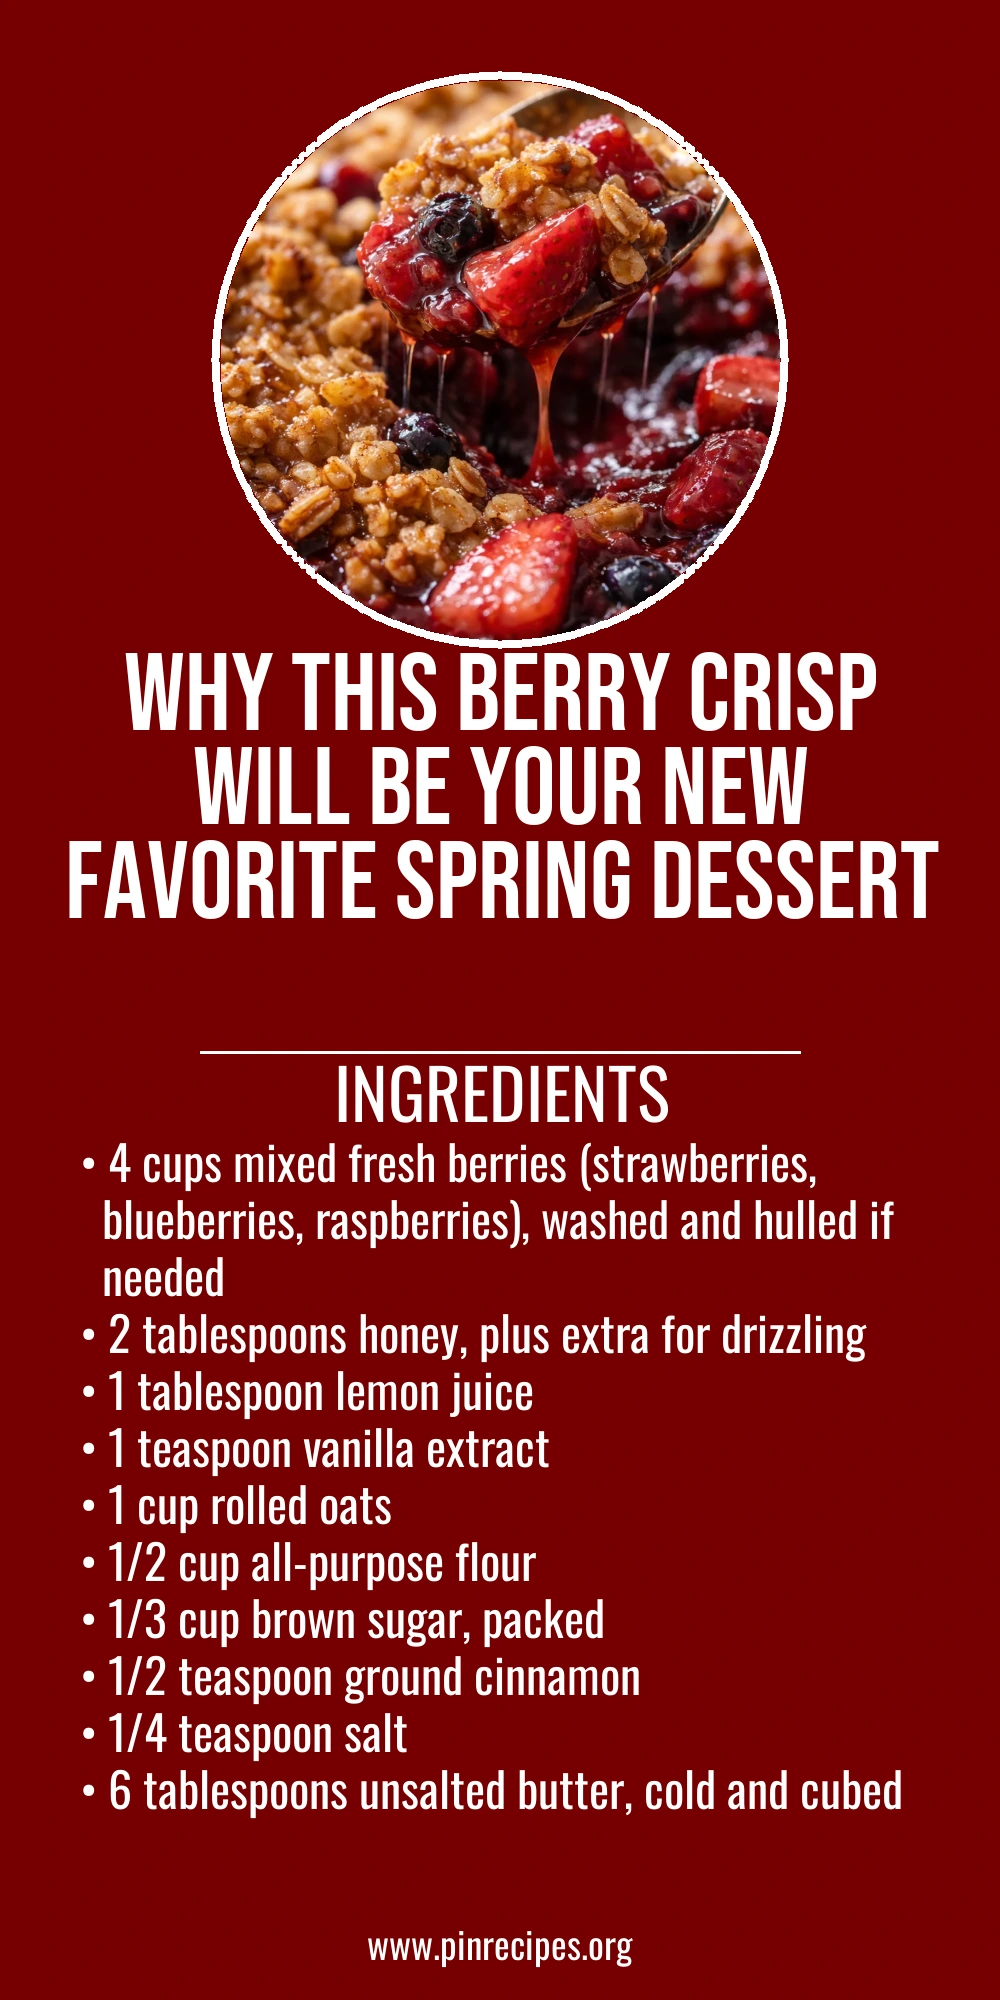
- 4 cups mixed fresh berries (strawberries, blueberries, raspberries), washed and hulled if needed
- 2 tablespoons honey, plus extra for drizzling
- 1 tablespoon lemon juice
- 1 teaspoon vanilla extract
- 1 cup rolled oats
- 1/2 cup all-purpose flour
- 1/3 cup brown sugar, packed
- 1/2 teaspoon ground cinnamon
- 1/4 teaspoon salt
- 6 tablespoons unsalted butter, cold and cubed
How To Do It
Step 1
Preheat your oven to 350°F (175°C). In a large bowl, combine the mixed fresh berries with 2 tablespoons of honey, lemon juice, and vanilla extract. Toss gently to coat the berries evenly without breaking them up. This step helps to macerate the berries slightly, releasing their juices and infusing them with a subtle sweetness and brightness that will deepen as they bake. Avoid stirring too roughly to keep the berries whole and visually appealing once baked.
⏱ Time: 10 minutes
✓ Doneness: Berries are evenly coated and slightly glossy with honey and lemon juice.
Step 2
In a separate bowl, mix the rolled oats, all-purpose flour, brown sugar, ground cinnamon, and salt. Add the cold, cubed butter to the oat mixture. Using your fingers or a pastry cutter, work the butter into the dry ingredients until the mixture resembles coarse crumbs with some pea-sized pieces. This technique ensures the topping bakes into a crispy, crumbly texture rather than a dense, cakey one. If the butter melts too quickly, the topping will lose its structure, so keep it cold and work quickly.
⏱ Time: 10 minutes
✓ Doneness: Mixture looks crumbly with visible small butter pieces.
Step 3
Spread the berry mixture evenly in a 9-inch baking dish. Distribute the oat topping evenly over the berries, making sure to cover the edges to prevent burning. The even layer of topping ensures balanced texture and flavor in every bite. Be careful not to press the topping down; it should remain loose to allow for crispiness.
⏱ Time: 5 minutes
✓ Doneness: Berries are fully covered with a loose, even oat topping.
Step 4
Place the baking dish on the middle rack of the preheated oven. Bake for about 30 minutes or until the topping is golden brown and the berry juices are bubbling around the edges. The bubbling juices indicate the fruit is cooked through and releasing its natural sweetness, while the golden topping signals the oats and butter have crisped perfectly.
⏱ Time: 30 minutes
✓ Doneness: Topping is golden and crisp; berry juices are bubbling.
Step 5
Remove the crisp from the oven and let it cool for at least 15 minutes before serving. This resting time allows the juices to thicken slightly, making it easier to serve without too much runniness. It also helps the topping firm up for a better texture contrast. If you serve it too hot, the fruit can be overly liquid and the topping less distinct.
⏱ Time: 15 minutes
✓ Doneness: Berry juices have thickened slightly; topping remains crisp.
Step 6
For an extra touch, drizzle a little more honey over the crisp just before serving. This adds a fresh floral sweetness that complements the tart berries and crunchy oats beautifully. It also gives the crisp a glossy finish that looks as good as it tastes.
⏱ Time: 2 minutes
✓ Doneness: Honey glistens over the crisp topping.
Step 7
Serve the berry crisp warm, optionally with vanilla ice cream or whipped cream. The contrast between the warm, fruity crisp and cold ice cream is a classic combination that elevates the dessert to something special. If you prefer it plain, the crisp stands well on its own with its natural flavors shining through.
⏱ Time: 5 minutes
✓ Doneness: Crisp is warm and ready to enjoy.
Step 8
If you have leftovers, cover the crisp tightly with foil or plastic wrap and refrigerate. Reheat gently in the oven to restore crispiness before serving again. Avoid microwaving as it can make the topping soggy. Proper reheating keeps the texture and flavor close to freshly baked.
⏱ Time: Varies
✓ Doneness: Topping is crisp and berries are warm after reheating.
Step 9
Clean your workspace and utensils promptly after baking to prevent the sticky berry juices from hardening and becoming difficult to remove. Warm soapy water works best for cleaning oat and sugar residues. Keeping your kitchen tidy makes the whole baking experience more enjoyable and efficient.
⏱ Time: 5 minutes
✓ Doneness: Clean surfaces and utensils, no sticky residue.
Pro Tips
Use cold butter for the topping.
Cold butter creates small pockets of fat that melt during baking, resulting in a crisp, flaky texture. If the butter warms up too much, the topping will become dense and greasy rather than crumbly.
Toss berries gently with lemon juice and honey before baking.
This macerates the berries slightly, releasing natural juices and enhancing flavor without making the fruit mushy. The acidity from lemon also helps thicken the juices during baking.
Don’t press down the oat topping.
Keeping the topping loose allows air to circulate and helps it crisp up nicely. Pressing it down compacts the mixture, leading to a denser, less crunchy topping.
Let the crisp rest before serving.
Resting thickens the berry juices, making the dessert easier to serve and improving texture. Serving too hot can cause the topping to lose its crispness and the filling to be overly runny.
Use a mix of berries for balanced flavor.
Different berries bring varying levels of sweetness and tartness, creating a more complex and satisfying taste. Using only one type can make the dessert too sweet or too tart.
Use a moderate oven temperature (350°F).
This temperature allows the topping to brown slowly and the berries to cook evenly without burning the oats or drying out the fruit.
Add a drizzle of honey just before serving.
This adds a fresh, floral sweetness and a beautiful glossy finish that makes the crisp even more appealing and flavorful.
Common Mistakes to Avoid
Using warm butter in the topping
Why it happens Many assume melted butter is easier to mix, but warm butter causes the topping to clump and lose its crumbly texture.
Fix Chill the butter in the fridge before cutting it into the dry ingredients. Work quickly and use a pastry cutter or fingers to maintain small pieces for a crisp topping.
Overmixing the berries
Why it happens It’s tempting to stir vigorously to coat the fruit evenly, but this breaks down the berries and results in a mushy filling.
Fix Gently toss the berries with the honey and lemon juice just until coated to keep them intact and visually appealing.
Skipping the resting time after baking
Why it happens Impatience to serve can lead to cutting into the crisp immediately, causing the juices to run and the topping to lose crunch.
Fix Allow the crisp to cool and rest for at least 15 minutes to let juices thicken and topping firm up.
Using frozen berries without draining
Why it happens Frozen berries release extra water when thawing, which can make the crisp watery and soggy.
Fix Thaw frozen berries fully and drain excess liquid before mixing with other ingredients.
Pressing down the oat topping
Why it happens Pressing compacts the topping and prevents it from crisping properly during baking.
Fix Sprinkle the topping loosely over the berries without pressing it down.
Variations
Nutty Almond Berry Crisp
Add 1/2 cup sliced almonds to the oat topping for extra crunch and a toasty flavor. You can also sprinkle some almond extract into the berry mixture for a subtle nutty aroma. This variation adds texture and a lovely depth to the crisp.
Note: Almonds toast quickly, so keep an eye on the topping to avoid burning. Baking time remains the same.
Gluten-Free Berry Crisp
Swap the all-purpose flour with a gluten-free flour blend and use gluten-free oats to make this crisp suitable for gluten-sensitive eaters. The texture will be just as delicious and the berries shine through beautifully.
Note: Gluten-free flours sometimes absorb more liquid, so monitor the berry mixture and adjust honey or lemon juice slightly if needed.
Spiced Berry Crisp
Add 1/2 teaspoon ground ginger and a pinch of nutmeg to the oat topping for a warm, spicy twist. This variation is great for cooler spring evenings and pairs wonderfully with vanilla ice cream.
Note: Spices should be mixed thoroughly into the dry ingredients to ensure even flavor distribution.
Coconut Oat Berry Crisp
Mix 1/3 cup shredded unsweetened coconut into the oat topping for a tropical flair. The coconut adds chewiness and a subtle sweetness that complements the berries nicely.
Note: Watch the topping as coconut can brown faster; reduce oven temperature by 10°F if needed.
Maple Honey Berry Crisp
Replace the brown sugar with pure maple syrup and use maple-flavored honey to deepen the sweetness and add complexity. This variation offers a richer, autumnal flavor while keeping the crisp light.
Note: Because maple syrup is liquid, reduce the honey slightly to maintain topping texture.
Nutrition
Per Serving:
Nutritional values are estimates and may vary based on specific ingredients used.
Storage & Tips
Room Temperature
The crisp can safely sit at room temperature for up to 2 hours if covered loosely with foil or a clean kitchen towel. Beyond that, the risk of bacterial growth increases, so it’s best to refrigerate.
Refrigerator
Store leftovers in an airtight container in the fridge for up to 4 days. The topping may soften slightly but reheating in the oven can restore some crispness. The flavor remains delicious chilled as well.
Freezer
Freeze the berry crisp in a tightly wrapped container or foil for up to 2 months. To prevent freezer burn, wrap it twice with plastic wrap then foil. Thaw overnight in the fridge before reheating.
Reheating
Reheat in a 350°F oven for 10-15 minutes uncovered to crisp up the topping again. Avoid microwaving as it tends to make the topping soggy. Add a splash of water or lemon juice if the filling seems dry.
Make Ahead
Prepare the berry mixture and oat topping separately up to 2 days ahead. Store the berry mix in the fridge and the topping in an airtight container at room temperature. Assemble and bake just before serving for maximum freshness.
FAQ
Can I use frozen berries instead of fresh?
Yes, you can use frozen berries, but be sure to thaw them fully and drain off excess liquid before mixing. Frozen berries release more juice when baking, which can make the crisp soggy if not drained properly.
What can I substitute for honey in the topping?
Maple syrup or agave nectar are good substitutes for honey and will provide similar sweetness and moisture. Keep in mind that liquid substitutes may slightly change the texture, so you might want to reduce other liquids in the recipe slightly.
How do I keep the oat topping crunchy after baking?
Avoid pressing the topping down before baking and don’t cover the crisp tightly while it’s still warm. Let it cool uncovered to maintain crispness. Reheat in the oven if the topping softens after storage.
Can I make this recipe vegan?
Yes! Replace the butter with a vegan butter substitute or coconut oil. Use maple syrup instead of honey for sweetness. These swaps keep the texture and flavor close to the original.
Why is my berry crisp watery after baking?
Watery crisp often results from using very juicy or frozen berries without draining, or not enough thickening agents like lemon juice or flour. Tossing berries gently and letting the crisp rest after baking helps thicken the juices.
Can I prepare this dessert ahead of time?
You can prepare the berry mixture and topping separately up to 2 days in advance. Keep berries refrigerated and topping in an airtight container at room temperature. Assemble and bake just before serving for best results.
What’s the best way to serve this crisp?
Serve warm with a scoop of vanilla ice cream or a dollop of whipped cream. The contrast between warm fruit and cold cream enhances the dessert’s flavors and textures beautifully.
How do I store leftovers?
Store leftovers in an airtight container in the fridge for up to 4 days. Reheat in the oven to restore crispness or enjoy cold if preferred.
Final Thoughts
I hope you enjoy making and sharing this easy spring berry crisp as much as I do. Don’t forget to let me know how it turns out and what variations you try!