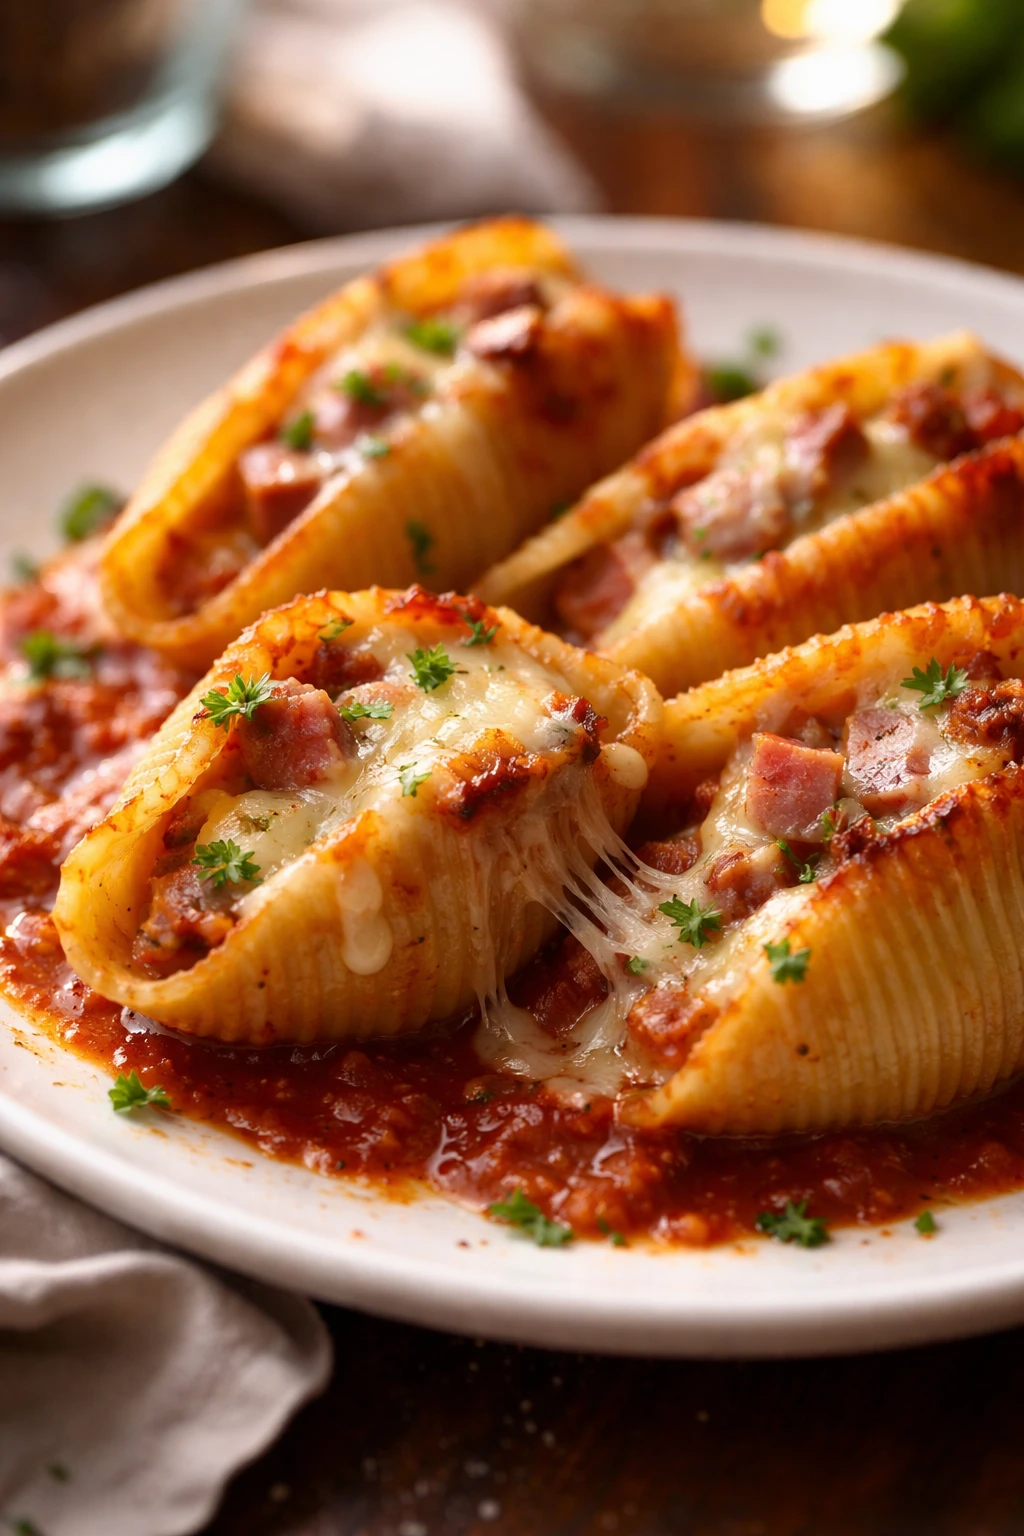
These quick Easter sweets are a lifesaver for busy parents. Using simple ingredients and no-fuss techniques, they’re perfect for last-minute holiday treats that still feel special and homemade.
Introduction
I remember the first time I tried to make Easter sweets while juggling toddler tantrums and last-minute errands—total chaos! That’s when I realized I needed something super simple but still festive and tasty. This recipe is my go-to for those hectic holiday mornings when I want to bake with love but don’t have hours to spare. What makes these sweets special is how easily the dough comes together with just a few ingredients and the little pop of pastel sprinkles that instantly says 'Easter.' Plus, I’ve found that chilling the dough briefly before baking helps keep the cookies soft and tender, which is a game changer. The finished cookies are buttery, lightly sweet, and perfect for sharing with little hands or packing in Easter baskets. Honestly, they taste way more complicated than they are, which is exactly what busy parents need. I’ve tweaked this recipe over a few years, learning from batch failures and successes alike, and now it’s a reliable crowd-pleaser that I’m excited to share with you.
What You'll Need
Approximately 16 small cookies, 8 servings
- 1 cup all-purpose flour, sifted
- 1/2 cup powdered sugar
- 1/2 cup unsalted butter, softened
- 1 teaspoon vanilla extract
- 1/4 teaspoon salt
- 1/2 cup mini chocolate chips
- 1/4 cup pastel-colored sprinkles
- 2 tablespoons milk
How To Do It
Step 1
Start by creaming the softened butter and powdered sugar together in a large bowl using a hand mixer or stand mixer. This step is crucial because it incorporates air into the mixture, giving your cookies a light, tender texture. Mix on medium speed until the mixture is pale and fluffy, about 3-4 minutes. Avoid rushing this step or mixing at too high speed, which can cause the butter to separate and affect the cookie’s texture.
⏱ Time: 5 minutes
✓ Doneness: Mixture should look smooth, pale, and slightly fluffy.
Step 2
Add the vanilla extract and salt to the creamed butter mixture, then gradually mix in the sifted flour. It’s important to add the flour slowly to avoid a dense dough. Mix just until combined — overmixing can develop gluten and make the cookies tough. The dough will be slightly crumbly but should hold together when pressed.
⏱ Time: 3 minutes
✓ Doneness: Dough holds together when pinched but isn’t sticky.
Step 3
Fold in the mini chocolate chips and pastel-colored sprinkles gently with a spatula. This adds festive color and little bursts of sweetness. Be careful not to overmix here, as you want the chips and sprinkles evenly distributed without breaking them down.
⏱ Time: 2 minutes
✓ Doneness: Chips and sprinkles are evenly scattered throughout the dough.
Step 4
Add the milk tablespoon by tablespoon and mix gently until the dough comes together into a soft ball. The milk helps hydrate the dough just enough to make it pliable without being sticky. If the dough feels too dry, add a tiny bit more milk, but be cautious — too much liquid will spread the cookies too thin during baking.
⏱ Time: 2 minutes
✓ Doneness: Dough forms a cohesive, soft ball.
Step 5
Wrap the dough in plastic wrap and chill it in the refrigerator for at least 15 minutes. This resting period firms up the butter, preventing the cookies from spreading too much while baking. It also helps develop the flavors. Skipping this step might result in flat, greasy cookies.
⏱ Time: 15 minutes
✓ Doneness: Dough is firm and cool to the touch.
Step 6
Preheat your oven to 350°F (175°C) and line a baking sheet with parchment paper. Using a small cookie scoop or spoon, portion out dough balls about 1 inch in diameter, spacing them 2 inches apart to allow room for spreading.
⏱ Time: 5 minutes
✓ Doneness: Dough balls are uniform and spaced evenly on the tray.
Step 7
Bake the cookies for 12-15 minutes or until the edges are just starting to turn golden. Keep an eye on them—overbaking will dry them out. The centers should still look slightly soft; they’ll firm up as they cool.
⏱ Time: 12-15 minutes
✓ Doneness: Edges are lightly golden, centers look set but soft.
Step 8
Remove the cookies from the oven and let them cool on the baking sheet for 5 minutes before transferring to a wire rack. This helps them set and prevents breakage. Cooling on the sheet also lets residual heat finish baking the cookies gently.
⏱ Time: 5 minutes
✓ Doneness: Cookies are firm enough to lift without breaking.
Step 9
Once fully cooled, store the cookies in an airtight container at room temperature. They’ll stay fresh and soft for several days, making them perfect for preparing ahead of Easter celebrations.
⏱ Time: N/A
✓ Doneness: Cookies are completely cooled and stored properly.
Pro Tips
Always sift your flour before measuring.
Sifting aerates the flour and removes lumps, ensuring a lighter dough and more accurate measurement. This prevents dense cookies and helps achieve a tender crumb.
Chill the dough for at least 15 minutes before baking.
Chilling solidifies the butter, which controls spreading and results in thicker, softer cookies. Skipping this step often leads to flat, greasy cookies.
Use room temperature butter for creaming.
Softened butter traps air better when creamed with sugar, creating a fluffy base. Cold butter won’t mix evenly; melted butter will cause greasy, flat cookies.
Don’t overmix once the flour is added.
Overmixing develops gluten, making cookies tough instead of soft. Mix just until the flour disappears for the best texture.
Line your baking sheet with parchment paper.
Parchment prevents sticking and promotes even baking. It also makes cleanup easier and helps cookies bake evenly without burning the bottoms.
Use a small cookie scoop for even sizing.
Uniform cookies bake evenly and look professional. Uneven sizes cause some cookies to overbake while others remain underdone.
Let cookies cool on the baking sheet for a few minutes.
This resting time allows residual heat to finish baking gently, preventing cracks and making cookies easier to transfer without breaking.
Common Mistakes to Avoid
Using melted butter instead of softened butter
Why it happens Some think melted butter speeds up mixing or makes dough easier, but it changes texture.
Fix Always use butter softened to room temperature. If butter is too warm or melted, chill it briefly before creaming to trap air properly.
Overmixing dough after adding flour
Why it happens Eager to combine ingredients quickly, cooks often mix too long.
Fix Mix just until flour disappears. Stop as soon as the dough comes together to keep cookies tender.
Skipping chilling the dough
Why it happens Impatience or thinking it’s unnecessary.
Fix Chill dough at least 15 minutes to prevent spreading and improve texture. If short on time, freeze for 10 minutes.
Baking at too high a temperature
Why it happens Assuming hotter oven means faster baking.
Fix Bake at 350°F (175°C) for even cooking. Higher temps brown edges too fast and dry out centers.
Not spacing cookies properly on the baking sheet
Why it happens Trying to fit too many cookies to save time.
Fix Leave 2 inches between cookies to allow spreading without merging.
Variations
Gluten-Free Version
Swap all-purpose flour with a gluten-free blend that includes xanthan gum. The cookies will be slightly more crumbly but still delicious and festive. Perfect for guests with gluten sensitivities.
Note: Gluten-free dough may need slightly less milk; add cautiously to avoid a dry or crumbly texture.
Lemon Zest Twist
Add 1 tablespoon of fresh lemon zest to the dough for a bright, citrusy flavor that complements the sweetness. This gives the cookies a fresh spring vibe perfect for Easter brunch.
Note: Zest should be finely grated to distribute evenly without clumps.
Nutty Crunch
Fold in 1/3 cup chopped toasted pecans or almonds for extra texture and a nutty flavor. This adds a lovely crunch and makes the cookies more substantial.
Note: Toast nuts lightly beforehand to enhance flavor and avoid sogginess.
Chocolate-Dipped
After baking and cooling, dip half of each cookie in melted dark or white chocolate. Let them set on parchment for a pretty, festive finish that’s irresistible.
Note: Use tempered chocolate or add a little coconut oil for smooth dipping and shiny finish.
Vegan Adaptation
Replace butter with vegan margarine or coconut oil and use plant-based milk. Use a flax egg (1 tbsp flaxseed meal + 3 tbsp water) instead of traditional egg if needed. These cookies stay soft and delicious without dairy.
Note: Chilling vegan dough is especially important to keep the shape and texture.
Nutrition
Per Serving:
Nutritional values are estimates and may vary based on specific ingredients used.
Storage & Tips
Room Temperature
Store cookies in an airtight container at room temperature for up to 3 days. Keep them away from direct sunlight or heat to prevent melting sprinkles or chocolate chips.
Refrigerator
Cookies can be refrigerated for up to 5 days in an airtight container. They may firm up slightly; bring to room temperature before serving for best texture.
Freezer
Freeze cookies in a sealed container or freezer bag for up to 2 months. Separate layers with parchment paper to prevent sticking. Thaw at room temperature for 1-2 hours before eating.
Reheating
Warm cookies gently in a 300°F oven for 5 minutes or microwave for 10-15 seconds to refresh softness. Avoid overheating, which dries them out.
Make Ahead
Prepare the dough 1-2 days ahead and keep wrapped in the fridge. Shape and bake on the day you want fresh cookies for best results.
FAQ
Can I use granulated sugar instead of powdered sugar?
You can, but powdered sugar helps create a smoother, more tender cookie texture because it dissolves faster. Using granulated sugar might make the cookies a bit grainier and less soft.
What if I don’t have mini chocolate chips?
Regular-sized chocolate chips work but may make the cookies less uniform in texture. You can also chop a chocolate bar into small pieces as a substitute.
How do I keep sprinkles from bleeding color?
If you want to decorate after baking, wait until cookies cool completely before adding sprinkles with a light glaze or melted chocolate.
Can I make these cookies dairy-free?
Chilling the dough well is even more important with dairy-free fats to maintain shape.
How long do these cookies keep fresh?
Freezing is best for longer storage and preserves flavor and texture well.
What’s the best way to measure flour for this recipe?
Spoon the flour into your measuring cup and level it off with a knife instead of scooping directly. This prevents packing and ensures you don’t add too much flour, which can dry out cookies.
Can I add other flavors like almond or orange?
Fresh citrus zest also pairs wonderfully with this dough.
Why do my cookies spread too much?
Also, check your oven temperature with a thermometer to ensure accuracy.
Final Thoughts
Give these effortless Easter sweets a try and enjoy a little homemade magic without the stress. I’d love to hear how they turn out for you!