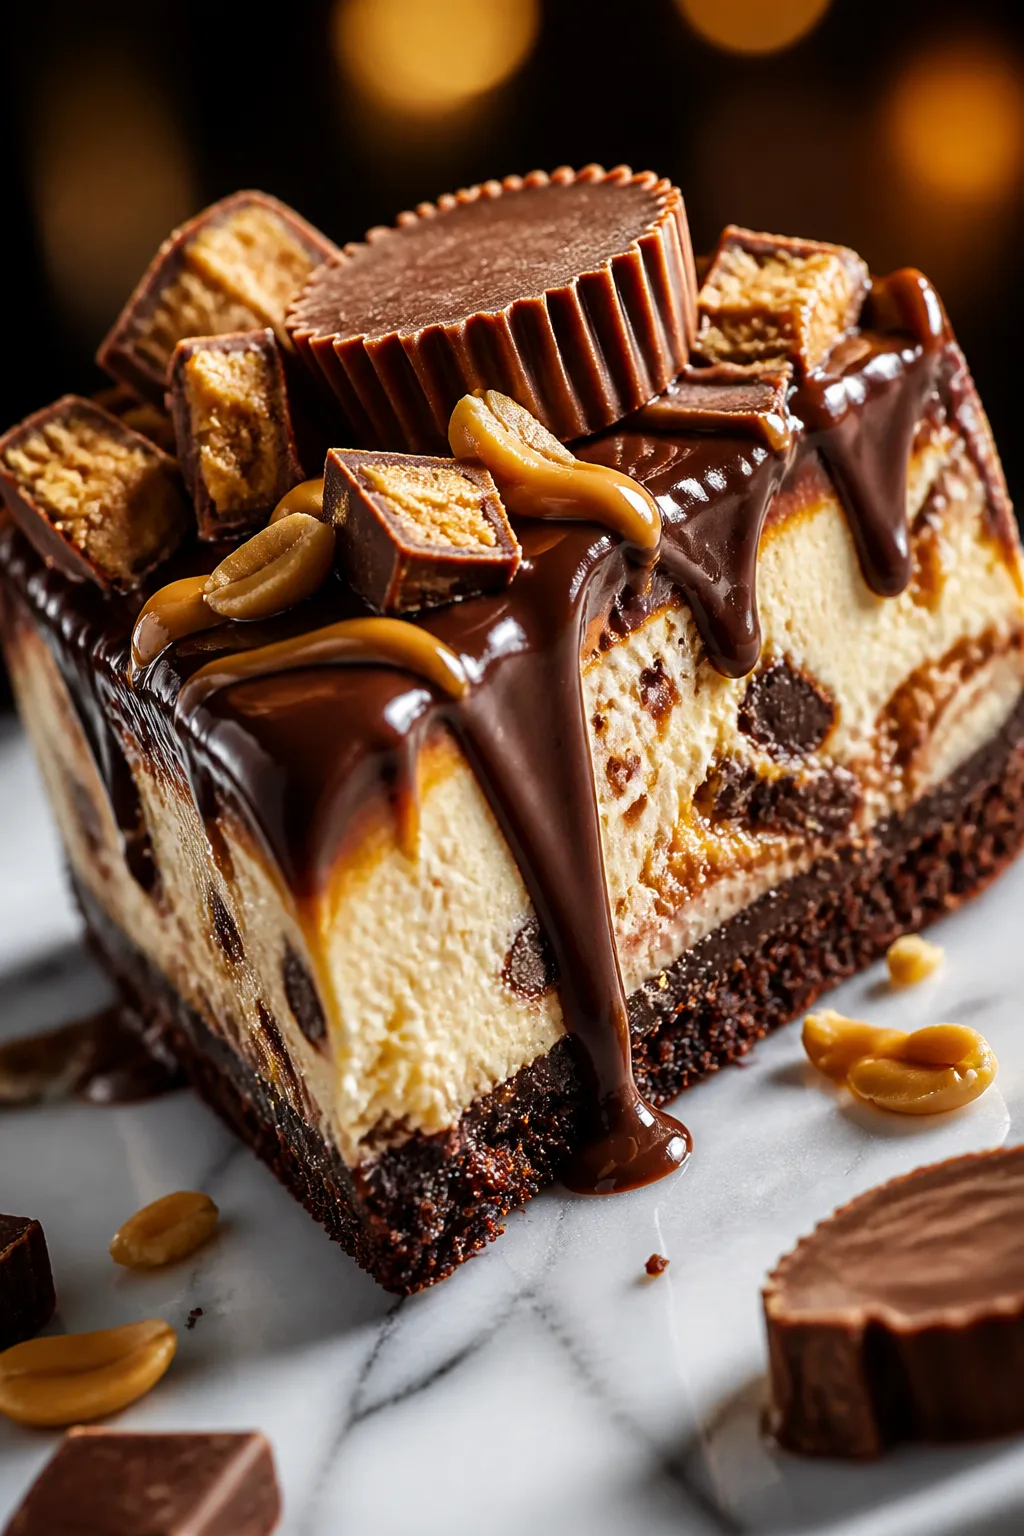
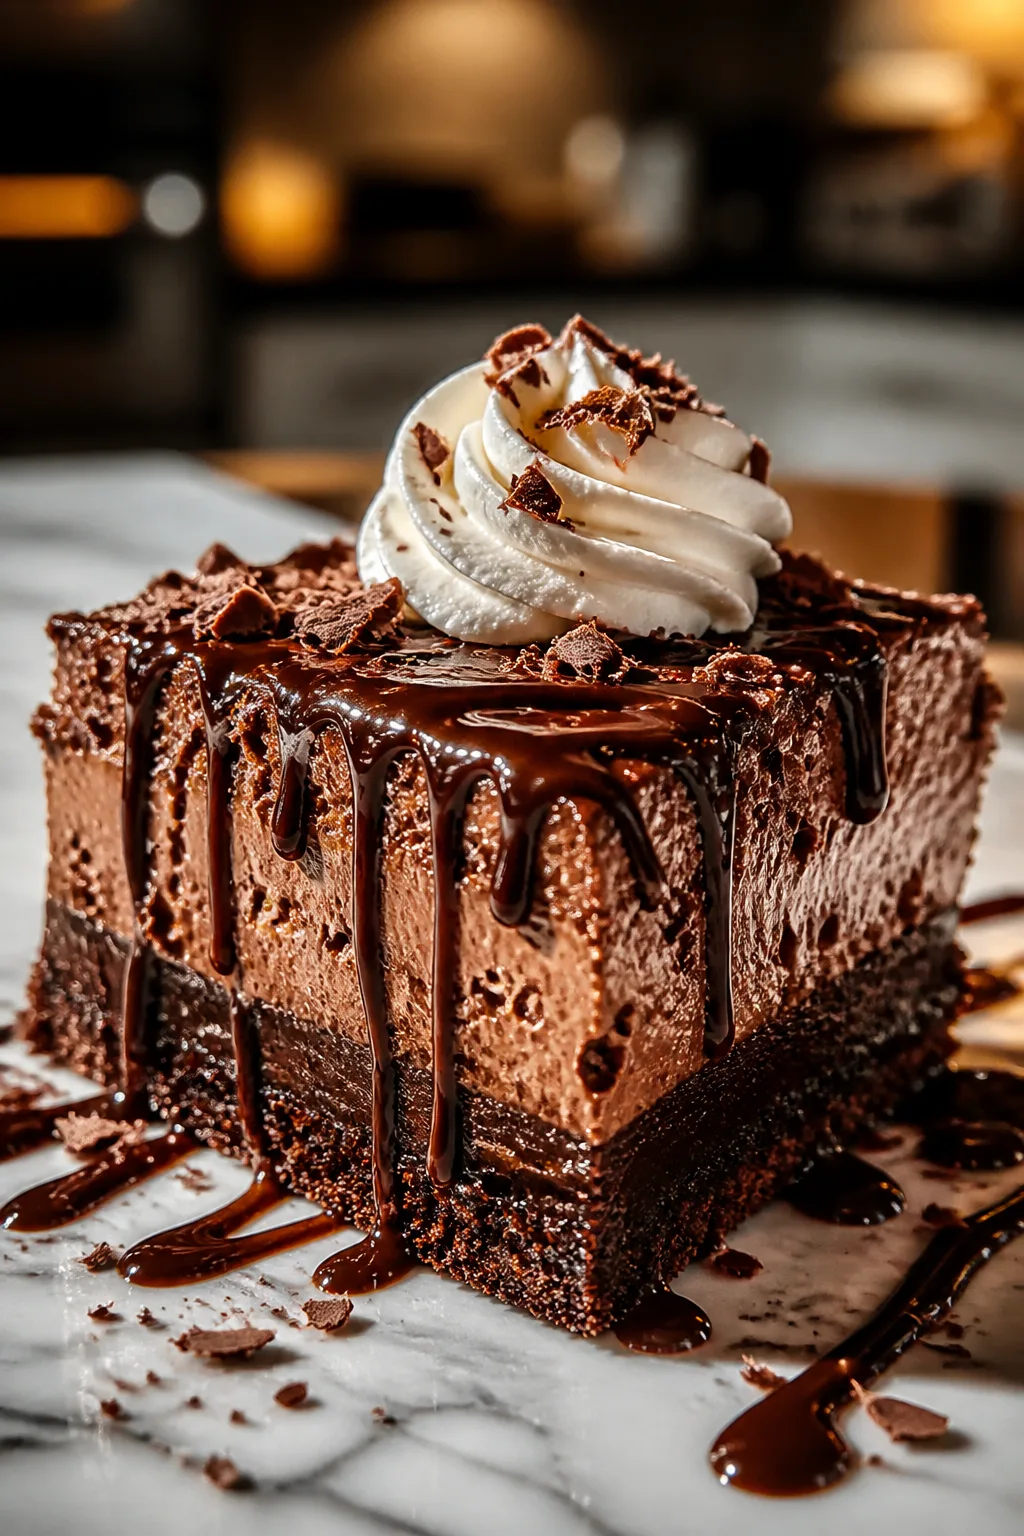
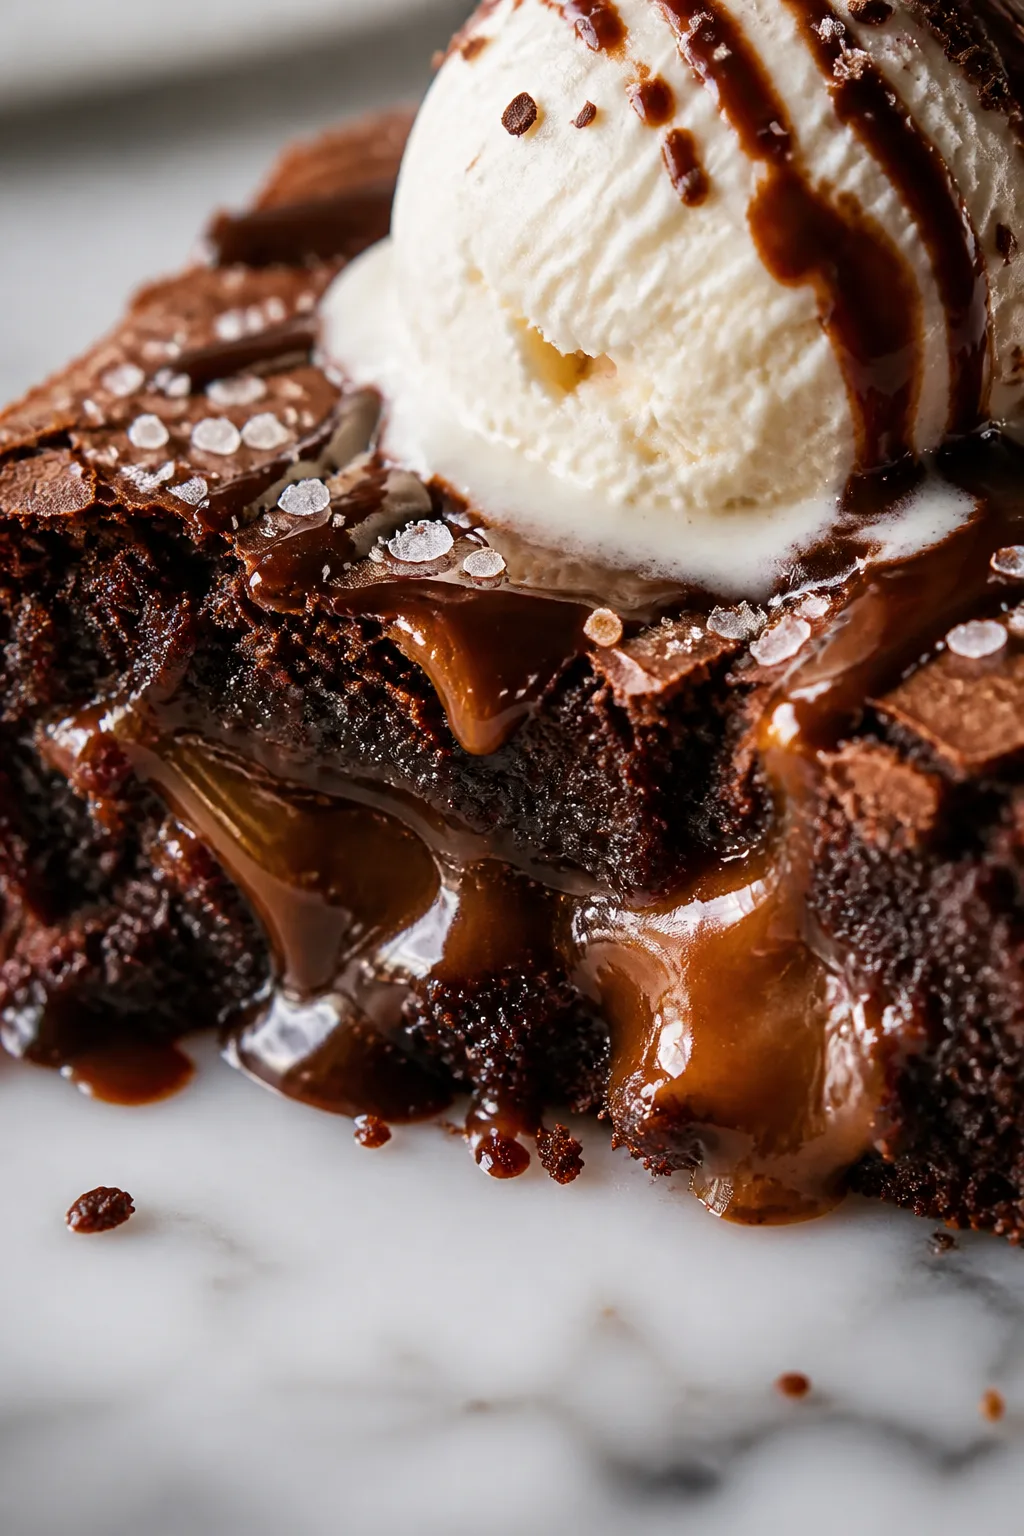
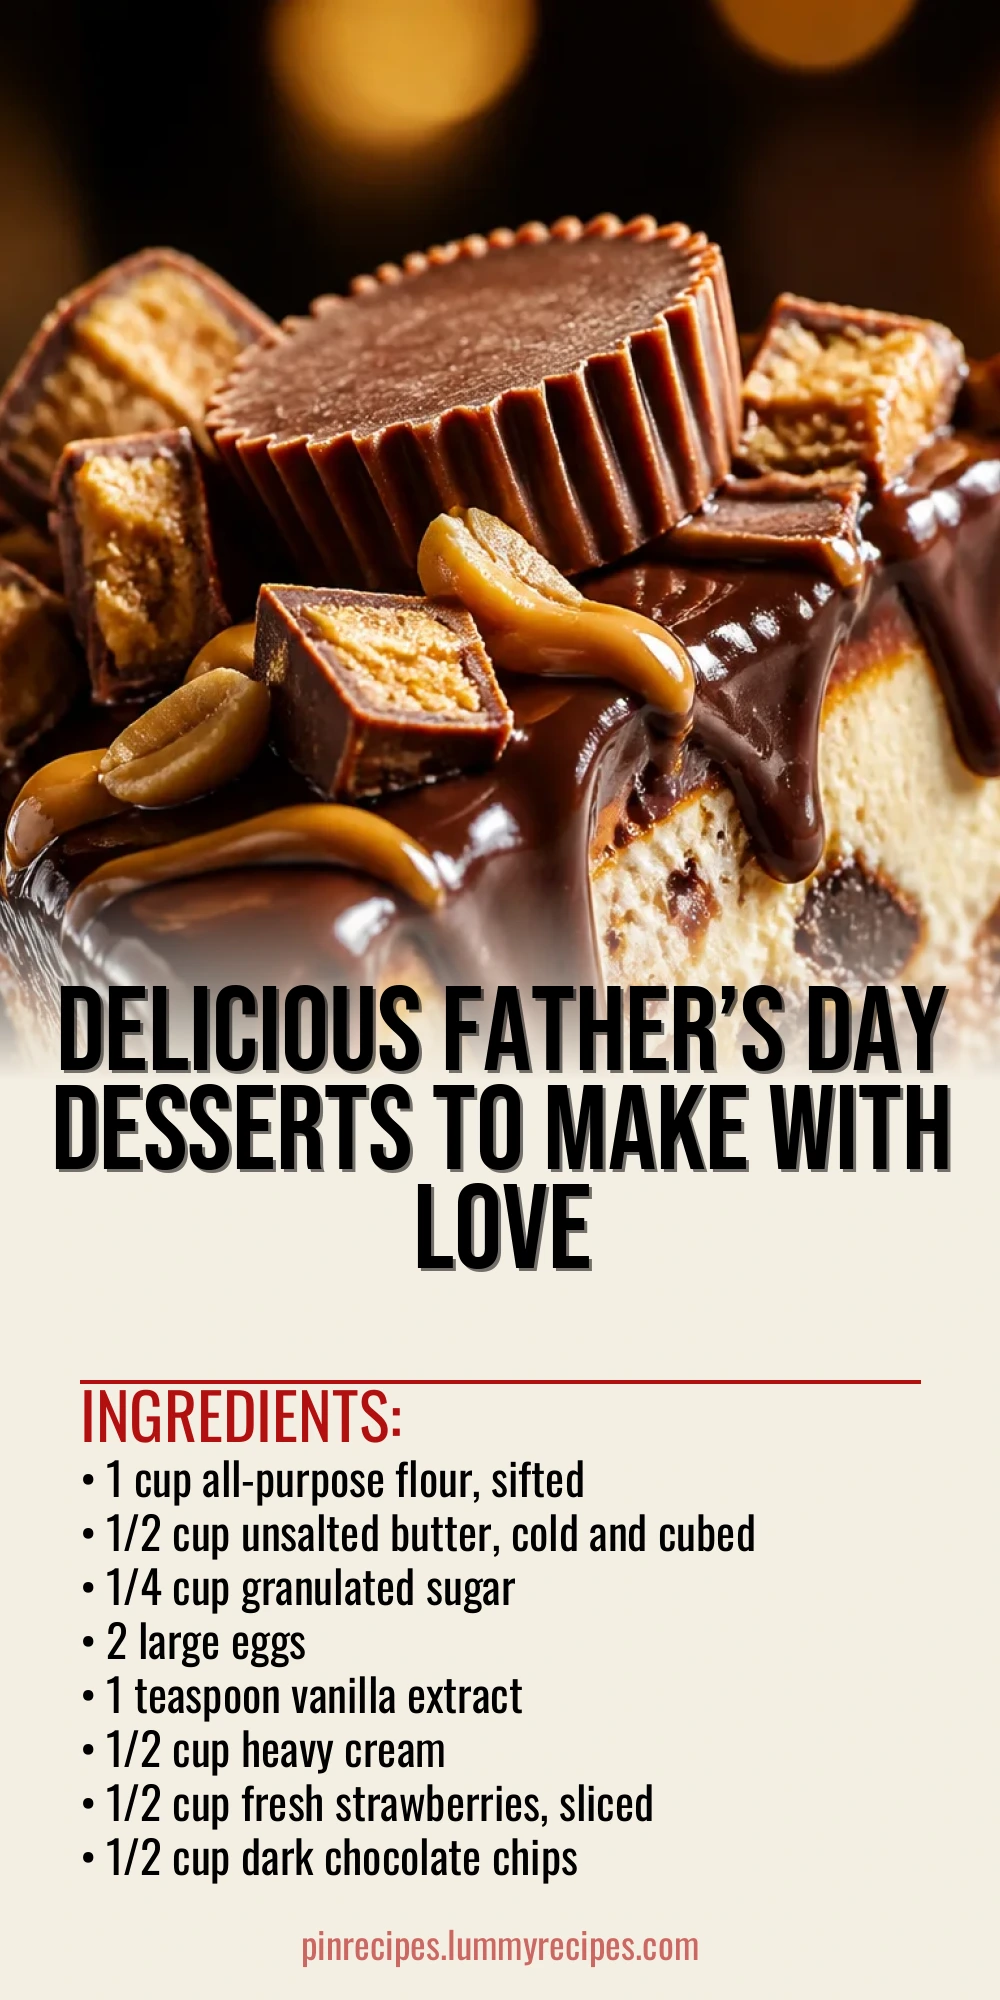
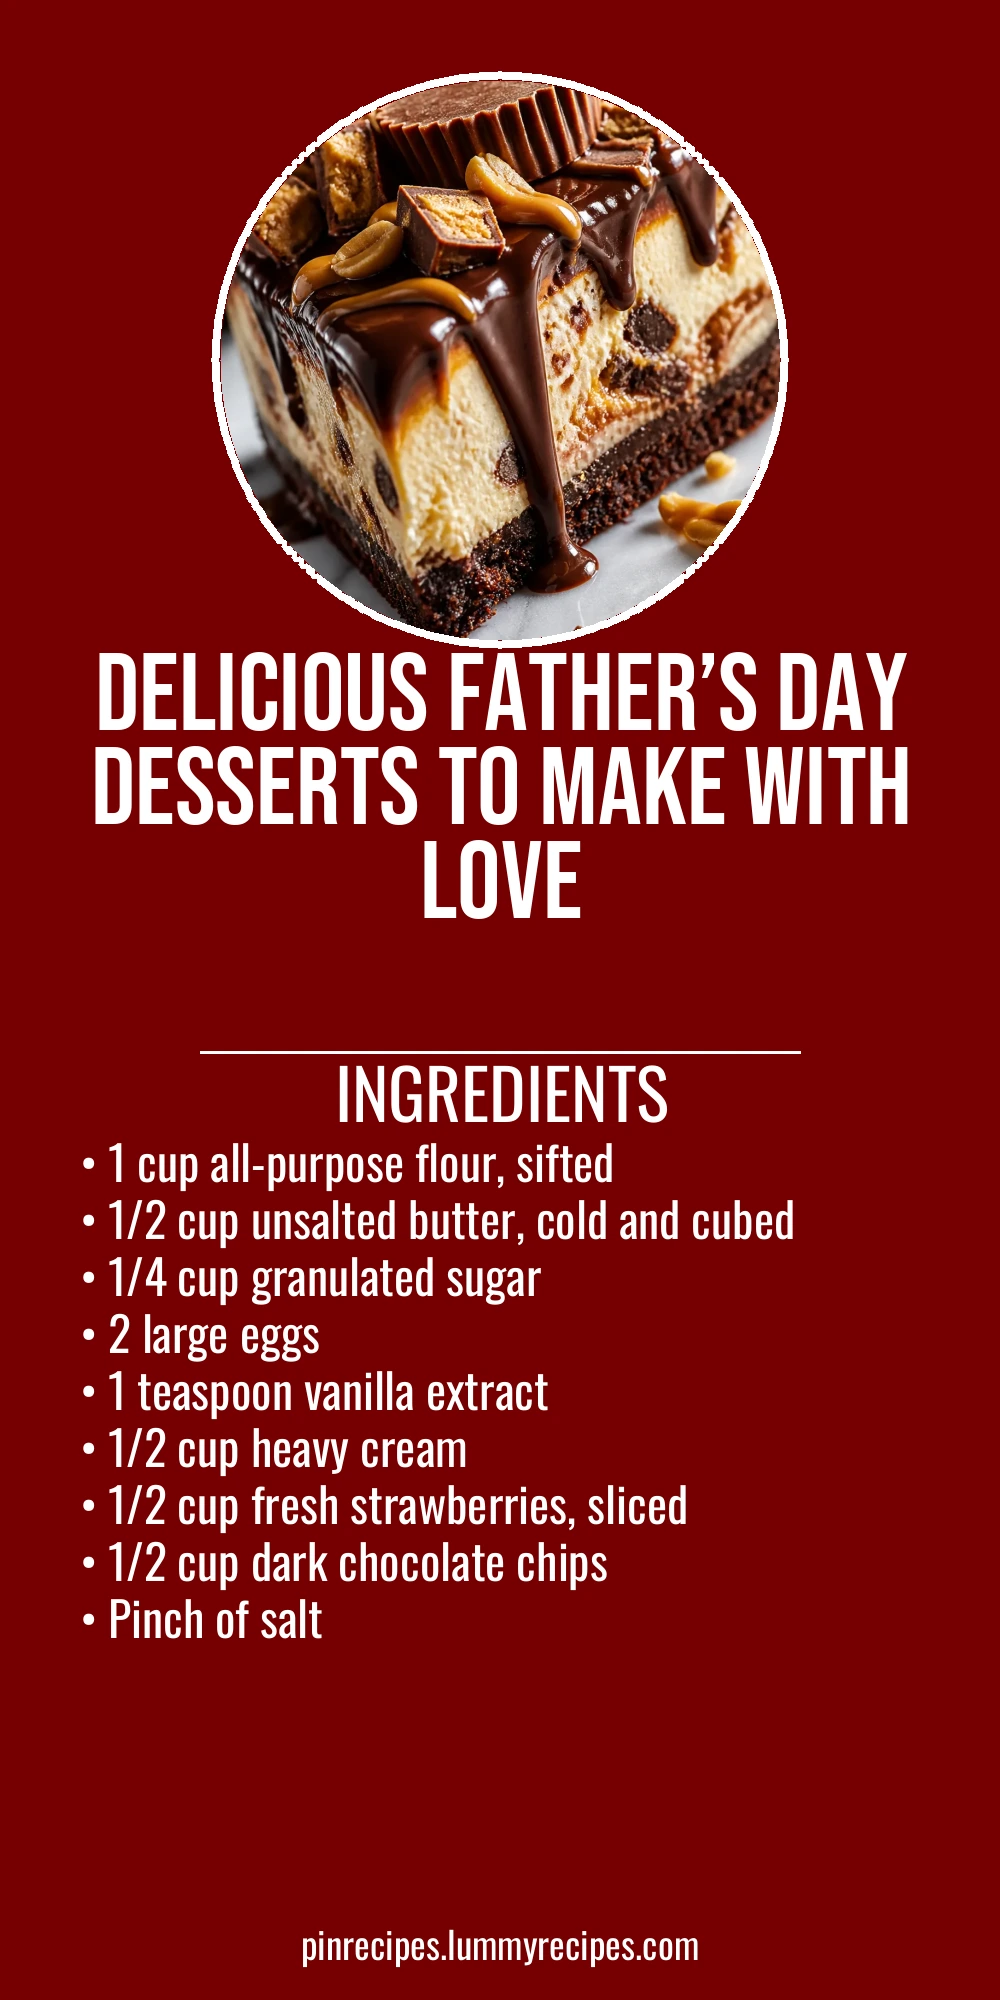
Looking for easy, crowd-pleasing desserts to celebrate Dad? These treats blend classic flavors with a homemade touch—think rich chocolate, fresh berries, and buttery crusts. Perfect for a relaxed Father’s Day at home!
Introduction
Father’s Day has always been a special time in my family, and desserts play a big role in our celebrations. I remember the first time I tried making a sweet treat for my dad—it was a simple chocolate tart, and though it wasn’t perfect, he loved it because it was homemade. Over the years, I’ve tweaked and tested recipes to find ones that are both easy and delicious, so you don’t have to stress in the kitchen. What makes these desserts stand out is the balance of classic flavors with straightforward techniques. For example, using cold butter in the crust gives it that perfect flaky texture, something I learned after a few crumbly failures! The end result is a dessert that looks inviting and tastes like it took hours, but really comes together quickly. These treats are great for a relaxed Father’s Day at home, whether you’re serving a small family or a bigger crowd. Plus, they’re flexible—you can swap berries or chocolate to suit your dad’s favorites. I hope these ideas inspire you to make something sweet that your dad will remember.
How To Do It
Step 1
Start by making the crust. Combine the sifted flour, sugar, and a pinch of salt in a mixing bowl. Add the cold, cubed butter and use your fingertips or a pastry cutter to work it into the flour until the mixture resembles coarse crumbs. This step is crucial because keeping the butter cold helps create a flaky crust. Don’t overwork the dough or it will become tough. Once it looks right, add one beaten egg and vanilla extract, then gently mix until the dough just comes together. Wrap it in plastic wrap and chill in the fridge for at least 30 minutes to firm up.
⏱ Time: 15 minutes
✓ Doneness: Dough forms a cohesive ball but is not sticky or overmixed
Step 2
Preheat your oven to 350°F (175°C). Roll out the chilled dough on a lightly floured surface to fit your tart pan. Press the dough evenly into the pan and trim any excess edges. Prick the bottom with a fork to prevent bubbling. Bake the crust for about 15-20 minutes until golden brown. This blind baking step ensures the crust is crisp and fully cooked before adding the filling. Watch closely near the end to avoid burning, especially around the edges.
⏱ Time: 20 minutes
✓ Doneness: Crust is golden and firm to the touch
Step 3
While the crust bakes, prepare the filling. In a small saucepan, gently heat the heavy cream until it just starts to simmer—don’t let it boil. Remove from heat and stir in the dark chocolate chips. Let sit for a minute, then whisk until smooth and glossy. This technique melts the chocolate perfectly without seizing. Pour the chocolate mixture into the cooled crust, spreading evenly.
⏱ Time: 10 minutes
✓ Doneness: Chocolate filling is smooth and shiny
Step 4
Arrange the sliced strawberries on top of the chocolate filling. You can get creative with the pattern or just scatter them casually. The fresh berries add a bright contrast to the rich chocolate and a fresh flavor that balances the dessert. Chill the tart in the fridge for at least an hour to set before serving. This resting time lets the filling firm up nicely.
⏱ Time: 60 minutes
✓ Doneness: Filling is firm and berries look fresh
Step 5
For a quick whipped cream topping, beat the remaining egg white until soft peaks form, then gradually add a tablespoon of sugar and continue beating until stiff peaks form. Spoon or pipe over the tart just before serving. This adds a light and airy texture that complements the dense chocolate and crisp crust. Don’t make this too far ahead or it might weep.
⏱ Time: 5 minutes
✓ Doneness: Whipped cream holds shape and looks fluffy
Step 6
Slice the tart with a sharp knife dipped in hot water for clean cuts. Serve chilled or at room temperature. The combination of the buttery crust, silky chocolate, and fresh strawberries is a guaranteed crowd-pleaser. If you want to add a little extra, a sprinkle of sea salt or a drizzle of caramel can be delightful.
⏱ Time: 5 minutes
✓ Doneness: Slices hold together without crumbling
Step 7
If you prefer individual desserts, try making chocolate-strawberry tartlets using the same dough and filling but smaller pans. This is great for portion control and adds a fun presentation. Adjust baking time slightly, checking for golden edges and set filling.
⏱ Time: 20 minutes
✓ Doneness: Edges golden, filling set but not cracked
Step 8
To add a nutty twist, sprinkle toasted chopped pecans or almonds on top of the filling before chilling. The crunch contrasts nicely with the creamy filling and soft berries. Toast nuts lightly in a dry pan until fragrant, then cool before adding. This step adds texture and a deeper flavor dimension.
⏱ Time: 5 minutes
✓ Doneness: Nuts are golden but not burnt
Step 9
For a lighter version, swap half the heavy cream for Greek yogurt in the chocolate filling. This adds a slight tang and reduces richness without sacrificing creaminess. Mix gently to keep the texture smooth. This variation is perfect if you want something a bit less indulgent but still delicious.
⏱ Time: 10 minutes
✓ Doneness: Filling is smooth and creamy with slight tang
Pro Tips
Keep your butter and flour cold when making the crust.
Cold butter creates steam during baking, which puffs up the dough into flaky layers. If the butter warms too much, it blends too fully into the flour and the crust becomes dense and tough.
Don’t skip chilling the dough before rolling it out.
Chilling firms the dough, making it easier to roll and less likely to shrink or crack in the oven. It also helps the gluten relax, preventing a tough crust.
Use a fork to prick the crust before blind baking.
Pricking prevents air bubbles from forming and keeps the crust flat and even. Without this, the crust can puff up and bake unevenly.
Heat the cream gently and remove from heat before adding chocolate.
Overheating cream can scorch it, and adding chocolate to boiling cream can cause it to seize. Gentle heating ensures smooth melting and a glossy ganache.
Let the tart chill completely before slicing.
Chilling allows the chocolate filling to set firmly, making slicing cleaner and the tart easier to serve. Cutting too soon results in messy, soft slices.
Use a sharp knife dipped in hot water for clean slices.
Wiping the knife between cuts prevents chocolate and crust from sticking, giving neat, professional-looking slices.
Toast nuts before adding for extra crunch and flavor.
Toasting releases oils and deepens nutty flavors, adding a satisfying texture contrast that complements the smooth filling.
Common Mistakes to Avoid
Overworking the crust dough.
Why it happens Many cooks think kneading dough like bread is necessary, but with pastry dough, overworking develops gluten, making it tough.
Fix Mix ingredients just until combined, then stop. Keep butter cold and handle dough gently. Chill dough before rolling to relax gluten.
Skipping blind baking the crust.
Why it happens Some assume the filling will bake the crust enough, but wet fillings can make it soggy.
Fix Always bake the crust partially before adding filling to ensure crispness. Use pie weights or fork pricks to keep shape.
Melting chocolate at too high temperature.
Why it happens Rushing the melting process or heating chocolate directly can cause it to seize or burn.
Fix Melt chocolate gently in a double boiler or stir chocolate into warm (not boiling) cream for smooth ganache.
Not chilling the tart long enough.
Why it happens Impatience leads to cutting before filling sets, causing mess and poor presentation.
Fix Plan ahead and chill at least an hour or overnight for best slicing and flavor melding.
Using soggy or underripe strawberries.
Why it happens Sometimes berries are added without checking freshness, leading to watery or bland topping.
Fix Select firm, ripe berries and pat dry before slicing. Add them just before serving to keep fresh.
Variations
Peanut Butter Chocolate Tart
Add a layer of creamy peanut butter between the crust and chocolate filling for a rich, nutty twist. This variation pairs well with chopped peanuts on top for extra texture and flavor.
Note: Spread peanut butter thinly on the baked crust before pouring the warm chocolate ganache. Chill as usual to set.
Lemon Berry Tart
Swap the chocolate filling for a tangy lemon curd and top with mixed berries. This bright, refreshing dessert is perfect for dads who prefer citrus over chocolate.
Note: Blind bake crust fully and cool before adding chilled lemon curd. Top with fresh berries and chill briefly.
No-Bake Chocolate Strawberry Cups
Use crushed graham crackers for a crust base in individual cups, then layer with whipped cream, melted chocolate, and strawberries. No oven required, great for quick prep.
Note: Press crushed crackers mixed with melted butter into cups, chill to set, then layer fillings.
Chocolate Tart with Espresso Kick
Add a teaspoon of instant espresso powder to the chocolate ganache for a subtle coffee flavor that deepens the chocolate notes. Great for coffee-loving dads!
Note: Dissolve espresso powder in warm cream before adding chocolate to ensure even flavor.
Gluten-Free Almond Crust Tart
Replace all-purpose flour with almond flour and a bit of coconut flour for a gluten-free crust that’s nutty and tender. Works well with the standard chocolate filling.
Note: Press almond flour crust into pan without rolling; chill well before blind baking to prevent crumbling.
Nutrition
Per Serving:
Nutritional values are estimates and may vary based on specific ingredients used.
Storage & Tips
Room Temperature
Keep the dessert covered loosely at room temperature for up to 4 hours, ideal for serving shortly after preparation. Avoid leaving it out longer to maintain freshness and food safety.
Refrigerator
Store in an airtight container in the fridge for up to 3 days. The crust may soften slightly but flavors will meld nicely. Serve chilled or let sit at room temperature for 15 minutes before serving.
Freezer
Freeze the tart wrapped tightly in plastic wrap and foil for up to 1 month. Thaw overnight in the fridge. The texture may change slightly, especially the crust, but it remains tasty.
Reheating
No reheating needed; serve chilled or at room temperature. If desired, warm slices briefly in a low oven (300°F) for 5 minutes to soften the crust without melting the filling.
Make Ahead
Prepare the crust and chocolate filling a day ahead and store separately in the fridge. Assemble and add fresh berries the day of serving for best texture and freshness.
FAQ
Can I make this dessert ahead of time?
Absolutely! The crust and filling can be prepared a day or two in advance and kept refrigerated. Just add fresh berries right before serving to keep them bright and fresh. This makes it a great make-ahead option for busy days.
What can I substitute for fresh strawberries?
You can use raspberries, blueberries, or sliced peaches as alternatives. Just choose ripe, firm fruit to avoid excess moisture that could sog the crust. Frozen berries aren’t recommended unless thawed and drained well.
How do I prevent the crust from getting soggy?
Blind baking the crust fully ensures it’s crisp before adding the filling. Also, make sure berries are dry and add them just before serving. Chilling the tart helps the filling set and protects the crust.
Can I use milk chocolate instead of dark?
Yes, but keep in mind milk chocolate is sweeter and less intense, which changes the flavor balance. You may want to reduce added sugar elsewhere or use a mix of milk and dark chocolate for depth.
Is there a dairy-free version of this dessert?
You can substitute coconut cream for heavy cream and use dairy-free chocolate chips. The crust can be made with vegan butter or coconut oil. The texture will be slightly different but still delicious.
How do I fix a crust that cracks when rolling?
If the dough cracks, it’s likely too cold or dry. Let it sit a few minutes at room temperature to soften slightly, then patch cracks gently with your fingers. Avoid adding too much flour when rolling.
What if my chocolate filling is grainy?
Graininess usually means the chocolate seized due to overheating or water contamination. To fix, gently reheat with a little more cream, stirring constantly until smooth, or start fresh with careful temperature control.
Can I double the recipe for a larger tart?
Yes, just double all ingredients and use a larger tart pan or two pans. Adjust baking time slightly, checking crust doneness visually. The filling sets the same way regardless of size.
Final Thoughts
I hope these Father’s Day dessert ideas inspire you to whip up something sweet and memorable for your dad. Don’t forget to share your results—I’d love to hear how it goes!