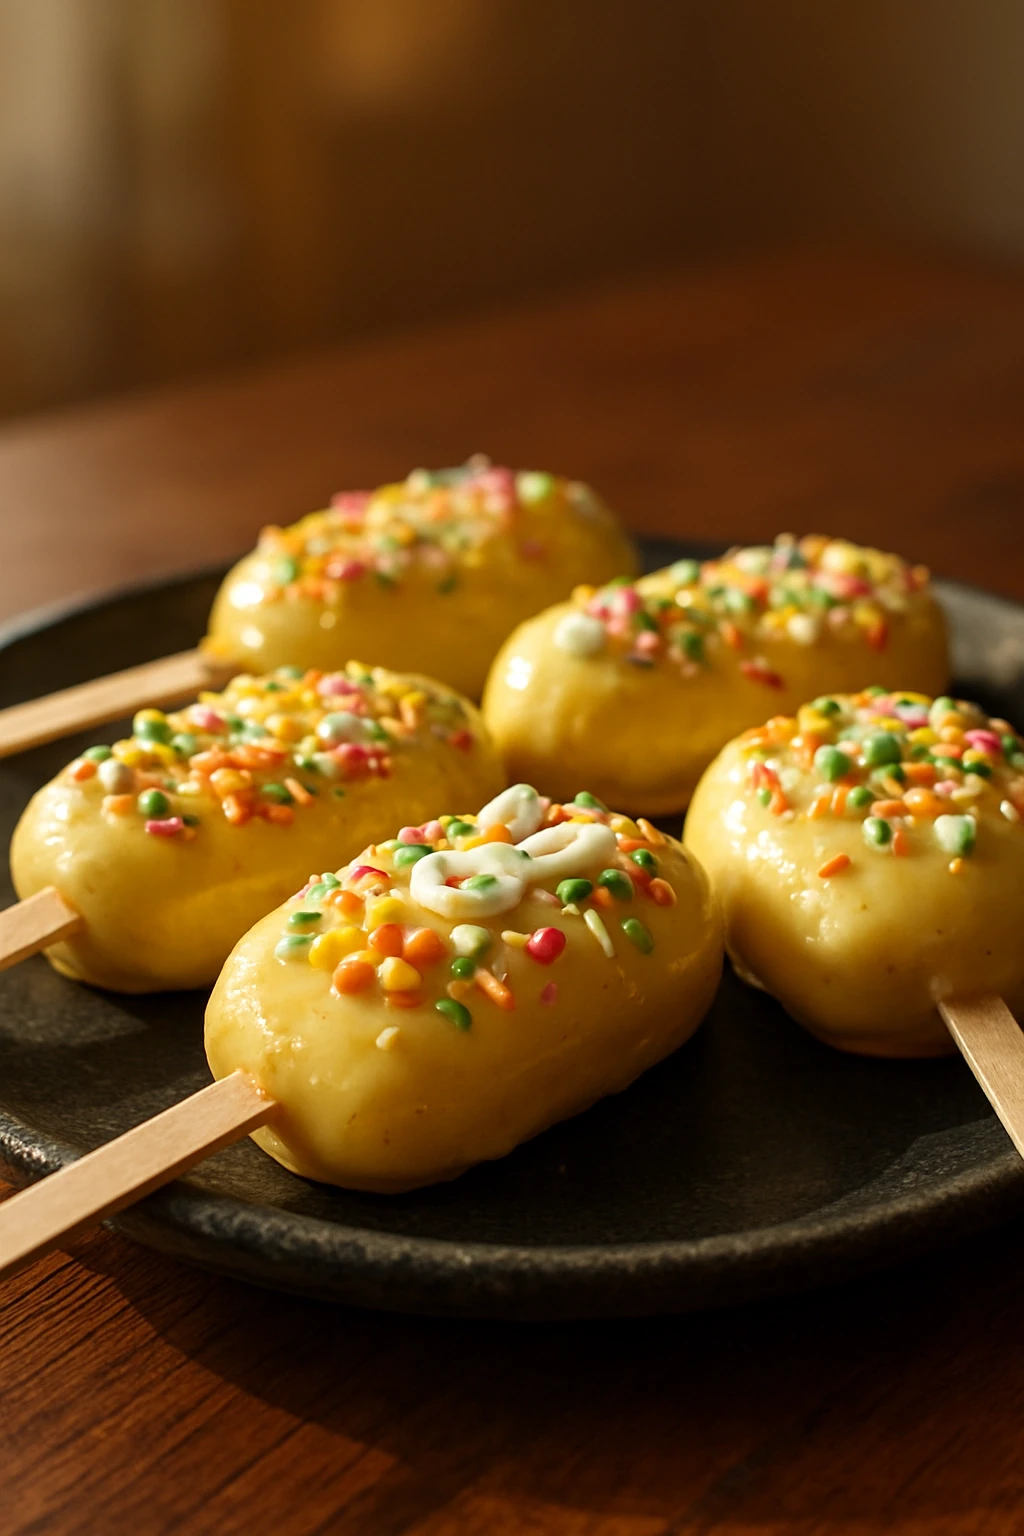
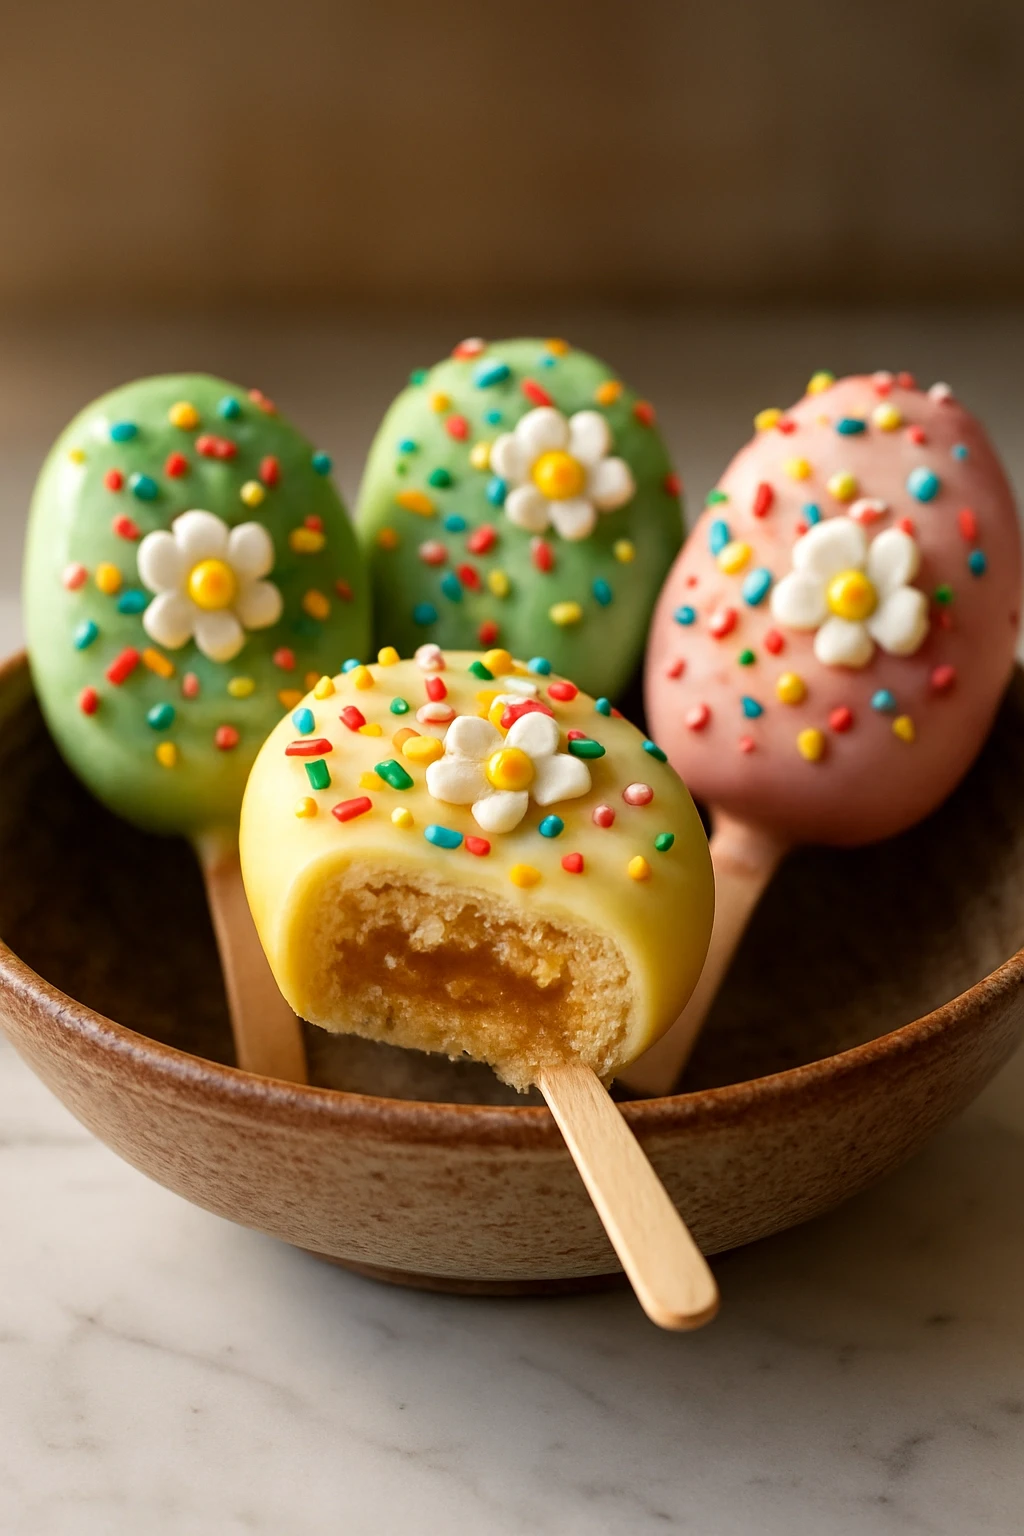
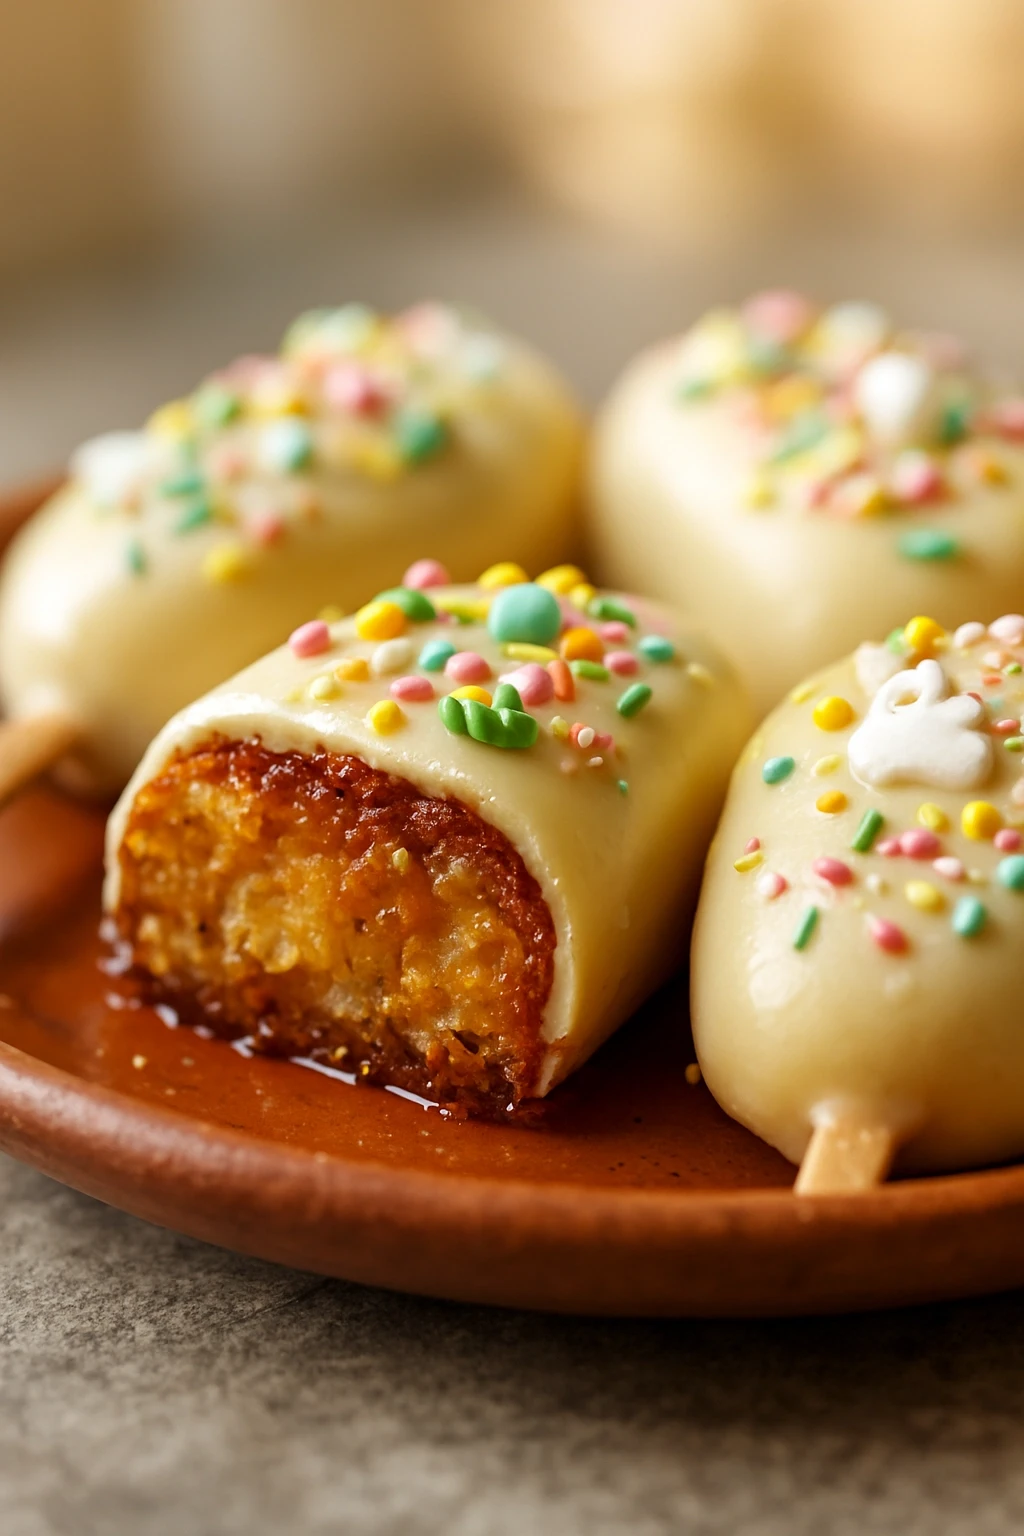
These delightful Easter cakesicles are the perfect treat for spring celebrations. Made with moist cake and creamy frosting, they're a fun twist on traditional cake pops, ideal for family gatherings or holiday parties!
Introduction
I remember the first time I made cakesicles for a family gathering, and they were a huge hit! These festive Easter cakesicles combine moist vanilla cake with creamy frosting, all dipped in white chocolate and decorated with colorful sprinkles. What makes this version special is the addition of food coloring to the chocolate, which allows you to create vibrant colors that scream spring! Plus, using a cake mix makes this recipe super easy and fun. The end result is a treat that not only looks beautiful but tastes deliciously sweet, perfect for any Easter celebration or springtime gathering.
How To Do It
Step 1
Preheat your oven to 350°F (175°C). Greasing and flouring a 9x13 inch baking pan is key here; it prevents the cake from sticking and makes for easy removal later. Pour in the cake mix, eggs, water, and vegetable oil, and mix until just combined. Overmixing can lead to a dense cake, so stop as soon as there are no dry spots. Bake for 25-30 minutes until a toothpick inserted in the center comes out clean. Let it cool completely before moving on.
⏱ Time: 30 minutes
✓ Doneness: The cake should spring back when lightly pressed and a toothpick will come out clean.
Step 2
Once the cake is cool, crumble it into a large bowl, making sure there are no large chunks left. Add in the buttercream frosting and mix until fully combined. This mixture should be moist but not overly sticky. The frosting acts as a binder, so if it seems too dry, you can add a bit more frosting. Scoop out portions and shape them into rectangles that will fit onto your popsicle sticks.
⏱ Time: 15 minutes
✓ Doneness: The mixture should hold together without crumbling apart.
Step 3
Insert a popsicle stick into each shaped cakesicle, pressing it in firmly but gently so it doesn’t break the cake. Place them on a parchment-lined baking sheet and freeze for at least 1 hour. Freezing helps the cakesicles hold their shape while dipping in chocolate. If you skip this step, they might fall apart when you dip them.
⏱ Time: 60 minutes
✓ Doneness: The cakesicles should be firm to the touch and hold their shape.
Step 4
Melt the white chocolate chips in a microwave-safe bowl, heating in 30-second intervals and stirring in between until completely smooth. If you want to add color, stir in a few drops of food coloring until you achieve your desired shade. This step is crucial as it not only adds flavor but also makes your cakesicles pop with color. If the chocolate is too thick, add a teaspoon of vegetable oil to thin it out.
⏱ Time: 5 minutes
✓ Doneness: The chocolate should be completely melted and smooth without any lumps.
Step 5
Once the chocolate is ready, take each frozen cakesicle and dip it into the melted chocolate, ensuring it's fully coated. Gently tap off any excess chocolate before placing it back on the parchment paper. This step is where your cakesicles get their beautiful glossy finish. If you rush it, the chocolate may not adhere properly, leading to an uneven coating.
⏱ Time: 10 minutes
✓ Doneness: The chocolate should be shiny and even, with no drips.
Step 6
While the chocolate is still wet, generously sprinkle your favorite decorations on top. This is where you can get creative! Use colorful sprinkles, edible glitter, or even small chocolate eggs for a festive touch. The key here is to decorate while the chocolate is still soft so that the toppings stick well. If you wait too long, the chocolate will harden and the sprinkles won't adhere.
⏱ Time: 5 minutes
✓ Doneness: The sprinkles should stick to the chocolate without falling off.
Step 7
Let the cakesicles sit at room temperature for about 10 minutes to allow the chocolate to set slightly, then transfer them back to the freezer for another 30 minutes to fully harden. This step ensures that your cakesicles are ready to serve and won’t melt in your hands. If you skip this, the chocolate may not hold its shape when you bite into it.
⏱ Time: 30 minutes
✓ Doneness: The chocolate should be firm and set, with a nice snap when bitten into.
Pro Tips
Chill the cakesicles longer if they feel soft.
If your cakesicles are too soft, they may not hold their shape during dipping. A longer chill time ensures they firm up enough to handle the melting chocolate without falling apart.
Use a fork to dip the cakesicles into chocolate.
Using a fork helps you get an even coating without making a mess. It also allows you to tap off excess chocolate more easily, ensuring a smooth finish.
Add flavor extracts to the chocolate.
Incorporating extracts like vanilla or almond into your melted chocolate can elevate the flavor profile. This small addition makes a significant difference in the overall taste.
Experiment with different shapes.
Using different molds can make your cakesicles even more fun and visually appealing. Just ensure they're suited for freezing and can release easily after setting.
Let the chocolate cool slightly before dipping.
If the chocolate is too hot, it can melt the cakesicle. Allowing it to cool slightly ensures a better coating without compromising the cake inside.
Common Mistakes to Avoid
Not chilling the cakesicles long enough.
Why it happens Many cooks underestimate how long it takes for cakesicles to firm up, thinking a short chill will suffice.
Fix Ensure you freeze the cakesicles for at least an hour to make them firm enough for dipping. If they feel soft, give them extra time in the freezer.
Overheating the chocolate.
Why it happens It’s easy to get impatient and overheat chocolate in the microwave, leading to a burnt taste.
Fix Heat chocolate in short intervals and stir frequently to prevent overheating. If it starts to clump, it’s too late; keep it at low heat.
Skipping the sprinkles.
Why it happens Some people think sprinkles are optional, but they add visual appeal and texture.
Fix Always sprinkle while the chocolate is still wet. If you wait, the sprinkles won’t stick, and your cakesicles will look plain.
Using stale or low-quality cake mix.
Why it happens Some bakers might grab whatever cake mix is on sale without checking the quality.
Fix Choose a reputable brand of cake mix for the best flavor and texture. Always check the expiration date to ensure freshness.
Variations
Chocolate Cakesicles
Swap out the vanilla cake mix for chocolate cake mix for a rich, chocolatey version. You can also dip them in dark chocolate for an extra layer of flavor.
Note: Adjust the frosting quantity slightly, as chocolate cake may need less frosting due to its moisture content.
Fruit-Flavored Cakesicles
Add fruit puree or zest to your cake mixture for a fresh twist. Lemon or raspberry flavors work beautifully for a spring vibe.
Note: Be cautious with the liquid quantity; too much puree can make the cake too wet, so balance it with additional dry ingredients if necessary.
Nutty Cakesicles
Incorporate finely chopped nuts into the cake mixture for added crunch. Almonds or walnuts give a delightful texture contrast.
Note: Chop the nuts finely to ensure they meld well with the cake and don’t interfere with the cakesicle's shape.
Vegan Cakesicles
Use a vegan cake mix and substitute the frosting with a plant-based option. They’re just as delicious and perfect for a vegan-friendly treat!
Note: Ensure that all ingredients, including chocolate, are vegan-friendly to maintain the recipe's integrity.
Nutrition
Per Serving:
Nutritional values are estimates and may vary based on specific ingredients used.
Storage & Tips
Room Temperature
Cakesicles can be kept at room temperature for up to 2 hours. Store them in a cool place, covered to prevent drying out.
Refrigerator
Store in an airtight container in the fridge for up to 5 days. They can be enjoyed cold, but the chocolate may lose some of its shine.
Freezer
Freeze for up to 3 months in an airtight container. Wrap each cakesicle in plastic wrap to prevent freezer burn and maintain freshness.
Reheating
These cakesicles are best enjoyed frozen or chilled. If you prefer them slightly softened, let them sit at room temperature for about 10 minutes before serving.
Make Ahead
You can prepare the cakesicles up to 2 days in advance. Just store them in the freezer until you're ready to decorate and serve.
FAQ
Can I use a different type of frosting?
Absolutely! You can use cream cheese frosting for a tangy twist or even a whipped topping for a lighter option. Just ensure it’s thick enough to hold the cake together.
What if my cakesicles are too soft?
If your cakesicles are soft after shaping, simply pop them back in the freezer for an additional 30 minutes. This extra chill time will help them firm up for dipping.
Can I make these gluten-free?
Yes! Just use a gluten-free cake mix and ensure all other ingredients are gluten-free as well. They’ll taste just as delicious, and everyone can enjoy them!
How do I store leftover cakesicles?
Store any leftovers in an airtight container in the refrigerator for up to 5 days. They can also be frozen for longer storage, just be sure to wrap them well.
Can I use milk chocolate instead of white chocolate?
Definitely! Milk chocolate offers a sweeter flavor, and it pairs nicely with the vanilla cake. Just follow the same melting instructions for best results.
Final Thoughts
I hope you give these festive Easter cakesicles a try! They’re a fun and delicious treat that will surely impress your family and friends. Don’t forget to share your creations!