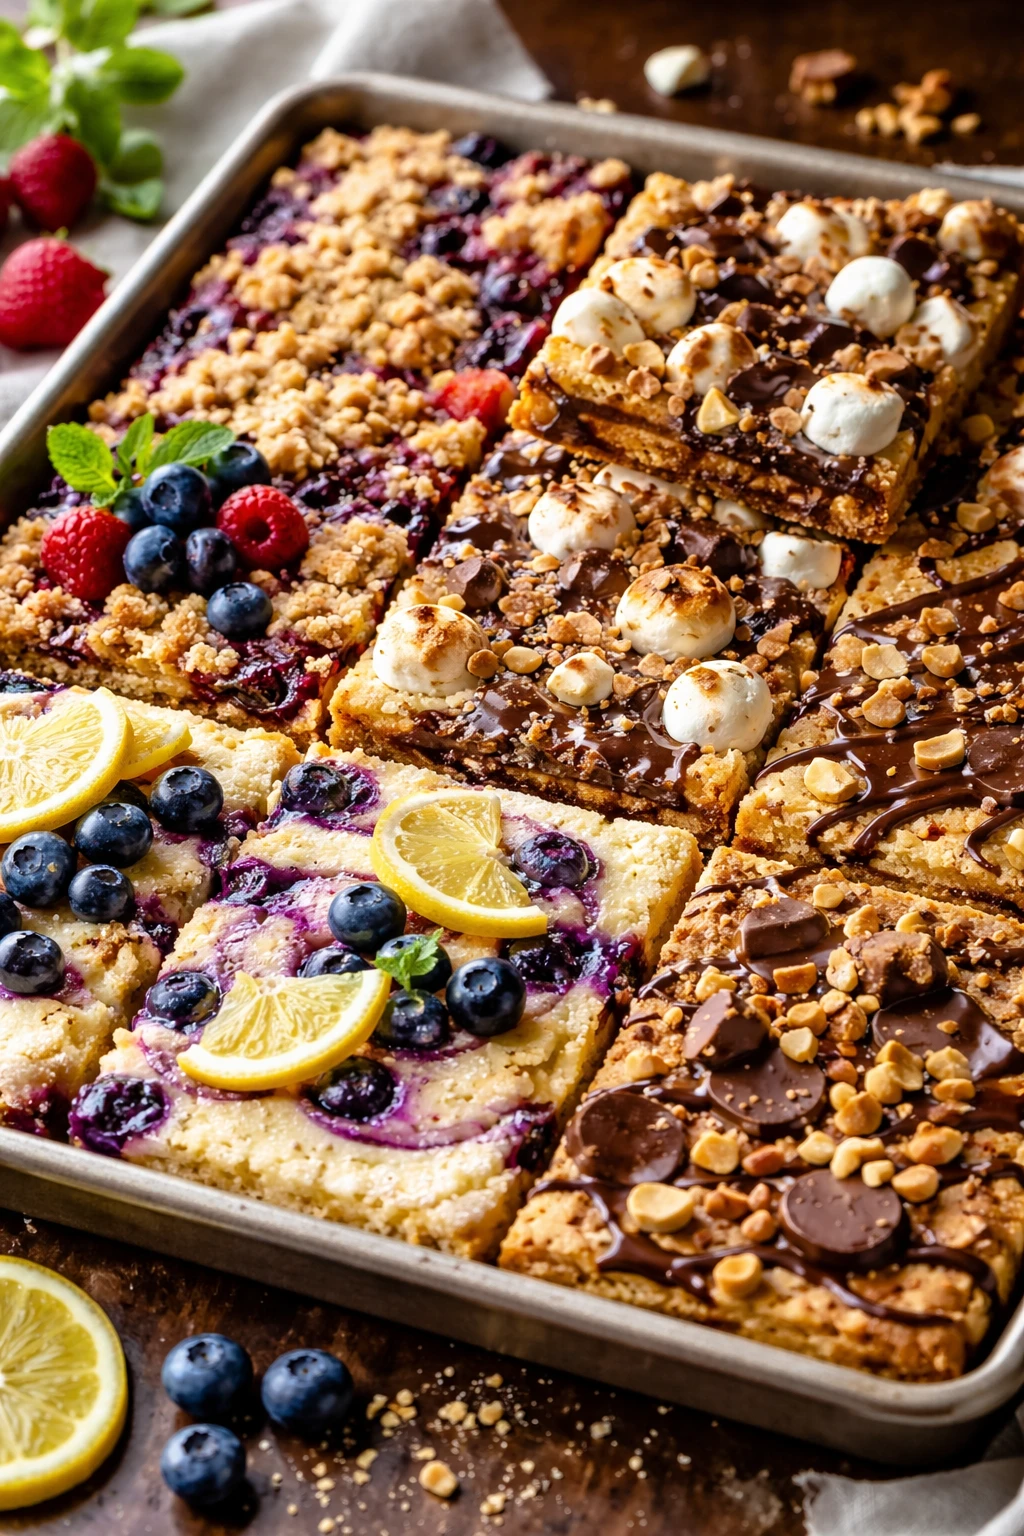
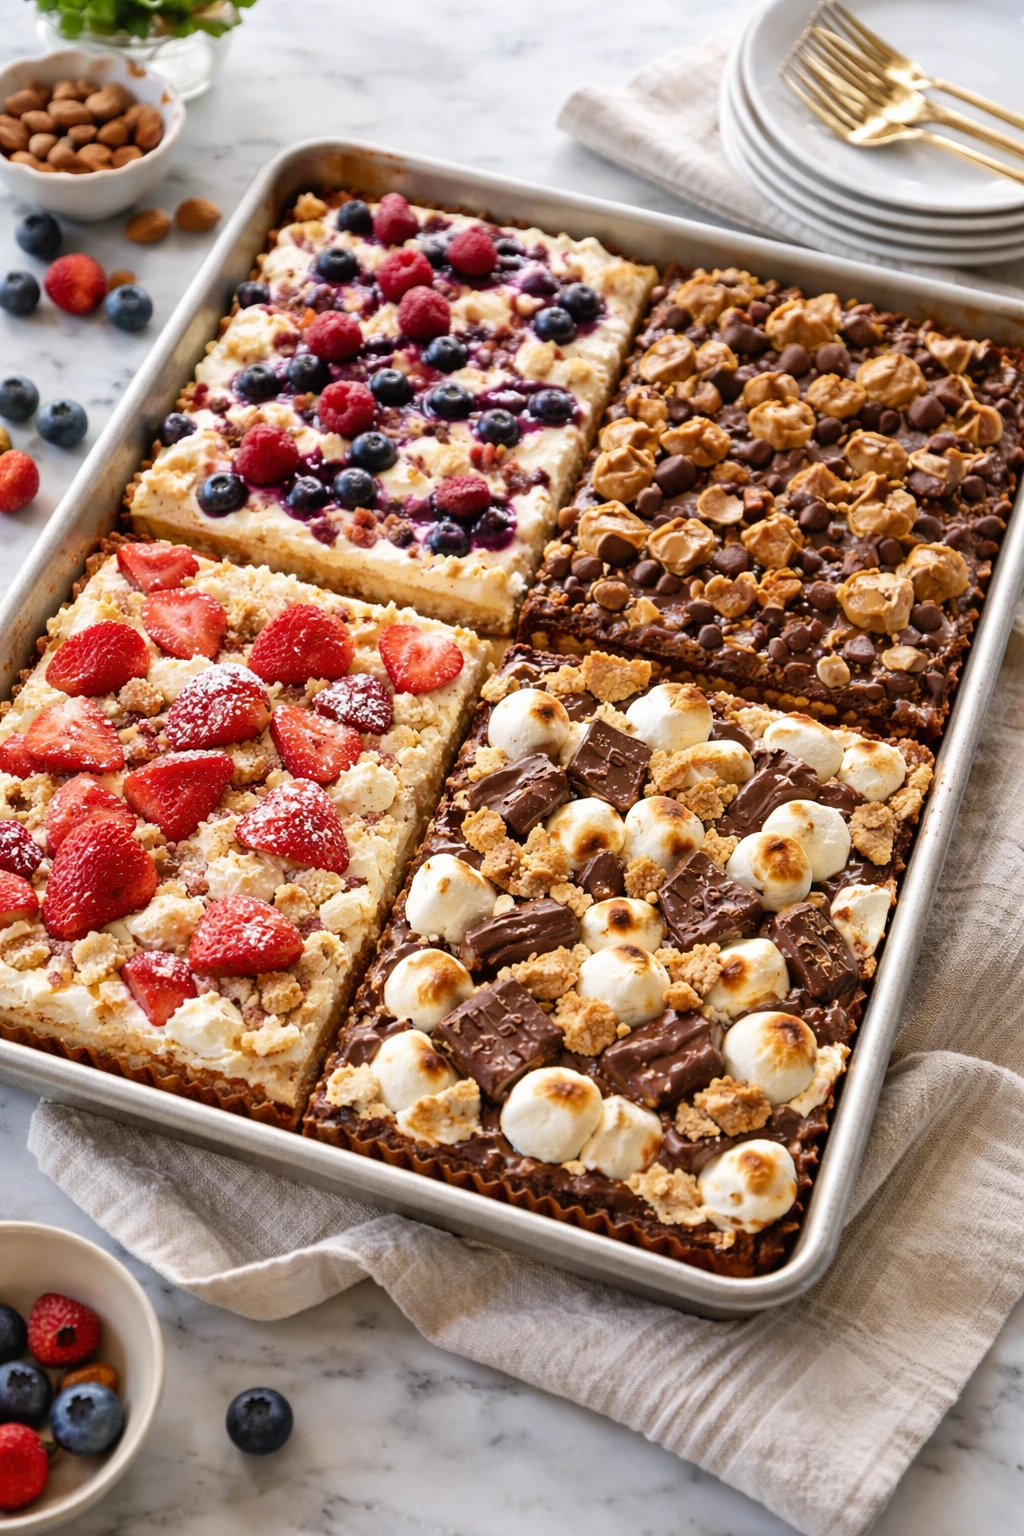
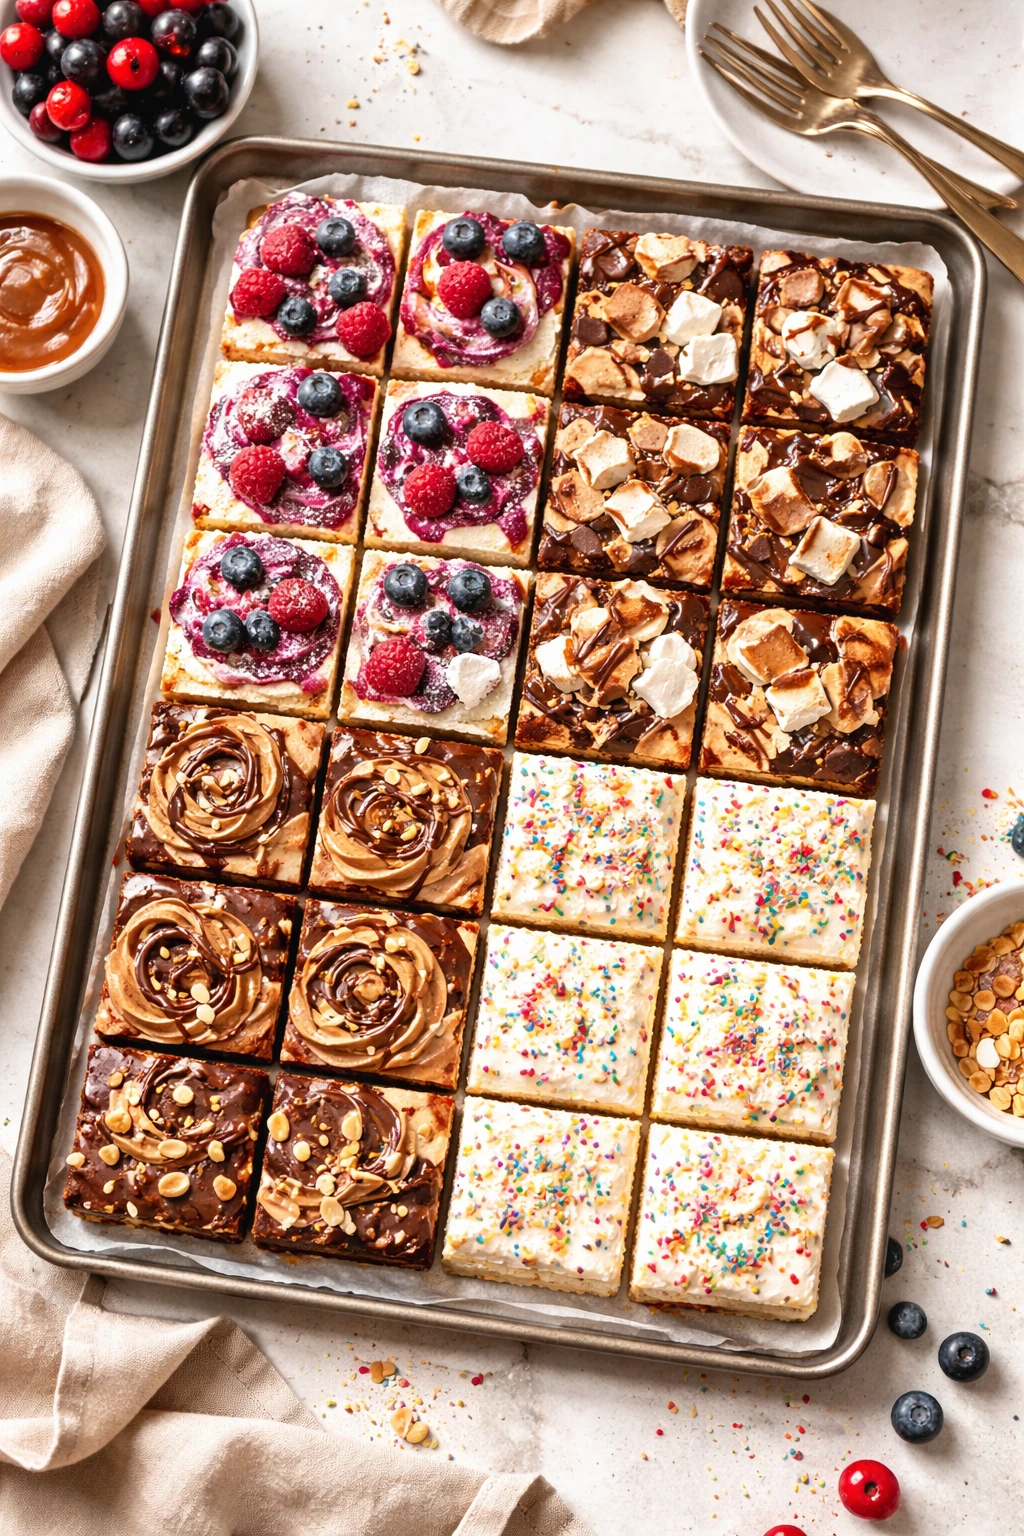
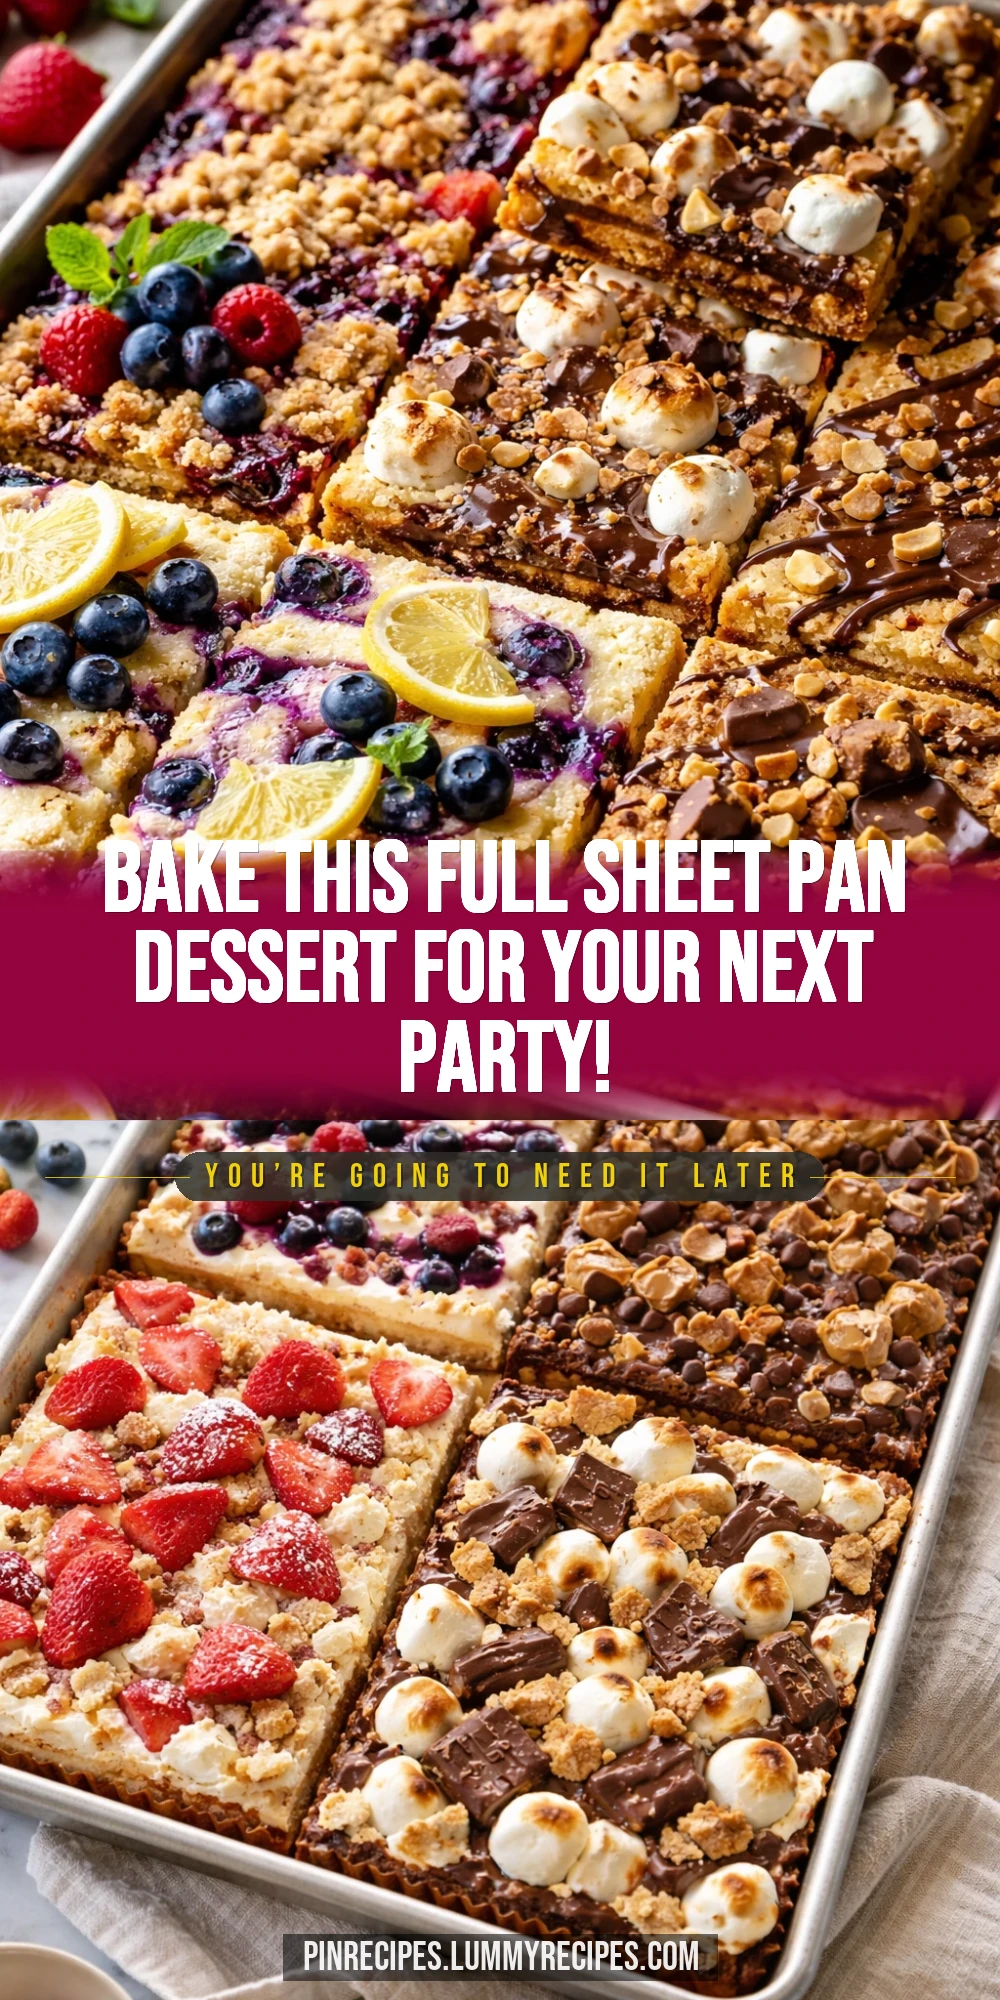
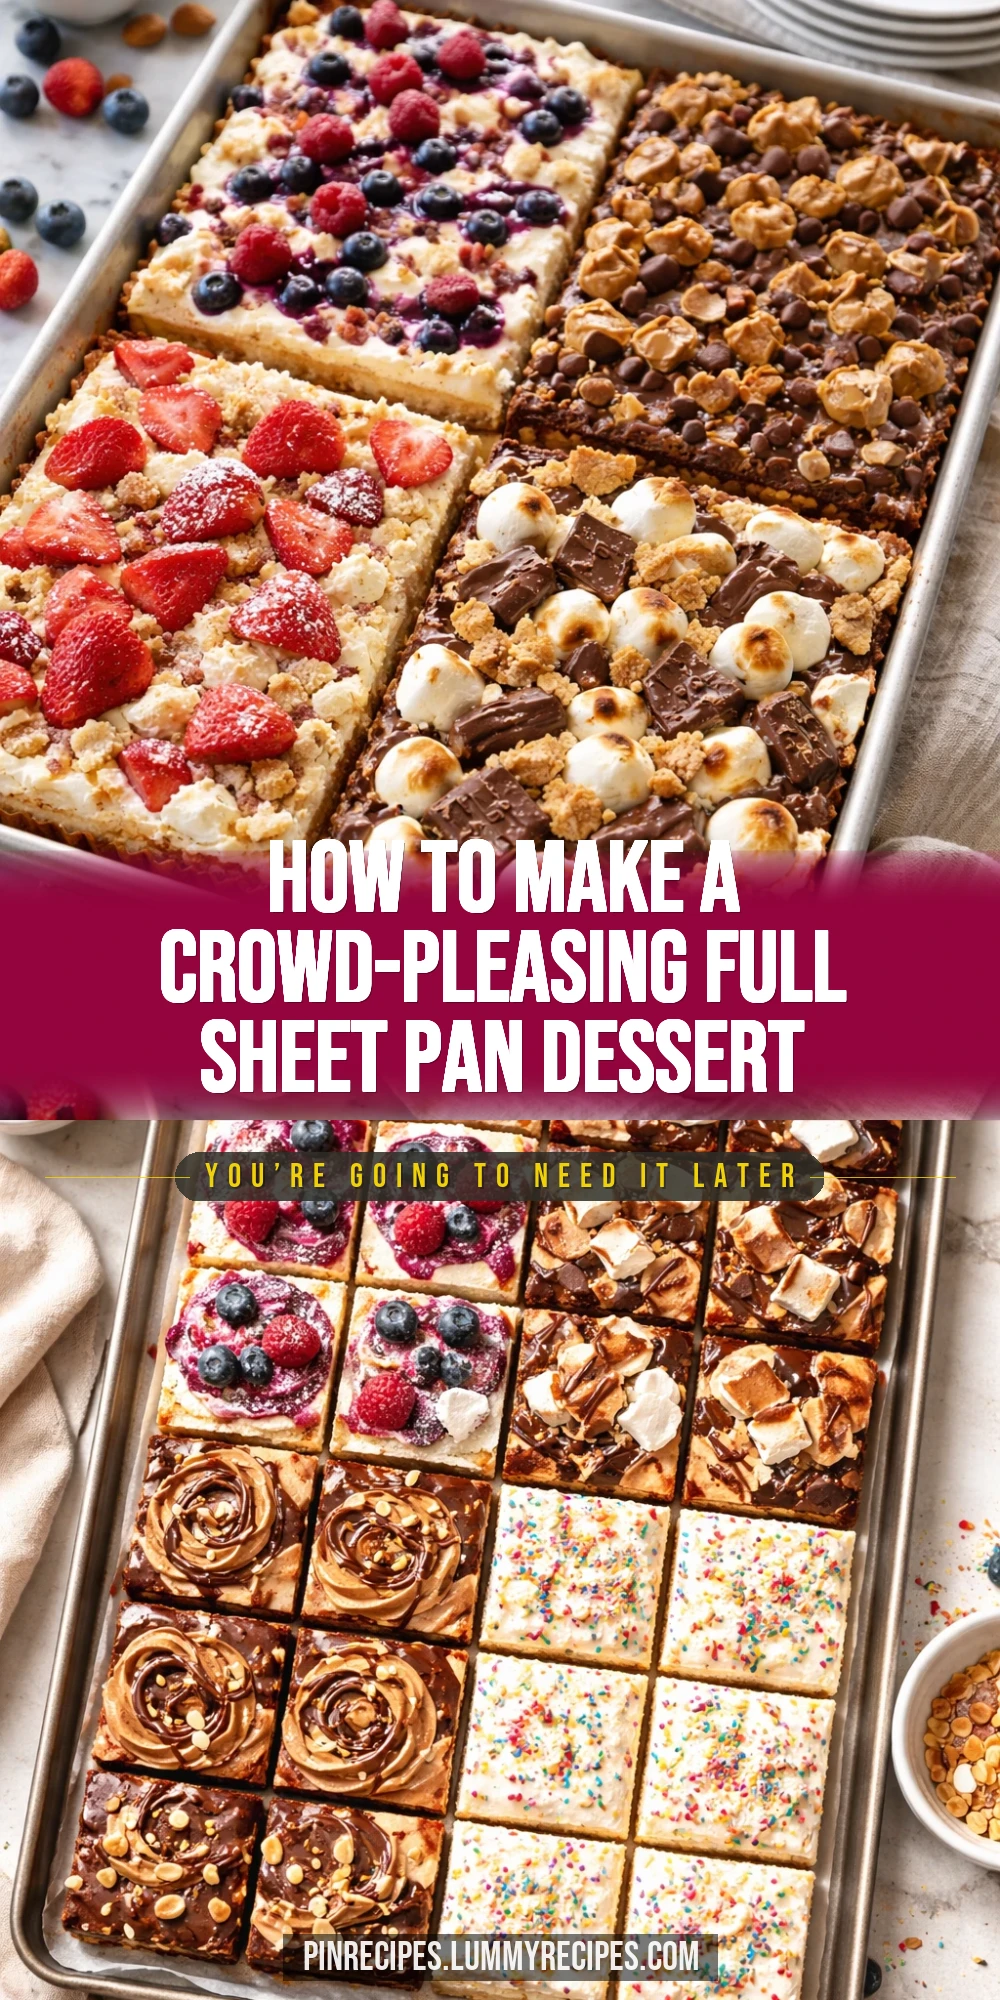
This full sheet pan dessert is a total crowd-pleaser—think big, gooey, and perfect for sharing. I love adding a sprinkle of sea salt on top for that extra pop. Great for parties or family gatherings!
Introduction
I first made this full sheet pan dessert on a whim when I needed to bring something big and delicious to a family reunion. It was a hit—everyone loved how it was gooey yet had a wonderful crisp edge. What makes this recipe different from your typical cookie bar is the way the butter is melted and cooled before mixing, which gives it an incredible chewy texture throughout. Also, I sprinkle a bit of flaky sea salt on top right before baking; it might sound odd, but it really brings out the chocolate's richness and balances the sweetness. Over the years, I’ve tweaked the baking time and ingredient ratios to get just the right golden crust and soft center. The finished dessert looks rustic but tastes like a bakery treat—perfect for sharing at parties or whenever you want a big batch of comfort in dessert form. I love how easy it is to make, too; no fancy tools needed, just a sheet pan and a few simple ingredients. It’s become my go-to when I want to impress without fuss.
What You'll Need
Approximately 12 large servings
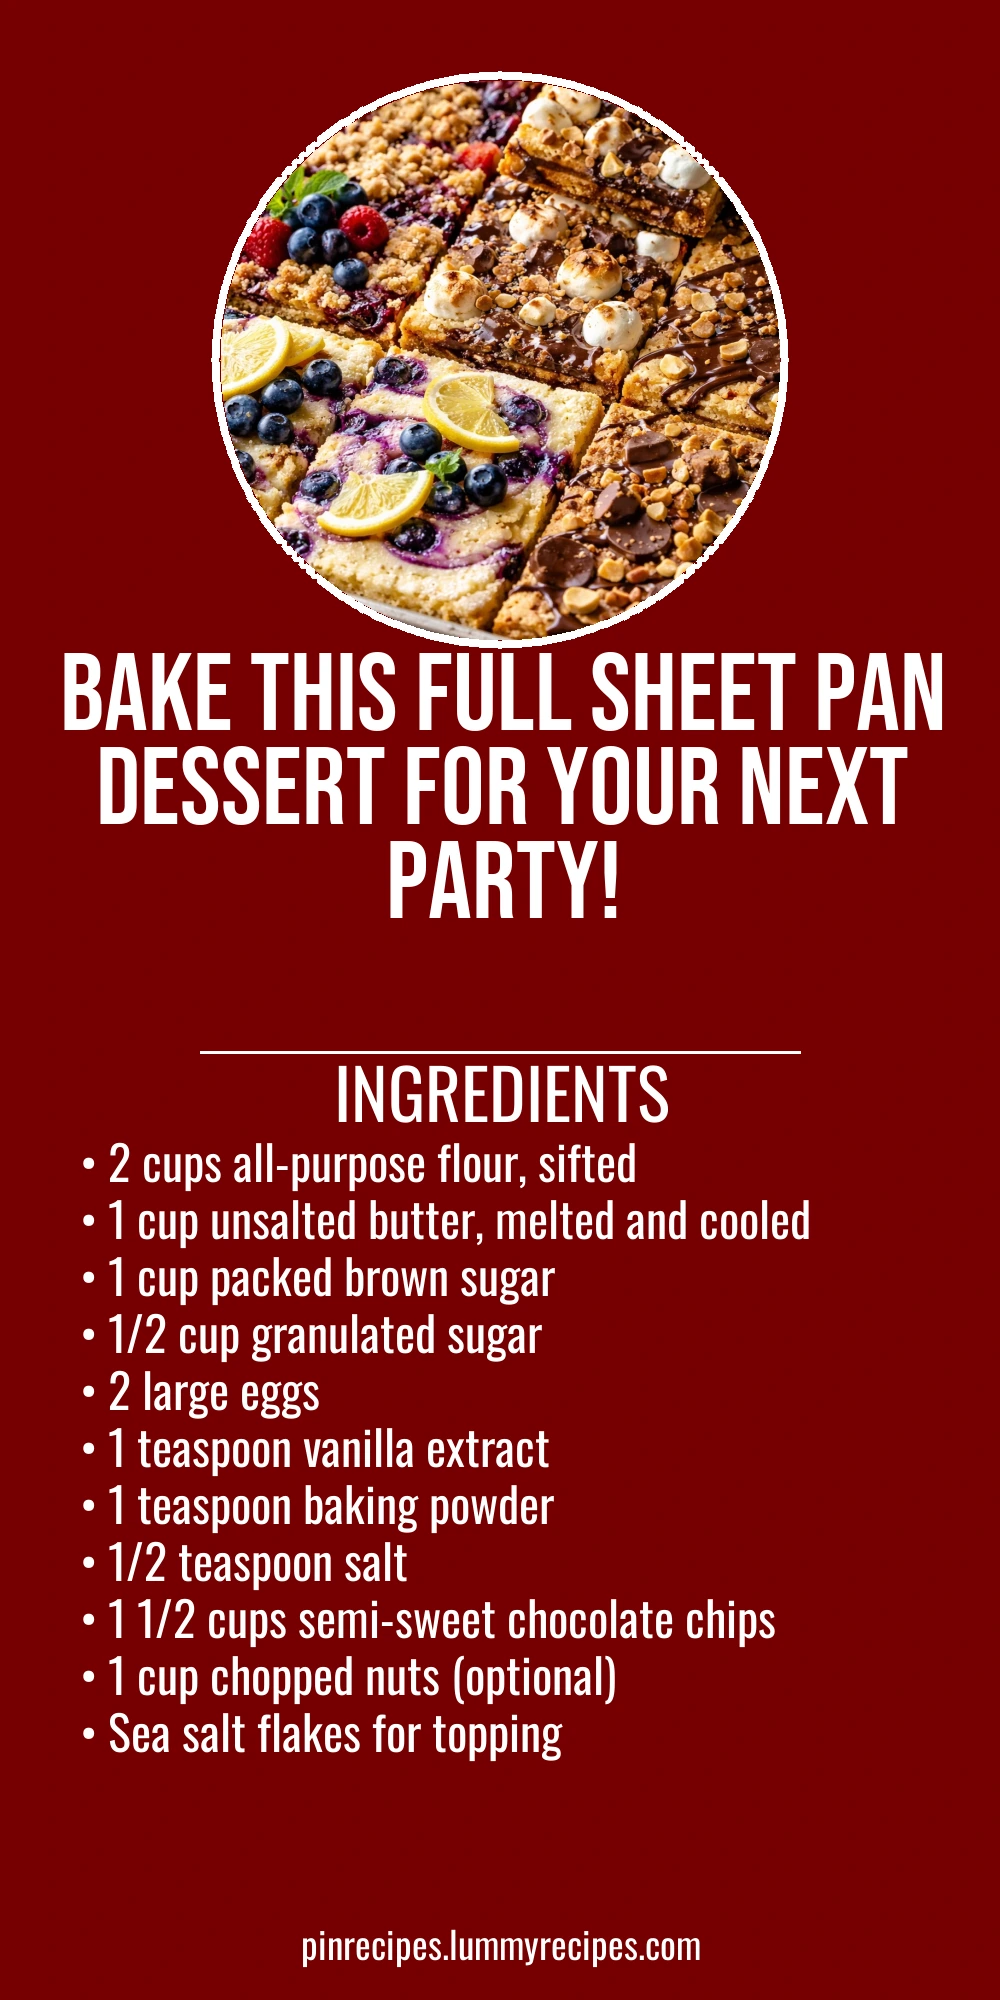
- 2 cups all-purpose flour, sifted
- 1 cup unsalted butter, melted and cooled
- 1 cup packed brown sugar
- 1/2 cup granulated sugar
- 2 large eggs
- 1 teaspoon vanilla extract
- 1 teaspoon baking powder
- 1/2 teaspoon salt
- 1 1/2 cups semi-sweet chocolate chips
- 1 cup chopped nuts (optional)
- Sea salt flakes for topping
How To Do It
Step 1
Preheat your oven to 350°F (175°C). Line a full sheet pan (about 18x13 inches) with parchment paper, letting the edges hang over for easy removal later. This step is important because it prevents sticking and makes cleanup a breeze. Using parchment also helps the dessert bake evenly and prevents the edges from burning. Make sure the parchment fits snugly so the batter doesn’t seep underneath.
⏱ Time: 10
✓ Doneness: Oven is fully preheated and parchment is flat and secure in the pan
Step 2
In a large mixing bowl, whisk together the sifted flour, baking powder, and salt until evenly combined. This dry mix ensures the leavening is distributed throughout the batter, which helps the dessert rise just enough to be soft but still dense. Taking the time to sift and mix the dry ingredients avoids clumps and uneven texture in the final bake.
⏱ Time: 5
✓ Doneness: Dry ingredients are uniform in color and texture with no visible lumps
Step 3
In a separate bowl, combine the melted and cooled butter with both sugars. Stir until smooth and glossy. The key here is that the butter must be cooled so it doesn’t cook the eggs when added. The glossy sugar-butter mixture helps create a chewy texture and a slight caramel flavor in the dessert.
⏱ Time: 5
✓ Doneness: Mixture is smooth, shiny, and no grainy sugar crystals remain
Step 4
Add the eggs one at a time to the butter-sugar mixture, whisking well after each addition. Then stir in the vanilla extract. This gradual incorporation helps emulsify the batter, creating a smooth texture and ensuring the eggs are fully incorporated without scrambling.
⏱ Time: 5
✓ Doneness: Batter is thick, smooth, and slightly glossy
Step 5
Slowly fold the dry ingredients into the wet mixture using a spatula. Mix just until combined—overmixing can develop gluten and make the dessert tough instead of tender. The batter will be thick and sticky, which is perfect for this kind of bar dessert.
⏱ Time: 5
✓ Doneness: No visible streaks of flour remain but batter isn’t overly mixed
Step 6
Fold in the chocolate chips and chopped nuts if using. This adds texture and bursts of sweetness. Make sure to distribute them evenly so every bite has a bit of chocolate and crunch. If you want a nut-free version, just skip the nuts or substitute with dried fruit.
⏱ Time: 3
✓ Doneness: Chocolate chips and nuts are evenly scattered throughout the batter
Step 7
Spread the batter evenly into the prepared sheet pan using a spatula or your hands lightly greased with butter. Press it down gently to create an even layer but don’t compact it too much—you want it to stay tender. The even thickness ensures it bakes uniformly with a golden crust on top.
⏱ Time: 5
✓ Doneness: Batter layer is uniform in thickness with no gaps or air pockets
Step 8
Sprinkle a light pinch of flaky sea salt over the top of the batter. This step is optional but highly recommended because it enhances the chocolate flavor and adds a subtle contrast to the sweetness. The salt crystals will slightly melt and create little bursts of flavor in the finished dessert.
⏱ Time: 2
✓ Doneness: Even, light sprinkle of salt visible across the batter surface
Step 9
Bake in the preheated oven for 28-32 minutes. Start checking at 28 minutes by inserting a toothpick into the center; it should come out with a few moist crumbs but not wet batter. The edges will be golden and slightly crisp while the center remains soft and chewy. Avoid overbaking to keep that perfect gooey texture.
⏱ Time: 30
✓ Doneness: Edges are golden brown and toothpick shows moist crumbs, not wet batter
Pro Tips
Cool the melted butter before mixing it with eggs.
If the butter is too hot, it can cook the eggs and cause the batter to curdle, resulting in a grainy texture. Cooling ensures smooth emulsification and a tender crumb.
Don’t overmix the batter once you add the flour.
Overmixing develops gluten which makes the dessert tough instead of tender and chewy. Fold gently just until combined for the best texture.
Use parchment paper with overhang for easy removal.
This prevents sticking and allows you to lift the entire dessert out of the pan for clean, even cutting without crumbling.
Sprinkle flaky sea salt on top before baking.
Salt enhances the chocolate flavor and balances sweetness, making the dessert taste more complex and satisfying.
Check doneness early to avoid overbaking.
Baking a minute or two too long dries out the center and ruins the gooey texture. Look for moist crumbs on a toothpick, not wet batter.
Use a wide sheet pan for an even thickness.
A pan that’s too small will make the dessert too thick and underbaked in the middle; too large will make it too thin and overcooked.
Let the dessert cool completely before cutting.
Cooling allows the bars to set and makes cutting cleaner without crumbling or sticking.
Common Mistakes to Avoid
Using hot melted butter
Why it happens Many assume melted butter can be added immediately, but hot butter can scramble eggs in the batter.
Fix Always let melted butter cool to room temperature before mixing with eggs to ensure smooth batter and proper texture.
Overmixing the batter
Why it happens In a rush, it’s easy to stir too much, thinking it helps combine ingredients better.
Fix Fold the flour in gently just until no streaks remain to avoid gluten development and a tough dessert.
Skipping parchment paper
Why it happens Some think greasing the pan is enough, but batter can stick and crumble when cutting.
Fix Always line the pan with parchment with overhang to lift the dessert out easily and cut neatly.
Overbaking the dessert
Why it happens Waiting too long to test doneness or baking at too high temperature dries out the center.
Fix Start checking at 28 minutes; remove when toothpick shows moist crumbs, not wet batter.
Not cooling before slicing
Why it happens Cutting warm dessert causes crumbling and sticky mess.
Fix Allow to cool completely so bars firm up and cut cleanly.
Variations
Peanut Butter Chocolate Sheet Pan Bars
Swap half the butter for creamy peanut butter and fold in peanut butter chips along with chocolate chips. This adds a rich, nutty flavor that pairs perfectly with chocolate. Expect a slightly denser texture with a salty-sweet twist.
Note: Peanut butter changes the fat content; watch baking time closely as it may need a few extra minutes to set.
Oatmeal Raisin Sheet Pan Dessert
Replace half the flour with rolled oats and add raisins instead of chocolate chips. This version is heartier and has a chewy, rustic texture with bursts of natural sweetness from the raisins.
Note: Oats absorb more moisture; you might need to add an extra tablespoon of melted butter to keep it moist.
Vegan Sheet Pan Dessert
Use flax eggs (1 tbsp flaxseed meal + 3 tbsp water per egg) and coconut oil instead of butter. Choose dairy-free chocolate chips. The texture will be slightly different—more crumbly but still delicious and rich.
Note: Vegan fats behave differently; bake a little longer and cool thoroughly for best slicing.
Salted Caramel Sheet Pan Bars
Drizzle caramel sauce over the batter before baking and sprinkle extra sea salt on top. This creates a luscious, gooey caramel layer that complements the chocolate and adds a luxurious flavor.
Note: Caramel can make the batter wetter; reduce granulated sugar by a tablespoon to balance moisture.
Double Chocolate Sheet Pan Dessert
Add 1/4 cup cocoa powder to the dry ingredients and use dark chocolate chips. This makes the dessert intensely chocolatey with a fudgy, rich texture that chocolate lovers will adore.
Note: Cocoa powder absorbs moisture; add an extra tablespoon of melted butter or reduce flour slightly to keep moist.
Nutrition
Per Serving:
Nutritional values are estimates and may vary based on specific ingredients used.
Storage & Tips
Room Temperature
Store the dessert covered at room temperature for up to 2 days. Keep it in an airtight container or wrapped tightly to prevent it from drying out or absorbing odors. It stays soft but may lose a little crispness on the edges.
Refrigerator
Keep leftovers in an airtight container in the fridge for up to 5 days. The dessert firms up when cold and can be eaten chilled or warmed slightly. Reheat briefly in the microwave or oven to restore softness.
Freezer
Wrap tightly in plastic wrap and aluminum foil to prevent freezer burn. Freeze for up to 3 months. Thaw overnight in the fridge and warm gently before serving to regain the fresh-baked texture.
Reheating
Reheat in a 300°F oven for 5-8 minutes or microwave in short bursts until warm. Adding a tiny splash of milk or butter before reheating can help restore moisture. Avoid overheating which can dry out the dessert.
Make Ahead
You can prepare the batter a day ahead and keep it covered in the fridge. Spread it in the pan and bake fresh on the day you want to serve. This helps save time and keeps the dessert tasting freshly baked.
FAQ
Can I use salted butter instead of unsalted?
Yes, but reduce or omit the added salt in the recipe to avoid an overly salty dessert. Unsalted butter gives you more control over seasoning, which is why it’s preferred.
What if I don’t have a full sheet pan?
You can use a smaller pan but the dessert will be thicker and may need longer baking time. Watch closely and test doneness with a toothpick to avoid underbaking.
Can I substitute chocolate chips with other mix-ins?
Definitely! Nuts, dried fruit, white chocolate, or butterscotch chips all work well. Just keep the total volume similar to maintain the right texture.
Why is my dessert too dry or crumbly?
This usually happens if you overbake or overmix the batter. Make sure to check early for doneness and fold ingredients gently to keep it tender.
Can I freeze this dessert?
Yes, it freezes well for up to 3 months. Wrap tightly and thaw in the fridge before reheating gently to enjoy near fresh-baked texture.
How do I store leftovers?
Keep them in an airtight container at room temperature for 2 days or in the fridge for up to 5 days. Reheat before serving for best taste.
Can I make this gluten-free?
You can try a 1:1 gluten-free flour blend, but texture may vary. Make sure your blend contains xanthan gum for structure.
What’s the best way to cut the bars cleanly?
Cool completely and use a sharp knife. Wiping the knife clean between cuts helps make neat squares without crumbling.
Final Thoughts
I hope you love making and sharing this full sheet pan dessert as much as I do! Let me know how it turns out and feel free to tweak it your way.