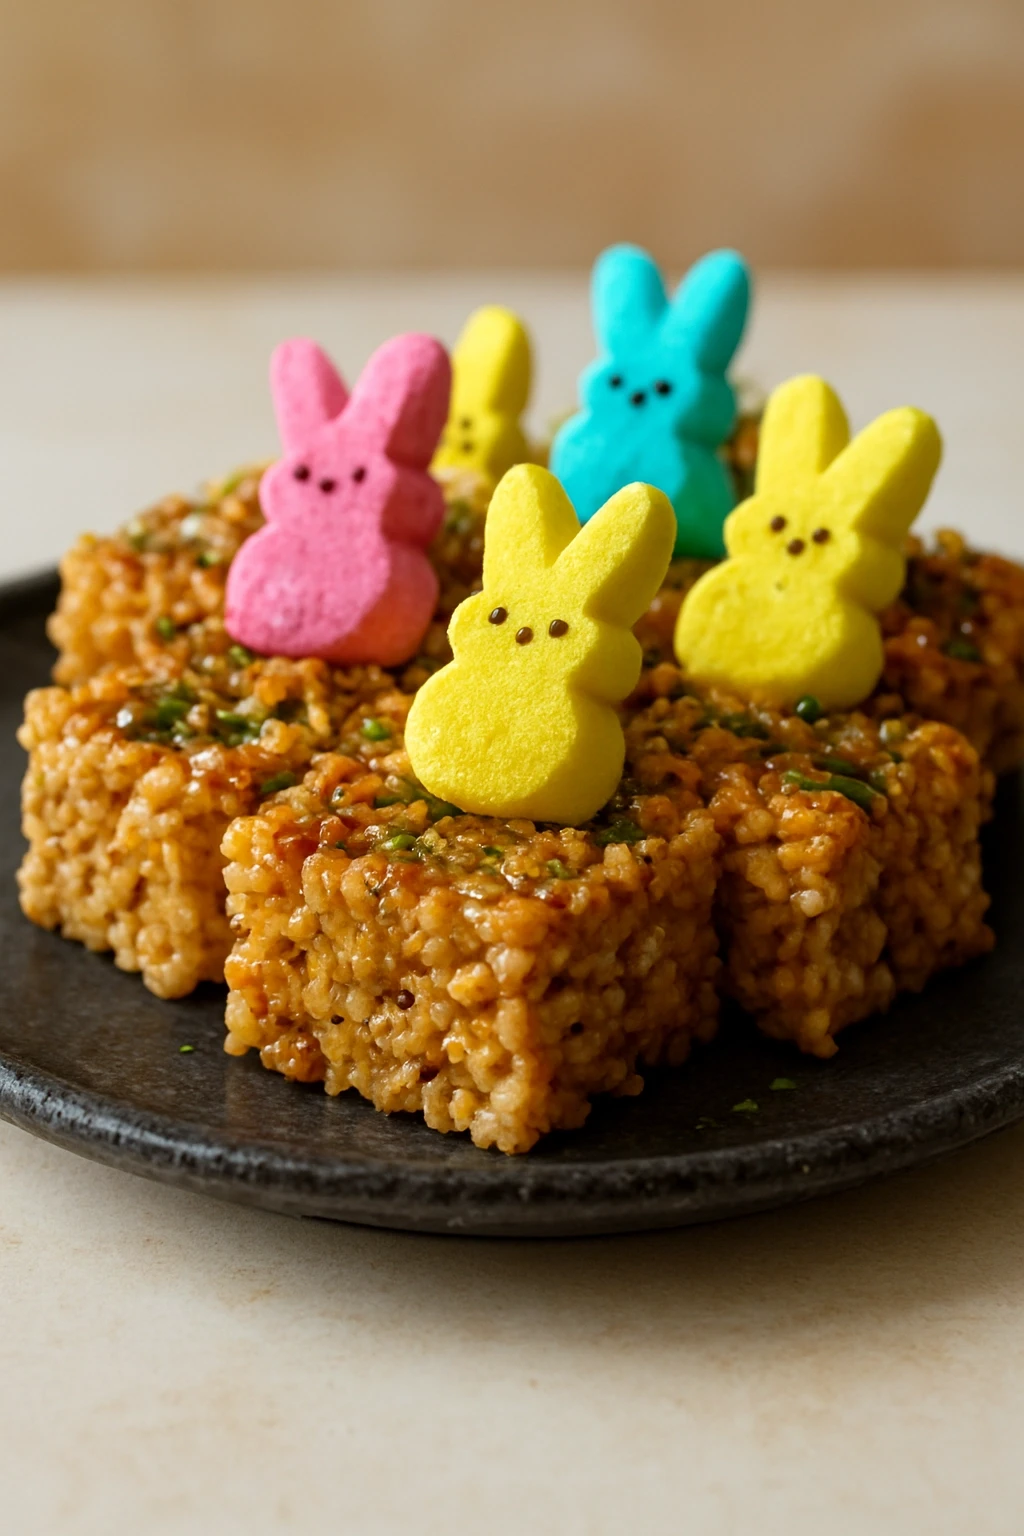
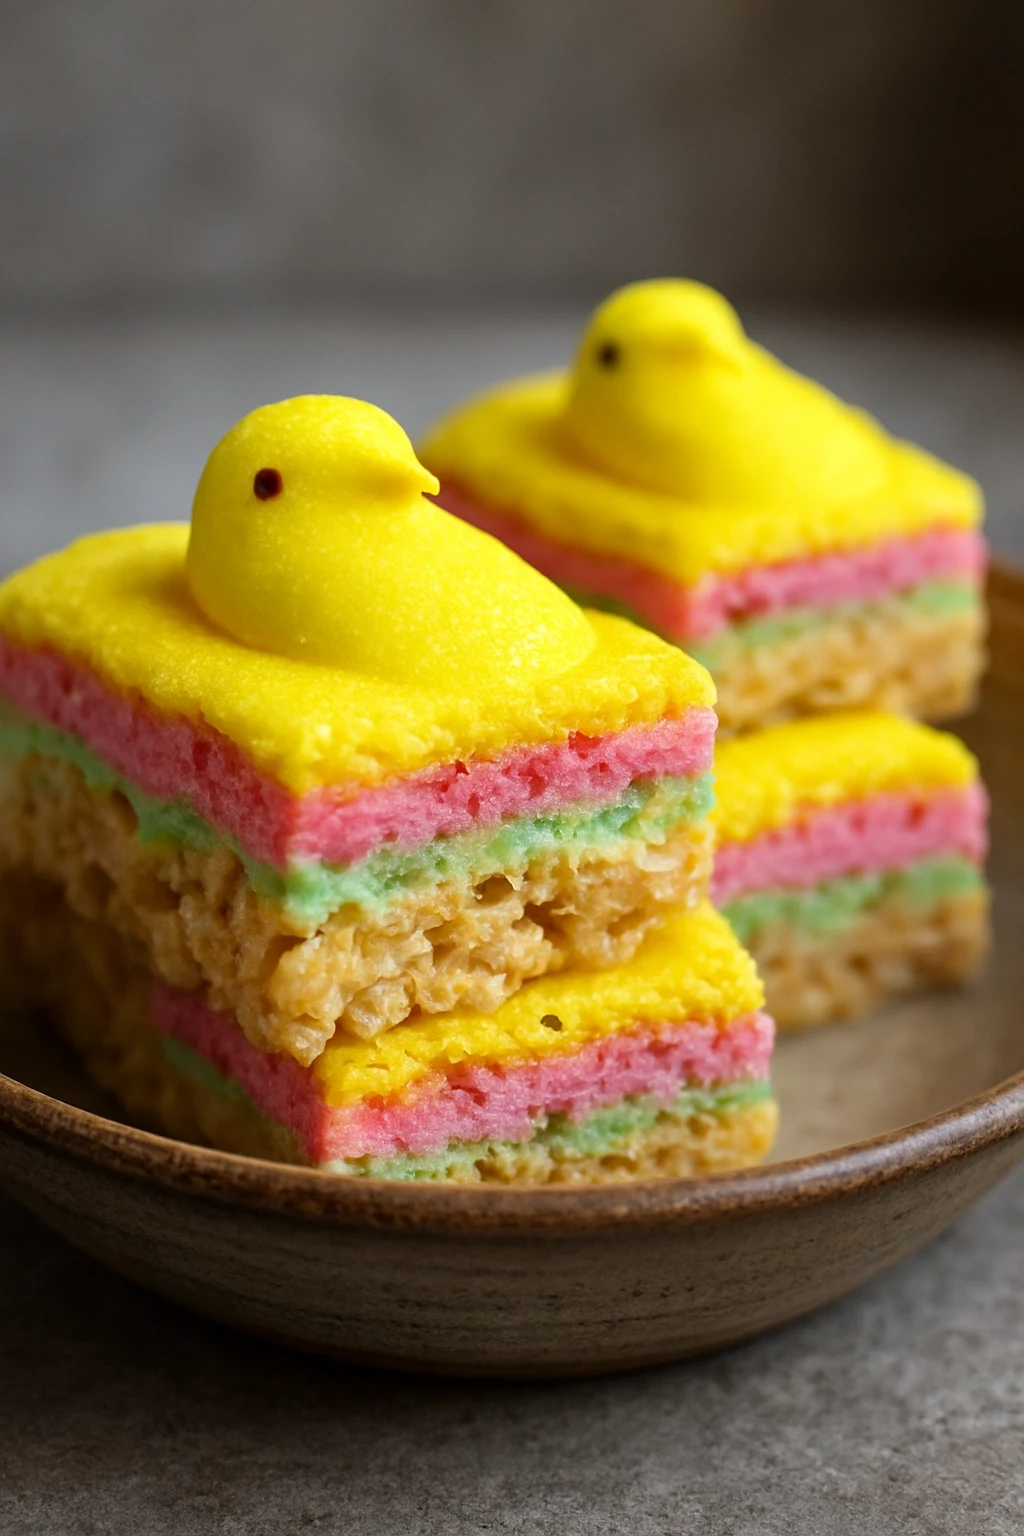
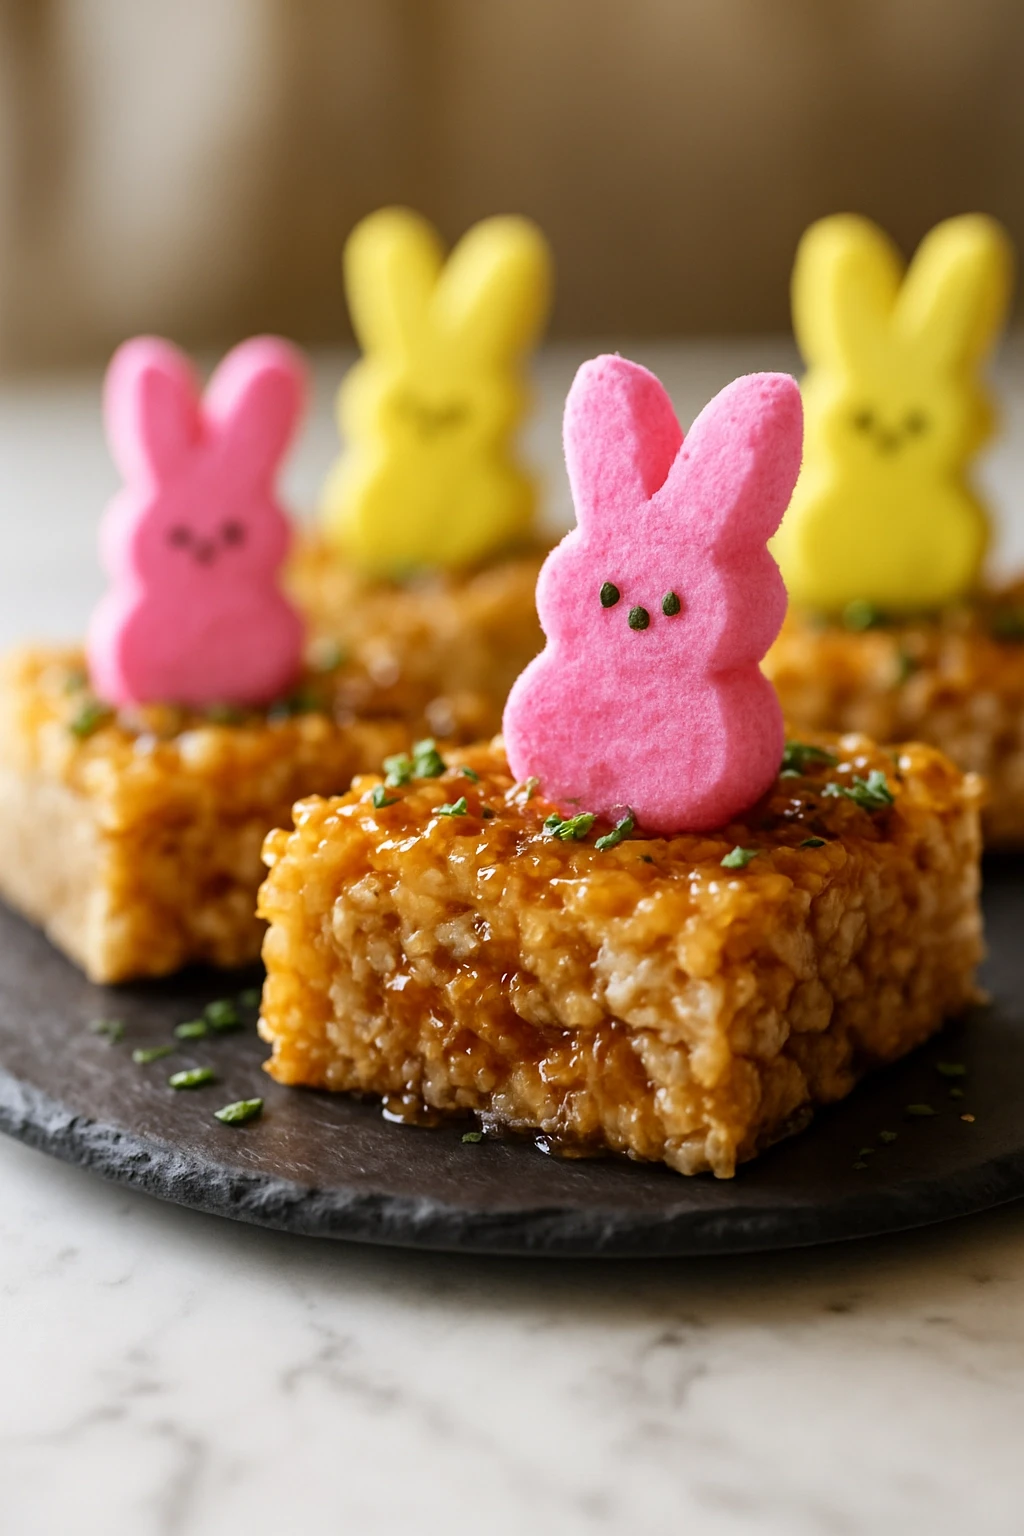
These Easter Peeps Rice Krispie Treats are a playful twist on a classic. The bright marshmallow chicks add a fun pop of color and sweetness. Perfect for spring celebrations or a cheerful snack anytime!
Introduction
I first made these Easter Peeps Rice Krispie Treats a few years ago when I wanted to add a little festive fun to a classic snack. Honestly, I was a bit skeptical about using Peeps because they’re usually super sweet and sometimes a little rubbery, but adding them on top after the treats set was a game changer. It keeps the texture perfect — soft and chewy inside with that playful, sugary pop on top. What I love about this version is how simple it is to make but it instantly feels special for spring or Easter gatherings. The secret is melting the butter and marshmallows slowly over low heat, which keeps everything smooth and glossy, so the cereal binds perfectly without getting too sticky or tough. When you bite into one, you get that nostalgic crunch paired with the cheerful, fluffy Peeps — it’s like a little celebration in every bite. Plus, these treats are super kid-friendly, and I swear they disappear faster than I can make them!
What You'll Need
Approximately 12 large squares
- 6 cups crispy rice cereal, dry
- 4 cups mini marshmallows, plus 12 Peeps marshmallow chicks
- 3 tablespoons unsalted butter
- 1 teaspoon pure vanilla extract
- Nonstick cooking spray
How To Do It
Step 1
Start by greasing a 9x13-inch baking dish with nonstick cooking spray to make sure the treats don’t stick later. This step might seem minor, but it’s crucial for easy removal and clean edges. If you skip greasing, you might struggle to lift the treats out or end up breaking them apart. Set the dish aside while you prepare the marshmallow mixture.
⏱ Time: 5 minutes
✓ Doneness: Baking dish is evenly coated with a light sheen of butter or spray, no dry spots
Step 2
In a large saucepan, melt 3 tablespoons of unsalted butter over low heat. Once melted, add 4 cups of mini marshmallows and stir gently but continuously. The low heat prevents scorching and helps the marshmallows melt smoothly into a glossy, elastic mixture. If you rush this or use high heat, the marshmallows can burn or become grainy, ruining the texture of the treats.
⏱ Time: 7-8 minutes
✓ Doneness: Marshmallow mixture is smooth, shiny, and completely melted with no lumps
Step 3
Remove the saucepan from heat and stir in 1 teaspoon of pure vanilla extract. Adding vanilla off the heat preserves its delicate flavor and aroma, which brightens the whole treat. Stir quickly to combine and avoid evaporating the vanilla’s essence.
⏱ Time: 1 minute
✓ Doneness: Vanilla is fully incorporated without reducing the marshmallow mixture’s shine
Step 4
Pour the 6 cups of crispy rice cereal into the marshmallow mixture. Using a spatula, fold the cereal gently but thoroughly to coat every piece. Be careful not to overmix or press too hard, which can crush the cereal and make the treats dense. The goal is a light, airy texture with evenly coated cereal for the perfect chew.
⏱ Time: 2-3 minutes
✓ Doneness: Cereal is completely coated and sticky but still retains shape and crunch
Step 5
Transfer the sticky cereal mixture into the prepared baking dish. Using a buttered spatula or wax paper, press the mixture evenly into the pan. Don’t press too firmly; just enough to compact it into a uniform layer. Pressing too hard can make the treats tough instead of chewy. Even thickness ensures even cutting and consistent texture.
⏱ Time: 3 minutes
✓ Doneness: Mixture is evenly spread with smooth surface, no gaps or loose cereal
Step 6
Let the treats cool at room temperature for about 20-30 minutes until fully set but still soft. This resting time lets the marshmallows firm up enough to slice cleanly but keeps the treats chewy. Avoid refrigerating to speed this up, as it can dry them out.
⏱ Time: 30 minutes
✓ Doneness: Treats are firm to touch but yield slightly when pressed
Step 7
Once set, carefully lift the entire block out of the pan using the edges of the greased dish or a spatula. Place on a cutting board and slice into 12 squares with a sharp knife. Wiping the knife with a buttered paper towel between cuts helps prevent sticking and keeps edges neat.
⏱ Time: 5 minutes
✓ Doneness: Clean square pieces with minimal crumbling or sticking
Step 8
Place one colorful Peeps marshmallow chick on top of each square. The Peeps add a whimsical Easter vibe and a contrasting texture. Don’t press them in; just set them gently on top so they stay fluffy and retain their shape. This also keeps the treats from becoming overly sweet or soggy from melting Peeps.
⏱ Time: 2 minutes
✓ Doneness: Peeps are bright, intact, and evenly spaced on each treat
Step 9
Serve immediately or store in an airtight container at room temperature. These treats taste best fresh but can keep for a couple of days. If you want to refresh the Peeps’ softness, a few seconds in the microwave can help without melting the base.
⏱ Time: 0 minutes
✓ Doneness: Treats remain chewy and Peeps stay colorful and fluffy
Pro Tips
Use low heat when melting marshmallows to avoid scorching.
Marshmallows burn easily if the heat is too high, resulting in a grainy texture and bitter taste. Melting them slowly over low heat ensures they become smooth and glossy, which binds the cereal perfectly without ruining the flavor or texture.
Grease your pan thoroughly to prevent sticking.
Even a small dry spot can cause the treats to stick and break apart when removing. A well-greased pan allows you to lift the treats out cleanly and slice neat squares without crumbling or tearing.
Press the cereal mixture gently into the pan.
Pressing too hard compresses the cereal and marshmallow binder, making the treats dense and tough rather than light and chewy. A gentle press maintains air pockets for a tender texture.
Add vanilla extract off the heat.
Vanilla’s delicate flavor evaporates if added to boiling marshmallows. Stirring it in after removing from heat preserves its aroma and sweetness, enhancing the overall flavor without overpowering the marshmallow base.
Use a buttered spatula or wax paper to press the mixture.
This prevents sticking to your hands or tools, making it easier to spread the mixture evenly without tearing the cereal pieces. It also helps achieve a smooth surface for neat cutting.
Cut treats with a buttered knife for clean edges.
Sticky marshmallow treats can gum up a dry knife, causing ragged edges and sticking. Wiping the knife with butter between cuts keeps slices clean and helps maintain the treats’ shape.
Add Peeps only after treats have fully set.
Adding Peeps too early causes them to melt and lose their shape, making the treats overly sticky and less visually appealing. Placing them on top after setting keeps their iconic look and fluffy texture.
Common Mistakes to Avoid
Melting marshmallows on high heat
Why it happens Many assume higher heat speeds up melting, but marshmallows burn quickly if not watched closely.
Fix Use low heat and stir constantly. Remove from heat as soon as marshmallows are melted and smooth to avoid graininess and bitterness.
Not greasing the pan well enough
Why it happens Sometimes people skip this step to save time or think it’s unnecessary.
Fix Always spray or butter the pan evenly. If treats stick, use a spatula to loosen edges before lifting out.
Pressing the mixture too firmly
Why it happens It feels natural to press hard to compact the treats, but this crushes the cereal.
Fix Press gently just to form an even layer. Let the treats set for the right texture.
Adding Peeps before treats set
Why it happens Trying to embed Peeps early for stability seems logical but backfires.
Fix Wait until treats are fully set and cooled before placing Peeps on top to keep their shape.
Using stale marshmallows
Why it happens Marshmallows lose moisture over time and don’t melt well.
Fix Use fresh marshmallows for smooth melting. If stale, try freshening by microwaving briefly before use.
Variations
Chocolate Drizzle Peeps Treats
After the treats set and Peeps are placed on top, drizzle melted dark or milk chocolate over the squares. This adds a rich contrast to the sweet marshmallow and crispy cereal, making the treats feel a bit more decadent and perfect for chocolate lovers.
Note: Allow the chocolate to cool and harden at room temperature. Avoid refrigerating to prevent condensation which can make treats soggy.
Peanut Butter Marshmallow Treats
Add 1/2 cup creamy peanut butter to the melted marshmallow mixture before folding in the cereal. This adds a nutty depth and creamy texture that pairs wonderfully with the sweetness of the Peeps on top.
Note: Make sure to melt the peanut butter gently with marshmallows to prevent separation and ensure even coating.
Rainbow Cereal Easter Treats
Swap classic rice cereal for a colorful fruity cereal to make the treats extra vibrant and fun for kids. The fruity flavor adds a new dimension and makes the treats visually pop even more with Peeps on top.
Note: Fruit-flavored cereals tend to be softer, so press gently and serve soon after making to maintain crunch.
Vegan Coconut Marshmallow Treats
Use vegan marshmallows and coconut oil instead of butter to make these treats plant-based. The coconut oil adds subtle flavor and the vegan marshmallows melt similarly, keeping the texture close to the original.
Note: Vegan marshmallows melt differently; melt slowly and stir frequently to avoid graininess.
Salted Caramel Rice Krispie Treats
Stir in 1/4 teaspoon sea salt and 1/3 cup caramel sauce into the melted marshmallows before mixing with cereal. The salted caramel adds a sophisticated twist that balances the sweetness and pairs nicely with the Peeps.
Note: Use a thick caramel sauce to avoid making the mixture too runny; adjust cereal quantity if needed.
Nutrition
Per Serving:
Nutritional values are estimates and may vary based on specific ingredients used.
Storage & Tips
Room Temperature
Store treats in an airtight container at room temperature for up to 2 days. Keep them in a cool, dry place away from direct sunlight to prevent melting or sticky texture. Covering prevents drying out and keeps Peeps looking fresh.
Refrigerator
You can refrigerate the treats for up to 4 days in an airtight container. Note that refrigeration can make the treats firmer and less chewy. Bring to room temperature before serving for best texture.
Freezer
Freeze in a sealed container or freezer bag for up to 1 month. Wrap treats tightly in plastic wrap before placing in container to prevent freezer burn. Thaw at room temperature for a few hours before serving; avoid microwaving frozen treats as it can alter texture.
Reheating
If treats feel too firm or dry, warm them in the microwave for 10-15 seconds. Add a small splash of milk or butter if needed to restore softness. Avoid overheating, which can melt the Peeps and make the base sticky.
Make Ahead
You can prepare the Rice Krispie base up to 1 day ahead and store it in the pan covered with plastic wrap. Add the Peeps just before serving to keep them fresh and colorful. This saves time and keeps the treats looking their best.
FAQ
Can I use regular-sized marshmallows instead of mini ones?
Yes, but you’ll need to cut the regular marshmallows into smaller pieces so they melt evenly and quickly. Larger marshmallows take longer to melt, increasing the risk of burning. Stir frequently on low heat to ensure smooth melting.
What if I don’t have Peeps? Can I skip them?
Absolutely! The Peeps are mainly for decoration and festive fun. The treats will still taste great without them. You can also substitute with other marshmallow shapes or colorful candies if you prefer.
How do I prevent the treats from sticking to the pan?
Greasing the pan well with butter or nonstick spray is key. Also, using a buttered spatula or wax paper to press the mixture helps reduce sticking. Let the treats cool completely before removing from the pan.
Can I make these gluten-free?
Yes! Just use a certified gluten-free crispy rice cereal. Most plain rice cereals are naturally gluten-free, but always check the label to be sure. The rest of the ingredients are naturally gluten-free.
Why do my treats turn out hard instead of chewy?
This usually happens if you overcook the marshmallows or press the mixture too firmly. Melt marshmallows gently on low heat and press the cereal mixture lightly into the pan to keep the texture soft and chewy.
Can I add mix-ins like chocolate chips or nuts?
Yes, but add them after removing the marshmallow mixture from heat and before folding in the cereal. This prevents melting or sogginess. Keep mix-ins moderate to avoid weighing down the treats.
How long do these treats keep fresh?
They’re best eaten within 2 days at room temperature for optimal texture and flavor. Stored airtight, they can last up to 4 days in the fridge, but may firm up. Freezing extends shelf life to about a month.
Why did my Peeps melt and lose shape?
Peeps should be placed on top only after the treats have fully set and cooled. Adding them while the base is still warm causes them to melt and lose their iconic shape and texture.
Final Thoughts
I hope you have as much fun making and eating these Easter Peeps Rice Krispie Treats as I do every spring. Don’t forget to share your colorful creations—I’d love to see them!