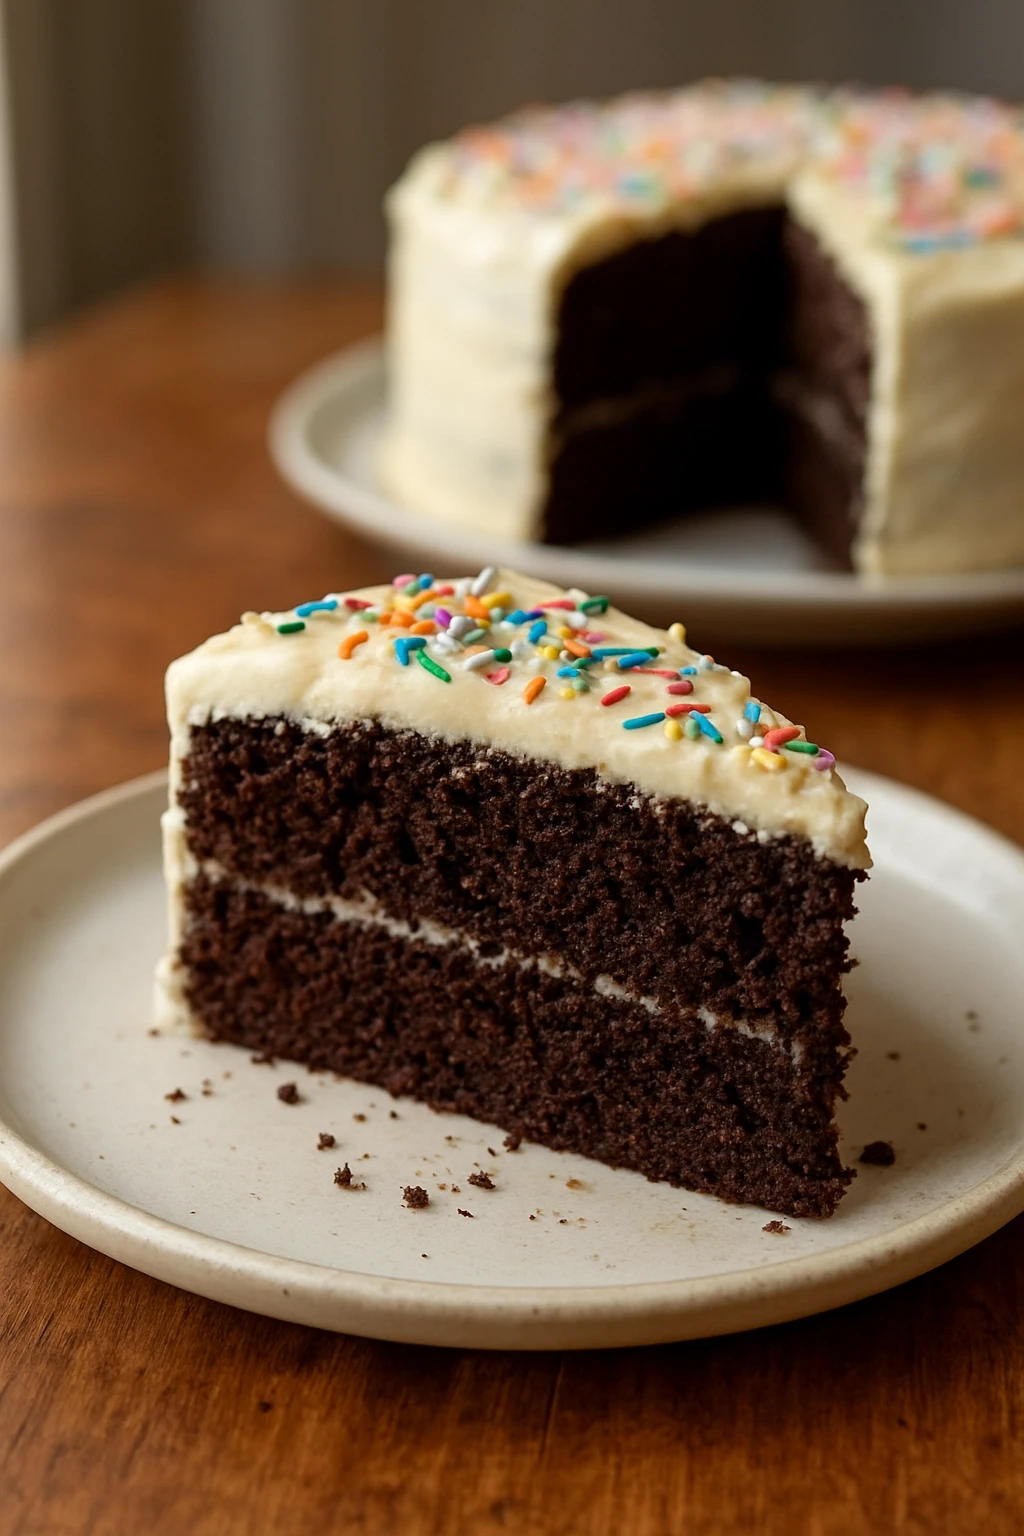
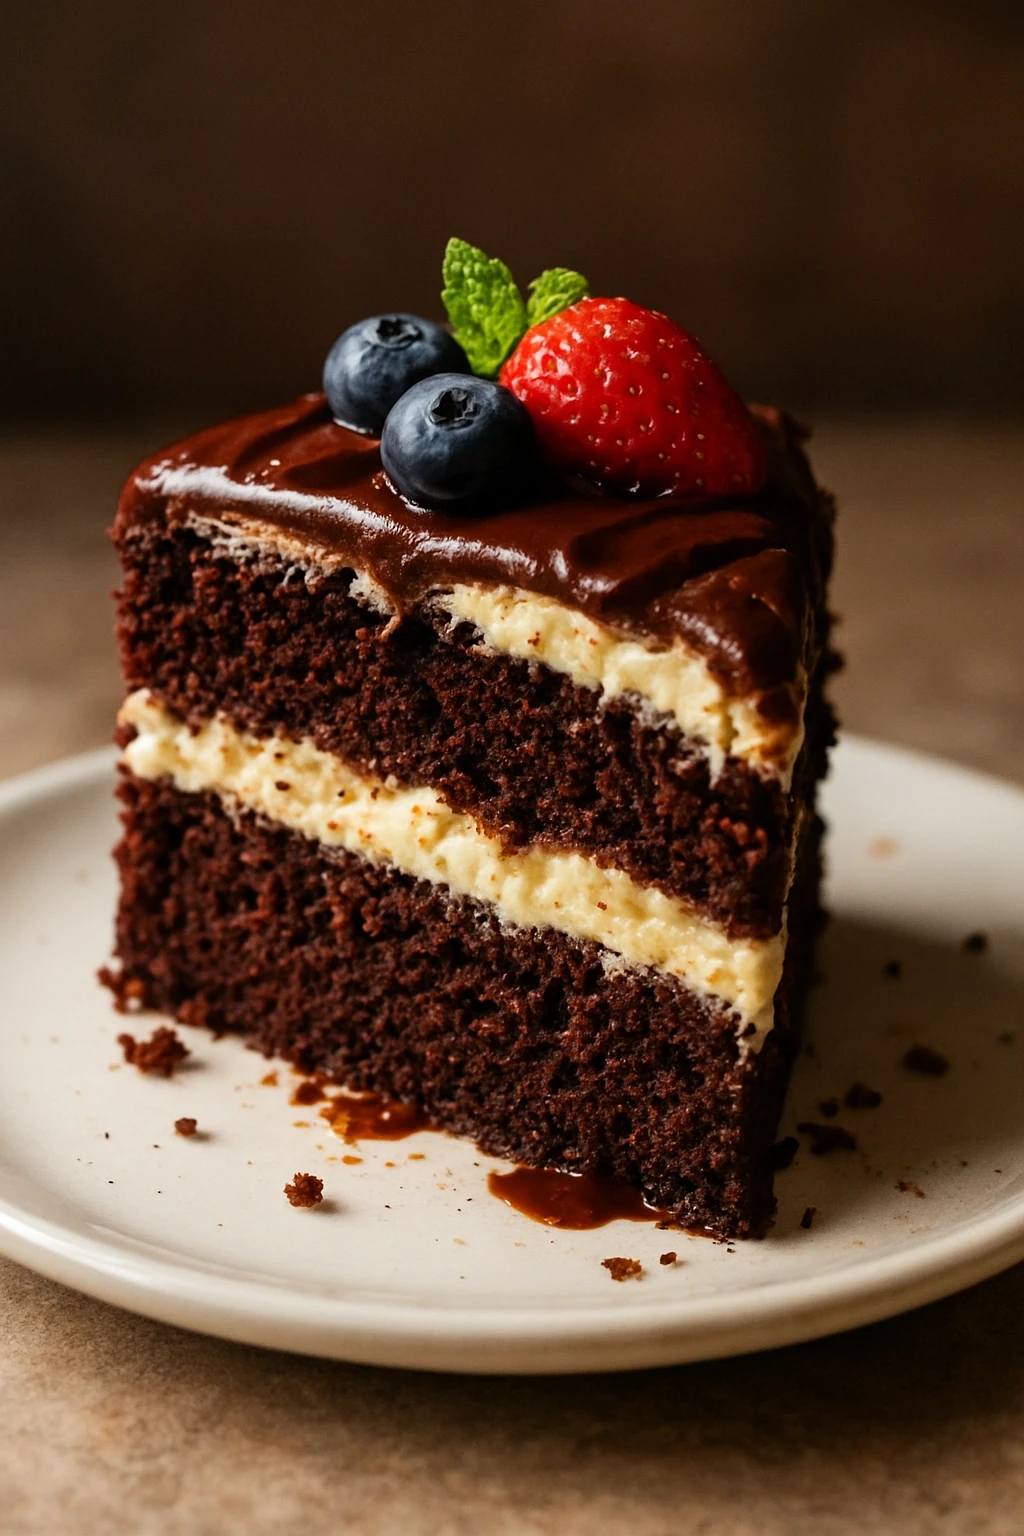
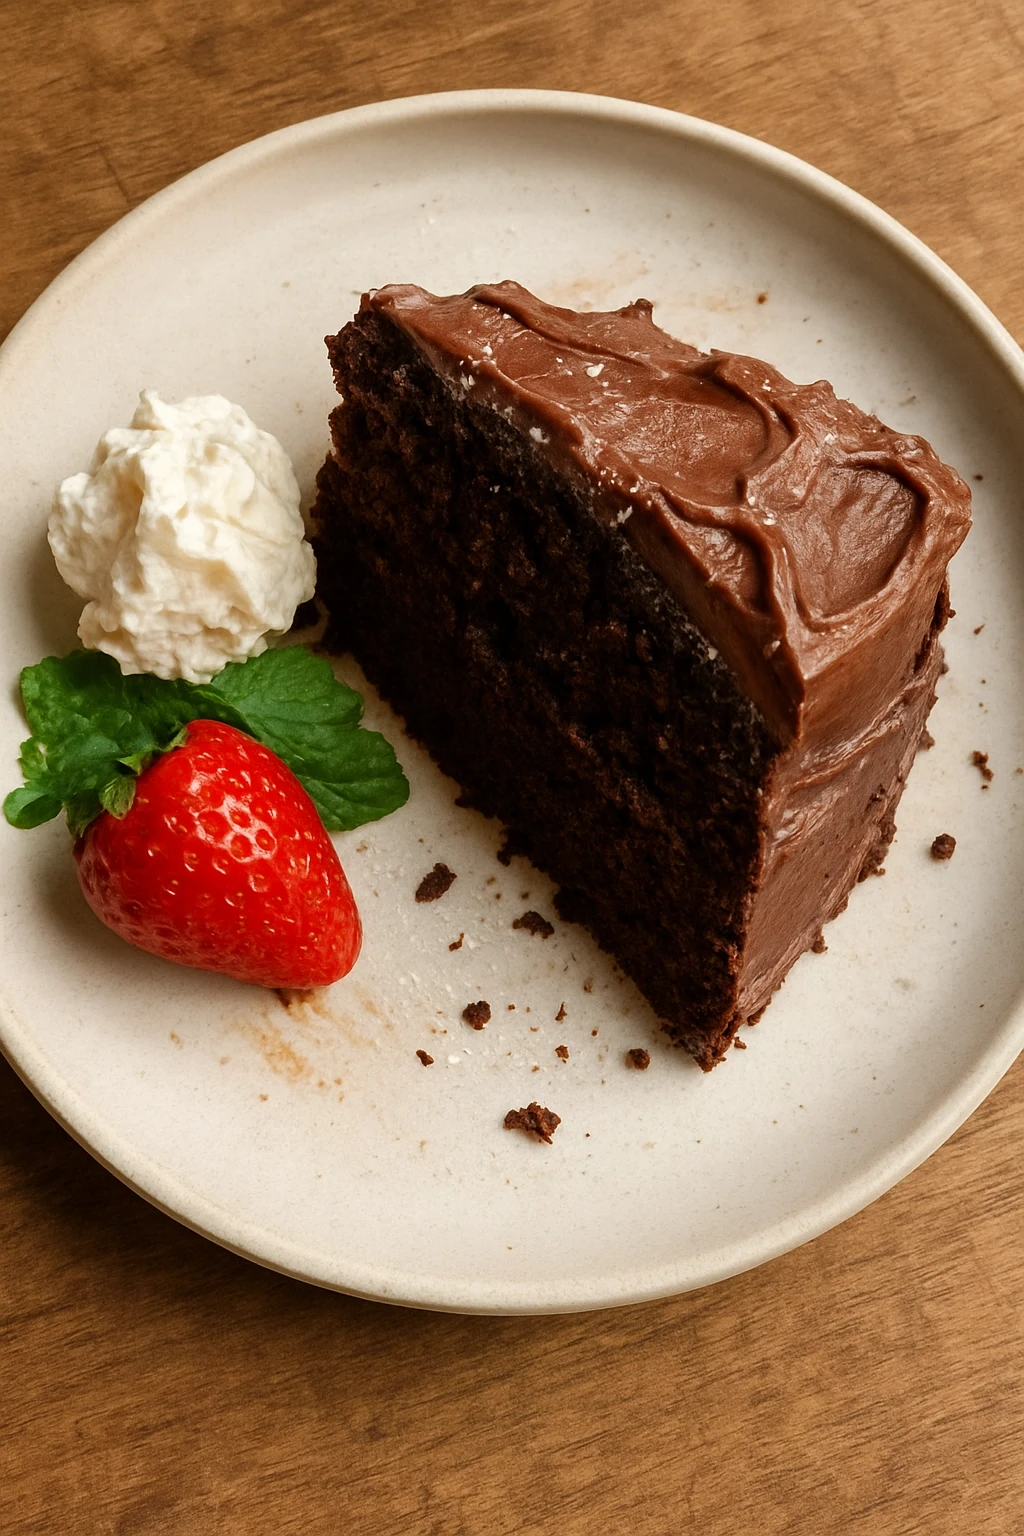
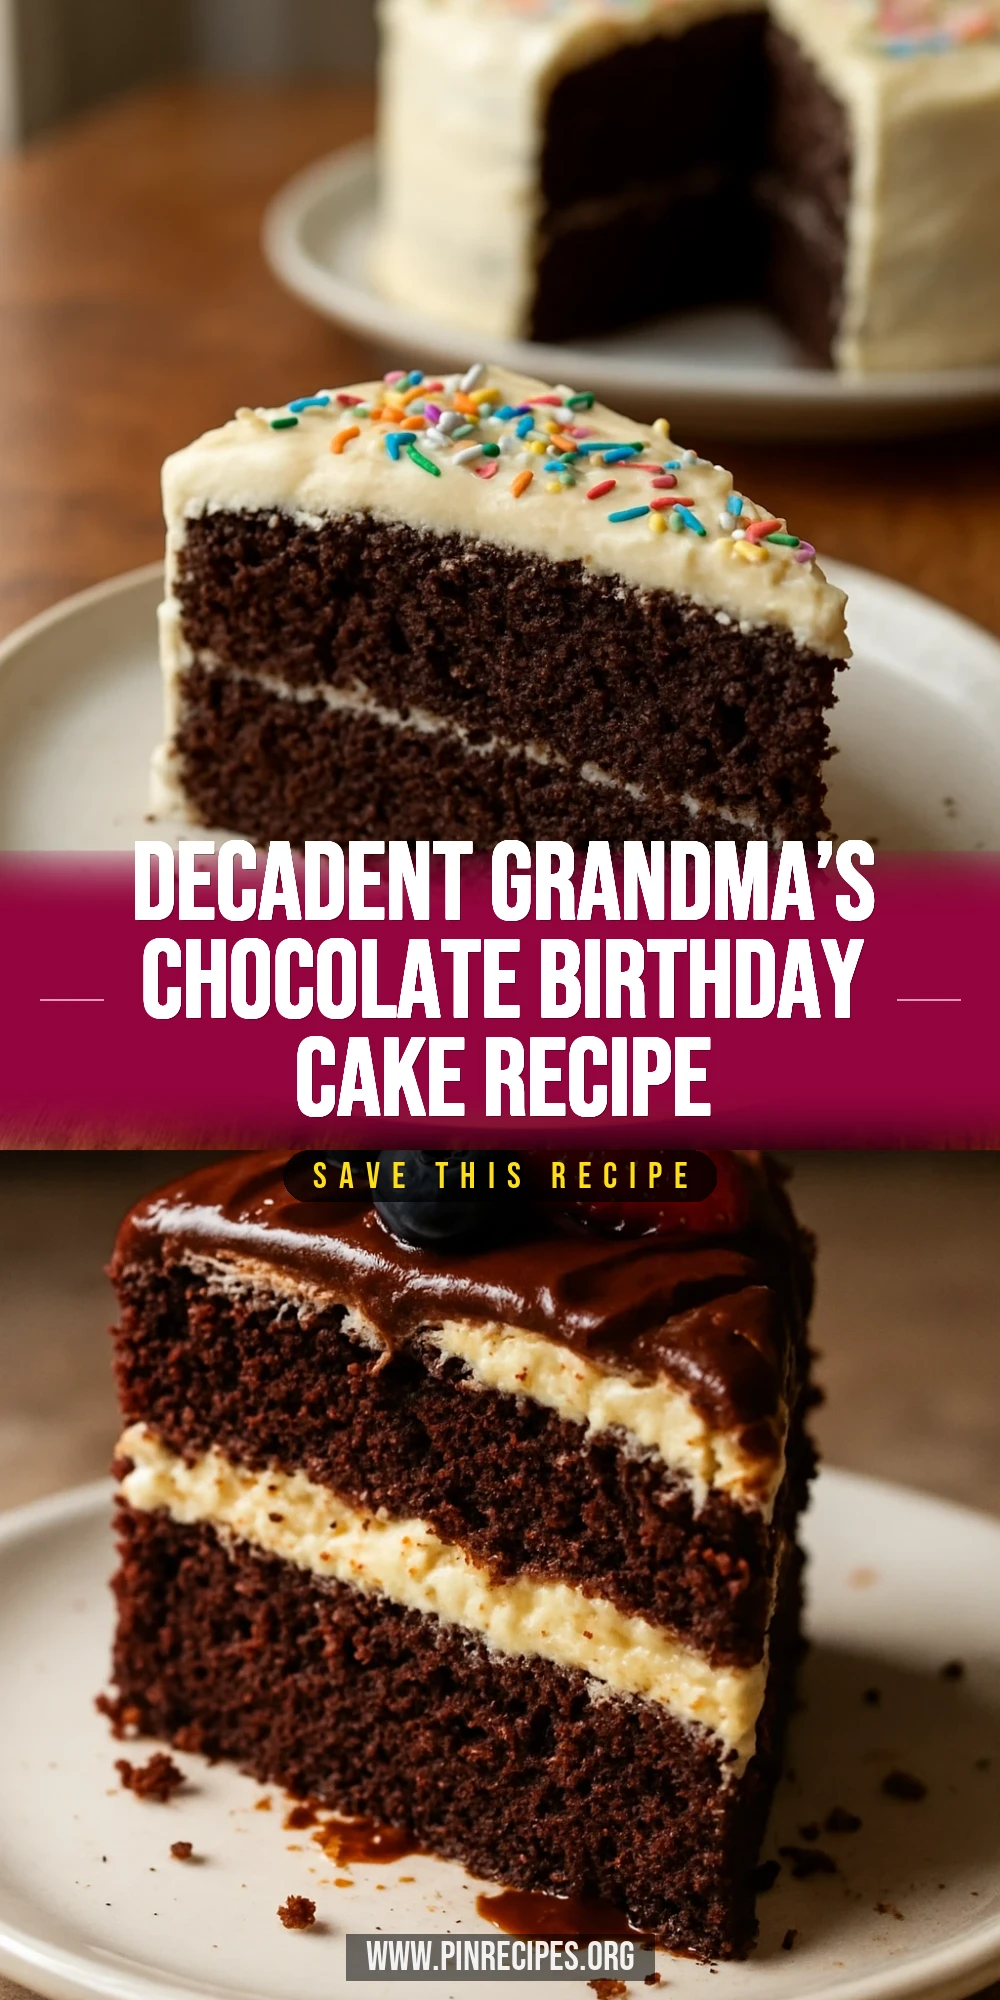
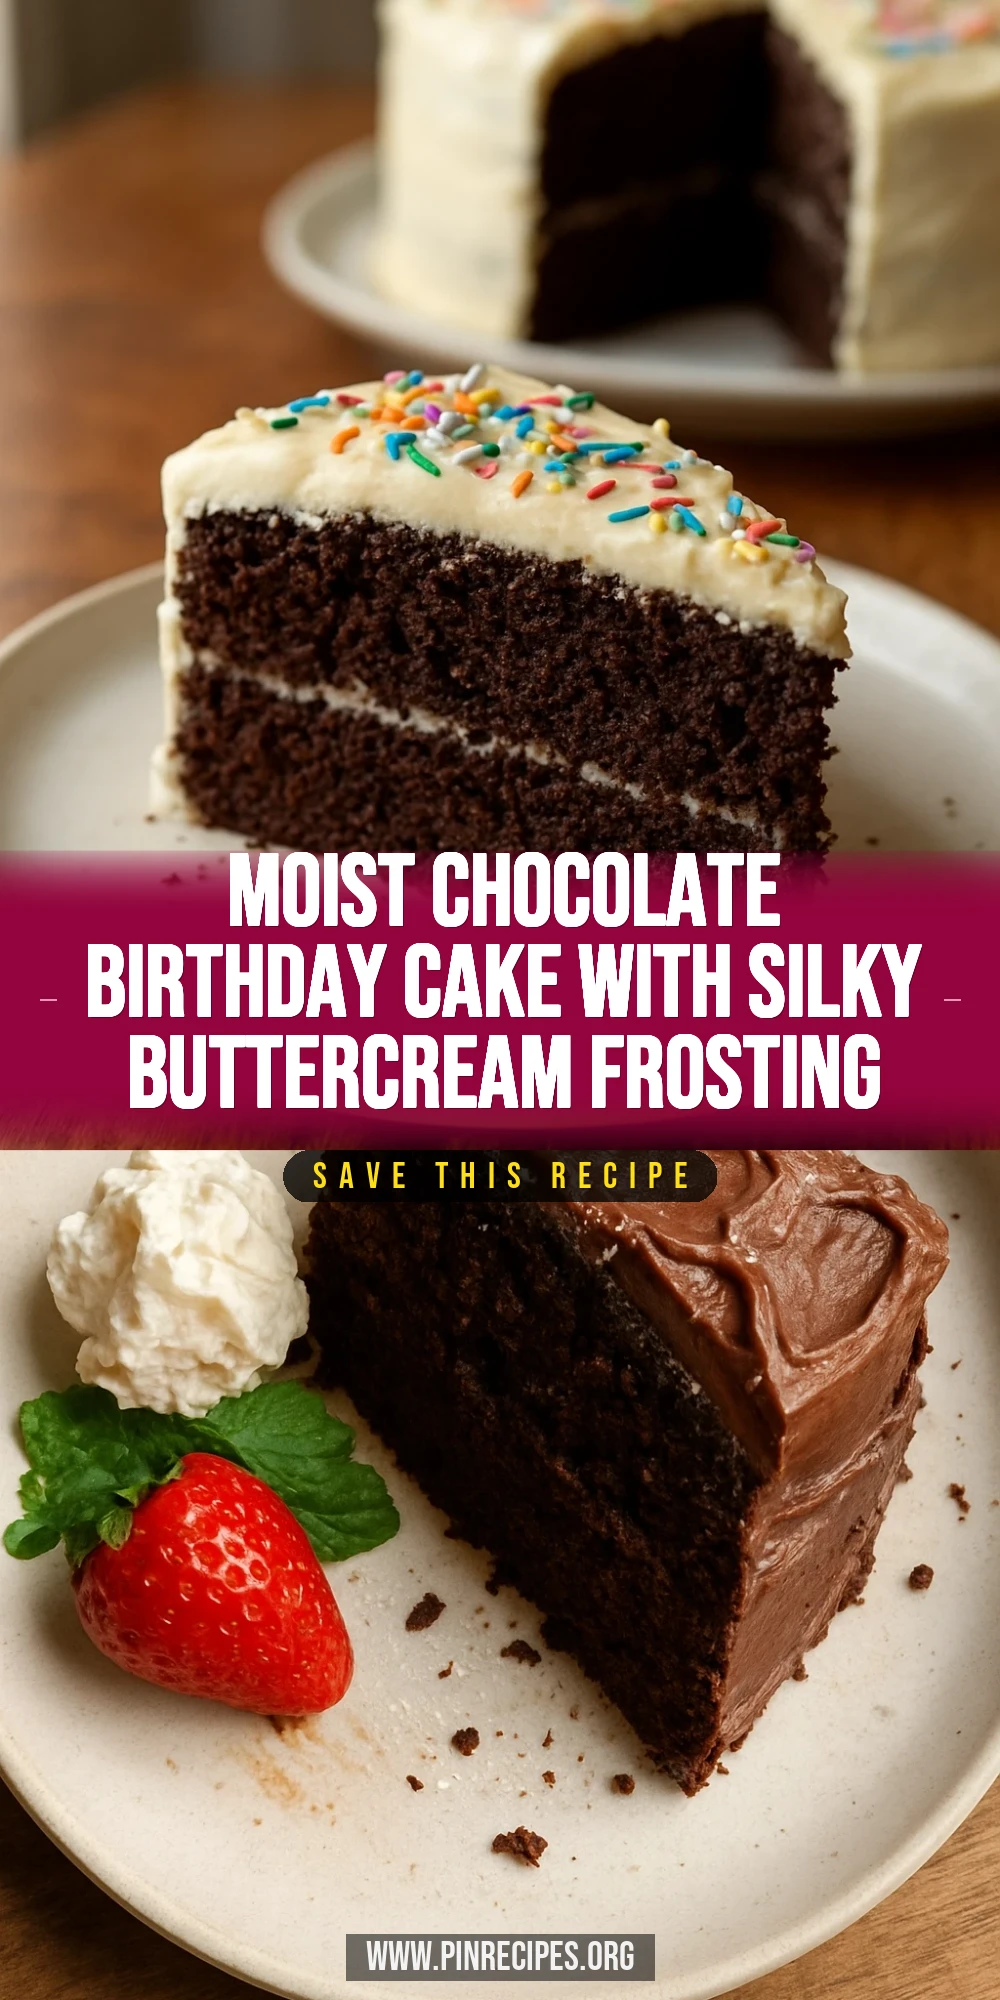
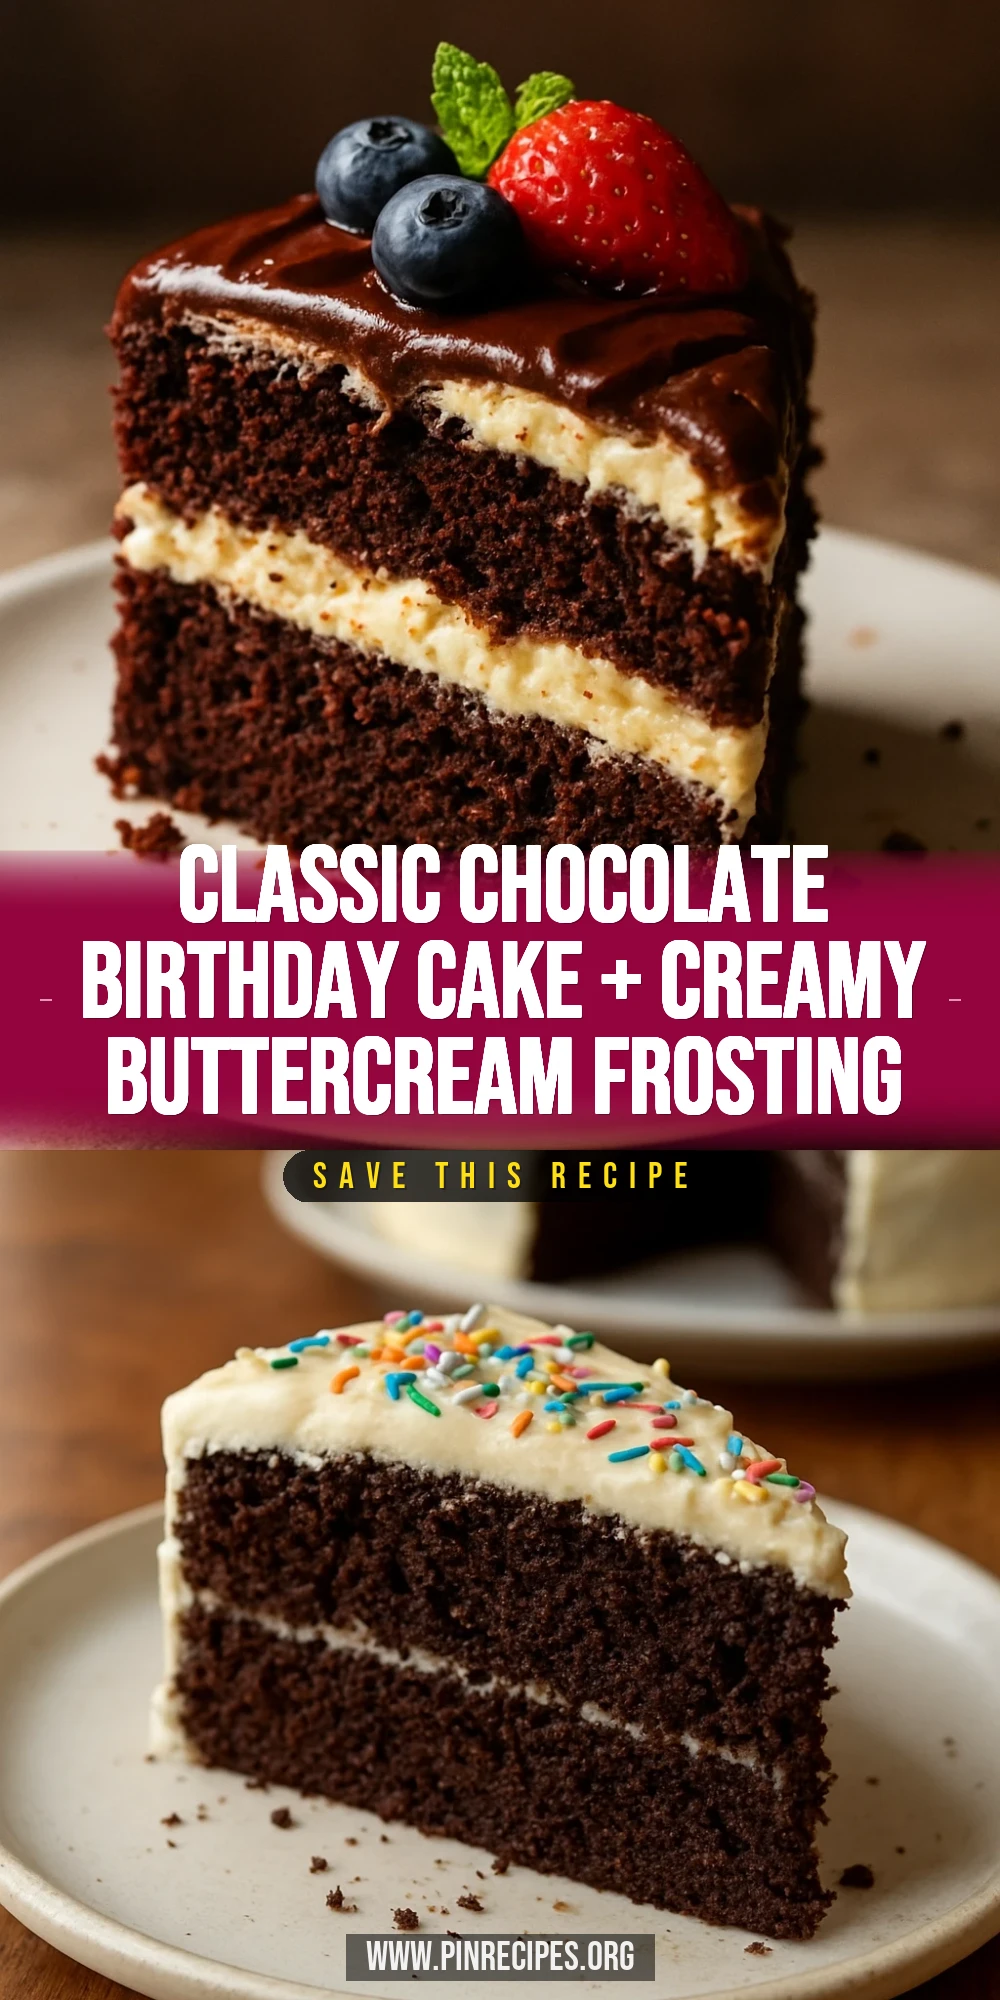
This chocolate birthday cake is rich, moist, and topped with silky buttercream frosting that melts in your mouth. I love how the classic buttercream adds a smooth sweetness without overpowering the chocolate. Perfect for any celebration!
Introduction
I first made this chocolate birthday cake years ago when I wanted something classic but reliably delicious for my nephew's party. The recipe quickly became a family favorite because it’s rich yet not too heavy, and that buttercream frosting? Absolutely dreamy. I’ve tweaked it over time to get the perfect balance of moistness and crumb texture. One trick I learned is to add boiling water to the batter at the end — it sounds strange, but it really blooms the cocoa powder, giving the cake a deep chocolate flavor and a tender crumb. Also, whipping the buttercream until it’s light and fluffy makes all the difference in getting that silky smooth finish. When you slice into this cake, you’ll notice how moist it is without being dense, and the frosting isn’t overly sweet, which keeps it from feeling cloying. Honestly, it’s the kind of cake that brings everyone to the table smiling and asking for seconds.
What You'll Need
One 9-inch two-layer cake, 8 servings
- 1 and 3/4 cups all-purpose flour, sifted
- 2 cups granulated sugar
- 3/4 cup unsweetened cocoa powder, sifted
- 1 and 1/2 teaspoons baking powder
- 1 and 1/2 teaspoons baking soda
- 1 teaspoon salt
- 2 large eggs, room temperature
- 1 cup whole milk, room temperature
- 1/2 cup vegetable oil
- 2 teaspoons pure vanilla extract
- 1 cup boiling water
- For the buttercream:
- 1 cup unsalted butter, softened
- 3 and 1/2 cups powdered sugar, sifted
- 1/4 cup heavy cream
- 2 teaspoons pure vanilla extract
- Pinch of salt
How To Do It
Step 1
Preheat your oven to 350°F (175°C) and grease two 9-inch round cake pans. Line the bottoms with parchment paper to prevent sticking. This prep ensures your cakes bake evenly and release easily from the pans later. Don’t skip the parchment—it’s a small step that saves a lot of frustration when unmolding.
⏱ Time: 10 minutes
✓ Doneness: Pans are well greased and parchment fits snugly with no wrinkles
Step 2
In a large bowl, whisk together the flour, sugar, cocoa powder, baking powder, baking soda, and salt. Sifting these dry ingredients helps avoid lumps and ensures an even distribution of leavening agents, which is key for a uniform rise.
⏱ Time: 5 minutes
✓ Doneness: Dry mix is smooth, without clumps or streaks
Step 3
Add the eggs, milk, oil, and vanilla extract to the dry ingredients. Beat on medium speed with an electric mixer until smooth and combined, about 2 minutes. This step builds the batter’s structure and incorporates air, contributing to the cake’s lightness.
⏱ Time: 3 minutes
✓ Doneness: Batter is smooth, thick but pourable, no flour pockets
Step 4
Carefully stir in the boiling water last. The batter will be thin—that’s exactly what you want. The hot water helps 'bloom' the cocoa powder, intensifying the chocolate flavor and ensuring the cake stays moist. Don’t skip this or add cold water instead, or you’ll lose that rich taste.
⏱ Time: 2 minutes
✓ Doneness: Batter is thin and glossy with no lumps
Step 5
Divide the batter evenly between the prepared pans. Tap the pans gently on the counter to release any large air bubbles. This helps the cakes bake evenly and prevents large holes in the crumb.
⏱ Time: 5 minutes
✓ Doneness: Batter is level in pans, bubbles mostly gone
Step 6
Bake for 30-35 minutes, rotating the pans halfway through for even baking. Test doneness by inserting a toothpick in the center; it should come out with a few moist crumbs but no raw batter. Overbaking leads to dry cake, so watch closely after 30 minutes.
⏱ Time: 35 minutes
✓ Doneness: Toothpick inserted comes out clean or with moist crumbs
Step 7
Let cakes cool in pans for 10 minutes, then run a knife around the edges and invert onto wire racks to cool completely. Cooling on racks prevents soggy bottoms and keeps the texture light. Don’t frost while warm or the buttercream will melt.
⏱ Time: 1 hour
✓ Doneness: Cakes are completely cool to touch
Step 8
To make the buttercream, beat softened butter on medium speed until creamy and pale, about 3 minutes. Slowly add powdered sugar, alternating with heavy cream, beating well after each addition. This slow incorporation prevents powdered sugar clouds and ensures a smooth, fluffy frosting.
⏱ Time: 10 minutes
✓ Doneness: Buttercream is light, fluffy, and spreadable
Step 9
Add vanilla extract and a pinch of salt to balance sweetness. Beat again until fully combined. Spread a thick layer of buttercream on one cake layer, top with the second layer, then frost the top and sides evenly. Smooth with an offset spatula or create swirls for a homemade look.
⏱ Time: 15 minutes
✓ Doneness: Cake is fully frosted with no crumbs showing, frosting holds shape
Pro Tips
Always sift your dry ingredients before mixing.
Sifting aerates the flour and cocoa powder, removes lumps, and evenly distributes baking powder and soda. This ensures the cake rises evenly and has a smooth texture without dense patches.
Add boiling water at the end of mixing the batter.
Hot water blooms the cocoa powder, intensifying flavor and thinning the batter for a tender crumb. Adding it too early or cold water will weaken the chocolate flavor and affect texture.
Use room temperature eggs for better emulsification.
Room temp eggs combine more easily with fats and liquids, creating a smooth batter that traps air well. Cold eggs can cause the batter to seize or mix unevenly, leading to dense cake.
Don’t rush cooling before frosting.
Frosting warm cake causes buttercream to melt and slide off. Letting the cake cool completely ensures the frosting sets properly and looks neat.
Beat buttercream until very light and fluffy.
Properly whipped buttercream incorporates air, making it spreadable and silky. Under-beaten frosting can be dense and hard to spread, while over-beating can cause separation.
Rotate cake pans halfway through baking.
Ovens often have hot spots; rotating pans ensures even heat distribution, preventing one side from overbaking or underbaking.
Use an offset spatula for frosting.
An offset spatula gives better control and smooth finish when spreading frosting, helping you achieve a professional look without damaging the cake layers.
Common Mistakes to Avoid
Skipping the boiling water addition.
Why it happens Some cooks find it odd to add hot water to a batter and skip it, fearing it will cook the eggs or thin the batter too much.
Fix Trust the recipe: add boiling water at the end and mix gently. This step blooms the cocoa and thins the batter for a moist, tender crumb. Without it, the cake can be dry and less flavorful.
Frosting the cake before it’s fully cooled.
Why it happens Impatience or not planning ahead leads to frosting warm cake layers.
Fix Allow at least an hour for cakes to cool completely on wire racks before frosting. If you’re in a hurry, chill the layers in the fridge for 20-30 minutes to speed cooling.
Overmixing the batter after adding flour.
Why it happens Trying to get a perfectly smooth batter often leads to overmixing.
Fix Mix just until ingredients are combined. Overmixing develops gluten, making the cake tough and dense instead of tender.
Using cold eggs or milk straight from the fridge.
Why it happens Forgetting to prep ingredients ahead or rushing the process.
Fix Bring eggs and milk to room temperature before mixing. This helps the batter emulsify properly and prevents curdling.
Not greasing and lining the cake pans well.
Why it happens Skipping steps to save time or assuming non-stick pans are enough.
Fix Grease pans thoroughly and line with parchment paper to ensure cakes release easily without tearing.
Variations
Mocha Chocolate Cake
Add 1 tablespoon of instant espresso powder dissolved in the boiling water to the batter. This enhances the chocolate flavor with a subtle coffee note, perfect for coffee lovers.
Note: Dissolve espresso powder fully in hot water before adding to batter to avoid graininess.
Vegan Chocolate Cake
Swap eggs for flax eggs (1 tablespoon ground flaxseed + 3 tablespoons water per egg), use plant-based milk, and replace butter with vegan margarine for the frosting. Expect a slightly denser but still moist cake.
Note: Flax eggs need time to gel before mixing; add a bit more baking powder to help with rise.
Gluten-Free Chocolate Cake
Use a 1-to-1 gluten-free baking flour blend instead of all-purpose flour. The texture will be slightly different, a bit more crumbly, but still delicious and chocolatey.
Note: Add 1/4 teaspoon xanthan gum if your blend doesn’t contain it to improve structure.
Salted Caramel Buttercream
Stir 1/4 cup homemade or store-bought salted caramel sauce into the buttercream for a rich, sweet-savory frosting that pairs beautifully with chocolate cake layers.
Note: Add caramel slowly and taste as you go to avoid overly sweet or runny frosting.
Layered Berry Chocolate Cake
Add fresh raspberries between the cake layers along with the buttercream for a fruity contrast. The tartness brightens the rich chocolate flavor and adds a beautiful pop of color.
Note: Pat berries dry to avoid excess moisture that can make the cake soggy.
Nutrition
Per Serving:
Nutritional values are estimates and may vary based on specific ingredients used.
Storage & Tips
Room Temperature
Keep the frosted cake covered loosely with a cake dome or plastic wrap at room temperature for up to 2 days. Avoid direct sunlight or heat sources to prevent the buttercream from melting.
Refrigerator
Store the cake in an airtight container or cake keeper for up to 5 days. The cake may firm up and the frosting can harden slightly, so bring to room temperature for 30 minutes before serving to soften.
Freezer
Wrap cake layers tightly in plastic wrap and then foil to freeze for up to 3 months. Thaw overnight in the fridge, then bring to room temperature before frosting or serving to maintain texture.
Reheating
Chocolate cake is best served at room temperature; avoid microwaving as it can dry out the crumb and melt the frosting. If needed, warm a slice gently in the microwave for 10-15 seconds.
Make Ahead
Bake cake layers up to 2 days ahead, wrap well, and refrigerate. Prepare buttercream a day ahead and keep refrigerated. Assemble and frost the day you plan to serve for the freshest taste and best texture.
FAQ
Can I use Dutch-processed cocoa instead of natural cocoa powder?
Dutch-processed cocoa is less acidic and can affect how the cake rises because it doesn’t react with baking soda the same way natural cocoa does. If you use Dutch-processed, you might need to adjust the leavening agents or add a bit of baking powder to compensate. For this recipe, natural cocoa powder is best for flavor and texture.
Why is my cake dense and not fluffy?
Dense cake can result from overmixing the batter after adding flour, using cold ingredients, or not enough leavening. Be sure to mix just until combined, use room temperature eggs and milk, and measure your baking powder and soda accurately.
How do I prevent my buttercream from being too sweet?
Adding a pinch of salt and vanilla extract balances the sweetness. Also, make sure to beat the buttercream well to incorporate air, which lightens the texture and reduces perceived sweetness.
Can I make this cake gluten-free?
Yes! Substitute all-purpose flour with a gluten-free blend that includes xanthan gum. The texture will be slightly different, but the cake will still be moist and delicious.
How do I store leftover cake?
Store leftover cake in an airtight container at room temperature for up to 2 days or in the fridge for up to 5 days. Bring refrigerated cake to room temperature before serving for best flavor and texture.
Can I freeze the whole frosted cake?
It’s better to freeze unfrosted cake layers wrapped tightly, then frost after thawing. Freezing a frosted cake can cause the buttercream to weep or separate upon thawing.
Why does my cake stick to the pan?
Make sure to grease and flour the pans well and line with parchment paper. Also, let the cake cool for 10 minutes before inverting. Trying to remove it too soon or skipping parchment can cause sticking.
Can I use butter instead of vegetable oil in the batter?
Butter will give a richer flavor but can make the cake denser and less moist since it solidifies when cooled. If you substitute, melt the butter and cool it before mixing to mimic oil’s effect.
How can I make the cake more chocolatey?
Use good-quality cocoa powder and don’t skip the boiling water step, which blooms the cocoa. Adding a teaspoon of espresso powder also intensifies the chocolate flavor without tasting like coffee.
What’s the best way to level cake layers?
Once cooled, use a serrated knife or cake leveler to trim the domed tops, creating flat layers for stacking. This prevents the cake from leaning and gives a professional look.
Final Thoughts
Give this chocolate birthday cake a try next time you want something classic and crowd-pleasing. I’d love to hear how it turns out for you—don’t forget to share your photos!