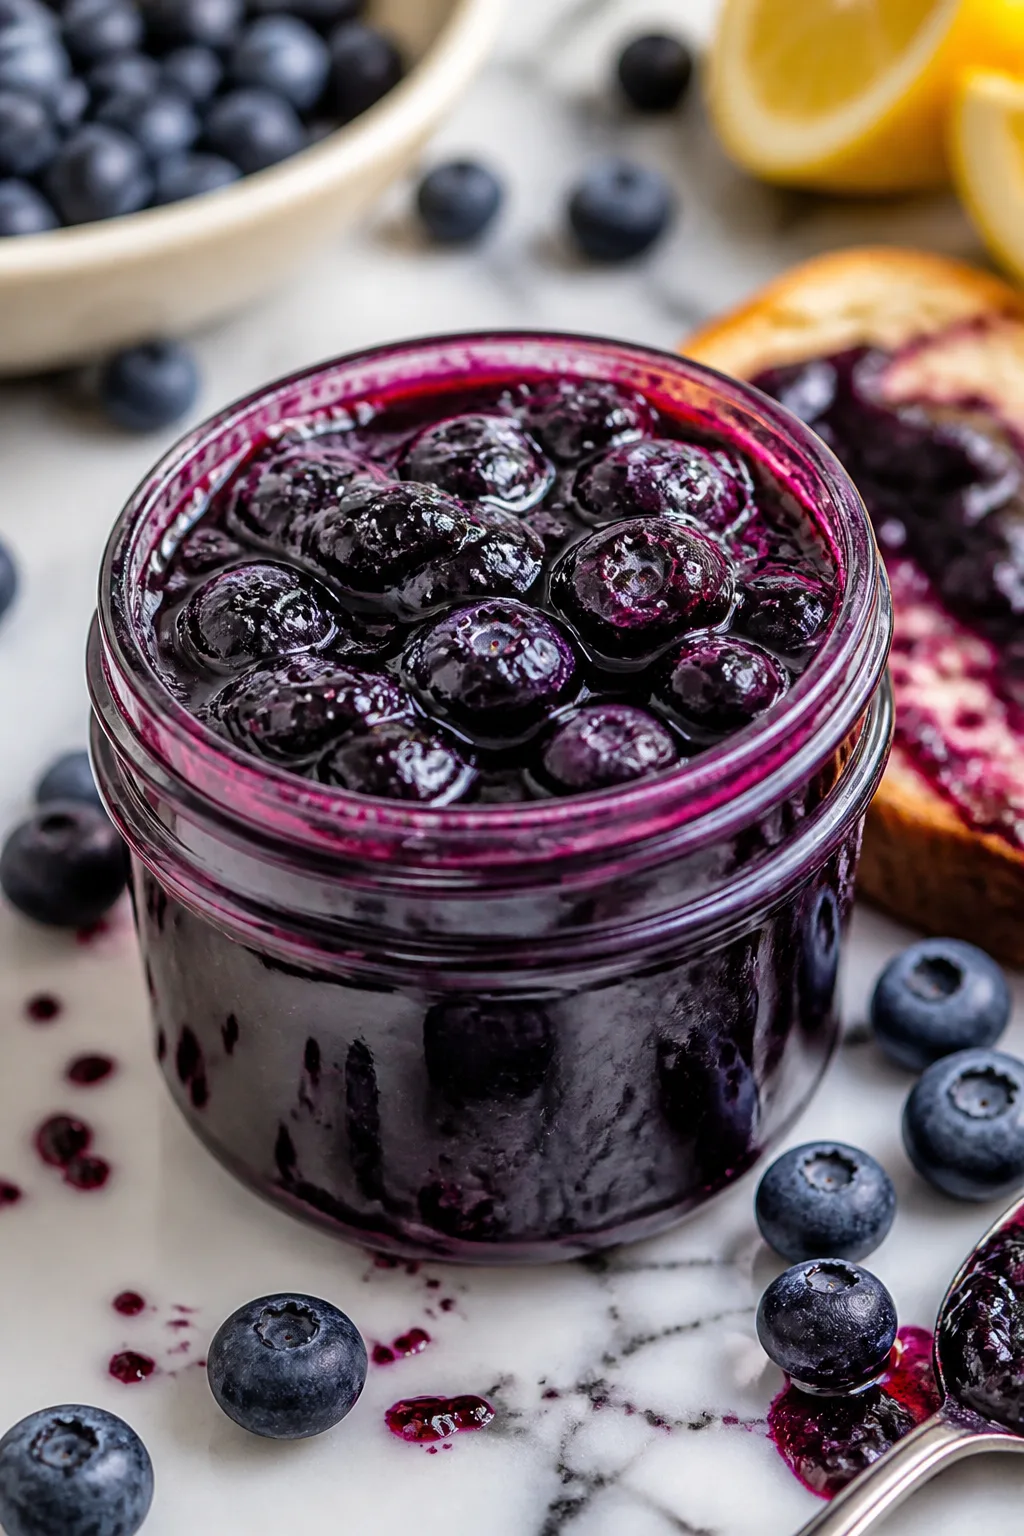
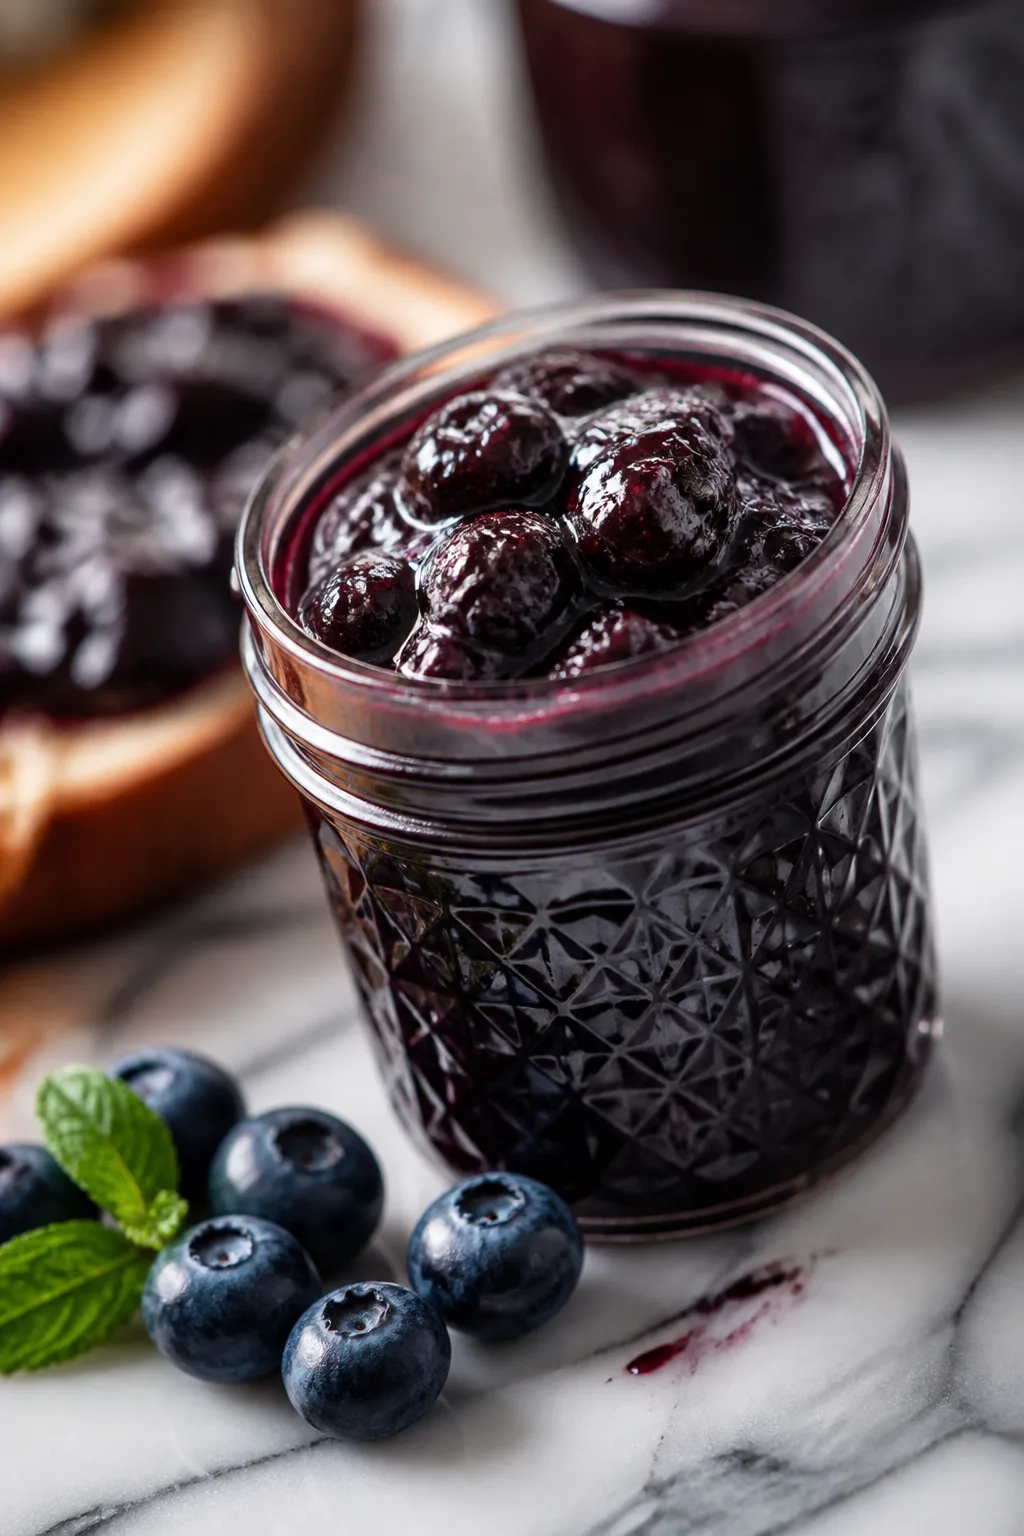
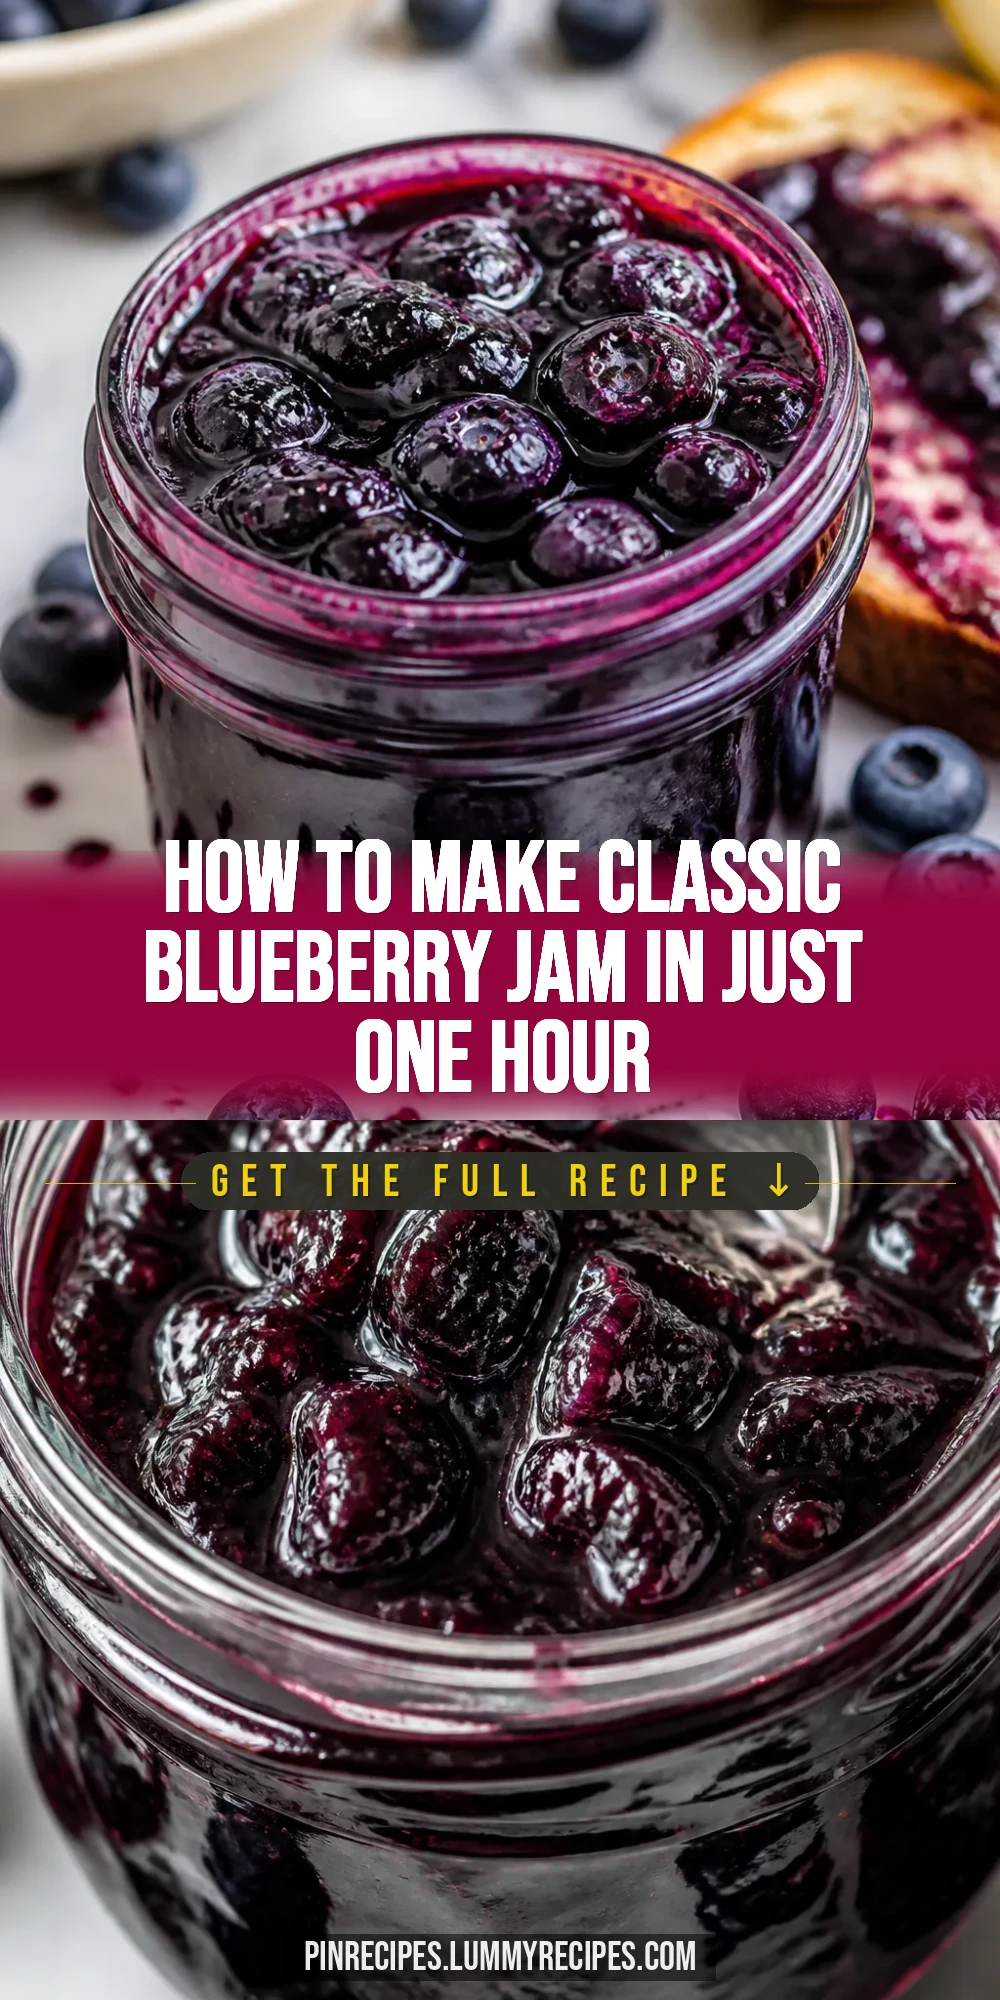
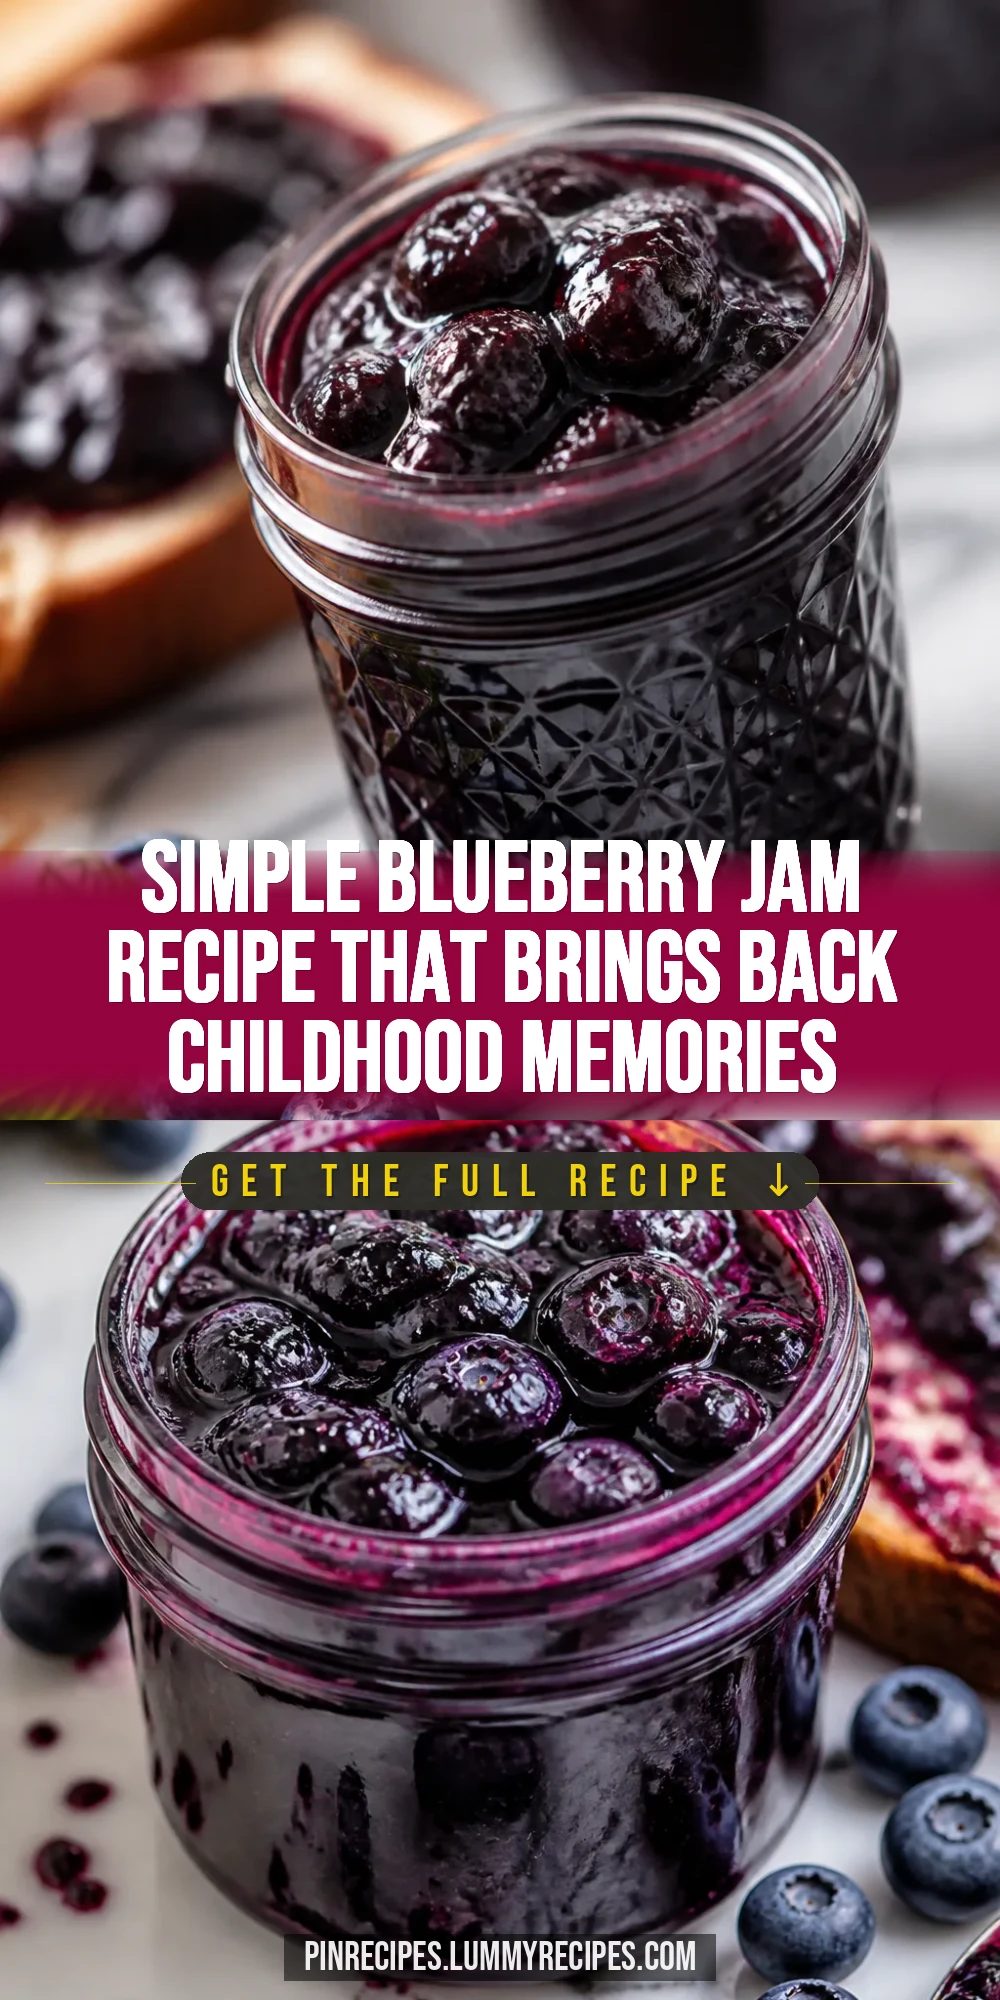
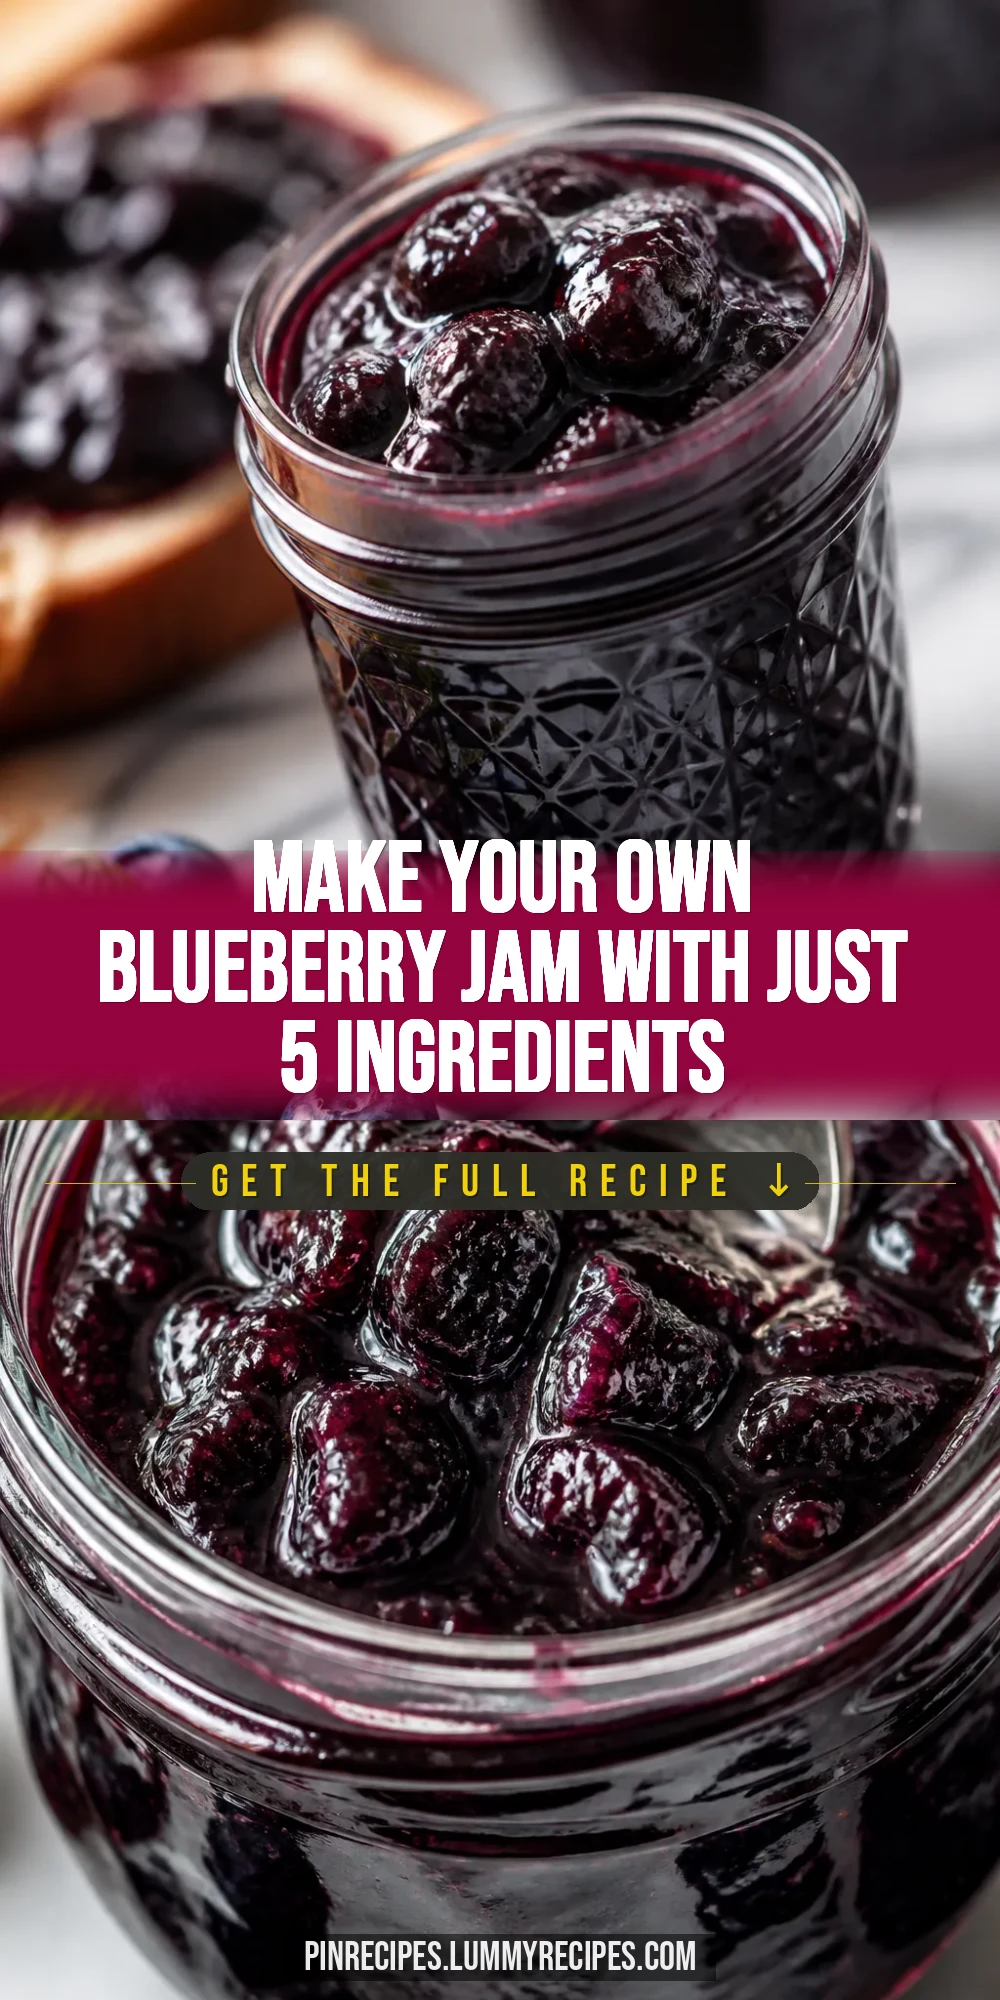
This blueberry jam is a simple, sweet spread bursting with fresh berry flavor. The secret? A touch of lemon zest to brighten it up. Perfect for morning toast or dolloping on yogurt!
Introduction
I first made this blueberry jam a few summers ago when my local farmer’s market was bursting with fresh berries. It quickly became a favorite in my kitchen because it’s so straightforward and tastes like pure sunshine in a jar. What makes this version stand out is the little twist of lemon zest and juice — it brightens the jam and balances the sweetness perfectly. I’ve tried jams that are too sugary or thick, but this one keeps a lovely spreadable texture without being runny or rock hard. The trick I learned is to gently simmer the berries and sugar until they break down just right, then add the lemon at the end. It’s perfect for slathering on toast, stirring into yogurt, or even dolloping on pancakes. Plus, it’s a great way to preserve summer’s bounty to enjoy all year long. I love how the aroma fills the kitchen while it cooks — it’s a comforting, homey feeling every time.
What You'll Need
Approximately 3 cups of jam, 4 servings
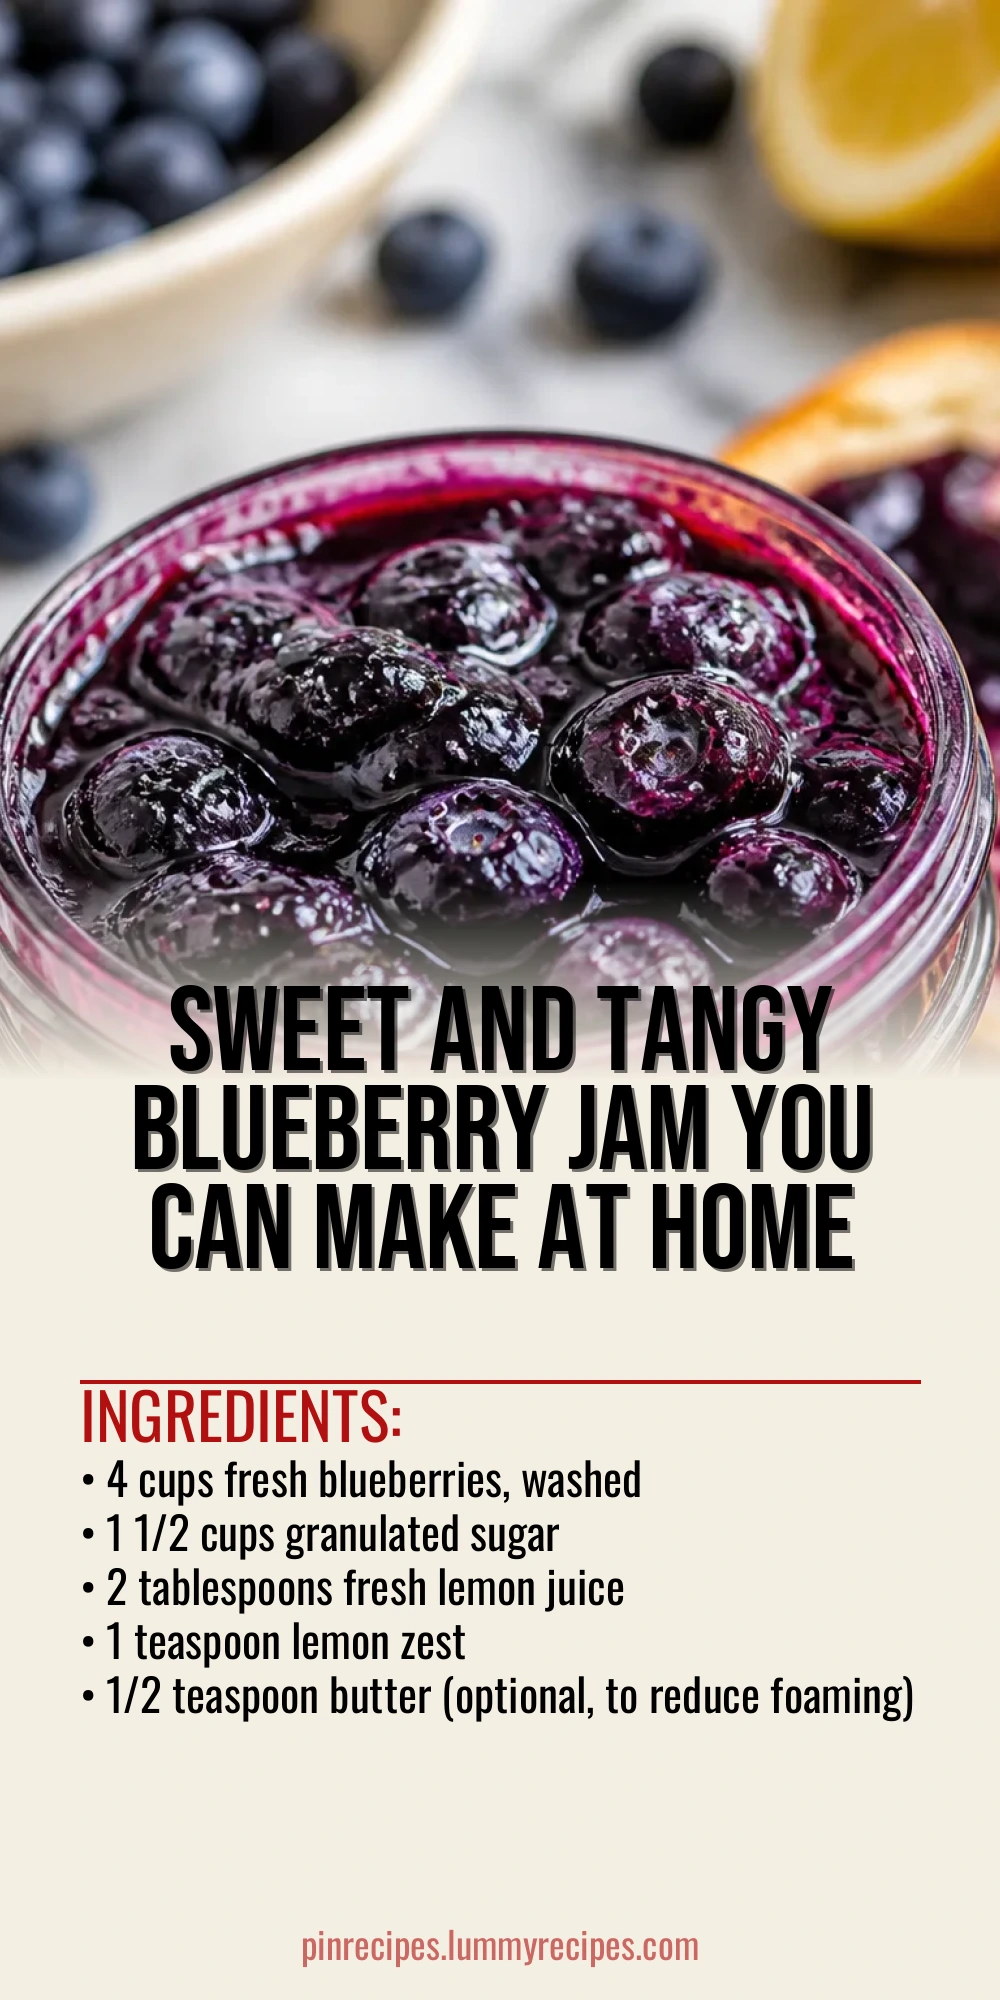
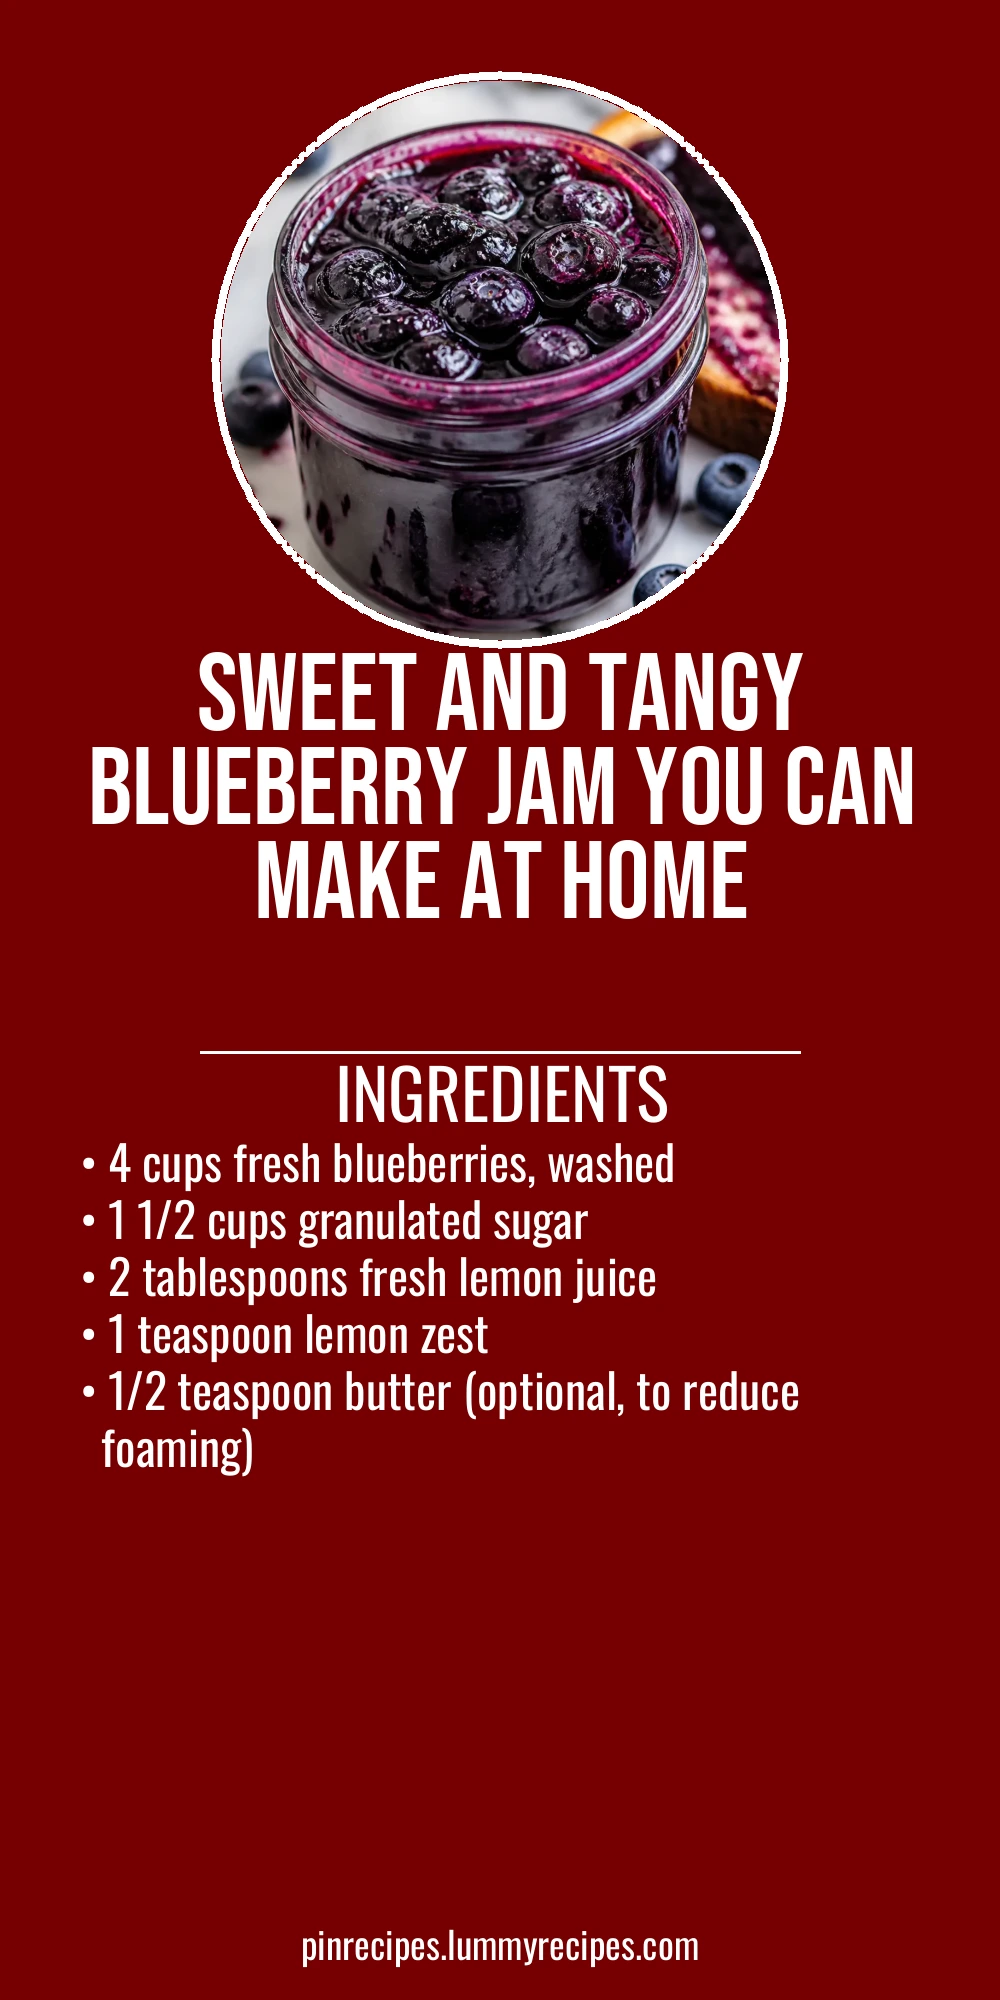
- 4 cups fresh blueberries, washed
- 1 1/2 cups granulated sugar
- 2 tablespoons fresh lemon juice
- 1 teaspoon lemon zest
- 1/2 teaspoon butter (optional, to reduce foaming)
How To Do It
Step 1
Start by combining the fresh blueberries and sugar in a large heavy-bottomed pot. Let the mixture sit for about 10 minutes to macerate, which helps release the berries’ natural juices and kickstarts the jam-making process. This step is important because it softens the fruit and dissolves some sugar before heat is applied, ensuring even cooking. Avoid stirring too much here to prevent breaking the berries prematurely.
⏱ Time: 10 minutes
✓ Doneness: Berries start to release juice and sugar looks dissolved
Step 2
Place the pot over medium heat and bring the mixture to a gentle boil. Stir occasionally to prevent sticking, and add the butter if using to reduce foaming. The jam will bubble and thicken as water evaporates. Keep an eye on the heat because too high can cause burning. The goal is a steady simmer that allows the fruit to break down and the mixture to thicken gradually.
⏱ Time: 15-20 minutes
✓ Doneness: Jam thickens, bubbles slow down, and it coats the back of a spoon
Step 3
Once the jam has thickened, stir in the fresh lemon juice and lemon zest. The acidity brightens the flavor and helps the jam set properly. Cook for an additional 2 minutes to blend the flavors. Don’t skip this — lemon juice acts as a natural preservative and balances sweetness beautifully.
⏱ Time: 2 minutes
✓ Doneness: Jam shines with a glossy finish and smells fresh and zesty
Step 4
To test the jam's set, place a small spoonful on a chilled plate and let it cool for a minute. Push it gently with your finger; if it wrinkles and doesn’t run, it’s ready. If it’s still runny, continue cooking a few more minutes and test again. This step ensures your jam will hold its shape once cooled.
⏱ Time: 5 minutes
✓ Doneness: Jam wrinkles on the plate when pushed
Step 5
Remove the pot from heat and let the jam cool slightly before transferring it to sterilized jars. Leaving a little headspace helps prevent spoilage. Seal the jars tightly while warm to create a vacuum seal. Proper jar sterilization and sealing are key to safely preserving your jam for weeks.
⏱ Time: 10 minutes
✓ Doneness: Jars sealed with no leaks and jam cooled slightly
Step 6
Let the jars cool completely at room temperature. You’ll hear the satisfying pop of the lids sealing. Once cooled, store the jam in the refrigerator if you plan to use it within a few weeks, or process in a hot water bath for longer shelf life. Cooling slowly prevents condensation inside the jars.
⏱ Time: 1-2 hours
✓ Doneness: Lids sealed with a popping sound and jam is room temperature
Step 7
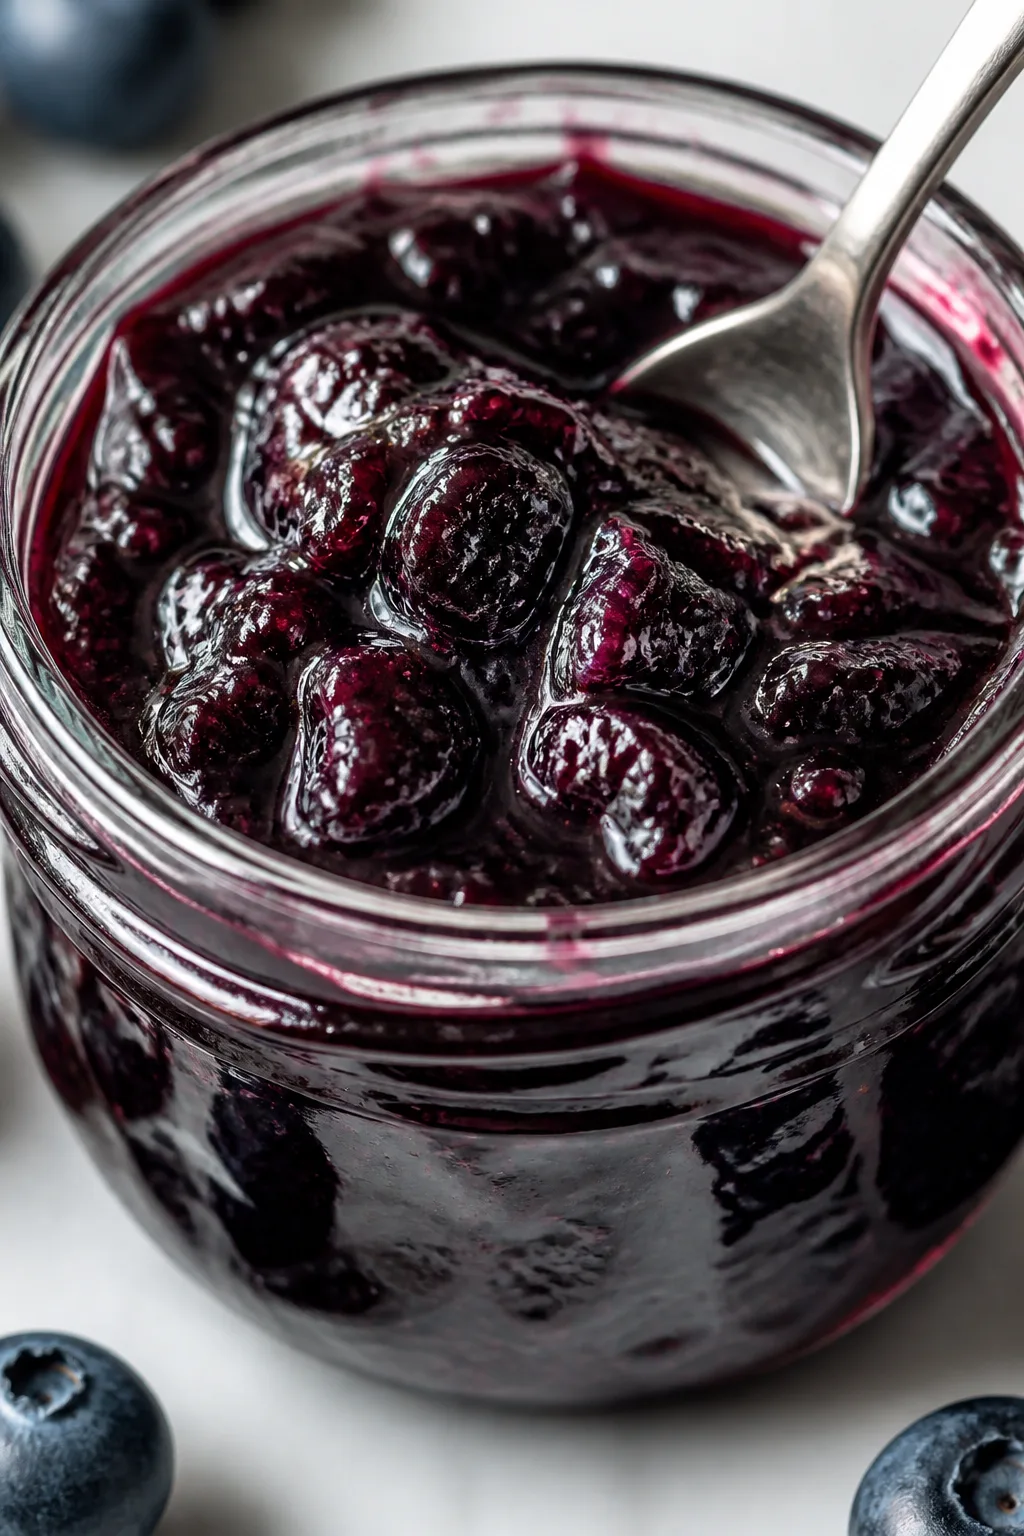
Before serving, stir the jam gently to even out the texture. It should be thick but spreadable, with visible bits of blueberry throughout. This homemade jam has a fresh, bright flavor that’s far superior to store-bought versions, making it perfect for breakfast or baking.
⏱ Time: 2 minutes
✓ Doneness: Smooth, spreadable texture with berry chunks
Step 8
If you want to store the jam for longer, consider freezing it in freezer-safe containers. Leave some headspace as the jam will expand when frozen. Thaw in the refrigerator overnight before use. Freezing preserves the flavor and texture without the need for extra preservatives.
⏱ Time: N/A
✓ Doneness: Jam stored in airtight containers, ready for freezing
Step 9
Enjoy your blueberry jam on toast, stirred into oatmeal, or as a topping for desserts. Homemade jam brings a cozy, nostalgic touch to any meal and is a lovely gift for friends and family. Keep refrigerated after opening and use within a few weeks for best flavor.
⏱ Time: N/A
✓ Doneness: Jam enjoyed fresh and flavorful
Pro Tips
Use a heavy-bottomed pot to prevent scorching.
A thick, heavy pot distributes heat evenly and prevents hot spots that can burn the jam. Burnt jam tastes bitter and ruins the batch, so this simple equipment choice makes a big difference.
Don’t rush the simmering process.
Slow simmering allows the water to evaporate gradually, concentrating flavors and thickening the jam naturally. Rushing with high heat can cause burning or uneven texture.
Sterilize your jars properly before filling.
Sterilized jars prevent bacterial growth and spoilage, ensuring your jam stays fresh longer. Skipping this step risks contamination and reduces shelf life.
Test jam set on a chilled plate.
The cold plate quickly cools a small amount of jam so you can check if it wrinkles when pushed, indicating proper thickness. This simple test saves you from ending up with runny jam.
Add lemon zest at the end of cooking.
Adding zest too early can cause bitterness from the pith and loss of delicate citrus oils. Adding it at the end preserves fresh flavor and aroma.
Use fresh lemon juice instead of bottled.
Fresh juice has a brighter, cleaner flavor and natural acids necessary for proper pectin activation, making your jam taste fresher and set better.
Keep stirring gently but regularly.
Stirring prevents the jam from sticking to the pot and burning, while gentle stirring helps preserve some berry chunks for texture.
Common Mistakes to Avoid
Using too high heat and burning the jam
Why it happens Many cooks want the jam to thicken quickly and crank up the heat, but this causes scorching and bitterness.
Fix Maintain a gentle simmer over medium heat and stir frequently to prevent sticking. Patience is key for smooth, flavorful jam.
Skipping the lemon juice
Why it happens Some think lemon is optional, but it’s vital for acidity and pectin activation.
Fix Always add fresh lemon juice to balance sweetness and ensure your jam sets properly.
Not sterilizing jars
Why it happens It’s easy to overlook sterilizing, especially if you plan to refrigerate the jam.
Fix Boil jars and lids before filling to prevent spoilage and extend shelf life.
Overcooking and making jam too thick
Why it happens Leaving jam on heat too long evaporates too much water, resulting in a hard, jelly-like texture.
Fix Test set early and remove from heat as soon as it wrinkles on a plate.
Using frozen berries without adjusting cooking time
Why it happens Frozen berries release more water and need longer cooking to thicken.
Fix If using frozen, increase simmer time and test set frequently to avoid runny jam.
Variations
Blueberry Lavender Jam
Add 1 teaspoon dried culinary lavender during simmering for a floral note that pairs beautifully with blueberries. Strain out the lavender buds before bottling for a smooth texture and subtle aroma.
Note: Simmer lavender buds with berries and sugar, then strain to avoid gritty texture.
Blueberry and Vanilla Bean Jam
Split a vanilla bean and add it to the pot with the berries for a warm, sweet undertone. Remove the bean pod before bottling. This adds depth without extra sugar.
Note: Simmer vanilla bean with jam, remove pod before jar filling.
Sugar-Free Blueberry Jam
Use a natural pectin and a sugar substitute suitable for cooking to make a lower-sugar version. The texture may be slightly different, and it’s best consumed quickly.
Note: Adjust cooking time and pectin type; monitor set carefully.
Blueberry and Lemon Ginger Jam
Add grated fresh ginger and extra lemon zest for a spicy, tangy twist. This variation is great for those who enjoy a little zing in their jam.
Note: Add ginger early in cooking to infuse flavor.
Blueberry and Strawberry Jam Blend
Combine equal parts fresh blueberries and strawberries for a sweeter, more complex jam. Adjust sugar slightly if strawberries are very ripe.
Note: Cook fruits together, test set as usual.
Nutrition
Per Serving:
Nutritional values are estimates and may vary based on specific ingredients used.
Storage & Tips
Room Temperature
Jam can safely sit at room temperature for up to 12 hours if covered, but it’s best refrigerated to maintain freshness and prevent spoilage.
Refrigerator
Store jam in airtight jars for up to 3 weeks. Flavor may mellow over time. Serve cold or at room temperature; no reheating needed.
Freezer
Freeze jam in freezer-safe containers for up to 3 months. Leave headspace for expansion. Thaw overnight in the fridge and stir gently before use.
Reheating
Reheating jam is usually unnecessary. If desired, warm gently on stovetop or microwave with a splash of water to loosen consistency.
Make Ahead
You can prepare the jam base and cook it fully 1-2 days ahead. Store in sterilized jars in the fridge and bring to room temperature before serving.
FAQ
Can I use frozen blueberries for this recipe?
Yes, frozen blueberries work well but release more water, so you may need to cook the jam longer to thicken it properly. Also, thaw and drain excess liquid if possible before cooking to avoid a runny jam.
How do I know when the jam has set properly?
Use the chilled plate test: drop a spoonful of jam on a cold plate and let it cool for a minute. Push it gently with your finger; if it wrinkles and doesn’t run, it’s set. If it’s still runny, cook a bit longer and test again.
Why is lemon juice important in jam making?
Lemon juice provides acidity which activates natural pectin in the fruit, helping the jam to set. It also balances the sweetness and adds brightness to the flavor.
How do I sterilize jars properly?
Wash jars and lids in hot soapy water, rinse well, then boil them in water for 10 minutes or run through a hot dishwasher cycle. Keep them warm until filling to avoid cracking when hot jam is added.
Can I reduce the sugar in this recipe?
Reducing sugar changes the texture and preservation qualities. You can try less sugar but expect a softer set and shorter shelf life. Using commercial pectin made for low-sugar jams can help.
What causes jam to foam, and how do I prevent it?
Foaming is caused by air and impurities during boiling. Adding a small amount of butter helps reduce foam. Skim foam off with a spoon if needed for clearer jam.
How long does homemade jam last unopened?
Properly sealed and sterilized jars can last up to one year stored in a cool, dark place. Once opened, refrigerate and consume within 3 weeks for best quality.
Can I use other berries with this recipe?
Absolutely! Strawberries, raspberries, or blackberries can be substituted or combined with blueberries. Adjust sugar and cooking time as needed depending on the fruit’s water content.
Final Thoughts
I hope you enjoy making this blueberry jam as much as I do. It’s a simple way to bring a little homemade sunshine to your table—give it a try and let me know how it turns out!