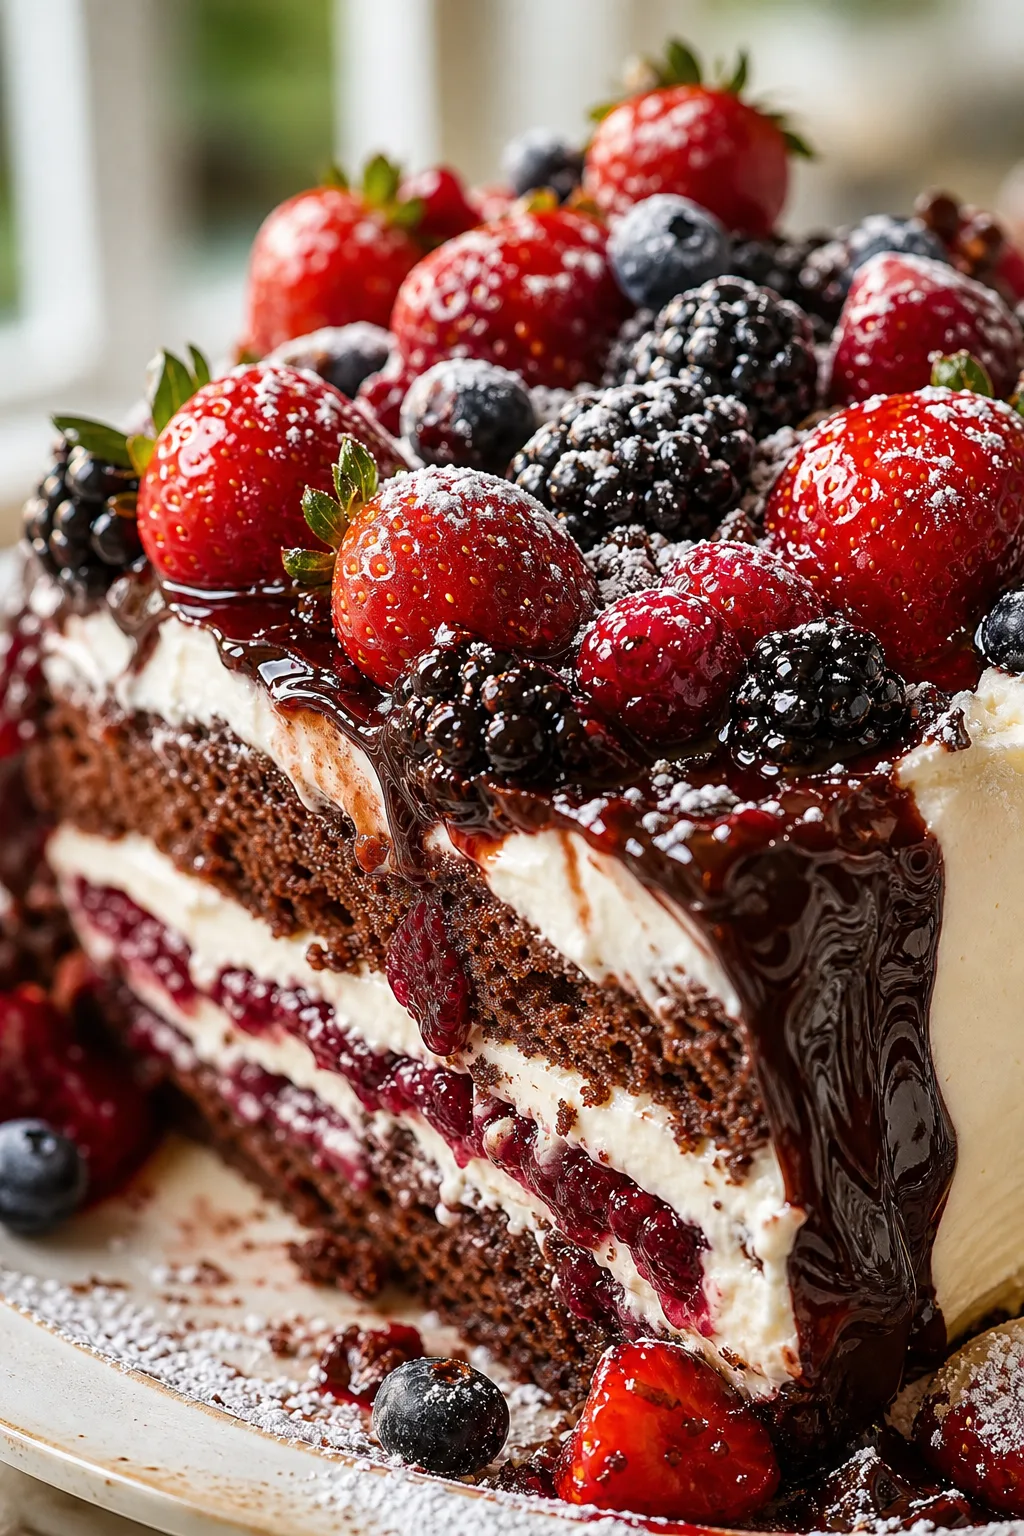
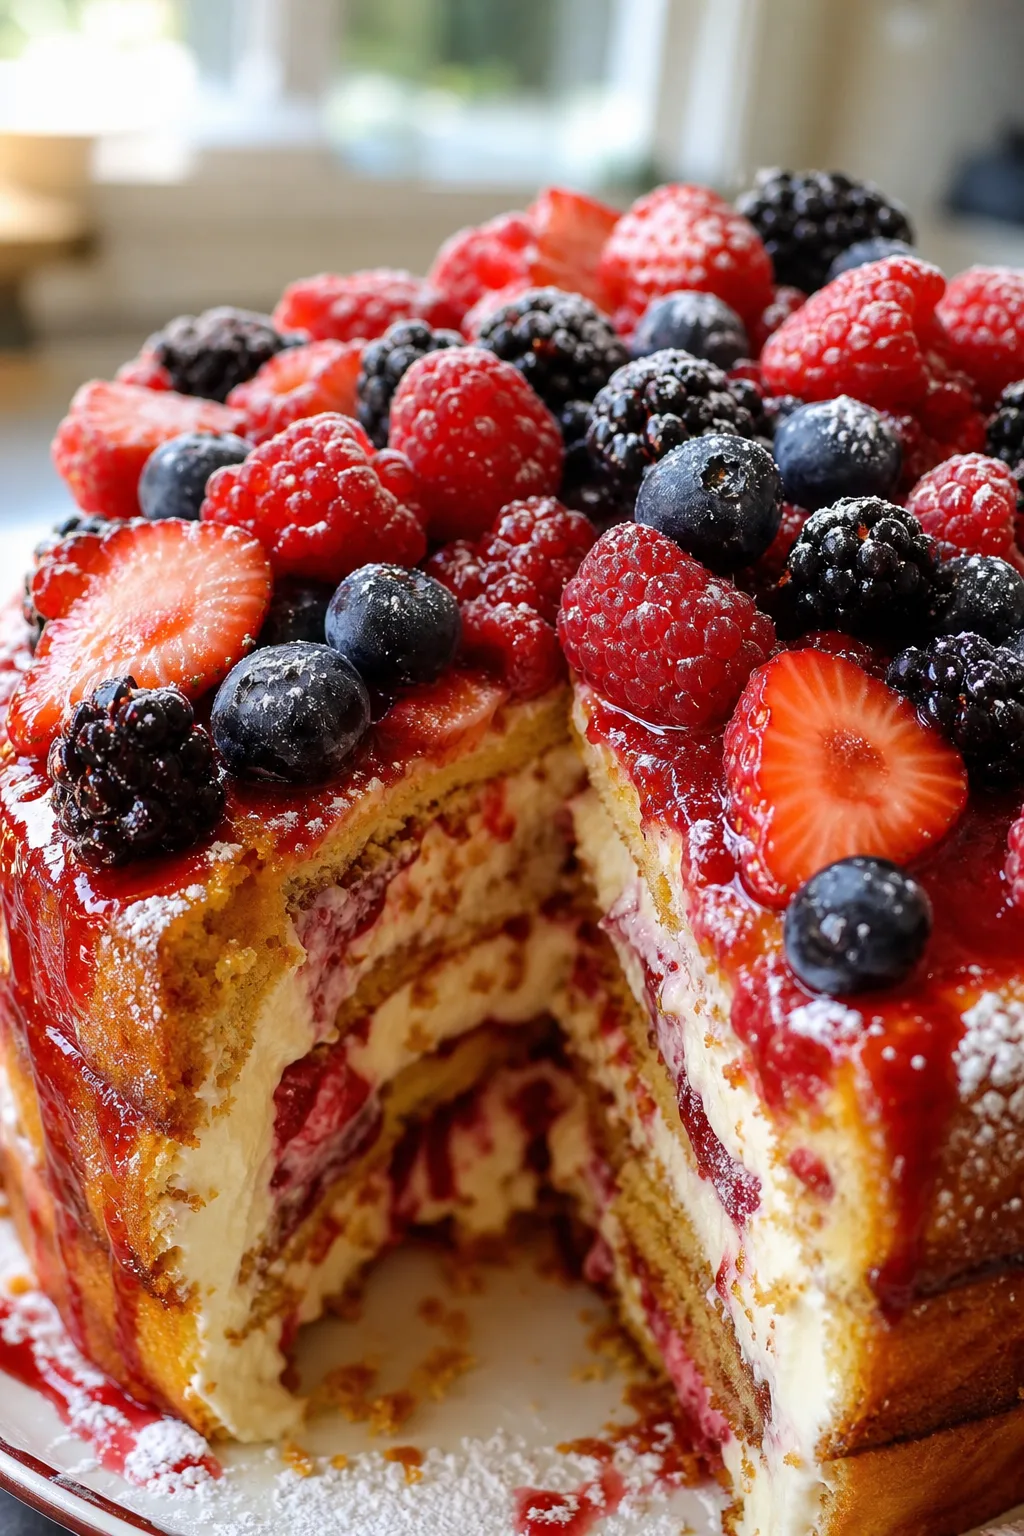
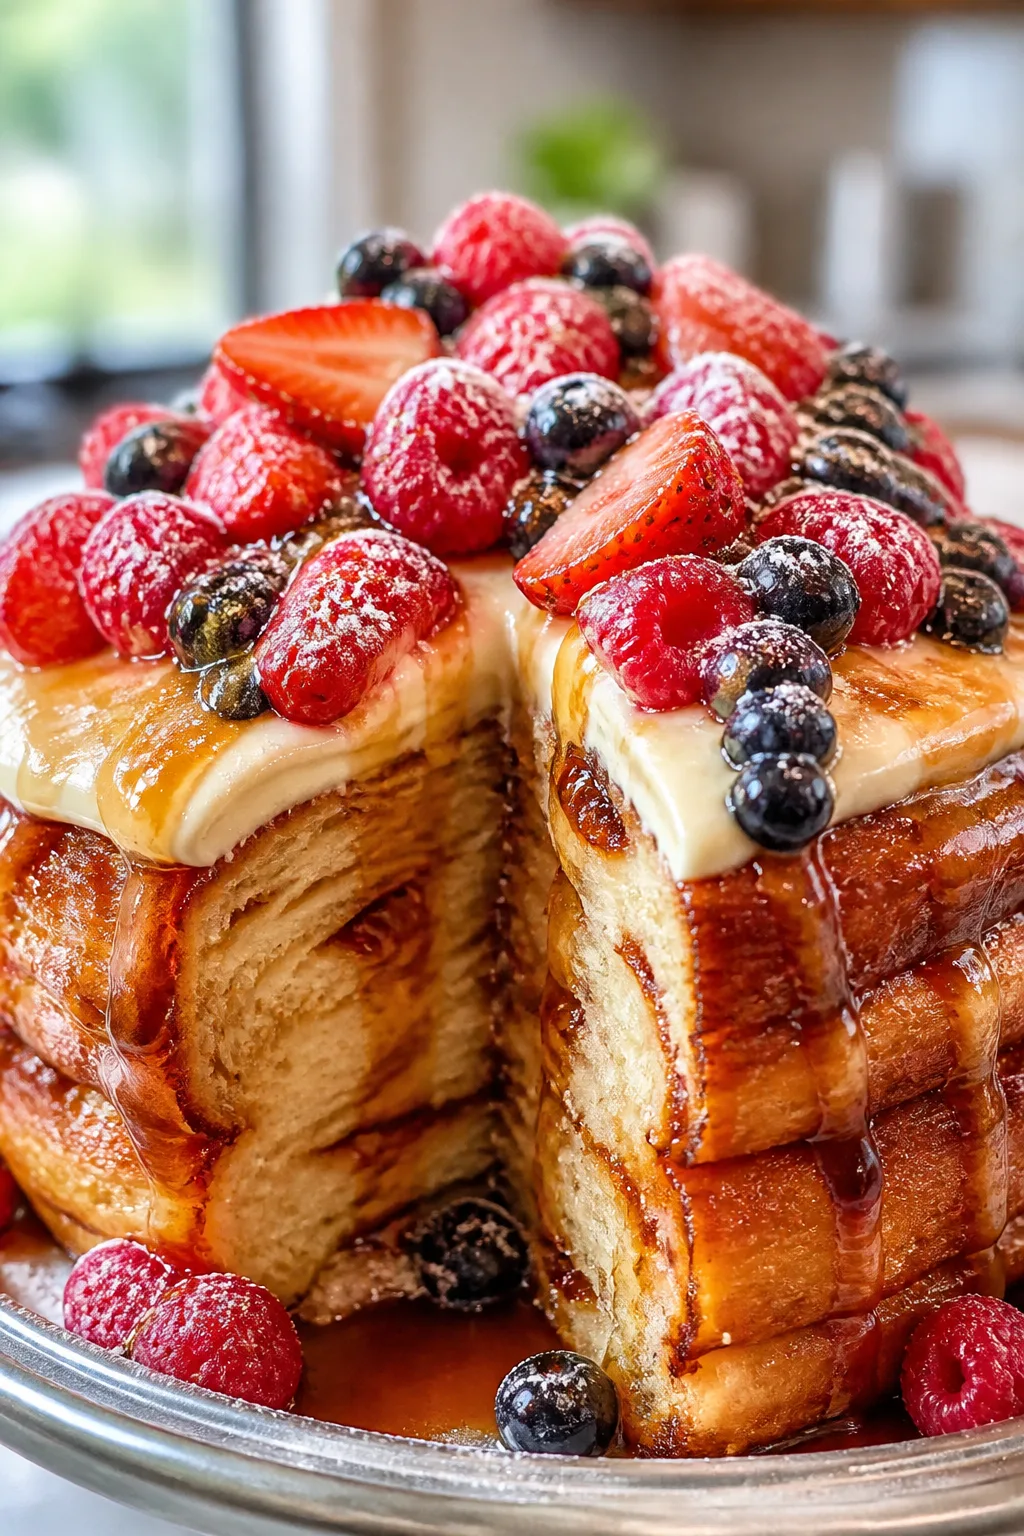
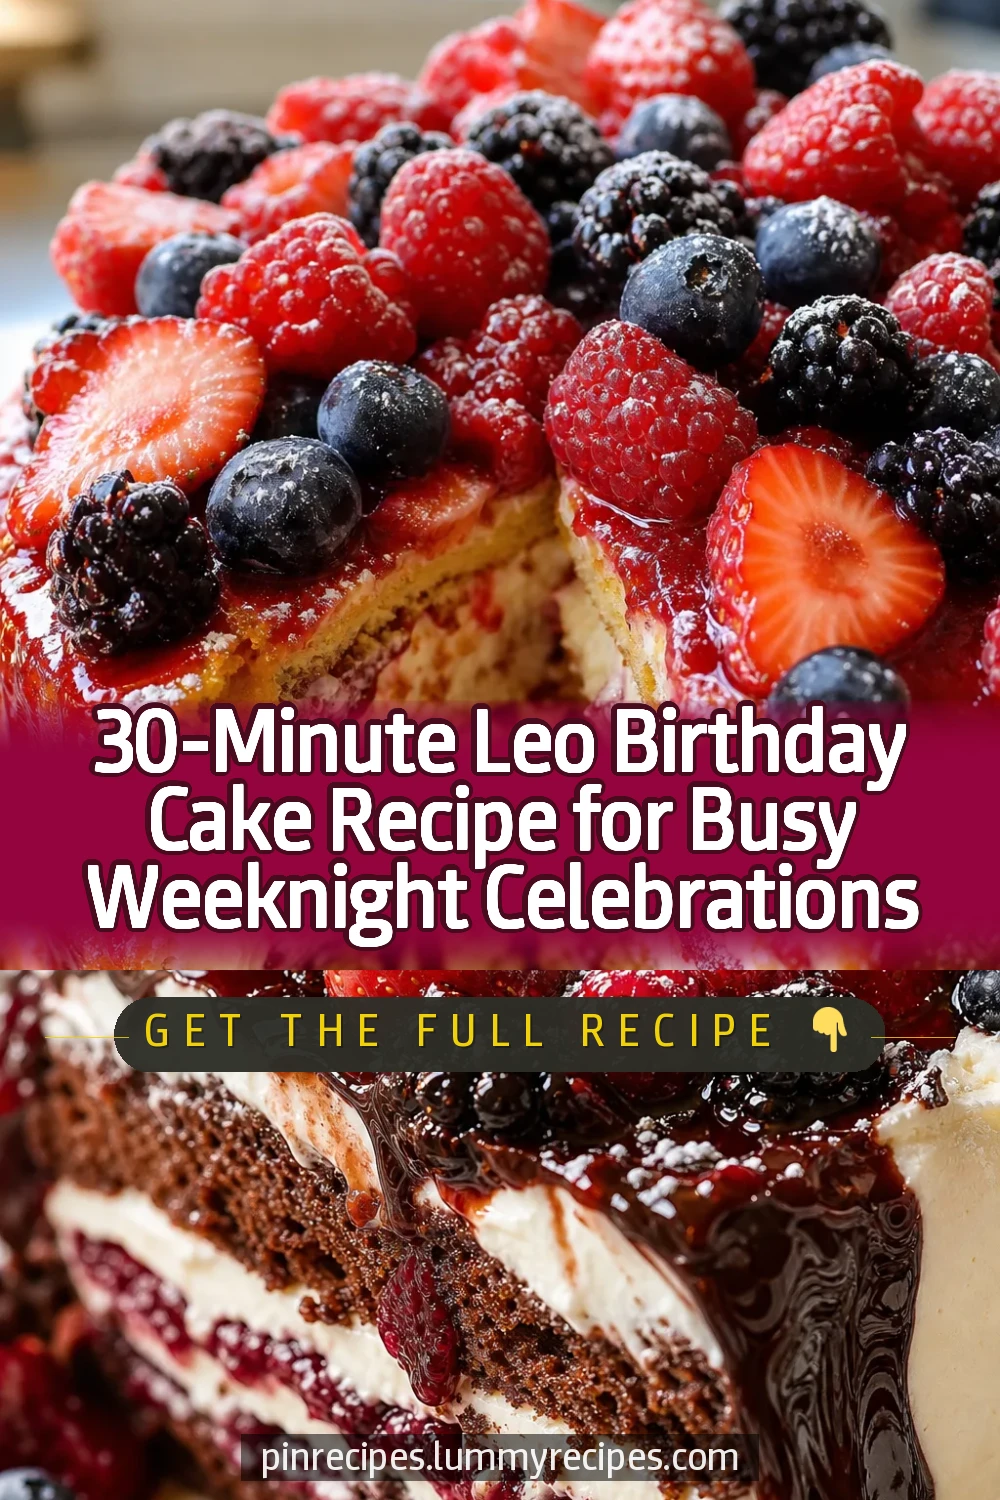
This Leo birthday cake is a moist, flavorful treat topped with luscious creamy frosting and fresh berries. I love how the simple homemade frosting pairs perfectly with the light sponge. It’s a beautiful cake for any special celebration!
Introduction
I first made this Leo birthday cake for my nephew’s celebration a few years back, and it quickly became a family favorite. What I love most is how simple the ingredients are, yet the result is a beautifully moist cake with a creamy frosting that’s not too sweet. Unlike many store-bought cakes, this one has a fresh, homemade feel that really shines through. The trick I learned early on is to make sure the cake layers are fully cooled before frosting — it keeps everything smooth and prevents melting. I also whip the frosting just enough to get that perfect silky texture without it becoming too stiff. The fresh berries on top add a nice natural sweetness and a pop of color that makes the cake look festive. It’s perfect for birthdays or any special occasion when you want a classic, crowd-pleasing dessert. If you’re like me and appreciate good homemade baking without fuss, you’ll enjoy making this cake as much as eating it!
What You'll Need
One 9-inch layered cake, 8 servings
- 2 1/2 cups all-purpose flour, sifted
- 2 1/2 tsp baking powder
- 1/2 tsp salt
- 1 cup unsalted butter, softened
- 1 3/4 cups granulated sugar
- 4 large eggs, room temperature
- 1 tbsp vanilla extract
- 1 cup whole milk, room temperature
- 1 1/2 cups heavy cream
- 1/4 cup powdered sugar
- 1 tsp vanilla extract (for frosting)
- 1 cup fresh raspberries
- 1 cup fresh blueberries
- Powdered sugar for dusting
How To Do It
Step 1
Preheat your oven to 350°F (175°C). Grease and flour two 9-inch round cake pans to prevent sticking. Sifting the flour, baking powder, and salt together ensures even distribution and a light texture in the cake. This step is key because it helps the cake rise evenly and avoids dense spots. When mixing dry ingredients, be gentle to keep the flour aerated.
⏱ Time: 10
✓ Doneness: Pans are fully greased and floured with no bare spots; dry ingredients are well combined and light.
Step 2
In a large bowl, cream the softened butter and granulated sugar together until light and fluffy, about 3-4 minutes. This incorporates air into the batter, which helps the cake rise and gives it a tender crumb. Adding eggs one at a time ensures they emulsify properly with the butter and sugar, preventing a curdled batter. Mix in the vanilla extract last to preserve its delicate flavor.
⏱ Time: 8
✓ Doneness: Butter and sugar mixture is pale and fluffy; eggs are fully incorporated without streaks.
Step 3
Alternate adding the dry ingredients and milk to the butter mixture, starting and ending with the dry ingredients. Mix gently after each addition just until combined. Overmixing can develop gluten and make the cake tough, so stop as soon as you see no more flour. The batter should be smooth and pourable.
⏱ Time: 5
✓ Doneness: Batter is smooth with no lumps, slightly thick but pourable.
Step 4
Divide the batter evenly between the prepared pans and smooth the tops with a spatula. Bake in the preheated oven for 25-30 minutes, or until a toothpick inserted into the center comes out clean. Avoid opening the oven door frequently, as this can cause the cake to sink. The edges should start to pull away slightly from the pan when done.
⏱ Time: 30
✓ Doneness: Golden edges, toothpick comes out clean, cake springs back when lightly pressed.
Step 5
Let the cakes cool in the pans for 10 minutes, then run a knife around the edges and turn them out onto wire racks to cool completely. Cooling fully is crucial before frosting; warm cakes will cause the frosting to melt and slide off. Patience here pays off with a smooth final cake.
⏱ Time: 40
✓ Doneness: Cakes are completely cool to the touch with no warmth remaining.
Step 6
To make the frosting, whip the heavy cream in a chilled bowl until soft peaks form. Gradually add powdered sugar and vanilla extract, then continue whipping until stiff peaks form. This creates a light, fluffy frosting that holds shape but remains creamy. Be careful not to overwhip or it will turn grainy and start turning into butter.
⏱ Time: 10
✓ Doneness: Frosting forms stiff, smooth peaks that hold shape without graininess.
Step 7
Place one cake layer on your serving plate and spread a generous layer of frosting over the top. Add a handful of fresh raspberries and blueberries for a burst of flavor. Carefully place the second cake layer on top and repeat the frosting and berry topping. The fresh fruit adds natural sweetness and a festive look.
⏱ Time: 15
✓ Doneness: Even frosting layers with fresh berries nestled attractively.
Step 8
Use the remaining frosting to cover the sides of the cake smoothly. For a clean finish, use an offset spatula dipped in warm water to smooth the frosting edges. This technique gives a professional look and seals the cake for freshness.
⏱ Time: 10
✓ Doneness: Frosting is smooth, even, and glossy with clean edges.
Step 9
Dust the top of the cake lightly with powdered sugar for a delicate finishing touch. Chill the cake for at least 30 minutes before serving to allow the frosting to set and flavors to meld. This resting step enhances the texture and taste.
⏱ Time: 30
✓ Doneness: Powdered sugar is evenly dusted; frosting is firm but creamy.
Pro Tips
Always bring your eggs and milk to room temperature before mixing.
Room temperature eggs and milk incorporate more easily into the batter, preventing curdling and ensuring a smooth, even texture. Cold ingredients can cause the butter to seize and lead to a lumpy batter, affecting the cake’s rise and crumb.
Don’t overmix the batter once the flour is added.
Overmixing develops gluten in the flour, which makes the cake dense and chewy rather than tender. Mixing just until the flour disappears keeps the crumb light and fluffy.
Use an offset spatula dipped in hot water to smooth frosting edges.
Warming the spatula slightly allows it to glide smoothly over the frosting, creating clean, professional-looking edges without tearing or dragging the frosting unevenly.
Chill the cake layers before applying frosting if possible.
Chilled cake layers are firmer and less crumbly, making it easier to frost without breaking. It also helps the frosting set better and prevents it from melting.
Whip the cream frosting just until stiff peaks form.
Overwhipping can cause the cream to turn grainy and eventually separate into butter. Stiff peaks hold shape well but remain smooth and creamy for a perfect frosting texture.
Use fresh, firm berries and pat them dry before decorating.
Excess moisture from wet berries can seep into the frosting and cake, making them soggy. Dry berries maintain their shape and freshness longer on the cake.
Sift powdered sugar before adding to frosting.
Sifting removes lumps that could cause uneven texture in the frosting, ensuring a smooth, silky finish.
Common Mistakes to Avoid
Frosting warm cake layers
Why it happens Many rush to frost the cake before it’s fully cooled, thinking it saves time.
Fix Always allow the cake layers to cool completely on a wire rack before frosting. Warm layers cause the frosting to melt and slide off, ruining the cake’s appearance and texture.
Overmixing batter after adding flour
Why it happens It’s easy to keep mixing to get rid of lumps, but this develops gluten.
Fix Mix just until the flour is incorporated. Stop as soon as you see no dry flour to keep the cake tender.
Using cold eggs or milk
Why it happens Forgetting to bring ingredients to room temperature is common.
Fix Plan ahead and leave eggs and milk out for at least 30 minutes before baking to improve batter consistency.
Overwhipping cream frosting
Why it happens Trying to get very stiff peaks can lead to butter formation.
Fix Stop whipping as soon as stiff peaks form. If you go too far, you can gently fold in a little fresh cream to rescue it.
Not drying berries before decorating
Why it happens Rushing to decorate without drying berries leads to soggy cake.
Fix After washing berries, spread them on paper towels and pat dry thoroughly before placing on the cake.
Variations
Lemon Zest Leo Birthday Cake
Add 1 tablespoon of finely grated lemon zest to the batter and replace vanilla in the frosting with lemon extract for a bright citrus twist. This variation adds a refreshing flavor that pairs beautifully with fresh berries.
Note: Zest adds natural oils that enhance aroma; be careful not to add too much or it can become bitter.
Chocolate Swirl Leo Birthday Cake
Swirl in 1/2 cup melted dark chocolate into half the batter before baking to create a marbled effect. Top with chocolate shavings and berries for a rich, indulgent version.
Note: Melt chocolate gently to avoid seizing; swirl gently to keep distinct patterns.
Vegan Leo Birthday Cake
Substitute eggs with flax eggs and use plant-based butter and cream alternatives. Use aquafaba whipped with powdered sugar for frosting. This keeps the cake moist and creamy while vegan-friendly.
Note: Flax eggs need 5 minutes to gel; aquafaba whips differently so whip longer for stiff peaks.
Almond Flour Leo Birthday Cake
Replace 1 cup of all-purpose flour with almond flour for a nuttier flavor and denser texture. Use almond extract in frosting for complementary flavor.
Note: Almond flour retains more moisture; reduce milk slightly to compensate.
Spiced Leo Birthday Cake
Add 1 teaspoon cinnamon and 1/2 teaspoon nutmeg to the dry ingredients for a warm spice flavor. Pair with cream cheese frosting and berries for a cozy twist.
Note: Spices intensify during baking; measure carefully to avoid overpowering.
Nutrition
Per Serving:
Nutritional values are estimates and may vary based on specific ingredients used.
Storage & Tips
Room Temperature
Keep the cake covered loosely with a cake dome or plastic wrap at room temperature for up to 24 hours. Avoid direct sunlight or heat to prevent frosting from melting.
Refrigerator
Store the cake in an airtight container or cake keeper for up to 3 days. The frosting may firm up and the cake can dry slightly, so bring to room temperature before serving for best texture.
Freezer
Wrap the cake tightly in plastic wrap and then foil to freeze for up to 2 months. Thaw overnight in the refrigerator, then bring to room temperature before serving to restore softness.
Reheating
This cake is best served chilled or at room temperature. Avoid microwaving as it can melt the frosting unevenly. If desired, warm a single slice briefly in a low oven (300°F) for 5 minutes.
Make Ahead
Bake the cake layers 1-2 days ahead and store wrapped at room temperature or refrigerated. Whip and apply frosting the day of serving for freshest texture and appearance.
FAQ
Can I use a different size cake pan?
Yes, but adjust baking time accordingly. Smaller pans will bake faster and thicker layers may need longer. Use a toothpick test to check doneness and watch for the cake edges pulling away from the pan.
How do I prevent the cake from drying out?
Don’t overbake and be sure to cool the cake layers properly before storing. Wrapping the cake tightly and storing in an airtight container helps retain moisture.
Can I substitute the heavy cream frosting?
You can use buttercream or cream cheese frosting instead, but whipped cream frosting offers a lighter texture that complements the sponge well.
What if I don’t have fresh berries?
You can use frozen berries thawed and drained, but fresh berries provide the best texture and flavor. Alternatively, sliced fresh fruit like strawberries or kiwi works well.
How long does the cake keep after frosting?
Once frosted, it’s best eaten within 2-3 days. Keep refrigerated to maintain freshness and bring to room temperature before serving.
Can I make this cake gluten-free?
Yes, substitute the flour with a gluten-free blend designed for baking. The texture may be slightly different but still delicious. Add xanthan gum if your blend doesn’t include it for structure.
Why is my frosting too runny?
This usually happens if the cream isn’t cold enough or if it’s underwhipped. Chill your mixing bowl and beaters before whipping, and whip until stiff peaks form.
Can I add food coloring to the frosting?
Yes, gel-based food coloring works best as it doesn’t thin the frosting. Add a few drops gradually until you reach your desired shade.
Final Thoughts
I hope you enjoy baking and sharing this Leo birthday cake as much as my family does. It’s a simple, delicious way to make any celebration feel special—let me know how yours turns out!