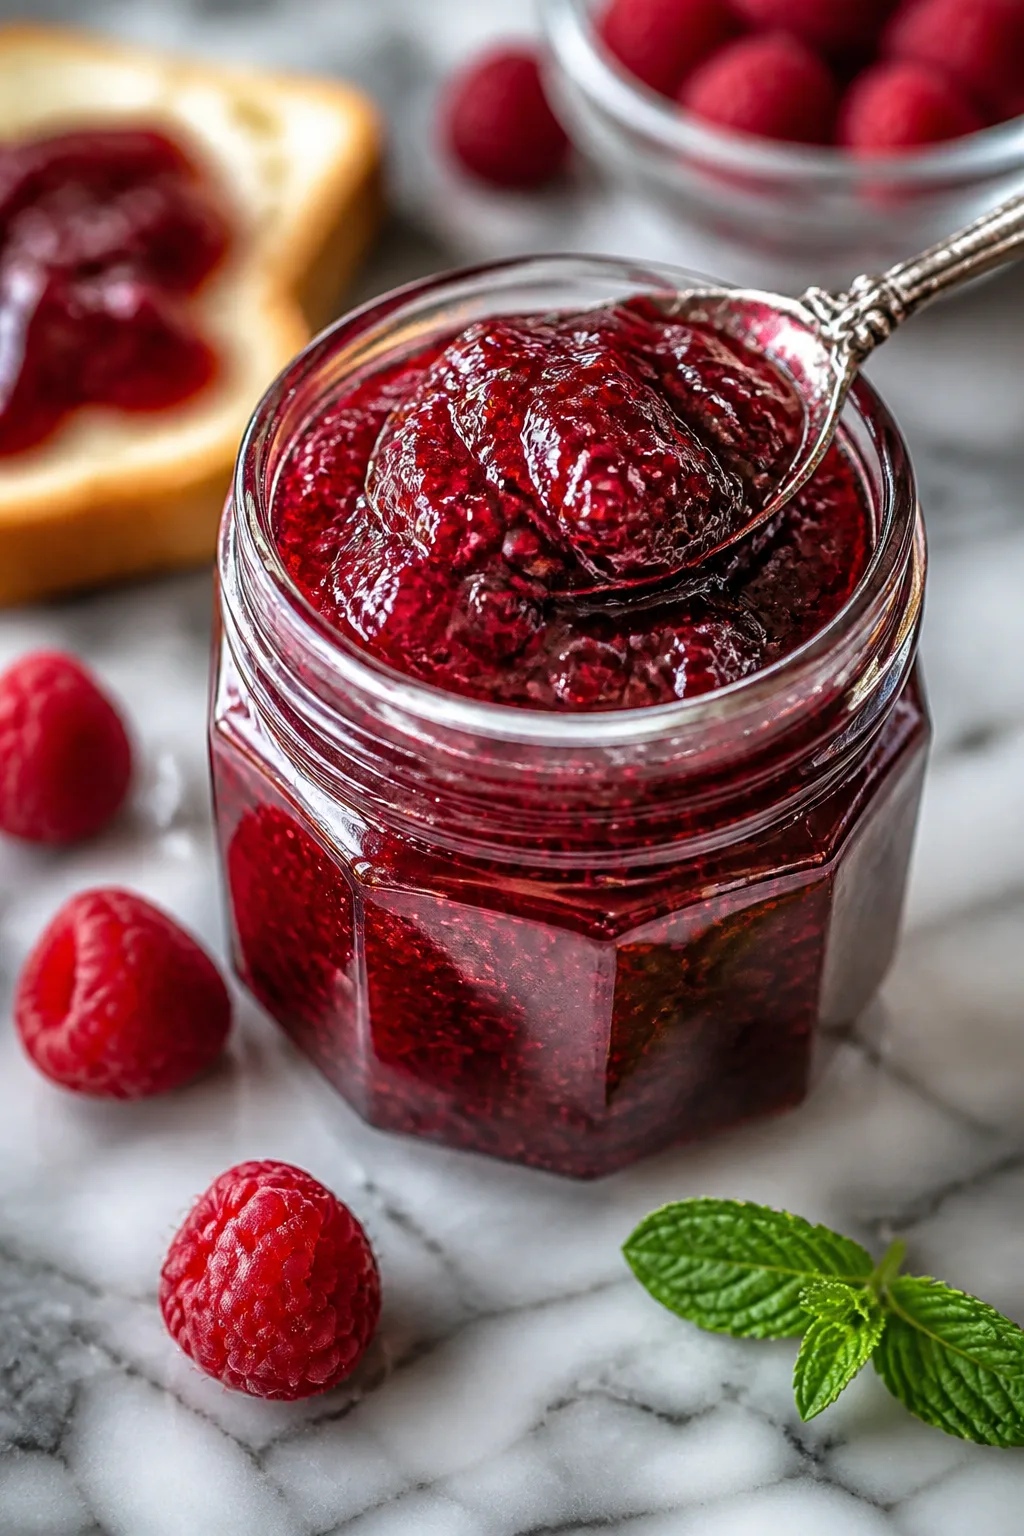
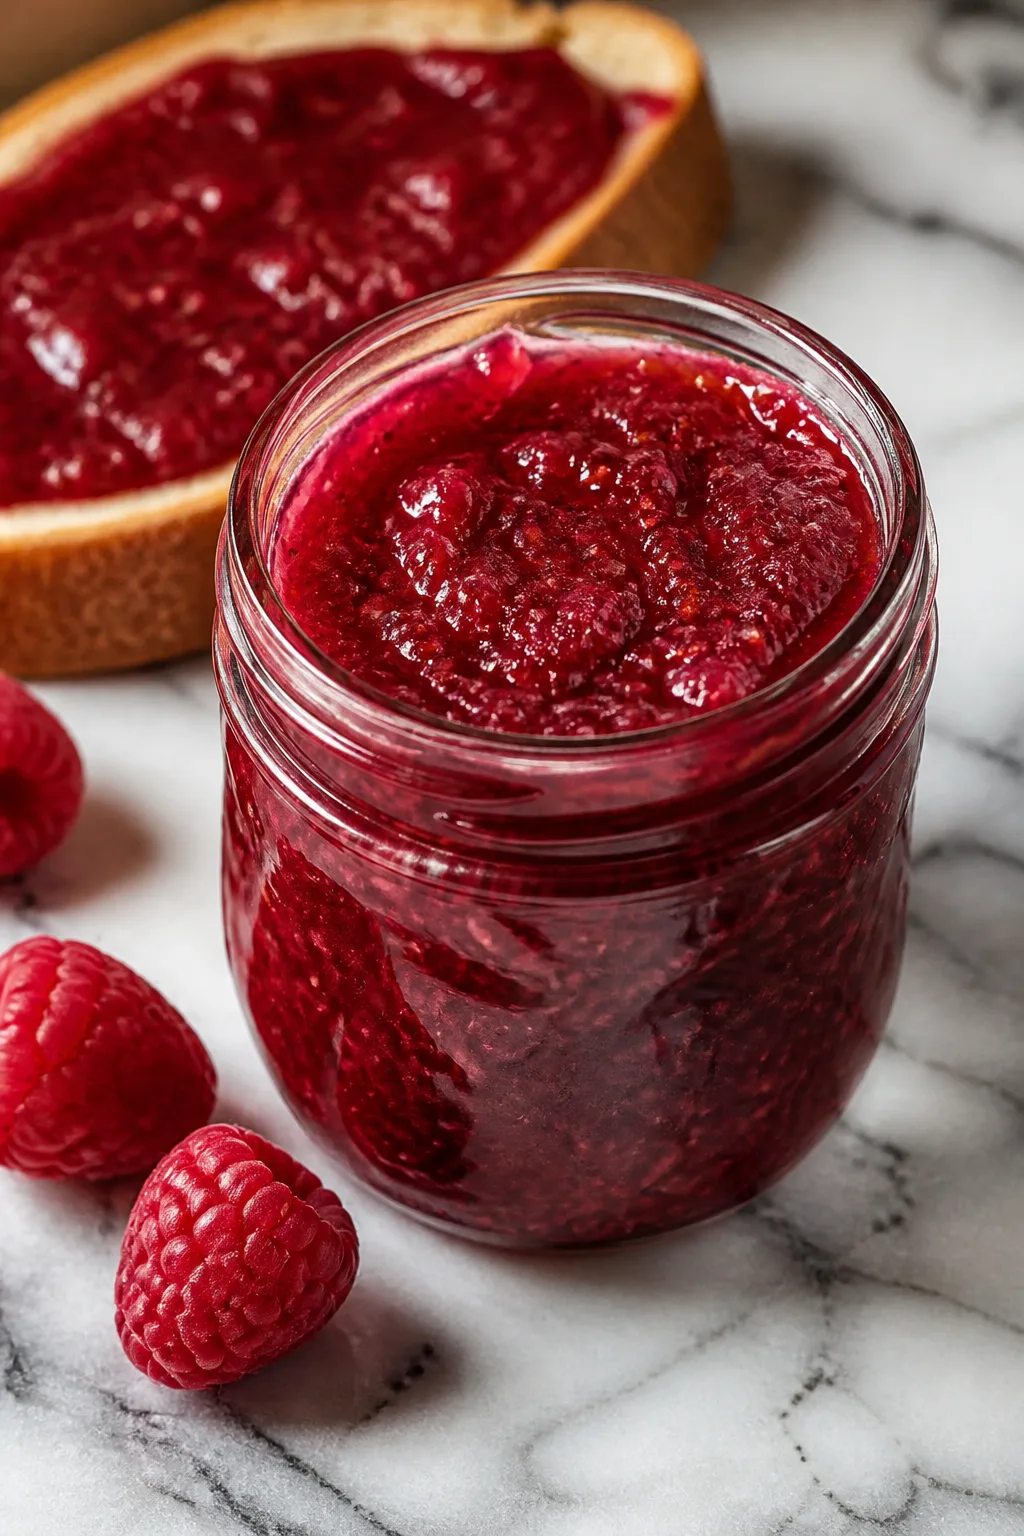
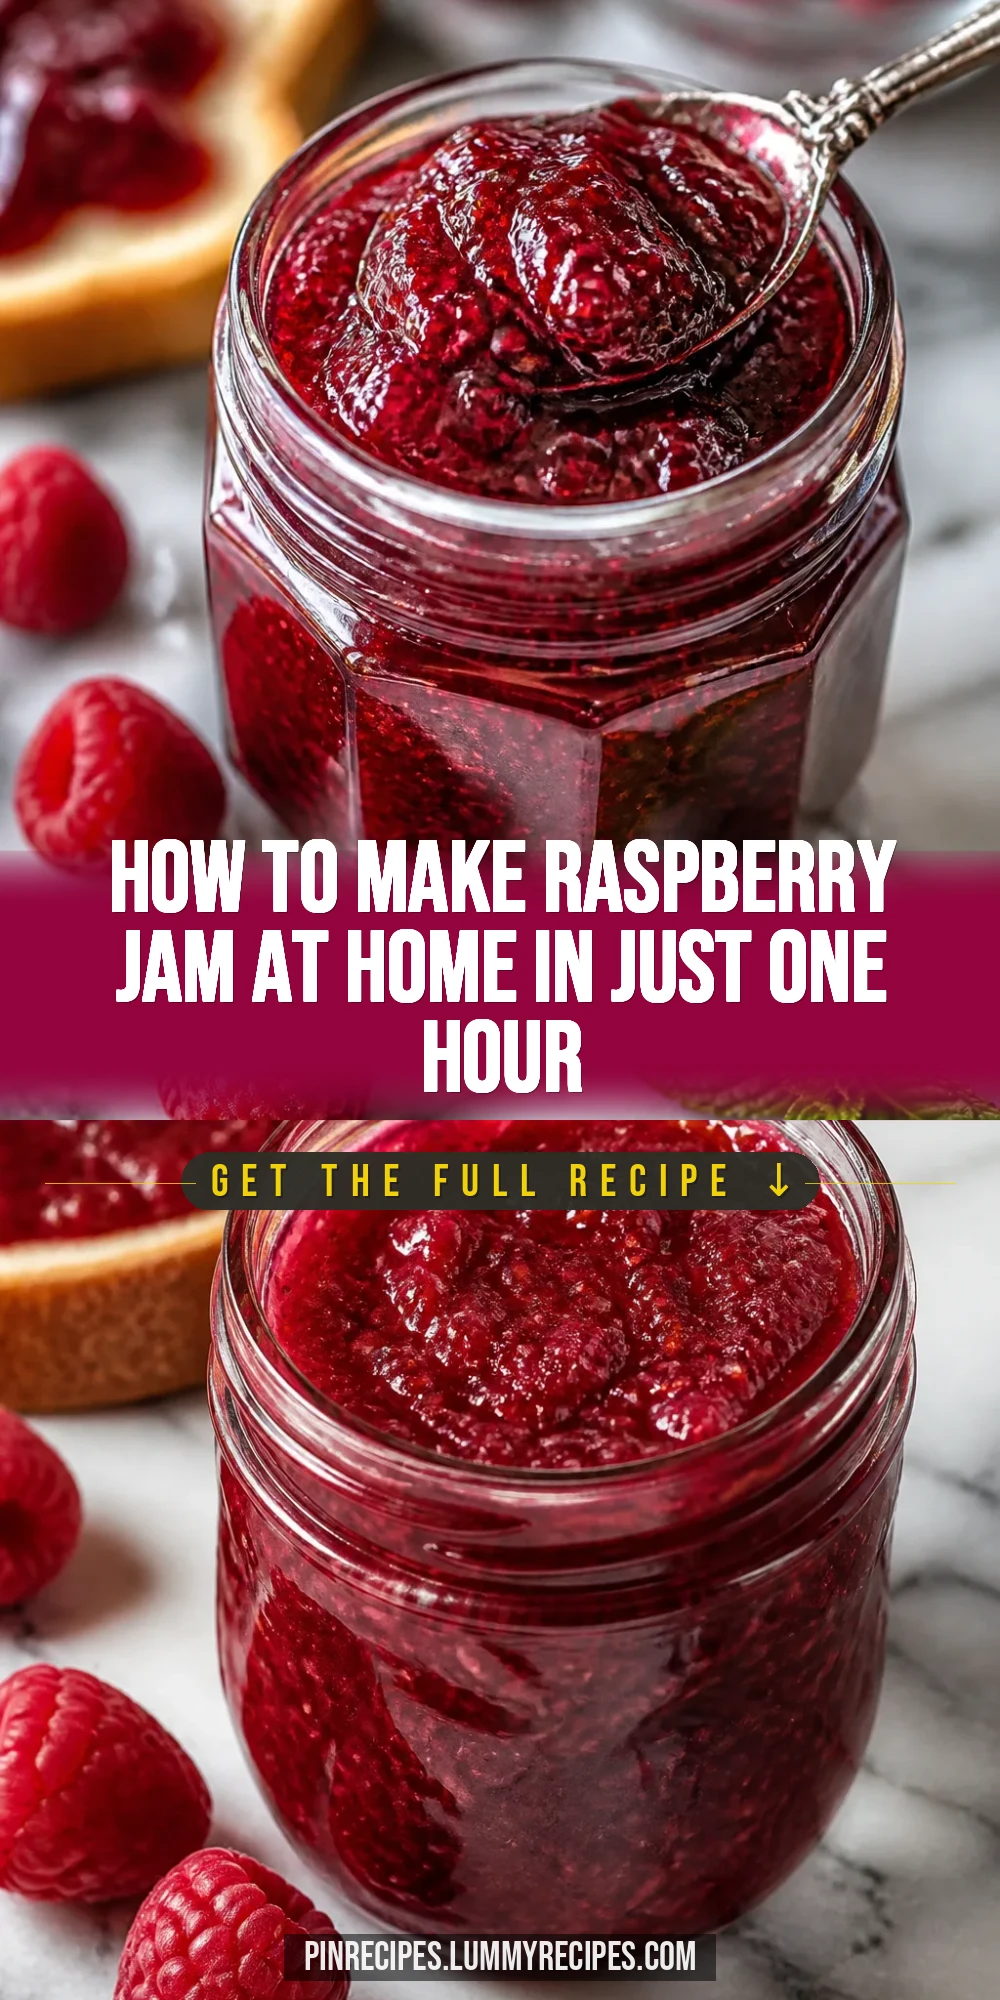
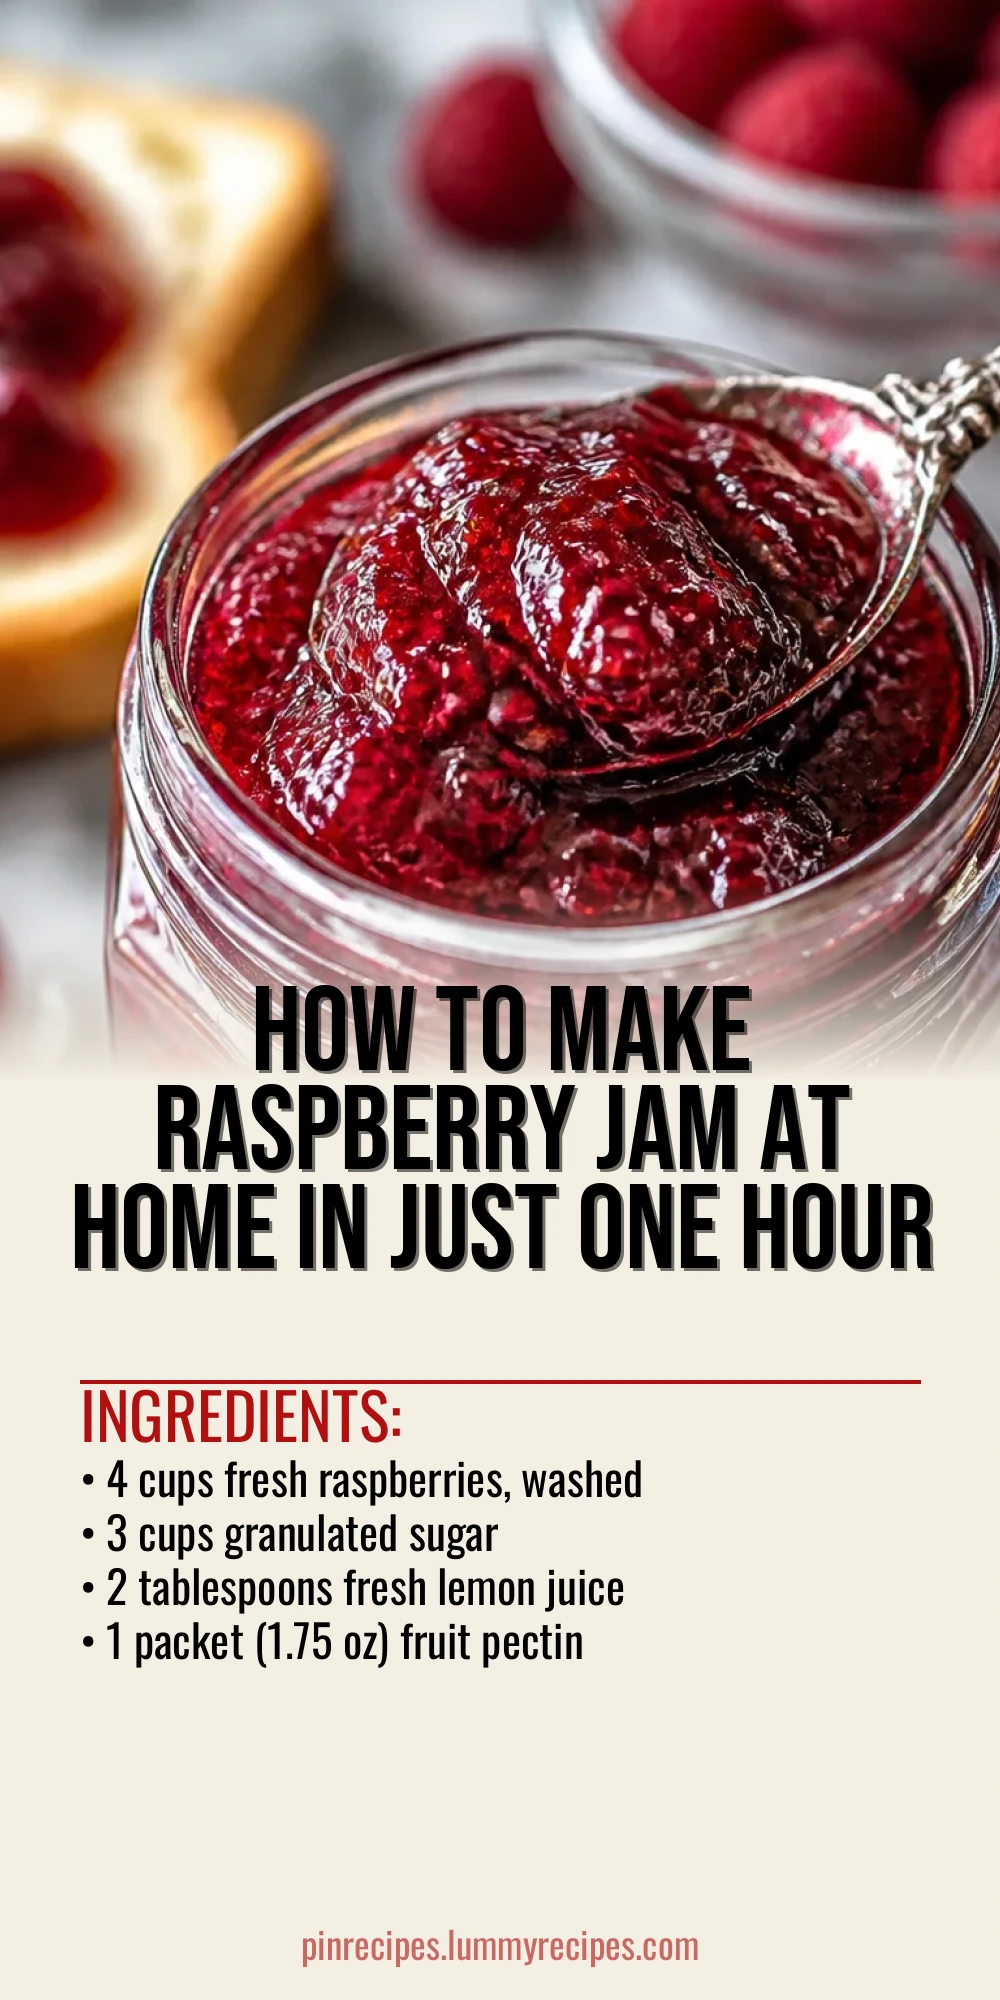
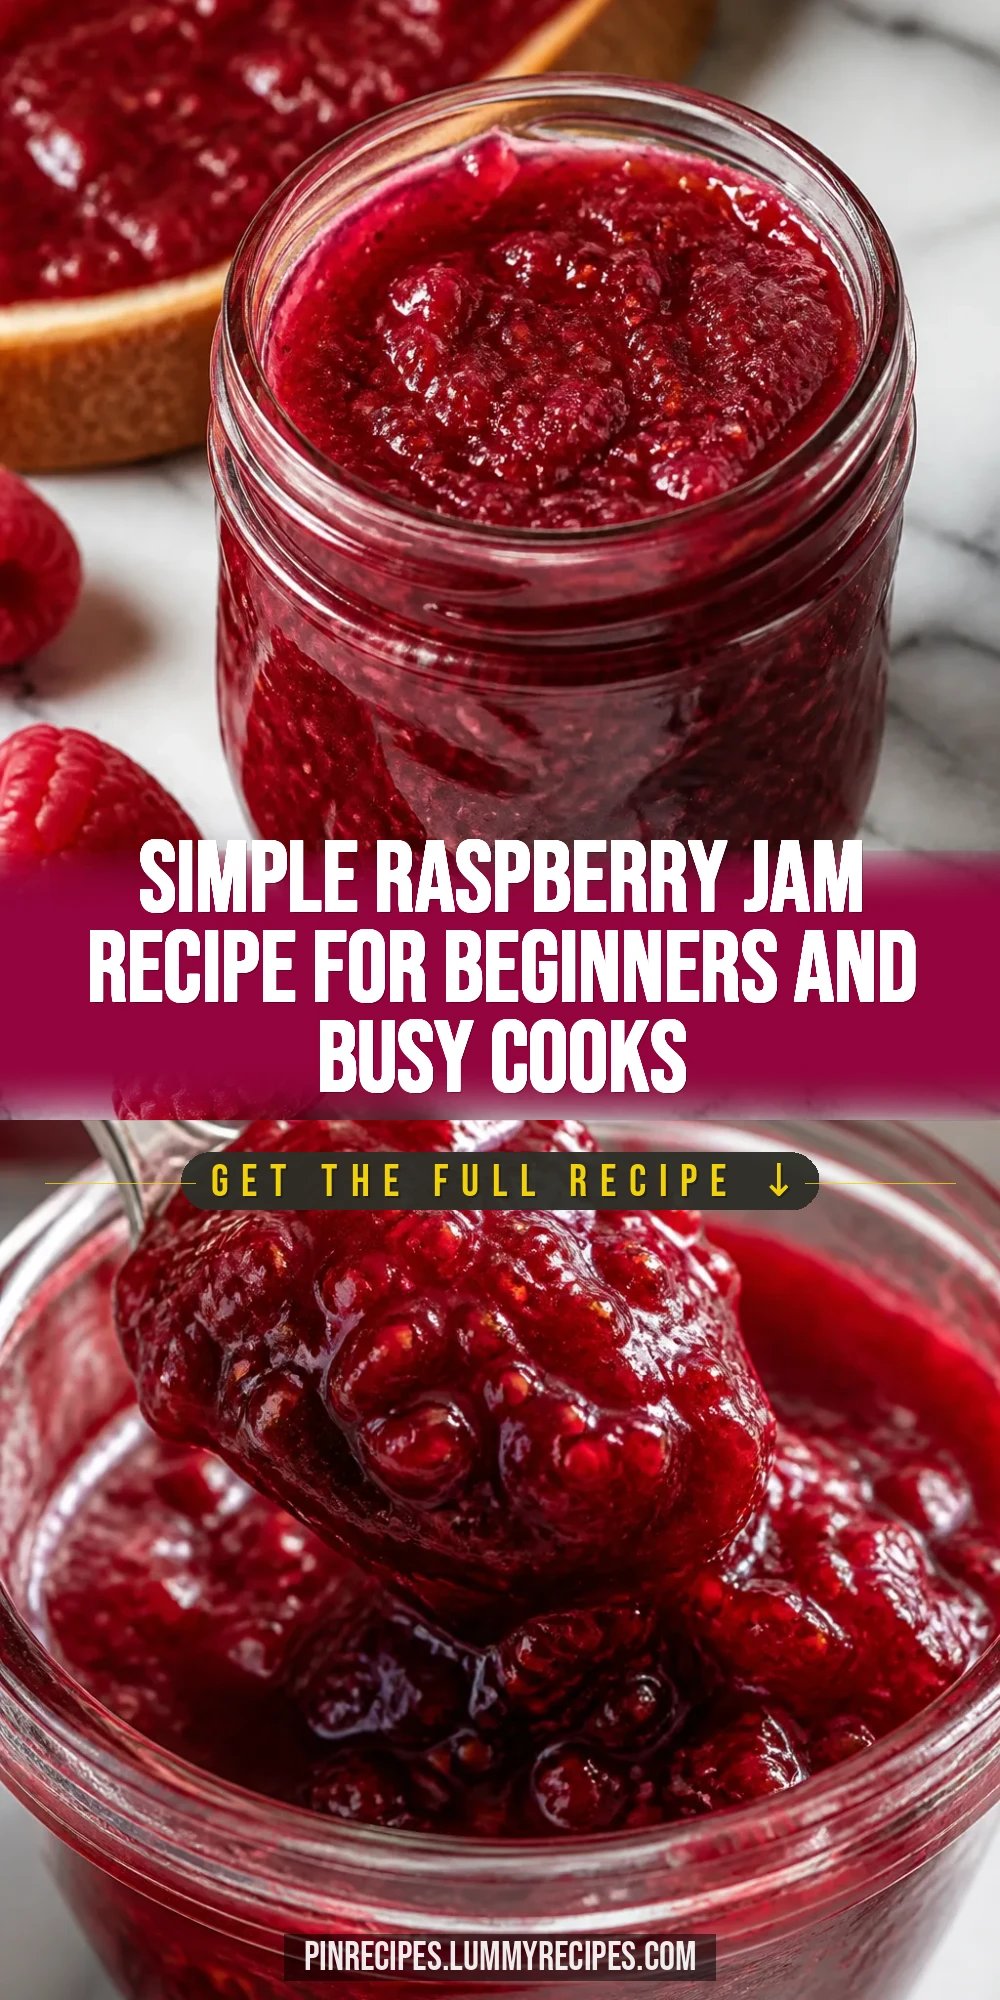
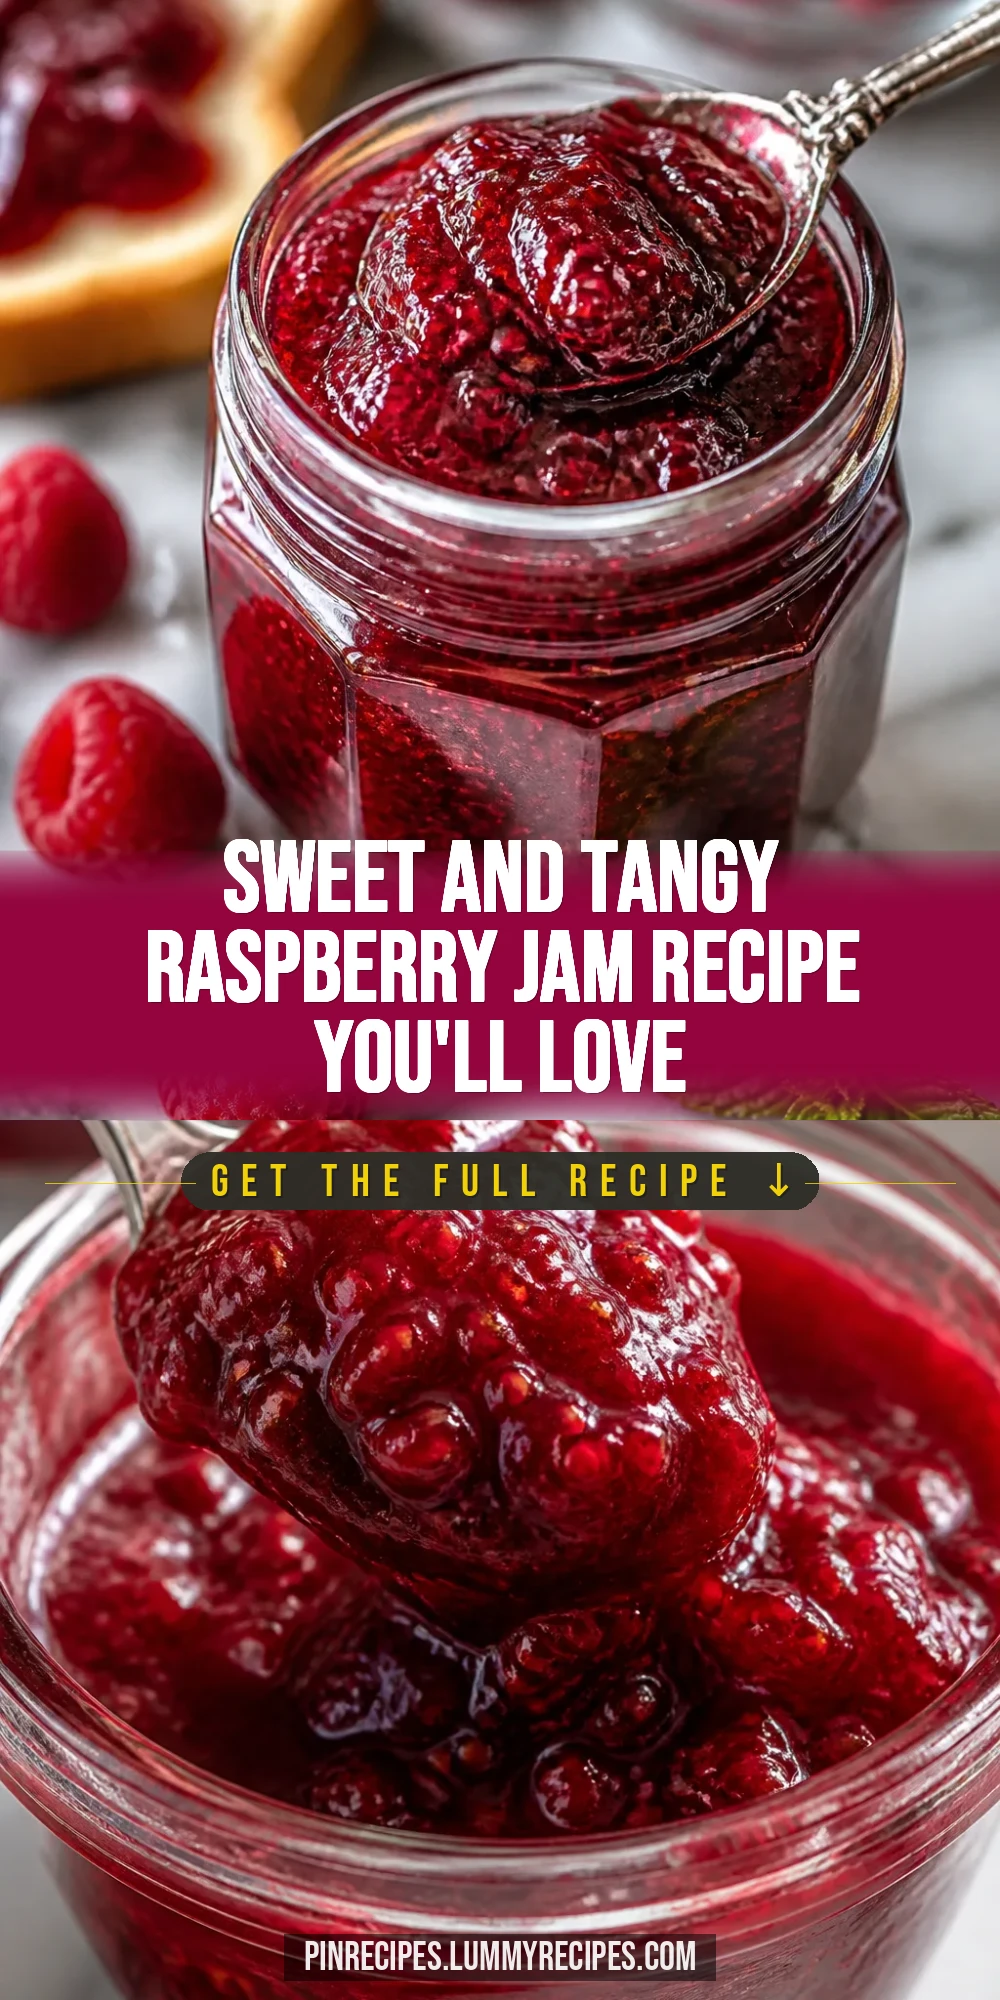
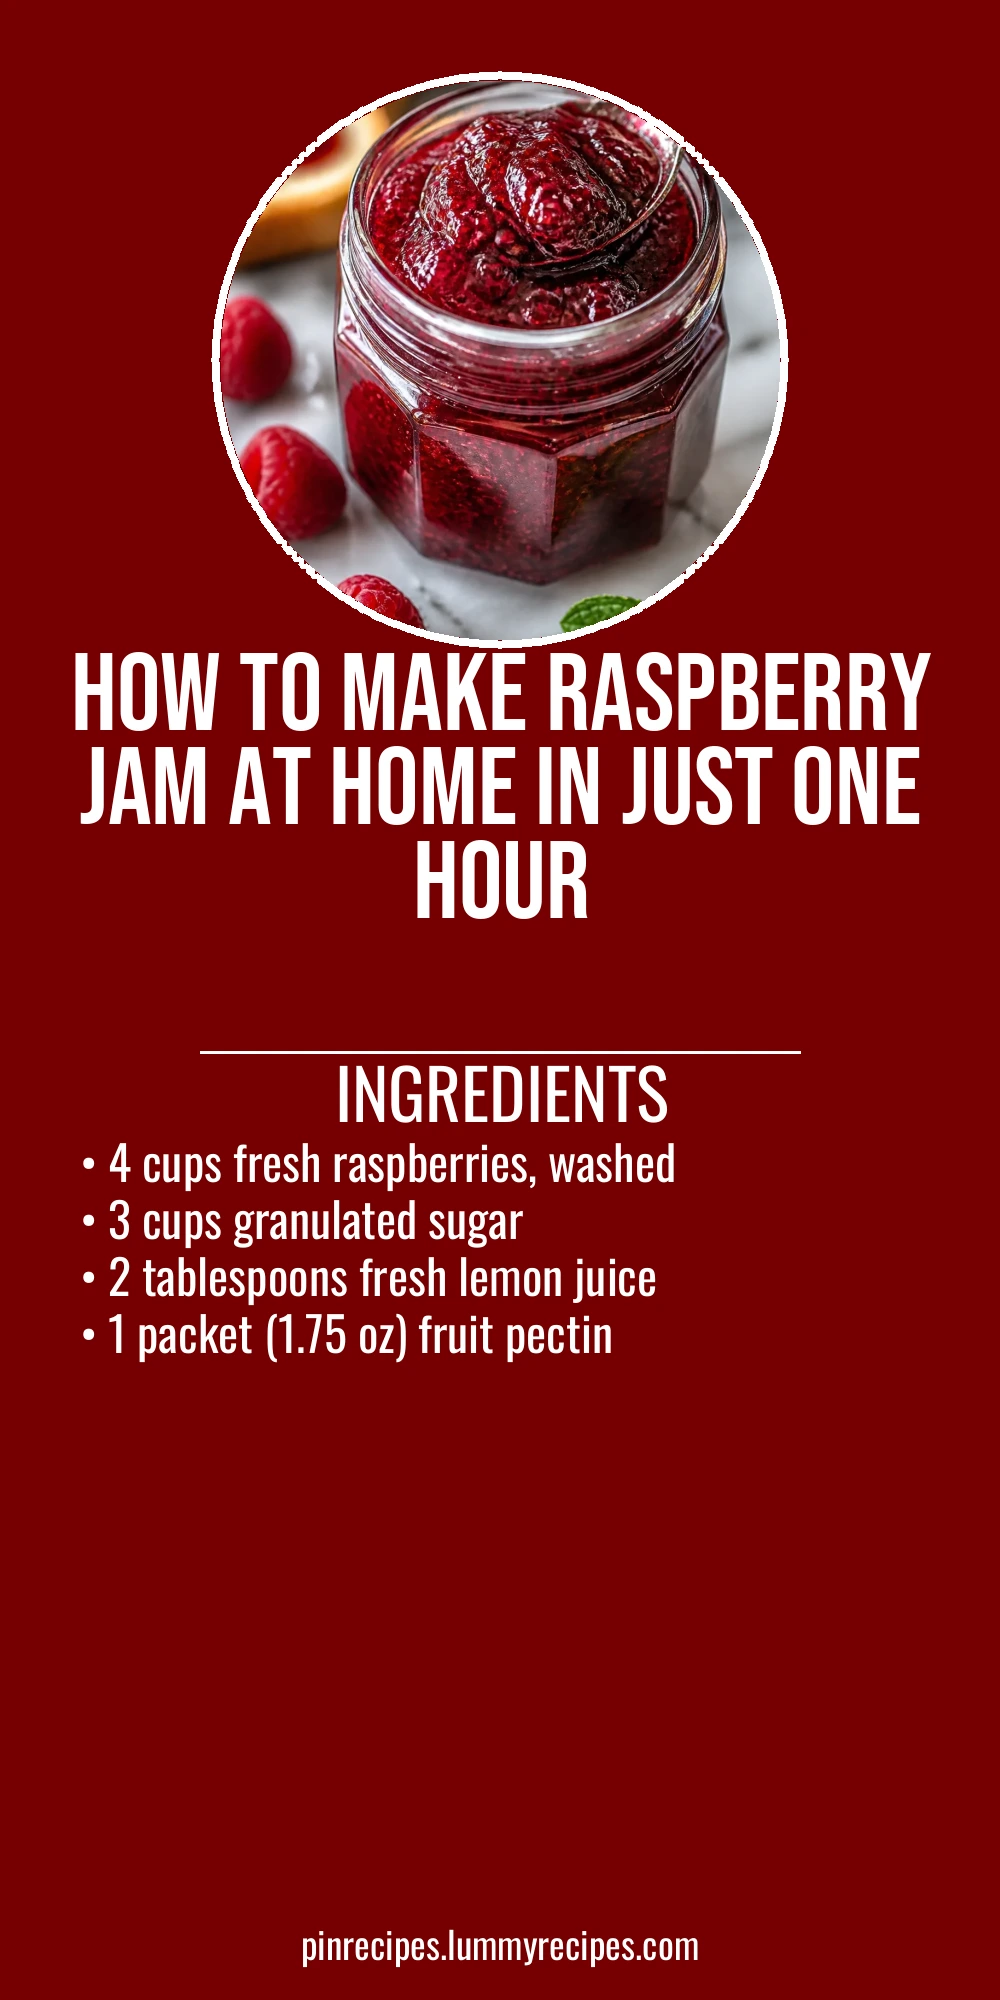
This raspberry jam is a classic homemade treat that tastes like summer in a jar. Using fresh raspberries and a touch of lemon juice, it’s perfect for breakfast toast or spooning over yogurt. I love how easy it is to make!
Introduction
I first made raspberry jam years ago with my grandmother, and it’s one of those recipes that always brings back warm memories. What I love about this version is how straightforward it is—no fancy equipment, just fresh raspberries, sugar, lemon juice, and pectin. The trick I learned is to stir gently so the berries break down just enough to release their flavor without turning into mush. Also, adding lemon juice brightens the jam and helps it set perfectly. When it’s done, you get a beautiful deep red jam that’s thick but spreadable, with that perfect balance of sweet and tart. It’s ideal for breakfast, snacks, or even as a topping for desserts. I think anyone can make this jam at home, and it’s so rewarding to open a jar and taste summer’s sweetness anytime you want.
What You'll Need
Approximately 4 half-pint jars
- 4 cups fresh raspberries, washed
- 3 cups granulated sugar
- 2 tablespoons fresh lemon juice
- 1 packet (1.75 oz) fruit pectin
How To Do It
Step 1
Start by sterilizing your jars and lids in boiling water to ensure your jam stays fresh longer. While the jars are sterilizing, gently rinse the raspberries and drain them well. It’s important not to crush them at this point because you want the jam to have some texture. Using fresh, ripe raspberries is key for flavor and natural sweetness. Set the berries aside.
⏱ Time: 15 minutes
✓ Doneness: Jars are hot and dry, raspberries are clean and intact
Step 2
In a large heavy-bottomed pot, combine the raspberries, sugar, and lemon juice. Stir gently to mix everything without mashing the berries too much. The lemon juice not only adds brightness but also helps the pectin work better. Let the mixture sit for about 10 minutes so the sugar starts to dissolve and the berries release some juice. This step helps the jam cook evenly.
⏱ Time: 10 minutes
✓ Doneness: Sugar is mostly dissolved, mixture looks juicy and glossy
Step 3
Add the fruit pectin to the pot and stir well to combine. Turn the heat to medium-high and bring the mixture to a full rolling boil—one that can’t be stirred down. This is crucial because the pectin activates at this temperature, allowing the jam to set properly. Stir constantly to prevent burning or sticking on the bottom.
⏱ Time: 5 minutes
✓ Doneness: Mixture reaches a vigorous boil and thickens slightly
Step 4
Once boiling, cook for exactly 1 minute while stirring continuously. Don’t rush this step or the jam might not set correctly. The timing ensures the pectin gels without breaking down the fruit too much. After one minute, remove the pot from heat immediately to avoid overcooking.
⏱ Time: 1 minute
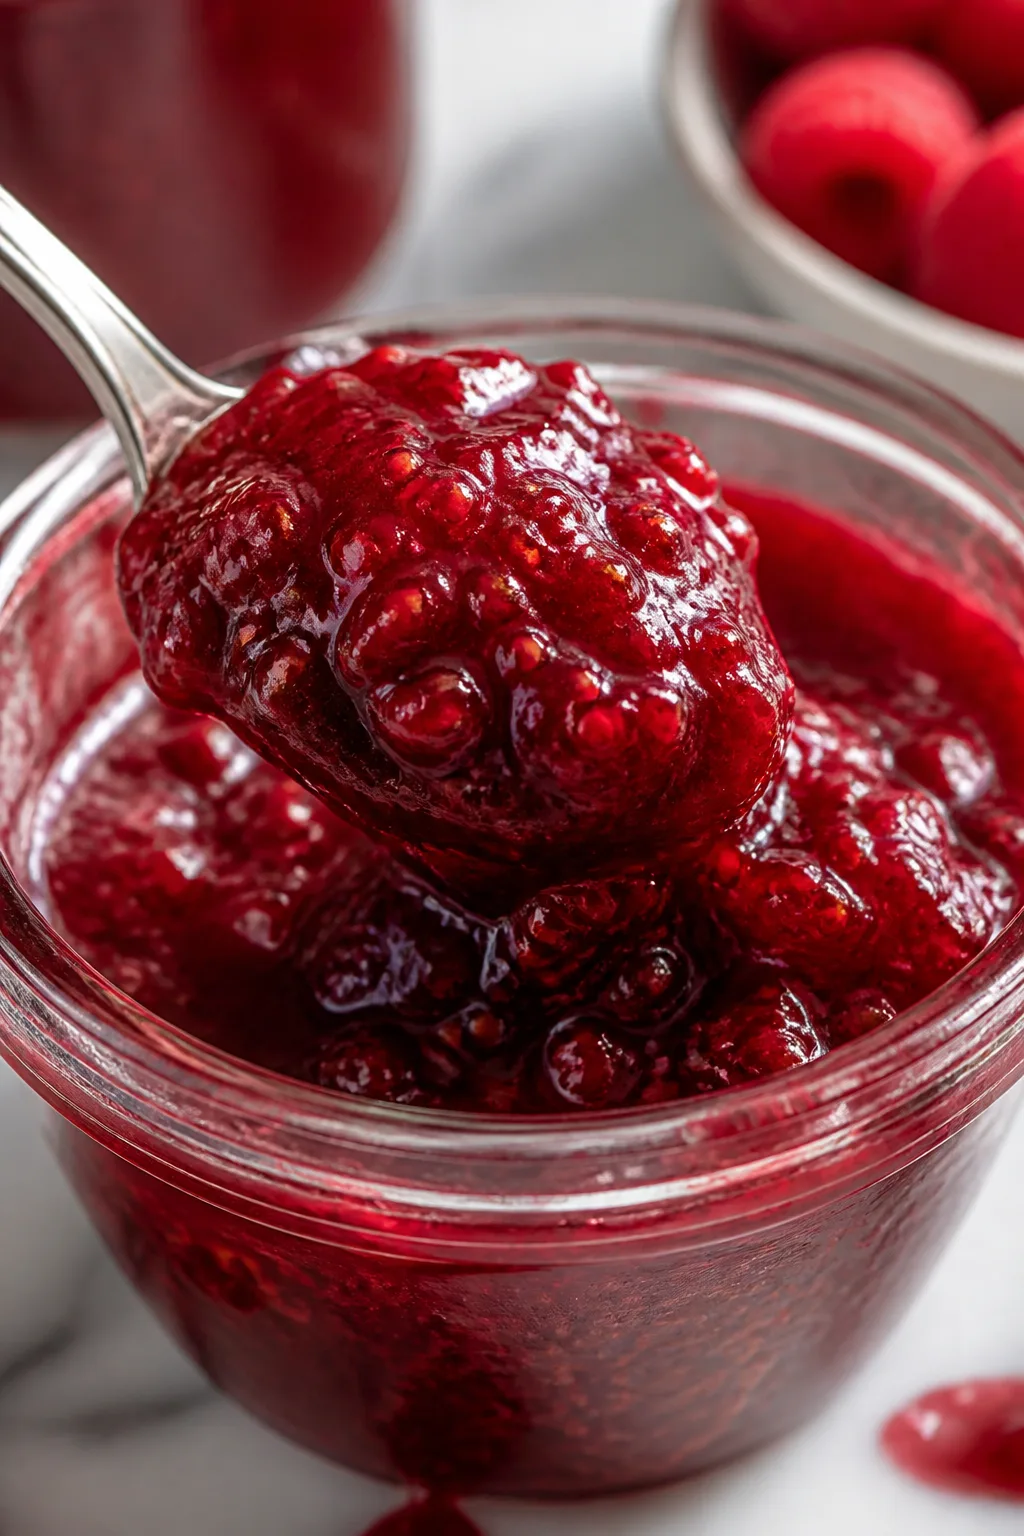
✓ Doneness: Jam thickens and starts to coat the spoon
Step 5
Skim off any foam from the surface with a spoon to keep your jam clear and shiny. This step is optional but makes a difference in appearance and texture. Foam can form from the boiling berries and sugar but doesn’t affect flavor. Removing it helps your jam look more appealing in the jar.
⏱ Time: 2 minutes
✓ Doneness: Surface is smooth and clear without bubbles or foam
Step 6
Carefully ladle the hot jam into your sterilized jars, leaving about 1/4 inch of headspace at the top. This space is important for safe sealing during processing. Wipe the rims of the jars with a clean damp cloth to remove any sticky residue that could prevent a good seal.
⏱ Time: 5 minutes
✓ Doneness: Jars filled neatly, rims clean and dry
Step 7
Place the lids on the jars and screw on the bands just until fingertip tight. Avoid overtightening because air needs to escape during processing. Process the jars in a boiling water bath for 10 minutes to sterilize and seal them properly. This step ensures your jam is safe for long-term storage.
⏱ Time: 10 minutes
✓ Doneness: Jars sealed with lids slightly indented and no leaks
Step 8
Remove the jars carefully and let them cool completely on a towel or rack. You’ll hear the satisfying popping sound as the lids seal. Once cool, check the seals by pressing the center of each lid—if it doesn’t flex up and down, the jar is sealed. Store sealed jars in a cool, dark place.
⏱ Time: 1-2 hours
✓ Doneness: Lids are sealed and jars are cool to the touch
Step 9
Once opened, keep your raspberry jam refrigerated and use within three weeks for best flavor. I love how this jam keeps its fresh raspberry taste and vibrant color even after weeks in the fridge. Enjoy it on toast, stirred into yogurt, or even as a glaze for desserts.
⏱ Time: N/A
✓ Doneness: Jam is smooth, spreadable, and vibrant in color
Pro Tips
Use a heavy-bottomed pot to cook the jam.
A heavy-bottomed pot distributes heat evenly, preventing hot spots that can scorch the jam. Scorching ruins flavor and texture, so this helps you get a smooth, well-cooked jam.
Don’t rush the boiling step once pectin is added.
The pectin needs a full rolling boil to activate and create the gel network. If you skip or shorten this, the jam won’t set properly and will be runny.
Remove foam after boiling for a clearer jam.
Foam can trap air and cause discoloration or an uneven texture. Skimming it off gives your jam a glossy, professional look.
Leave headspace in jars when filling.
Headspace allows for expansion during processing and helps create a vacuum seal. Too little space can cause jars to crack or lids to not seal.
Use fresh lemon juice instead of bottled.
Fresh lemon juice has a brighter flavor and consistent acidity, which helps the jam set and taste fresh. Bottled juice can be less acidic and dull the flavor.
Let the jam rest for a few minutes before filling jars.
This helps the jam cool slightly, reducing the risk of thermal shock to jars and making it easier to handle.
Test jam set by placing a spoonful on a chilled plate.
If the jam wrinkles when pushed with a finger, it’s set. This simple test helps avoid under- or over-cooking.
Common Mistakes to Avoid
Not boiling the jam long enough after adding pectin
Why it happens Some cooks rush this step, thinking the jam is done once it boils, but the pectin needs sustained heat to activate.
Fix Make sure to boil the jam vigorously for the full 1 minute after adding pectin. Use a timer and keep stirring to avoid burning.
Crushing berries too early
Why it happens Handling berries roughly before cooking breaks them down too much, resulting in a jam that’s too runny or mushy.
Fix Gently rinse and drain berries without mashing. Let the cooking process break them down gradually for better texture.
Skipping sterilizing jars
Why it happens Some assume hot jam will sterilize jars, but unsterilized jars can harbor bacteria causing spoilage.
Fix Always sterilize jars and lids in boiling water before filling to ensure safety and longer shelf life.
Using too little sugar
Why it happens Trying to cut sugar for health reasons can prevent proper gel formation and preservation.
Fix Stick to the recommended sugar amount or use pectin designed for low-sugar jams to ensure proper setting.
Not leaving enough headspace in jars
Why it happens Filling jars too full can cause jars to crack or lids to fail during processing.
Fix Leave about 1/4 inch headspace to allow for expansion and a good vacuum seal.
Variations
Sugar-Free Raspberry Jam
Use a no-sugar fruit pectin and substitute sugar with a natural sweetener like stevia or erythritol. The jam will be less sweet but still flavorful and lower in calories.
Note: Cooking time may be shorter and texture slightly different; follow pectin package instructions carefully.
Mixed Berry Jam
Combine raspberries with strawberries and blueberries for a colorful jam with complex flavor. Use the same quantities of sugar and lemon juice.
Note: Mixed berries may have different pectin levels, so ensure a full boil to get a good set.
Chunky Raspberry Jam
Skip stirring too much during cooking to keep larger pieces of fruit. This gives a rustic texture that’s perfect on crusty bread.
Note: Cook gently and avoid mashing berries when stirring.
Raspberry Jam with Vanilla
Add a split vanilla bean or a teaspoon of vanilla extract at the end of cooking for a warm, aromatic twist that pairs beautifully with the tart raspberries.
Note: Add vanilla after removing from heat to preserve aroma.
Raspberry Jam with Chia Seeds
For a quick no-cook jam, mash raspberries with a bit of sweetener and lemon juice, then stir in chia seeds. Let sit until thickened. It’s a healthy, fresh alternative.
Note: No pectin needed but texture will be different and less shelf-stable.
Nutrition
Per Serving:
Nutritional values are estimates and may vary based on specific ingredients used.
Storage & Tips
Room Temperature
Once sealed, raspberry jam can be safely stored at room temperature in a cool, dark place for up to 1 year. Keep jars away from direct sunlight to preserve color and flavor.
Refrigerator
After opening, store jam in an airtight container in the refrigerator for up to 3 weeks. The flavor remains fresh, but texture may thicken slightly. Serve cold or at room temperature.
Freezer
Jam can be frozen for up to 6 months. Use freezer-safe containers leaving some headspace for expansion. Thaw in the refrigerator overnight and stir before serving to restore texture.
Reheating
If the jam thickens too much after refrigeration or freezing, gently warm it in a saucepan over low heat with a splash of water to loosen. Avoid boiling again to preserve flavor.
Make Ahead
You can prepare the jam base and cook it 1-2 days ahead, then process jars on the day you want to store it. Alternatively, make and process jars fully ahead and store unopened.
FAQ
Can I use frozen raspberries instead of fresh?
Yes, you can use frozen raspberries, but thaw and drain them first to remove excess water. Frozen berries may produce a looser jam and slightly different texture, so consider adding a bit more pectin.
What if my jam doesn’t set?
If the jam is runny, it may not have boiled long enough with the pectin or lacked enough acid or sugar. Re-boil the jam with additional pectin or lemon juice, then reprocess in jars.
Can I reduce the sugar in this recipe?
Reducing sugar affects the jam’s ability to set and preserve. Use a low-sugar pectin designed for reduced sugar recipes if you want to cut back safely.
How do I know when jars are sealed properly?
After cooling, press the center of the lid. If it doesn’t pop back, the jar is sealed. You may also hear a popping sound as jars cool during processing.
Can I use bottled lemon juice?
Bottled lemon juice works but fresh juice is preferred for better flavor and acidity. Make sure bottled juice is 100% lemon juice without additives.
How long does homemade raspberry jam last?
Unopened jars last up to 1 year stored properly. Once opened, refrigerate and use within 3 weeks for best quality.
Why is my jam foamy?
Foam forms during boiling due to air bubbles and fruit proteins. Skim it off for a clearer jam, but it doesn’t affect safety or taste.
Can I use a slow cooker to make jam?
Slow cookers can be used but require longer cooking times and careful monitoring to reach the right temperature and consistency. Traditional stovetop is more reliable.
Final Thoughts
I hope you enjoy making and sharing this raspberry jam as much as my family and I do. It’s a simple joy that brightens any meal—give it a try and let me know how it turns out!