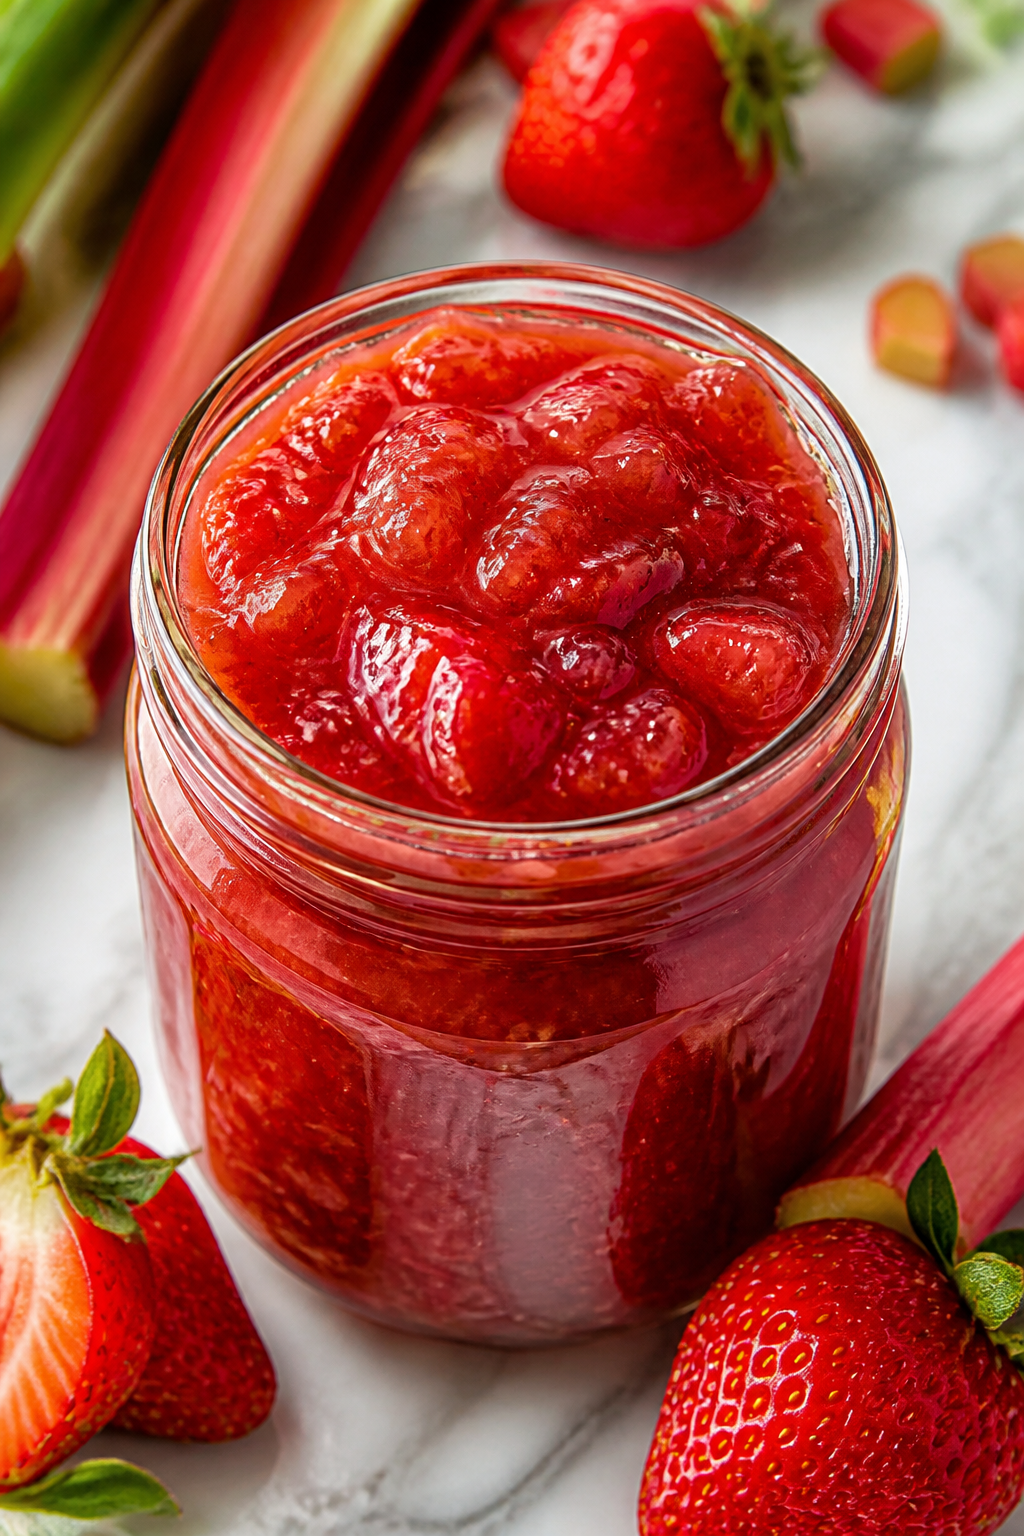
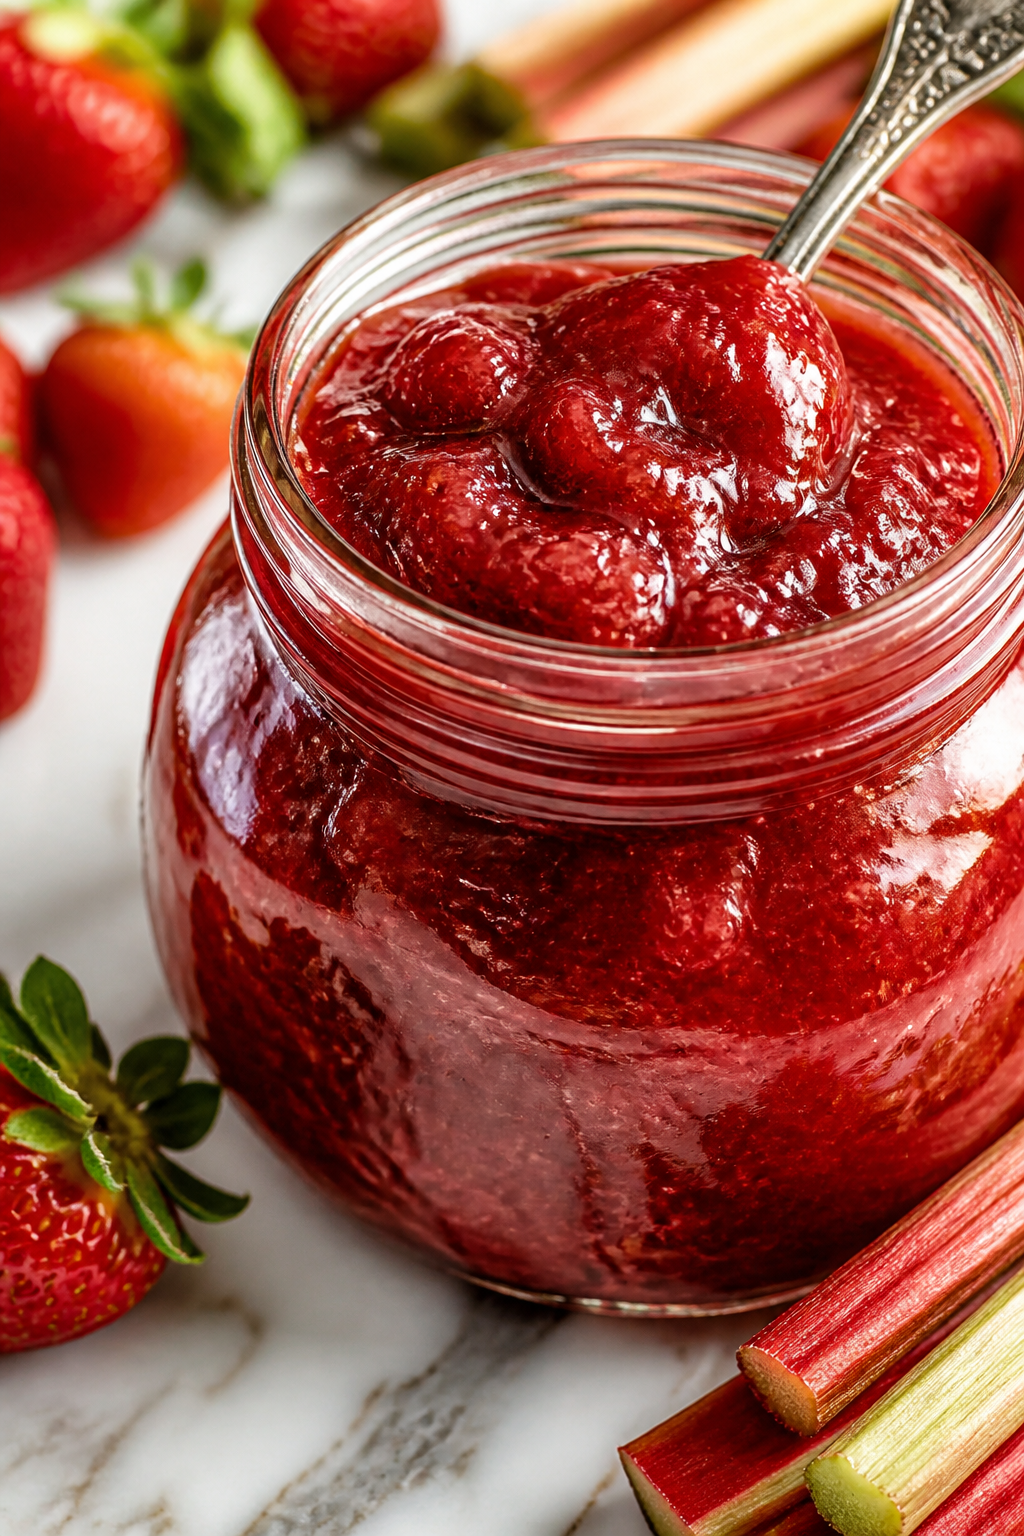
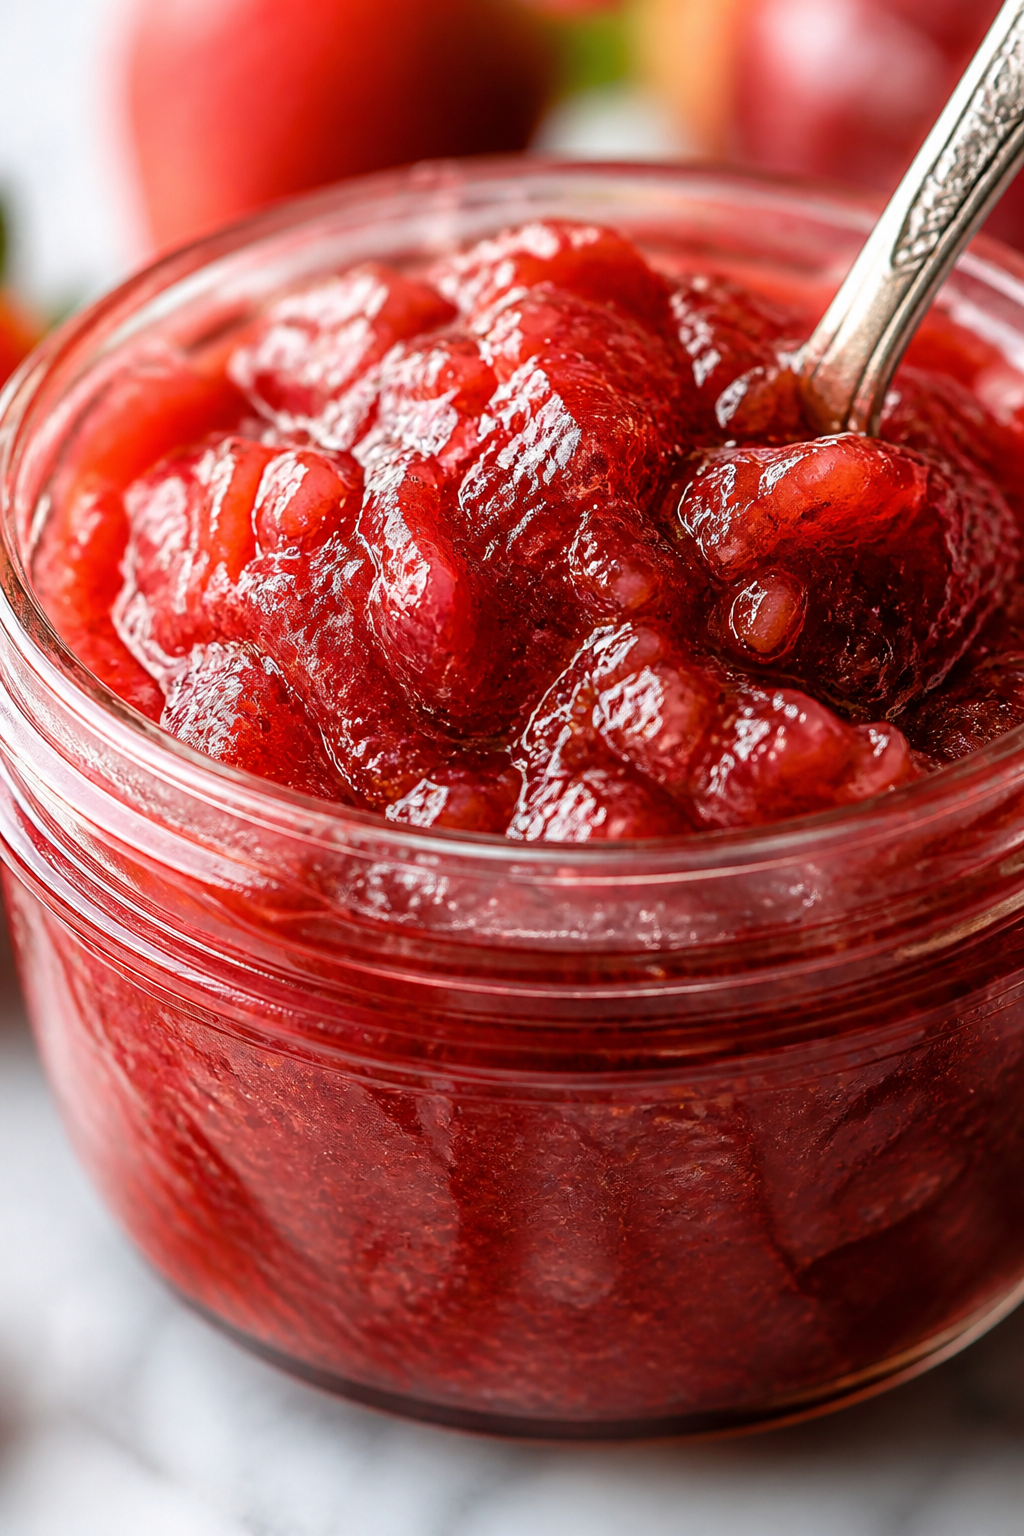
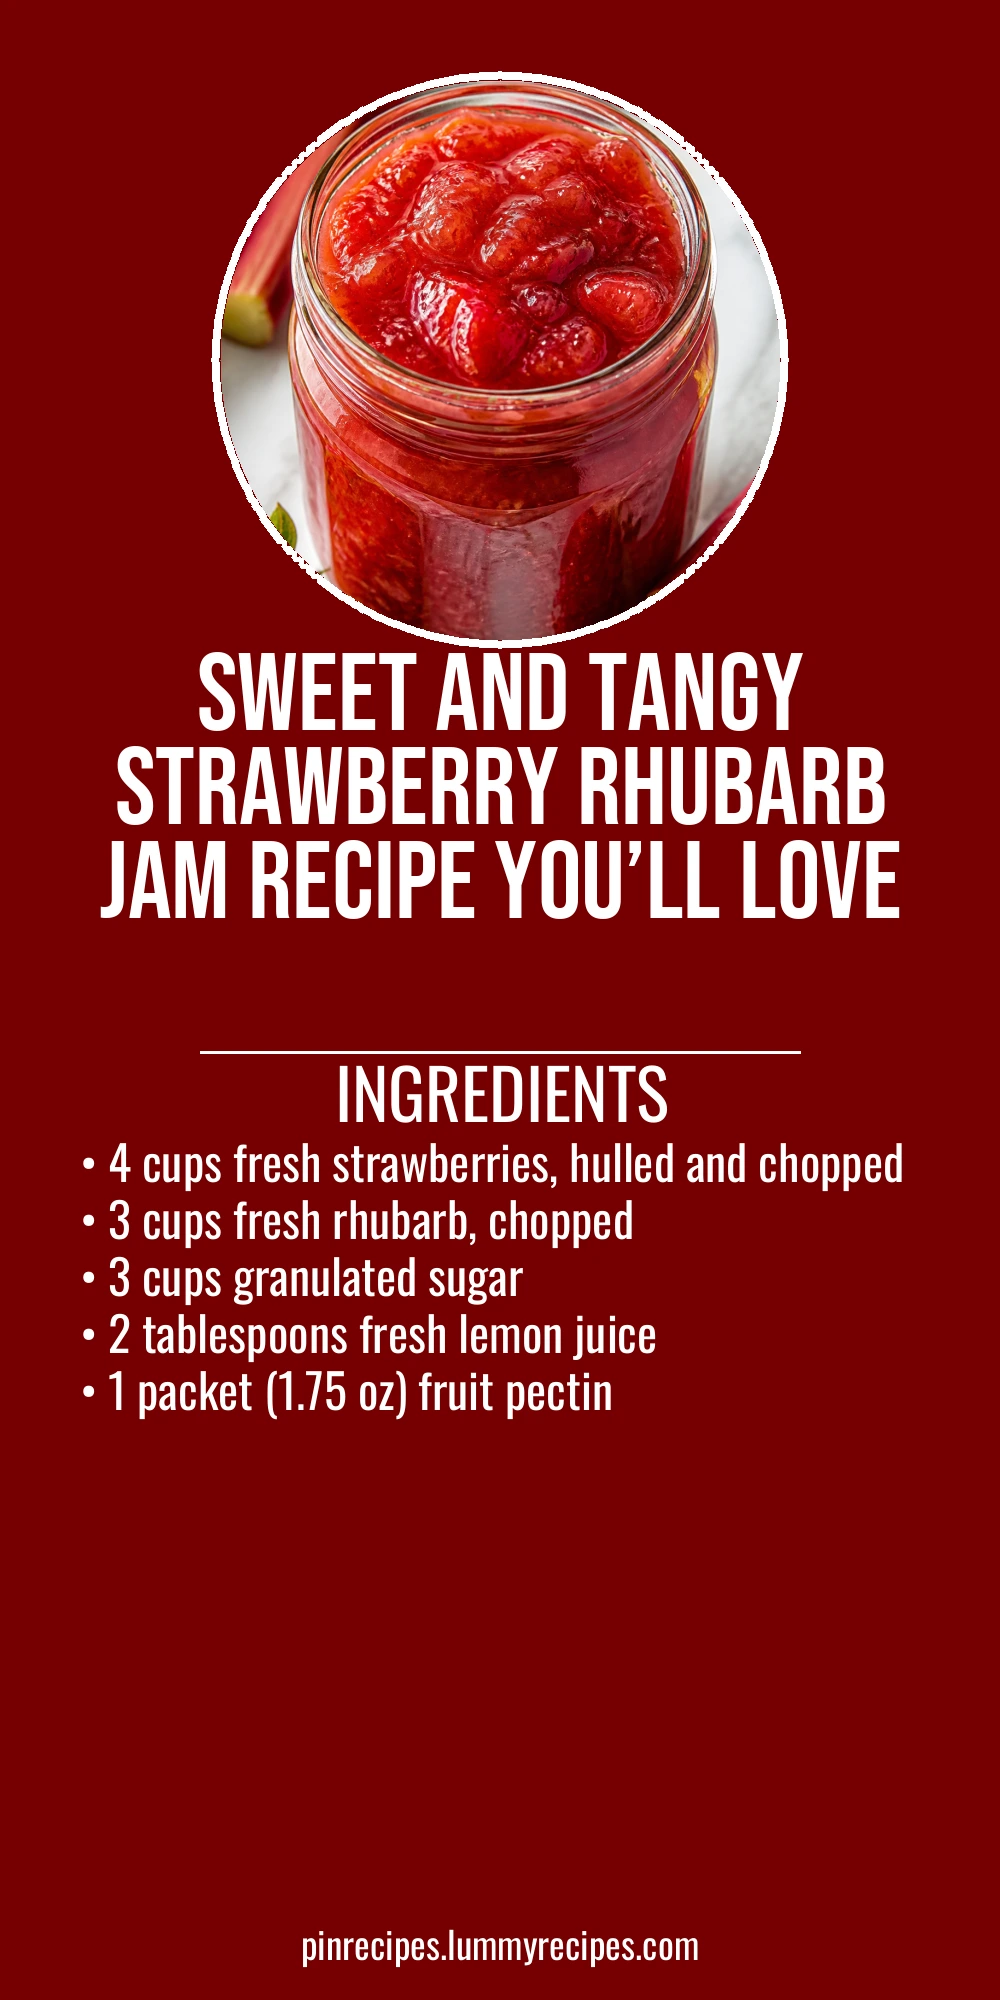
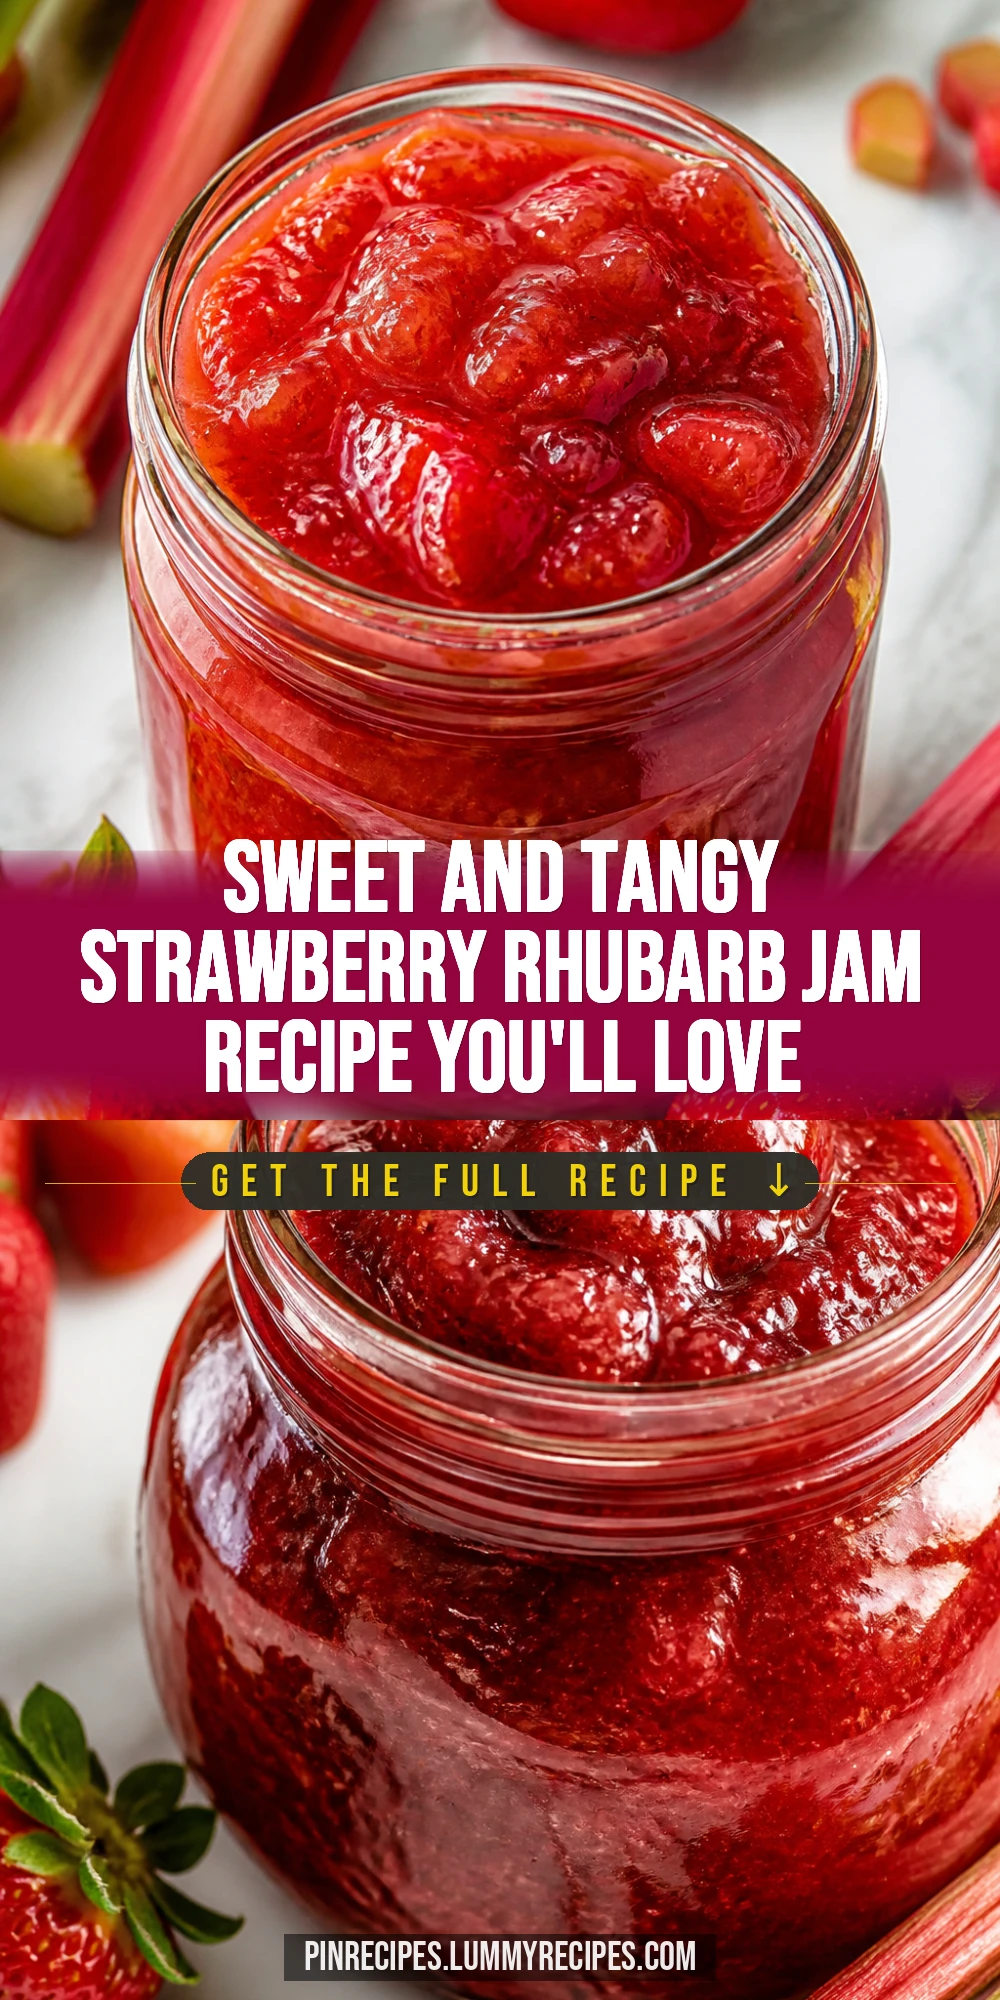
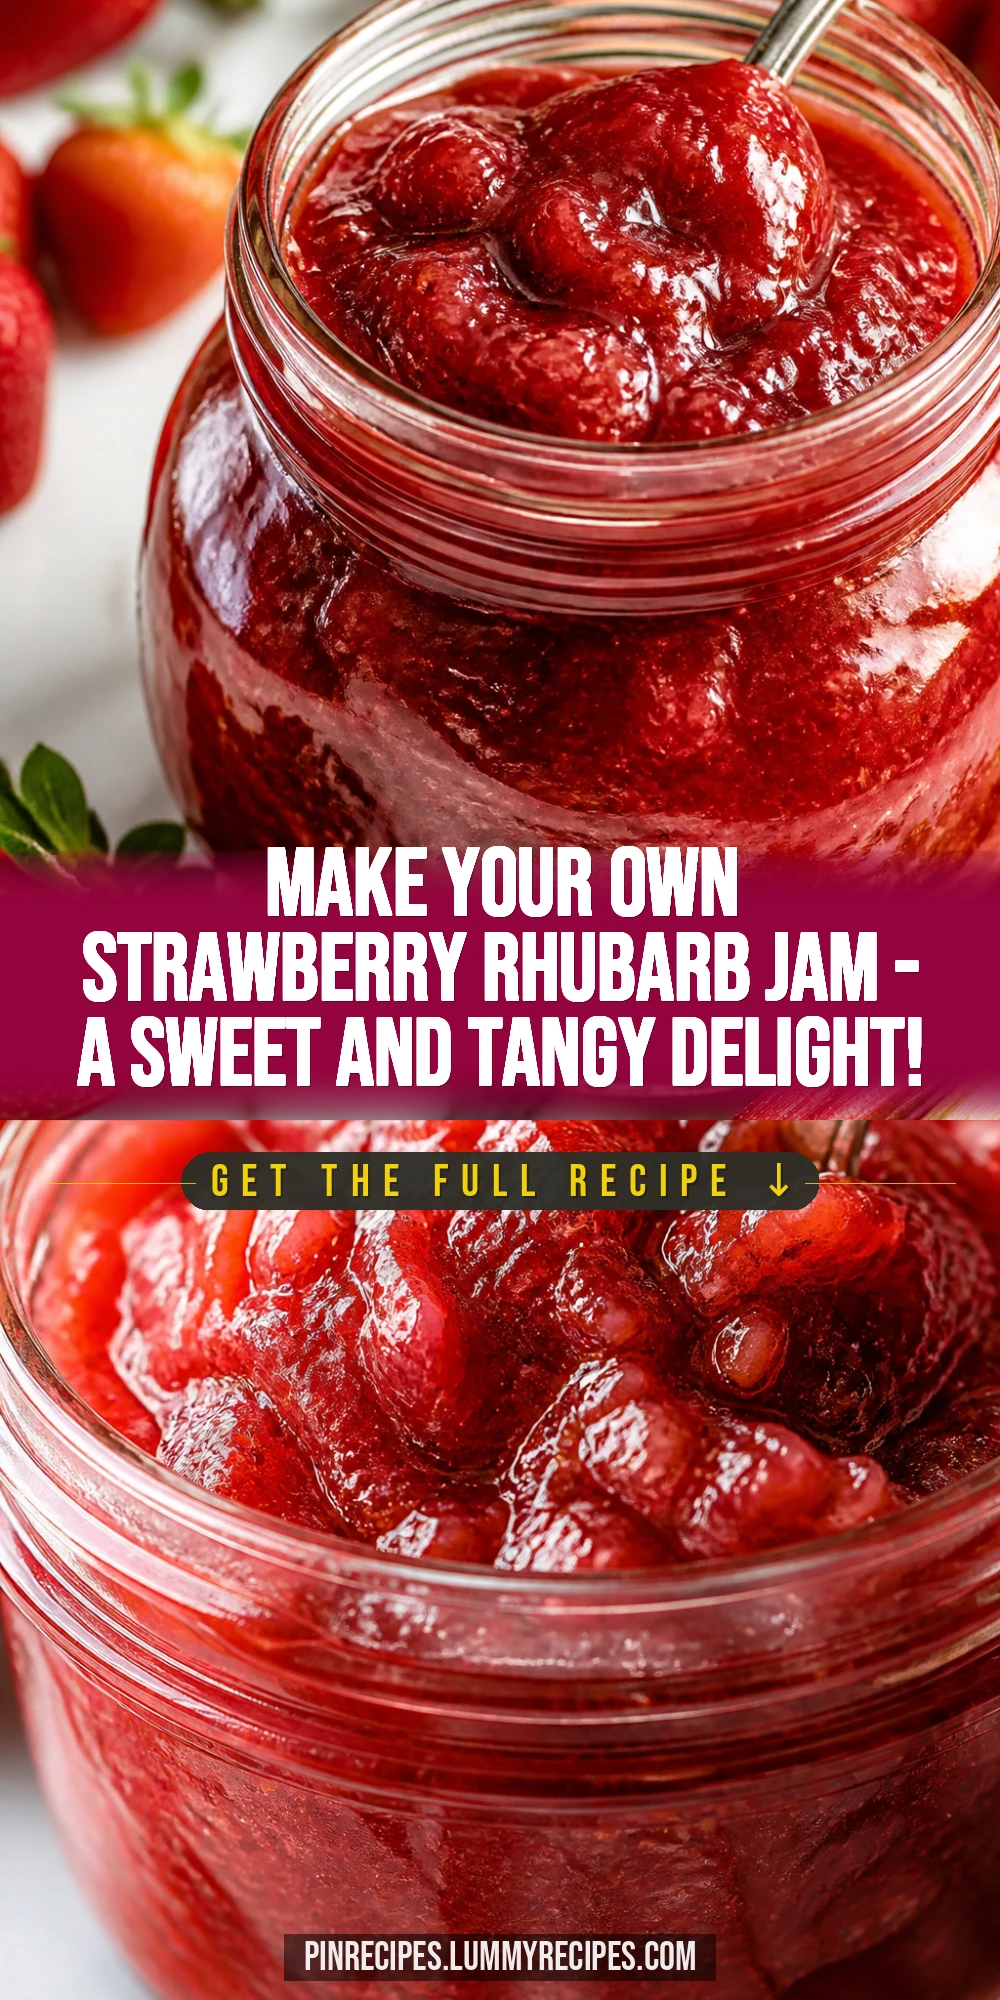
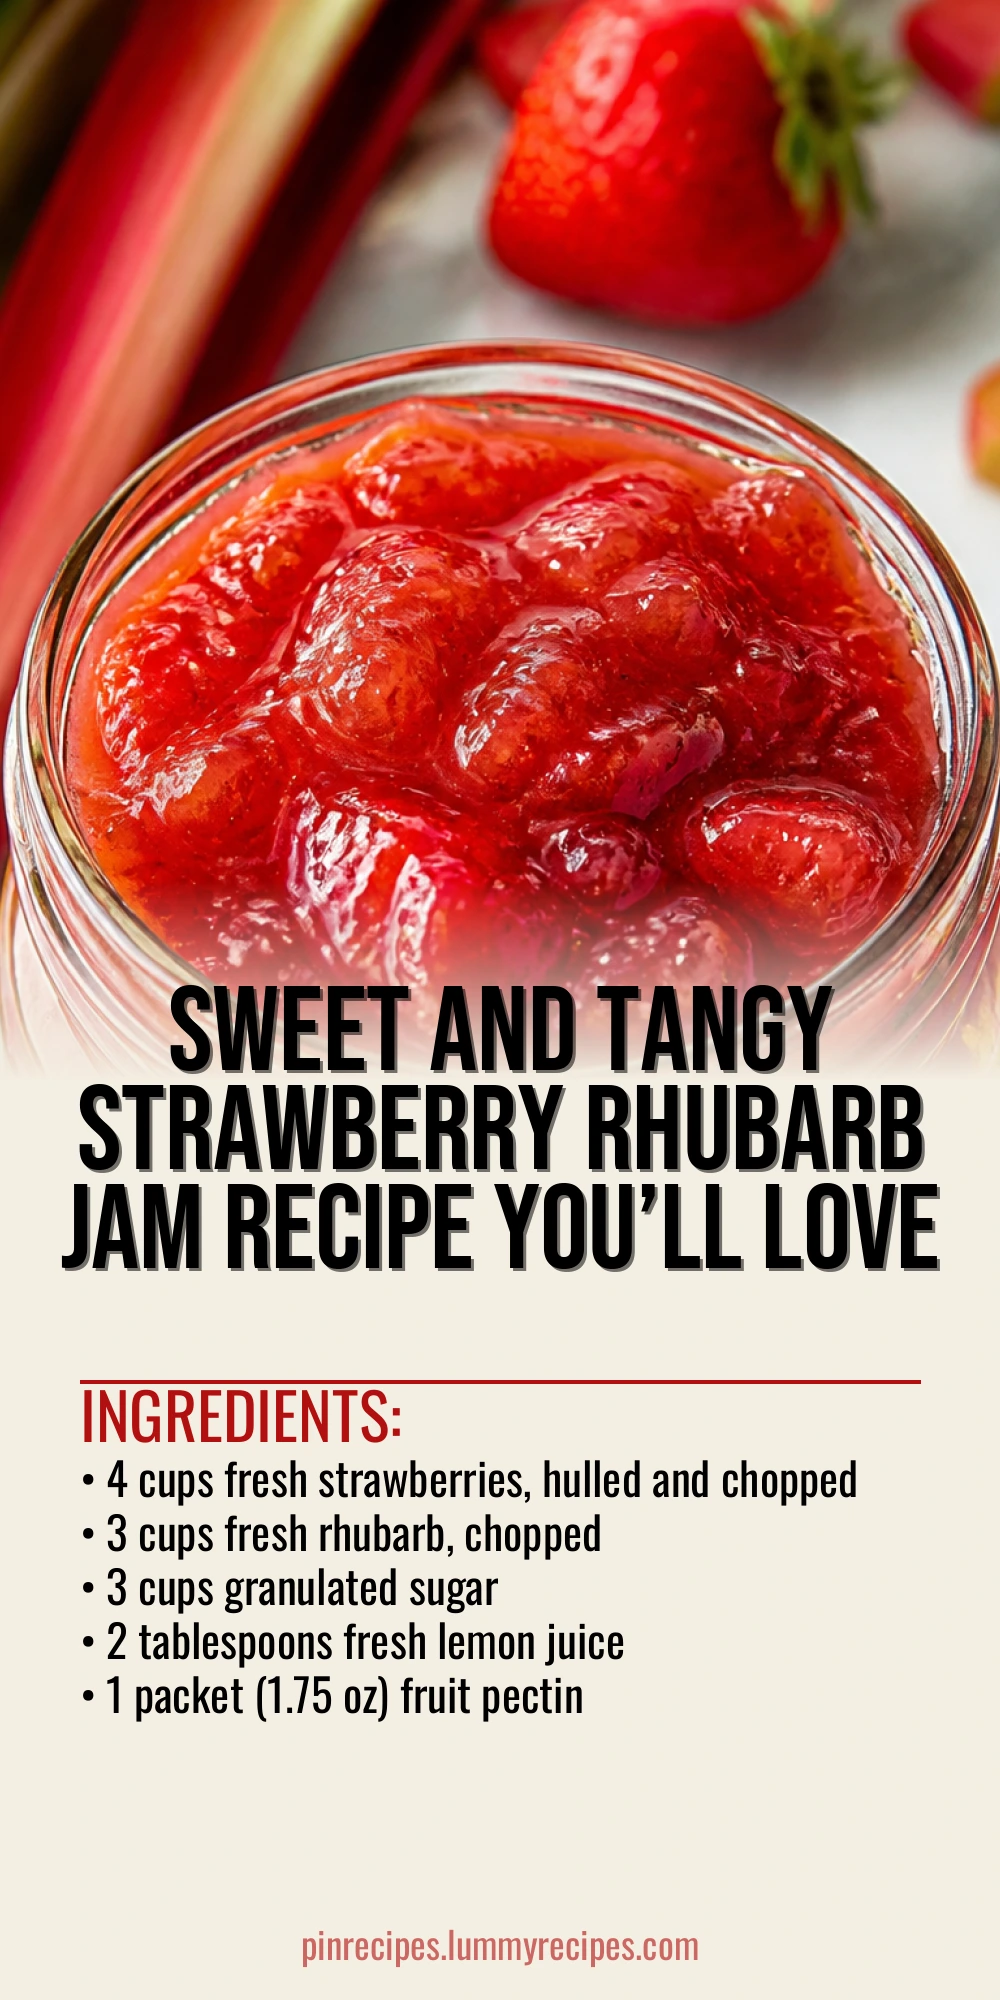
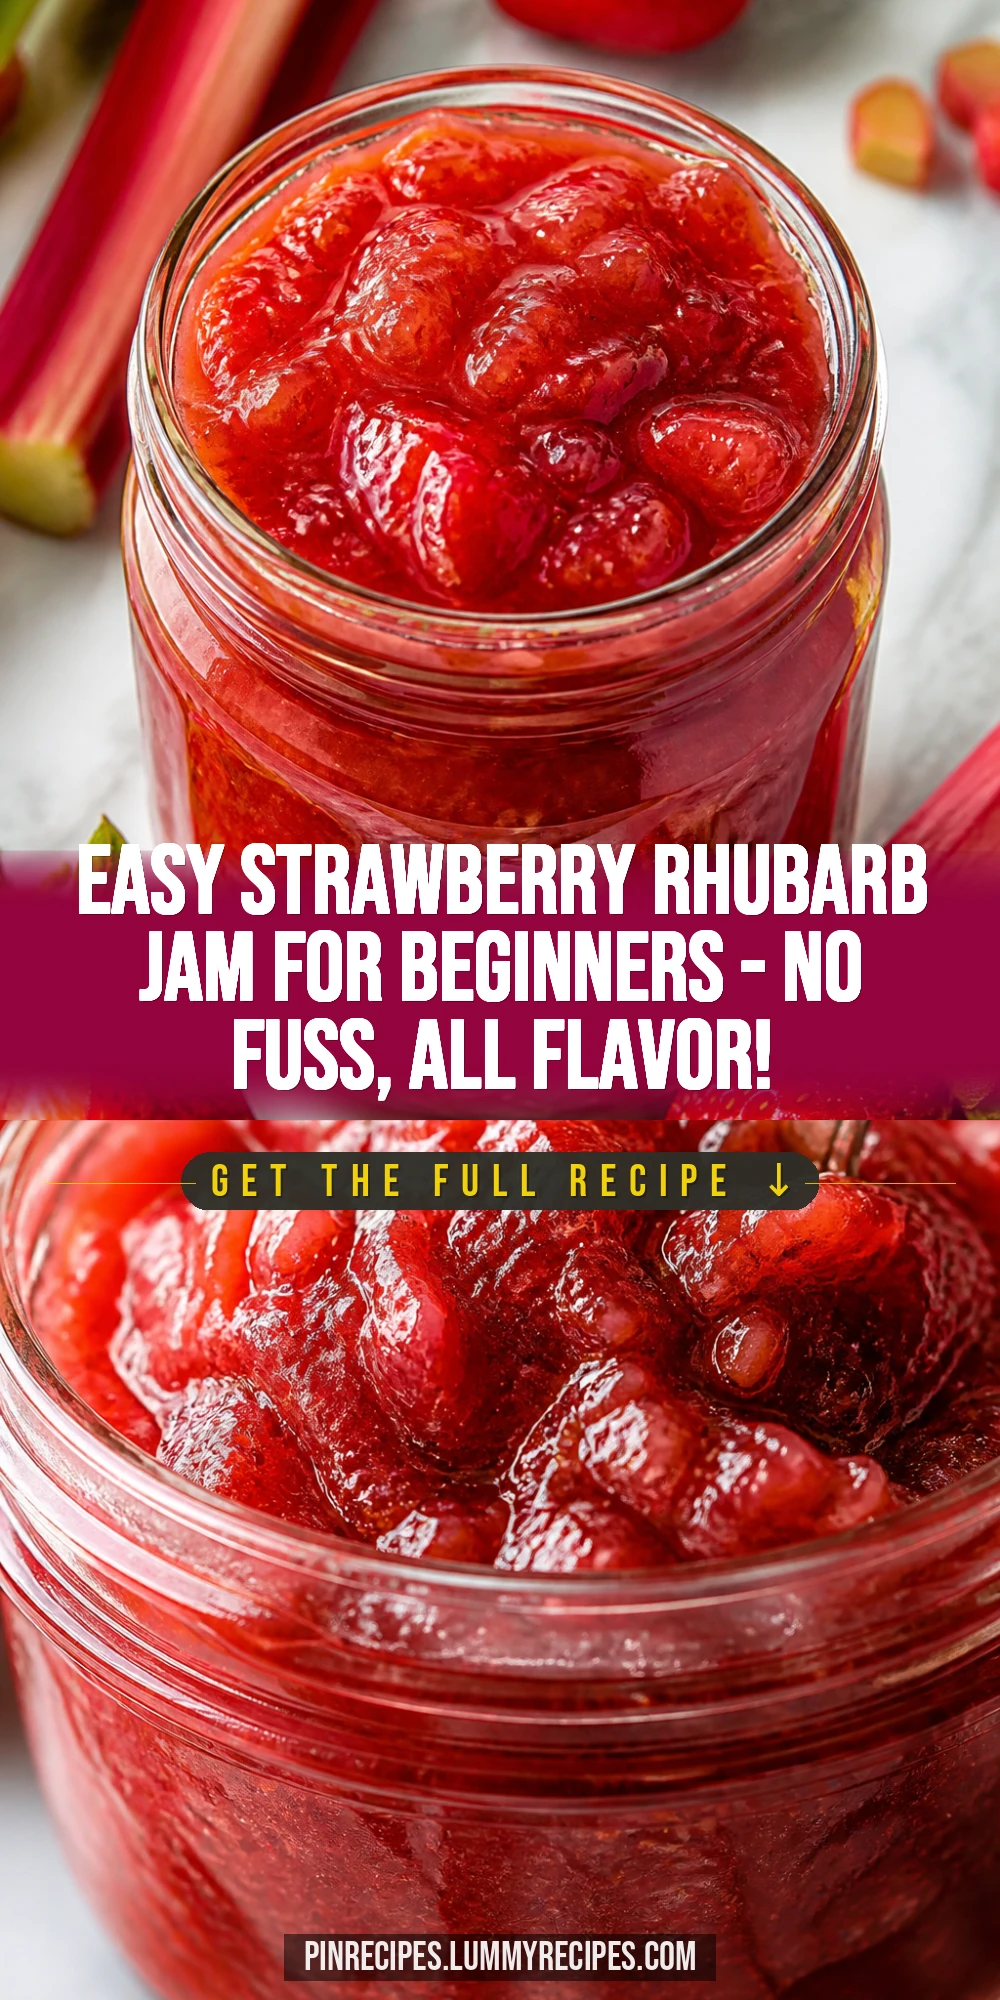
This strawberry rhubarb jam is the perfect balance of sweet and tart, made with fresh fruit and just a touch of lemon. It's an easy way to capture summer's flavors and makes a lovely gift or breakfast treat.
Introduction
I first made strawberry rhubarb jam years ago when I had a bumper crop of rhubarb in my garden but wasn’t sure what to do with it all. Combining it with strawberries was a game-changer—the tartness of rhubarb balances the sweetness of strawberries perfectly. Over time, I’ve tweaked this recipe to keep it simple and reliable, using just fresh fruit, sugar, lemon juice, and pectin. The trick I learned is to stir the fruit and sugar well before cooking to help the sugar dissolve and the jam set properly. The finished jam is thick but spreadable, with a lovely balance of flavors that’s not too sweet or too tart. It’s great on toast, dolloped on yogurt, or even spooned over ice cream. I love making this jam in early summer when strawberries and rhubarb are at their peak. It’s a wonderful way to preserve those fleeting fresh flavors and enjoy a taste of summer all year long.
What You'll Need
Approximately 6 half-pint jars
- 4 cups fresh strawberries, hulled and chopped
- 3 cups fresh rhubarb, chopped
- 3 cups granulated sugar
- 2 tablespoons fresh lemon juice
- 1 packet (1.75 oz) fruit pectin
How To Do It
Step 1
Start by washing and preparing your fruit. Hull and chop the strawberries into bite-sized pieces, then chop the rhubarb into similar-sized chunks. This ensures even cooking and a consistent texture in your jam. Mixing the fruit sizes evenly helps the flavors meld together nicely and prevents any pieces from turning to mush too quickly.
⏱ Time: 10 minutes
✓ Doneness: Fruit pieces are uniformly chopped and ready for cooking
Step 2
In a large bowl, combine the chopped strawberries, rhubarb, and granulated sugar. Stir well to coat all the fruit with sugar. Let this mixture sit for about 15 minutes. This maceration step draws out the fruit juices, softens the fruit, and helps dissolve the sugar, which is essential for a smooth jam texture and proper gelling later on.
⏱ Time: 15 minutes
✓ Doneness: Fruit mixture looks juicy and syrupy with dissolved sugar
Step 3
Pour the fruit and sugar mixture into a large heavy-bottomed pot. Add the fresh lemon juice, which not only brightens the flavor but also helps activate the pectin for proper setting. Stir well before turning on the heat to prevent the sugar from sticking to the bottom and burning.
⏱ Time: 5 minutes
✓ Doneness: Ingredients combined evenly before heating
Step 4
Bring the mixture to a boil over medium-high heat, stirring frequently to prevent scorching. Once boiling, add the fruit pectin and stir vigorously for at least one minute to fully dissolve it. This step is crucial because pectin needs to be evenly distributed to ensure the jam sets correctly. Rushing this can cause lumps or uneven texture.
⏱ Time: 5 minutes
✓ Doneness: Mixture reaches a full rolling boil and pectin is fully incorporated
Step 5
Continue boiling the jam for about 10 minutes, stirring constantly. You'll notice the mixture thickening and bubbling vigorously. This boiling step helps the pectin gel form, thickening the jam. Be careful not to boil too long or the jam can become too stiff or develop a cooked flavor.
⏱ Time: 10 minutes
✓ Doneness: Jam thickens and coats the back of a spoon
Step 6
To test if the jam is ready, place a small spoonful on a chilled plate and let it cool for a minute. Run your finger through it; if it wrinkles and holds its shape, it's done. If not, boil for another minute and test again. This classic test ensures your jam will set properly once cooled.
⏱ Time: 2-3 minutes
✓ Doneness: Jam wrinkles on cooled plate, indicating proper set
Step 7
Remove the pot from heat and skim off any foam on the surface with a spoon. Foam can make your jam look cloudy or affect the texture. Skimming results in a clearer, more appealing jam. This step is easy but often overlooked.
⏱ Time: 2 minutes
✓ Doneness: Surface is clear of foam and jam looks glossy
Step 8
Ladle the hot jam into sterilized jars, leaving about 1/4 inch of headspace. Wipe rims clean and seal with lids. Proper jar sterilization and sealing are essential for safe preservation and extending shelf life. Use hot jars to prevent cracking and ensure a good seal.
⏱ Time: 10 minutes
✓ Doneness: Jars filled and sealed without spills or residue on rims
Step 9
Process the jars in a boiling water bath for 10 minutes to ensure safe preservation. This step kills any bacteria and creates a vacuum seal. Once cooled, check seals by pressing the center of each lid—if it doesn’t pop back, your jam is safely sealed and ready to store.
⏱ Time: 10 minutes
✓ Doneness: Lids are concave and sealed, jars are cool to touch
Pro Tips
Use fresh, ripe fruit for the best flavor and natural pectin content.
Fresh, ripe fruit has the highest natural pectin and sugar levels, which helps the jam set better and taste sweeter. Using underripe or overly soft fruit can lead to a runny or bland jam.
Macerate the fruit with sugar before cooking to dissolve sugar and release juices.
This step helps the sugar dissolve evenly and draws out fruit juices, creating a syrupy base that cooks more evenly and improves the jam’s texture.
Stir constantly during boiling to prevent scorching on the pot’s bottom.
Jam is thick and sugary, which can easily burn if left unstirred. Constant stirring prevents hot spots and ensures even cooking and flavor.
Test jam set with a cold plate to avoid over or under-cooking.
This simple test lets you check if the jam has gelled properly. Overcooking can make jam too stiff, undercooking leaves it runny.
Skim foam off the jam’s surface before jar filling.
Foam can cause cloudy jam and interfere with sealing. Removing it results in clearer, more appealing preserves.
Use sterilized jars and hot filling to ensure safe preservation.
Sterilization kills bacteria and hot filling prevents jar cracking and helps create a vacuum seal for long shelf life.
Process jars in a boiling water bath for at least 10 minutes.
This final step ensures safety by killing any remaining bacteria and sealing the jars properly to store jam for months.
Common Mistakes to Avoid
Skipping the maceration step with sugar.
Why it happens Some cooks want to rush and add sugar directly to boiling fruit, thinking it saves time.
Fix Always mix fruit and sugar and let sit 15 minutes before cooking. This dissolves sugar and draws out juices, essential for texture and flavor.
Not stirring enough during boiling, causing burning.
Why it happens It’s easy to get distracted and not stir thick jam often enough.
Fix Stir constantly once boiling to prevent scorching, especially on heavy-bottomed pots.
Overcooking jam past the set point.
Why it happens Some think longer boiling makes thicker jam, but it can actually become too stiff or taste cooked.
Fix Test set early with a cold plate and remove from heat as soon as jam wrinkles.
Using unsterilized jars or lids.
Why it happens In a hurry, some skip sterilizing, risking spoilage.
Fix Always sterilize jars and lids by boiling or in the oven before filling to ensure safety.
Not processing jars in a water bath after filling.
Why it happens Some believe sealing lids is enough without heat processing.
Fix Process jars in boiling water for 10 minutes to kill bacteria and create vacuum seal.
Variations
Low-Sugar Strawberry Rhubarb Jam
Reduce the sugar by half and add a natural sweetener like honey or maple syrup for a less sweet, more tart jam. The texture will be slightly softer and the flavor more pronounced. Use low-sugar pectin designed for these recipes.
Note: Low-sugar pectin requires precise measuring and cooking times, so follow package instructions carefully to ensure proper set.
Spiced Strawberry Rhubarb Jam
Add warm spices like cinnamon, ginger, or cardamom during cooking for a cozy twist. These spices complement the tartness and add depth. Start with 1/2 teaspoon and adjust to taste.
Note: Add spices early in the cooking process to infuse flavor evenly without overpowering the fruit.
Strawberry Rhubarb Freezer Jam
Skip the cooking and pectin by using instant pectin and freezing the jam. This keeps the fresh fruit flavor bright but requires freezer storage and shorter shelf life.
Note: Use instant pectin and follow freezer jam instructions carefully to ensure proper gel and safety.
Chunky Strawberry Rhubarb Jam
For a chunkier texture, reduce cooking time slightly and stir gently to keep larger fruit pieces intact. This jam has a rustic feel and works well on biscuits or toast.
Note: Watch the set carefully to avoid overcooking, which will break down fruit chunks.
Strawberry Rhubarb Jam with Vanilla
Add a teaspoon of vanilla extract after cooking for a subtle, sweet aroma that enhances the fruit flavors. This variation is especially good for desserts or breakfast spreads.
Note: Add vanilla off heat to preserve its delicate flavor.
Nutrition
Per Serving:
Nutritional values are estimates and may vary based on specific ingredients used.
Storage & Tips
Room Temperature
Once sealed, homemade jam can be safely kept at room temperature for up to one year if stored in a cool, dark place. Keep jars away from direct sunlight and heat sources to preserve color and flavor.
Refrigerator
After opening, store jam in the refrigerator for up to 3 weeks. The flavor may mellow slightly when chilled, but it remains delicious. Stir before serving if any separation occurs.
Freezer
Jam can be frozen for up to 6 months. Use freezer-safe containers or jars leaving headspace for expansion. Thaw overnight in the fridge and stir gently before use to restore texture.
Reheating
Jam usually doesn’t require reheating. If using in recipes or to loosen it, warm gently on the stovetop or microwave for short bursts. Avoid boiling after opening to maintain flavor and texture.
Make Ahead
You can prepare the fruit and sugar mixture a day ahead and keep it refrigerated, then cook and jar the jam the next day. This saves time and allows flavors to meld before cooking.
FAQ
Can I use frozen strawberries and rhubarb for this jam?
Yes, frozen fruit works well if thawed and drained of excess liquid before cooking. The texture might be softer, but the flavor remains delicious. Just adjust cooking time slightly as frozen fruit releases more juice.
What if my jam doesn’t set properly?
If jam is runny, it might need more pectin or longer boiling. You can reheat it with additional pectin following package instructions. Also, make sure you used enough lemon juice as acidity is important for setting.
Can I substitute honey for sugar?
Honey can be used but it changes the sweetness and texture. Use less honey than sugar and reduce cooking time slightly. Also, honey doesn’t preserve as well, so store jam in the fridge and consume sooner.
How do I sterilize jars properly?
Wash jars and lids in hot soapy water, rinse well, then boil jars and lids in water for 10 minutes or heat jars in a 225°F oven for 20 minutes. Keep jars hot until filling to prevent cracking.
Is it necessary to process jars in a water bath?
Yes, processing ensures the jam is safely preserved by killing bacteria and sealing jars. Skipping this step risks spoilage and food safety issues.
Can I make this jam without added pectin?
You can, but the jam may take longer to set and might be less firm. Using natural pectin-rich fruit or longer cooking helps, but results vary and jam may be more like a preserve.
How long does homemade jam last once opened?
Once opened, keep jam refrigerated and use within 3 weeks for best flavor and safety. Always use clean utensils to avoid contamination.
Can I add other fruits to this recipe?
Absolutely! Blueberries or raspberries complement strawberry rhubarb well. Adjust sugar and pectin amounts as needed depending on fruit sweetness and pectin levels.
Final Thoughts
I hope you enjoy making and sharing this strawberry rhubarb jam as much as I do. It’s truly a taste of summer you can keep all year—give it a try and let me know how it turns out!