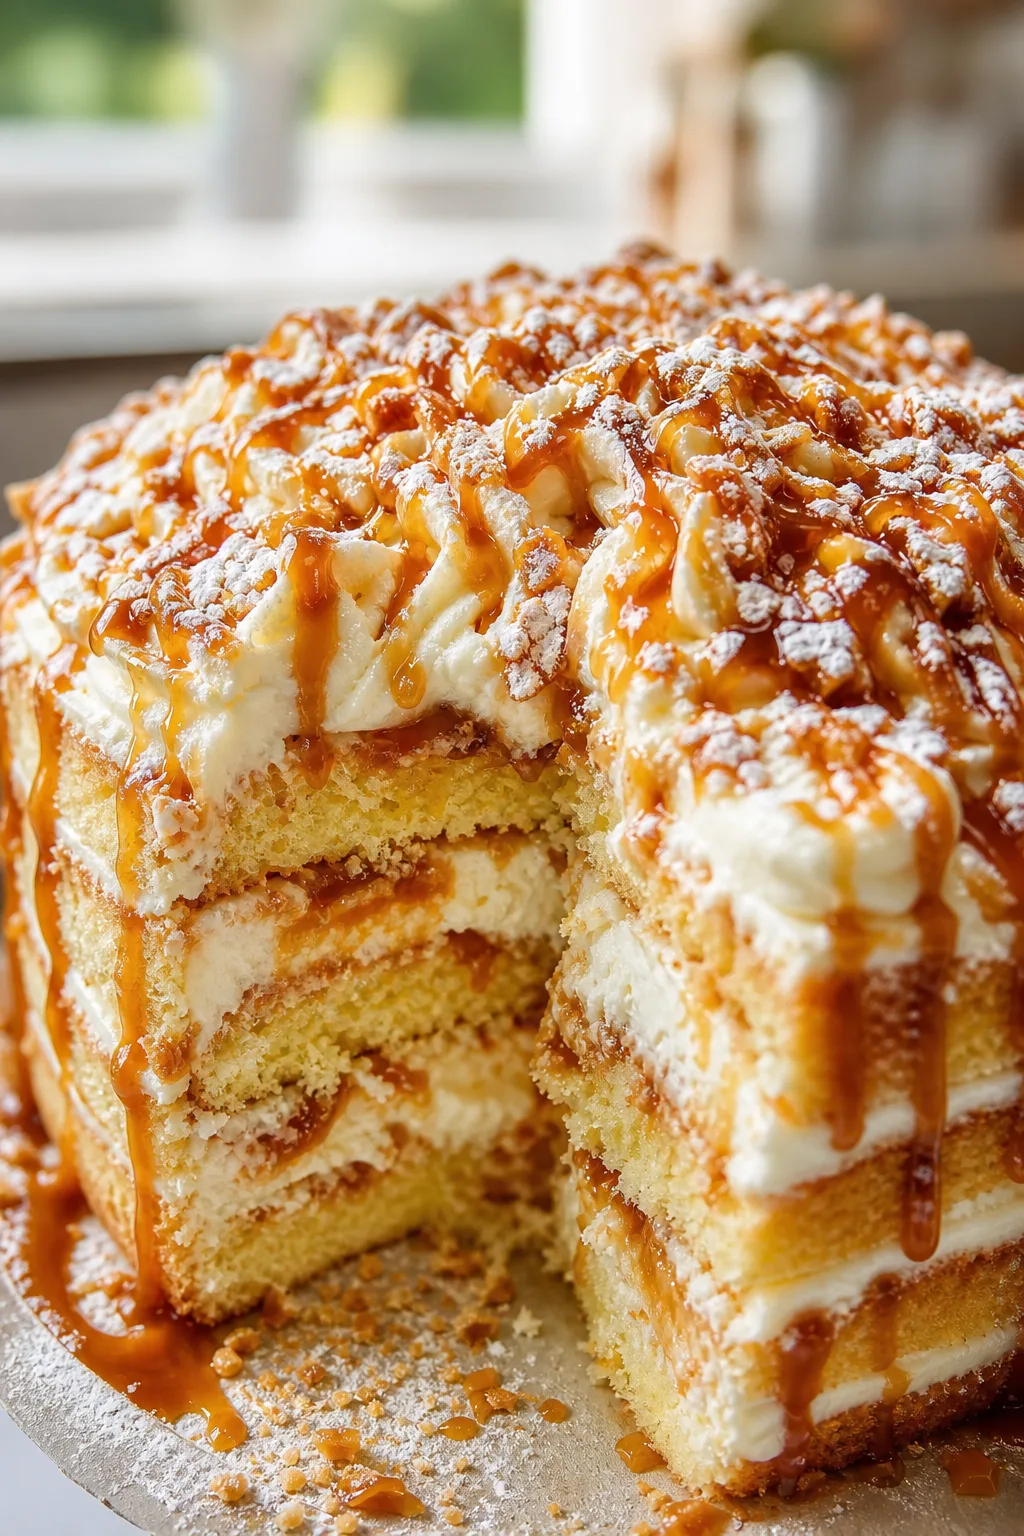
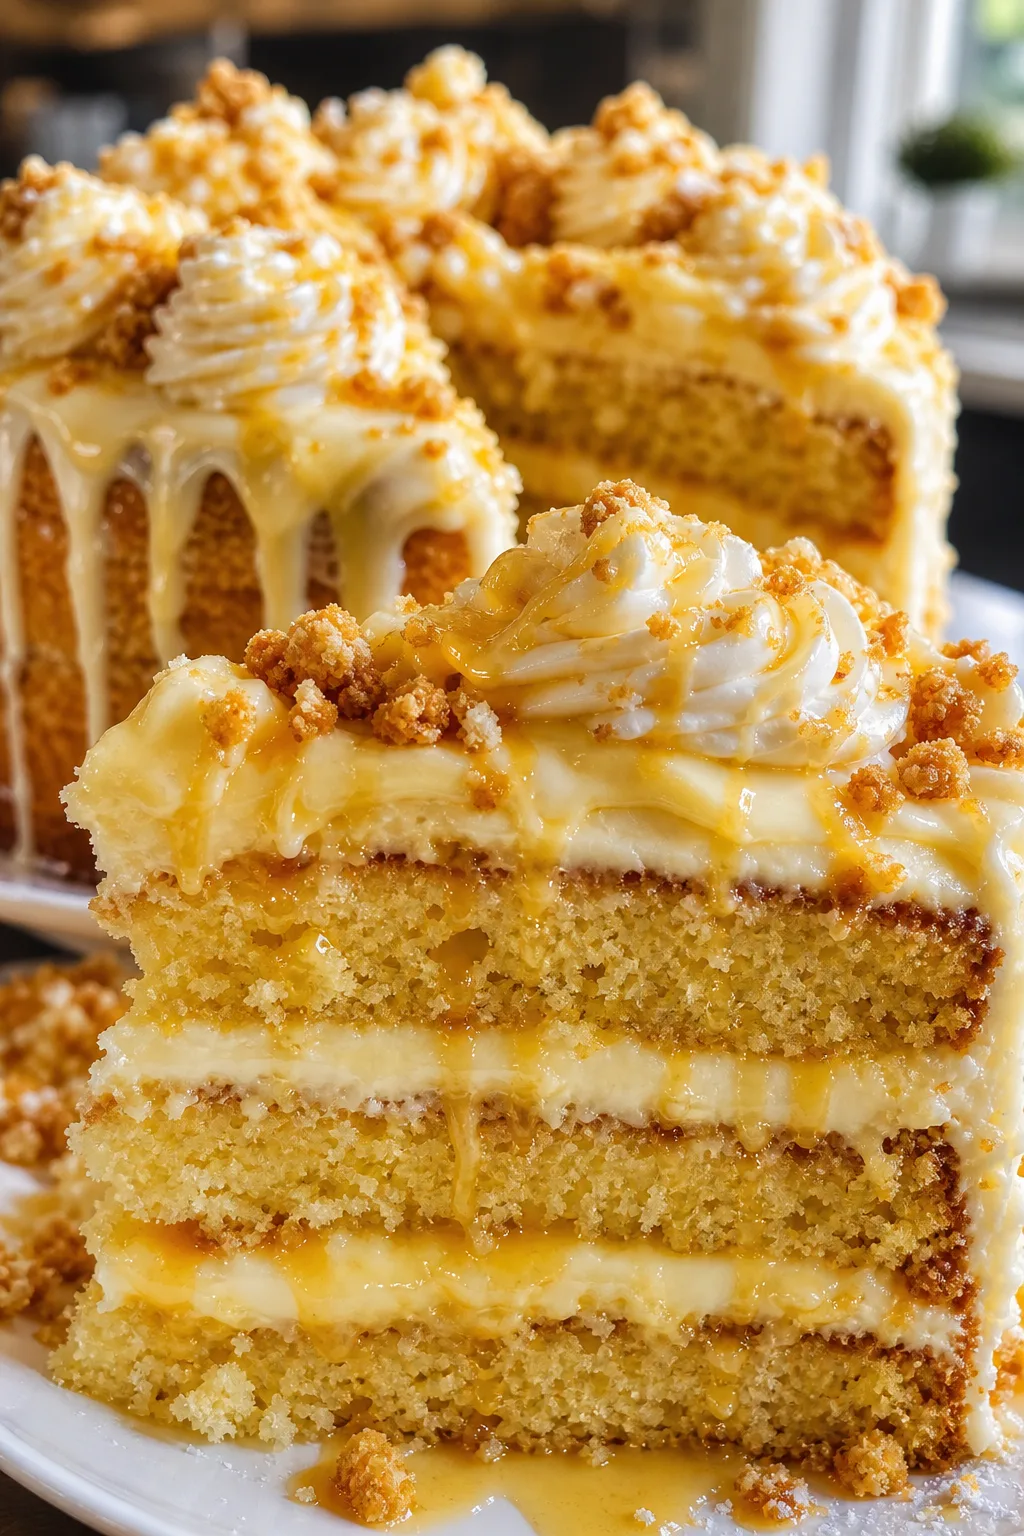
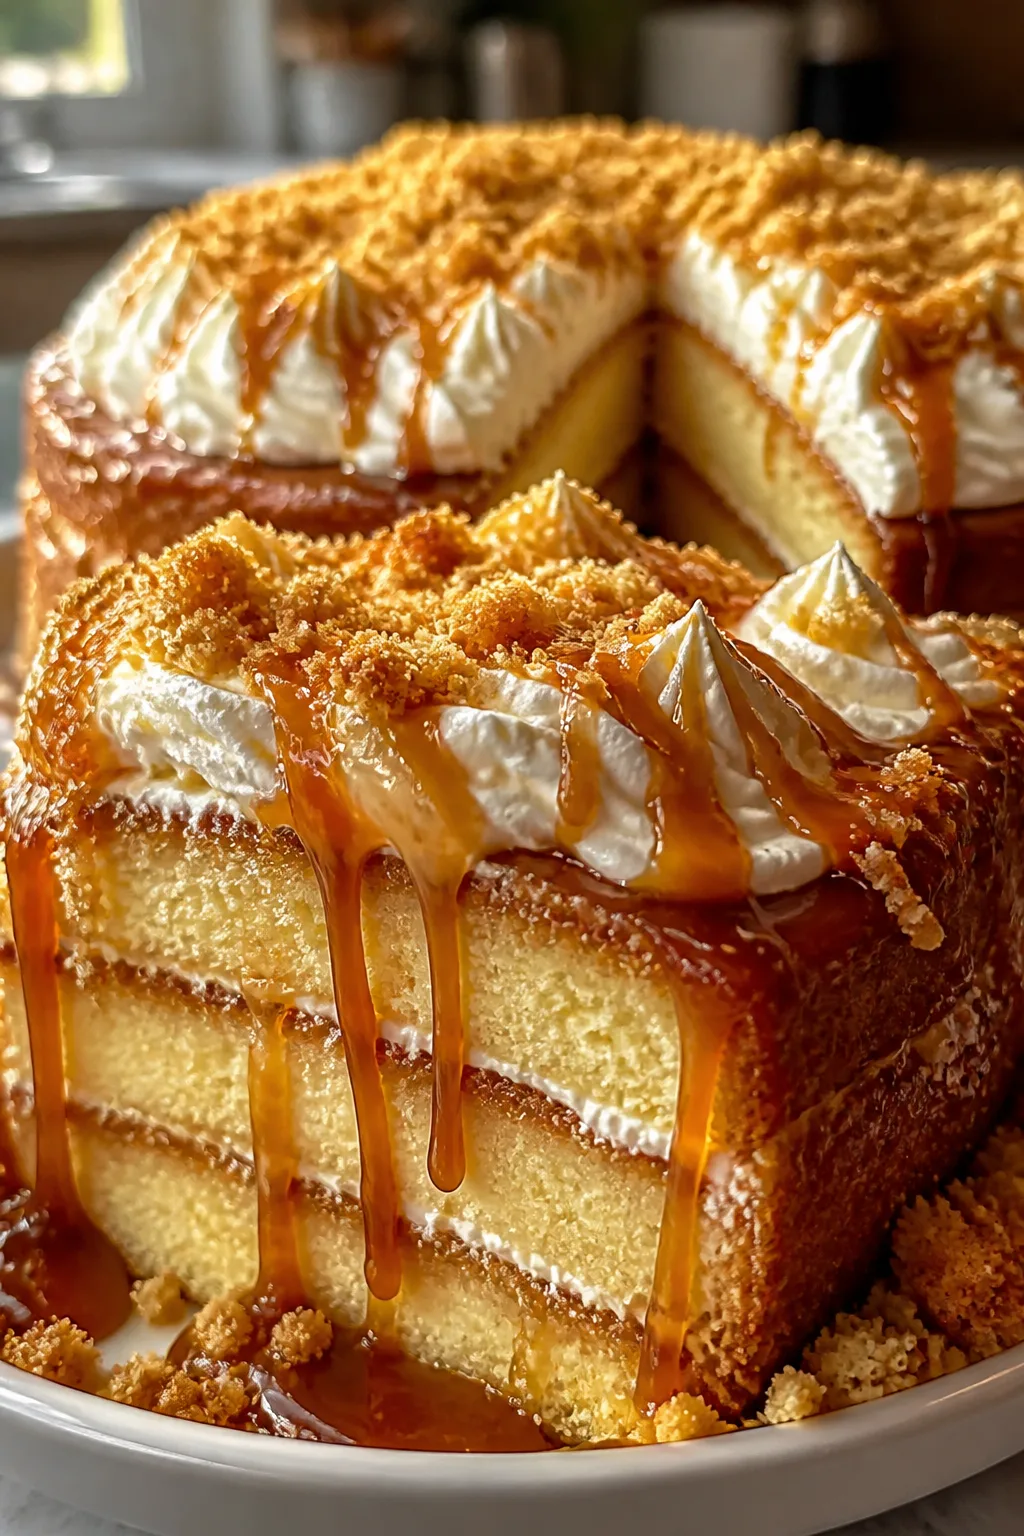
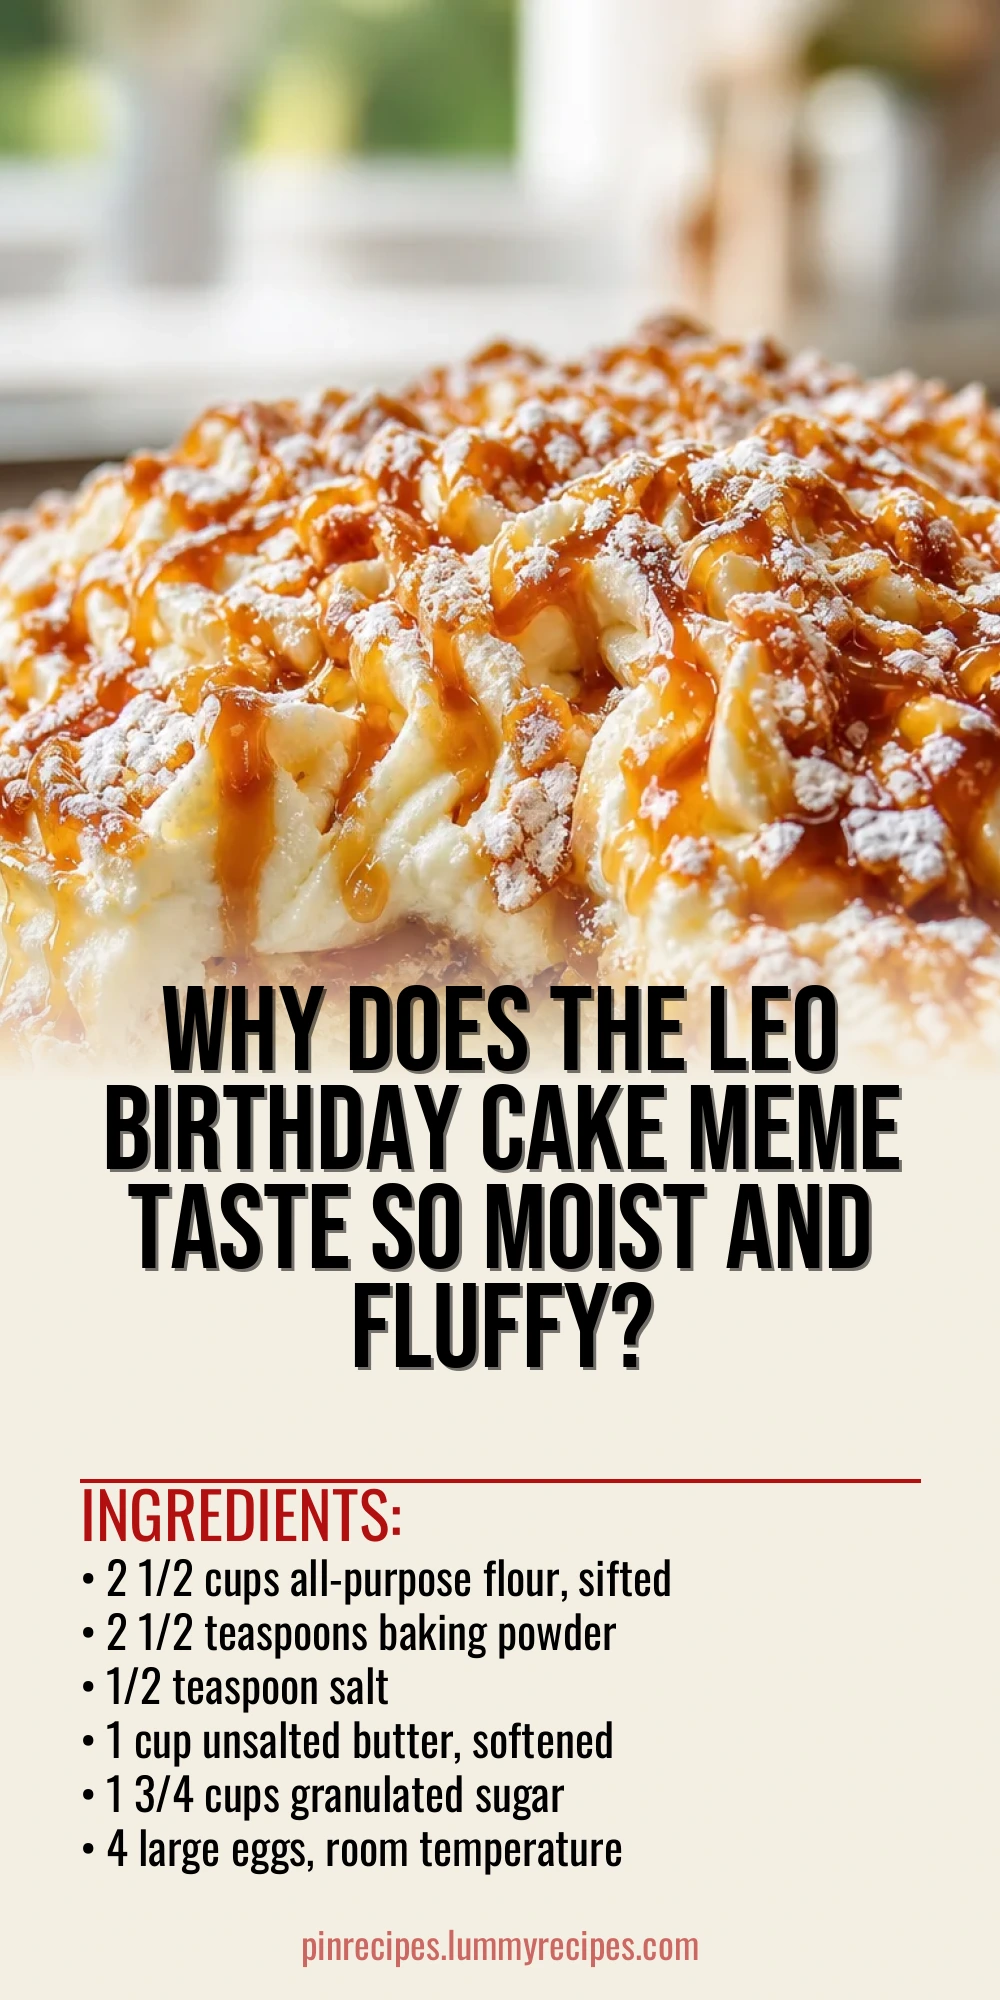
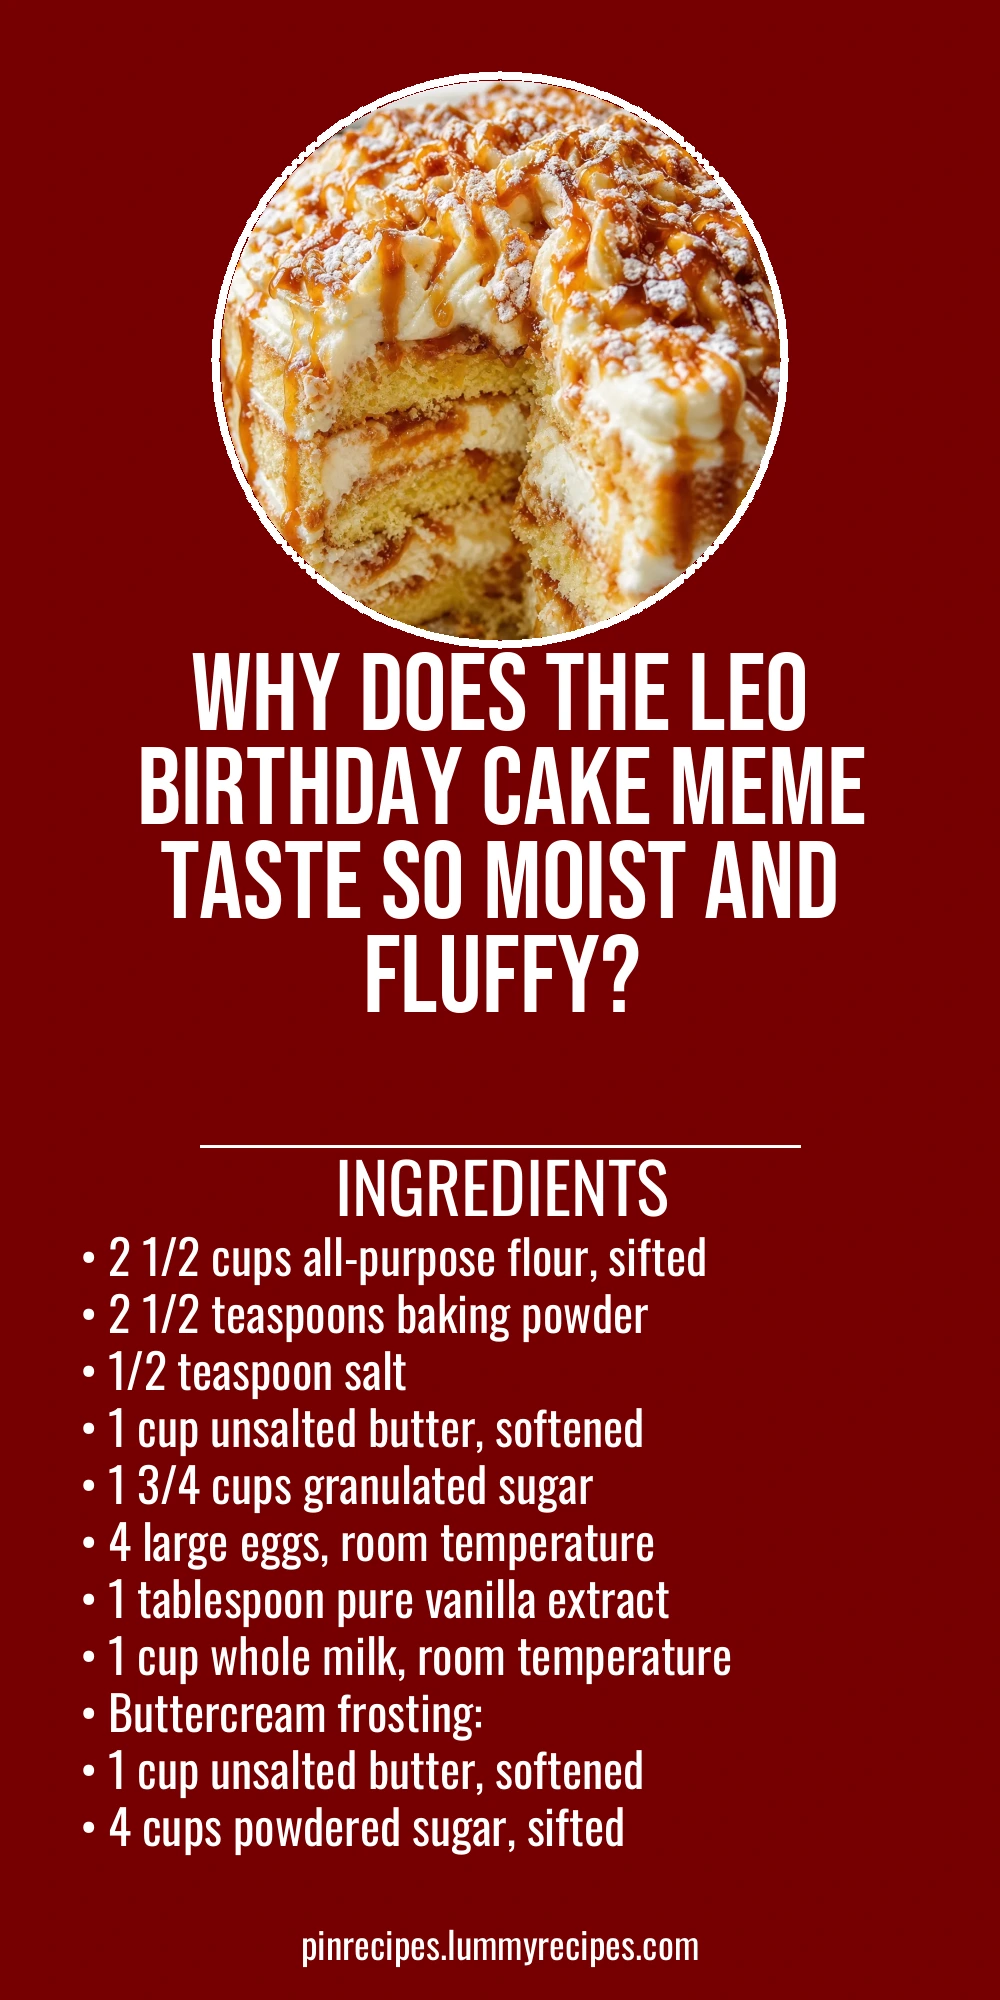
This Leo Birthday Cake Meme recipe is a fluffy, moist vanilla layer cake with creamy buttercream frosting that’s perfect for any celebration. I love how the frosting melts into the cake layers, making every bite dreamy. It’s great for birthdays or just when you want a special treat!
Introduction
I first stumbled upon the Leo Birthday Cake Meme while scrolling through social media, and I was instantly charmed by the fun concept and the promise of a cake that’s both moist and fluffy. I decided to recreate it in my kitchen, tweaking the classic vanilla layer cake recipe to make it extra tender and flavorful. What sets this version apart is the balance between the light crumb and the rich buttercream frosting — it’s not too sweet but perfectly indulgent. I also learned that using room temperature ingredients and sifting the flour really makes a difference in the cake’s texture. My family loves this cake for birthdays or any special occasion because it’s simple to make yet feels festive. When you cut into it, you’ll see the soft layers and creamy frosting inviting you in. It’s one of those cakes that feels like a warm hug on a plate. I hope you enjoy making it as much as I do!
How To Do It
Step 1
Preheat your oven to 350°F (175°C). Grease and flour two 9-inch round cake pans, then line the bottoms with parchment paper to prevent sticking. This ensures the cakes bake evenly and release easily. Using room temperature ingredients helps the batter come together smoothly, which is key for a tender crumb. Avoid over-greasing as it can cause the cake to slide while baking.
⏱ Time: 10 minutes
✓ Doneness: Pans are evenly greased and floured with parchment paper securely in place.
Step 2
In a medium bowl, whisk together the sifted flour, baking powder, and salt. This step evenly distributes the leavening agents, which helps the cake rise properly. Sifting aerates the flour, contributing to a lighter texture. Skipping sifting can result in dense or uneven crumb.
⏱ Time: 5 minutes
✓ Doneness: Dry ingredients are well combined and light, with no lumps.
Step 3
In a large bowl, beat the softened butter with an electric mixer on medium speed until creamy, about 2 minutes. Gradually add the sugar and continue beating until the mixture is light and fluffy, around 4-5 minutes. This creaming process incorporates air, which helps the cake rise and gives it a tender texture. Don’t rush this step or skip it, or the cake may turn out dense.
⏱ Time: 7 minutes
✓ Doneness: Butter and sugar mixture is pale, fluffy, and smooth.
Step 4
Add the eggs one at a time, beating well after each addition to fully incorporate and prevent curdling. Then mix in the vanilla extract. Properly emulsifying the eggs ensures a stable batter and prevents separation. If the batter looks curdled, keep mixing until smooth.
⏱ Time: 4 minutes
✓ Doneness: Batter is smooth, glossy, and evenly combined.
Step 5
Alternately add the dry ingredients and milk to the butter mixture, starting and ending with the dry ingredients. Mix on low speed just until combined after each addition. Overmixing can develop gluten and make the cake tough, so stop as soon as you don’t see streaks of flour.
⏱ Time: 5 minutes
✓ Doneness: Batter is smooth, thick, and uniform in color.
Step 6
Divide the batter evenly between the prepared pans and smooth the tops with a spatula. Tap the pans gently on the counter to release any large air bubbles. This helps the cake bake evenly and prevents holes in the crumb.
⏱ Time: 5 minutes
✓ Doneness: Batter is level and evenly distributed in both pans.
Step 7
Bake in the preheated oven for 28-32 minutes, or until a toothpick inserted in the center comes out clean or with a few moist crumbs. Avoid opening the oven door during the first 20 minutes to prevent the cake from collapsing.
⏱ Time: 30 minutes
✓ Doneness: Cakes are golden brown on top and spring back when lightly pressed.
Step 8
Let the cakes cool in the pans for 10 minutes, then run a knife around the edges and invert them onto wire racks to cool completely. Cooling completely is crucial before frosting to prevent melting the buttercream.
⏱ Time: 1 hour
✓ Doneness: Cakes are fully cooled to room temperature and firm to the touch.
Step 9
To make the buttercream, beat softened butter on medium speed until creamy. Gradually add powdered sugar, vanilla, salt, and 2 tablespoons of cream, beating well after each addition. Add more cream if needed to reach spreading consistency. Frost the cooled cakes by placing one layer on a serving plate, spreading a thick layer of frosting, then topping with the second layer and frosting the top and sides evenly.
⏱ Time: 15 minutes
✓ Doneness: Buttercream is smooth, spreadable, and holds soft peaks.
Pro Tips
Always use room temperature ingredients for the batter.
Room temperature butter, eggs, and milk blend more easily, creating a smooth batter that traps air effectively. Cold ingredients can cause the batter to curdle or mix unevenly, resulting in dense or unevenly baked cake layers.
Don’t overmix the batter once the flour is added.
Overmixing develops gluten in the flour, which makes the cake tough and chewy instead of tender and soft. Mixing just until the flour disappears ensures the cake stays light and fluffy.
Use parchment paper in the cake pans.
Parchment prevents sticking and makes it easier to remove the cake layers without damage. It also helps the cake bake evenly by insulating the bottom slightly.
Common Mistakes to Avoid
Using cold ingredients straight from the fridge.
Why it happens Many cooks assume cold ingredients speed up prep or aren’t aware of their impact on texture.
Fix Bring butter, eggs, and milk to room temperature before starting. This helps ingredients combine smoothly and traps air during creaming, resulting in a lighter cake.
Variations
Chocolate Twist
Add 1/2 cup unsweetened cocoa powder to the dry ingredients and reduce flour by the same amount for a rich chocolate version. Use chocolate buttercream or a simple dusting of cocoa powder on top for a decadent twist.
Note: Mix cocoa powder thoroughly with flour to avoid lumps; baking time may increase slightly.
Nutrition
Per Serving:
Nutritional values are estimates and may vary based on specific ingredients used.
Storage & Tips
Room Temperature
Keep the cake covered at room temperature for up to 2 days to maintain freshness. Use a cake dome or airtight container to prevent drying out.
Refrigerator
Store leftovers in an airtight container in the fridge for up to 5 days. The cake may firm up but will still taste delicious. Bring to room temperature before serving for best texture.
Freezer
Wrap cake layers tightly in plastic wrap and then foil; freeze for up to 3 months. Thaw overnight in the fridge before frosting or serving to preserve texture.
Reheating
If desired, warm slices gently in the microwave for 10-15 seconds to soften the frosting and cake without drying out.
Make Ahead
Bake the cake layers 1-2 days ahead and keep wrapped at room temperature or refrigerated. Prepare the buttercream the day before and assemble the cake on the day of serving for freshest results.
FAQ
Can I use a different type of flour for this cake?
All-purpose flour is best for this recipe because it balances protein content to create a tender crumb. Using cake flour can make the cake even lighter, but you might need to adjust the liquid slightly. Bread flour is not recommended as it can make the cake dense and chewy.
How do I know when the cake is done baking?
Insert a toothpick into the center of the cake; if it comes out clean or with a few moist crumbs, the cake is done. The top should be golden and spring back when lightly pressed. Avoid opening the oven door too early to prevent the cake from sinking.
Can I make this cake gluten-free?
You can substitute a gluten-free flour blend designed for baking, but results may vary. Look for blends with xanthan gum included to help maintain structure. The texture might be slightly different, but it should still be delicious.
Why is my cake dense instead of fluffy?
Common causes include overmixing the batter after adding flour, using cold ingredients, or expired leavening agents. Make sure to cream butter and sugar well, use room temperature eggs and milk, and sift dry ingredients for best results.
Can I use margarine or oil instead of butter?
Butter adds flavor and helps trap air during creaming, which oil or margarine can’t replicate as well. Using oil will make the cake moist but denser and less flavorful. Margarine may work but can affect texture and taste.
How do I store leftover frosted cake?
Store in an airtight container or cover with plastic wrap to keep the cake moist. Refrigerate if the room is warm or if the cake contains perishable fillings. Bring to room temperature before serving for best taste.
Can I freeze the whole frosted cake?
Freezing a fully frosted cake can cause the frosting to become grainy or separate. It’s best to freeze unfrosted layers and add fresh frosting after thawing for optimal texture and appearance.
What’s the best way to level cake layers?
Use a serrated knife or cake leveler to trim the domed tops off the layers once cooled. This creates a flat surface for stacking and prevents the cake from leaning or sliding.
Final Thoughts
I hope you enjoy making and sharing this Leo Birthday Cake Meme recipe as much as my family does. It’s a simple, delicious way to celebrate any special day — don’t forget to share your results!