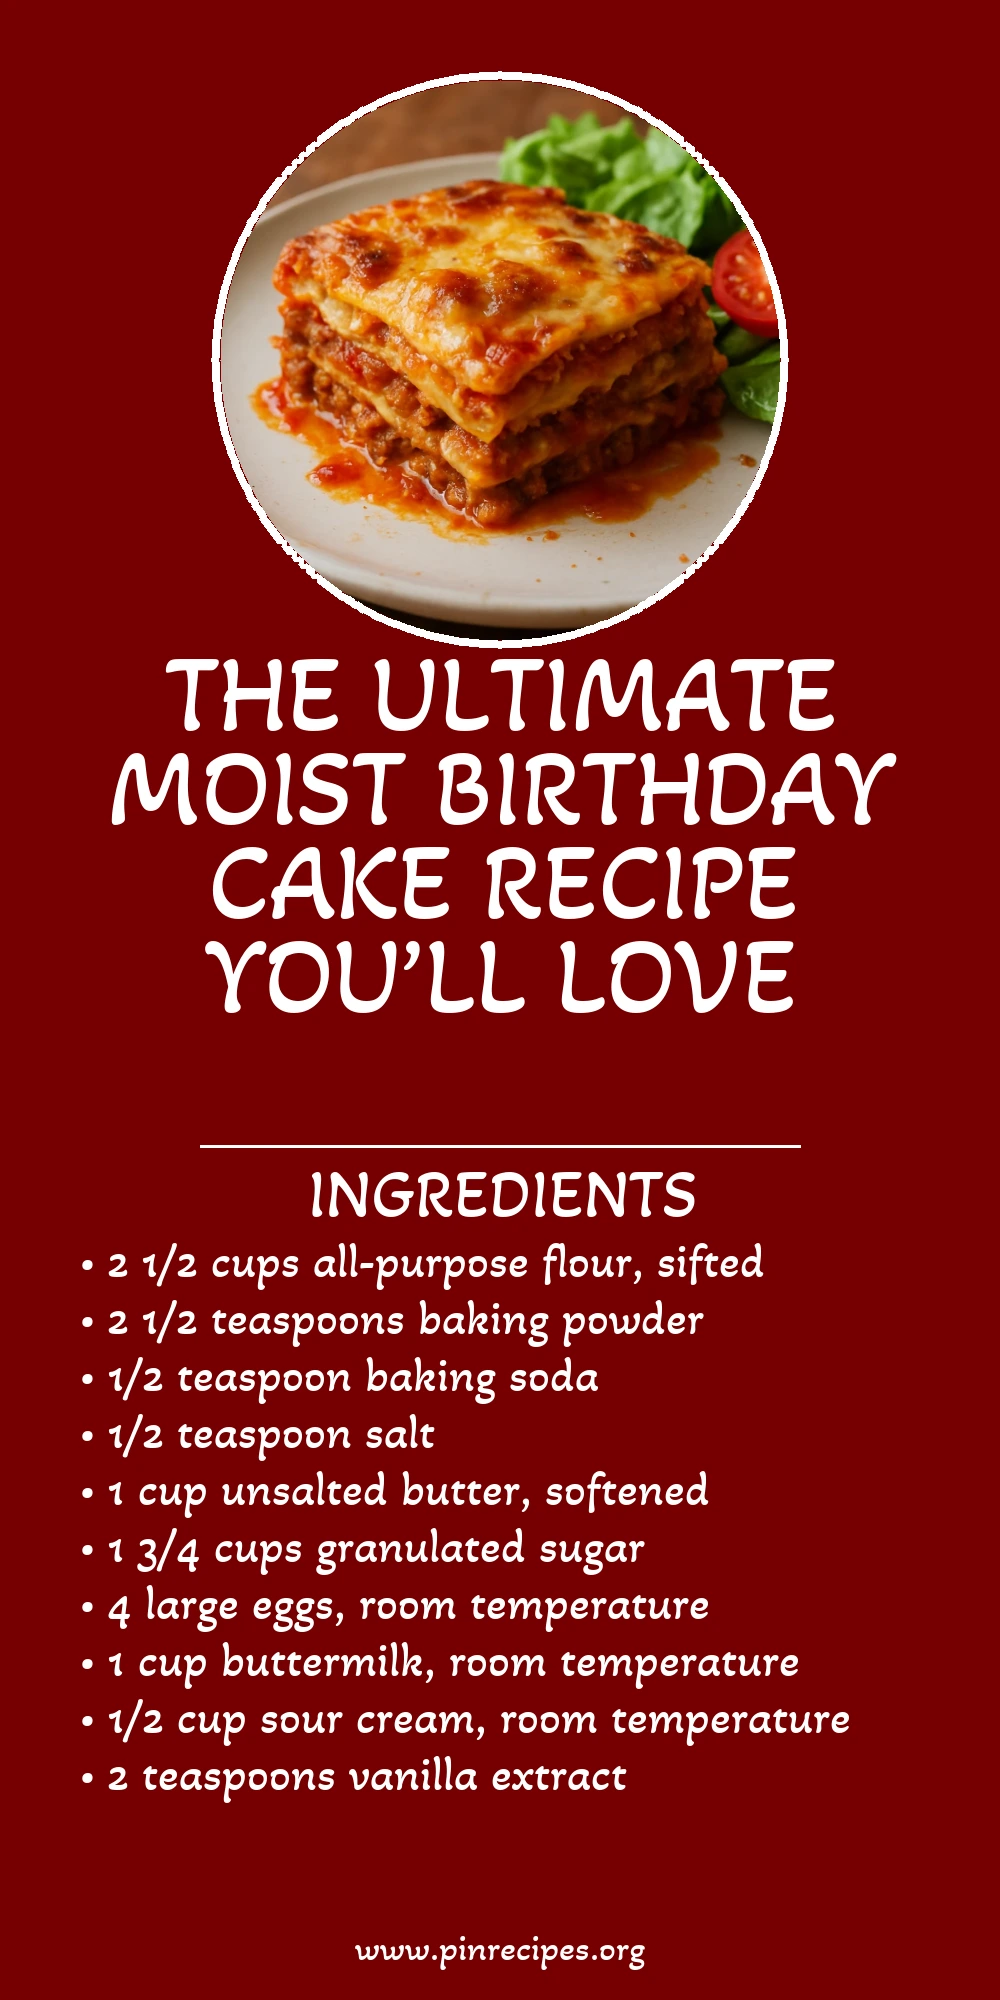
This birthday cake is my go-to when I want something reliably moist and tender. The secret? Buttermilk and a touch of sour cream. It’s perfect for celebrations or anytime you crave a soft, buttery cake.
Introduction
I first tried making this moist birthday cake years ago when I wanted something that wasn’t dry or crumbly like some store-bought cakes. After a few experiments, I landed on this version that always turns out soft and tender, thanks to the buttermilk and sour cream combo. I love how the cake stays moist even a day later, which is a lifesaver when you’re busy celebrating. The balance between the richness of butter and the tangy buttermilk creates a subtle depth of flavor that’s not too sweet but just right. One trick I learned is to make sure all your wet ingredients are at room temperature before mixing—this helps everything blend perfectly without overmixing the batter. The finished cake layers have a delicate crumb and a lovely golden color, making them perfect for layering with your favorite frosting or fresh berries. Honestly, it’s become my family’s birthday staple, and I’m sure you’ll love it too!
What You'll Need
One 9-inch two-layer cake, about 8 servings
- 2 1/2 cups all-purpose flour, sifted
- 2 1/2 teaspoons baking powder
- 1/2 teaspoon baking soda
- 1/2 teaspoon salt
- 1 cup unsalted butter, softened
- 1 3/4 cups granulated sugar
- 4 large eggs, room temperature
- 1 cup buttermilk, room temperature
- 1/2 cup sour cream, room temperature
- 2 teaspoons vanilla extract
How To Do It
Step 1
Preheat your oven to 350°F (175°C) and grease two 9-inch round cake pans. Lightly flour the pans or line them with parchment paper to ensure the cakes release easily after baking. This step is crucial because a well-prepared pan prevents sticking and helps the cake layers come out clean and smooth. Avoid using too much flour, which can dry out the edges. Getting the oven temperature right is key here; an oven thermometer helps if your oven runs hot or cold.
⏱ Time: 10 minutes
✓ Doneness: Pans are evenly greased and floured with no excess flour clumps
Step 2
In a medium bowl, sift together the flour, baking powder, baking soda, and salt. Sifting aerates the flour and ensures even distribution of the leavening agents, which helps the cake rise uniformly. Skipping this can lead to uneven texture or dense spots. Set this dry mix aside while you prepare the wet ingredients to keep the workflow smooth.
⏱ Time: 5 minutes
✓ Doneness: Dry ingredients are well combined with no lumps
Step 3
In a large bowl, beat the softened butter and sugar together until pale and fluffy. This usually takes about 4-5 minutes with an electric mixer. Creaming incorporates air into the butter, which contributes to the cake’s light texture. Don’t rush this step or use cold butter, or the mixture won’t aerate properly, resulting in a denser cake.
⏱ Time: 5 minutes
✓ Doneness: Butter and sugar mixture is noticeably lighter in color and fluffy
Step 4
Add eggs one at a time, beating well after each addition. This gradual incorporation helps emulsify the batter, preventing it from curdling and ensuring a smooth texture. If you add eggs too quickly, the batter might split, causing a grainy texture. Scrape down the bowl sides between additions to keep everything well mixed.
⏱ Time: 3 minutes
✓ Doneness: Batter is smooth, glossy, and well combined without streaks
Step 5
Mix in the vanilla extract, then alternate adding the dry ingredients and the buttermilk and sour cream mixture in three additions, starting and ending with the dry ingredients. Use a low speed to avoid overmixing, which can develop gluten and make the cake tough. The batter should be just combined with no visible flour patches but still slightly thick and creamy.
⏱ Time: 7 minutes
✓ Doneness: Batter is smooth, thick, and homogenous with no lumps
Step 6
Divide the batter evenly between the prepared pans and smooth the tops with a spatula. Even layers bake more uniformly and stack nicely. Tap the pans lightly on the counter to release any air bubbles that might cause holes or tunnels in the cake.
⏱ Time: 5 minutes
✓ Doneness: Batter is level and smooth in both pans
Step 7
Bake in the preheated oven for 30-35 minutes, or until a toothpick inserted in the center comes out clean or with a few moist crumbs. Avoid opening the oven door too early to prevent the cake from collapsing. The edges should start to pull away slightly from the pan when done.
⏱ Time: 30-35 minutes
✓ Doneness: Golden brown top with clean toothpick test and slight shrinkage at edges
Step 8
Let the cakes cool in the pans for 10 minutes, then run a knife around the edges and invert onto wire racks to cool completely. Cooling in the pan too long traps steam and can make the cake soggy. Proper cooling prevents the frosting from melting when applied.
⏱ Time: 20 minutes
✓ Doneness: Cakes are cool to the touch and easily release from pans
Step 9
Once fully cooled, frost with your favorite icing. I love a classic buttercream or cream cheese frosting here. Spread evenly and decorate as you like. If the cake feels fragile, chill it briefly before frosting to firm up the crumb. This step makes the cake look stunning and adds moisture and flavor contrast.
⏱ Time: 15 minutes
✓ Doneness: Frosting is smooth and evenly applied without crumbs mixing in
Pro Tips
Always bring your eggs, butter, and dairy to room temperature before mixing.
Room temperature ingredients blend more evenly, preventing curdling and ensuring a smooth batter. Cold ingredients can cause the batter to seize or separate, resulting in a dense or uneven crumb.
Don’t overmix after adding flour.
Overmixing develops gluten which toughens the cake and creates tunnels or dense spots. Mix just until the flour disappears for a tender, fine crumb.
Use an oven thermometer to ensure accurate baking temperature.
Ovens can run hot or cold, affecting rise and browning. Baking at the right temperature ensures even cooking and prevents dry or underbaked centers.
Line your cake pans with parchment paper.
This helps the cake release cleanly without sticking or tearing, preserving the delicate crumb and making frosting easier.
Let cakes cool completely before frosting.
Warm cakes cause frosting to melt and slide off. Cooling firms up the crumb and creates a stable base for decorating.
Tap the filled cake pans on the counter before baking.
This releases trapped air bubbles that can cause holes or tunnels in the cake, resulting in a smoother crumb.
Use high-quality vanilla extract.
Vanilla adds depth and aroma that elevates the cake’s flavor. Artificial extracts can taste harsh or chemical.
Common Mistakes to Avoid
Using cold ingredients
Why it happens Many people forget to take eggs or butter out ahead of time, assuming it won’t affect the batter.
Fix Plan ahead by setting ingredients out at least 30 minutes before baking. This ensures proper emulsification and a smooth batter.
Overmixing the batter after adding flour
Why it happens It’s tempting to mix thoroughly to avoid lumps, but this develops gluten.
Fix Mix just until the dry ingredients are incorporated. Stop as soon as you no longer see flour streaks.
Opening the oven door too early
Why it happens Curiosity or impatience leads to checking too soon, causing temperature drops.
Fix Wait at least 25 minutes before peeking. Sudden temperature changes can make the cake collapse.
Not measuring flour correctly
Why it happens Scooping flour directly with the measuring cup packs it down, adding too much.
Fix Spoon flour lightly into the cup and level with a knife for accurate measurement.
Skipping the parchment paper or greasing step
Why it happens Assuming butter alone is enough can cause sticking.
Fix Always grease and flour pans or use parchment to ensure easy removal.
Variations
Chocolate Birthday Cake
Swap 1/2 cup of flour for unsweetened cocoa powder to make a rich chocolate version. Add an extra tablespoon of buttermilk to balance the cocoa’s dryness. This yields a moist chocolate cake with the same tender crumb.
Note: Cocoa powder absorbs moisture differently, so adding extra liquid helps maintain softness.
Lemon Buttermilk Cake
Add 2 tablespoons of fresh lemon zest and replace vanilla with lemon extract for a bright citrus flavor. This is perfect for spring or summer celebrations and pairs well with a light cream cheese frosting.
Note: Zest adds oils that enhance aroma; avoid zesting too much white pith which is bitter.
Gluten-Free Version
Use a 1-to-1 gluten-free flour blend with xanthan gum. Expect a slightly denser texture but still moist and tender. Let the batter rest 10 minutes before baking for better hydration.
Note: Gluten-free flours behave differently; resting helps improve crumb structure.
Vegan Adaptation
Replace butter with vegan margarine, use flax eggs (1 tbsp ground flax + 3 tbsp water per egg), and substitute buttermilk with plant milk plus vinegar. The texture will be slightly different but still enjoyable.
Note: Flax eggs add moisture and binding but don’t provide the same richness as real eggs.
Spiced Birthday Cake
Add 1 teaspoon cinnamon, 1/2 teaspoon nutmeg, and a pinch of cloves to the dry ingredients for a warm, cozy flavor. Great for fall birthdays or holiday parties.
Note: Spices can affect rise slightly; do not increase baking powder.
Nutrition
Per Serving:
Nutritional values are estimates and may vary based on specific ingredients used.
Storage & Tips
Room Temperature
The unfrosted cake layers can safely sit at room temperature for up to 4 hours if covered with a clean towel or cake dome to prevent drying out.
Refrigerator
Store the frosted cake in an airtight container or cake keeper for up to 4 days. The cake may dry slightly but chilling helps firm the frosting. Bring to room temperature before serving for best flavor.
Freezer
Wrap cake layers tightly in plastic wrap and then foil, freeze for up to 3 months. Thaw overnight in the fridge wrapped to prevent condensation. Rewrap after thawing to keep moist.
Reheating
If desired, warm slices gently in a microwave for 10-15 seconds or in a low oven (300°F) covered with foil to avoid drying. Avoid overheating which toughens crumb.
Make Ahead
Bake the cake layers 1-2 days ahead, cool completely, wrap tightly, and store at room temperature or refrigerated. Frost the day of serving for freshest texture and appearance.
FAQ
Can I use regular milk instead of buttermilk?
You can substitute regular milk by adding 1 tablespoon of lemon juice or vinegar to 1 cup of milk and letting it sit for 5 minutes. This mimics buttermilk’s acidity, which is important for the cake’s rise and tender crumb.
Why is my cake dry even though I followed the recipe?
Dry cake can result from overbaking, overmixing, or using cold ingredients. Check your oven temperature with a thermometer, mix just until combined, and use room temperature dairy and eggs for best moisture retention.
Can I make this cake gluten-free?
Yes, use a 1-to-1 gluten-free flour blend with xanthan gum. The texture will be a bit different, so avoid overmixing and allow the batter to rest before baking to improve crumb.
How do I know when the cake is done?
Insert a toothpick in the center; it should come out clean or with a few moist crumbs. The edges will also start to pull away from the pan slightly when fully baked.
Can I freeze the baked cake layers?
Absolutely. Wrap cooled layers tightly in plastic wrap and foil, freeze up to 3 months. Thaw in the fridge overnight before frosting to maintain moisture and texture.
What frosting pairs best with this cake?
Classic buttercream or cream cheese frosting complement this cake beautifully. Both add richness without overpowering the tender crumb.
Can I make this cake vegan?
You can substitute butter with vegan margarine, use flax eggs, and replace buttermilk with plant milk plus vinegar. The texture will be slightly different but still tasty.
Why do I need both baking powder and baking soda?
Baking soda reacts with acidic ingredients like buttermilk for immediate leavening, while baking powder provides a slower, sustained rise. Together, they create a light, even crumb.
Final Thoughts
Give this moist birthday cake a try for your next celebration—I’m sure it’ll become your new favorite! Don’t forget to share how it turns out!