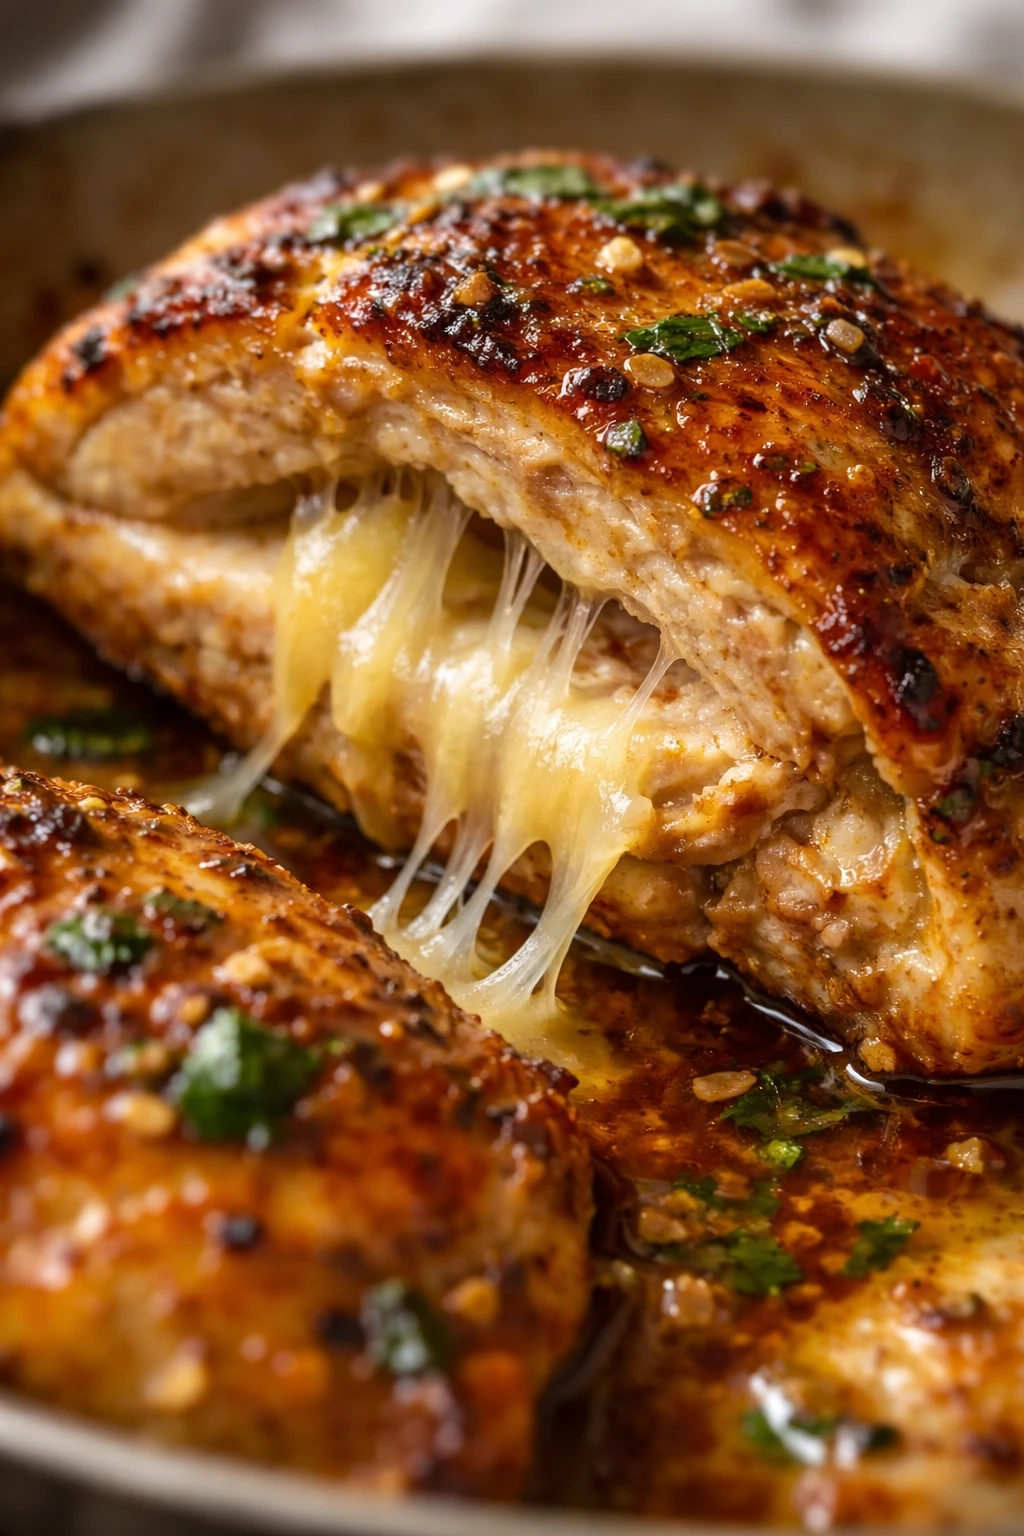
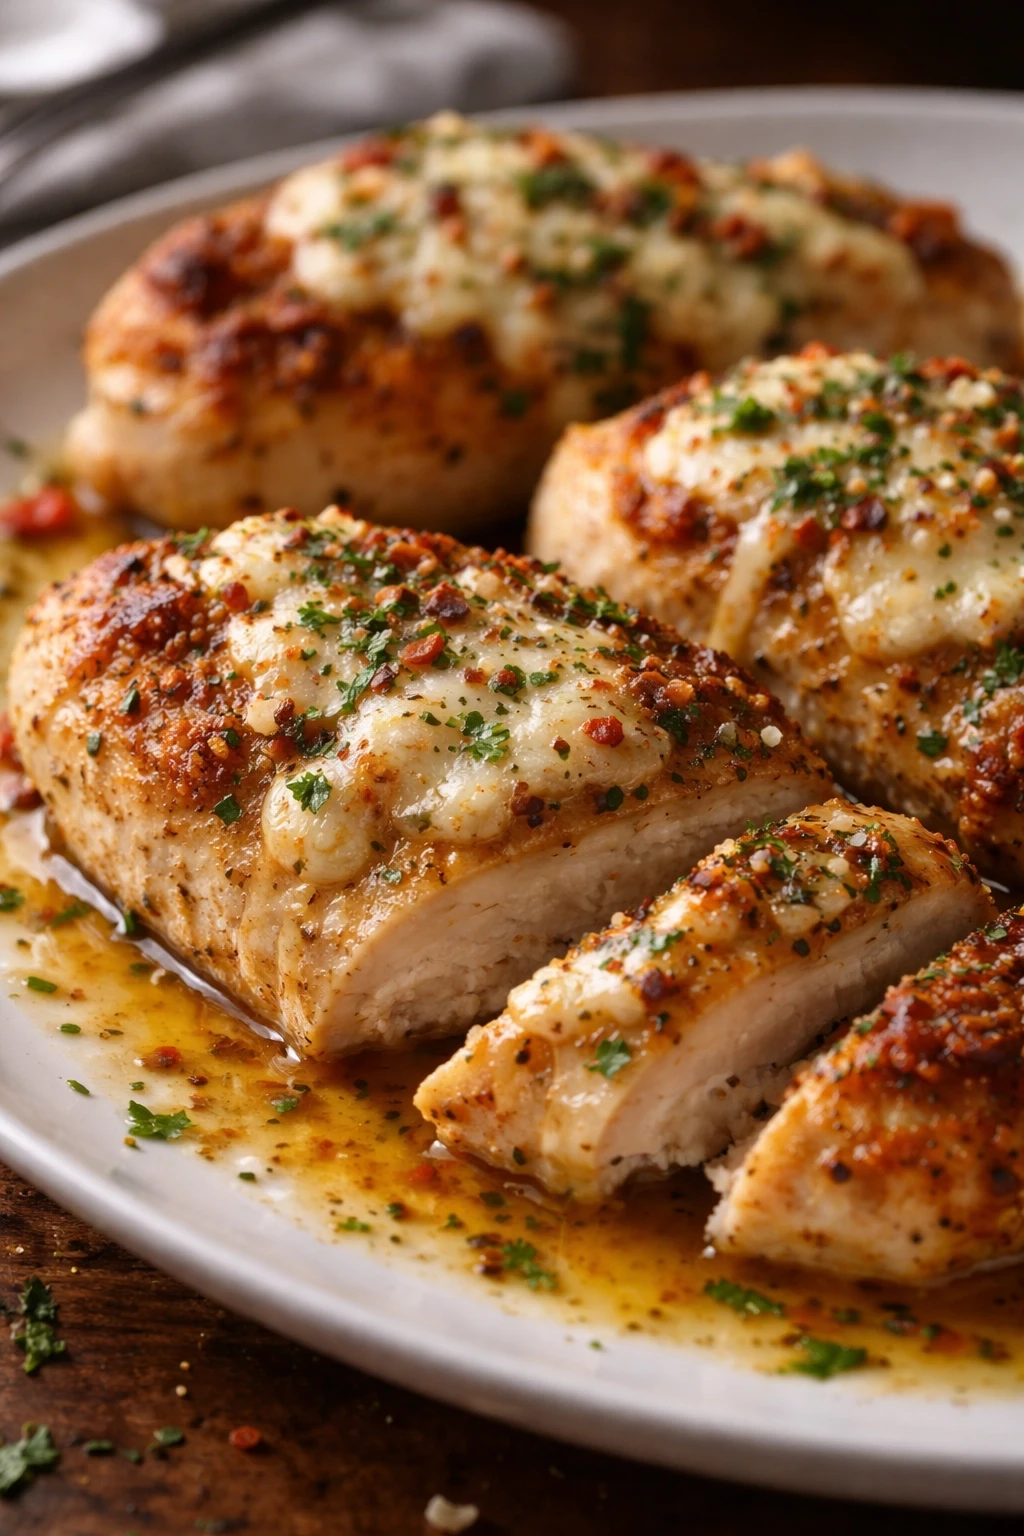
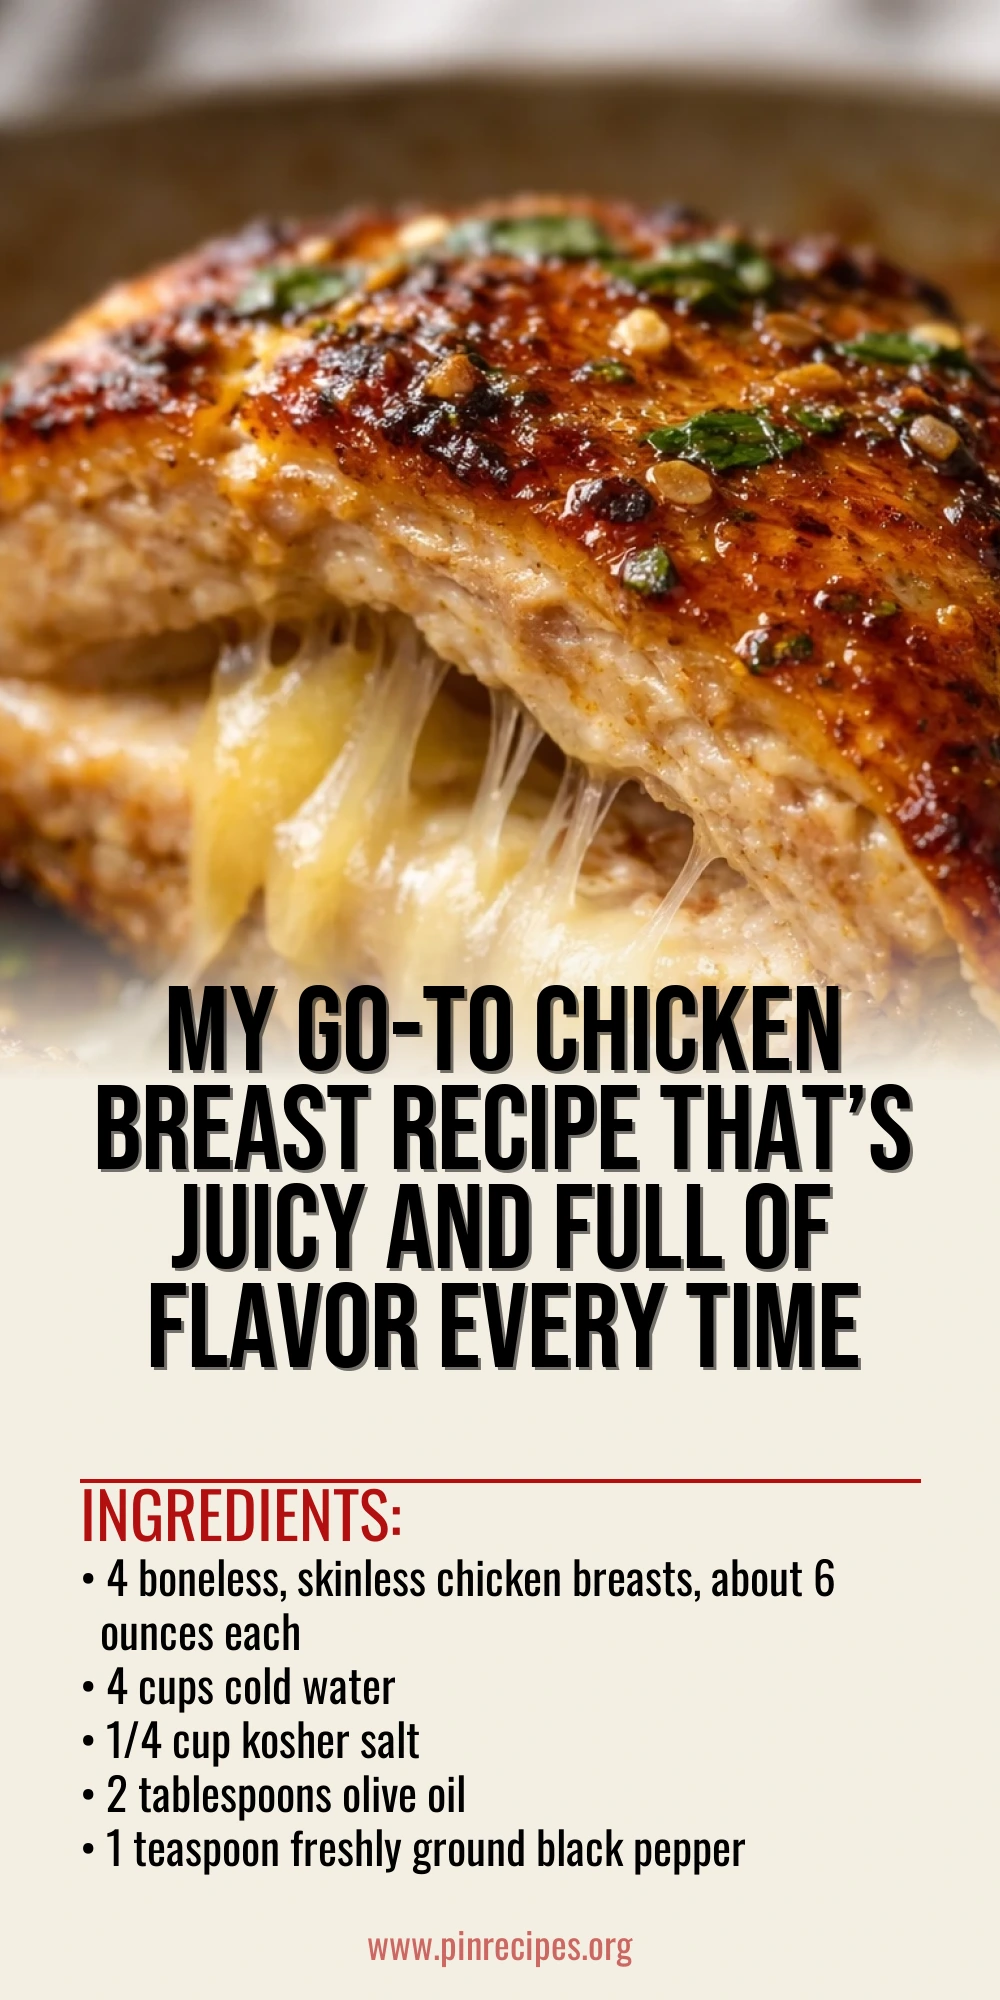
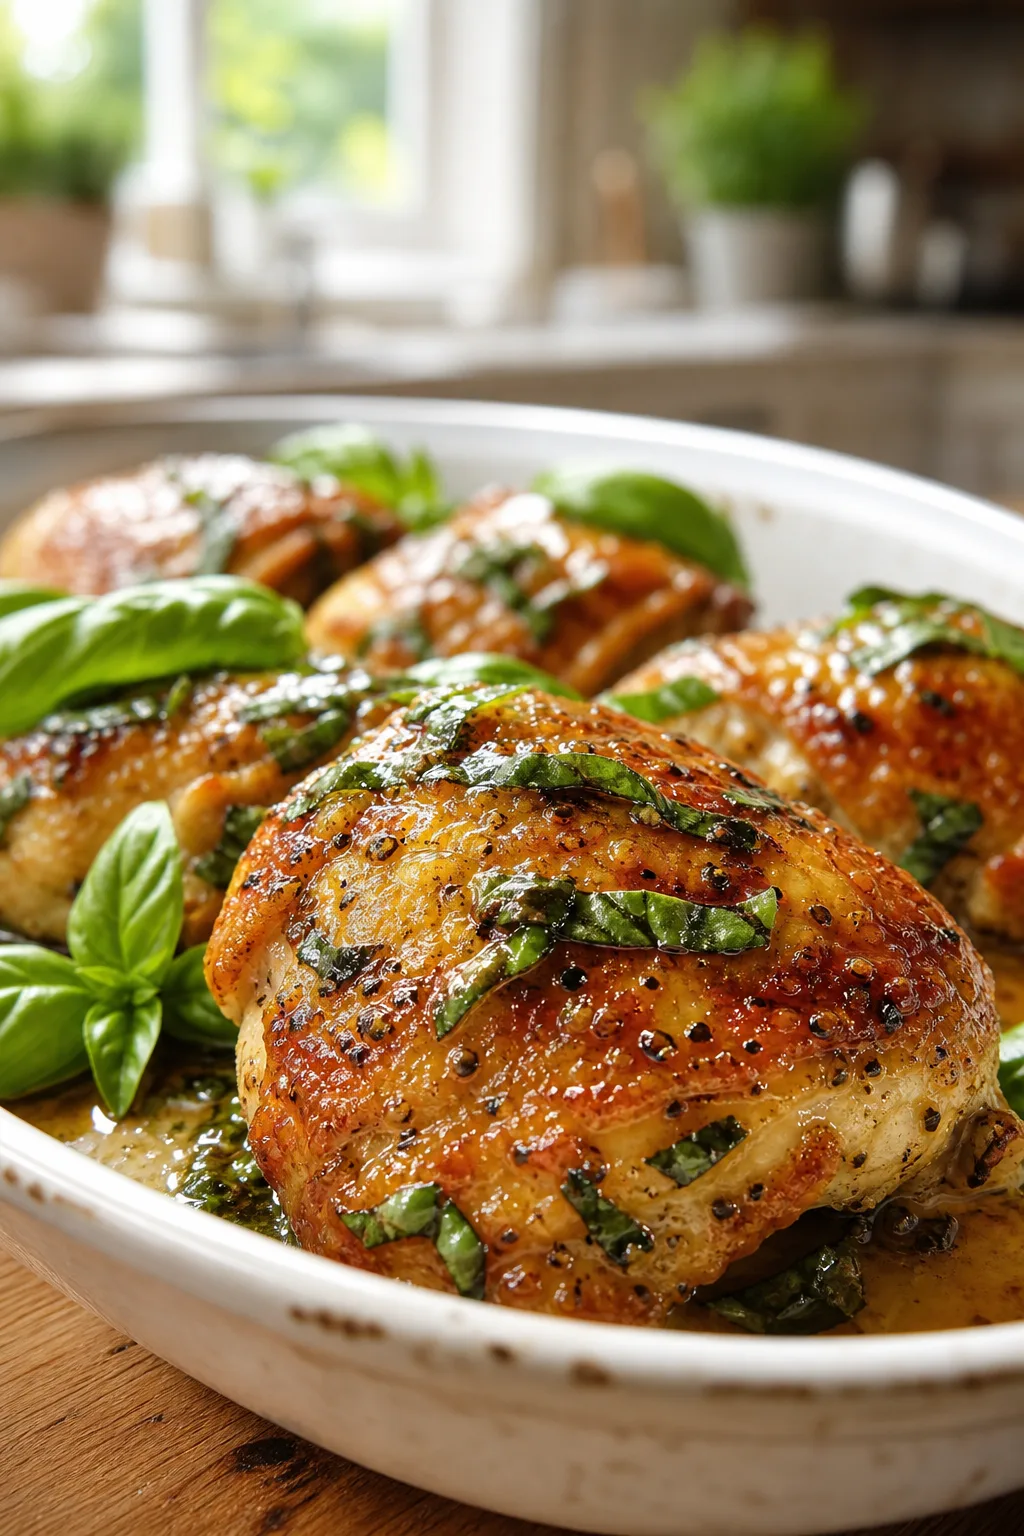
This chicken breast recipe is my absolute favorite for juicy, tender meat every time. The secret? A quick brine and pan-searing technique that locks in flavor. Great for weeknight dinners or meal prep!
Introduction
I’ve been making this chicken breast recipe for years now, and it’s honestly my go-to whenever I want juicy, flavorful chicken without fuss. I remember the first time I tried brining the chicken before cooking—it was a game changer. Before that, my chicken always came out dry and bland, but the brine really helps it stay tender and juicy. Then, the pan-searing step adds a beautiful golden crust that locks in all those flavors. What I love most is how versatile this recipe is—you can dress it up with herbs or keep it simple for an easy weeknight dinner. The finished chicken is tender, juicy inside with a slightly crisp outside, making it perfect for serving with veggies, over salads, or slicing into sandwiches. Honestly, once you try this, you’ll never want to cook chicken breasts any other way.
How To Do It
Step 1
Start by making a simple brine to keep your chicken moist. Combine 4 cups of cold water with 1/4 cup kosher salt in a large bowl or container. Stir until the salt dissolves completely. The brine works by allowing the chicken to absorb moisture and flavor, which helps prevent it from drying out during cooking. Avoid rushing this step; letting the chicken soak for at least 15 minutes (or up to 2 hours) is key for juicy results.
⏱ Time: 15-120 minutes
✓ Doneness: Chicken breasts feel slightly firmer and have absorbed some liquid, appearing plumper
Step 2
Remove the chicken breasts from the brine and pat them dry with paper towels. This step is crucial because excess moisture will prevent the chicken from searing properly and getting that nice golden crust. Season both sides with garlic powder, paprika, and black pepper. The seasoning adds a subtle smoky flavor and depth without overpowering the natural chicken taste.
⏱ Time: 5 minutes
✓ Doneness: Chicken breasts are evenly coated with dry seasoning and completely dry on the surface
Step 3
Heat 2 tablespoons of olive oil in a large skillet over medium-high heat until shimmering but not smoking. The hot oil is essential to create a nice crust on the chicken. If the pan isn’t hot enough, the chicken will steam instead of sear, resulting in a pale, rubbery texture. Avoid overcrowding the pan; cook in batches if needed to maintain heat.
⏱ Time: 3-5 minutes
✓ Doneness: Oil moves fluidly and sizzles when you add a drop of water
Step 4
Place the chicken breasts in the hot skillet and let them cook undisturbed for about 6-7 minutes on the first side. This step allows the Maillard reaction to develop, which creates that rich brown crust and deep flavor. Resist the urge to flip too soon; if the chicken sticks, it’s not ready to turn. Once it releases easily, flip it over.
⏱ Time: 6-7 minutes
✓ Doneness: Golden-brown crust forms and chicken releases easily from the pan
Step 5
After flipping, reduce heat to medium and cook the second side for another 5-7 minutes. This gentler heat finishes cooking the chicken through without burning the outside. Use a meat thermometer to check for doneness; the internal temperature should reach 165°F (74°C). Overcooking leads to dryness, so keep an eye on it.
⏱ Time: 5-7 minutes
✓ Doneness: Internal temperature hits 165°F and juices run clear when pierced
Step 6
Once cooked, transfer the chicken breasts to a plate and tent loosely with foil. Letting the chicken rest for 5-10 minutes allows the juices to redistribute throughout the meat, making it juicier when sliced. Skipping this step often causes the juices to spill out immediately, leaving the chicken dry.
⏱ Time: 5-10 minutes
✓ Doneness: Chicken feels slightly firm but springs back when pressed gently
Step 7
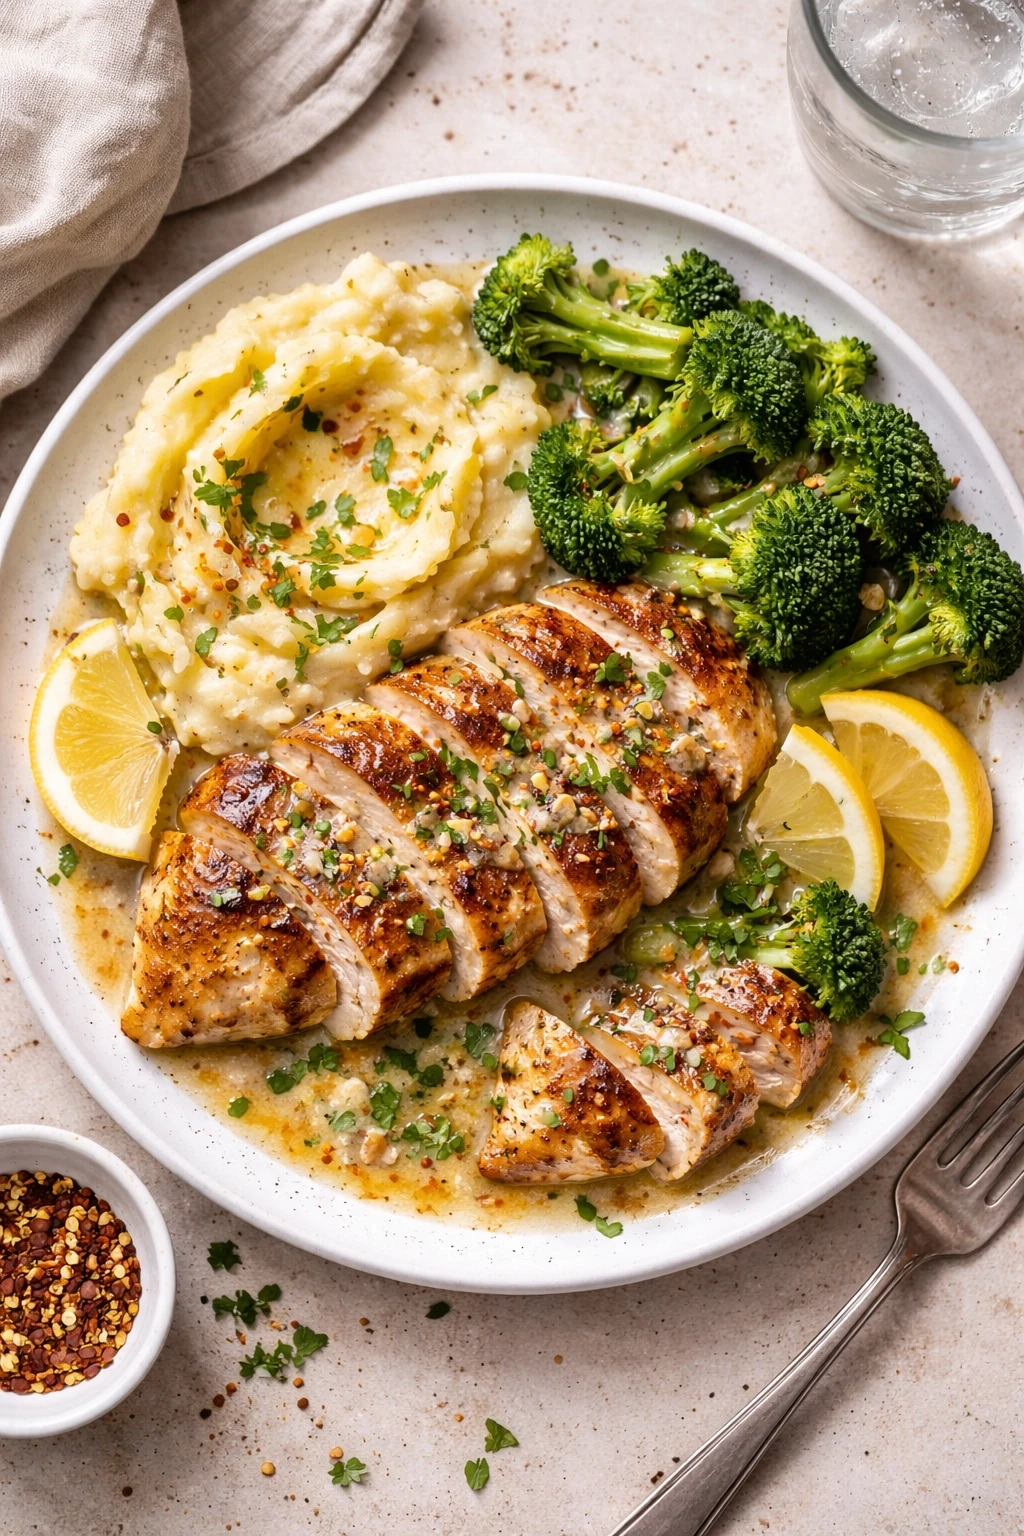
Slice the chicken against the grain to ensure tenderness. Cutting with the grain can make the meat feel stringy and tougher. Serve with your favorite sides or use it in salads, sandwiches, or wraps. The golden crust and juicy interior make it versatile and delicious in any dish.
⏱ Time: 2 minutes
✓ Doneness: Slices reveal moist, tender meat with a golden crust
Step 8
For an extra touch, garnish with fresh herbs like thyme or rosemary. This adds a fresh aroma and subtle flavor that complements the chicken without overpowering it. You can also drizzle a little olive oil or squeeze fresh lemon juice over the top for brightness.
⏱ Time: 1 minute
✓ Doneness: Visible fresh herbs and a slight sheen from oil or lemon juice
Step 9
Clean your pan while the chicken rests to remove any burnt bits. This helps maintain the skillet’s seasoning and ensures your next cooking session starts fresh. Plus, a clean pan prevents off-flavors from developing in future dishes.
⏱ Time: 5 minutes
✓ Doneness: Pan is free of burnt residue and ready for next use
Pro Tips
Don’t skip the brine—it’s the secret to juicy chicken.
Brining chicken increases moisture retention by breaking down muscle proteins and allowing water to penetrate deeply. Without this step, the chicken can easily dry out during cooking, especially lean breasts.
Pat chicken completely dry before seasoning and searing.
Excess moisture causes the chicken to steam rather than sear, preventing a crispy, golden crust. Drying the surface ensures the Maillard reaction happens efficiently for the best texture and flavor.
Use a meat thermometer to avoid overcooking.
Chicken breast can become dry quickly if overcooked. Checking for an internal temperature of 165°F ensures safe, juicy meat without guesswork.
Cook chicken breasts in batches if your pan is small.
Overcrowding lowers the pan’s temperature, causing the chicken to steam instead of sear. This results in a pale, rubbery texture rather than a flavorful crust.
Let the chicken rest before slicing.
Resting allows juices to redistribute within the meat. Cutting too soon causes these juices to leak out, leaving the chicken dry and less flavorful.
Slice against the grain for tender bites.
Cutting across muscle fibers shortens them, making the meat easier to chew. Slicing with the grain results in stringy, tougher pieces.
Add fresh herbs at the end for a bright finish.
Cooking herbs too long diminishes their flavor and aroma. Adding them after cooking preserves their fresh, vibrant qualities that enhance the dish.
Common Mistakes to Avoid
Skipping the brine step
Why it happens Many people want to save time or think it’s unnecessary, but this causes dry, flavorless chicken.
Fix Set aside at least 15 minutes to brine the chicken. Even a short soak improves moisture retention and seasoning.
Not drying chicken before cooking
Why it happens People often rinse or brine chicken and forget to pat dry, leading to steaming instead of searing.
Fix Use paper towels to thoroughly dry chicken before seasoning and cooking to ensure a crisp crust.
Cooking on too low heat
Why it happens Low heat cooks chicken slowly but prevents browning and flavor development.
Fix Start with medium-high heat to sear, then reduce heat to finish cooking gently.
Cutting chicken immediately after cooking
Why it happens Impatience leads to slicing too soon, causing juices to escape and dry meat.
Fix Let chicken rest for 5-10 minutes tented with foil before slicing.
Overcrowding the pan
Why it happens Trying to cook all breasts at once lowers pan temperature, causing steaming.
Fix Cook in batches if needed, ensuring enough space around each piece for proper searing.
Variations
Lemon Herb Chicken Breast
Add zest and juice of one lemon to the brine and sprinkle chopped fresh parsley and basil on the cooked chicken. This brightens the flavor and adds a fresh, summery twist. Great for serving with roasted veggies or a light salad.
Note: Lemon juice in the brine adds acidity, so keep brining time to 30 minutes max to avoid texture changes.
Spicy Cajun Chicken Breast
Mix Cajun seasoning into the dry rub instead of paprika and garlic powder for a spicy kick. This variation pairs well with rice or corn on the cob for a flavorful southern-inspired meal.
Note: Adjust spice level to taste; the searing technique remains the same.
Garlic Butter Chicken Breast
Finish the cooked chicken with a pat of garlic herb butter melted over the top. It adds richness and a silky texture that’s perfect for comfort food lovers.
Note: Add butter in the last minute of cooking to avoid burning the garlic.
Stuffed Chicken Breast
Slice a pocket into each breast and stuff with spinach and cream cheese before cooking. This adds a creamy surprise inside and makes the dish feel more special for guests.
Note: Secure with toothpicks and cook a bit longer on medium heat to ensure filling is warmed through.
Asian-Inspired Chicken Breast
Marinate the chicken in soy sauce, ginger, and sesame oil instead of brining. Serve sliced with steamed rice and veggies for an easy weeknight dinner with an Asian twist.
Note: Skip the salt brine to avoid over-salting; marinate for 30 minutes to 1 hour.
Nutrition
Per Serving:
Nutritional values are estimates and may vary based on specific ingredients used.
Storage & Tips
Room Temperature
Cooked chicken breast can safely sit at room temperature for up to 2 hours if covered loosely with foil or a clean kitchen towel. Beyond that, bacteria growth increases, so refrigerate promptly.
Refrigerator
Store cooked chicken breasts in an airtight container for up to 4 days. The texture may firm up slightly when cold, so reheat gently to restore juiciness. It’s still safe and tasty served cold in salads or sandwiches.
Freezer
Freeze cooked chicken breasts up to 3 months in freezer-safe bags or containers, removing as much air as possible to prevent freezer burn. Thaw overnight in the fridge before reheating.
Reheating
Reheat chicken gently in a skillet over low heat or microwave with a splash of water or broth to keep it moist. Avoid high heat which can dry it out. Cover while reheating to trap steam.
Make Ahead
You can brine and season the chicken breasts 1 day ahead and keep them covered in the fridge. Cook fresh on the day you plan to serve for best texture and flavor. Alternatively, cook fully and reheat as needed.
FAQ
Can I skip the brining step if I’m short on time?
While you can skip brining, the chicken may not be as juicy or flavorful. Brining helps the meat absorb moisture and seasoning, so even a short 15-minute soak can improve results significantly.
What if I don’t have kosher salt for the brine?
You can use table salt, but reduce the amount by half since it’s finer and saltier by volume. Using too much salt can make the chicken overly salty and affect texture.
How do I know when the chicken is fully cooked?
The safest way is to use a meat thermometer. Insert it into the thickest part; it should read 165°F (74°C). Also, juices should run clear when pierced with a knife.
Can I use bone-in chicken breasts for this recipe?
Yes, but cooking times will be longer. Bone-in breasts take more time to reach safe internal temperature, so use a thermometer and adjust cooking time accordingly.
What’s the best way to reheat the chicken without drying it out?
Reheat gently over low heat in a skillet with a splash of water or broth, or in the microwave covered with a damp paper towel. High heat causes moisture loss and toughness.
Can I marinate the chicken instead of brining?
Marinating adds flavor but doesn’t retain moisture as well as brining. If you prefer marinade, reduce or skip salt in the marinade to avoid over-salting.
Why is my chicken sticking to the pan when I try to sear it?
If the pan or oil isn’t hot enough, the chicken will stick. Make sure the oil shimmers before adding chicken and don’t move it too soon; it will release naturally when ready.
How can I make this recipe spicier?
Add cayenne pepper or chili powder to the seasoning mix, or try a spicy marinade. Adjust to taste, starting with small amounts to avoid overpowering the chicken.
Final Thoughts
I hope you give this chicken breast recipe a try—it’s truly one of my favorites for juicy, flavorful meals. Let me know how it turns out and what variations you loved!