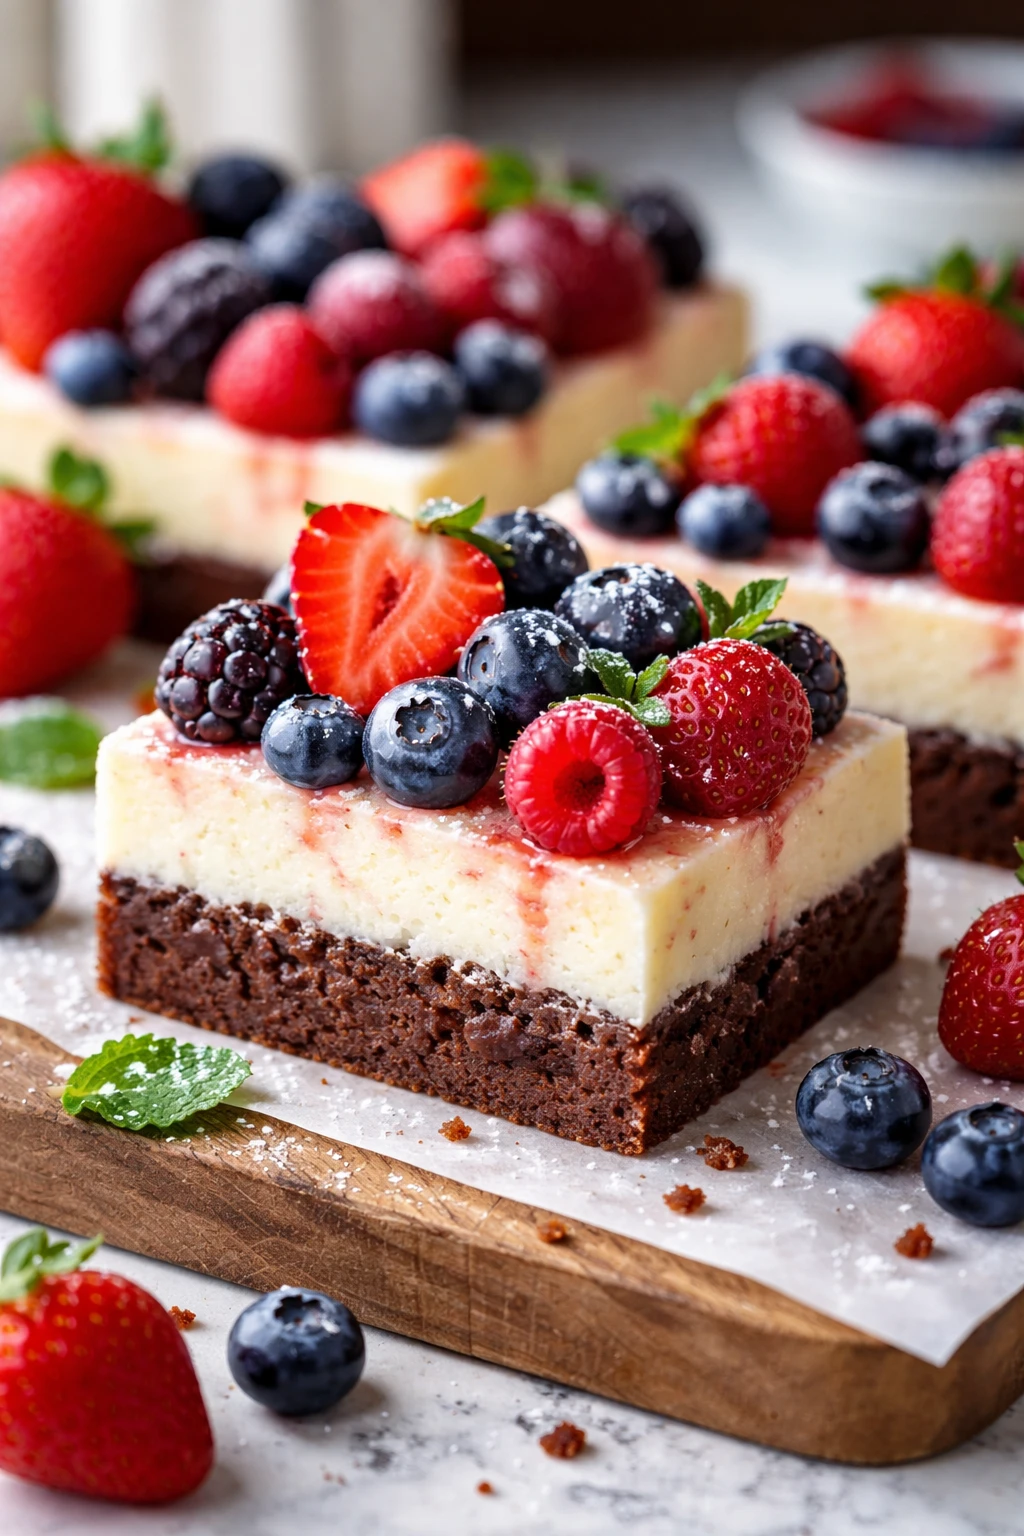
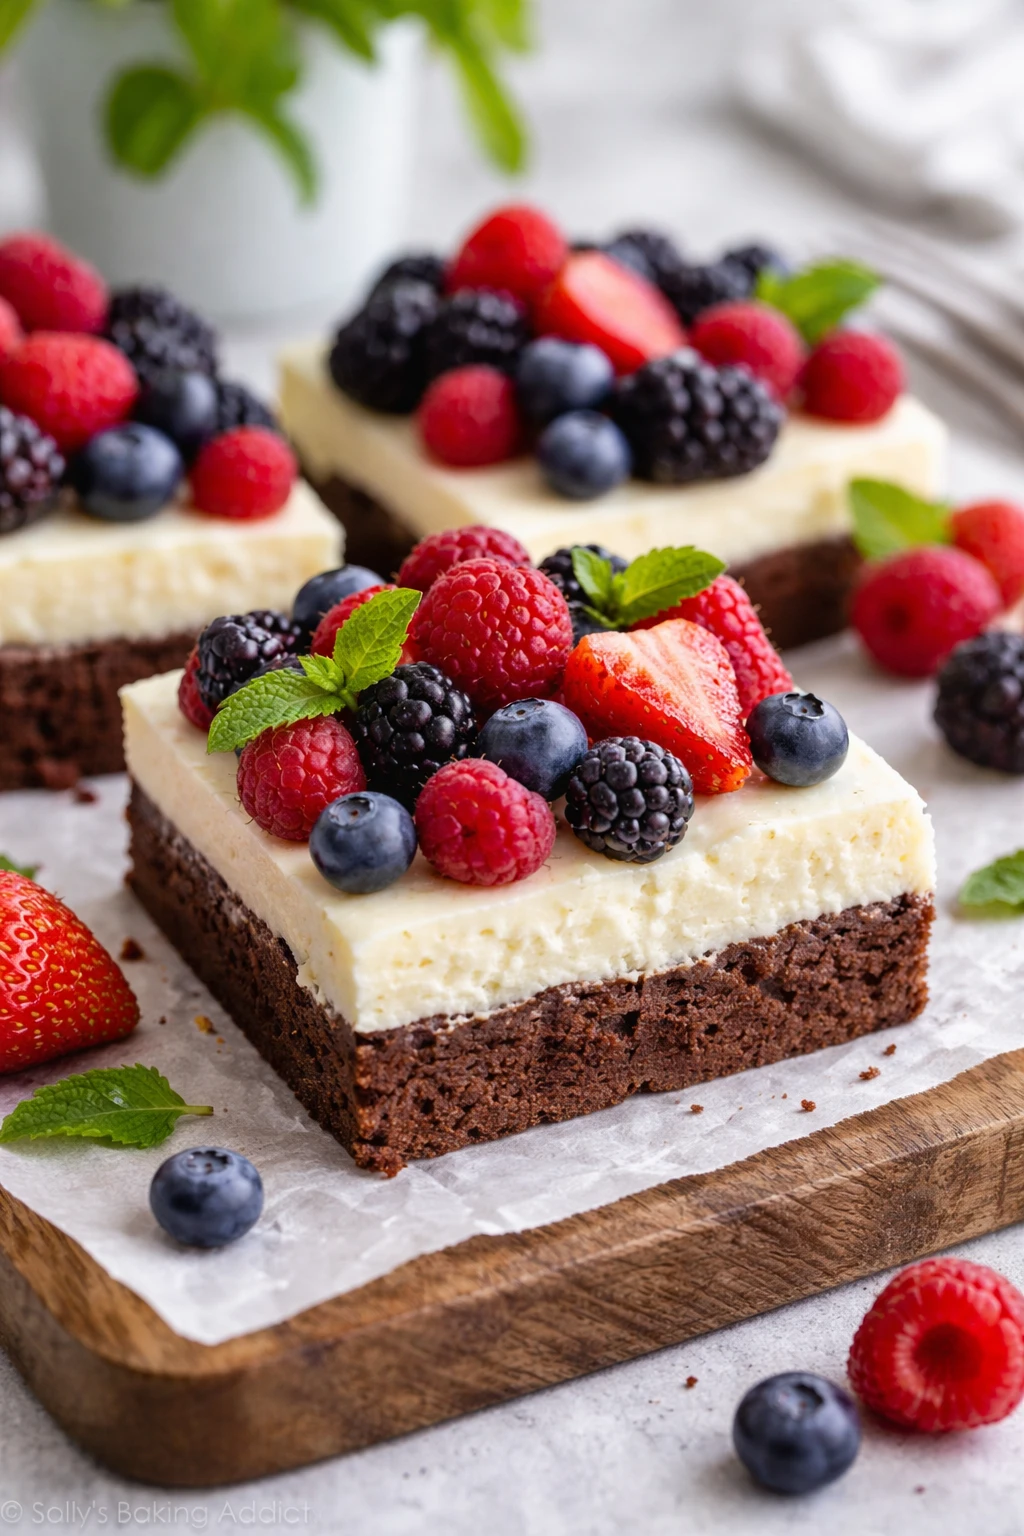
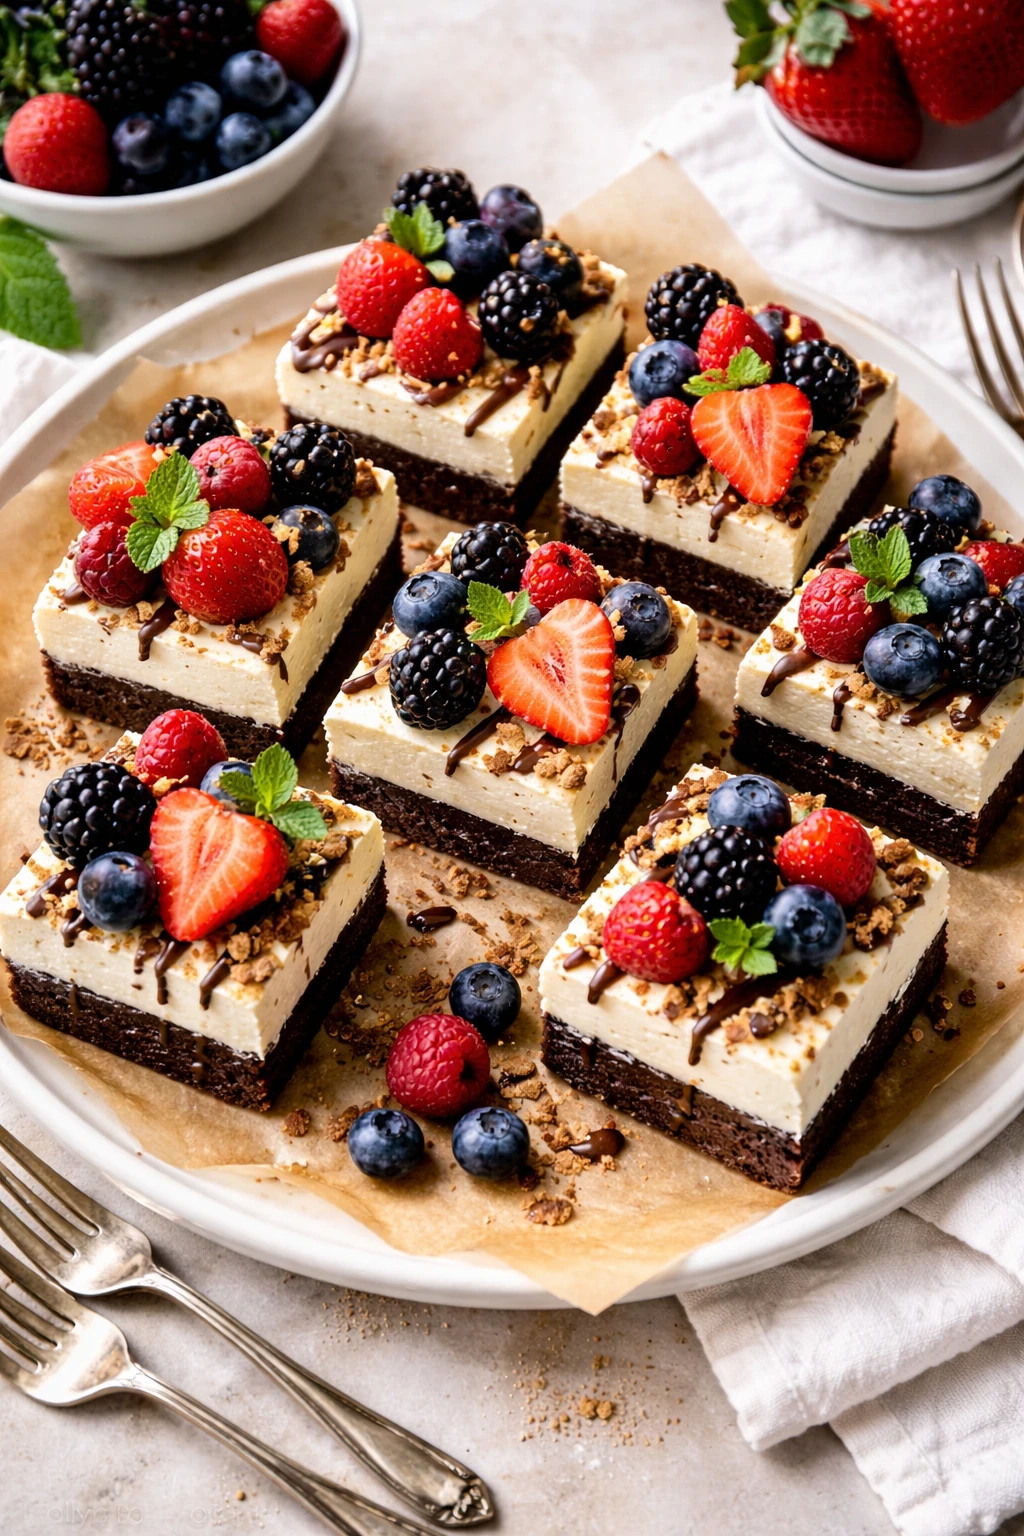
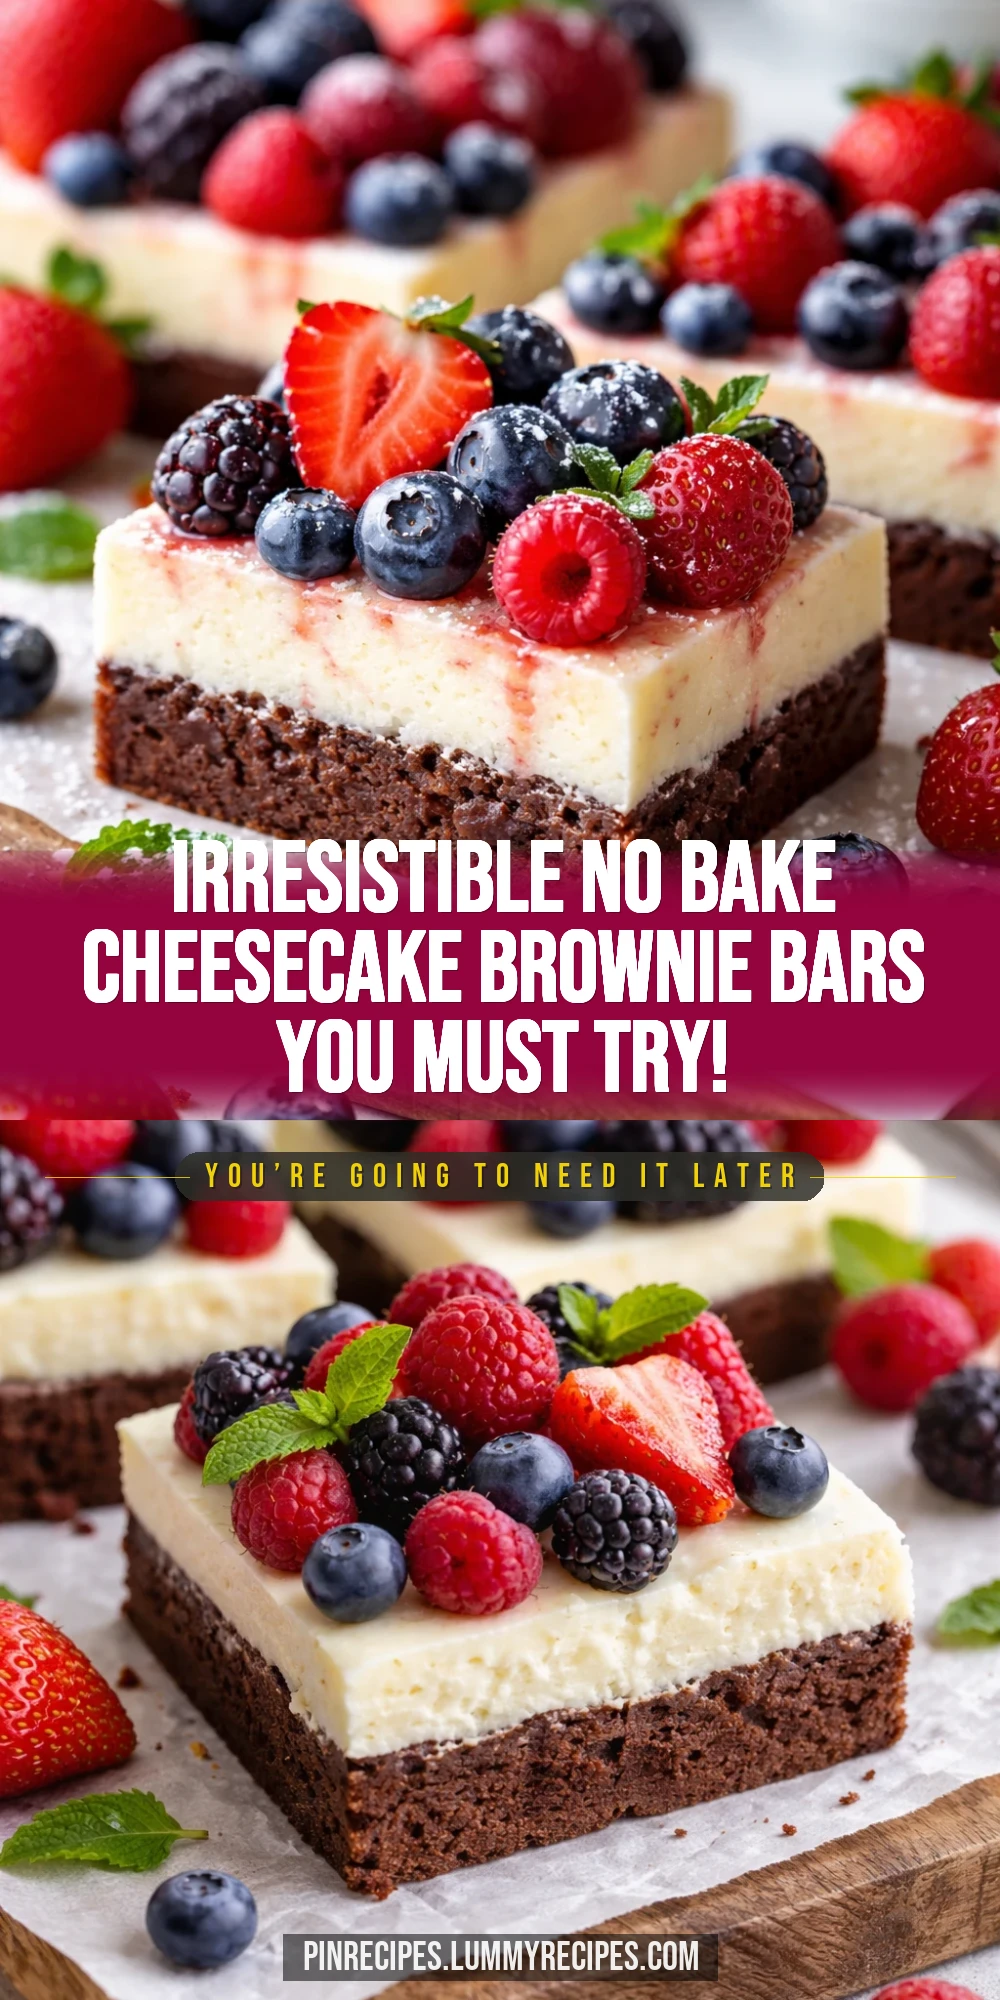
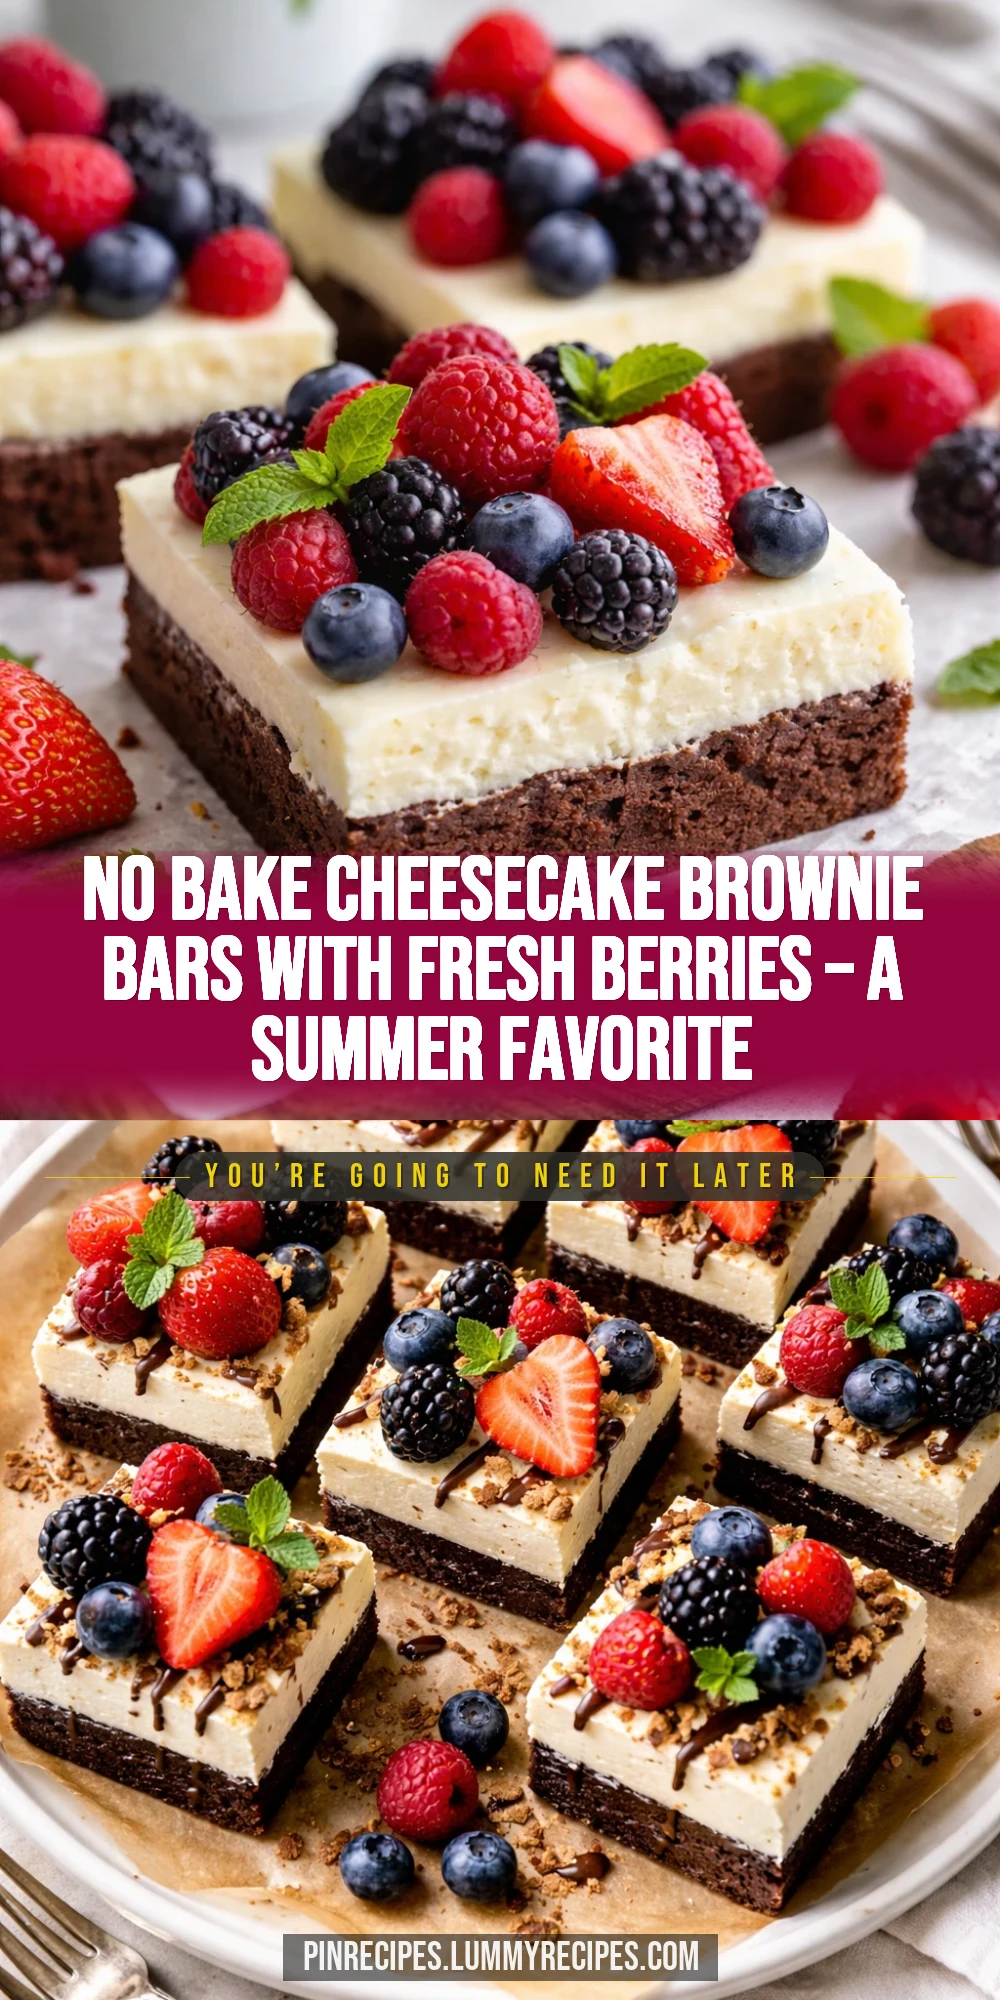
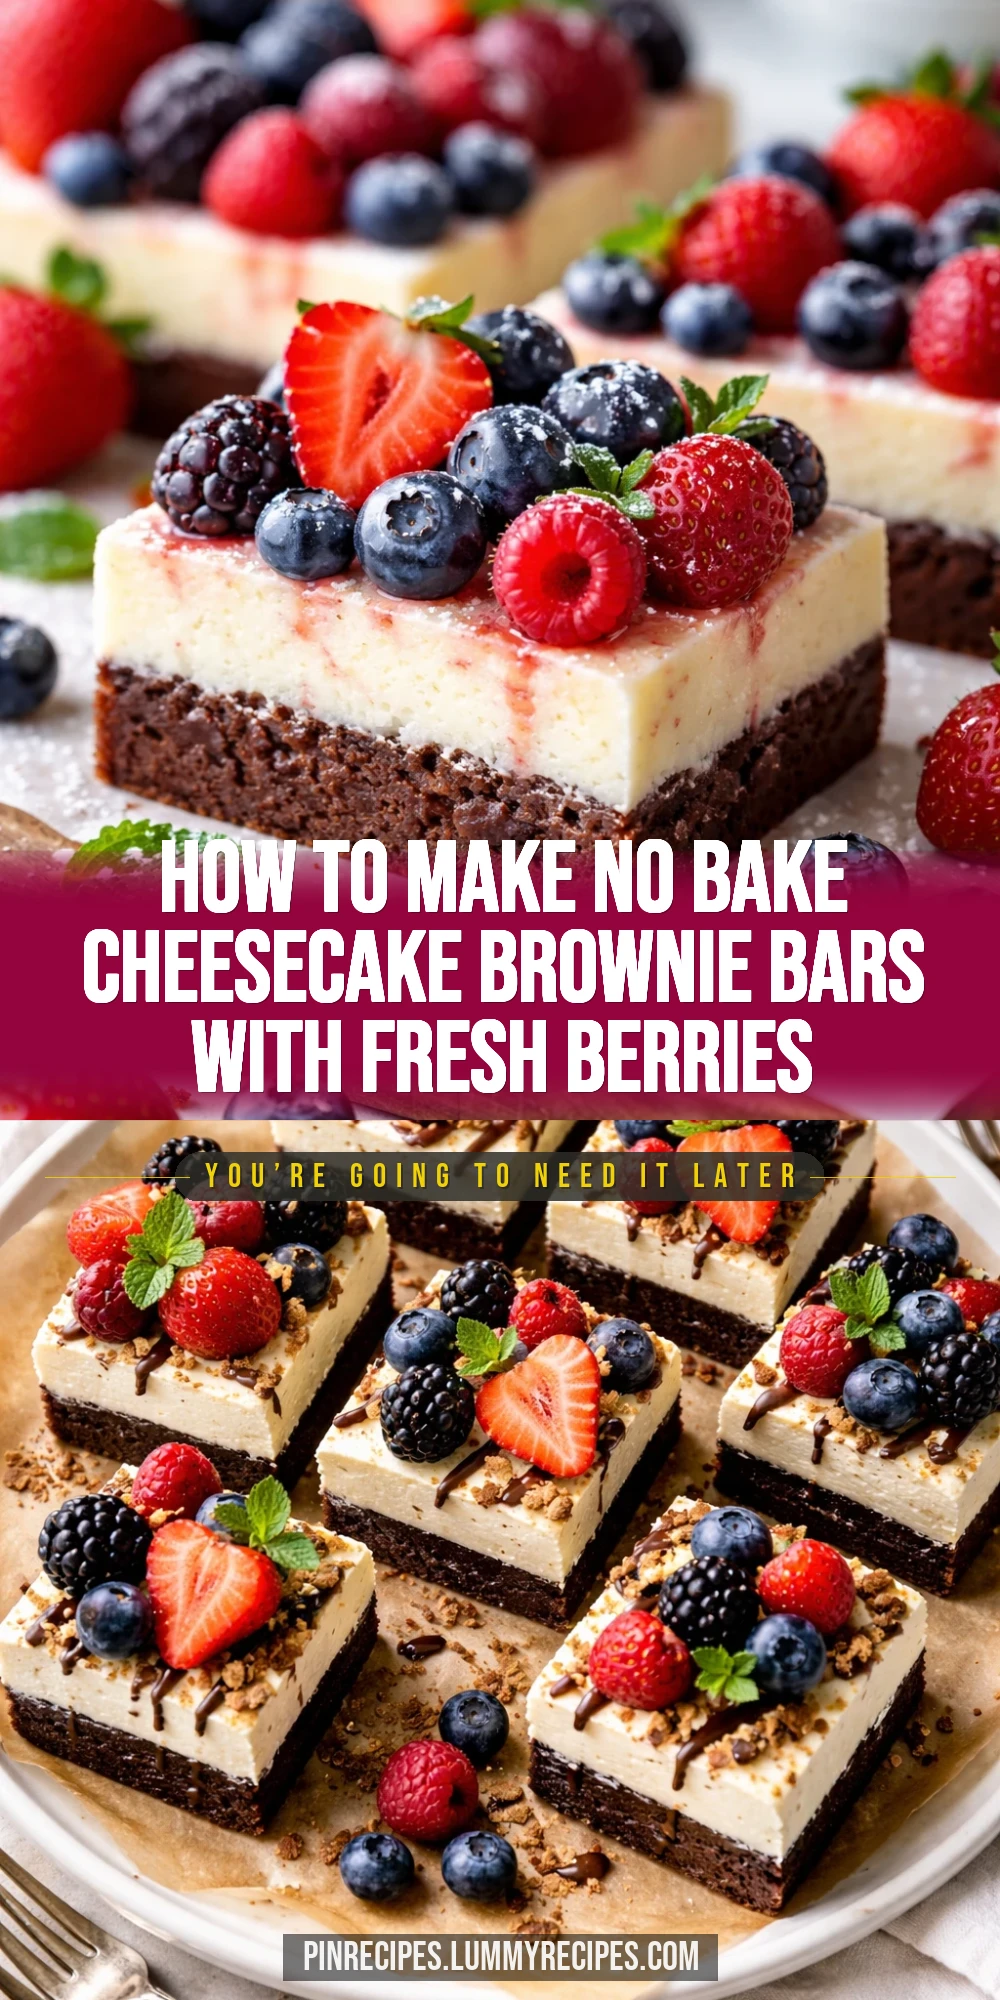
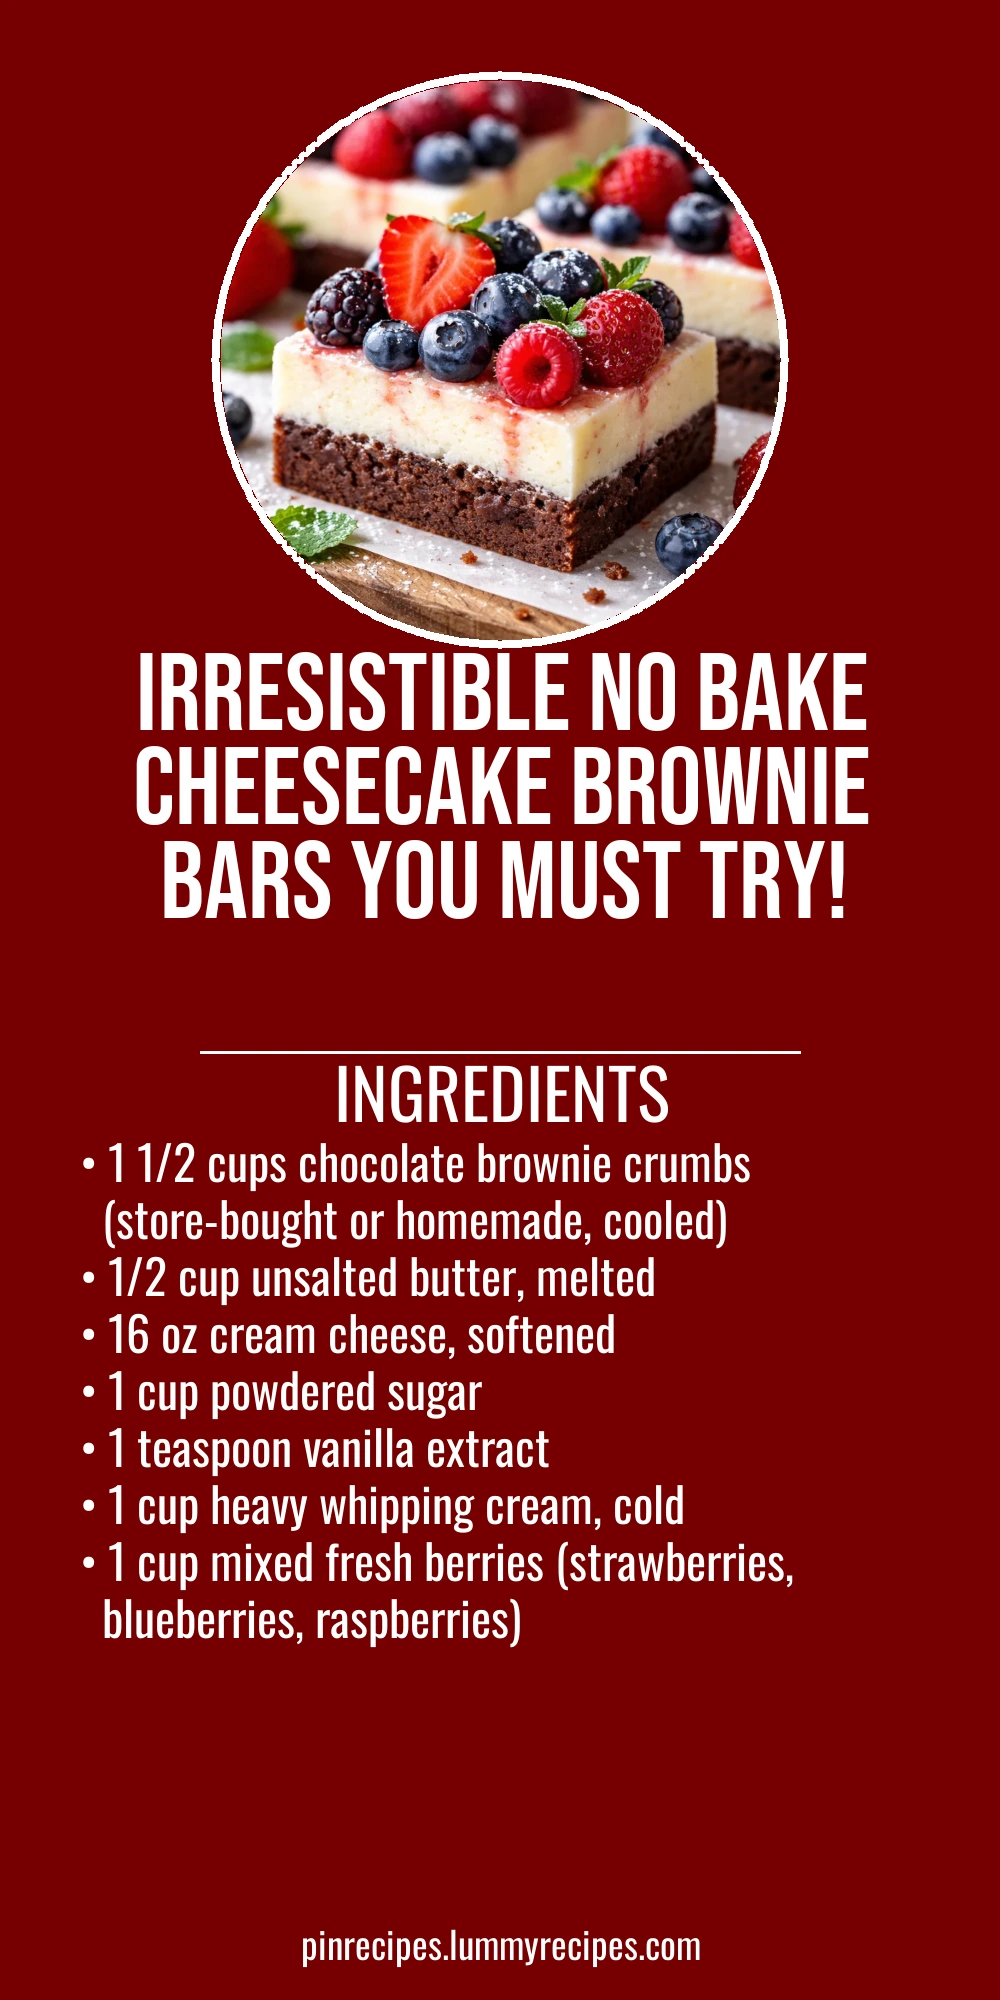
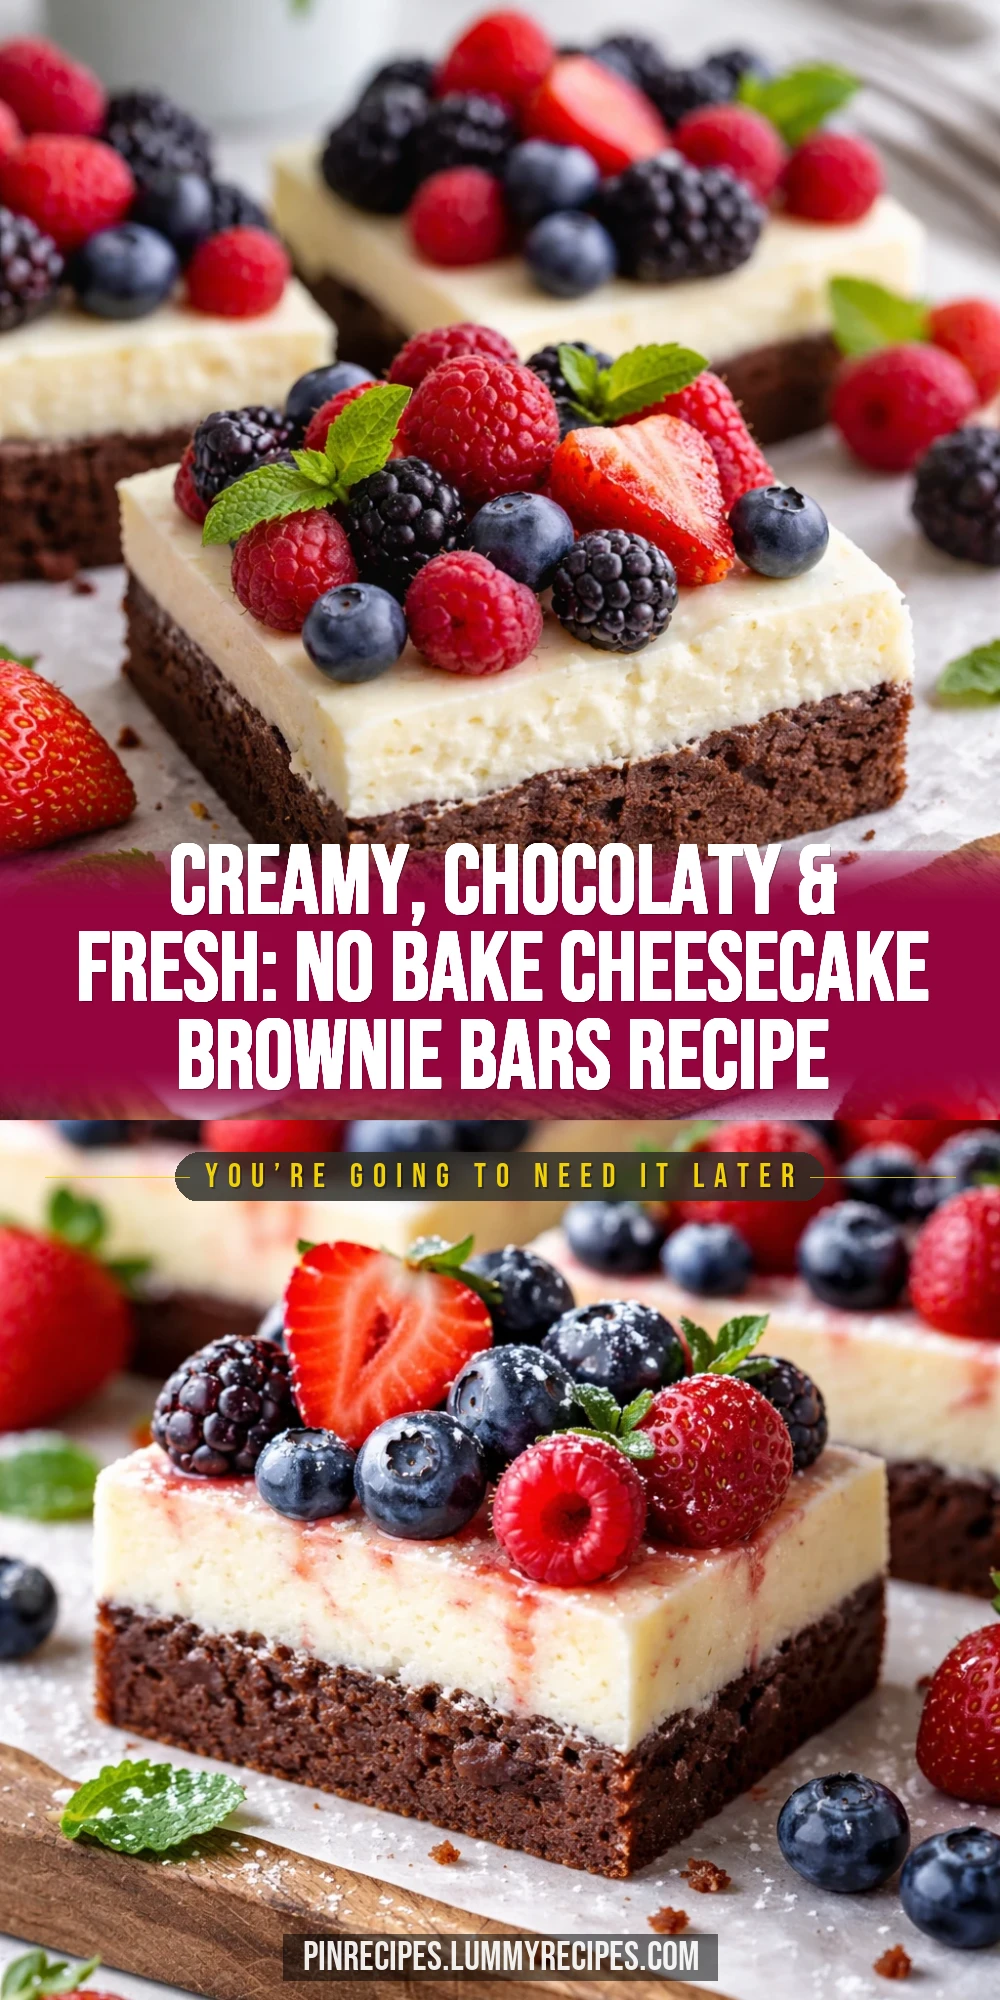
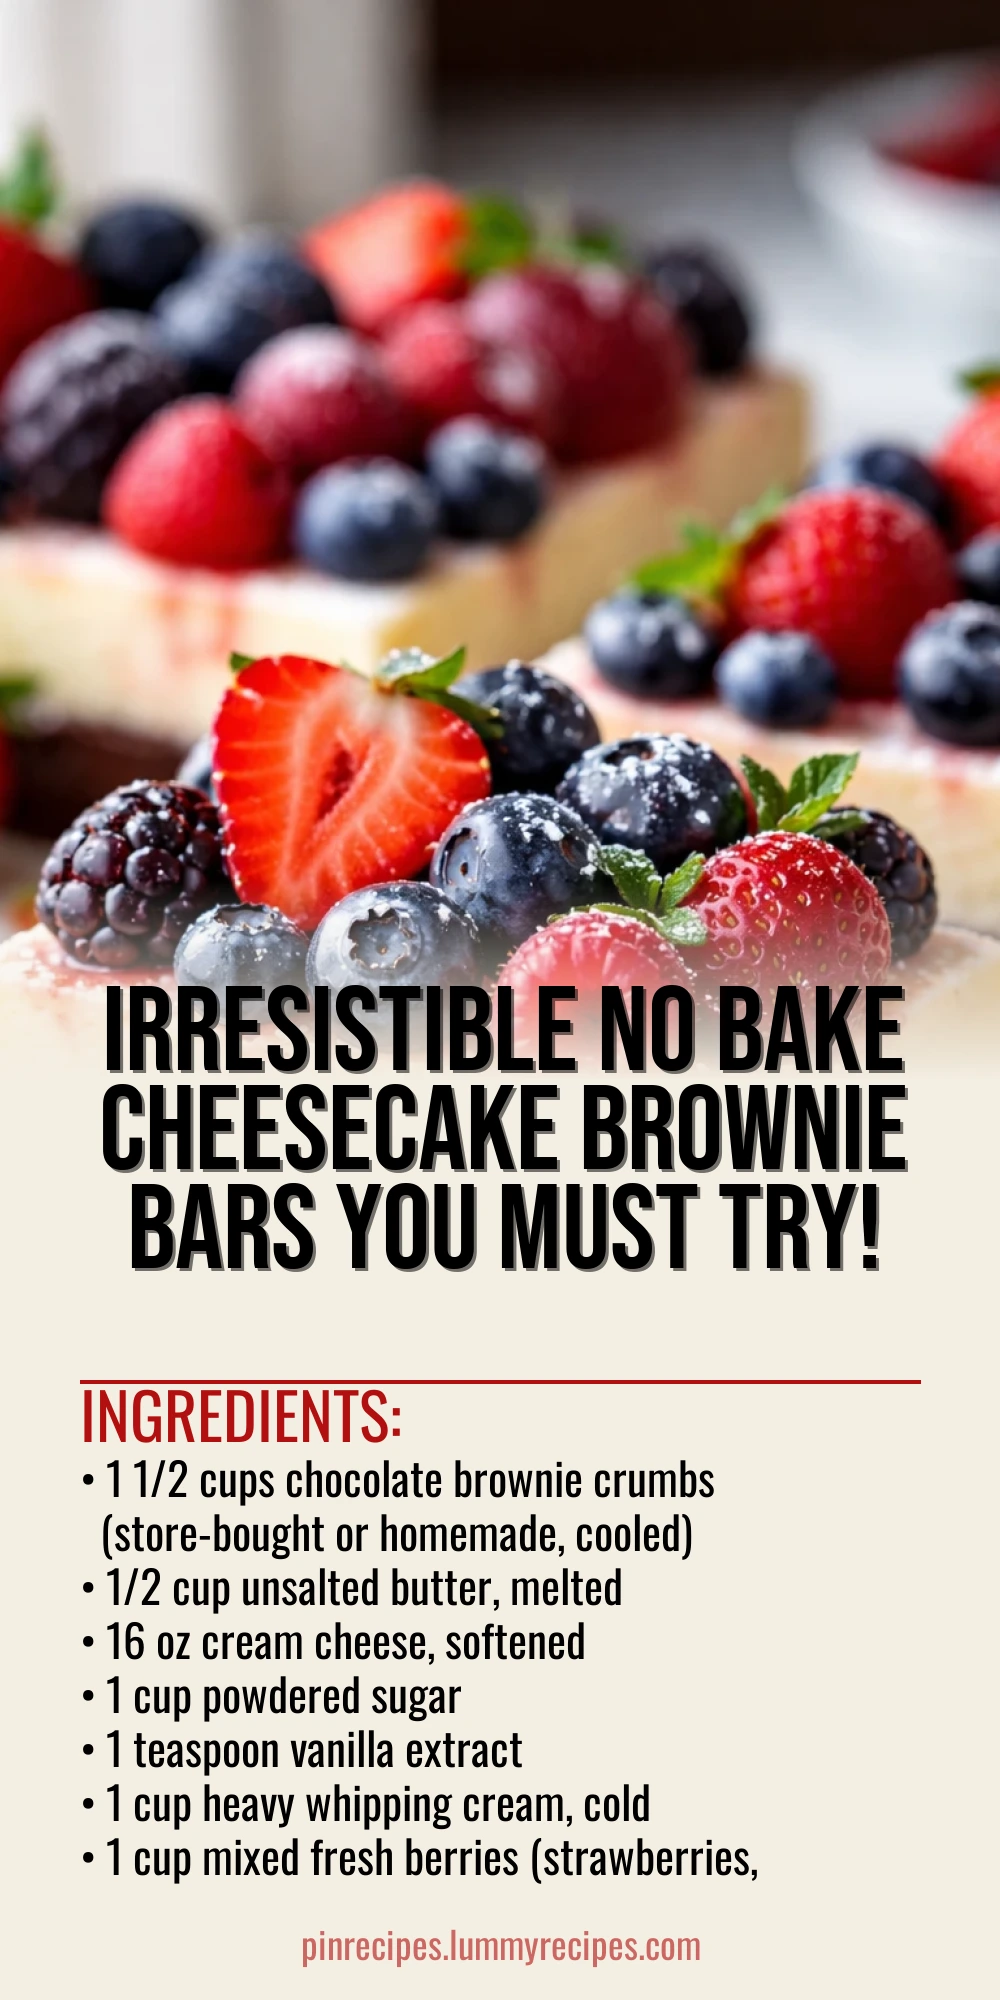
These no bake cheesecake brownie bars are a dream combo of rich chocolate and creamy cheesecake topped with fresh berries. Perfect for summer gatherings or when you want a fuss-free dessert that tastes fancy!
Introduction
I first made these no bake cheesecake brownie bars on a hot summer day when I didn’t want to heat up the kitchen but still craved something indulgent. The combination of a fudgy brownie base with a creamy cheesecake layer topped with fresh berries quickly became a family favorite. What sets this version apart is using brownie crumbs for the base instead of baking a whole brownie layer, which saves so much time and effort. Plus, whipping the cream cold ensures a light, fluffy cheesecake topping that’s not too dense. The fresh berries add a pop of color and a refreshing tartness that balances the richness perfectly. It’s a no-fuss dessert that looks impressive and tastes like you spent hours preparing it. Honestly, the first time I tried this, I was worried it wouldn’t set right without baking, but it turned out creamy and firm enough to slice beautifully. If you love cheesecake and chocolate, this recipe is a winner you’ll want to keep coming back to.
How To Do It
Step 1
Start by making the brownie crust. Combine the chocolate brownie crumbs with the melted butter in a bowl and mix until the crumbs are evenly coated and the mixture resembles wet sand. This step is crucial because the butter acts as a binder to hold the crust together once chilled. Press this mixture firmly into the bottom of a lined 8x8 inch pan. Use the back of a spoon or your fingers to create an even, compact layer. A well-packed crust prevents the bars from crumbling when sliced.
⏱ Time: 10 minutes
✓ Doneness: The crust should feel firm and hold together when pressed.
Step 2
In a separate bowl, beat the softened cream cheese with powdered sugar and vanilla extract until smooth and creamy. Make sure the cream cheese is at room temperature to avoid lumps. This mixture forms the rich cheesecake layer. If the cream cheese is too cold, it won’t blend well, resulting in a grainy texture. Beat until the mixture is silky and free of any clumps.
⏱ Time: 5 minutes
✓ Doneness: The cheesecake mixture should be smooth, creamy, and glossy.
Step 3
In a chilled bowl, whip the cold heavy cream until stiff peaks form. This means when you lift the whisk, the peaks stand straight without drooping. Whipping the cream cold is key to achieving the right texture and stability. If the cream is too warm, it won’t whip properly and may become runny. Be patient and watch closely to avoid overwhipping, which can turn the cream grainy.
⏱ Time: 5-7 minutes
✓ Doneness: Stiff peaks that hold shape firmly.
Step 4
Gently fold the whipped cream into the cream cheese mixture using a spatula. Folding, rather than stirring, preserves the airiness of the whipped cream, resulting in a light, fluffy cheesecake layer. Take your time to combine just until no streaks remain. Overmixing will deflate the mixture and make it dense.
⏱ Time: 3 minutes
✓ Doneness: Mixture is uniform and airy without streaks.
Step 5
Spread the cheesecake mixture evenly over the prepared brownie crust. Use an offset spatula or the back of a spoon to smooth the surface. This layer should be about 1 inch thick. Even spreading ensures each bar has a balanced ratio of crust to cheesecake. Avoid pressing down too hard to keep the cheesecake light.
⏱ Time: 5 minutes
✓ Doneness: Smooth, even cheesecake layer covering the crust.
Step 6
Wash and gently pat dry the fresh berries. Slice larger berries like strawberries into halves or quarters for easier serving. Arrange the berries evenly on top of the cheesecake layer. This not only adds vibrant color but also a fresh, tart contrast to the sweet layers below.
⏱ Time: 5 minutes
✓ Doneness: Uniform berry coverage with no bare spots.
Step 7
Cover the pan with plastic wrap and refrigerate for at least 4 hours, preferably overnight. This chilling step allows the cheesecake layer to set firmly and the flavors to meld. If you try to cut the bars too soon, they may be too soft and fall apart.
⏱ Time: 4+ hours
✓ Doneness: Firm, sliceable bars with set cheesecake layer.
Step 8
Once chilled, use a sharp knife dipped in hot water and wiped dry to slice the bars cleanly. Wiping the knife between cuts helps prevent dragging or smearing the creamy layer. Cut into 9 equal squares for perfect portions.
⏱ Time: 5 minutes
✓ Doneness: Clean, neat slices without crumbling or smearing.
Step 9
Serve immediately or keep refrigerated until ready. These bars are best enjoyed cold to maintain the creamy texture and fresh berry flavor. If you want to add a little extra flair, dust with powdered sugar or drizzle melted chocolate before serving.
⏱ Time: Immediate
✓ Doneness: Bars are cold, creamy, and visually appealing.
Pro Tips
Use chilled mixing bowls and beaters when whipping cream.
Cold equipment helps the cream whip faster and hold stiff peaks better. Warm bowls can cause the cream to remain runny and never reach the right texture, which affects the cheesecake’s fluffiness.
Press the brownie crust firmly into the pan.
A well-packed crust prevents crumbling when slicing. If it’s loosely packed, the crust will fall apart and the bars won’t hold their shape well.
Fold whipped cream gently into the cream cheese mixture.
Folding preserves the airiness of the whipped cream, keeping the cheesecake layer light. Stirring or beating vigorously deflates the mixture, resulting in a dense, heavy texture.
Chill the bars overnight if possible.
Longer chilling time allows the fats to solidify and flavors to meld, producing a firmer texture that slices cleanly and tastes more harmonious.
Use a sharp knife dipped in hot water for slicing.
Heating the knife slightly helps it glide through the creamy cheesecake layer cleanly without dragging or smearing, resulting in neat slices.
Choose fresh, ripe berries for topping.
Ripe berries offer the best flavor contrast to the rich cheesecake and chocolate. Overripe or soggy berries can release excess moisture and make the bars soggy.
Avoid overwhipping the cream cheese mixture.
Overmixing can cause the cream cheese to become grainy or separate, affecting the smooth texture of the cheesecake layer.
Common Mistakes to Avoid
Not softening the cream cheese enough
Why it happens People often try to speed up the process by microwaving or mixing cold cream cheese, leading to lumps.
Fix Allow cream cheese to soften at room temperature for at least 30 minutes before mixing. If in a hurry, cut it into small cubes to soften faster and beat slowly to avoid lumps.
Skipping chilling time
Why it happens Impatience or lack of planning can lead to serving the bars too soon.
Fix Plan ahead to chill the bars for at least 4 hours or overnight. This step is vital for firm texture and clean slicing.
Overmixing the whipped cream into the cheesecake
Why it happens Trying to combine everything quickly or thoroughly can deflate the whipped cream.
Fix Use gentle folding motions with a spatula, turning the bowl slowly and lifting the mixture carefully to preserve volume.
Using dry or stale brownie crumbs
Why it happens Using old or cakey brownies leads to a crust that won’t bind well.
Fix Use fresh, moist brownie crumbs or make your own from a fresh batch. Avoid crumbs that feel dry or powdery.
Cutting the bars with a dull knife
Why it happens A dull knife drags through the cheesecake, causing messy edges.
Fix Use a sharp knife and dip it in hot water before each cut for smooth, clean slices.
Variations
Chocolate Swirl Cheesecake Brownie Bars
Add a swirl of melted dark chocolate into the cheesecake layer before chilling for a marbled effect and extra chocolate flavor. This adds a pretty visual and richer taste without changing the base method.
Note: Swirl gently with a toothpick or skewer to avoid mixing completely. Chill as usual.
Lemon Zest and Blueberry Bars
Incorporate lemon zest into the cheesecake mixture and top with blueberries for a bright, citrusy twist. This variation is refreshing and perfect for spring or summer.
Note: Add 1 tablespoon lemon zest to the cream cheese mixture. Use only blueberries for topping.
Peanut Butter Cheesecake Brownie Bars
Mix 1/3 cup creamy peanut butter into the cheesecake layer for a nutty flavor. Garnish with chopped peanuts and fresh strawberries for a decadent treat.
Note: Warm peanut butter slightly to blend smoothly with cream cheese before folding in whipped cream.
Vegan No Bake Cheesecake Brownie Bars
Use vegan cream cheese and coconut cream whipped to stiff peaks. Replace butter with coconut oil and use vegan brownie crumbs. This keeps the dessert dairy-free and delicious.
Note: Chill coconut cream overnight before whipping. Use firm vegan cream cheese for best texture.
Salted Caramel Drizzle Bars
Drizzle salted caramel sauce over the fresh berries before serving for a sweet and salty contrast that elevates the flavor profile beautifully.
Note: Add caramel just before serving to prevent the crust from getting soggy.
Nutrition
Per Serving:
Nutritional values are estimates and may vary based on specific ingredients used.
Storage & Tips
Room Temperature
These bars can be safely kept at room temperature for up to 2 hours if covered, but they are best stored chilled to maintain texture and freshness.
Refrigerator
Store bars in an airtight container in the fridge for up to 4 days. The texture remains creamy, but the crust may soften slightly. Serve cold or let sit 10 minutes at room temp before eating.
Freezer
Freeze bars wrapped tightly in plastic wrap and foil for up to 2 months. Thaw overnight in the fridge to preserve texture. Avoid refreezing after thawing.
Reheating
No reheating needed. Serve chilled or at room temperature. If desired, let bars sit out 10-15 minutes before serving for softer texture.
Make Ahead
Prepare the crust and cheesecake layers up to 2 days ahead, cover tightly, and refrigerate. Add fresh berries and slice just before serving for best presentation.
FAQ
Can I use a baked brownie layer instead of crumbs?
Yes, you can bake a brownie layer in the pan, let it cool completely, then spread the cheesecake layer on top. Using crumbs mixed with butter is quicker and easier, but a baked layer works well for a denser base.
What if I don’t have fresh berries?
Frozen berries can add extra moisture, so pat them dry well to avoid sogginess.
How do I prevent the cheesecake layer from being too soft?
Make sure to whip the cream to stiff peaks and fold carefully to keep air in. Also, chill the bars for at least 4 hours or overnight so the fats solidify and the layer firms up.
Can I make these bars gluten-free?
Double-check labels on processed ingredients to avoid hidden gluten.
Why is my cheesecake mixture grainy?
This usually happens if the cream cheese isn’t softened enough or is overmixed. Always use room temperature cream cheese and mix gently until smooth to avoid graininess.
Can I use low-fat cream cheese or whipped topping?
Whipped topping lacks the fat content to stabilize the cheesecake properly.
How long will these bars last in the fridge?
For best flavor and texture, consume within 2-3 days.
Is it okay to freeze these bars?
Avoid thawing at room temperature to prevent sogginess.
Final Thoughts
I hope you enjoy making and eating these no bake cheesecake brownie bars as much as my family does! Don’t forget to share your creations—I’d love to see how yours turn out.